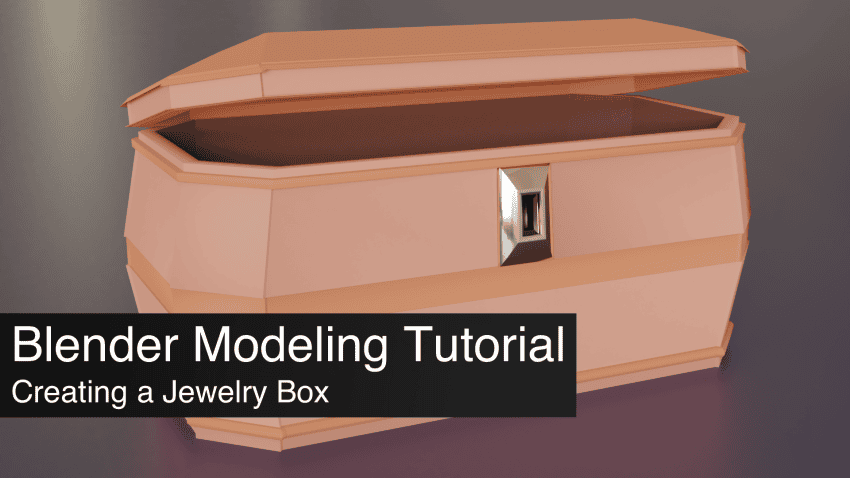
Looking for an easy Blender 2.8 Modeling Tutorial for beginners? This article explains you everything how to start to model in Blender a jewelry box.
At this point you should be at least familiar with these things: three main transforms, Edit and Object modes, what vertices, edges, faces are and how to transform them. If you are not familiar with those – I will again mention our Blender Basics article series. Specifically – Part 2 of 4, where things that I mentioned earlier are shown and explained.
Let’s begin. When you are in the Edit mode, you will see tools on the left side of the interface. Press [T] (for Tools) to show and hide them.
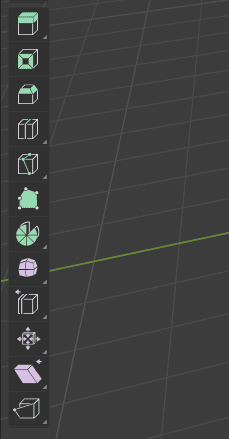
First is an Extrude tool [E]. It extrudes a selected part of the mesh. In other words – creates a connected copy. Usually used on faces and sometimes on edges.
If you click and hold on a tool icon, you will see that there are alternative types of it existing.
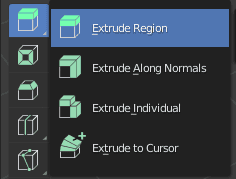
They are mostly needed for when you try to extrude a multiple amount of faces and they are pointing in different directions. As result of this action with the default Extrude Region is not ideal:
Extrude Along Normals will make extruded faces connected and pointing in their individual directions:
Extrude Individual is similar, but selected faces will not be connected and instead extruded each individually as if you just extruded each one separately.
Second tool – Inset Faces [I]. It is really easy to understand and use. You select a face, use this tool and it inserts a new face inside of selected. Besides, the tool creates all the needed topology so there would be no N-gons that can mess up the mesh.
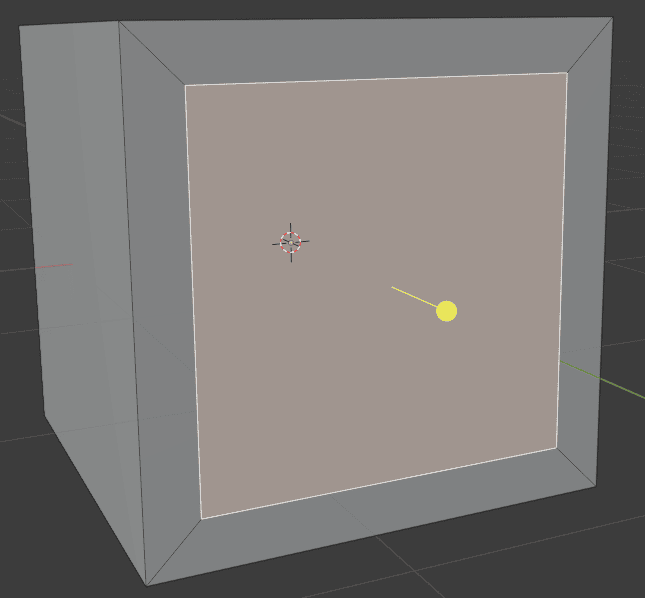
In the Part 3 of Blender Basics we used the Bevel modifier, that smoothed out all edges of a selected object. There is also a Bevel tool [CTRL+B] that does the same thing. To explain a bit more – it takes a selected edge and turns it into multiple edges on some distance from one another.
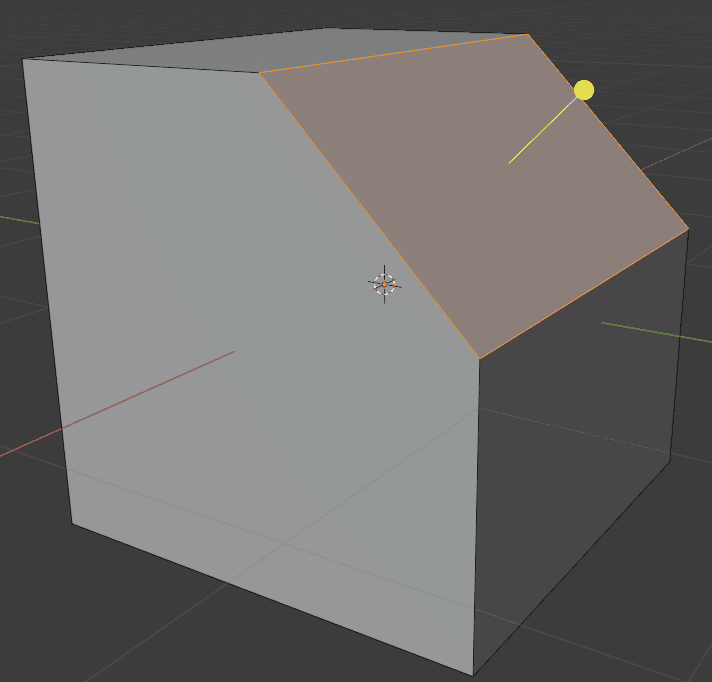
In the menu that appears on bottom left after the tool is used [F9] you can change the amount of edges that are going to be added.
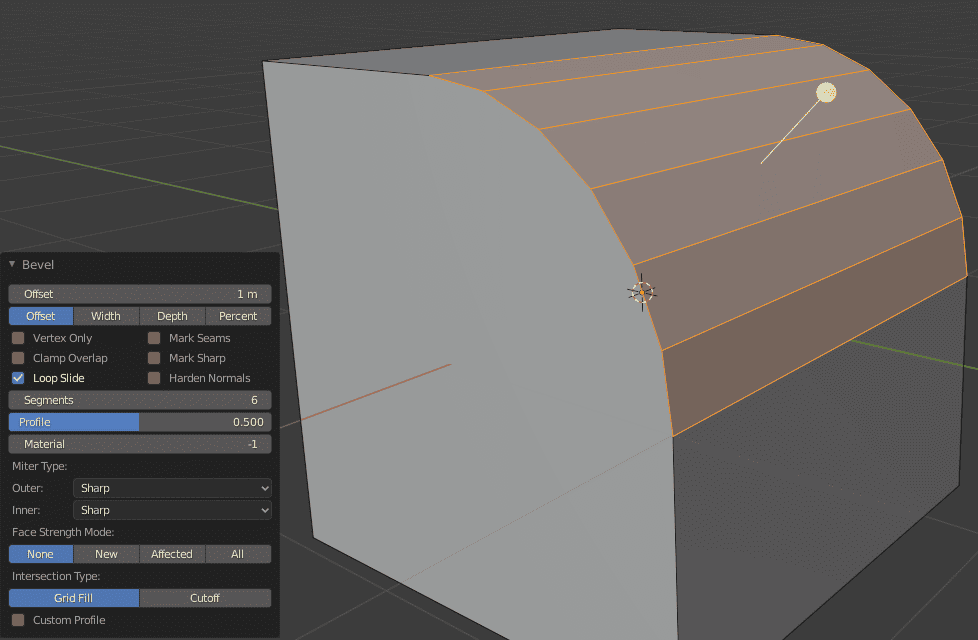
Bevel is a really useful tool that is used a lot to smooth out sharp edges, add more details to an object and to add topology to work with.
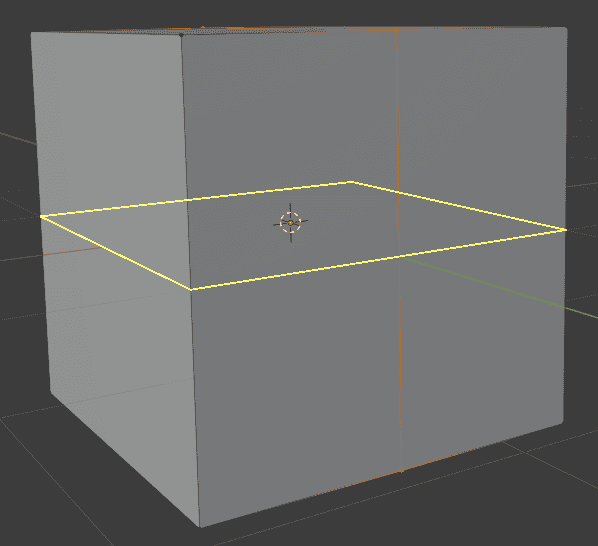
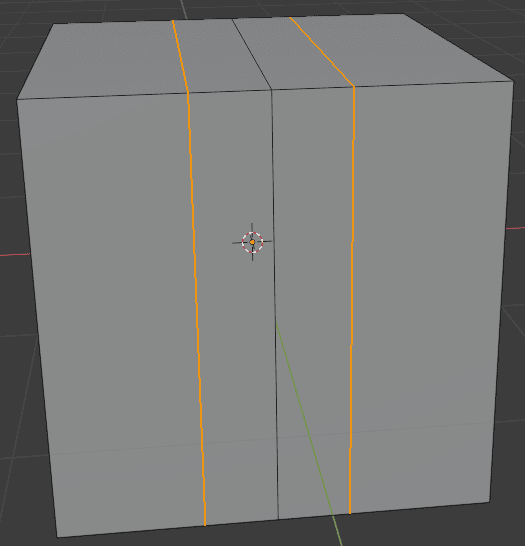
After that is a Loop Cut tool [CTRL+R]. You should already be familiar with it. Creates a loop of edges on your object. These edges are used to add topology that can be used for details.
Alternative Offset Edge Loop Cut allows you to add two new loop cuts on the both sides of the selected one.
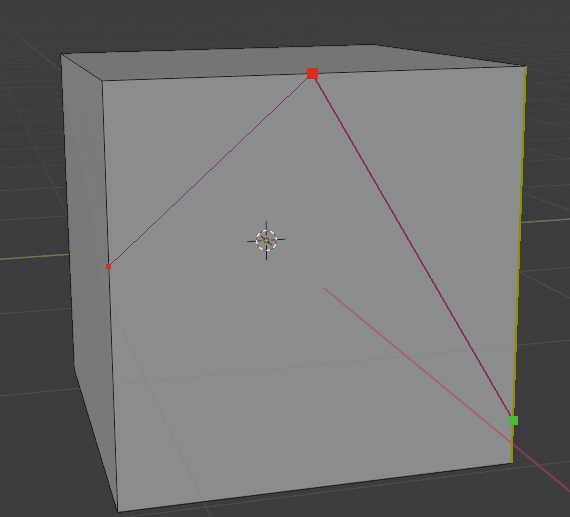
Next is a Knife tool [K]. You can say that it is similar to the Loop Cut, as it too adds edges that can be used to add details to an object. Though with the knife tool you can yourself select where to add more topology by cutting your object.
Poly Build – lets you control polygons and move them around. Basically it is the same thing as if you selected a vertex and used a Move tool [G] on it. But using a Poly Build may be faster and can be more convenient.
Also you can control topology with this tool. If you Shift+click on something, the vertices will be deleted. And CTRL+Clicking will create new vertices. It can even create new faces if there are vertices nearby that can be connected into one.

Last of the green ones is a Spin tool. It takes a selected part of an object and spins it around the origin point, creating duplicates on the way. There is little use to this tool, but when you need it – it is great to use.
And here where purple tools time to be explained. They are a bit different, as all of them can be grouped by one word – deformation. All of them deform your object in one way or another.
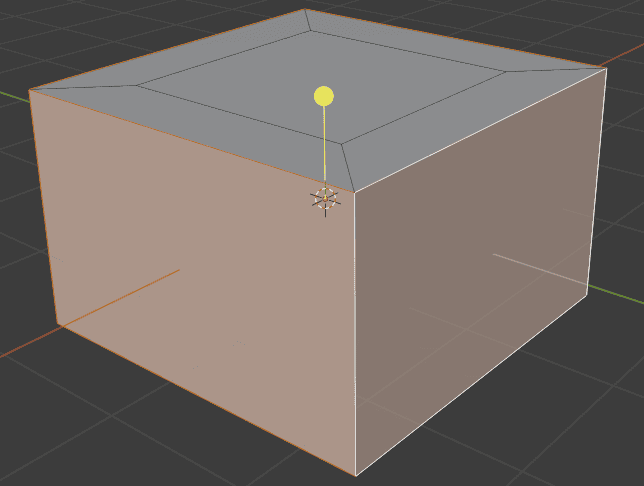
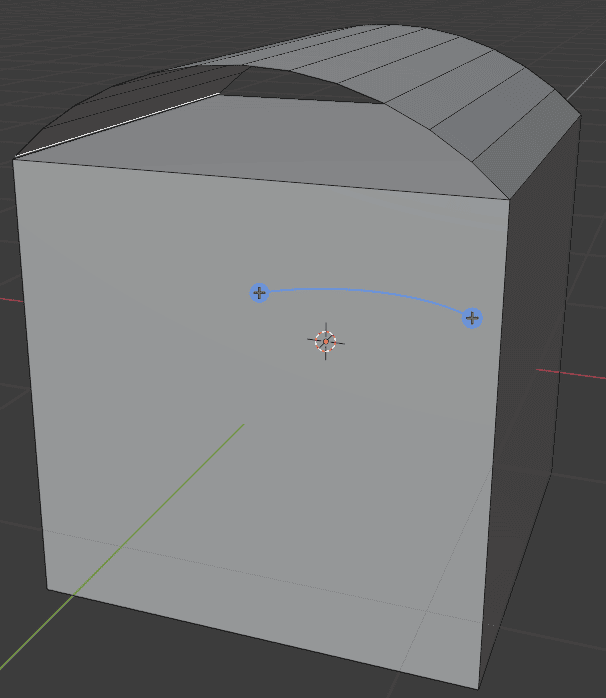
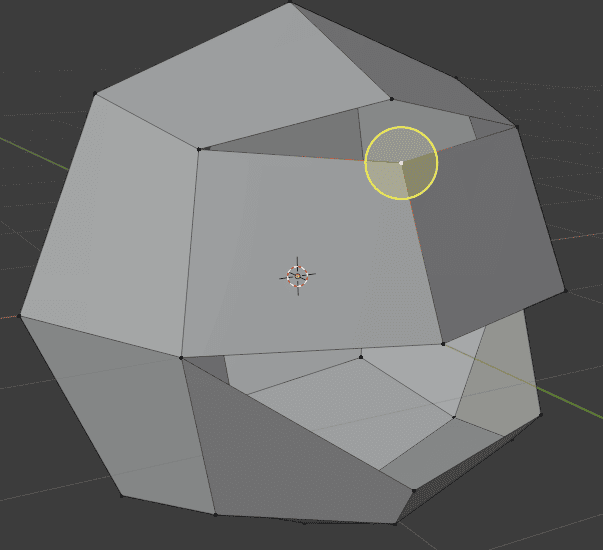
Smooth tool is quite obvious – it smoothes out your object and makes it topology closer to a sphere. It is best seen on a Cube with a few loop cuts for better example:
Alternative to Smooth is Randomize – it will move selected vertices in a random way, creating a random shape.
Edge Slide [G,G] and Vertex slide [G,G] will allow you to slide to move selected edges/vertices along connected edges, so it would not screw up the topology.
Shrink/Fatten and Push/Pull is similar to the Smooth tool, as they also deform in a similar way according to their name.
Shrink tool in action
Shear tool allows you to shift and tilt selected parts of an object.

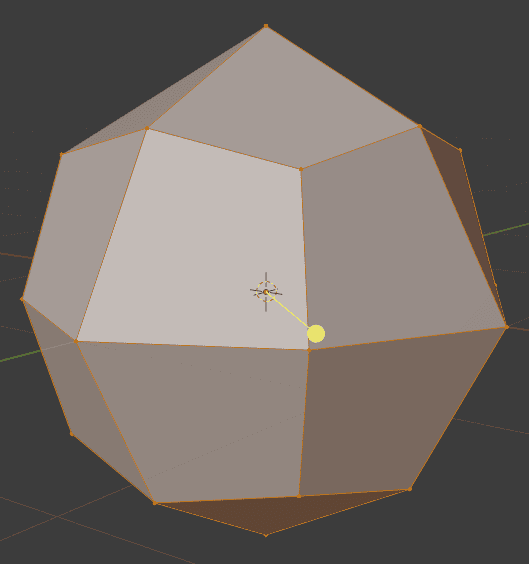
“To Sphere” deforms selected objects as close to the sphere shape as it can.
And finally Rip Region and Rip Edge – detaches selected part of an object from the rest, creating a hole in a mesh.
Excercise: Modeling a Jewelry Box
How about a little exercise to apply the learned of the above Blender Modeling Tutorial? We will create a jewelry box together using some of the tools that you learned in this article. So in the end you will see how they are used in real Blender modeling.
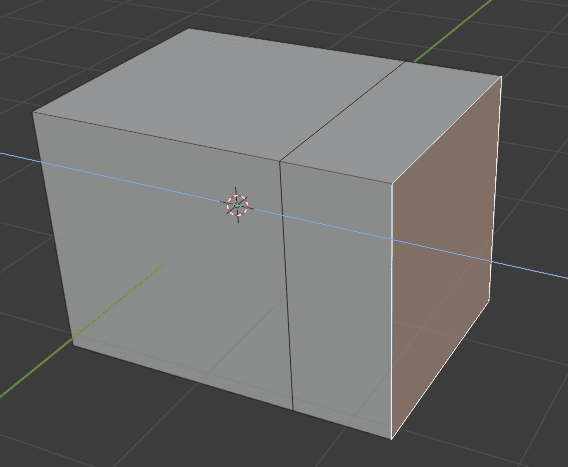
We will start from scratch, and that means from the default Cube.
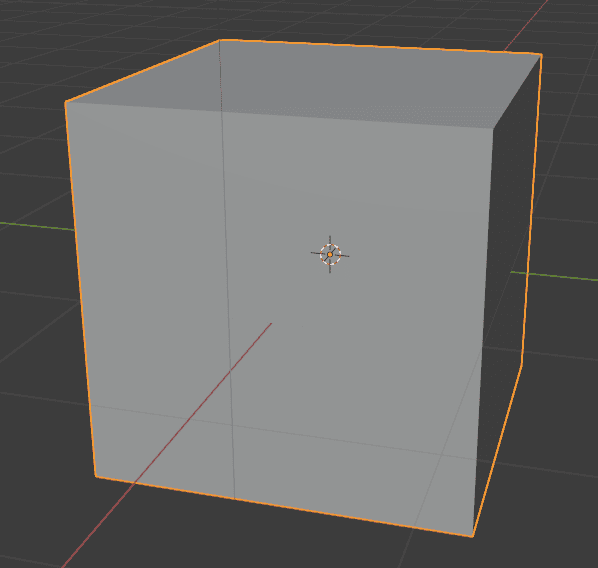
First of all – jewelry boxes are usually rectangular – not so high but wide. So in Edit Mode go to Select > All [A] and Scale [S] a cube to something more fitting. Like this:
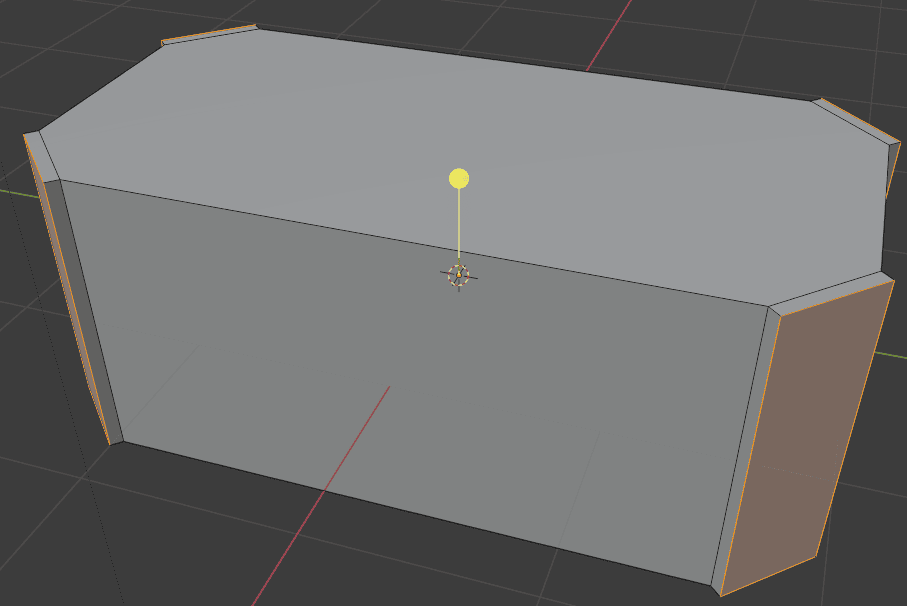
Select all the corner edges of a Cube (Shift+Left Mouse Button) and use Bevel [CTRL+B] to smooth them out and add new topology that we are going to use for extrusion right now.
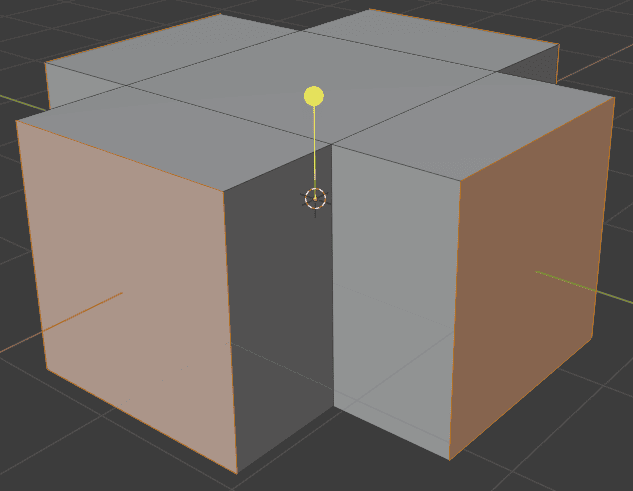
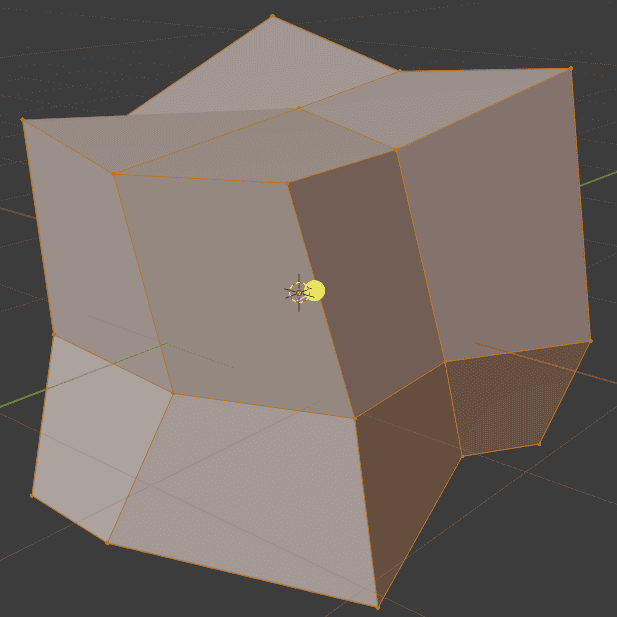
Still with the new-made faces selected use Extrude Individual to create this extended corners:
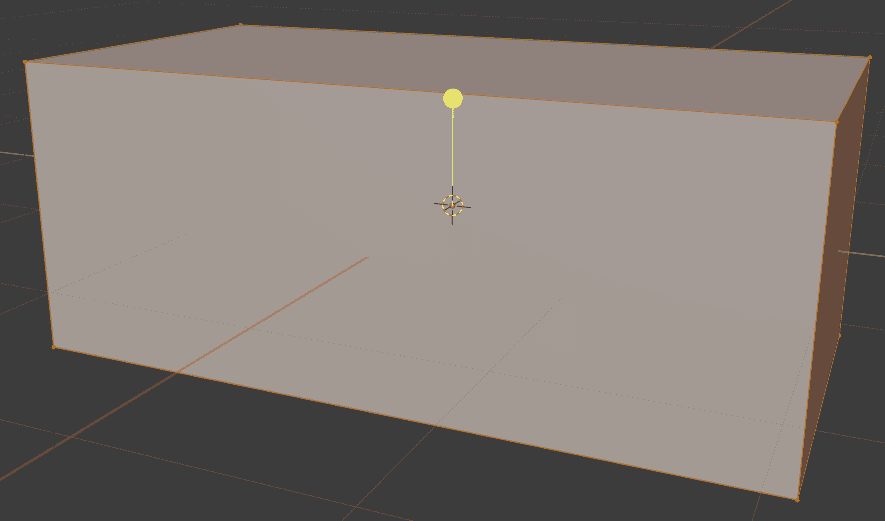
Now use regular Extrude Region [E] on the top face twice in small intervals.

This creates a new topology that we can use. Shift+Alt+Left Mouse Button on the lower face loop to select this loop.
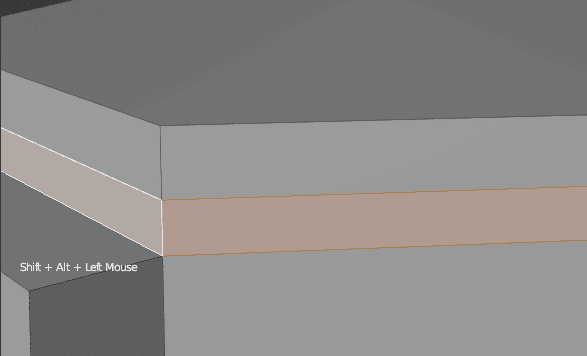
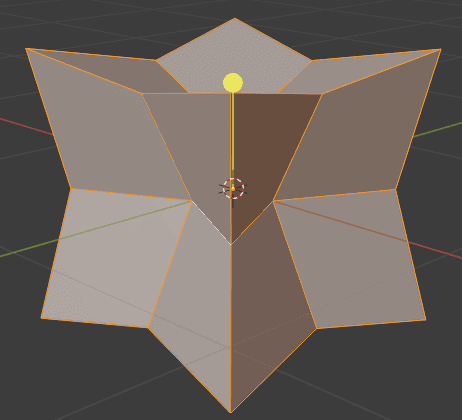
And now Extrude Along Normals to create this rim shape:
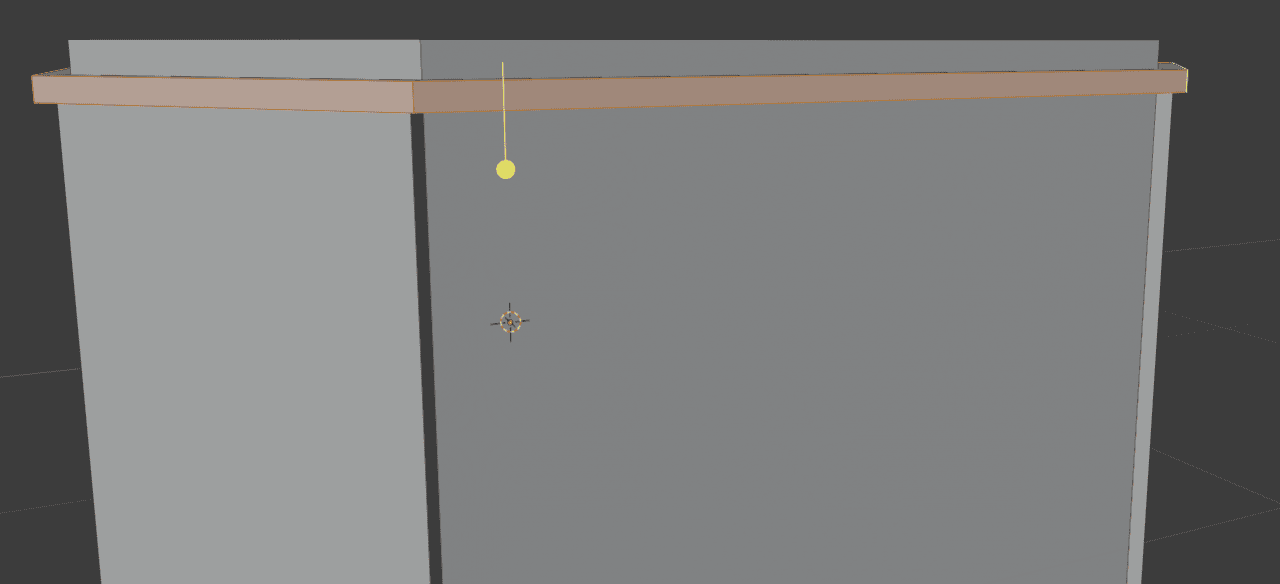
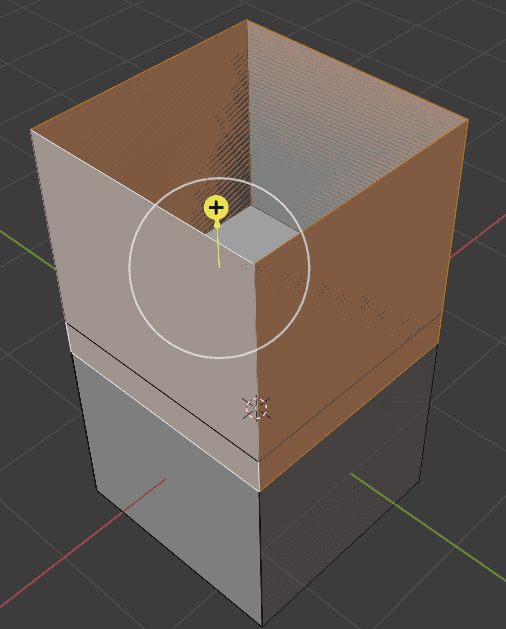
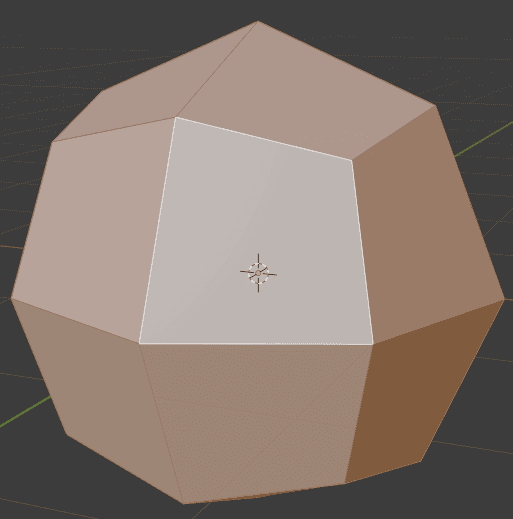
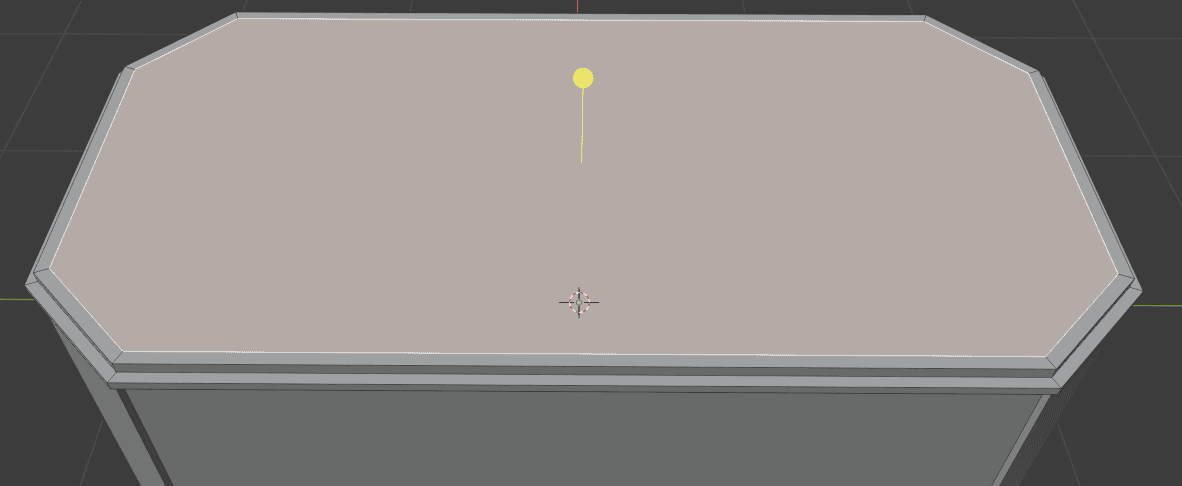
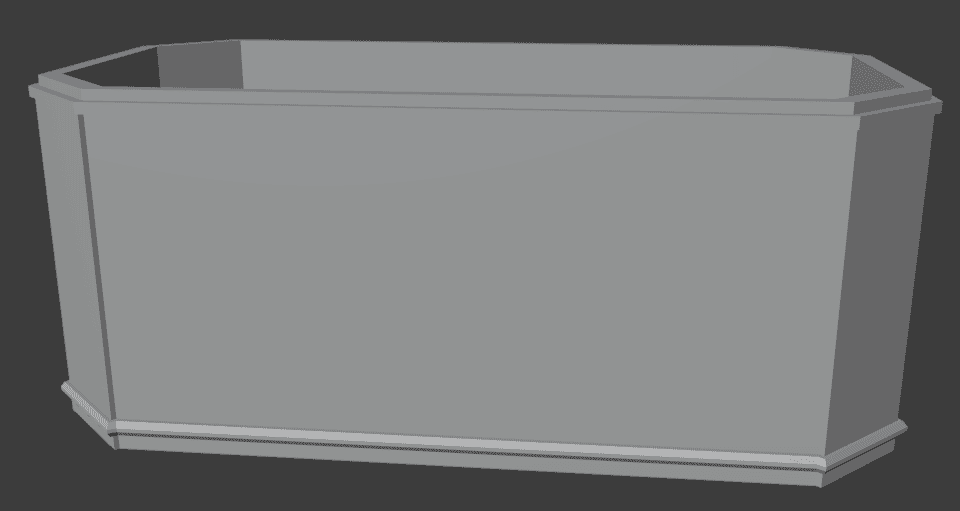
Right now it is just a rectangle with some details. To make it a proper jewelry box we need to add volume to the insides. For this simply use the Inset Faces [I] tool on the top face.
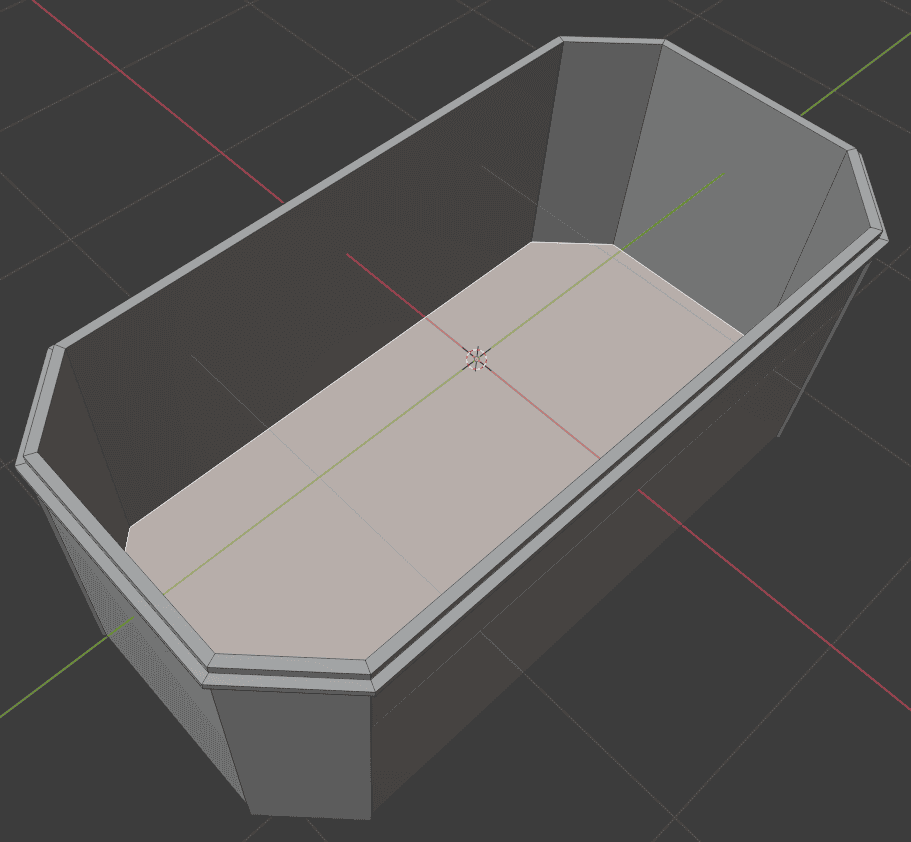
And then use Extrude Region [E] on the inserted face to add insides to our jewelry box:
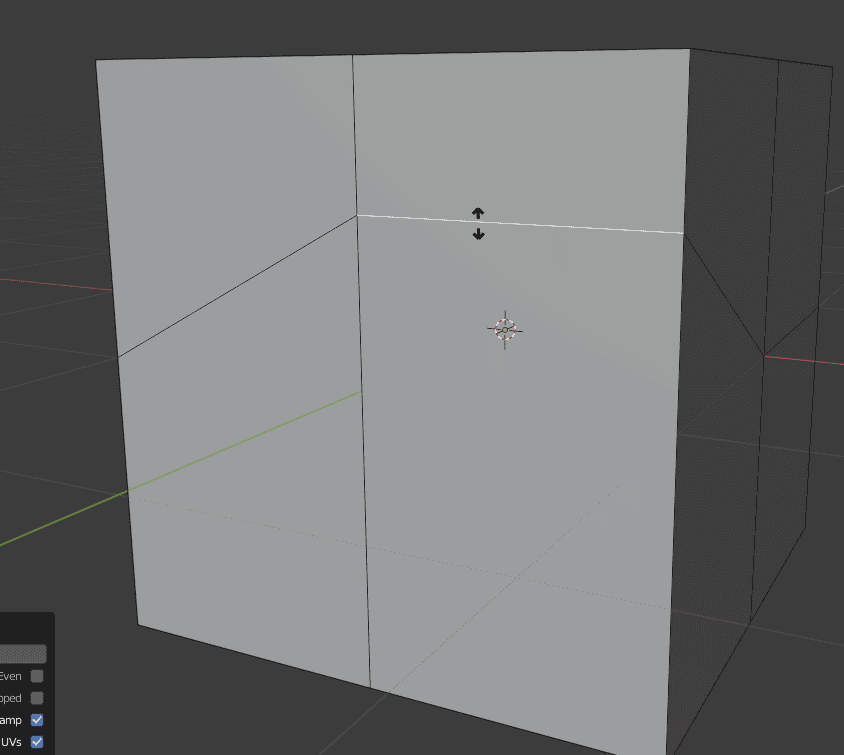
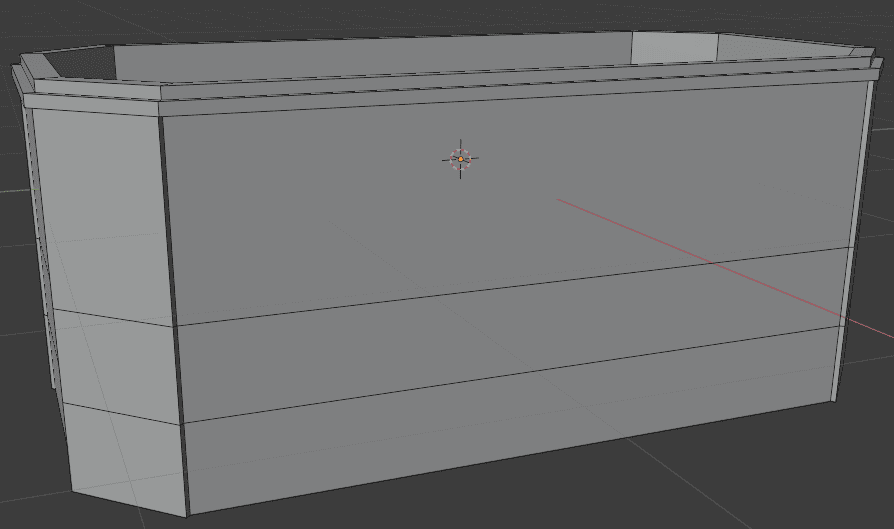
We will also use a Loop Cut [CTRL+R] tool to add more details that we could use. I have added two Loop Cuts.
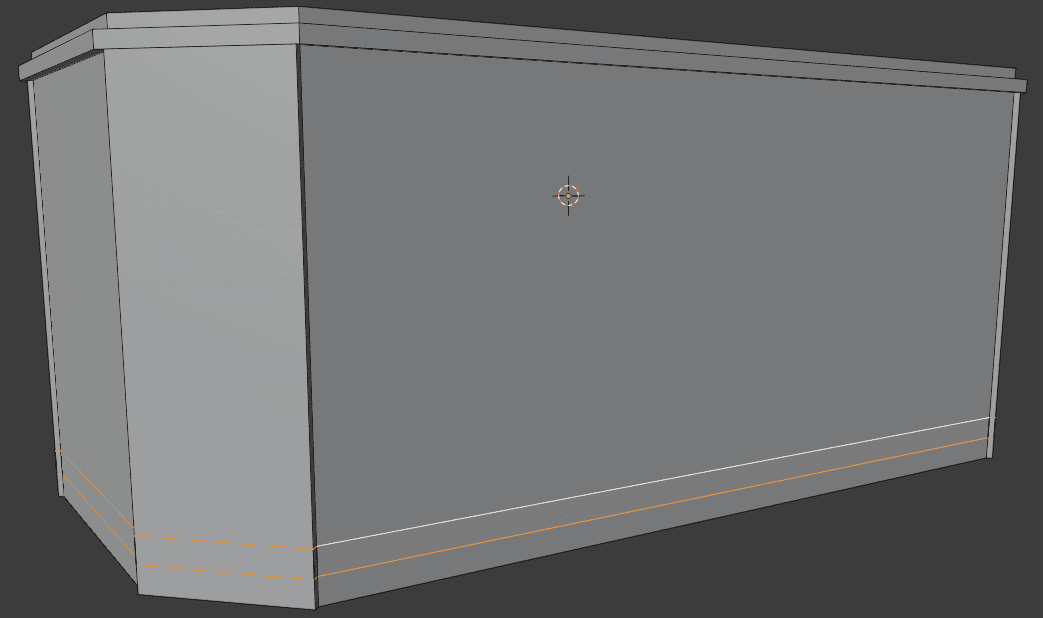
Selected them with Shift+Alt+LMB, Then scaled them along the Z axis so they would be closer and moved to the bottom of the box, where I want new details to be.
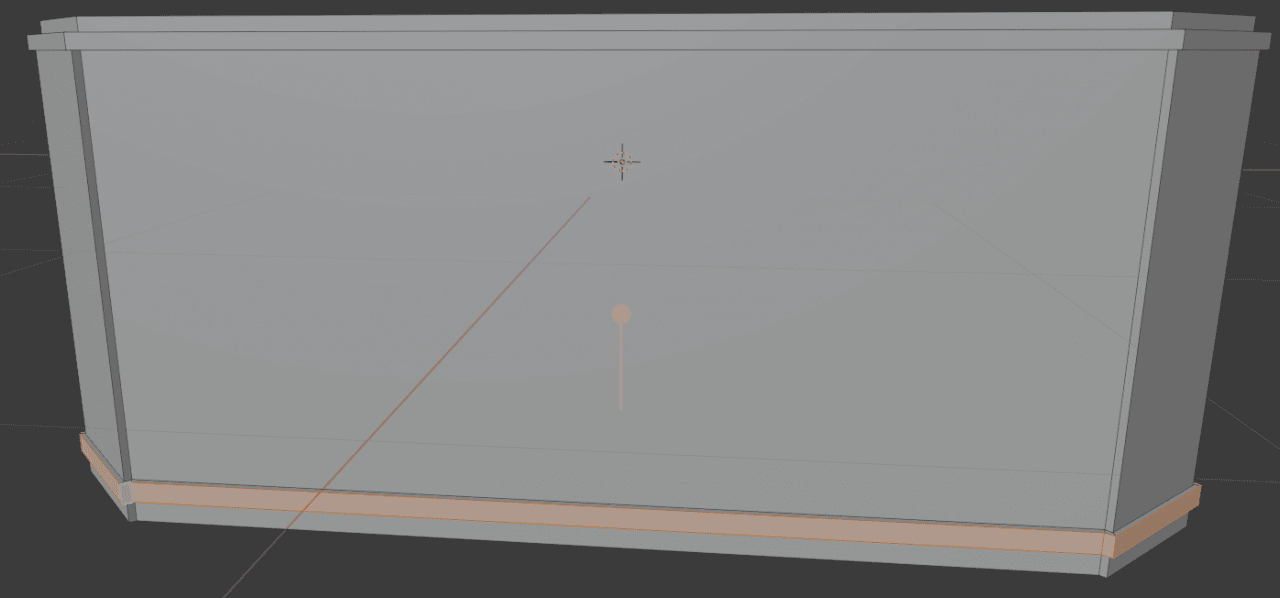
Changed to Face select [3] and selected new-made faces. Same as we did before – used Extrude Along Normals to create a rim.
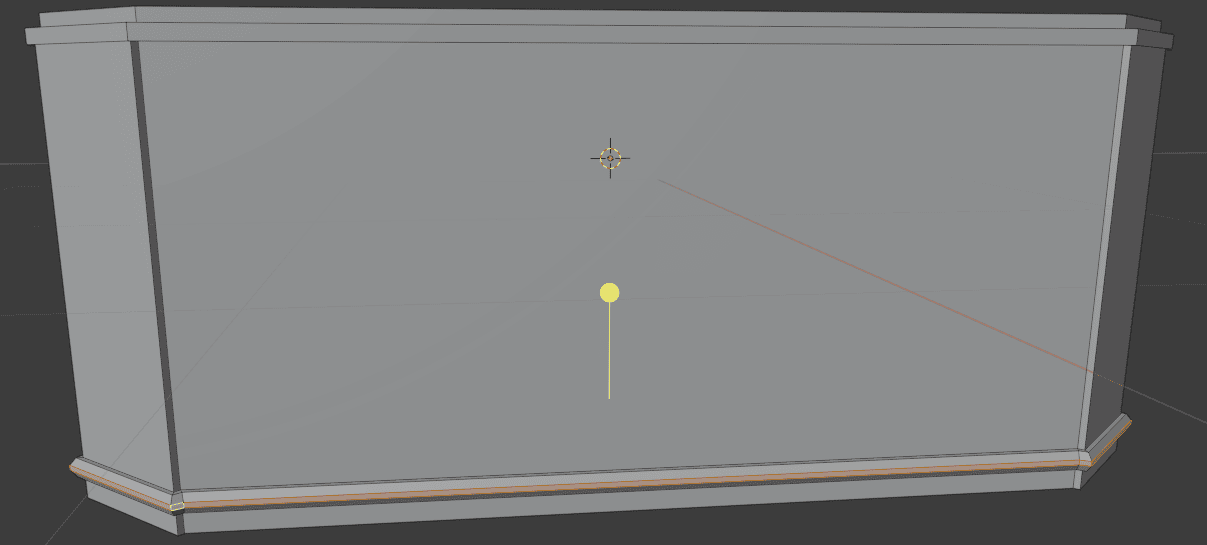
Then extruded it again and Scaled [S] new faces along Z axis to create roundness.
And that is mostly it. We created a simple detailed box. Used most common modeling tools and techniques to achieve this.
Though this does not mean that you need to stop here. You can add more details using these techniques. For example create a Loop Cut [Ctrl+R] in the middle of an object, scale it outwards a bit to achieve a more interesting and round form.
Then you can even Bevel this loop-cut to add more detail. And if you are feeling particularly wild – extrude new faces inwards a little bit.

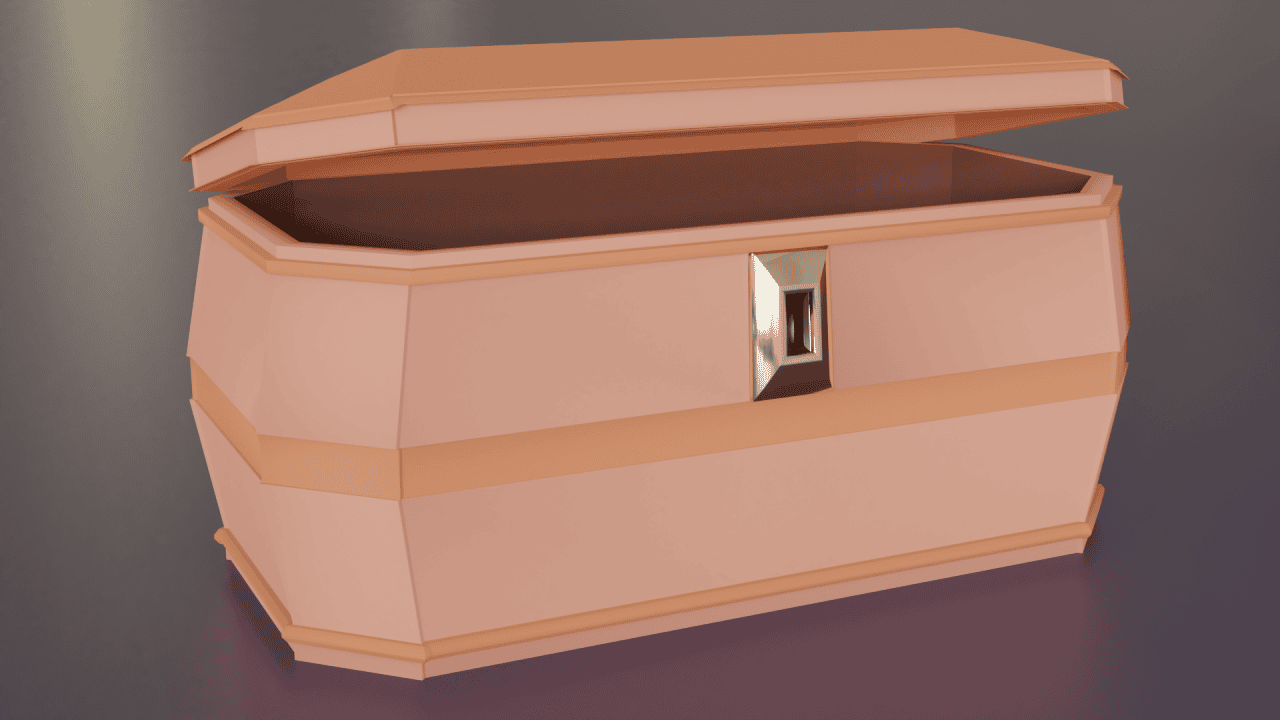
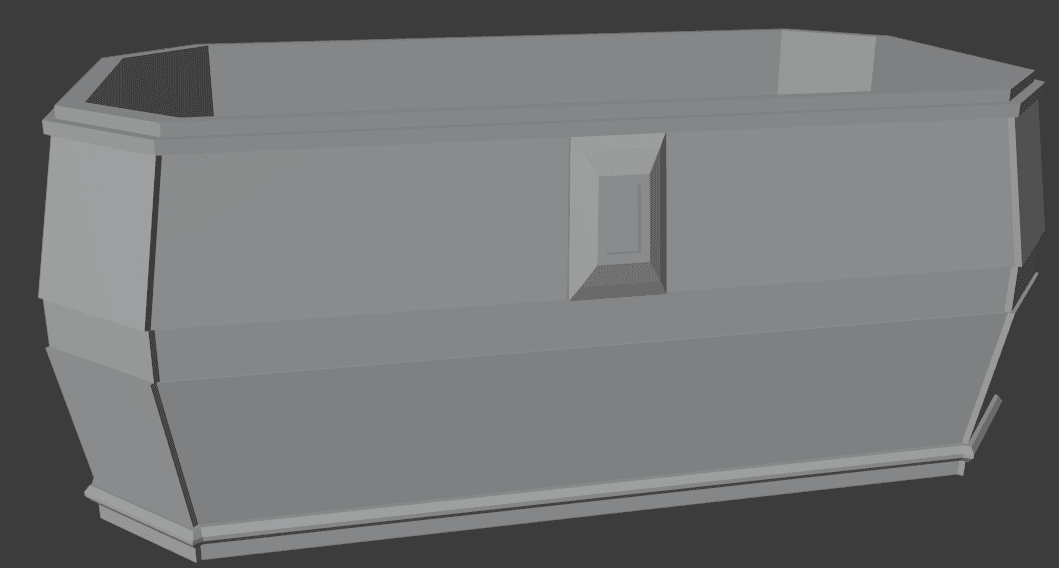
Also you can add something that looks like a lock by adding two Loop Cuts and Extruding [E] the resulting face a few times and Scaling [S] it.
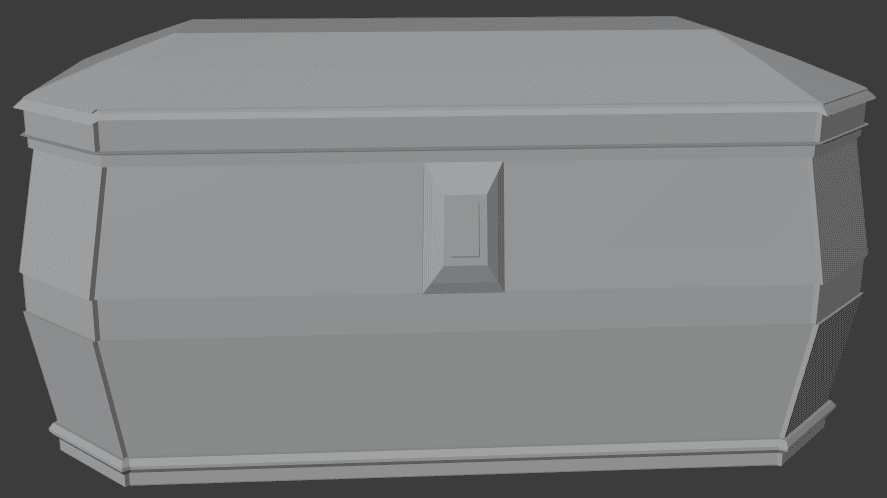
And of course don’t forget to model a lid. This would be totally on you and there will be no step by step. Just do something that you like and that you can do with your current knowledge.
Conclusion – Blender Modeling Tutorial
This is the end of our Blender Modeling tutorial. Hope that we managed to explain to you main modeling tools. And not only their theory but also how to use them properly in real modeling.
In the end, I would recommend you not to stop here and to finish this model. Maybe add a Bevel modifier or even a Subdivision Surface. Add materials, lights and render your model out. Check our Blender Basics where we teach how to apply materials and render out your scenes so you could achieve similar results.