This is a Part 4 of the Blender 2.8 Basics tutorial series. You can check out the previous part where we look into non-destructive modeling, modifiers and materials. Or the first part if you missed it, which explains interface, moving in 3D space and shortcut keys.
This is a final part of the series, so we are going to finish our scene and learn:
- Lighting. Types of lights, difference between them and how to use them.
- Cameras. How to move cameras and set them up.
- Rendering. Two main rendering engines and their render settings.
Blender Basics: Lighting
First of all we need to light the scene up. You should be still in the Material Preview shading from the last time. If you press the arrow in the shading menu – a new window will appear. In this window it is possible to set that it would show your scene lights and world instead of the preview lighting setup.
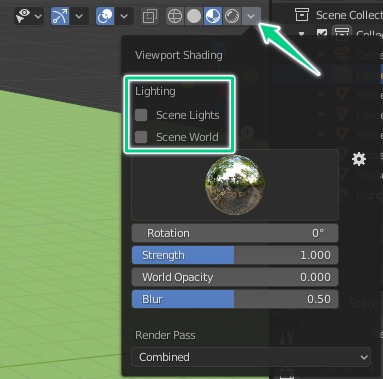
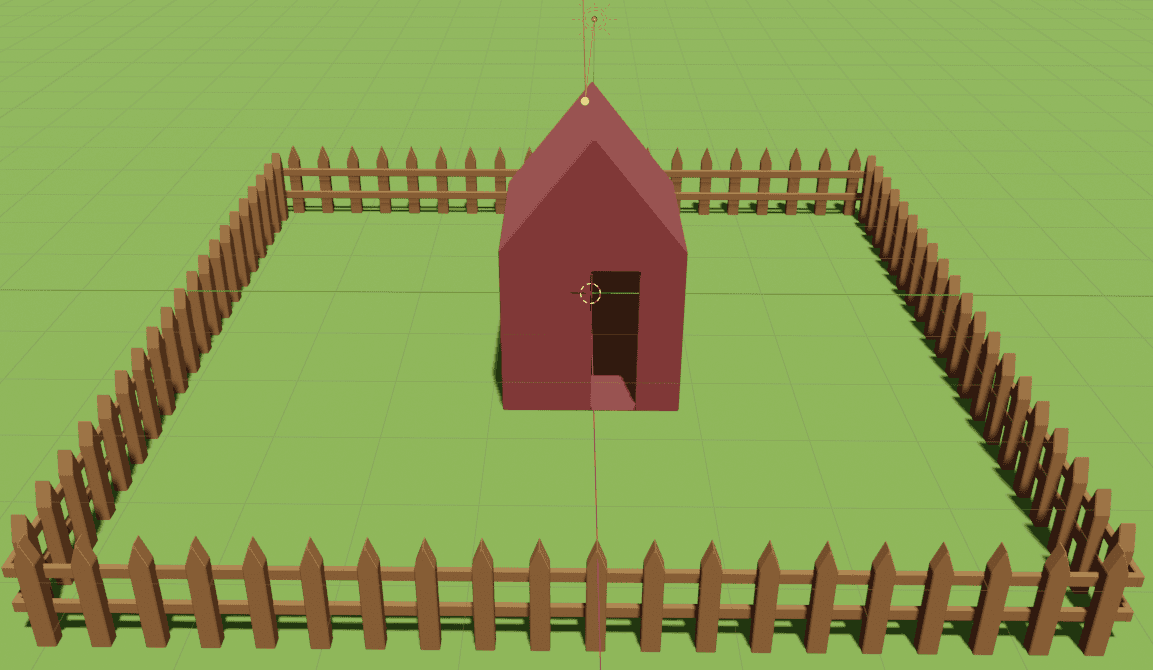
When you tick those options are, your scene should look something like this:
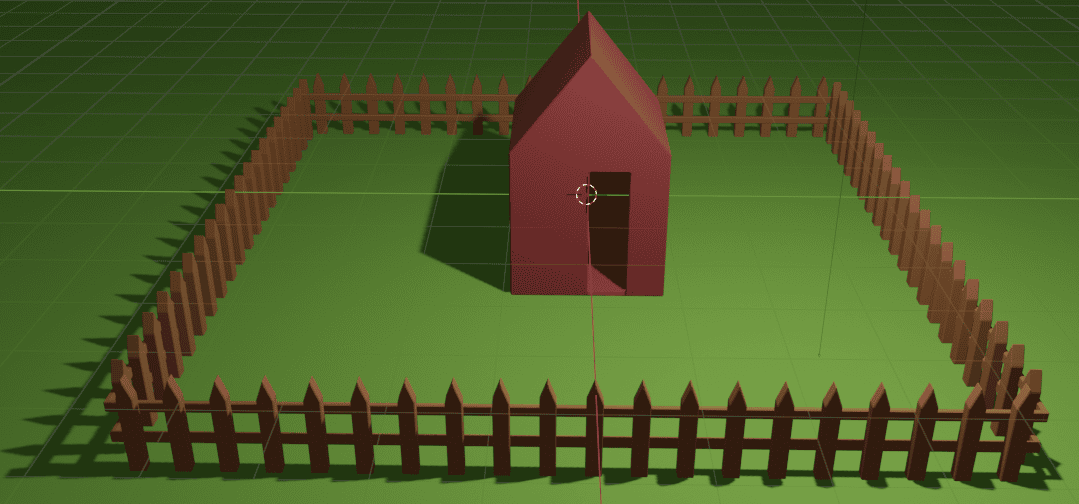
There is clearly some lighting already there. It comes from the default lighting object that was created when you opened Blender. You can select this light and interact with it. Namely – move this light and see how your scene changes in real time.
Lighting setting can be found in the Properties editor, “Object Data Properties” tab when light is selected.
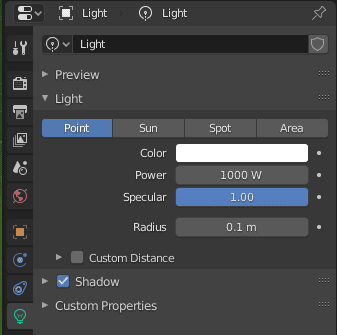
Here we can change the type of the light, its color, power, size and even if it should create shadows. Feel free to change stuff up and see how it changes your scene.
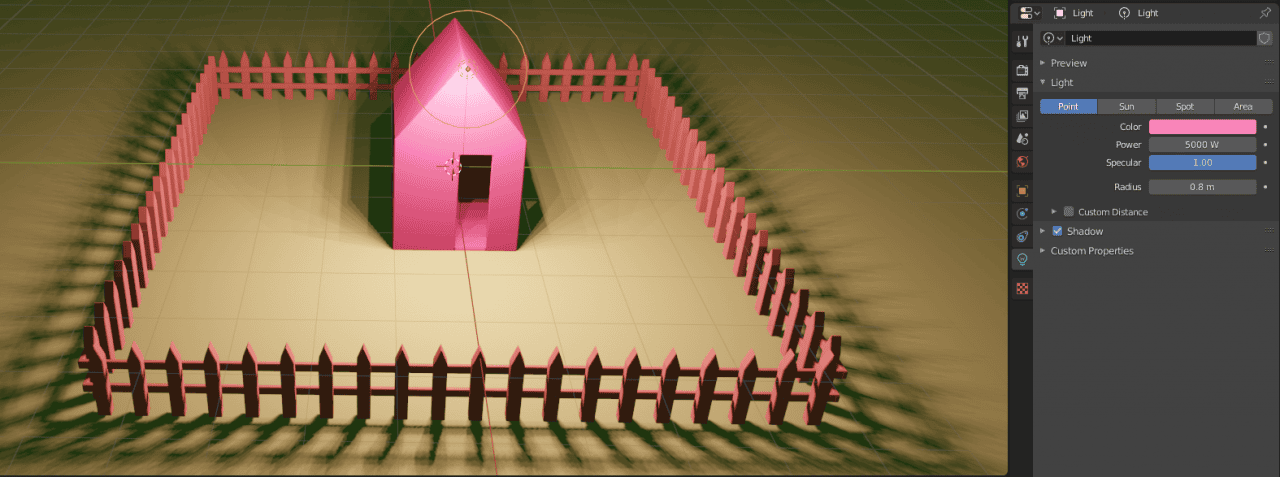
There are four types of lights available in the Blender. You can find them in the “Add”(CTRL+A) menu from the top left. I am going to delete default light and quickly show every type on our scene.
First is the Point light. That is what we had by default, so I am skipping this. Second is the Sun. It is a light that simulates the sun. Meaning that it evenly lights everything on the scene from one direction.
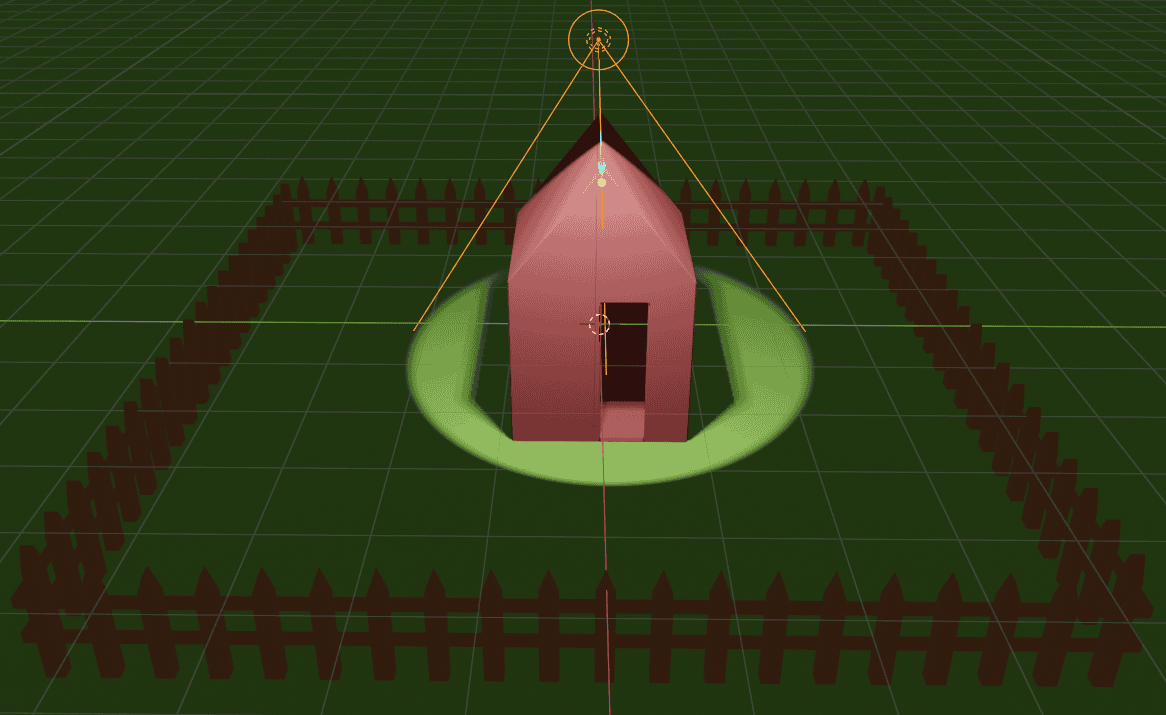
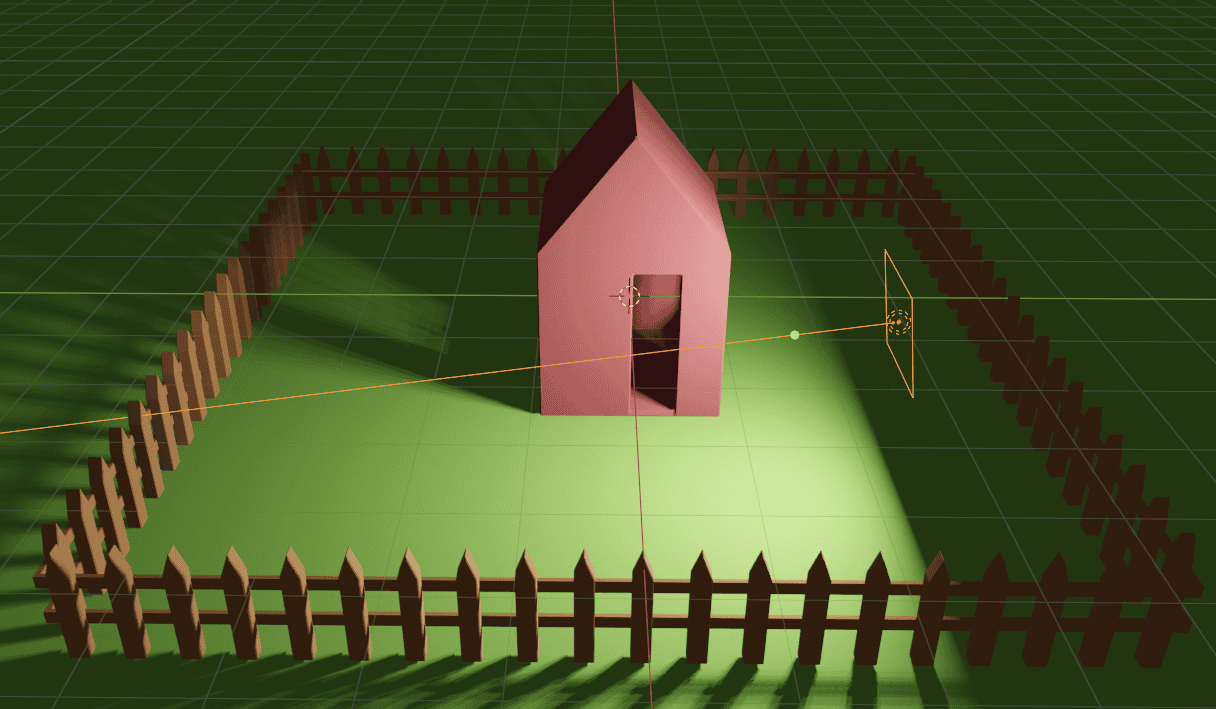
Next we have a Spot Light. It is a light that lights a specific spot. In real life these lights often are seen used in theatres. You can control how wide is the radius of the lighted area is.
Last are Area Lights. This is similar to lights that are used in real-life studios. Basically digital softboxes.
As the scene is supposed to be a house on a grass, then the lighting is supposed to be an outdoor setup. And what could be better to simulate outdoor lighting rather than the Sun? It fits our purpose perfectly.
Delete every other light on a scene and add a Sun. It does not matter where it is situated as it will light everything evenly anyway. You can rotate the Sun as any other object out there. This will change the angle at which it lights the scene. Alternatively you can click and drag the yellow circle that comes from it to do the same thing.
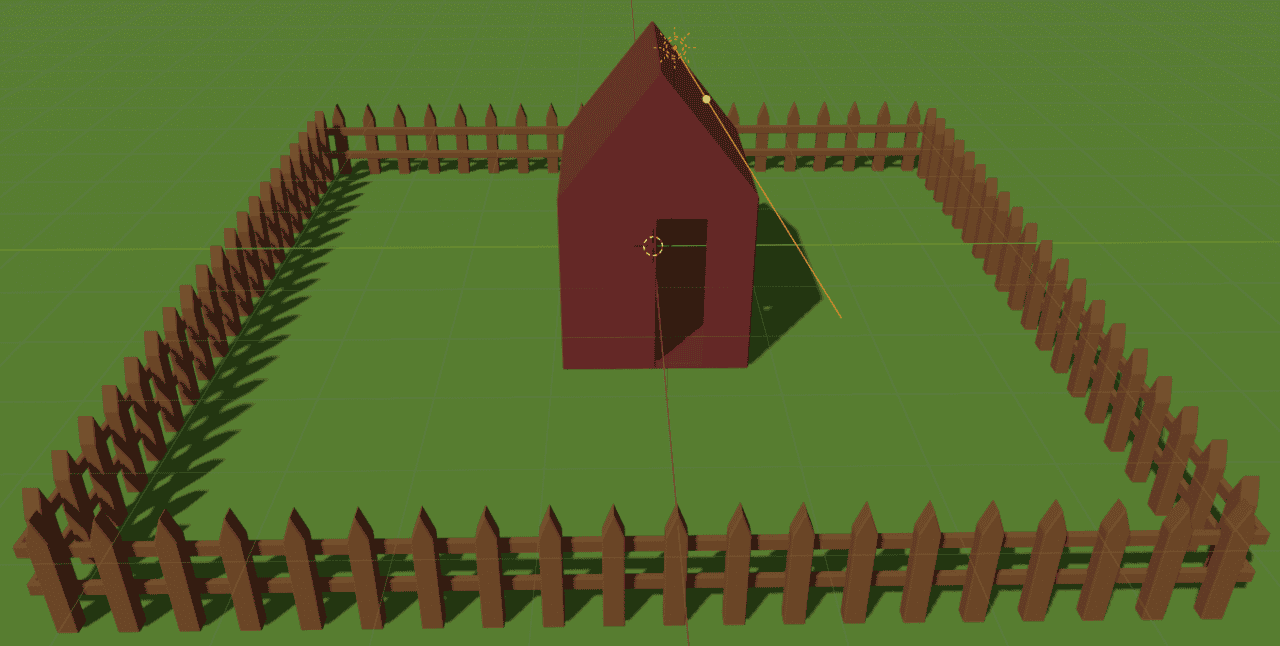
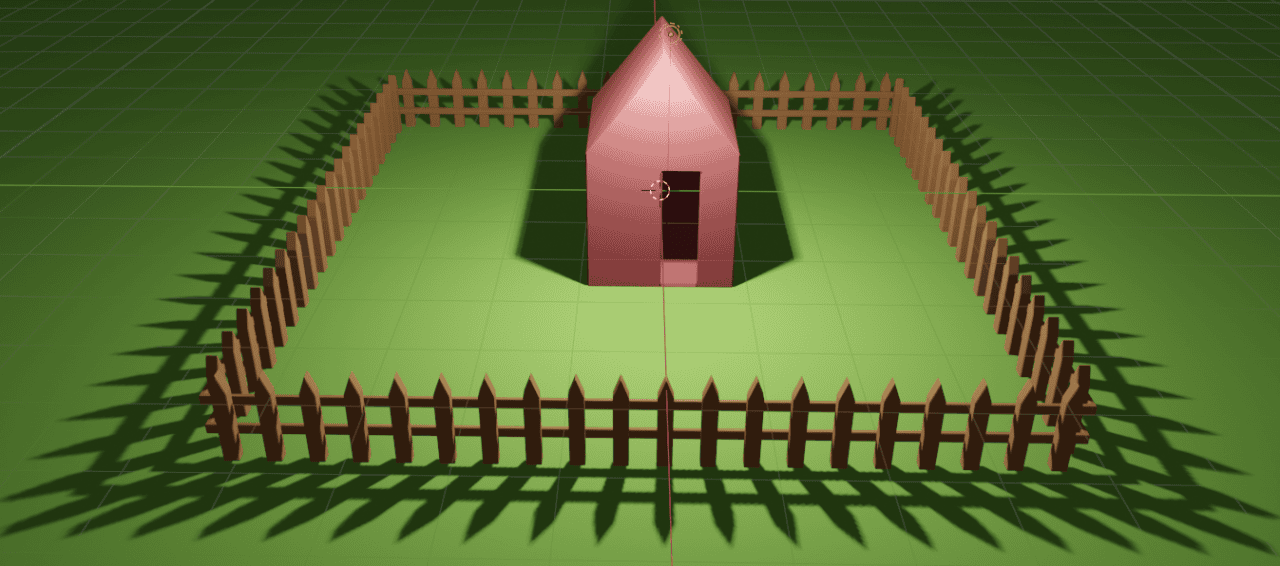
Sunlight is not white, so it would be a good idea to make it a little bit yellowish. Default “Strength” value of 1 is a bit too low and the scene looks dull. I recommend bumping it up to at least 4. Result looks like this:
Blender Basics: Cameras
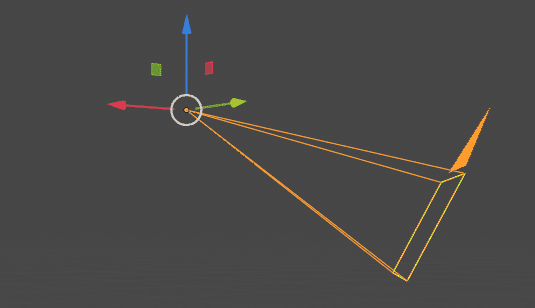
Same as with the lighting – we already have a camera on our scene. It was there from the very beginning. You can change to the camera view by pressing the button in the view controls or pressing the numpad 0. You will be changed to a camera view and will see the border that shows its view.

There are a bunch of ways to control and place a camera. One is to move and rotate it like any other object in the viewport using tools or shortcuts.
Second would be doing practically the same thing, but from the camera view itself. You need to select it, change to its view and move/rotate. As far as I know, this can only be done with the shortcuts.
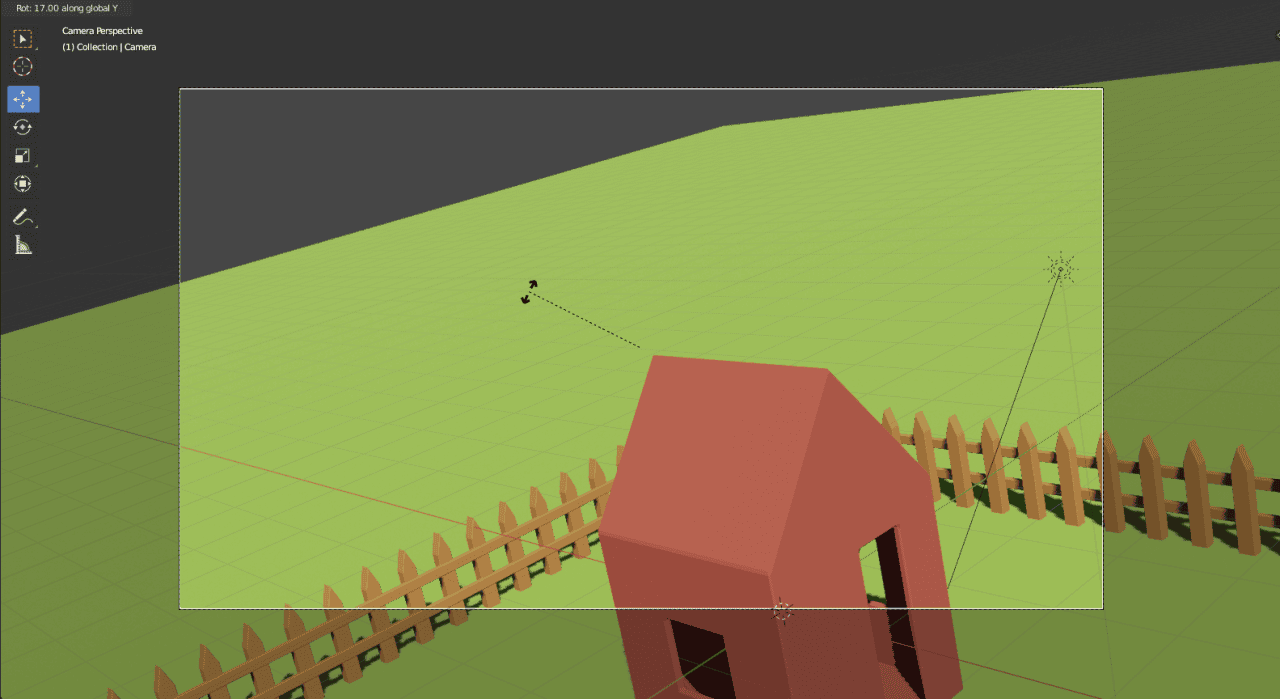
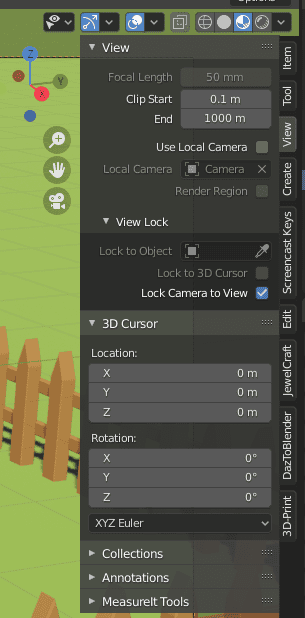
Last and probably easiest for the novice is to move the camera as you move your view. To do this you need to open an additional menu in the viewport. This can be done by simply pressing N or by clicking on the arrow under shading controls.
There, open the “View” tab, find “Lock Camera to View” and enable it.
When you are in the Camera View you will see that the border has a red outline around it. This means that everything is done correctly. Now you can use the same controls as when you are moving around to move your camera. Meaning that stuff like scrolling the mouse wheel will zoom your view and so on.
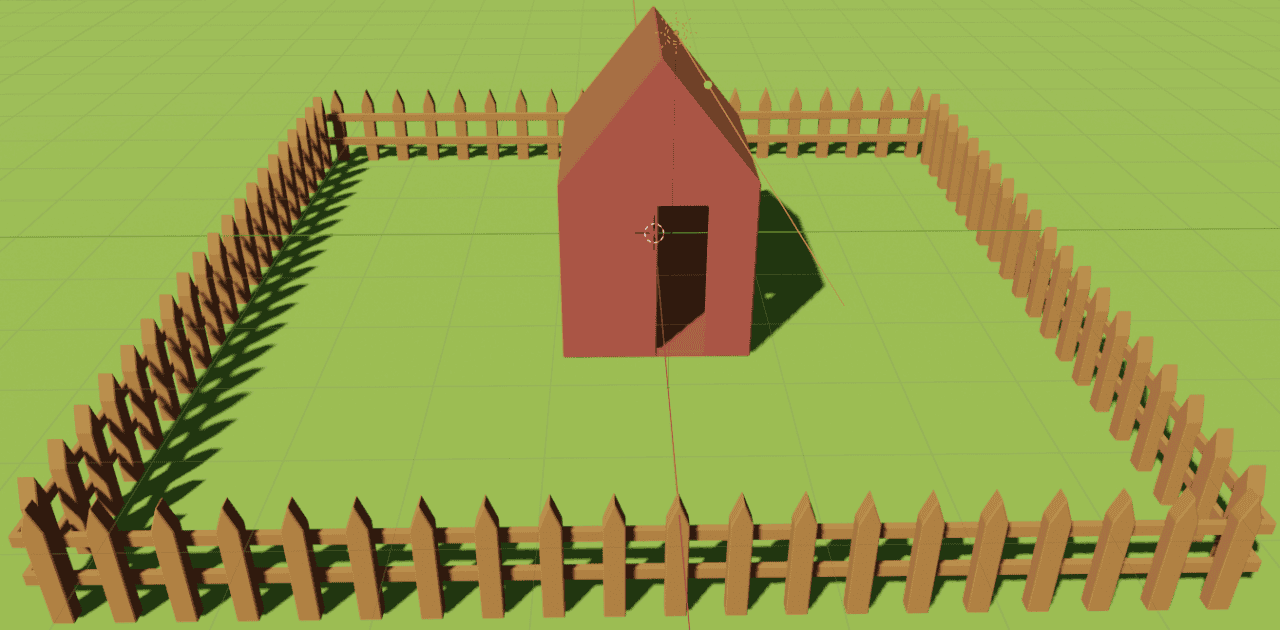
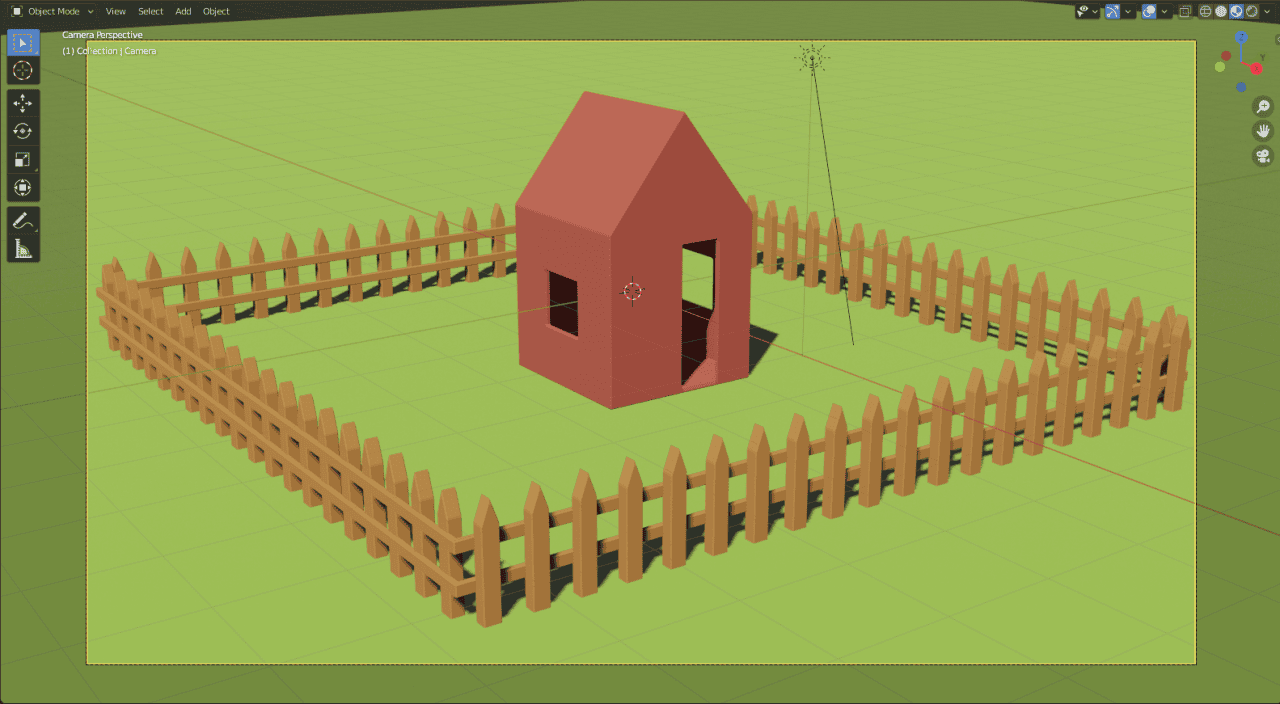
This is the easiest way to move your camera around and place it. Though if you master the moving and rotating you will not need it. I decided to place my camera so it would capture all of the fencing and house under a bit of an angle:
In the still same “Object Data Properties” we can find settings for the cameras. But there is no point in changing anything there now, as default is perfect for our simple scene. You can read our Blender Basic Cameras article to learn about these settings and more(Coming soon).
Blender Basics: Rendering
Our scene is basically ready. We modeled a house and a fence, added materials, lights, placed our camera. Seems like we can proceed to a final part – rendering out the image out of all of this.
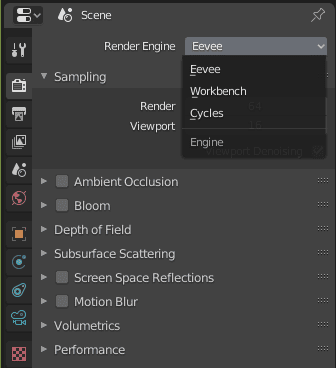
There are two rendering engines available in the Blender. They are Eevee and Cycles. We will look at both of them and render using them. They can be changed in the “Render Properties” of the Properties editor.
To render an image you can press F12 or go to Render > Render Image.
Blender Eevee Rendering Engine
By default Eevee should be set as the rendering engine. Eevee is a real-time rendering engine. This means that its main goal is to render as fast as it can. Which can be viewed as instantly. This is really similar to how modern computer games work.
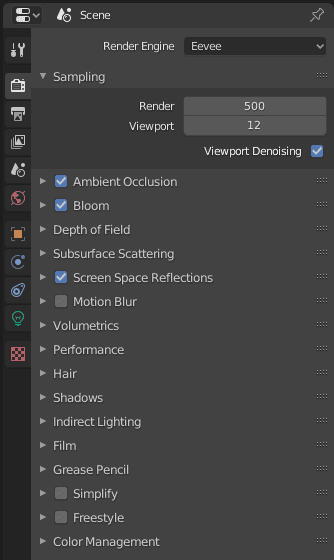
In the Render Properties tab you can control the amount of samples that is used for the render. Usually higher the number – better looking is the picture, though longer time it would take to produce. But in case of Eevee there is no much point in setting this high as there would be almost no difference.
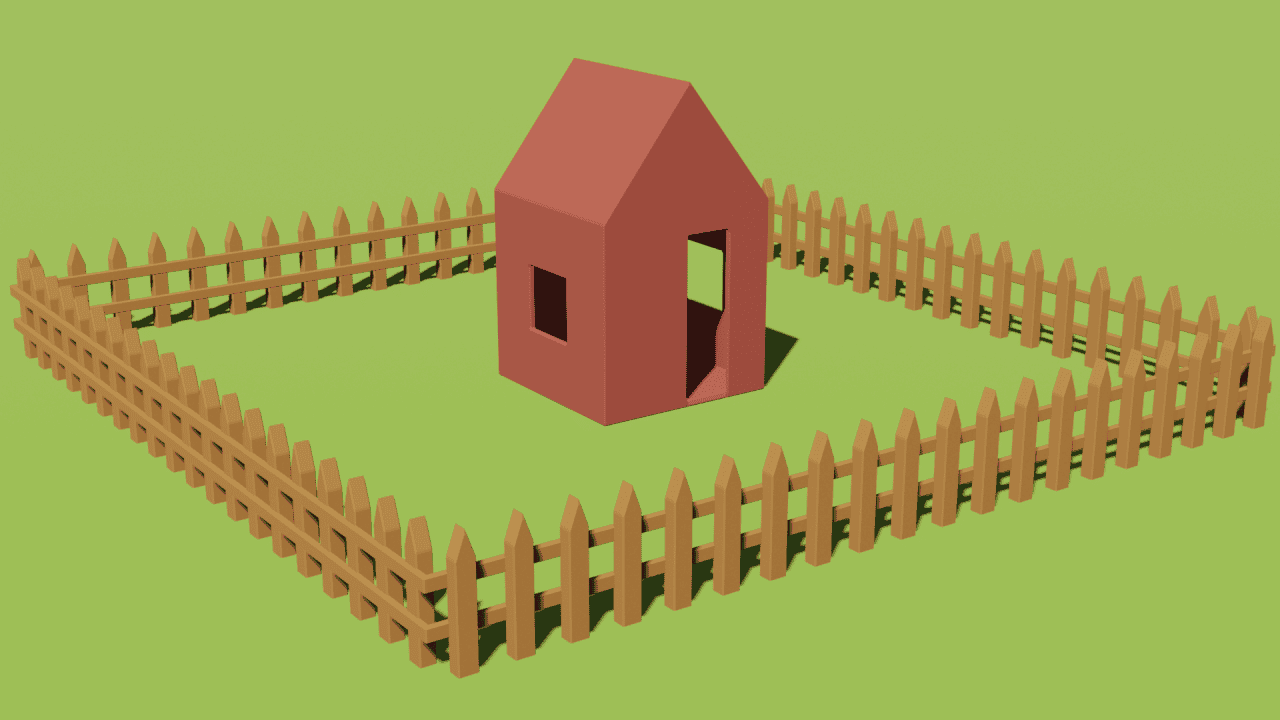
Examples can be seen below with the first render made with 5 samples and second with 500 samples. The only difference is that shadows are smoother. But they were already like that at around 100 samples.

Eevee render – 5 samples
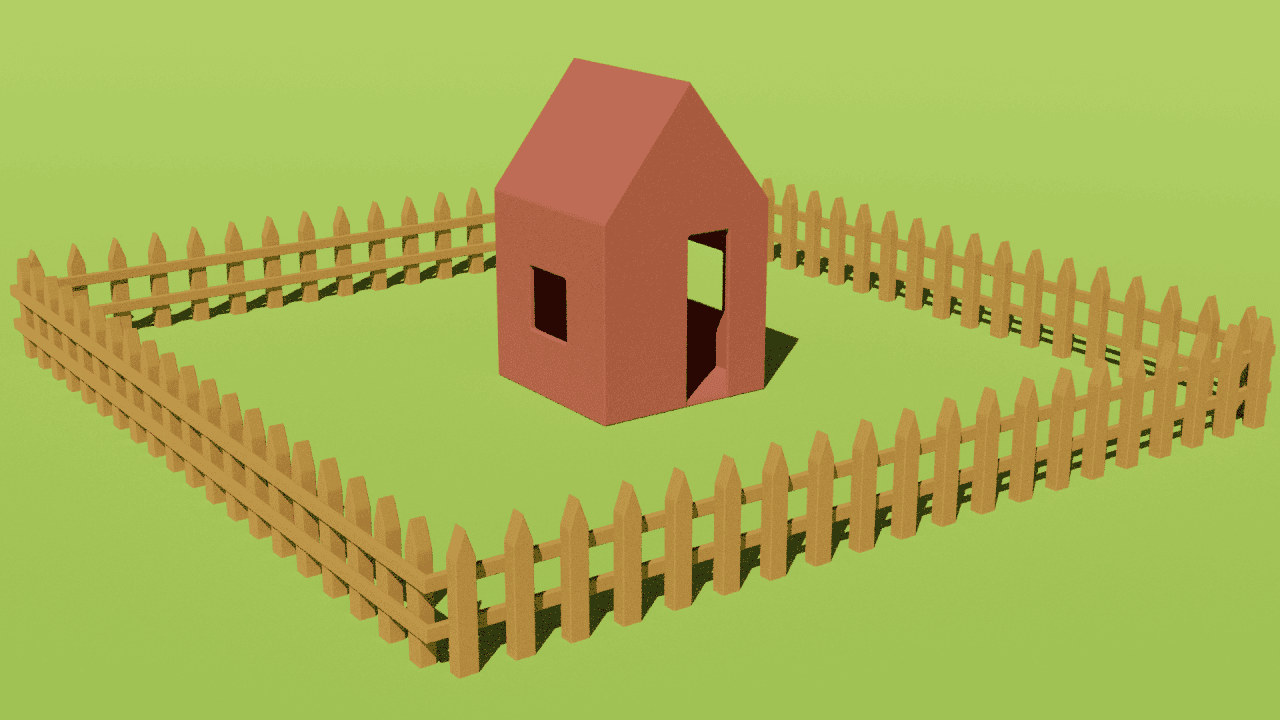
Eevee render – 500 samples
Also while you are in this menu – i recommend to take a look at “Ambient occlusion”, “Bloom”, and “Screen Space Reflections”. You should always check these settings out as almost any Eevee scene can benefit out of them. Though, my final scene has no difference.
Cycles
Cycles is a physically based production renderer developed by the Blender project. Its goal is to produce as realistic an image as it can. That is thy it can render for much longer than Eevee.
For Cycles you can change your rendering device from CPU to GPU, which generally should be faster. And in the same way you can change the number of Samples for the render. And here is where this number really does have a difference and you should find the balance between how many samples you want and how much time for rendering you have.
Cycles render – 5 samples
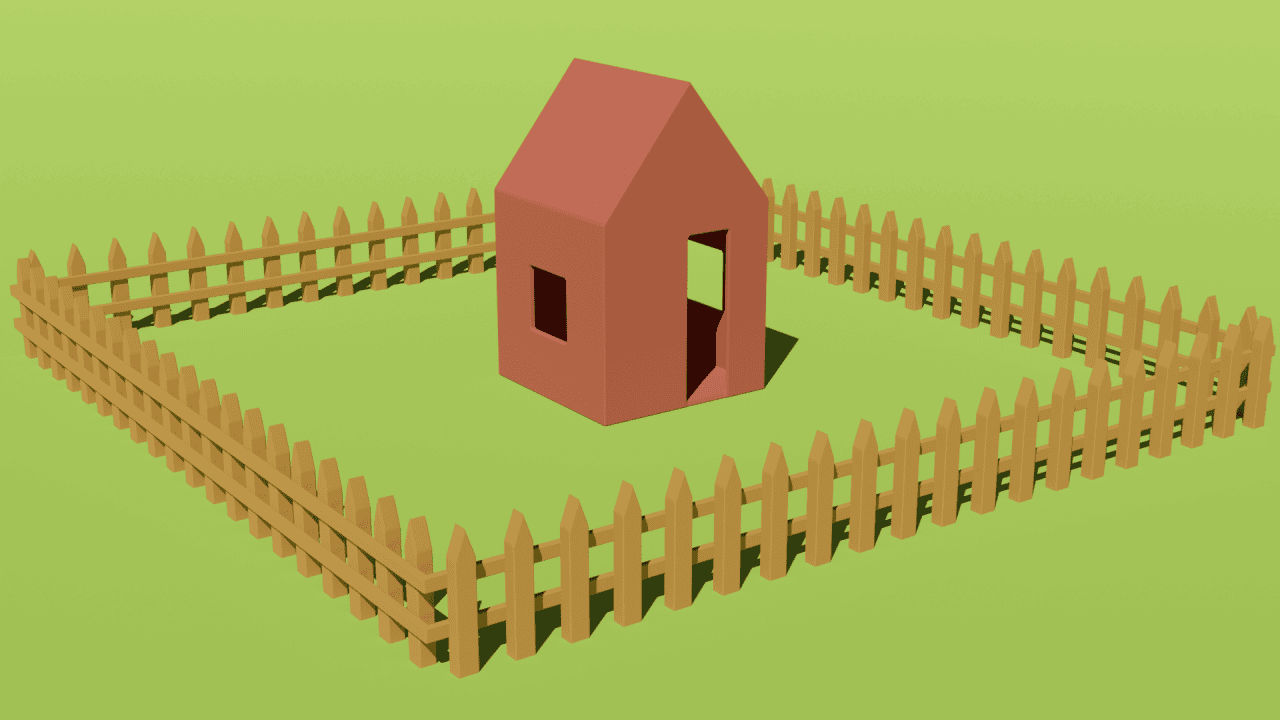
Cycles render – 500 samples
First render with 5 samples is really noisy to the point where colors are washed out, while the second one is perfectly smooth.
There are not many differences between Eevee and Cycles renders in my examples because of how simple the scene is. But for big, difficult scenes you will clearly see the advantages of Cycles.
Conclusion Blender Basics Tutorial: Creating a 3D House
This is the end of Part 4, where you learned about Blender basics of Lighting, Cameras and rendering. I encourage you to experiment a bit and try to add to a scene yourself. Add some more objects and materials, place them differently, test out different lights.
This was a final part of Creating a 3D House Blender Basics series. We introduced everything that you needed to know to create your own first scenes. But this is only the beginning of your Blender journey.
Check out our other Blender articles here.