This is the second part of the four part Blender 2.8 tutorial series. You can read the first part about interface, moving around, shortcut keys and search function if you have missed it.
In this part we will continue learning main blender basics, specifically – blender modeling. Meaning that we will learn:
- Basic transforms. Three main transforms of any 3D editing software – move, rotate and scale. Where to find them and how to use them.
- Adding and deleting objects. How to add objects in Blender, what objects there are and deleting these objects.
- Editing objects. Using edit mode in Blender. Transforming vertices, edges and faces.
Blender Basics: Basic transforms
When you open a new Blender project, you always will be greeted with the same pre-built scene:
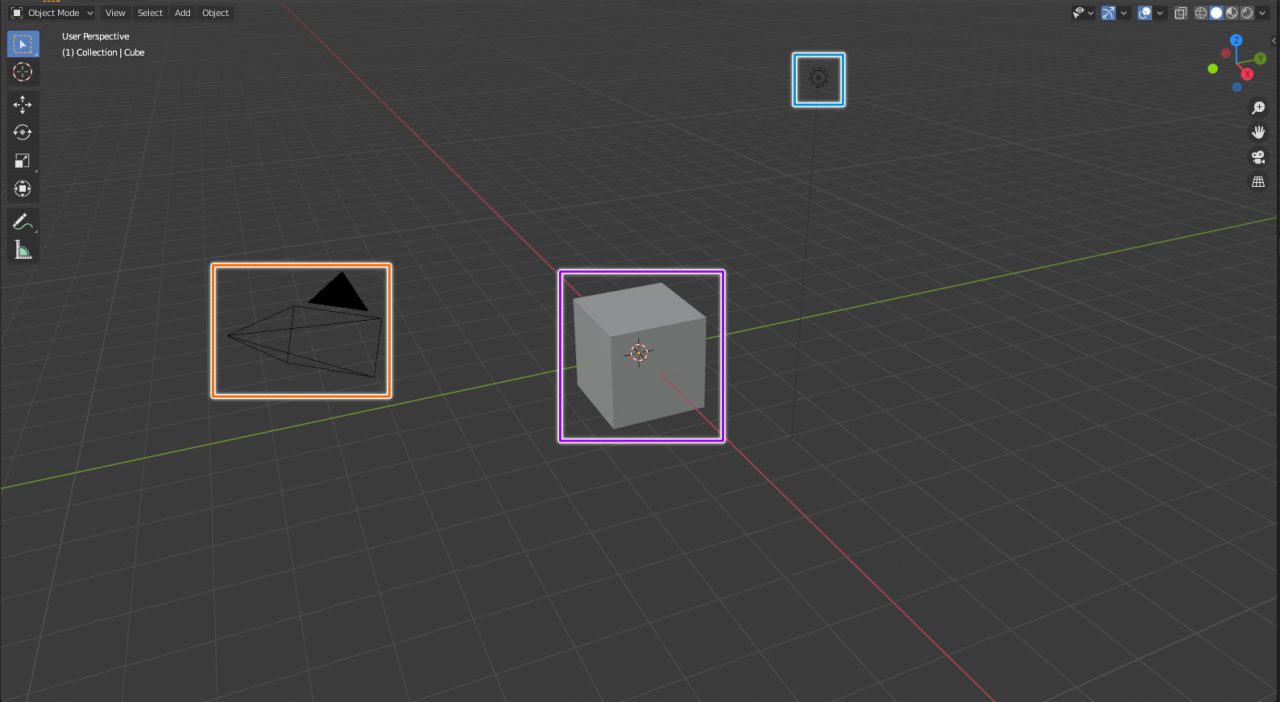
This scene consists of a camera(orange), point light(blue) and a defaut cube(purple). So we already have an object in the scene that we can interact with. Let’s do exactly that then.
First of all – select the cube. Click on it with your left mouse butter(or right if you choose that in quick setup). The cube should have an orange outline in the viewport and blue highlight over it in the Outliner if it is selected.
On the left of the viewport you should see a tools list. You can hide and open it at any time with the T button(T for (T)ools).
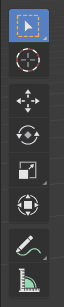
First tool here is a Box Select that allows you to make boxes with your mouse and everything inside the box will be selected. Second is for moving 3D cursors that we are not yet familiar with. Most interest we have here is in the tools from 3 to 6, because these are basic transform tools that we will learn now in detail.
Blender Move Tool
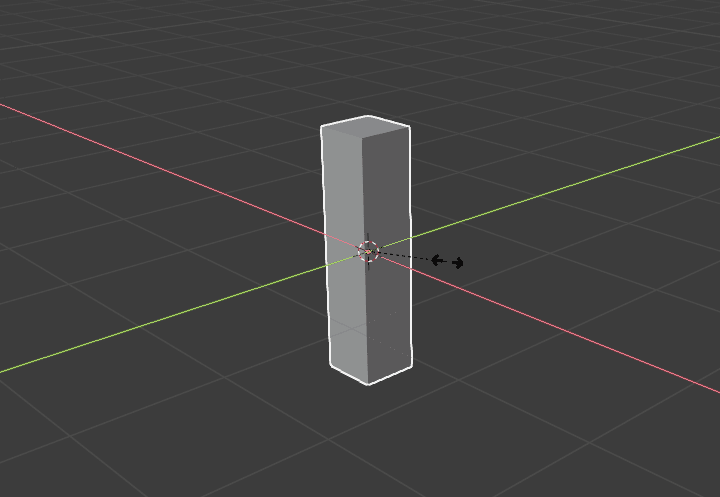
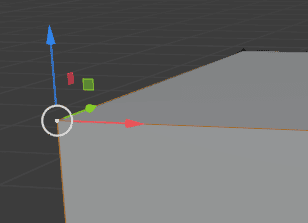
First transform tool is a “Move”. It does exactly what it sounds like – moves selected objects. When you click on the tool with the objects selected – a new interface element will appear at objects origin point.
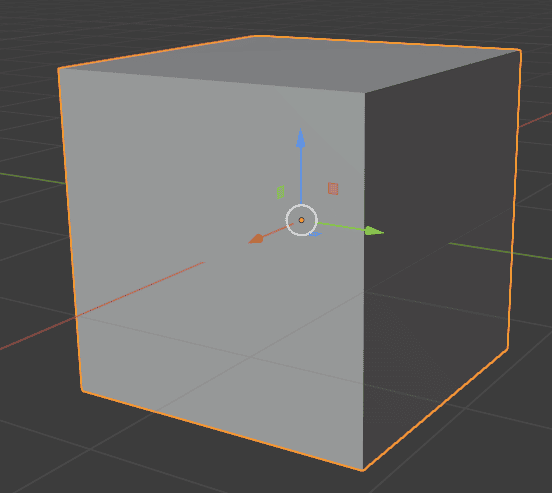
You can click and drag any of the colored arrows. They represent the axes and will restrict movement to that corresponding axis. So dragging a red arrow will allow you to move your cube along the X axis.
Little colored squares between the arrows allow you to move objects on the two axes at once, excluding the one, which the color of a square does match. For example: a green square will move a cube along X(red) and Z(blue) at once, excluding Y(green).
Last type of movement is a free move. Meaning that you can freely move the object from your view not restricted to any of the axes. To do this – simply drag the middle of the move gizmo (inside of the white circle)
After the main explanation of each of the tools I will mention how to control them using shortcuts. The main shortcut for move tool is a G (G for (G)rab). This will enable free movement of the object. Notice that when you are using shortcuts, you can always see tips at the bottom of the interface about these shortcuts.

So while you are in free movement after pressing G, you can restrict movement of the object to any of the axes. For this, simply press the corresponding axis button on the keyboard. They are X, Y and Z buttons. And to move along two axes at once, hold shift and press one of the axis buttons to exclude it.
Also remember, that the left mouse button will accept changes and the right mouse button will revert them, when you are using shortcuts.
Blender Rotation Tool
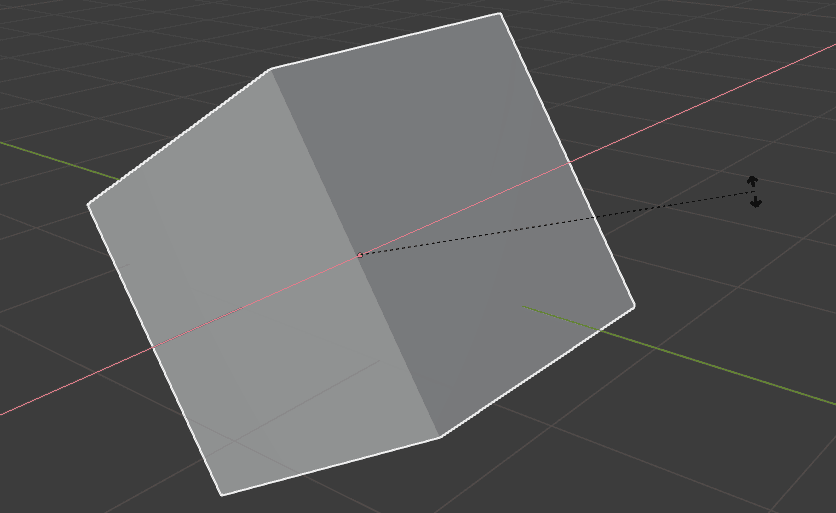
If you understood the Move tool, there would be no problem for you to learn the other two, as using them is really similar to one another. Second basic transform is rotation.
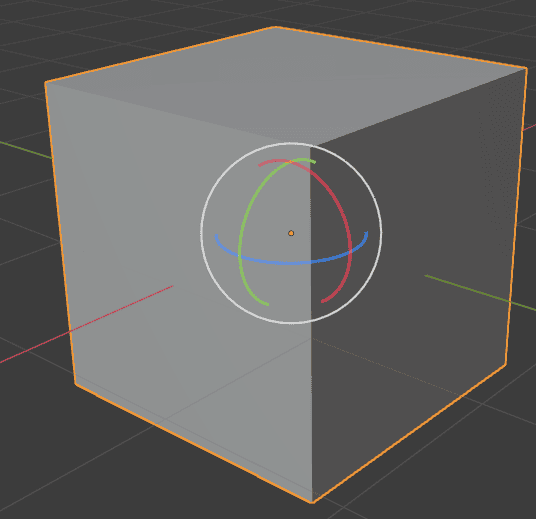
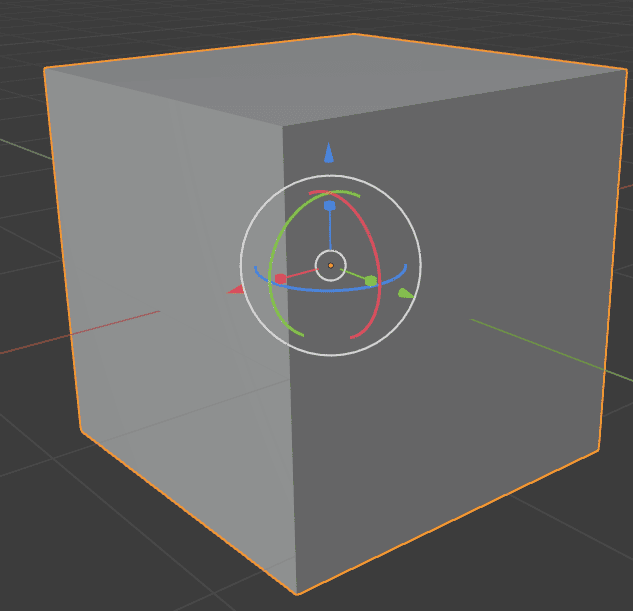
Rotation interface is quite easy to understand. Colored lines represent axes. Meaning that dragging a blue line will rotate the object along the Z axis. White circle will rotate an object relative to your current view. And lastly – pressing in the middle of the gizmo will enable free rotation, that is not restricted to any of the axes.
Shortcuts: R is to rotate relative to your current view (R for (R)otate). Pressing R twice will enable free rotation. Pressing X, Y and Z will restrict rotation to that axis. There is no need to exclude rotation on any of the axes, as rotating on, for example, the Y axis is the same as rotating along X and Z simultaneously.
Blender Scaling Tool
Third and last basic transform is Scaling. It allows you to change the size of any object in any way that you want.

Everything here is really similar to the Move tool interface. Dragging any of the colored cubes will scale an object in that direction. Colored squares will scale an object along two axes at once, excluding the one with the matched color. And both white circles will scale an object from its center in all directions simultaneously.
Shortcuts: S to scale from the center of the object (S for (S)cale). Restrict to one of the axes with X, Y and Z. Exclude them with Shift+X, Shift+Y, Shift+Z.
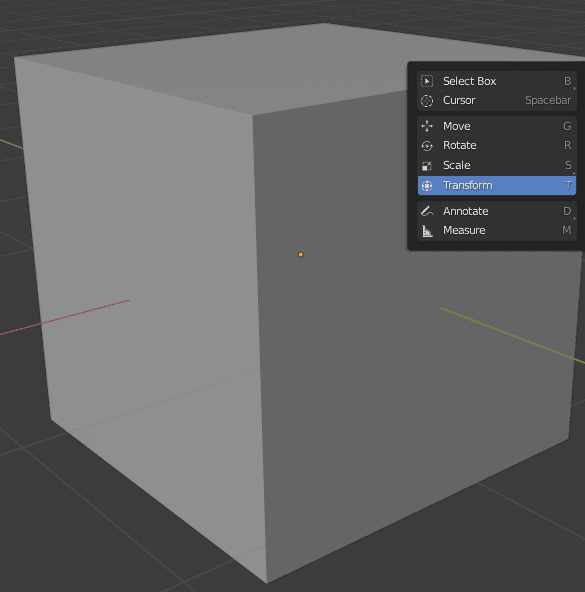
The last of the four tool buttons on the right is the “Transforms” tool. It combines all of the three previously mentioned tools in one interface.
So you can move, rotate and scale your object all with the use of one single tool. It can be really useful if you are not using shortcuts and practically useless if you are.
By the way, you can also open the tools menu at your mouse at any time by pressing Shift+Spacebar.
Blender Basics: Adding and deleting objects
Obviously you can delete and add objects to your scene. Let’s begin with deleting, as we already have a cube. For that, select the object, then right click on it and at the very bottom find “Delete”:
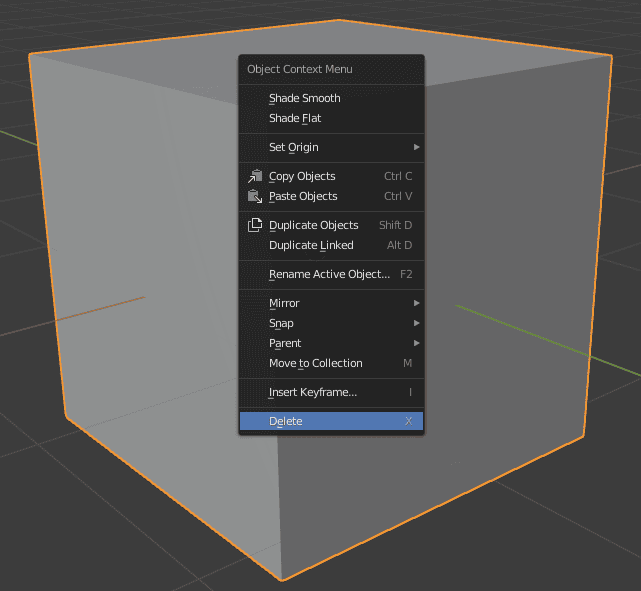
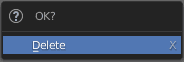
As you can see right there, the shortcut for deleting objects is X. Blender will make sure before deleting objects. In case you pressed X unintentionally:
Now that we have nothing in our scene, let’s add an object. For this you can use an “Add” menu from the top of the screen or Shift+A (A for (A)dd) combination.
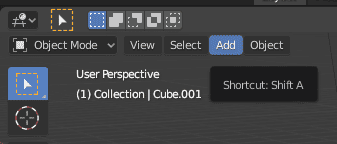
You may be overwhelmed with the amount of stuff found there, but worry not. As for now we only need the “Mesh” tab out of them all. Also don’t worry if I have some stuff on screenshots that you don’t. They may be from some additional add-ons. I will not use them in these tutorials.

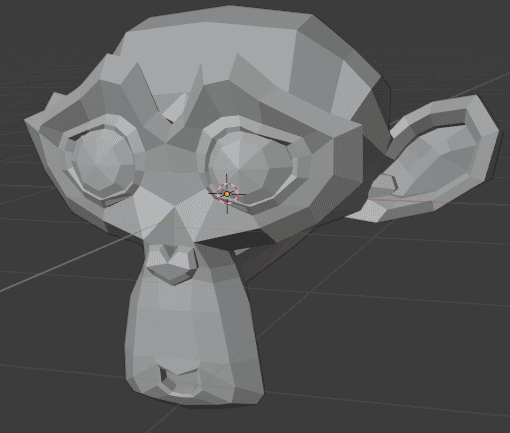
In this menu you can choose whatever you like. Experiment a bit with adding, transforming and deleting objects. I myself especially recommend adding the “Monkey” mesh. Her name is Suzanne and she is a mascot of the Blender. Besides, she has quite an interesting mesh that may be entertaining to transform.
When you will be finished with adding, deleting and experimenting – clear everything you created and add a cube again. As the plan is to create a house. And cube is the best starting point for that.
Blender Basics: Editing Objects
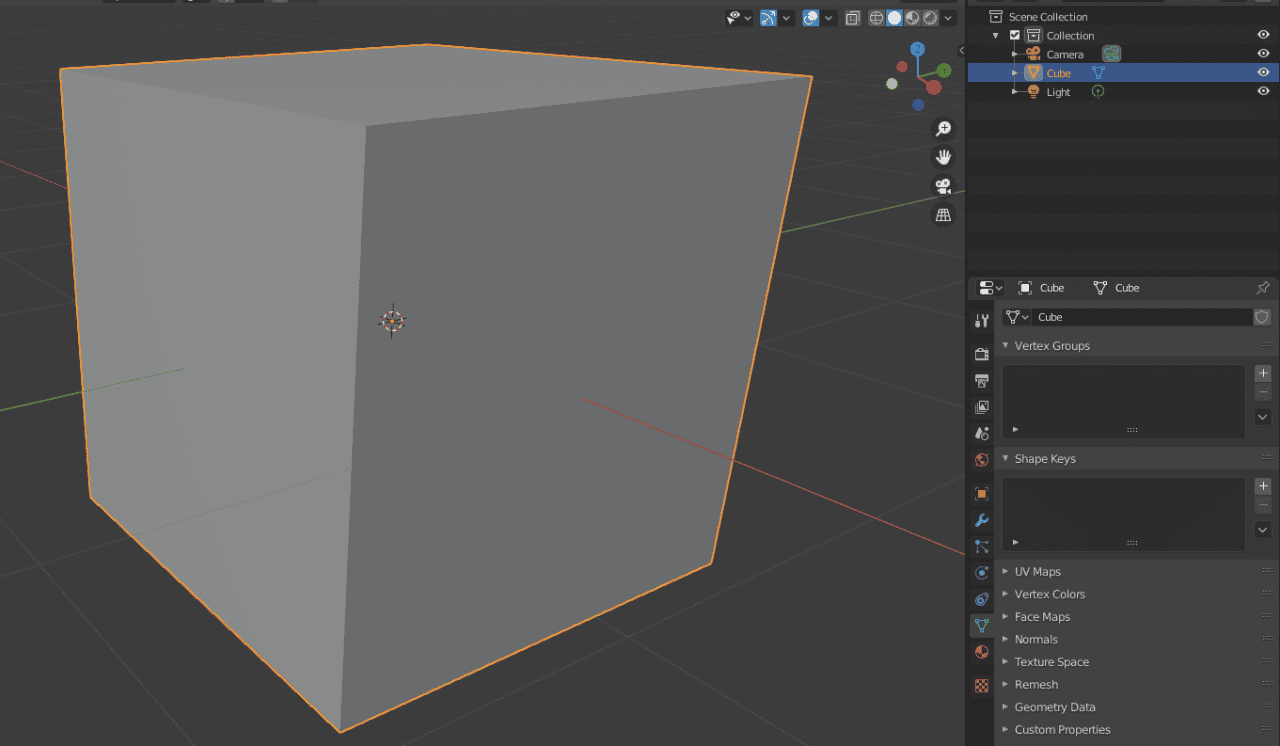
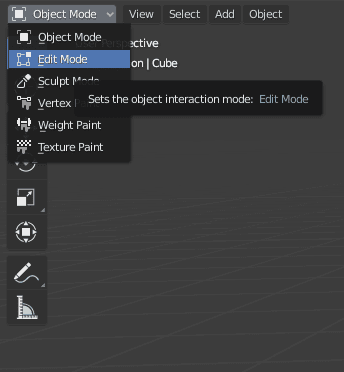
To edit an object you need to change a mode at the top left with the object selected. In the drop-down menu you need to choose the “Edit Mode”. Or simply press TAB key to change between Object Mode and Edit Mode at any time.
When you are in the Edit mode, you can see that everything has changed a bit. A lot more tools appeared on the left side. And Cube has some black dots on it. These are vertices. Absolutely every object in 3D space consists of vertices. Two connected vertices crean and edge, 3 or more create a face. This is basic stuff that you learn in the geometry classes in middle school.
In the edit mode you can see these vertices and interact with them. All of the basic transforms that we learned already can be applied to them. Meaning you can use Move, Rotate and Scale tools. Though you will not see any changes if you try to Scale or Rotate one vertex, as you can’t scale or rotate something that is just basically a dot in the space.
But if you select more than one, for example, two – it becomes an edge. And in this case you can transform it in any way. To select multiple vertices you need to hold shift while you select them.
In the case of our cube, selecting two vertices makes an edge and selecting 4 makes a face. You will see the selected part highlighted in orange:

Instead of selecting vertices individually all the time, you can change your selection type. At the top left of the viewport you can find buttons to change to Vertex Select, Edge Select and Face Select. Also you can change between them by pressing 1,2 and 3 on your keyboard (Not NumPad)
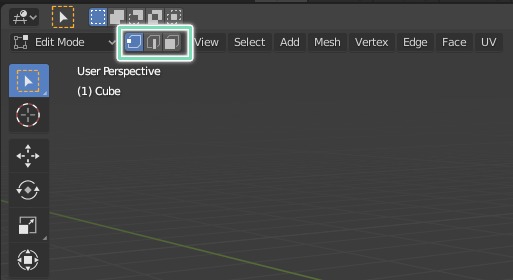
While you are in the corresponding mode, you will select a matching part of the geometry. So in face select you can only select faces.
You can now again spend some time experimenting with the vertices, edges and faces and how you can interact with them using three main transforms. Maybe try adding something more difficult than a cube that has a lot of geometry. Something like a Suzanne monkey again.
After you finish, we can proceed with creating a house from a cube. For this we will need to add more geometry to a cube. Because default 8 vertices is not enough. And we can’t change the middle of the cube at all.
There are a lot of ways to add more geometry, but right now we will look into only one method, that is arguably most common and most used. This method is called loop cut. You can find the button for this tool on the left side in the Edit Mode amongst all other tools or use shortcut CTRL+R.
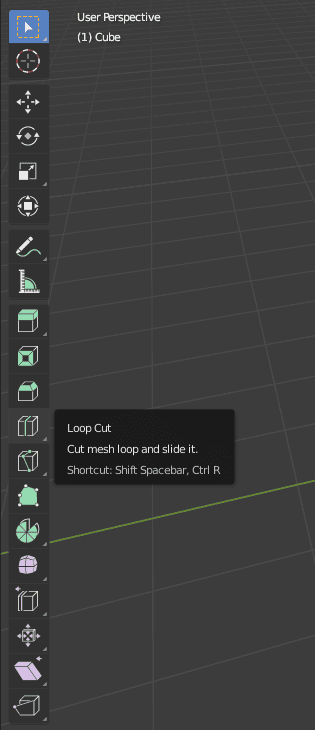
Select the tool and hover with the mouse over horizontal edges of your cube. You will see potentially added geometry right in the middle of the cube shown with the yellow color. After you are fine with the placement – press the left mouse button.
Now you should see new geometry going across the middle of the cube. This means you can change your tool back to “Box Select” to get rid of the Loop Cut tool interface and continue with the house.
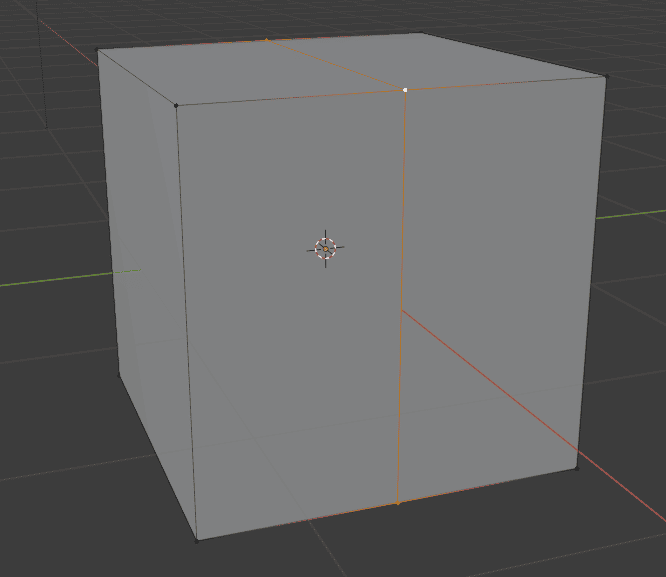
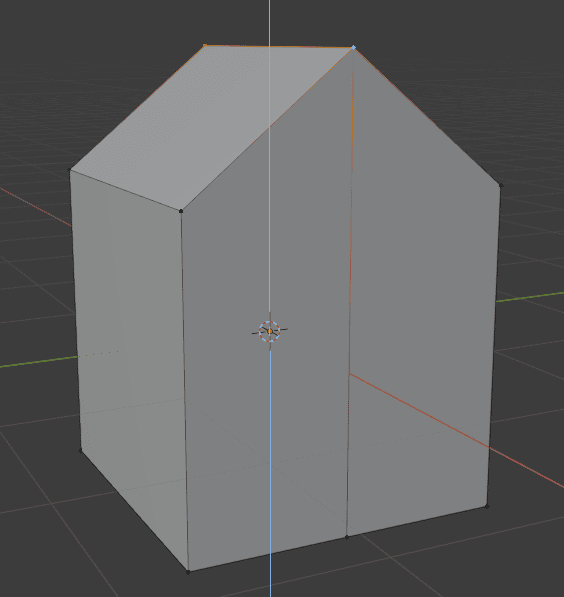
Continuing you need to select the new geometry on the top. For this you can either select two vertices or change to edge select and select top edge. Now move(G) them along the Z axis a bit, so it would resemble a roof.
You can also use numbers when using shortcuts to move something in even increments. For example if you press G to move and then press 1(does not matter on NumPad or not) – it will move in exactly 1 unit.
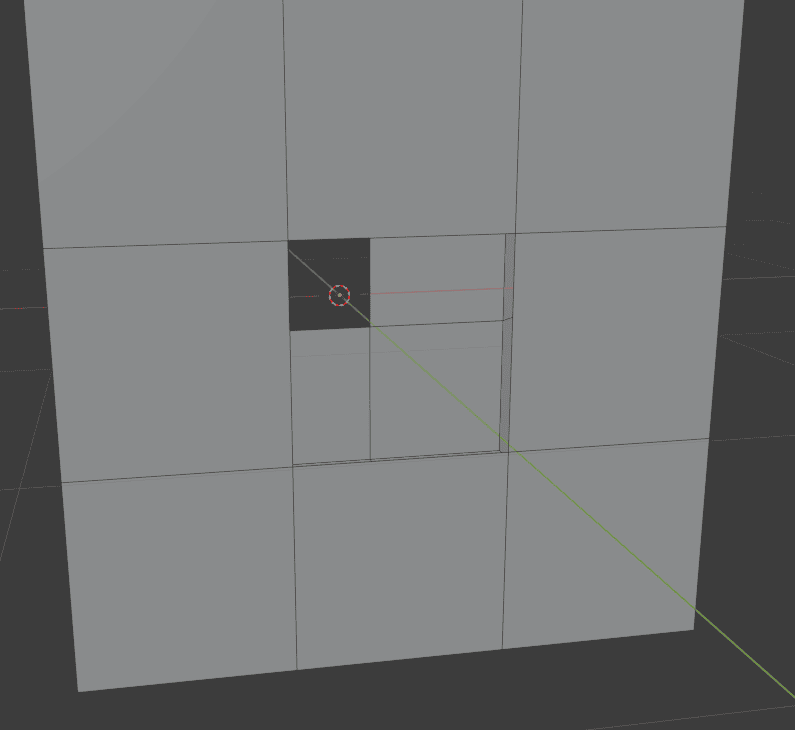
Now that we know how Loop Cut works, we can create windows to our house. Place a loop cut on the opposite side to last time. When you press left click to apply a loop cut, you should find a new window appearing at the bottom left with the name of the tool used.
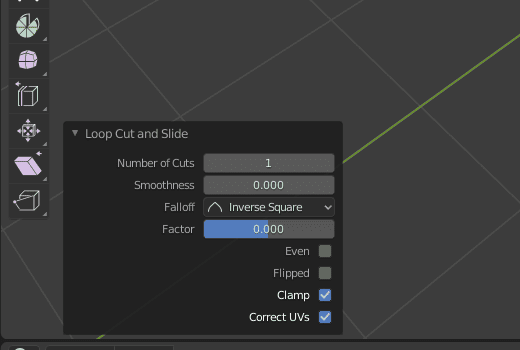
It is an additional menu that allows for more control over what you are doing. This window can be minimized by default, so click on it to open. Here we can see some additional settings for our loop cut that we just created. In reality we only need to change the “Number of Cuts” from 1 to 2.
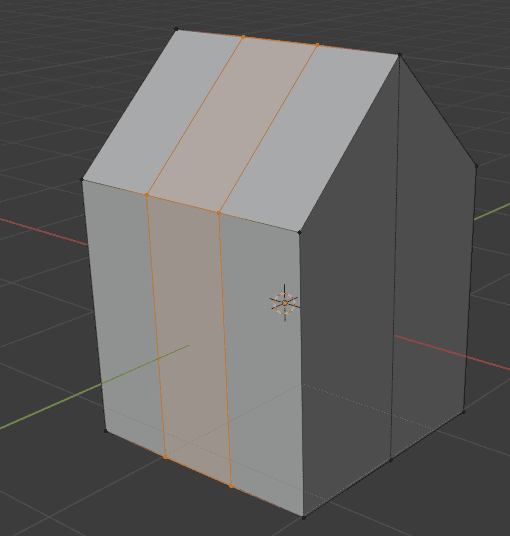
By the way, if you are using shortcuts, you can change the number of loop cuts before placing them. You just need to either press the needed number on the keyboard, in our case – 2. Or you can scroll your mouse wheel, which will increase and decrease the number of cuts.
You should end up with something like this:
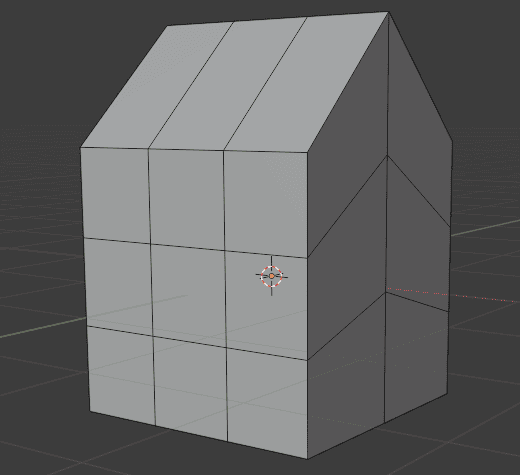
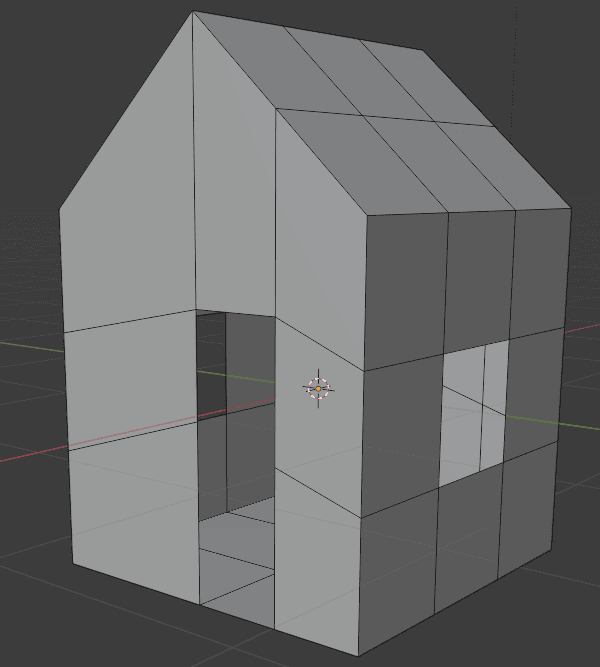
Now repeat the process, but horizontally instead of vertically. Meaning create two loop cuts horizontally across the house:
We did all this to create a square geometry on the sides of the house. Now we can delete(X) these square faces by right clicking and choosing “Delete Faces”. This will create holes in the house that represent windows.
Next we will create a door using the same technique. A loop cut at the place where we want to create a door. And then proceed to delete faces. But there may be a problem and you should end up with something like this:
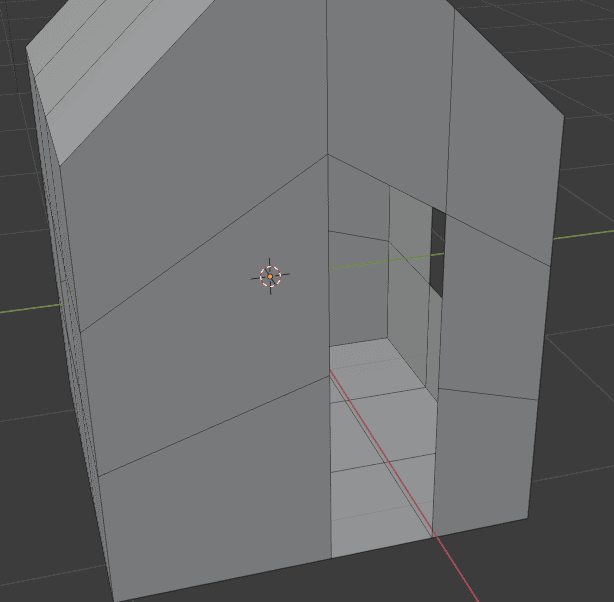
One part of the door is higher than the other, which makes it look bad and crooked. But it is really easy to fix this. Try to guess yourself how to fix this before proceeding to the answer.
All we need to do is to change to the Vertex Select(1) and move(G) one of the vertices so they would match. Restrict movement to only Z axis for better control.
We only gazed at the surface of Blender Modeling. We did not even look at the new tools that appeared in the Edit Mode except the Loop Cut. That is why we recommend taking a look at our article Blender Basics: Blender Modeling.
Conclusion
And here is where Part 2 of the series ends. Today we learned a lot of new and important things, such as basic transforms of your objects, how to add and delete objects and how to use edit mode and edit objects geometry. And also we started working on your first scene – a simple 3D house.
Check out the third tutorial part, where we will introduce you to the Blender basics for modifiers and materials. We will create a simple fence around your house and give everything some simple materials.