This is a Part 3 of the Blender 2.8 Basics tutorial series. You can check out the previous part where we look into basic modeling and editing objects. Or the first part if you missed it, which explains interface, moving in 3D space and shortcut keys.
In this part we will continue learning Blender Basics. Specifically:
- Non-destructive modeling and Modifiers. What they are, what are the main advantages of using them and how to utilize them.
- Materials. Basics of materials, how to apply and edit them.
Blender Basics: Modifiers
Before proceeding to modifiers we need to make clear one thing. There are two main ways of modeling – destructive and non-destructive. At this point we only saw and worked with a destructive way of modeling.
Destructive is when you change something in your object and it saves like that without an easy way to revert the change. Meaning that if you, for example, delete the vertex of your house and after two hours of working you decide that you need it back – there is no easy way to do that. As simply Undo(CTRL+Z) will not help here, it was too long ago.
On other hand, non-destructive modeling is clearly different. You can easily revert any changes and tweak them at any given time. Modifiers are exactly a non-destructive way to edit your objects. Besides, they can really simplify your work and make it faster. Let’s look at them closer and you will understand exactly how it works.
After previous part of the tutorial you should have a house really similar to this one:
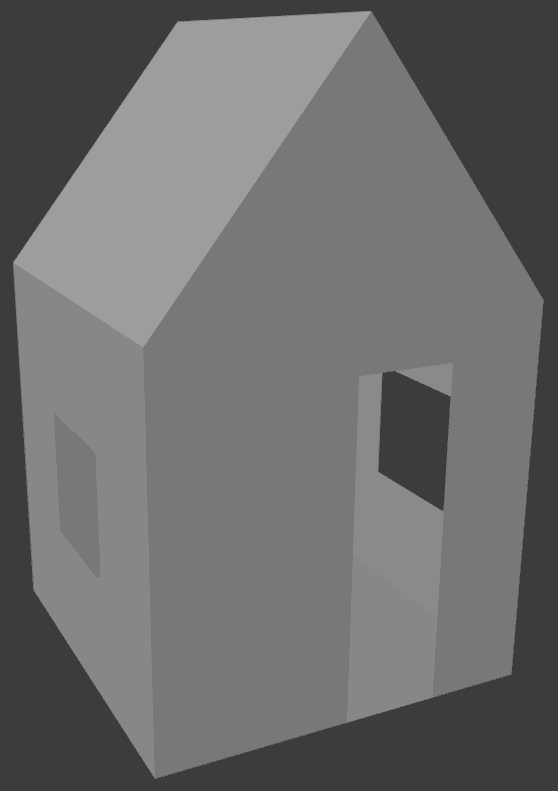
And you could have noticed that it is really thin. All the walls are basically one pixel in width, which looks weird. Houses are definitely not supposed to be like that. How about fixing it then?
To fix it we are going to use modifiers. Select the house object and open the “Modifier Properties” tab in the Properties Editor:
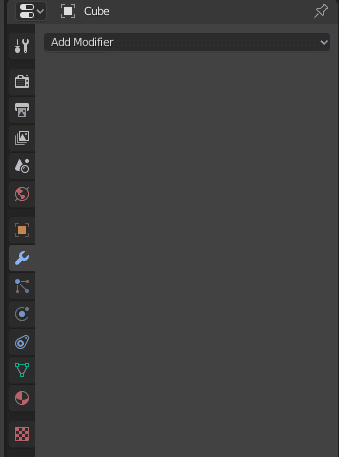
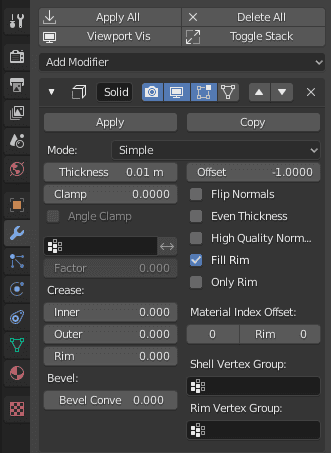
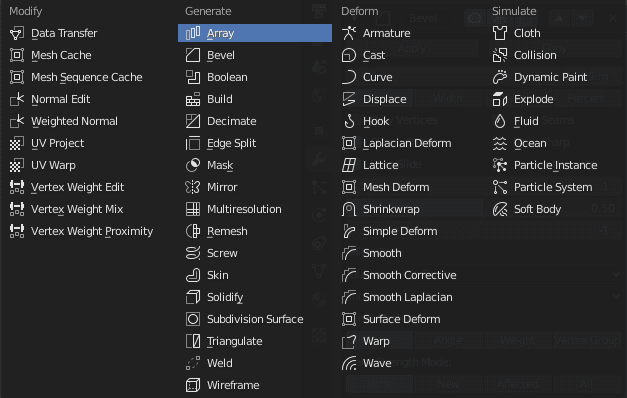
In this tab you can add and modify modifiers of the selected object. If you press “Add Modifier” – a drop-down list will appear where you need to select what do you want to apply. We need a “Solidify” modifier that makes things thicker:
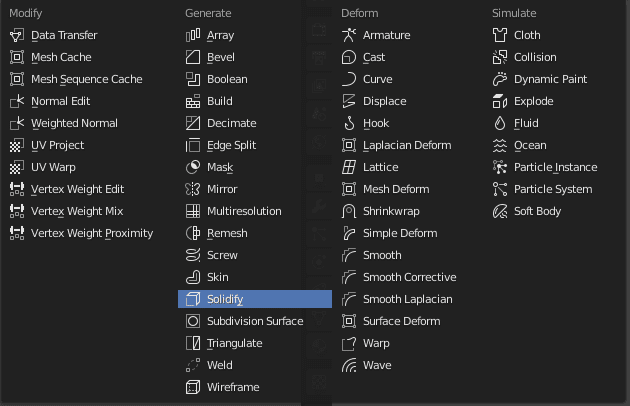
Note, that you can not apply modifiers in Edit Mode. So change at the top left or press TAB key to change to Object Mode.
House should have received a bit of thickness and new information should appear. You can control the applied modifier here. In this case we can change how thick it makes it, its offset, how it looks and other stuff, that we don’t need right now:
We only need to change the “Thickness” option. Make it whatever you want. I myself set it to 0.03 m. Zoom in on the house to see the changes better. Also check how it looks in the edit mode. Notice that you there are no real geometry in the appeared thickness and you can’t control it.
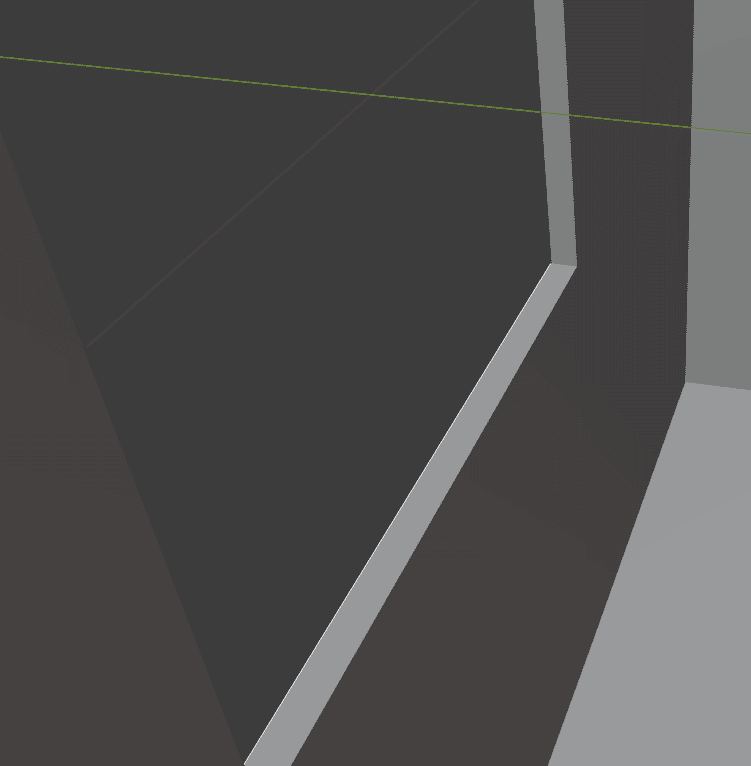
This is because, as was explained before – this is a non-destructive change. So if in two hours you decide that your house needs to be thicker or thinner again – you can change the modifiers options without any problems or delete it altogether.
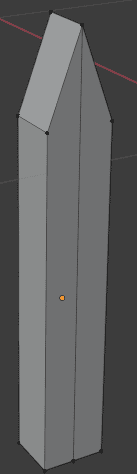
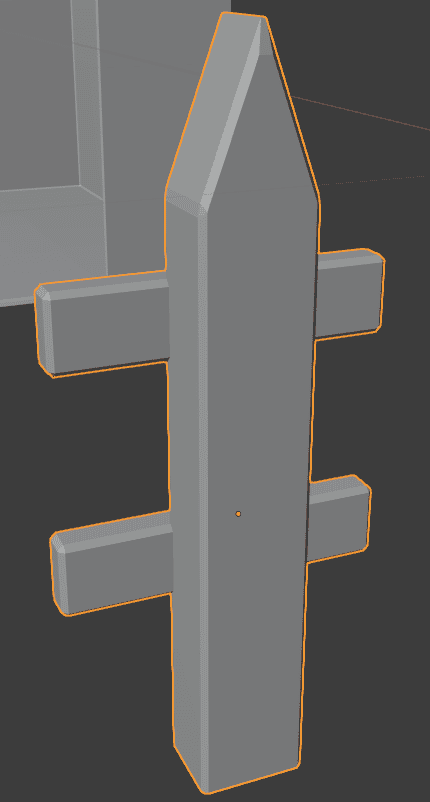
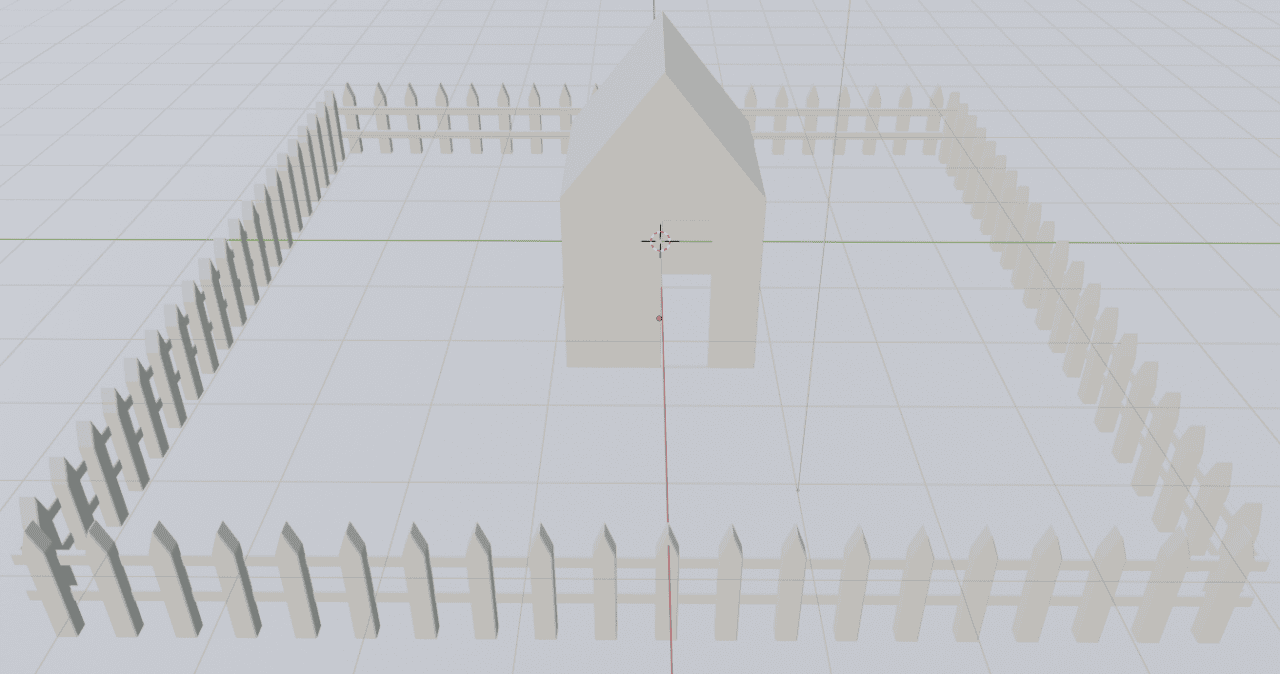
To use other modifiers we will extend our scene a bit – add a fence post and then multiply it to create a full-length fence around the house. Creating a fence should be really easy as it is basically really similar to what we already did in Part 2.
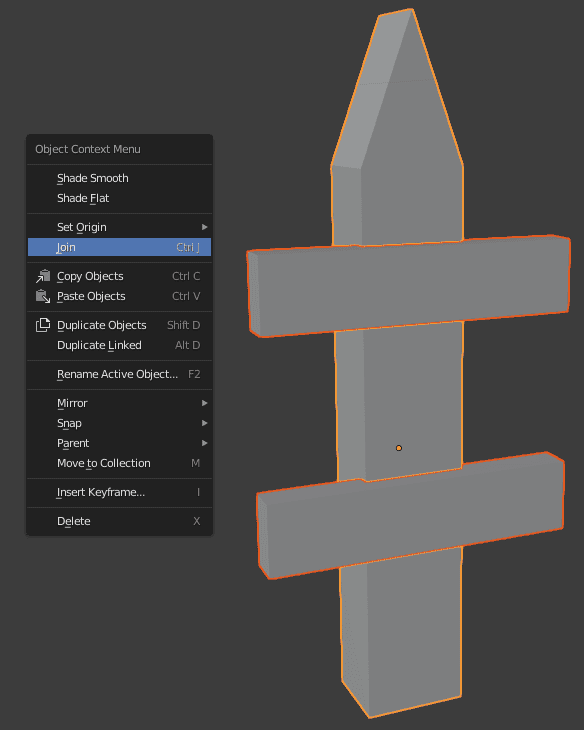
You can also add other details to a fence. I will add planks to its back, so it would not be just a line of fence posts. They are just two cubes scaled down to small rectangles and placed at the back of the fence post.
Then, to connect these objects, I shift-clicked on them and the post to select them. Important to select the object that you want to connect to as the last object. Because the last object selected would be the main. With objects selected right click anywhere and choose “Join”(Ctrl+J) so they would become a one connected object.
For the modifiers: we will firsty add a Bevel modifier that adds a bevel to every edge of the object. This smoothes out the object and makes it look better. You can also add this modifier to the house after you added Solidify.

Change the “Offset” value in the modifier settings to control how much bevel do you add. Also if you have problems with it and bevel behaves strangely – try to Apply(Ctrl+A) “Rotation and Scale” in Object > Apply.
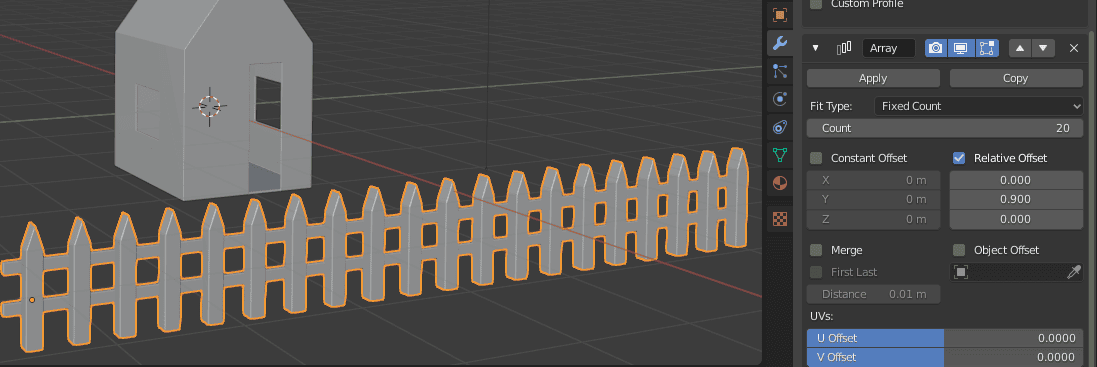
Now we need to make this a line of the same objects. To help us with this we will use another modifier called Array.
This modifier creates an array of your initial object. Exactly what we need right now. Change the “Count” and “Offset” in the modifier settings to something appropriate:
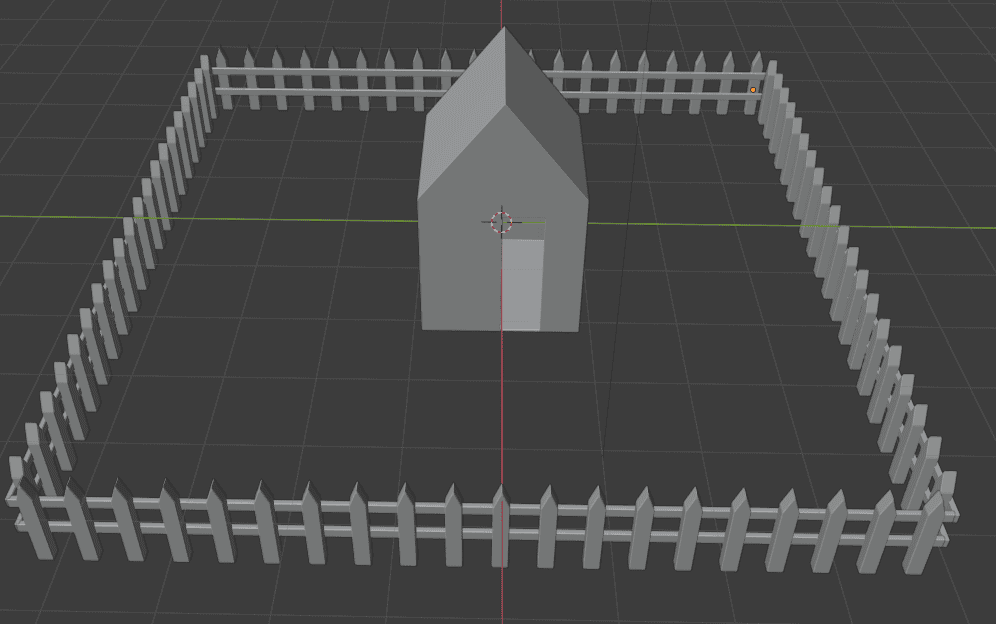
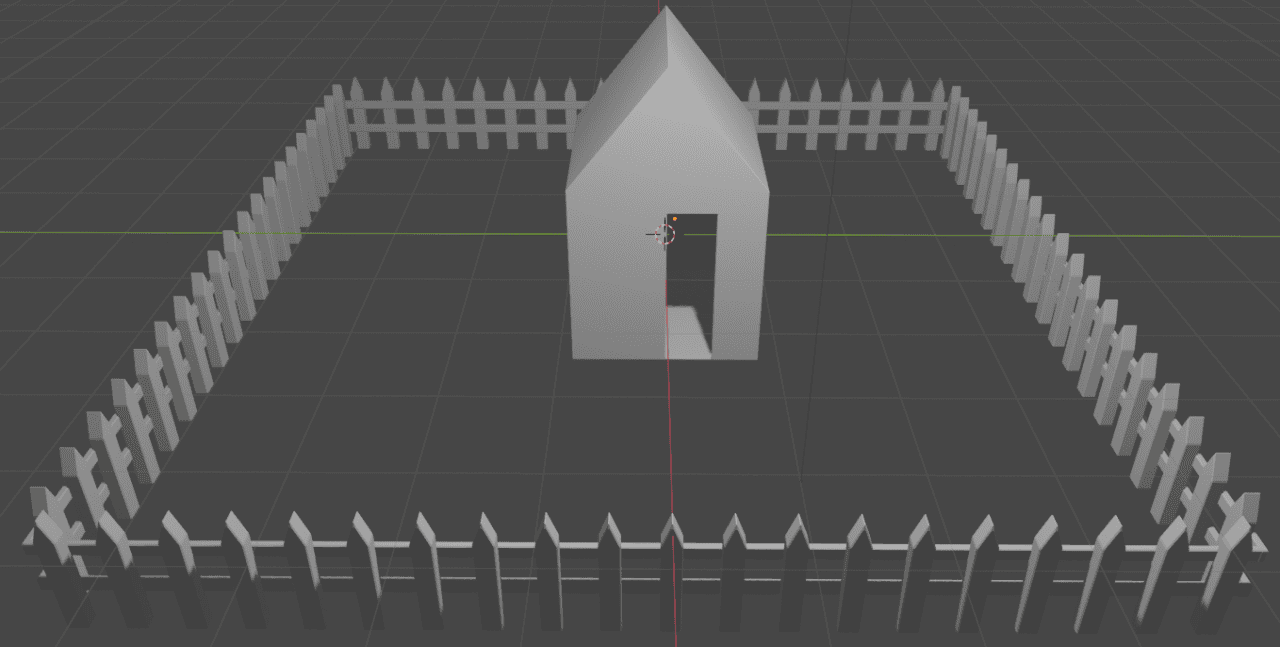
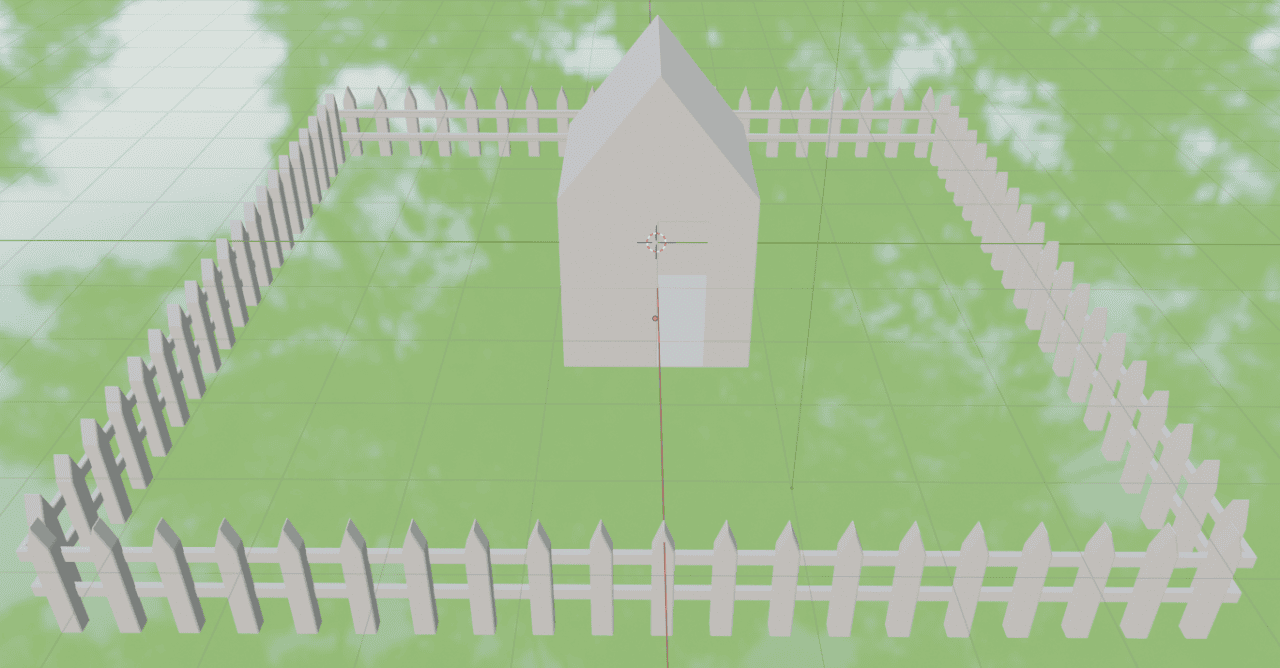
Now you can duplicate the fence object, rotate and move it around the house to create a good fencing:
We only looked at the surface of the Blender Modifiers. You can check out our Blender Basics: Modifiers tutorial to learn more about them. For example about one of the most used modifiers – Blender Subdivide.
Blender Basics: Materials
Now is the time to make our scene more alive by adding materials to it. But before that we need to change our viewport shading. As right now we see everything shaded in the same grey colors.
Viewport shading controls are situated at the top right of the screen or can be summoned with the press of Z button.
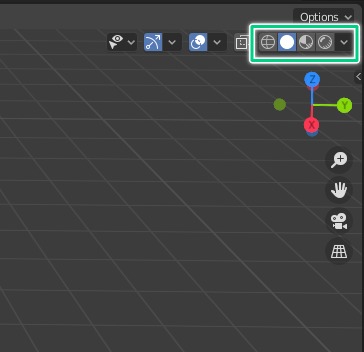
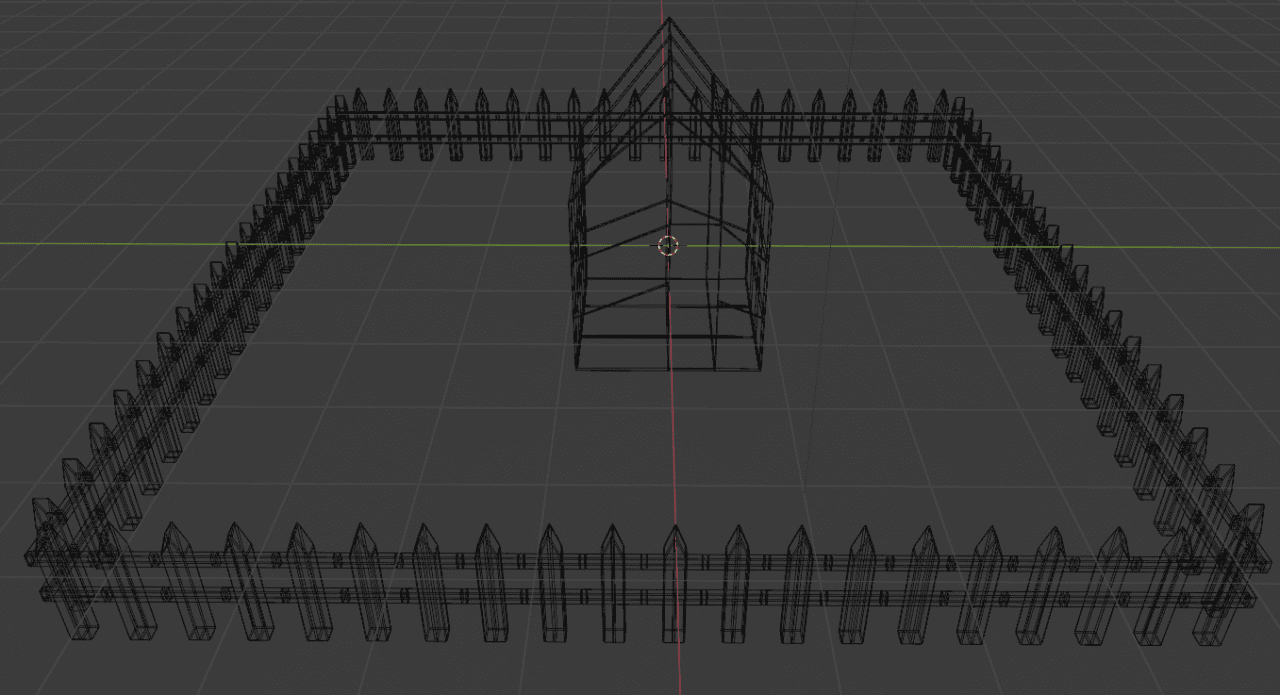
There are 4 main viewport shading options. First is the “Wireframe” that shows just geometry of each object:
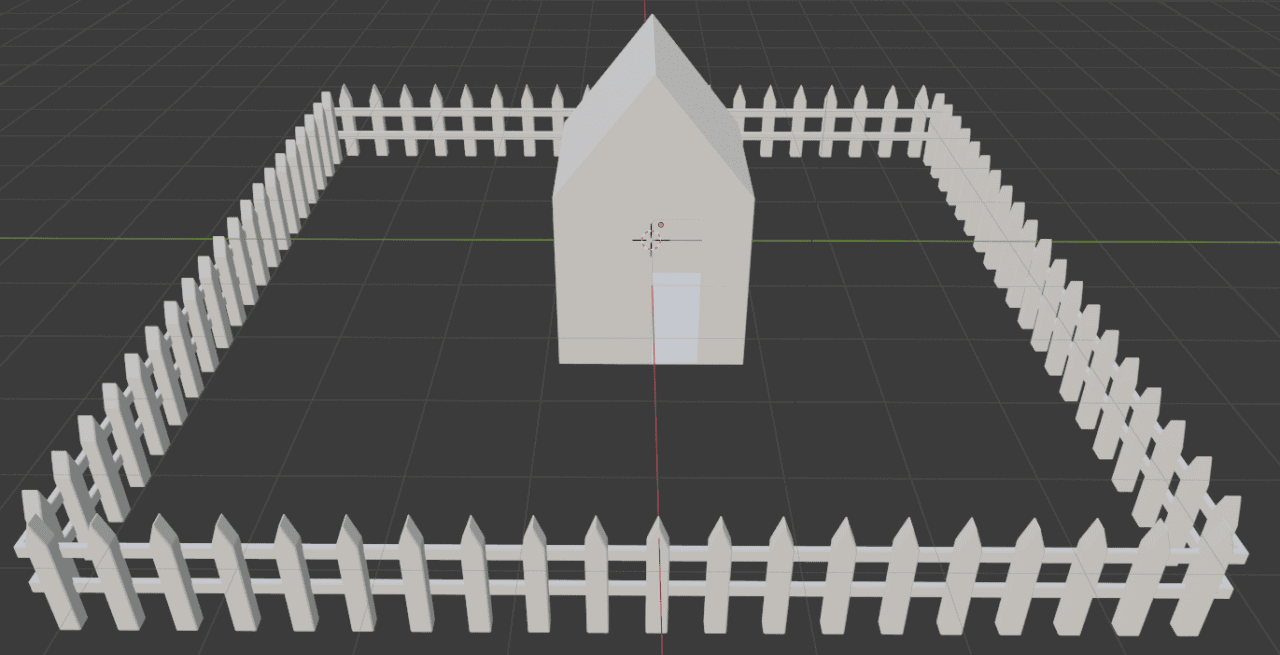
Second is the default view that we worked in all this time – “Solid”. Third is a simplified version of the Eevee rendering engine with the built-in HDRI. It is called – “Material Preview” and it is the shading tha we want to work with materials.
Last is the “Rendered” shading that changes depending on your rendering engine selected in settings.
So I am going to be in the “Material Preview” shading from now on out. Everything became really bright white instead of the grey. This is a default Blender “no material” look.
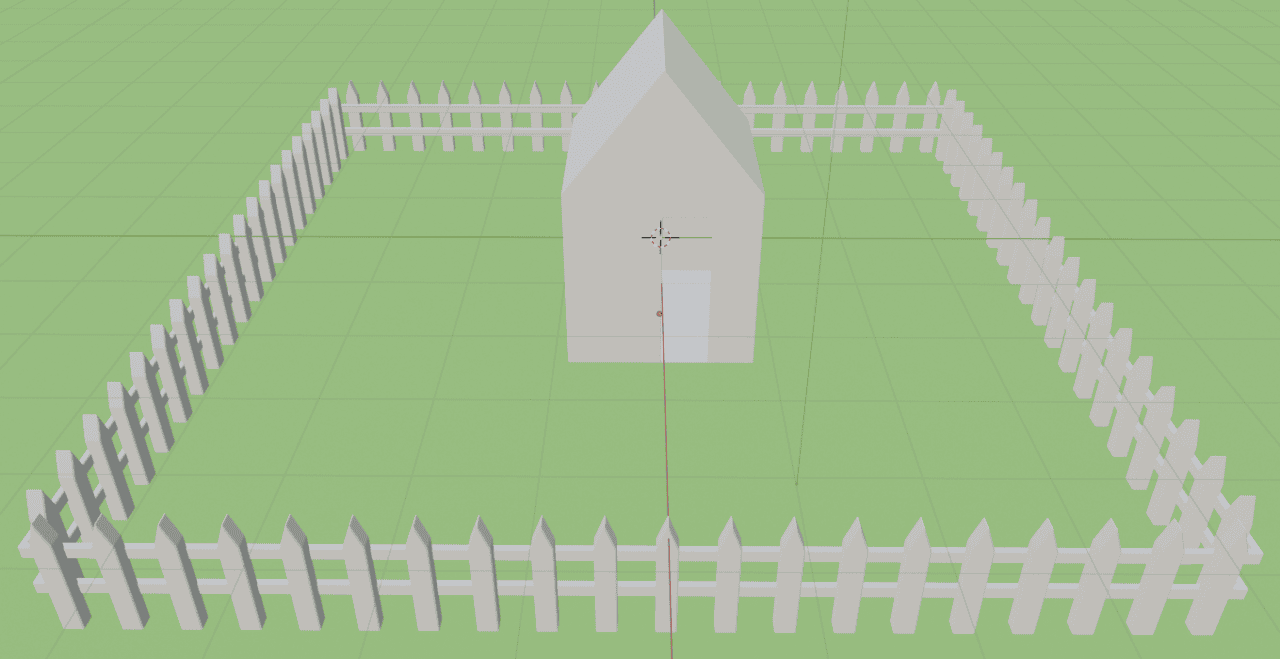
I have added a plane and scaled it big at the bottom of the scene, so it would work as grass. Now our house would be standing on something and not just floating on nothing:
This plane is a good place to start with the materials. You need to select the object and proceed into the “Material Properties” tab of the Properties editor.
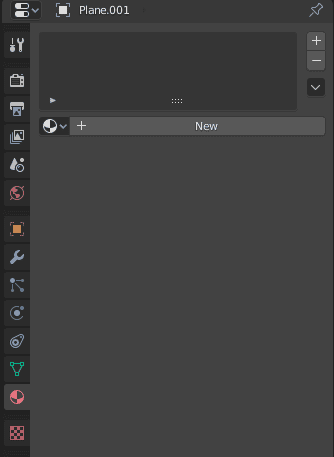
In this tab we can see that the selected object has no materials and create one for it by pressing the “New” button. After doing that you should see new settings appearing. We are only interested in the “Base Color” and “Roughness” at the moment.
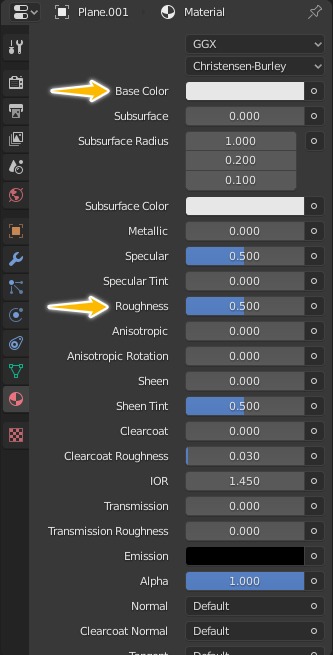
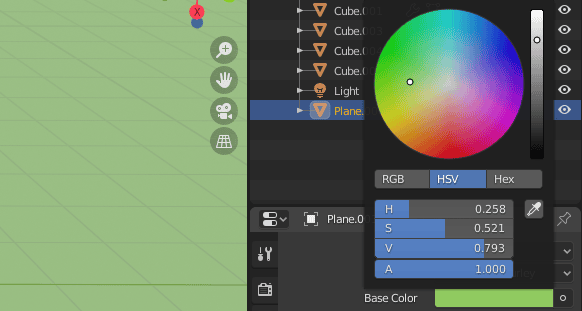
“Base color” is quite understandable. You can click on it and choose the color and brightness of the object. As I want this plane to be a grass I will choose something green.
Another option is “Roughness“. It controls how reflective the object is. Meaning that lower the roughness – more reflective the object. At 0 Roughness the object becomes fully reflective as a mirror.
But grass is not supposed to be reflective. Basically as any other object in our scene too. So I will set everything at around 0.9-1.0.
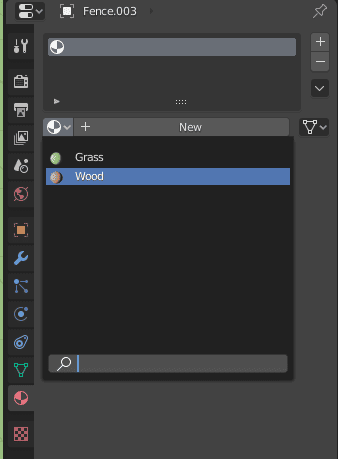
Now I will create wood-like material for the fence. But this will apply material to only one of the four parts of the fence. Instead of creating new material for each fence I can use the same material for each of them.
To do that you simply need to select the object that you want to apply a material to. And then in the “Material Parameters” press a button near the “New” button. This will open a drop-down list of all materials available on the scene. Here I can simply choose already created material.
After creating and applying all materials I ended up with this scene:
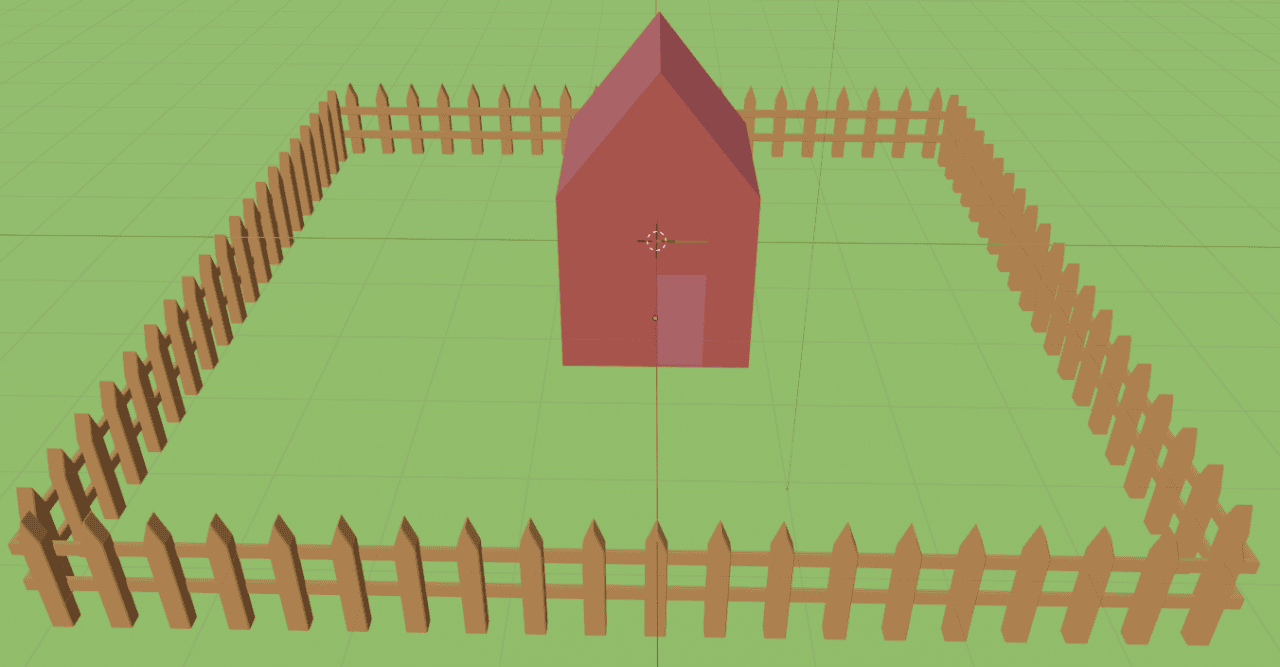
As you can see the house looks not as good when it is in single color all over it. That is why I recommend you to learn more about Blender Materials in our corresponding article(Coming Soon). There you could learn about such things as metallic and transmissive materials.
Conclusion Blender Basics Tutorial: How to Create a 3d House – Part 3
And here is where Part 3 of the series ends. Today we learned a lot of new and important things, such as non-destructive modeling, basic modifiers and how to add and modify materials. And also we almost finished working on your first scene – a simple 3D house.
Check out the forth tutorial part of the series, where we will introduce you to the Blender basics lighting and rendering. We will finish the house scene by adding lighting and placing cameras and then rendering it out.