
Blender and Daz Studio are two free tools that can complement each other pretty well. Especially thanks to the Daz to Blender Bridge, which helps to export from one to another. Today we will look at how you can use Blender to edit and even create brand new clothes for Daz Studio.
Create Daz3D Clothes in Blender
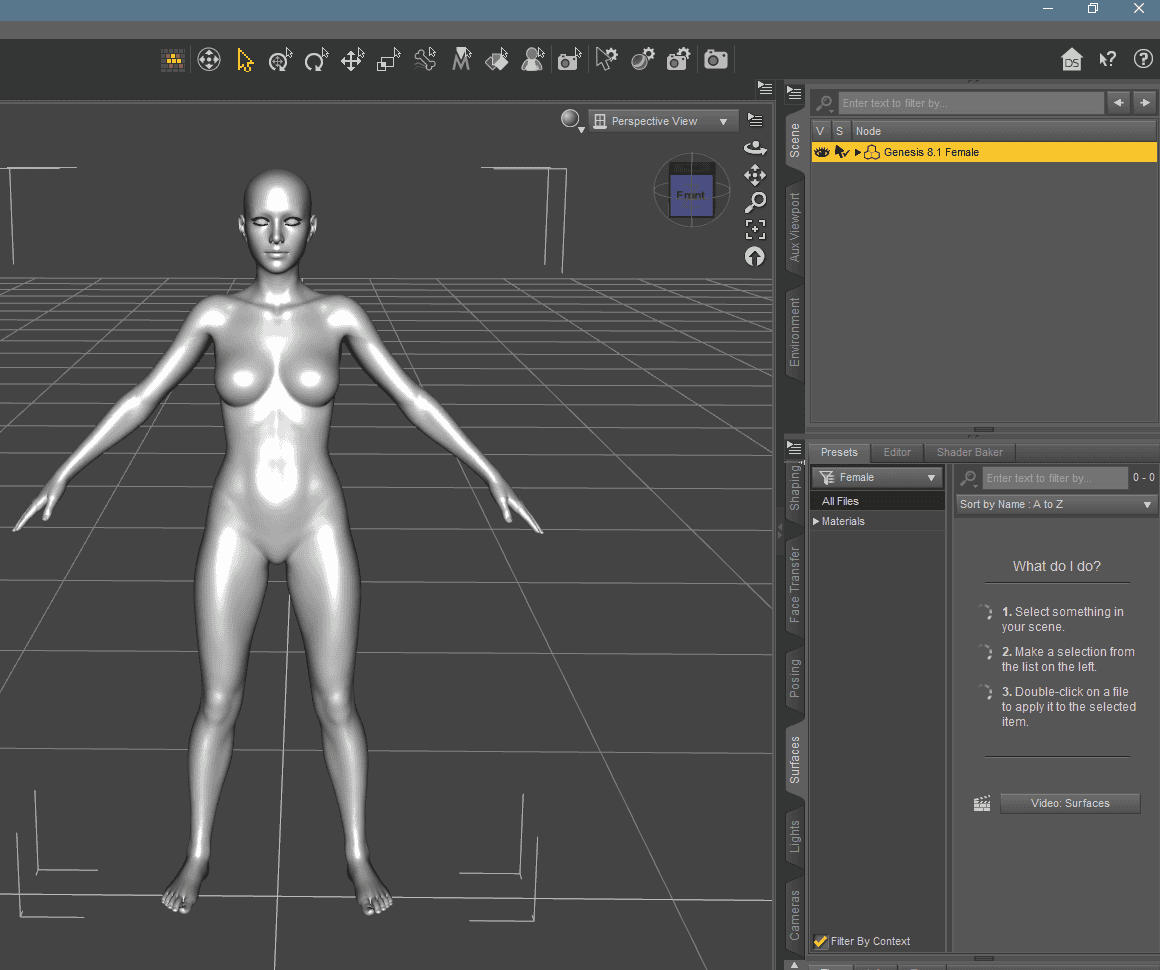
Let’s start with creating a new piece of clothing. First of all, I will go into the Daz Studio and create a character that I want to use for this clothing.
No need to add anything else. Now we need to export this character into Blender. For this, we can conveniently use the Daz to Blender Bridge.

Use regular export settings, no changes to them too. Then in Blender, we now import the character. Also, nothing fancy. Just open the Daz to Blender add-on interface and import the character.
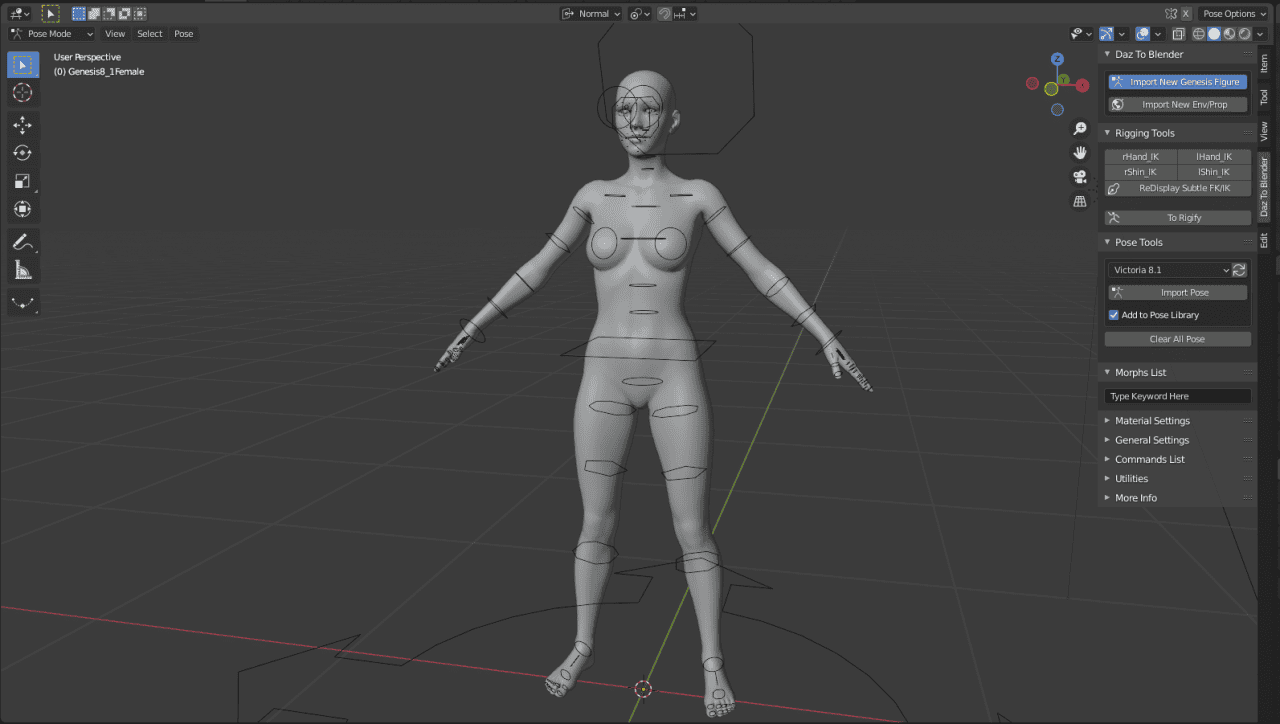
For why we did this. It is very simple – just for reference. It would be much harder to model clothing if we did not have a character to model it on. The shape and sizes would be butchered without the proper reference, so it is very important.
So we have a character in Blender and we can start modeling the clothes that we want. I have decided to model a dress. I won’t go into detail about how to model something in Blender, as this article is not about that. For this, you can give a read to the Blender Modeling Tutorial we made.

This is the final model of a dress. It is not perfect, but for the sake of the tutorial, it would do just fine. So now what we are going to do is select the modeled object and proceed to export it. Do this by going to the File > Export and select Wavefront(.obj) format.
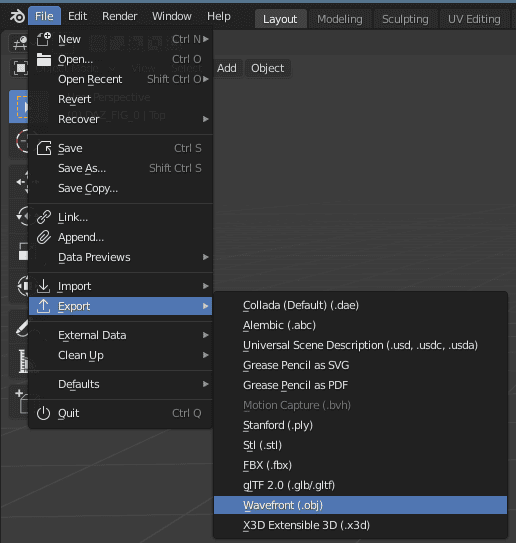
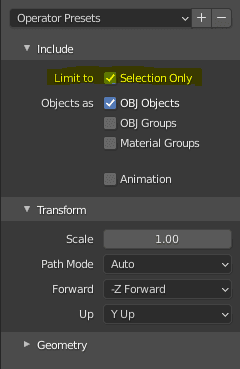
In the appeared window you need to turn on the “Selection Only” option. This will export only the selected object because we don’t want anything else from the scene.
Finally, we can go back to the Daz Studio. Here we need to import the object. It is done very easily from the top bar, the Import button.
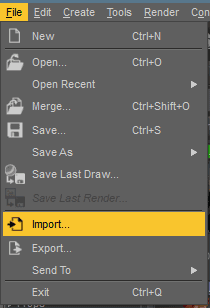
Then I found the dress file on my PC and opened it. Now we need to set up the import options properly. There is a Blender import preset, but it does not work correctly. All you need to do is manually set the scale to 10000 and Axis Conversion to X, Y, and Z in that order.
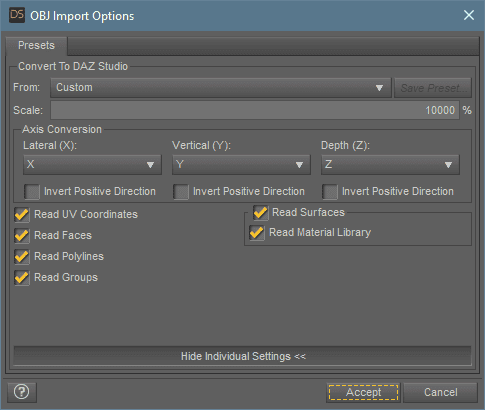
After clicking Accept – it has been imported successfully. Lower you can see the dress on the character in Daz Studio.
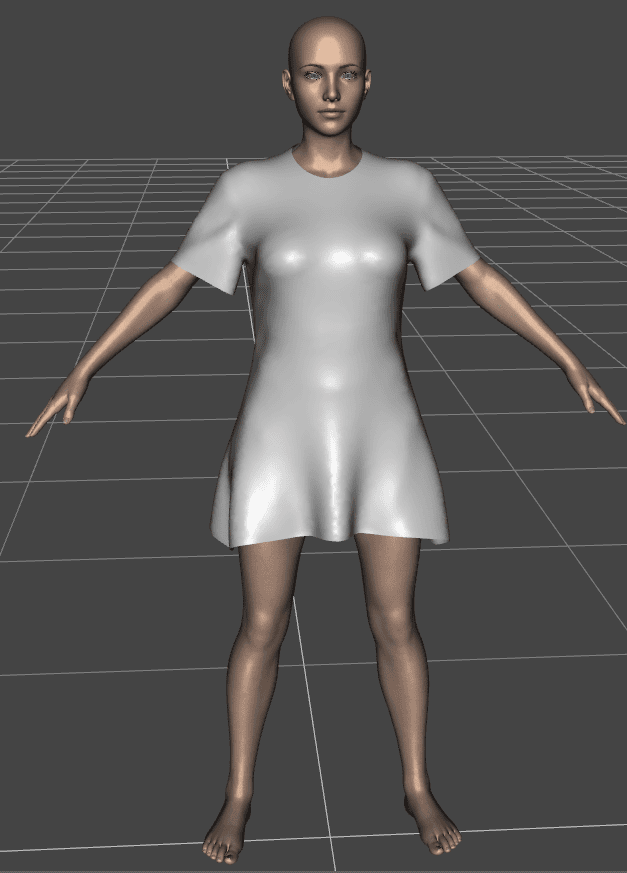
Though we can see an apparent problem – it has no textures. You can apply a shader manually from the Surfaces Tab if you want.
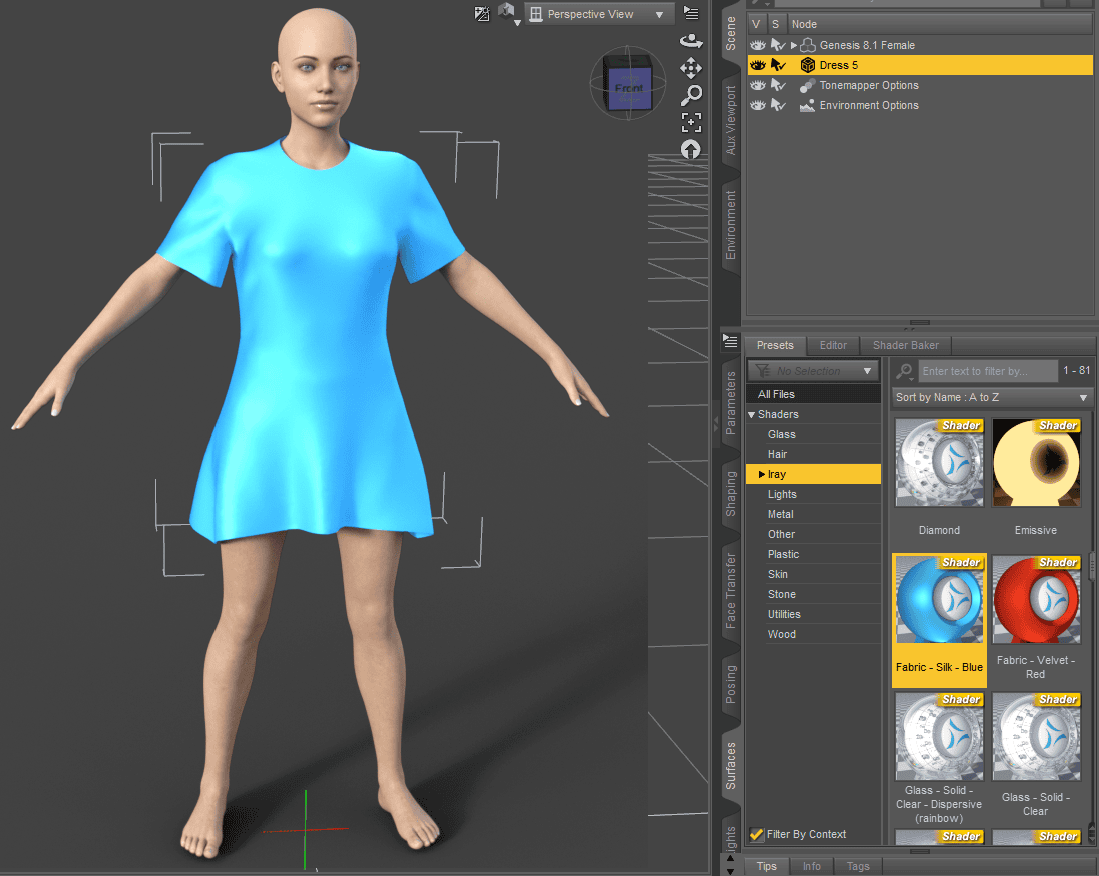
Or you can go further and apply custom-made materials, as we taught in the Daz3D How to Create Custom Clothes Textures. To overall learn more about textures, how to work with them, where to find and how they are applied, you can look at the Daz3D Texture Tutorial.
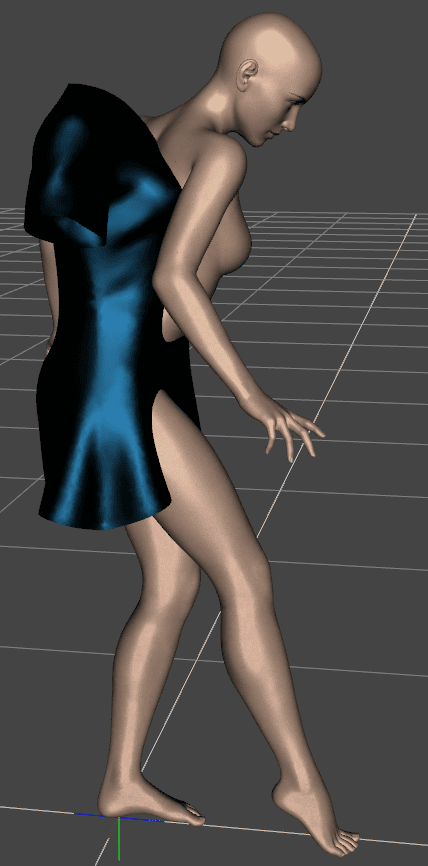
Right after that – there would be another quite noticeable and apparent problem. Clothing is not connected to the character. So when the character moves in any way, in my case I have applied a pose, clothes do not move with the character.
An unpleasant problem, but we can fix it. What we will do is make this dress a dForce object, which means that it will obey physics. This will make it follow the character.
We have a Daz dForce: Basics, Tutorials & More that introduces dForce for you and explains how it is used. In short, I go to the Simulation Settings window, select the dress and apply a dForce Dynamic Surface to it.
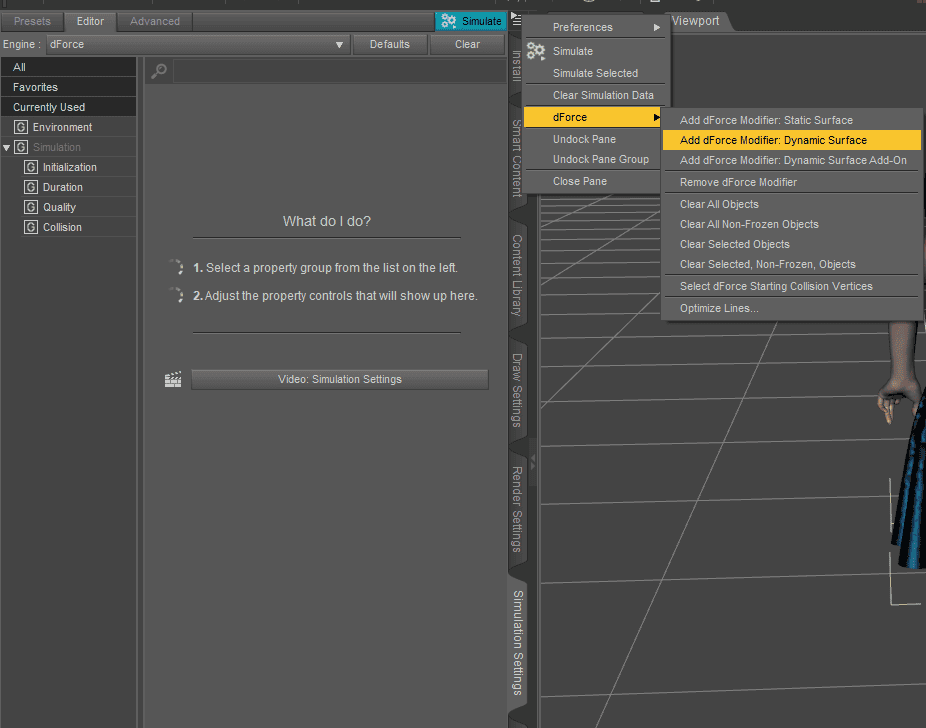
Now we can press the Simulate button to simulate this scene. You will see how your character goes from the default T-pose into the pose that you set and how clothes follow them.

Like this, I have imported a custom-made dress from Blender into Daz Studio and made it a dForce object. It can now be applied to the scene however you want.
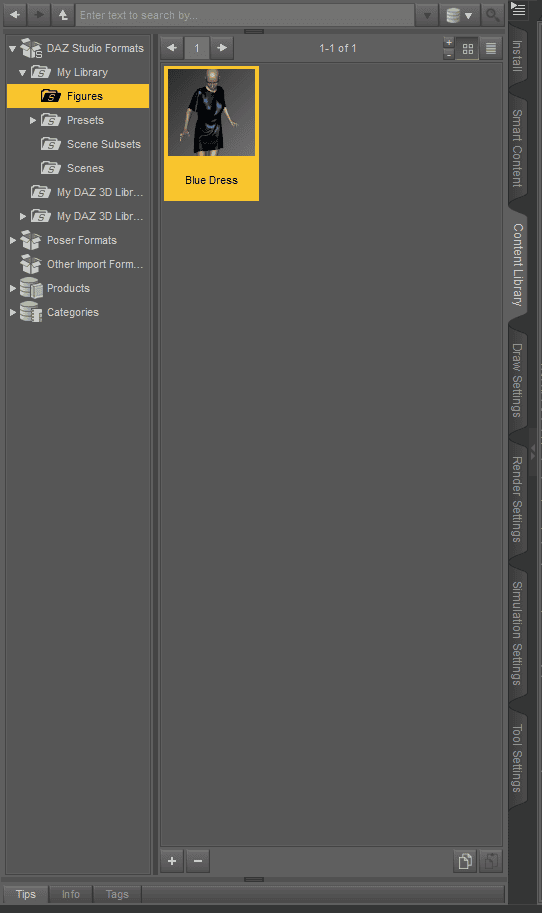
If you like what you have created – it would be wise to save it. Simply go to the Top Bar > File > Save As > Support Asset > Figure/Prop Assets.
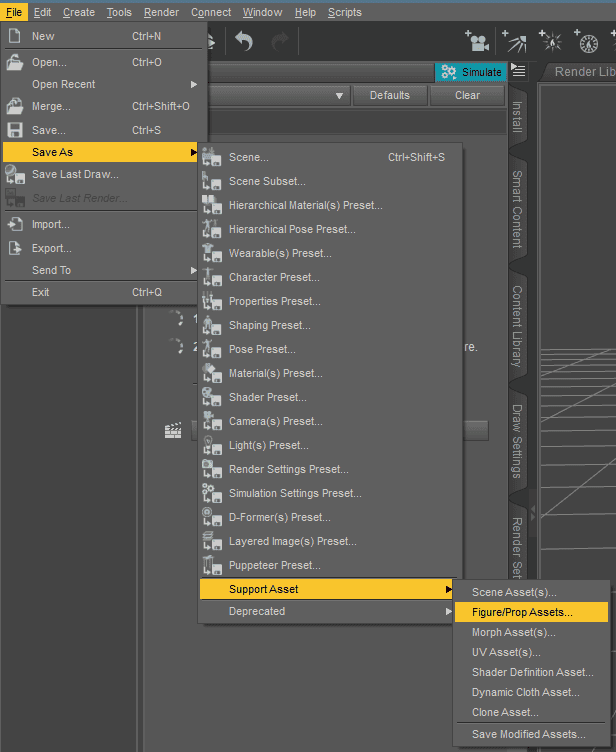
Give it a name and save it. Later you can access this object anytime from the Content Library window. And add it to the scene as any other item you have.
Edit Daz3D Clothes in Blender
Using Blender we can not only create brand new clothes for the Daz Studio but also edit existing ones. Why would you need to edit something, though?
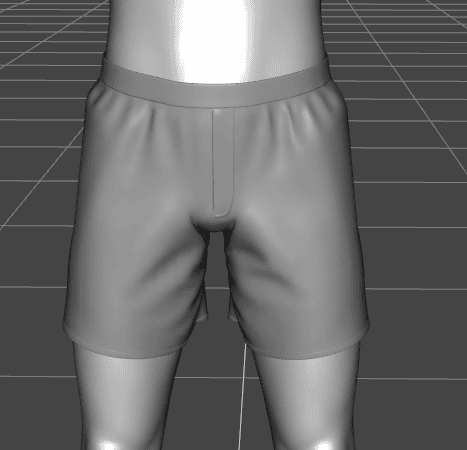
There can be several reasons. For example, if you would want to add more details to the object. Let’s take these boxers and say that I want to edit them.
Do everything as previously – export a character(this time with clothes) with the Daz to Blender bridge and then import it in Blender. I won’t repeat these steps in detail, as they have been explained above.
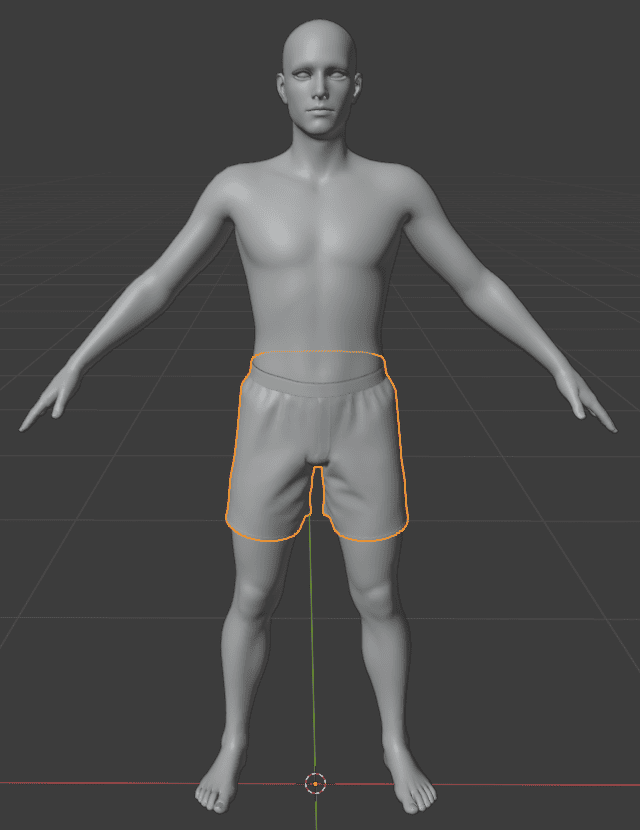
And now you can edit the object any way you like. You will have a character that was transferred with the clothes as a reference.
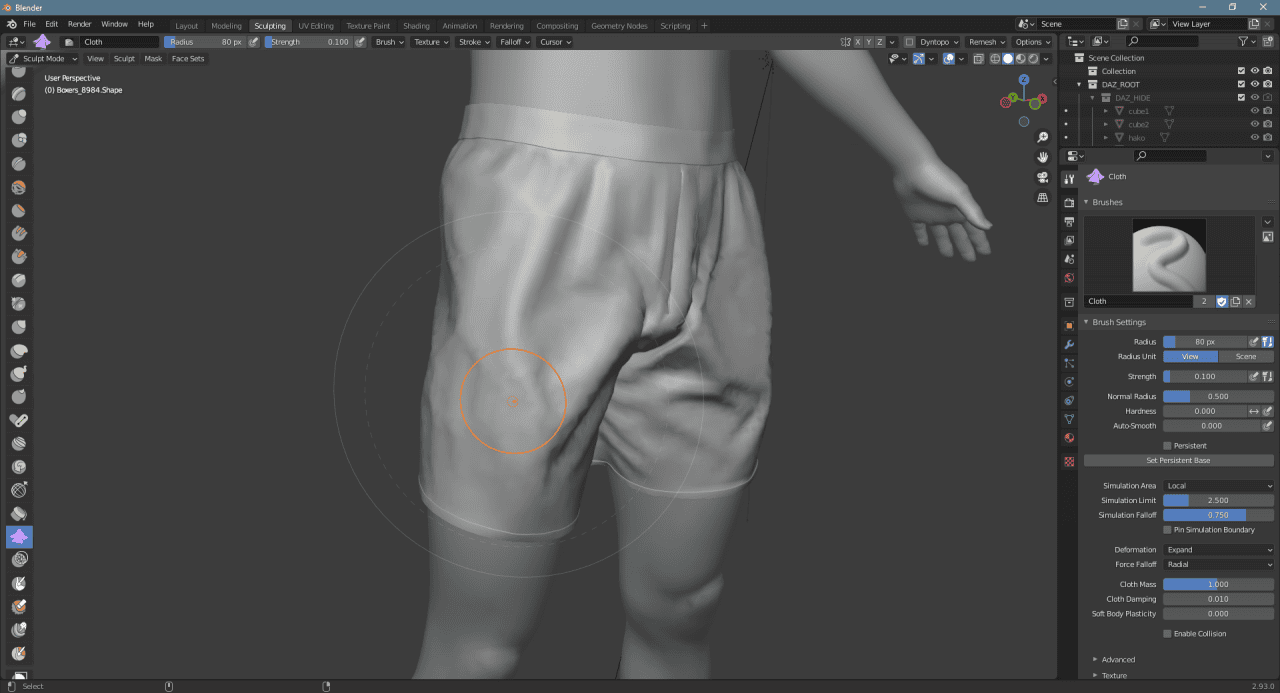
I have decided to use Sculpting and Cloth Brushes, in particular, to add some details and make these boxers look like they are very rumpled. We have a Blender Cloth Brushes Tutorial if you want to do this too.
Then I exported the boxers as a .obj file and imported them back into the Daz Studio.
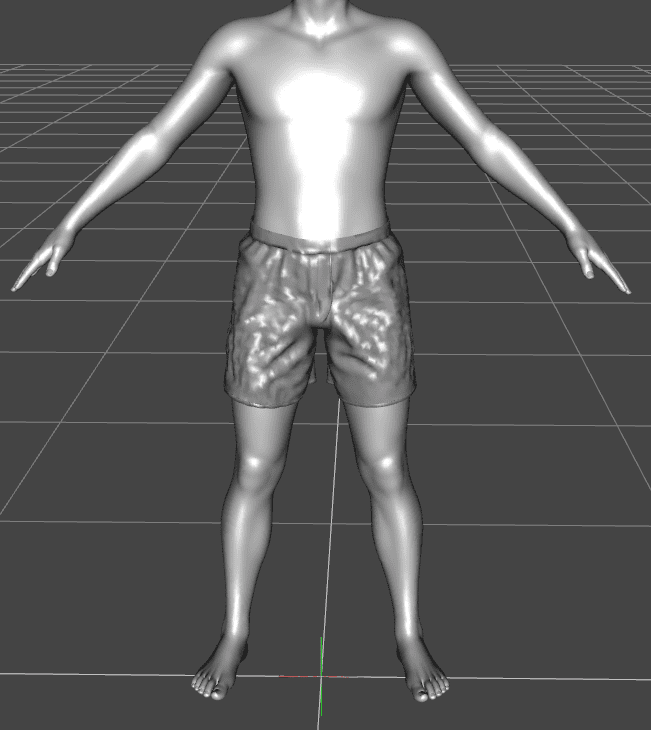
Here we have edited boxers in the Daz Studio.
Daz3D Clothes Products
I would also recommend you to visit the Daz3d marketplace before making your own clothes. Maybe someone already did whatever you planned and saved you a lot of time. On our website, you can find articles, where we collect top items from the shop for you to use.
We have a Top Daz3D Swimsuit 3D Models, for example. There we introduced some really nice swimsuits that you can use.
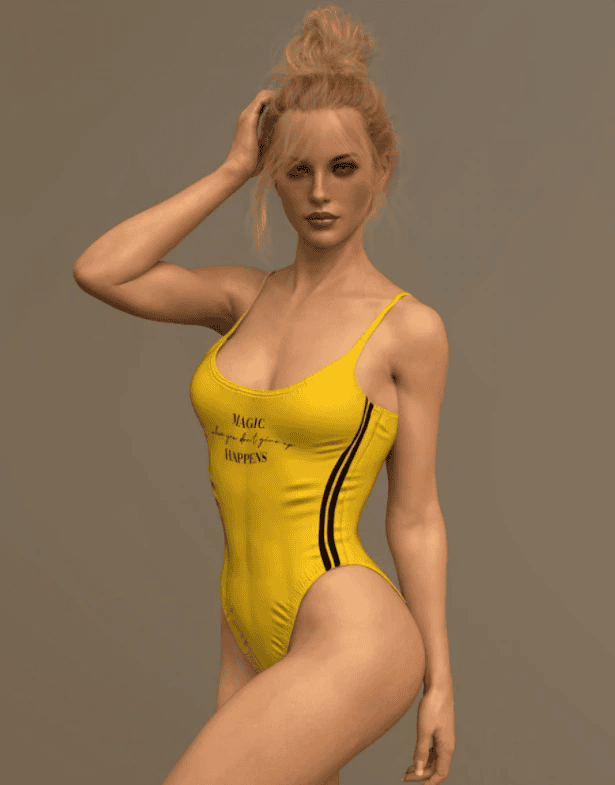
A wide range of swimsuit textures and colors – Source X-Fashion Inspire Bathsuit for Genesis 8 Females
On other hand, there is a Top Sportswear for Genesis 8 Male that has something for your Male figures.
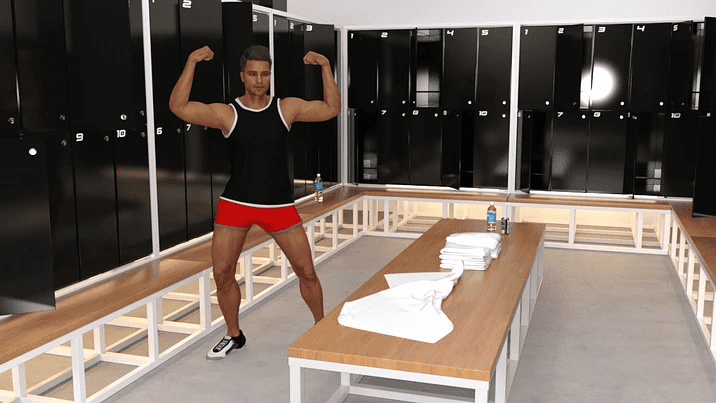
Source Gym Wear Outfit for Genesis 8 Male
We even make complications for such items as sunglasses – Top Daz3D Sunglasses for Genesis Characters.
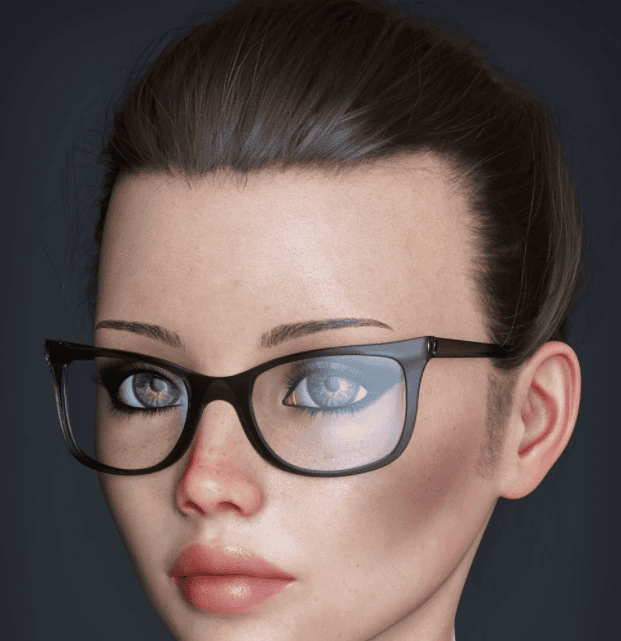
Customizable sunglasses for boys and girls – Source Alt Style Glasses for Genesis 8 Male(s) and Female(s)
Conclusion – How to Make and Edit Daz Studio Clothes in Blender
It is nice that you can use Blender to help you with problems that you meet in the Daz Studio. I am very glad that there is a Daz to Blender bridge available, which helps with this partnership too.