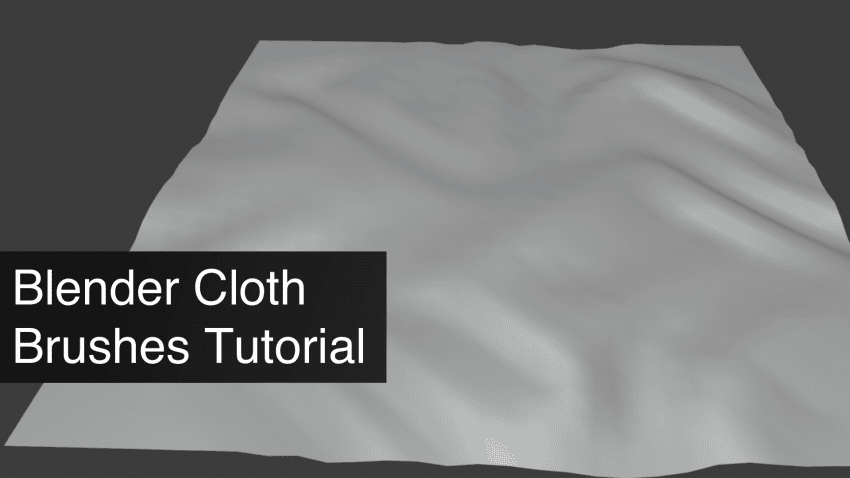
This Blender Cloth Brushes Tutorial explains step by step how to use Blender brushes. We will cover several simple examples to learn the basics.
Cloth Brushes in Blender are a part of the Sculpting Editor, so this article expands the Blender Sculpting Tutorial and accommodates our next article – Blender Cloth Simulation Tutorial.
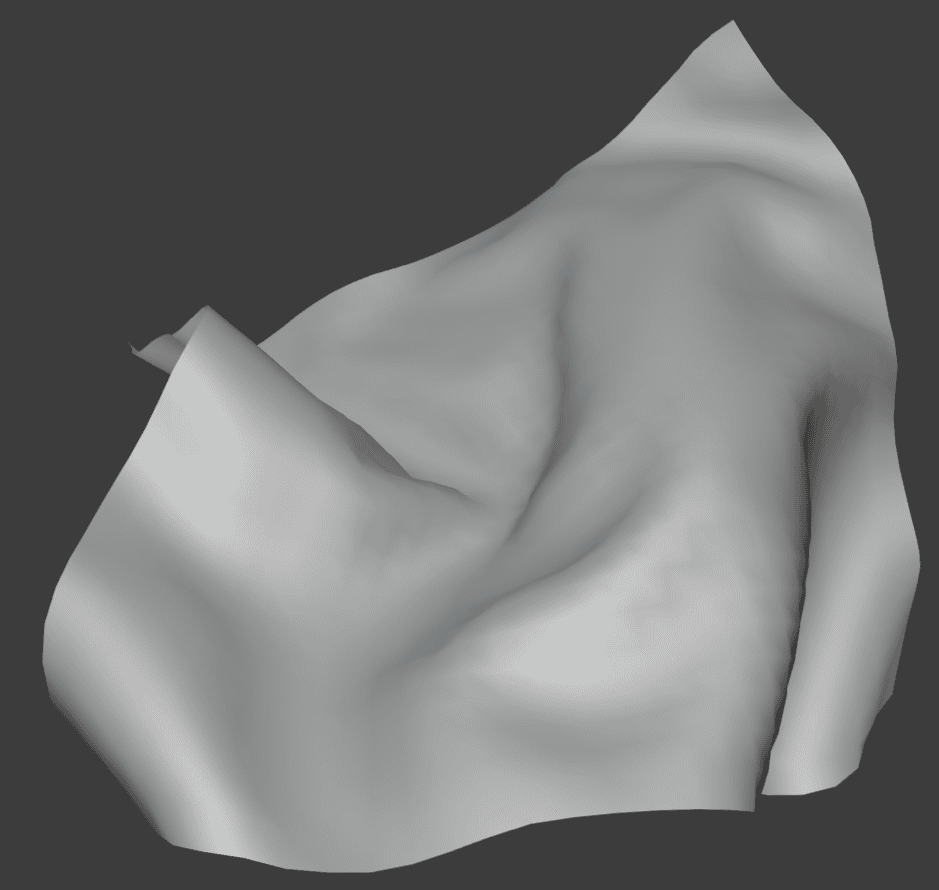
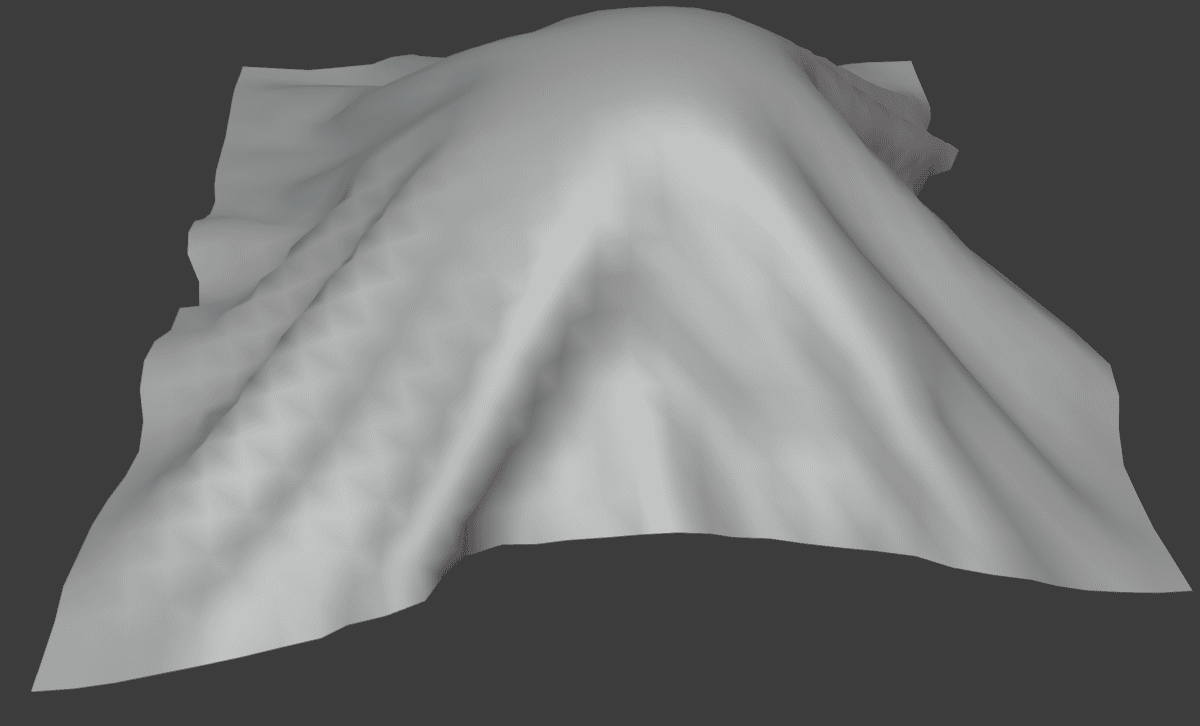
A cloth Brush is a simulation of a Cloth in real-time on the part of the object. It can be described as the best of the two features: it has the power of simulating that Cloth Simulation has and at the same time it gives you the same amount of control over it, as Sculpting does. Though it is not the best thing ever and does not replace either of the features.
How to Use a Cloth Brush
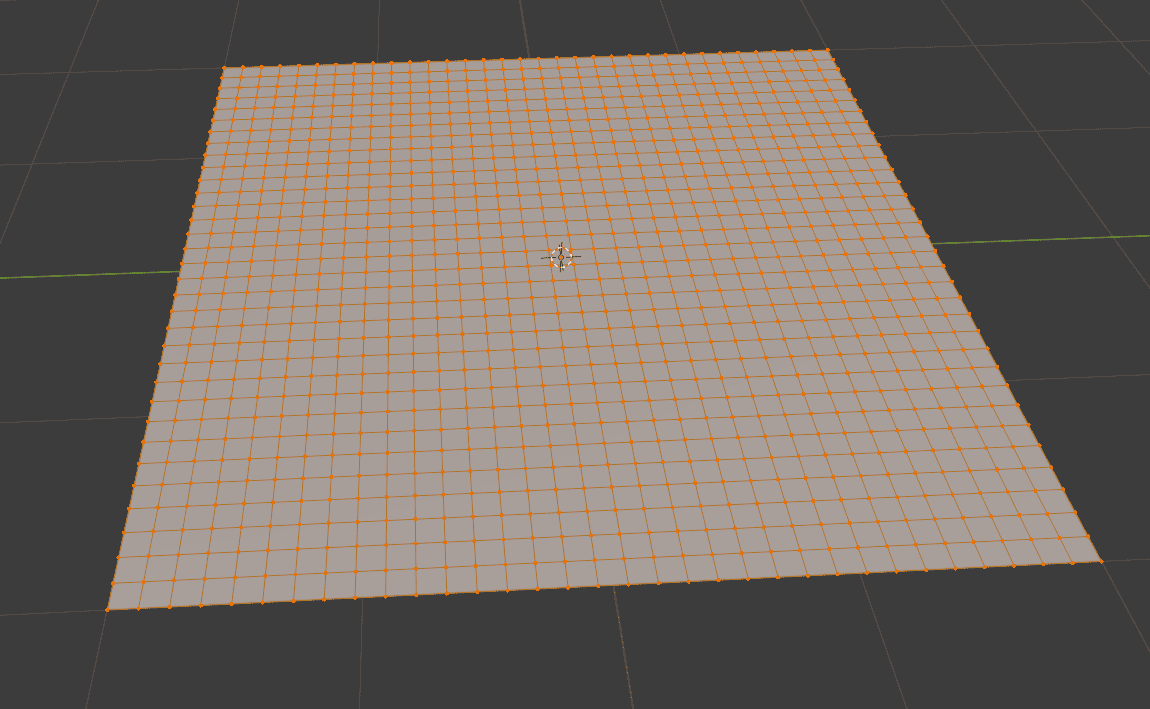
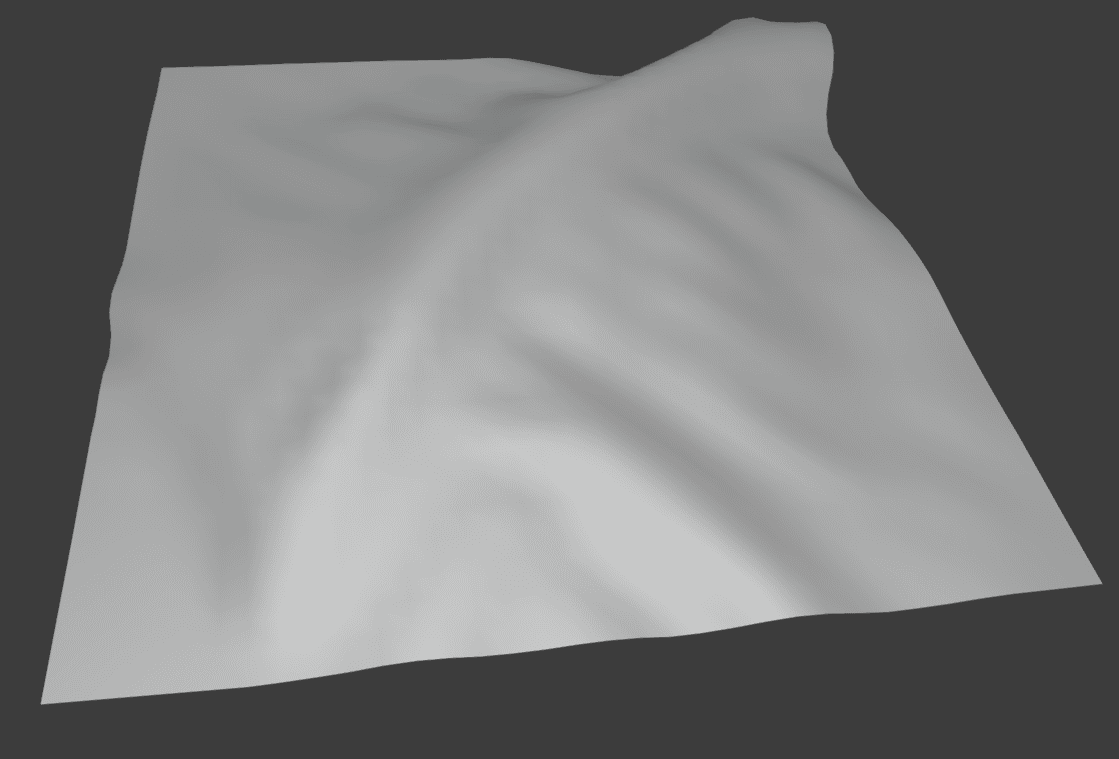
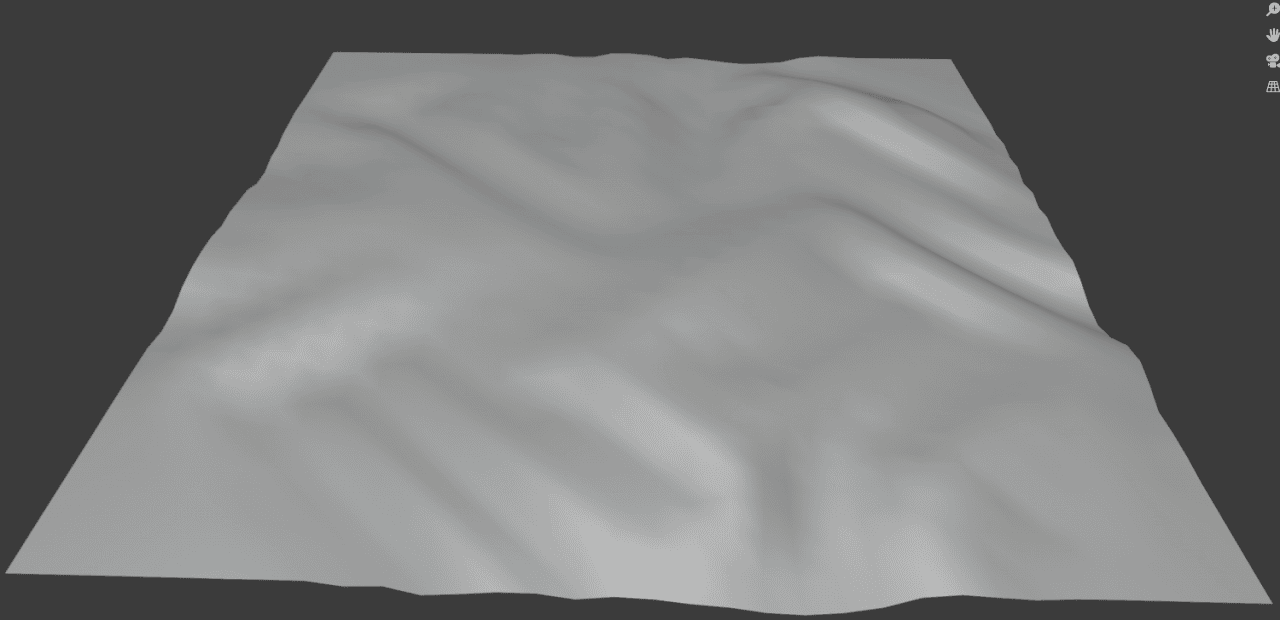
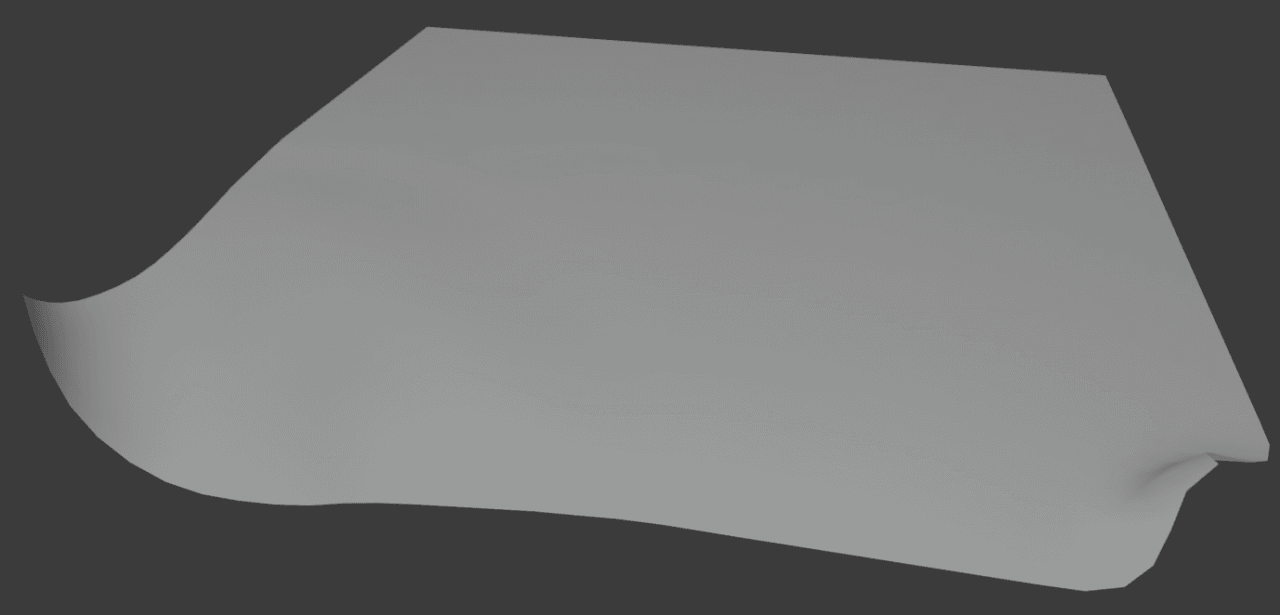
First of all, to use a Cloth Brush – we need an object for it to be used on. This object must have a high polycount. I have chosen a simple subdivided plane for this. It should resemble a piece of cloth in action.
Next – we proceed to the Sculpt Mode. You can just change the mode of your current window or open a Sculpting workspace. Here among all the tools and brushes, we find the Cloth brush that is presented as an icon with a piece of cloth.
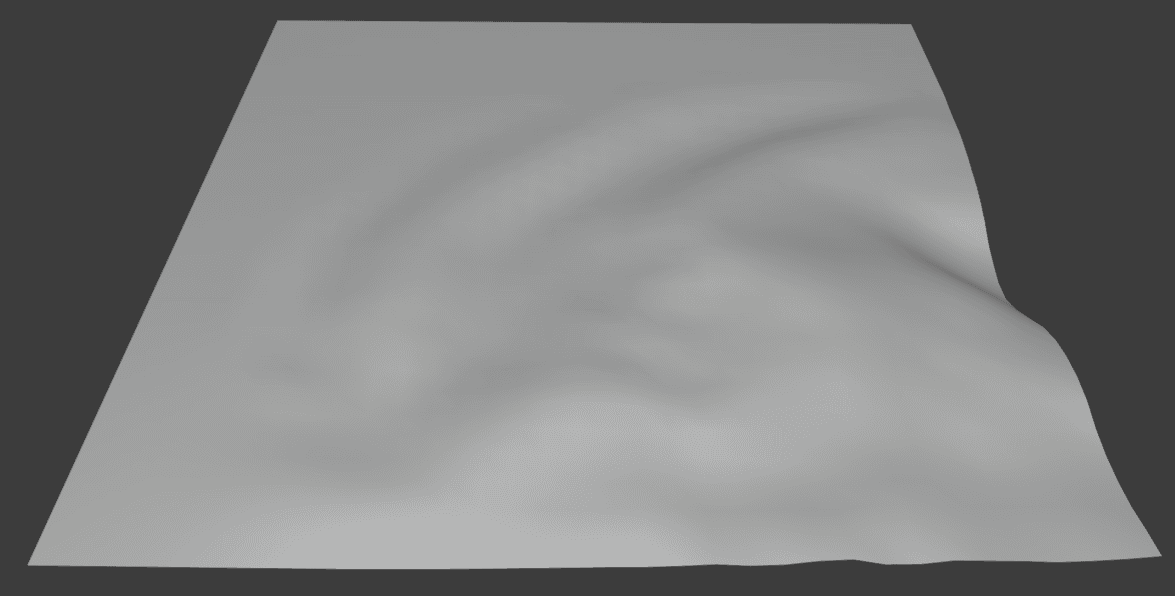
And you are now ready to use the brush. We can click and drag the object to apply come cloth simulation to it. Just like that.
Blender Cloth Brush Interface
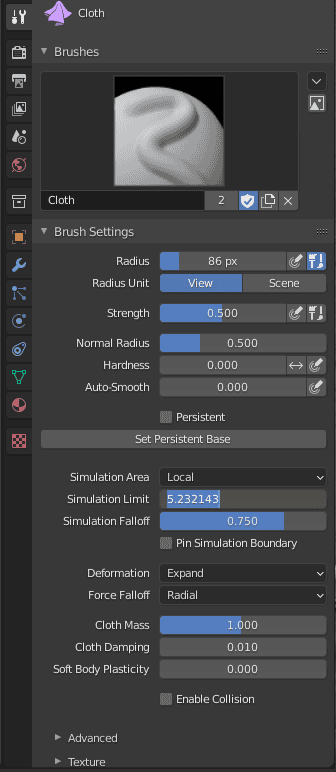
Most of the needed information that you need about the brush is situated on the top of the Sculpt Editor.

If you want more settings and information – you will need to open the Active Tool tab. It can be accessed both from the side menu > Tool tab and from the Active Tool tab in the Properties Editor.
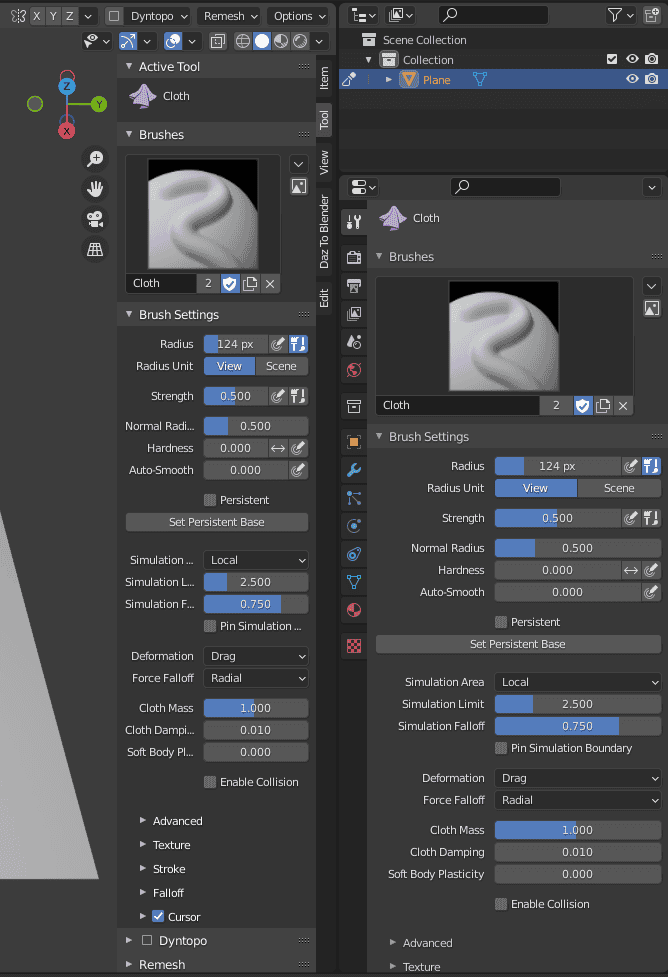
They are the same window that just can be accessed from different places. There is no need for both of them to be open, so you can choose one that you like more.
Here we change the most important settings for any brush – the radius and strength. And also a lot more additional settings. Moreover, here we change the type of the current Cloth Brush, but we will return to this later.
Now I want to turn your attention to the brush crosshair itself. When you mouse over the object – you see something like this:
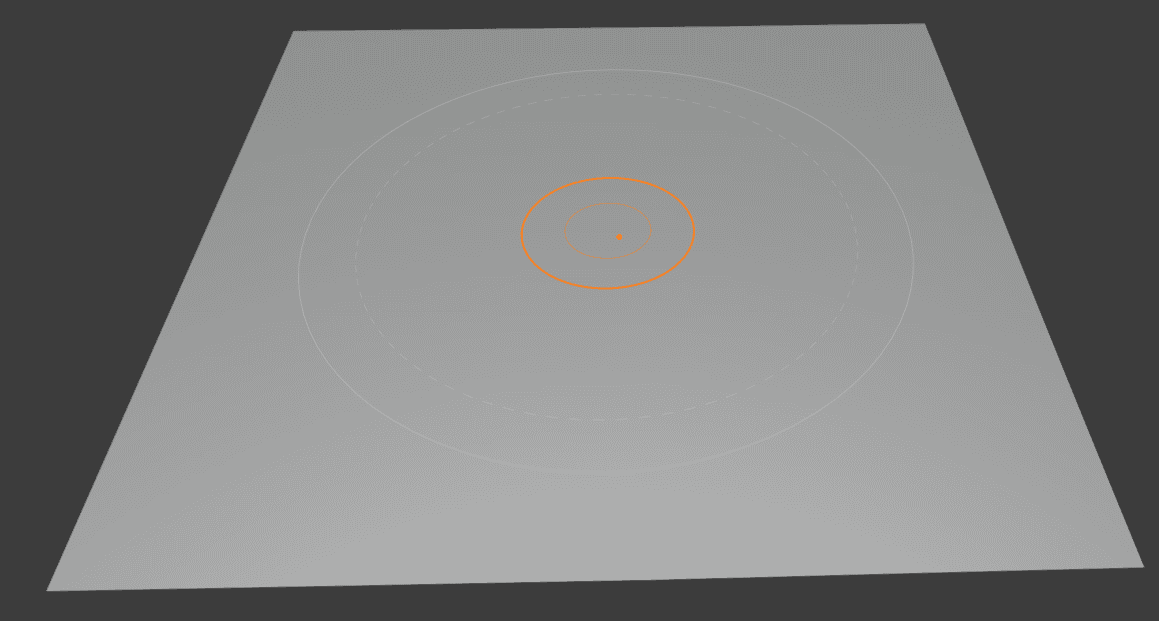
Four circles. Two orange circles in the center and two grey ones that are further out. Two in the center are the same as for most other Sculpting Brushes – faded one is the center of the force – the strongest point of the brush. And the brighter one is the falloff of this power, so closer it is to the line – less force is applied.
And the grey circles in the area of the simulation. When you press on the object – it dedicates only the part of the object that is in the grey area for simulation. Everything outside it – can’t be changed until you stop changing the current part.
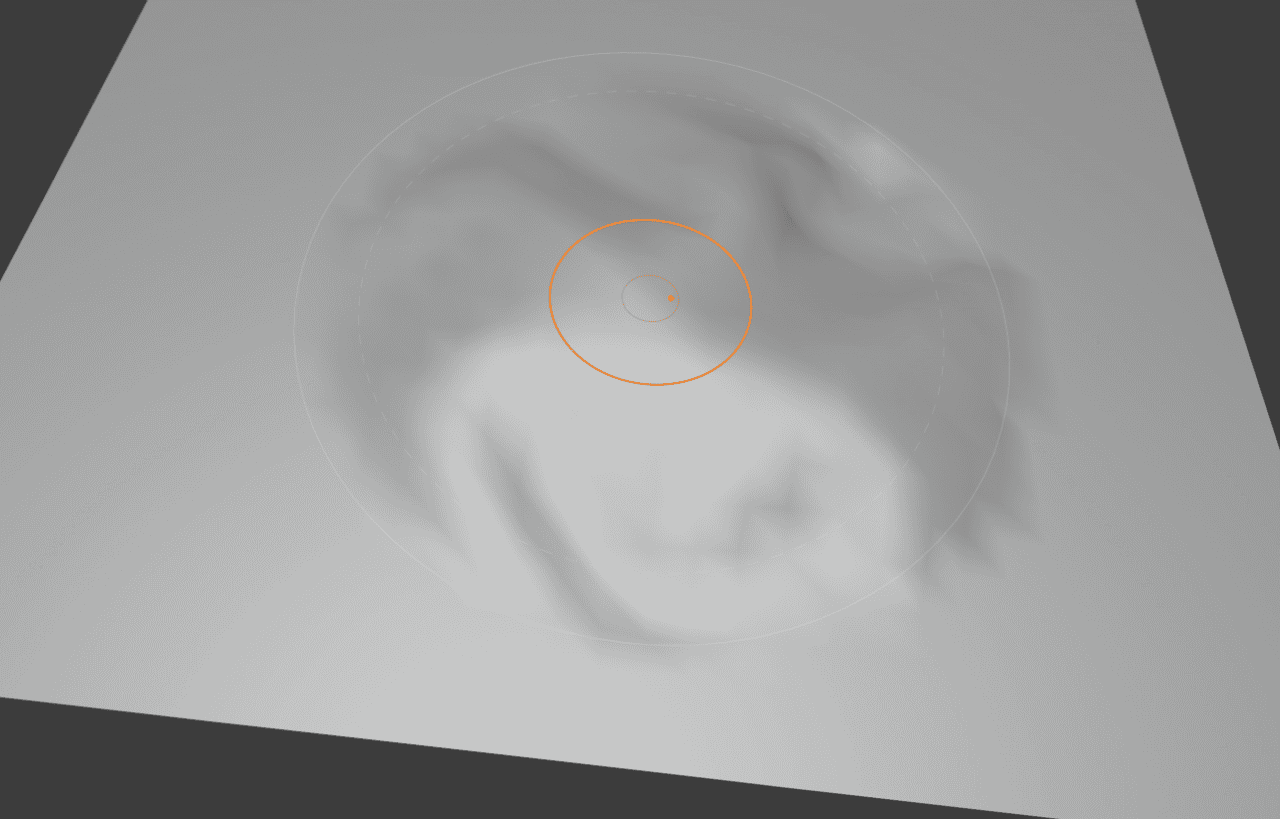
The screenshot shows how everything inside the grey outer circles was changed with the simulation, but nothing outside is changed. With the most changes seen inside the faded grey circle.
If you try to apply simulation outside of the grey circle – Blender will show you the same outline, this time in red. This indicates that you need to return your mouse into the circle if you want to make any changes.

This is important so that there would be no need to simulate physics on the whole object. This way it will be calculated much faster.
To avoid dealing with this, all you need to do is to constantly change small parts of the object. Alternatively, you can change the Simulation Limit setting in the Brush settings. Though as I have mentioned, this increases the time needed for calculation and thus can create quite some lag.
Different Cloth Brushes
Even though it seems that there is only a single Cloth Brush that you can use – in fact, there are several different ones Blender Cloth Brushes. You can find all of them in the Tool Settings window, deformation option.
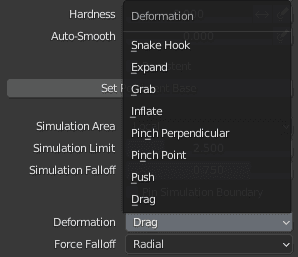
Technically, it is still the same Cloth Brush, which just uses different kinds of deformation. But it basically is used as several unique Cloth Brushes. Let’s look at all of them one by one, starting from the bottom, as Drag is the default option.
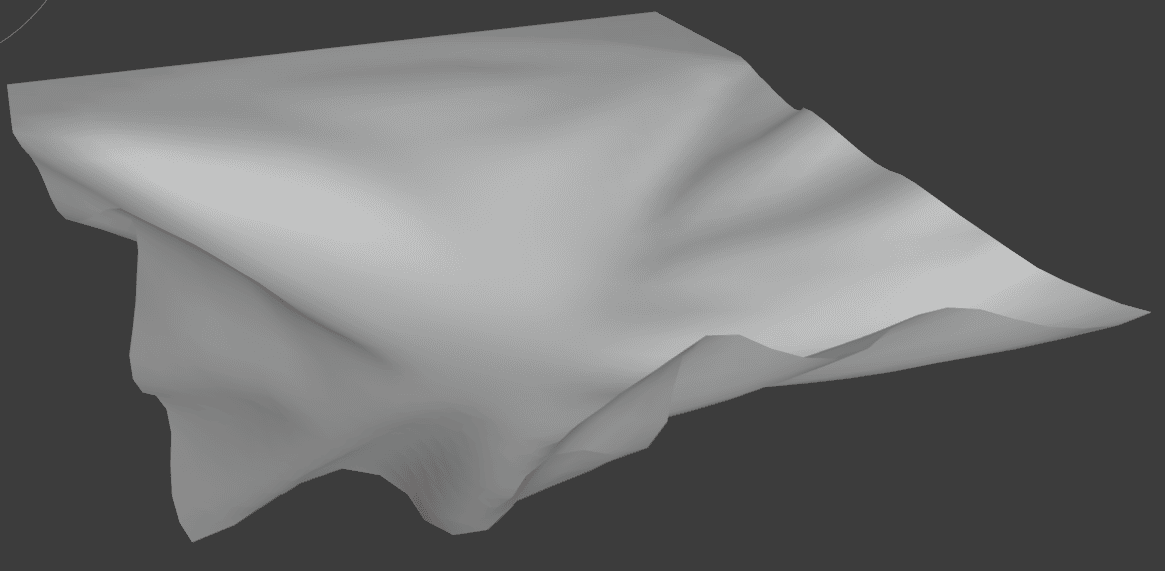
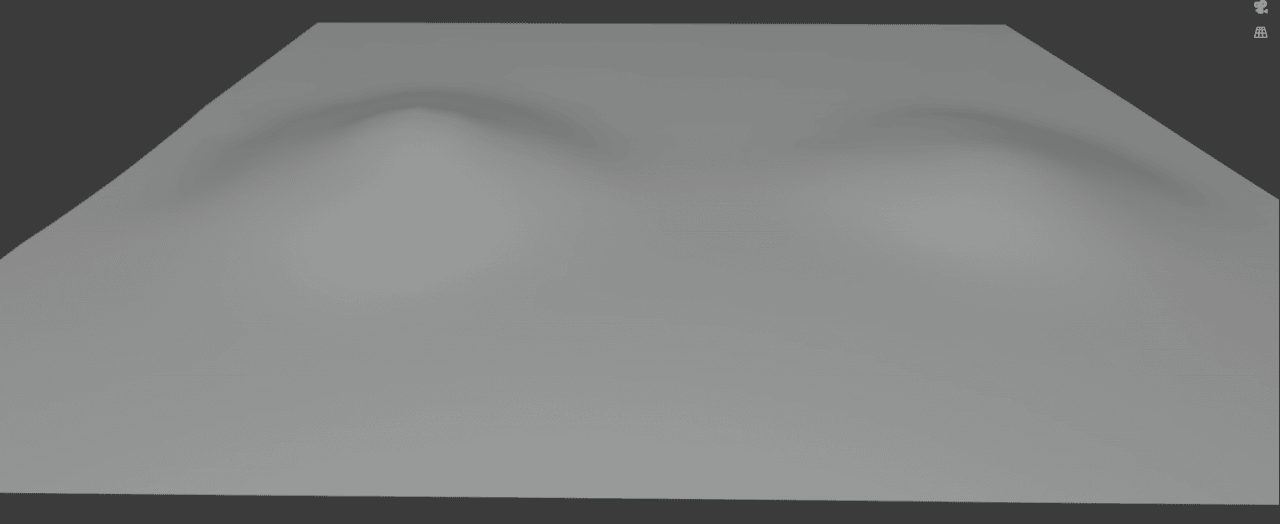
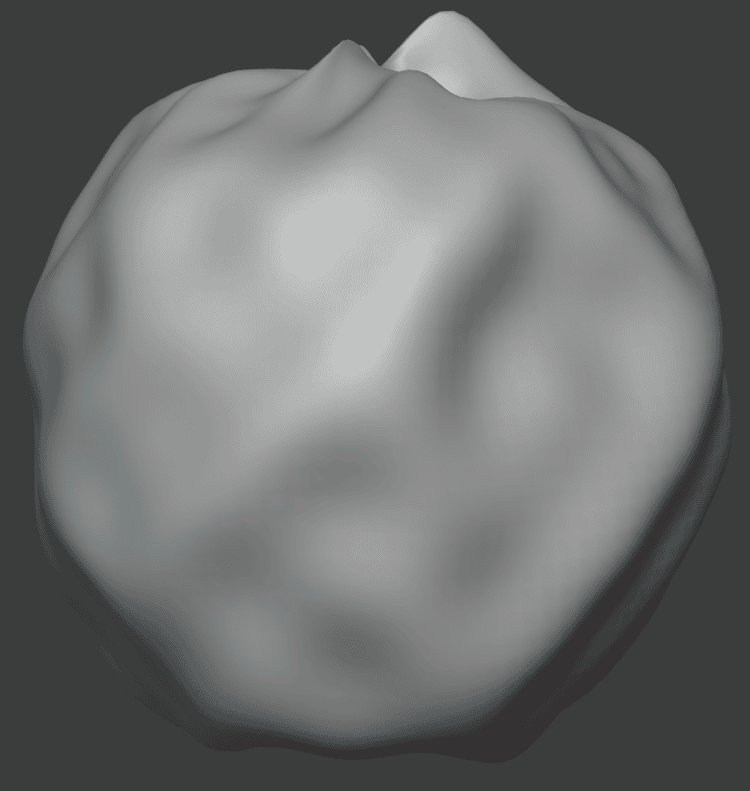
Drag is pretty easy to understand – it works as if somebody would take and drag on the cloth with their hand. Usually, it just wrinkles everything a bit. But if you have a big enough radius – it can change the whole object.
Drag Deformation
Push Deformation – everything is there in the name. It works as if somebody has pushed on the cloth object from above.
Push Deformation
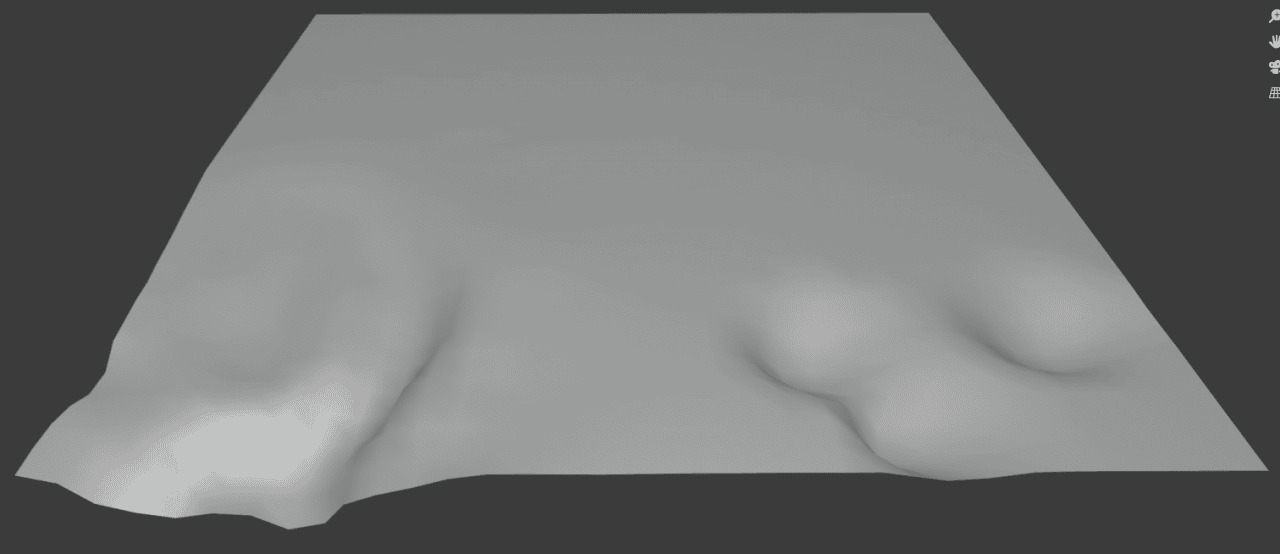
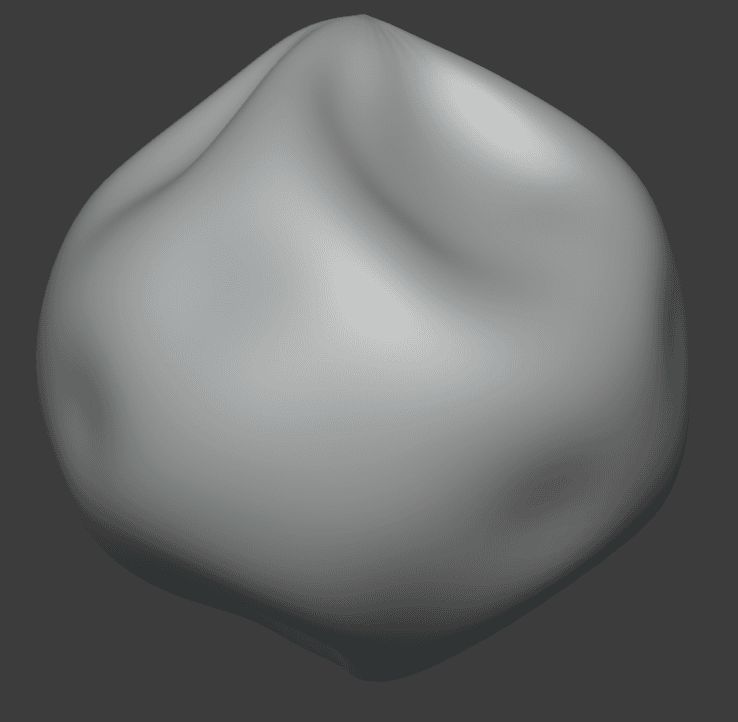
Pinch Point – pinching force is applied from two opposite sides, which usually results in a big wrinkle at this point.
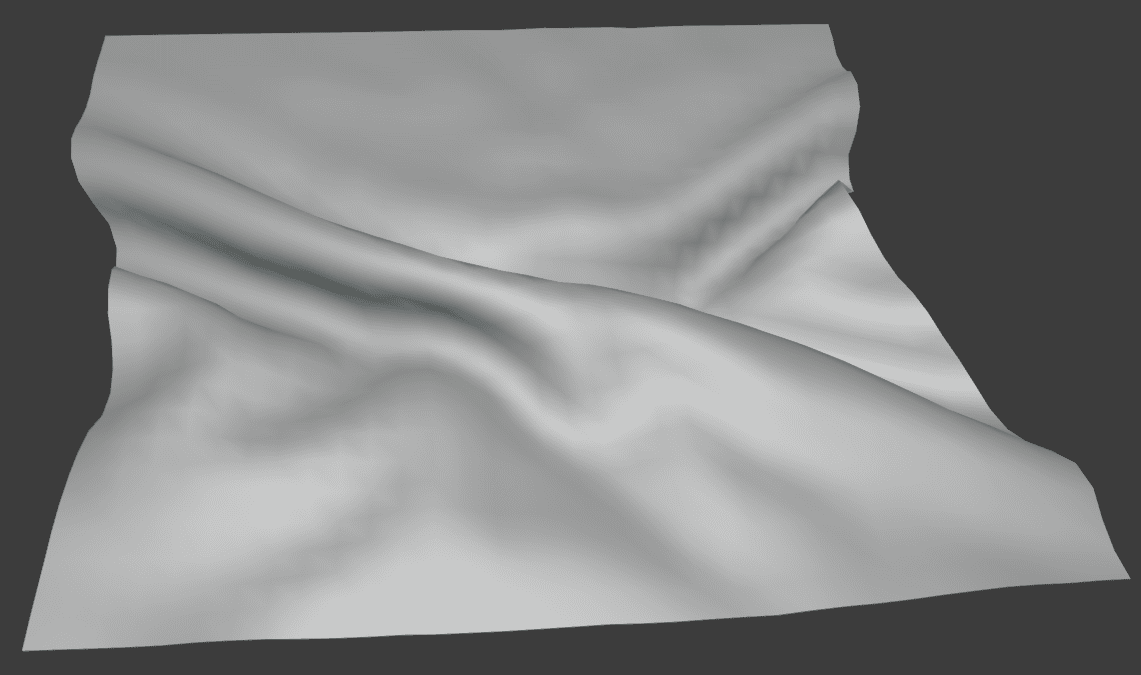
Pinch Point Deformation
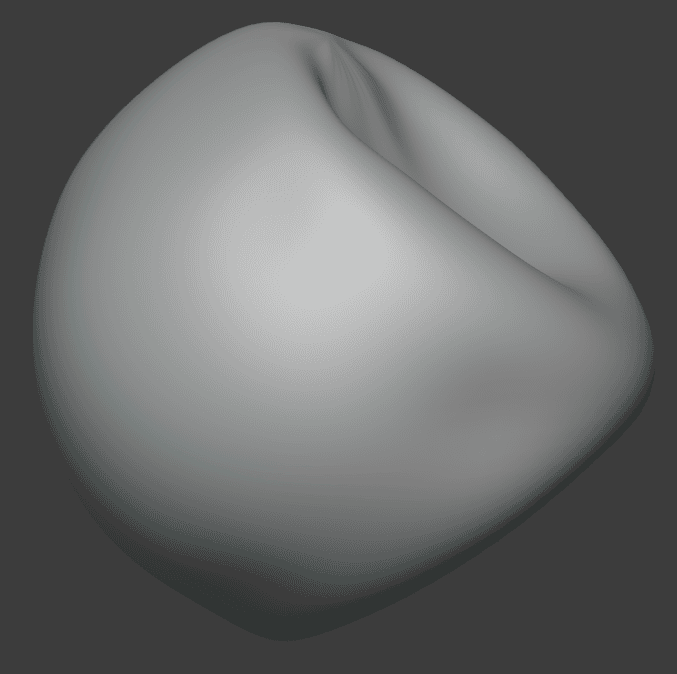
Pinch Perpendicular is basically the same thing as Pinch Point but works a bit differently. In most of the cases, I found Pitch Point to be more reliable and easier to use.
Pinch Perpendicular Deformation
Next – Inflate brush. This one pushes on the object from the inside. On the plane, it looks like it envelops something when used on the more complex object – it does indeed look as if it was inflated.
Inflate Deformation
There are both the Inflate and Push deformation present at the same time. This is weird, as you can invert any changes by holding [CTRL] while doing them. Though on the close inspection you may notice that they have small differences between them.
Inflate(left) and Inverted Push(right) Deformations
Grab is very simple. It just simulates as if somebody grabbed the object and started moving it. Regular Sculpting also has a Grab brush, but it works differently. As it does not simulate cloth – it does not create any wrinkles too, just deforms an object. On the screenshot below you can see Cloth Grab on the left and regular Grab on the right. The difference is obvious.
Grab Deformation
The Expand option is a good way to add some details to your fabric. It simply adds some random irregularities in the object, deforms it a bit, and adds details.
Expand Deformation
Last but not least – the Snake Hook brush. It is similar to the grab brush but much more gentle and subtle. Again, you also have regular sculpting Snake Hook, but it deforms the object a lot, so it is quite different.
Cloth Snake Hook(left) deformation and regular Snake Hook(right) brush
Cloth Filter
You may have noticed, that except for the brush that we are using – there is another brush with the Cloth in its name in the Sculpt Editor – the Cloth Filter.
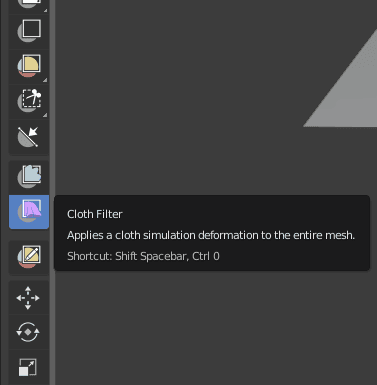
This is basically the same thing as the Mesh Filter above it, just for the Cloth deformations. Let’s look at it anyway.
What it does is it applies Cloth Simulation as the Cloth Brush does, but to the whole object simultaneously. This does not seem to work well on the Plane, so this time I will be using a high-poly sphere.
In the Tool menu, you will have the Filter Type setting. Here are all the types of this brush that can be used.
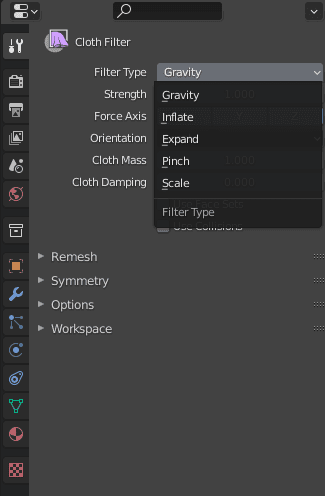
The gravity filter will just apply physics to the object and it will fall or rise.
Gravity Filter
Inflate filter – inflates an object. The sphere is already inflated, so instead, I have inverted the filter and deflated it.
Inflate Filter
Then goes Expand and it does exactly what was expected of it. When applied to the whole object – it also makes it a bit bigger, as goes from the name.
Expand Filter
Pinch applied force from two opposite directions:
Pinch Filter
Conclusion – Blender Cloth Brushes
A cloth Brush is a very useful tool that is enjoyable to use. But it is important to understand that you can’t replace regular Cloth Simulation with this brush. It is best used combined with the simulation to add even more details and make it more realistic.
I hope you enjoyed this Blender Cloth Brushes Tutorial. Don’t forget to check out our other tutorials. For the new users, we have a Blender Basics Tutorial. And to learn more about modifiers such as Cloth Simulation we have a Blender Modifiers Tutorial.