This Blender Physics Simulation Tutorial show how to do all kind of physic simulation with Blender. We will cover physic properties, rigid body, collisions etc.
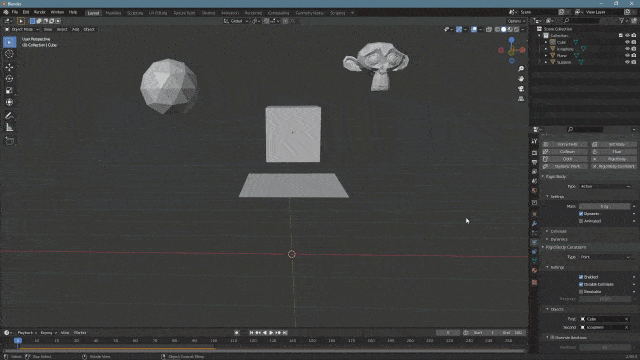
The main interface for handling Physics in Blender would be the Physics Properties tab of the Properties Editor. There you can find all kinds of simulations that can be applied to the selected object.
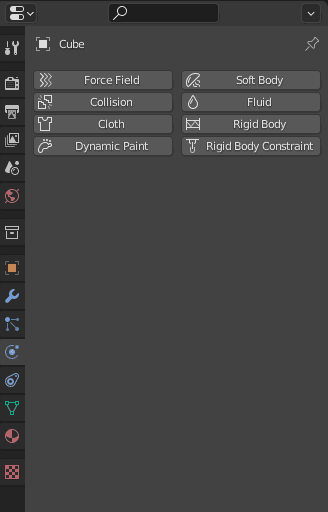
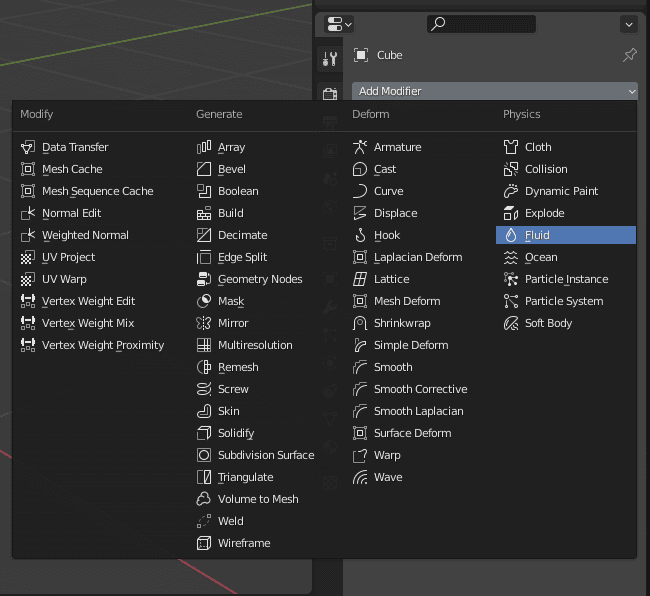
Also, Physics can be applied as modifiers in the according tab. But there is little to no reason for doing this because all settings for these Physics would be in the Physics Properties tab only.
We saw that there are several different simulations that we can apply. So let’s try them out one by one and learn how they work.
Rigid Body Physics
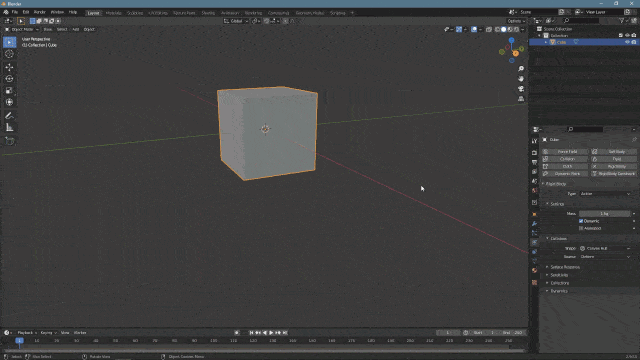
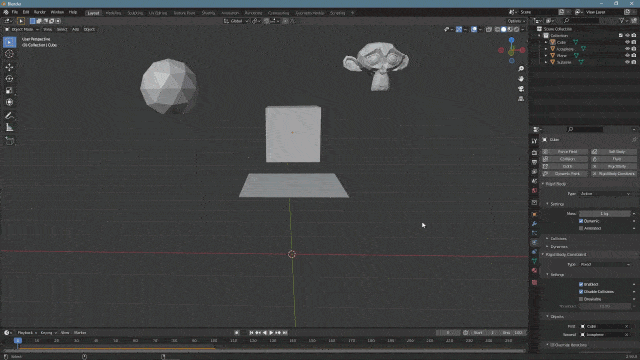
I want to start this from the simpler simulations, that is why I have chosen a Rigid Body simulation. All it does is make it a physical object that will obey the laws of physics. So after applying it and playing animation, we can see that it simply falls.
For it not to fall infinitely into the abyss – we need to add another rigid body object, so they could interact. In the settings of this object, you should change its type from Active to Passive.
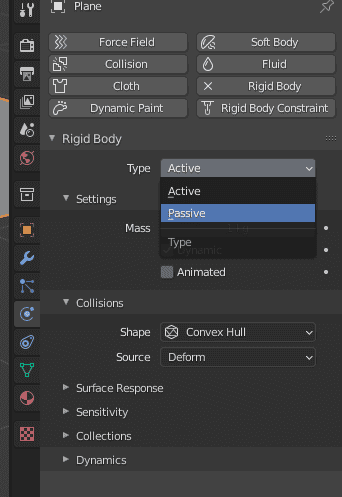
This means that the object will stay in place, instead of falling. So it is the type suitable for walls, floors, etc. It stops Cube from falling infinitely and instead, it lands on the Passive Rigid Body.

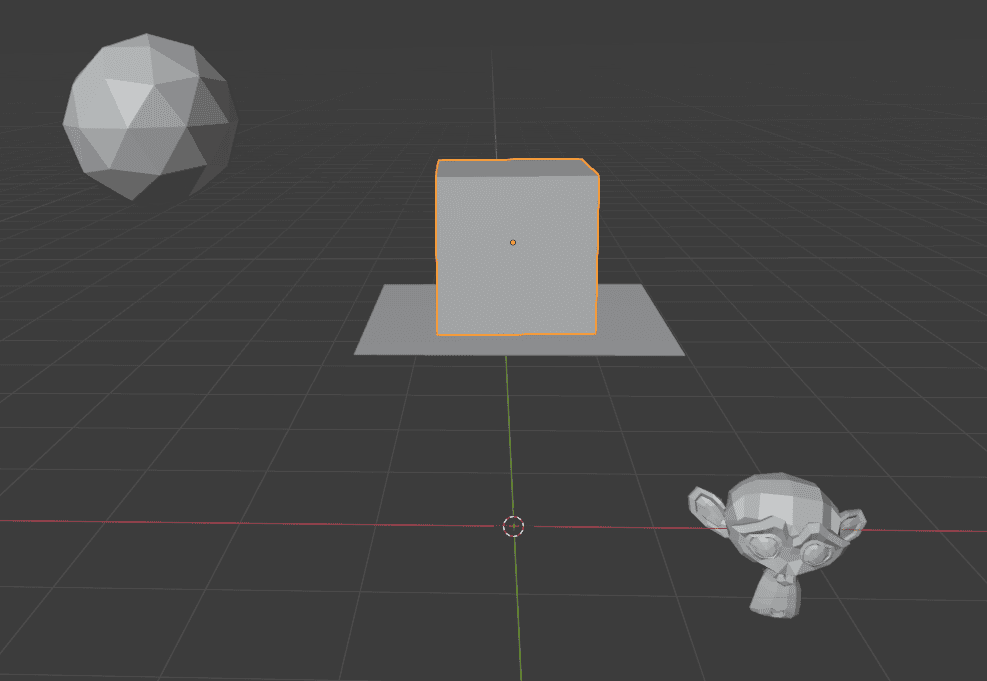
Using the Physics settings it is possible to change the mass of the object. Maybe make it heavier so it would push out lighter ones. Also, you can alternate the collision shape here and even how it will interact with the surface in a matter of friction and bouncing.
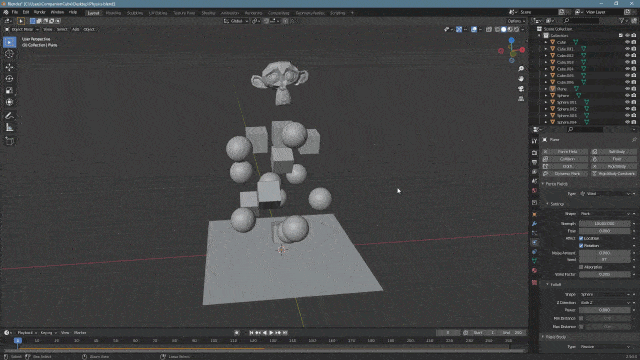
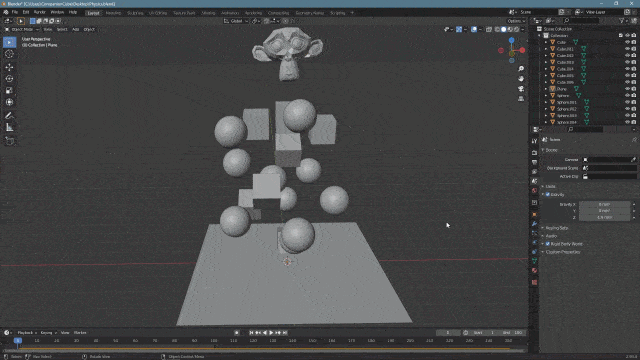
Using Rigid Bodies and their settings, you can create mini-scenes like the one below.
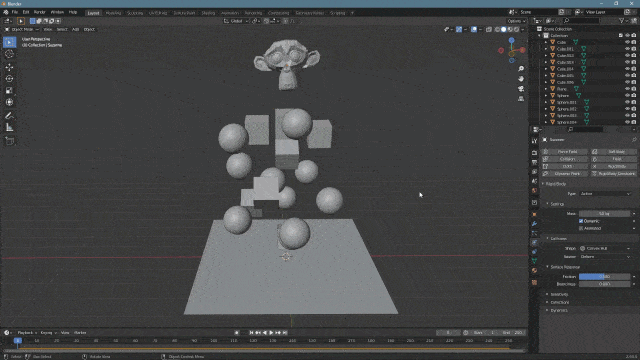
Notice how the monkey pushes everything out of its way. This happens because the monkey object is the heaviest out of them all.
Collision Physics
Next is Collision Physics. This one is very self-explanatory – it just makes selected objects collide with other objects. It is basically the same thing as a Passive Rigid body, the only difference is that a Passive Rigid Body interacts only with other Rigid Bodies, while Collision will work with all other simulations like Cloth, Fluid, etc. But would not work with the Rigid Body.
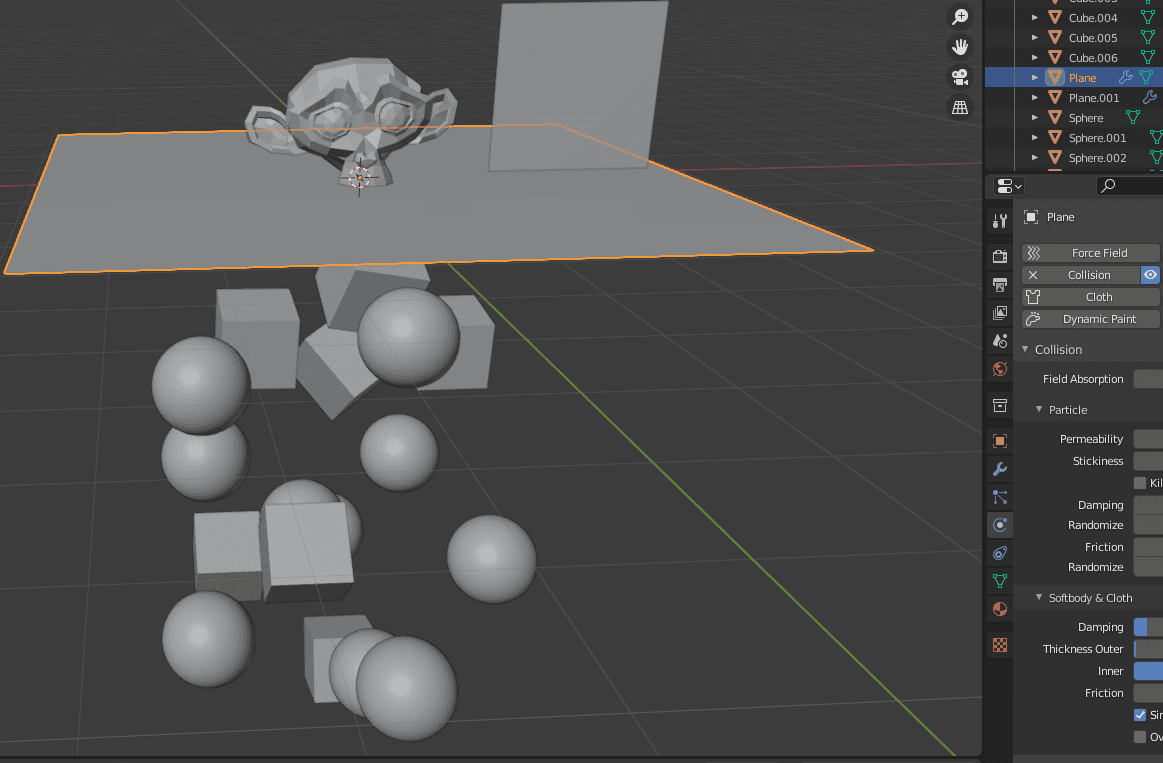
Rigid Bodies falling through Collision, while Cloth object stops
Force Field Physics
Force Field creates a constant force around the selected object. By default, it is a pushing force. I have applied this simulation to the plane and increased the strength a lot, so it would affect my rigid bodies.

We can see how everything gets pushed outwards from the plane. Everything except the Suzanne object, because as I have already mentioned – it is very heavy. So the strength of the force field is not enough to push it.
The main feature of Force Fields is that it has a lot of different types that you can use. Each type is unique and has different effects on the scene.
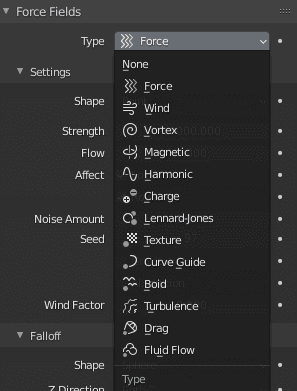
There are 13 types available at the moment. I won’t go over all of them. Besides, not all of them are equally useful and interesting. I would recommend you test out these types yourself if you are interested in using Force Fields.
Some illustrative examples: Wind Force Field is very similar to the default Force one. The main difference is that Force pushes into all directions from the object. While Wind pushes only one way – where the object is directed to. Lower you can see how all objects are pushed upwards, instead of all directions.
Another cool example is the Vortex type. It looks totally different from the previous two. It does not push objects upwards at all, instead, it pushes everything away from the object in a vortex motion.

Blender Cloth Physics
Cloth physics makes objects behave like they are made of cloth. So it would be soft and fold under the push of gravity, itself, or other objects. It is a very important and huge part of using physics in Blender, so we dedicated not one, but two articles to this theme. Blender Cloth Simulation Tutorial to learn about regular Cloth Physics. And Blender Cloth Brushes Tutorial to learn about brushes that are available in the Sculpting menu.
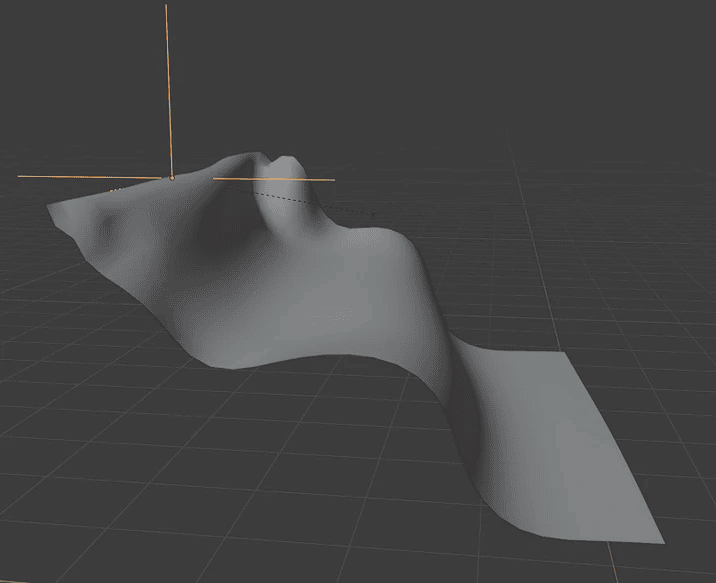
From Blender Cloth Simulation Tutorial
Blender Dynamic Paint Physics
This one is very weird. Dynamic Paint allows you to turn objects into canvases and brushes. Then these brushes can influence canvases in some manner. For example, you can create prints of the brush on the canvas. Or you can create waves made by brush as if the canvas is made of liquid.
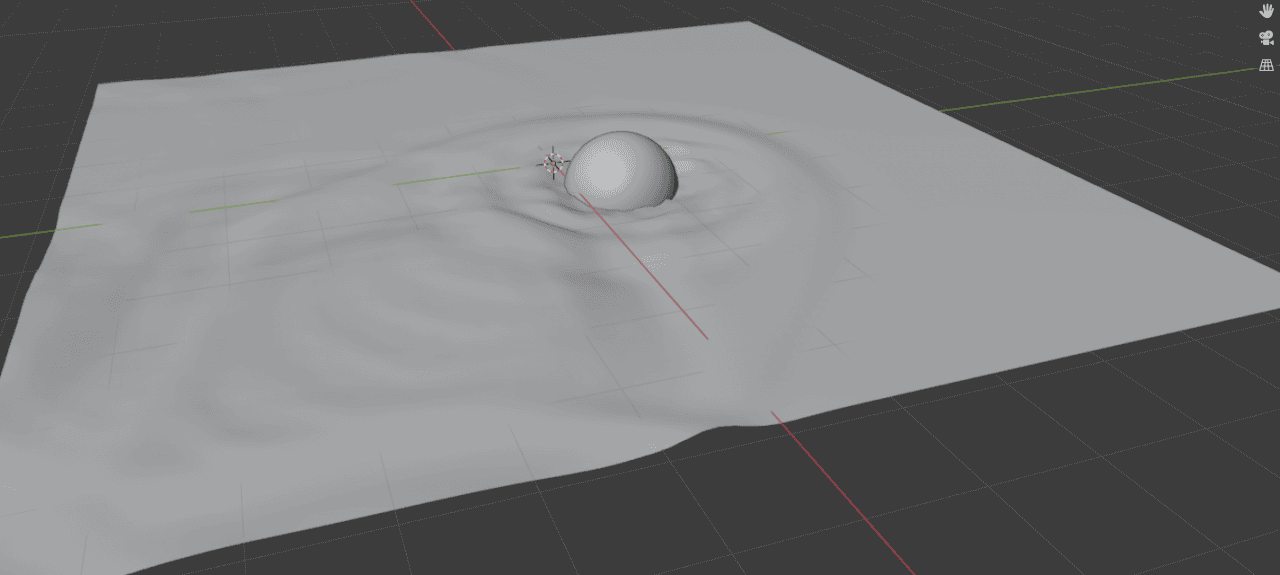
Brush sphere creating waves on a canvas
Also, you can straight up paint with the brush or even displace geometry. The big problem is that using this simulation can be difficult and convoluted. But if you manage to make it work – it can be very useful.
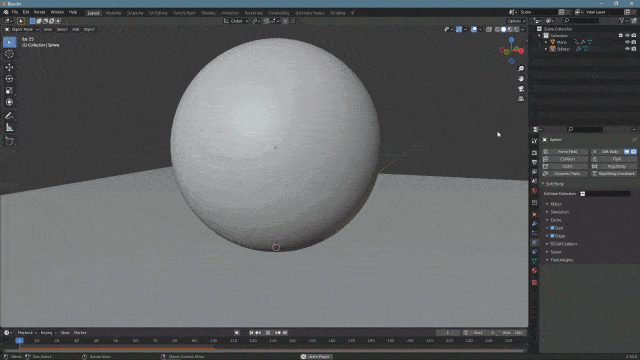
Blender Soft Body Physics Physics
Soft Body is a weird one. When you add it to an object, you expect that it would be the same as a Rigid Body, but soft. But when you try it out – it is not like that at all. Instead, the object does not even fall under gravity and stays where it is. At the same time, it starts going up and down without much going on.
This is because just in itself, Soft Body simulation is not interesting. But when you have something that it can interact with – it becomes much more interesting. Even if it is something as simple as adding an object for it to collide with.
It can be very similar to the Cloth simulation at times and it even can be replaced with it. But this simulation is important because there are a lot of soft things that are not made of Cloth. For example – our bodies, which are not static and instead jiggle with each movement. So it can be very useful for simulating human bodies jiggling.
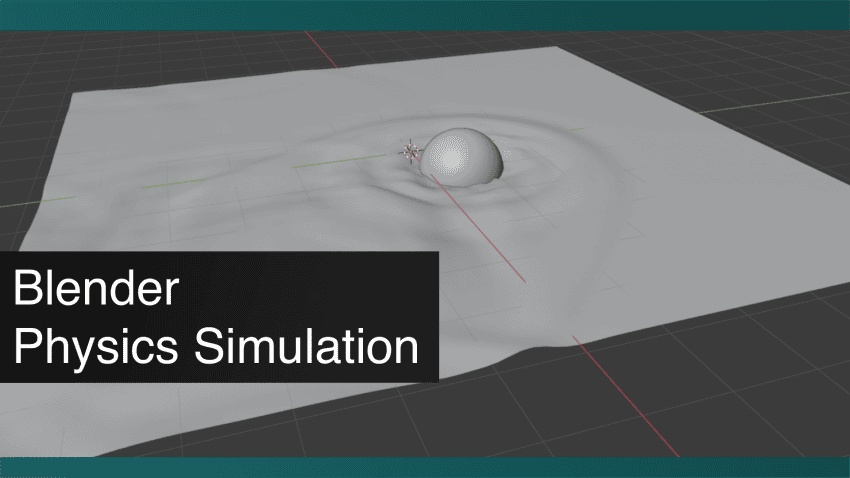
Fluid Physics
Simulating fluids is fun! And also it is not that hard if you know what you are doing. Blender offers you to simulate not only liquids but even smoke. We have an in-depth Blender Fluid Simulation Tutorial that explains everything you need to know to create fluid simulations yourself.
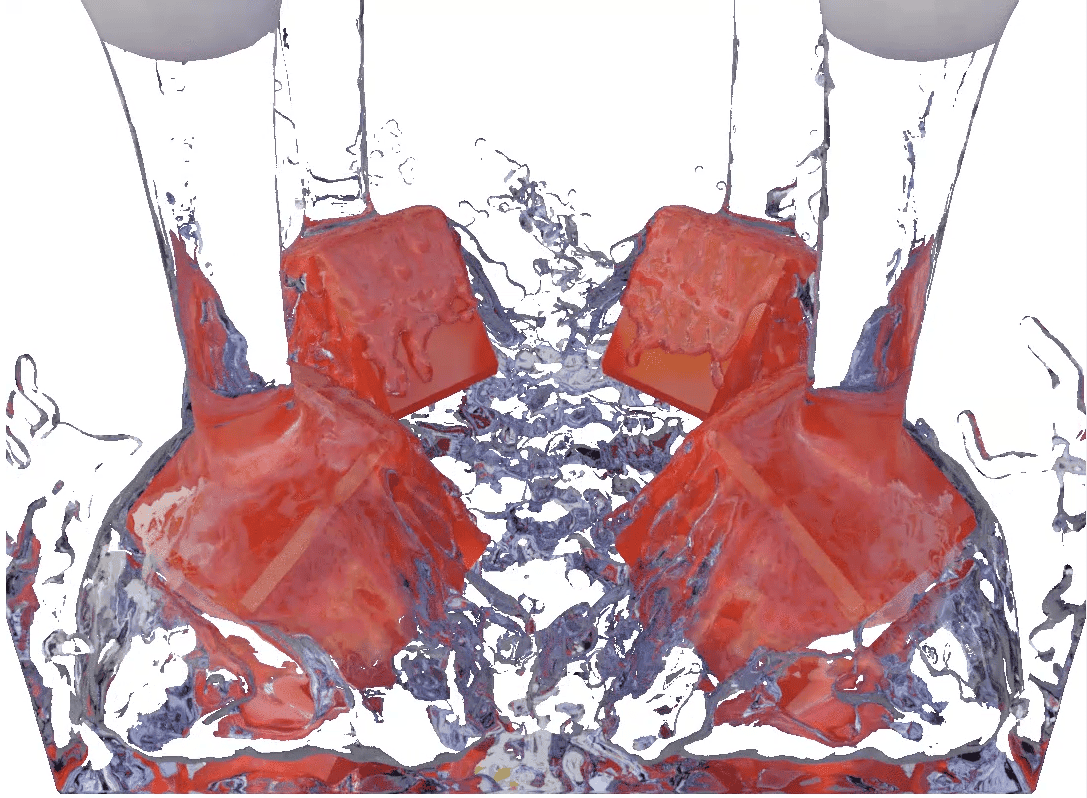
From Blender Fluid Simulation Tutorial
Rigid Body Constraints
This one can only be applied to an object that is already a rigid body. What it does is connect two rigid bodies, so one would influence another. For example, the cube and the sphere are connected. So even though the cube falls on the plane, it then gets dragged down by the falling sphere.
But if I make the Cube weigh a lot more than the sphere – the sphere would not have enough force to move the Cube. Instead, the sphere would be locked in place as soon as the cube hits the ground and stops.
Additionally, there are several types of constraints here. For example, instead of the default one, you can make it so it will be connected to a point. This means that the sphere would not fall, nor stop. Instead, it would rotate around the stopped Cube like a pendulum.
Blender Gravity
A lot of physics we showed are dependent on gravity. By default, Blender has an Earth gravity. But what if you want to change that? It is fairly easy. All you need to do is go to the Scene Properties and find the Gravity section.
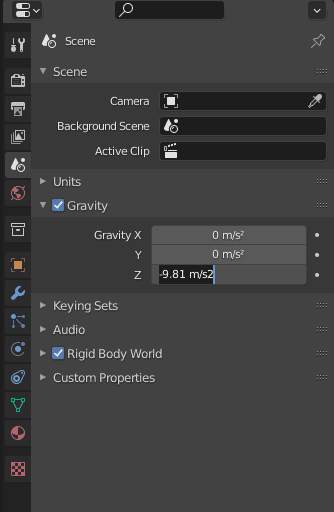
Here you control whether there would be any gravity, in which direction it would pool, and with how much force. So you can apply, for example, moon gravity to the scene and see how it changes everything:
Moon Gravity scene
Baking Blender Physics Simulation
Some simulations can be baked into keyframes. This means that simulation would be saved as animation and would not be calculated each time you change anything anymore. This option is usually found in the Cache section of the Physics Simulation you are working with.
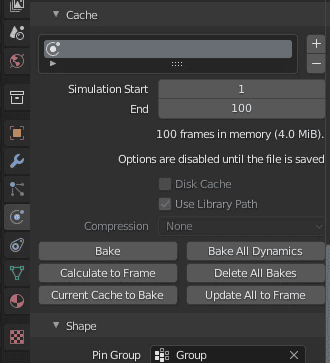
Not all simulations have this section, though. Only the more difficult ones to calculate, such as Fluid and Soft Body. Here you select the start and end frame that you want to save and press Bake.

After this, simulation is baked into keyframes and it will be left as is until you delete the cache. I would recommend you to always bake your final simulations, as it can be better for rendering and minimizes glitches and other problems.
Conclusion – Blender Physics Simulation Tutorial
Blender Physics Simulation is very powerful and can be huge timesavers. This is the thing that I would recommend anyone to look into and research for themselves, as you may never know which part of the work can be calculated automatically for you.