
This Blender Cloth Simulation Tutorial explains how to simulate cloth inside Blender. We will cover pinning, hooking and baking cloth simulations.
In our previous Blender article, we introduced the Cloth Brushes that are found in the Sculpting section of Blender. Then we concluded that these brushes in no way replace the regular Cloth Simulation, but instead accommodate it. So today let’s look closer at the traditional Cloth Simulation in Blender, how it works and how to handle it.
How to Simulate Cloth in Blender
For starters, let’s see how this Blender Cloth Simulation is done. Of course, we need an object for this to work – it can be any object, so I will try this on the default Cube. Select an object and proceed either to the Modifier Properties, where you can add a Cloth Physics.

Or to the Physics Properties, where the same thing can be done. This variant can be preferable, as after adding a simulation – all the settings for it will appear in the Physics Properties and not in the Modifier Properties.
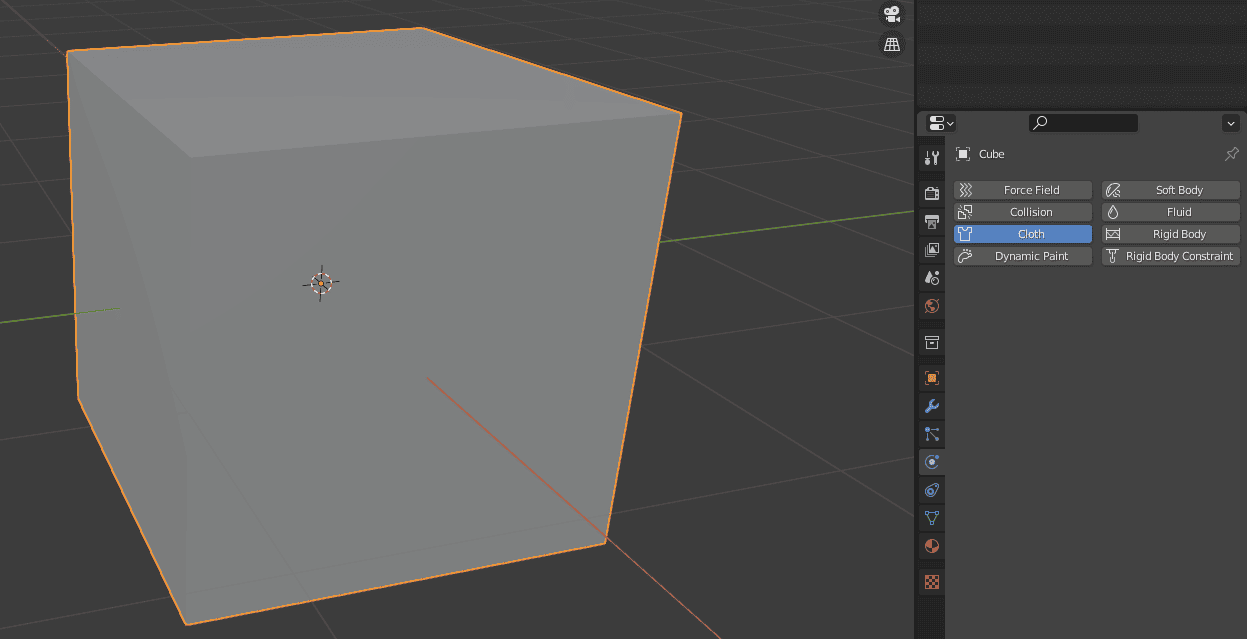
After adding Physics Simulation to an object – you will see a lot of new settings appear in the Physics Properties window.

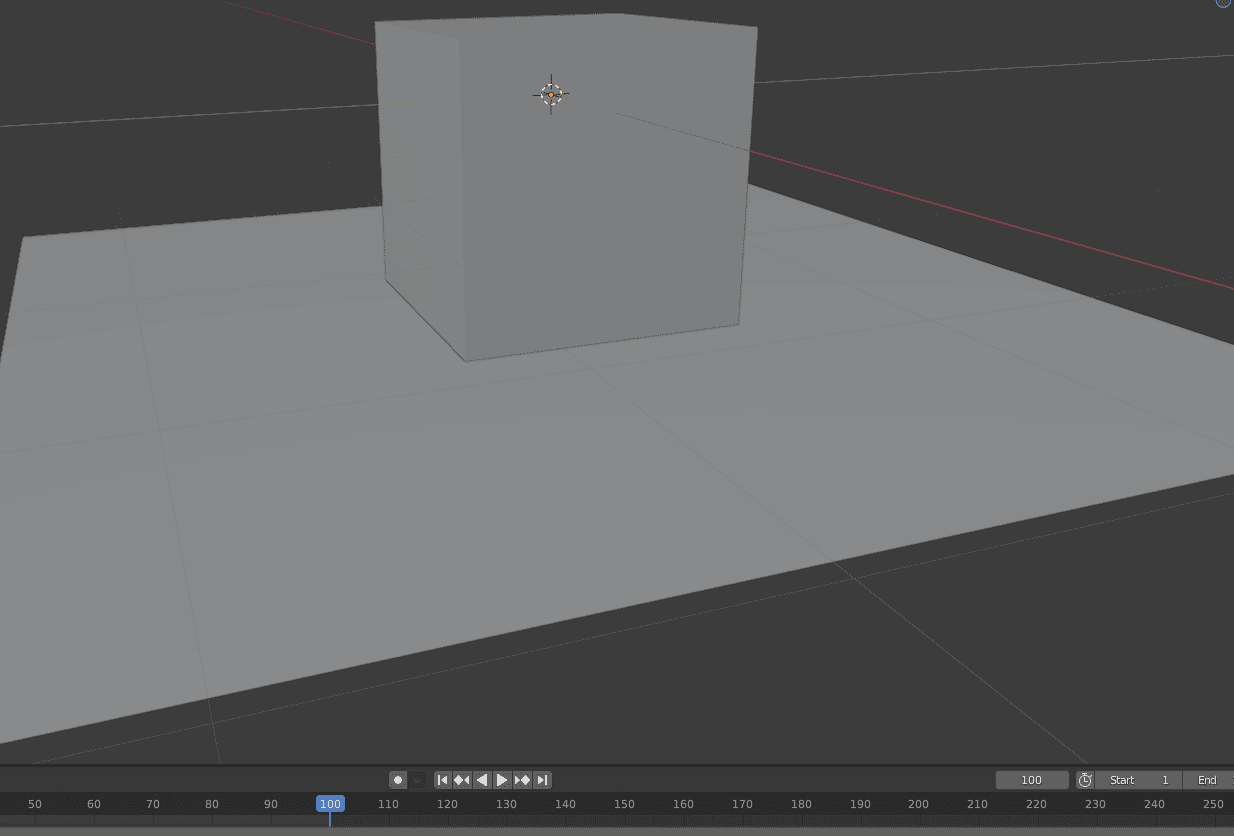
We will return to them later. For now, let’s see what this simulation did to the scene. Press play and see what happens. Well, nothing interesting happens. The Cube just falls down with gravity and that is it.
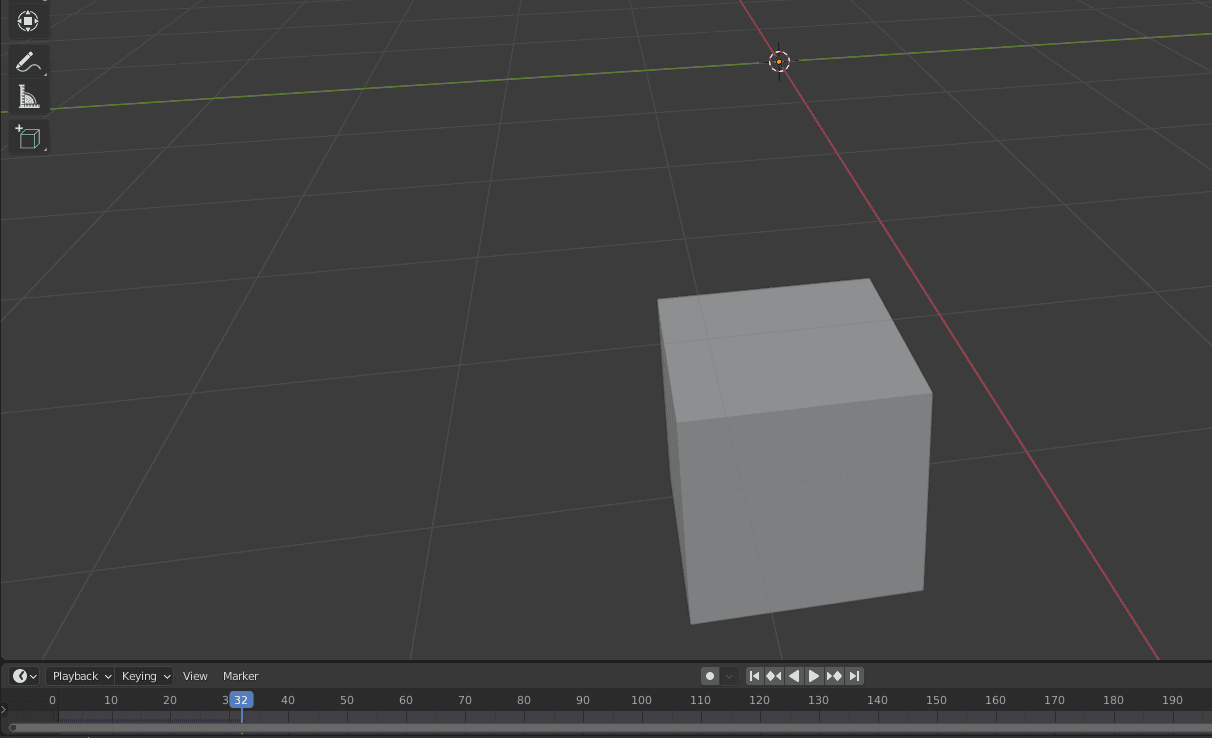
We need another object for this scene to work. An object that will catch the Cube and don’t let it fall.
Don’t forget to return to frame 0 to change the scene. Now I have added the Plane object and put it right beneath the Cube, so it would fall on it. But when I press play – Cube just goes through it and falls further anyway.
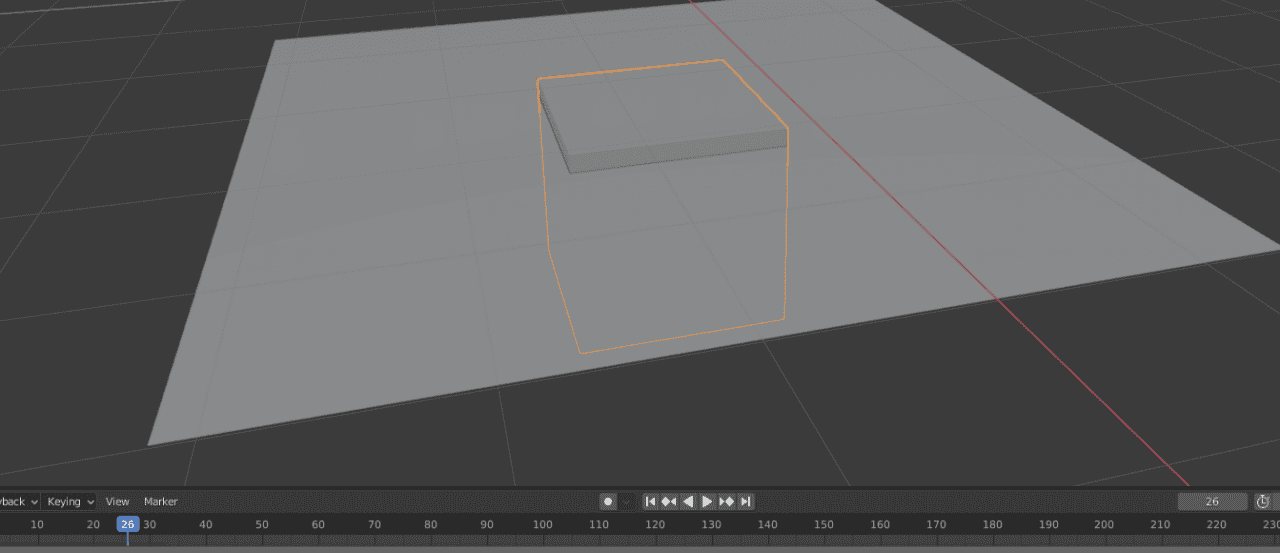
This is because we need to also add physics to the plane object, as right now it is nothing for the Cube. To do so – select the Plane and in the Physics Properties apply Collision to it.
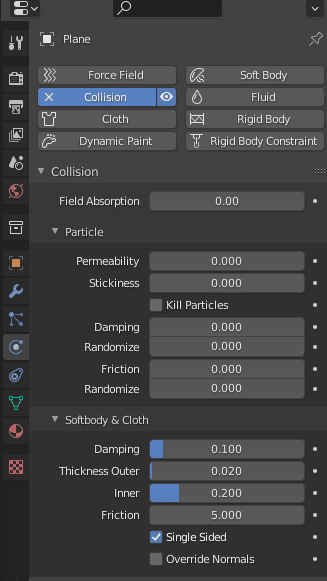
It is a simulation that makes this object collide with other objects. Nothing more and nothing less. No need to change anything further too.
Finally, Cube stops falling infinitely down and is stopped by the plane. But that is it, it just stays on the plane without any change. No Cloth Simulation is seen.
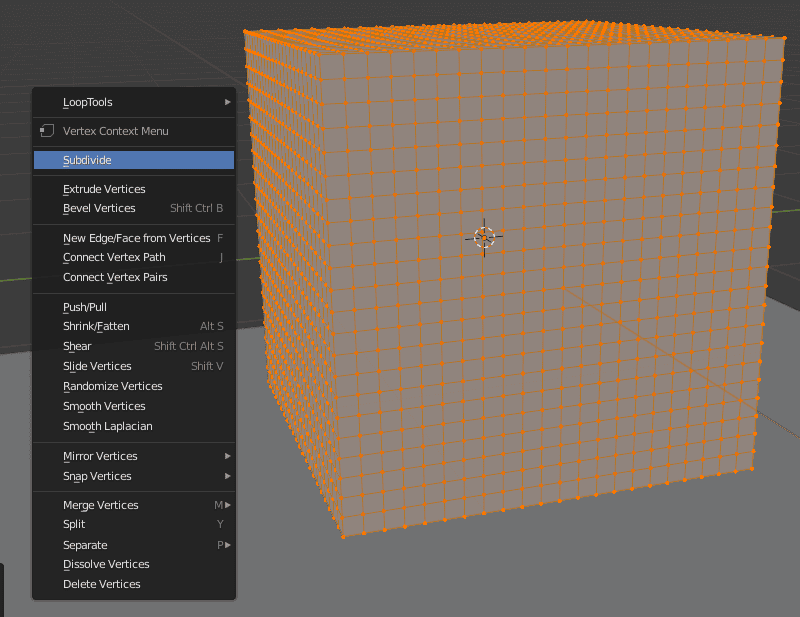
For basically any simulation to work, you see it needs quite a bit of geometry, so it could change and deform it. And this default cube only has 8 vertices and that is it. So Cloth Simulation can’t really do anything with this, it is just too few.
To make this situation better – you just need to add geometry to the used object. More geometry it has – more realistically the simulation will look. But also more time will take to first calculate this simulation and then render. So you need to have a balance here. I have just used Subdivide a few times to add some geometry to the Cube.
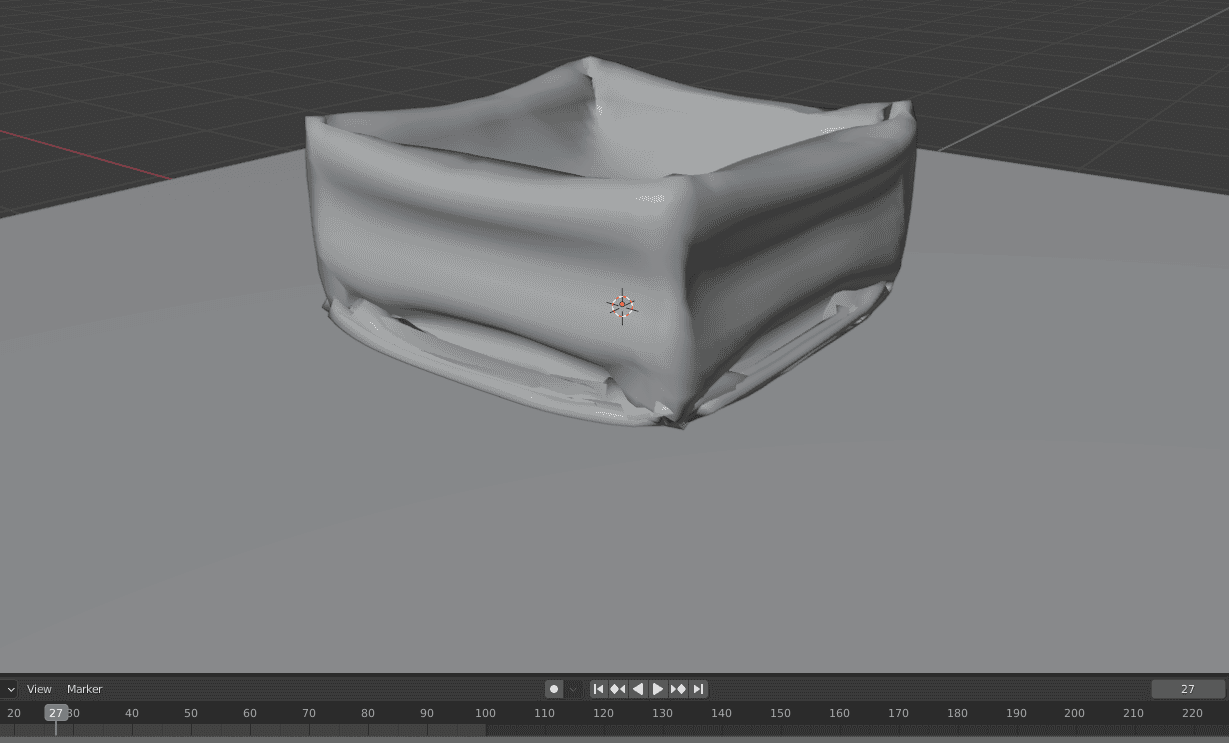
Now, when I press play – the Cube falls onto the plane and finally deforms. Looks like it is made of cloth.
After this, you can experiment with the created scene. Try putting the Cube higher or lower and see how this affects the scene. Also rotating it even for a few degrees can change the simulation a lot.
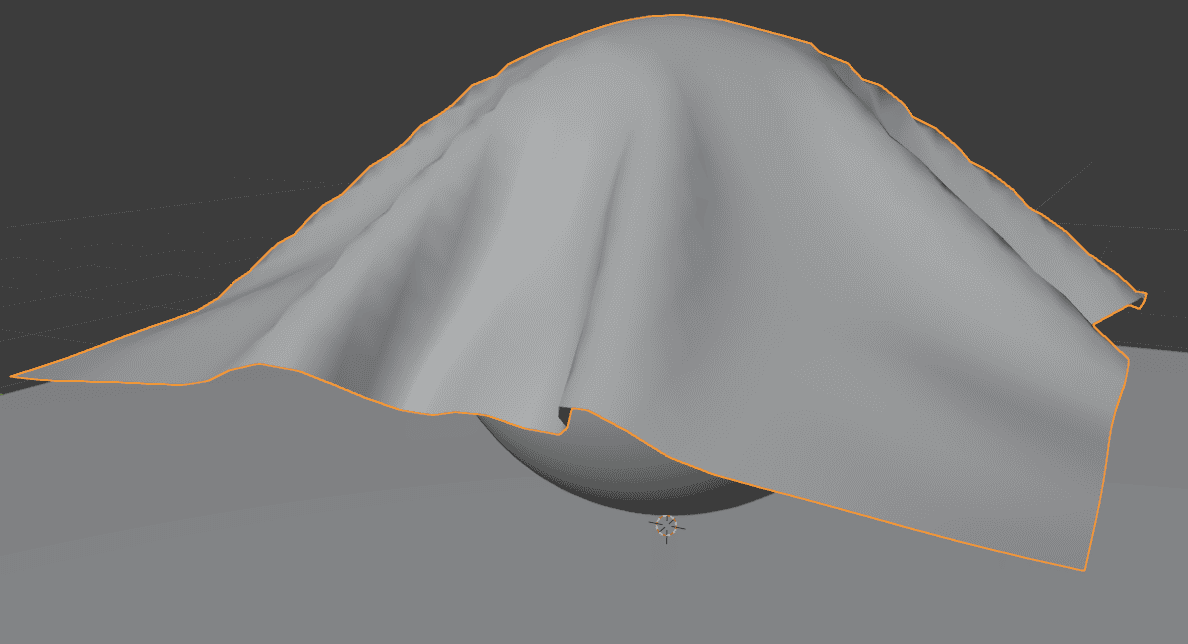
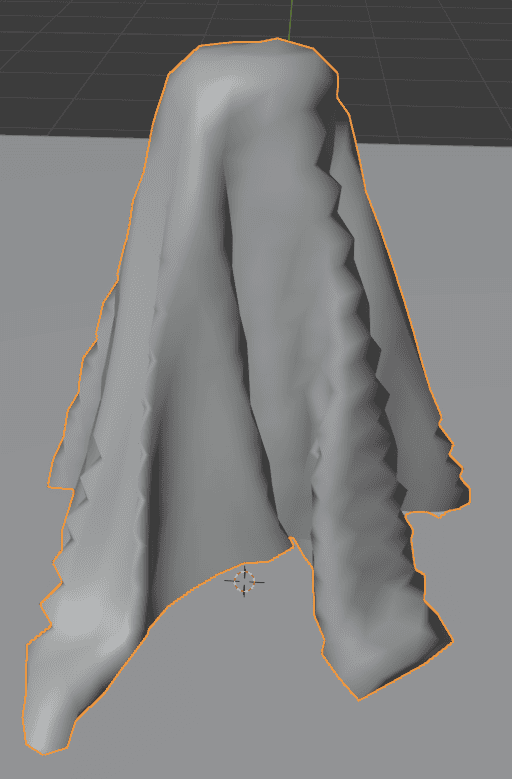
But overall, the Cube is not a great object for the simulation. How many cloth cubes did you ever see? The better object can be a sphere or a plane. The plane is great for cloth simulation, as it will behave like a piece of cloth.
Combined together with other objects that have collision simulation – it will envelop them nicely.
Blender Cloth Simulation Settings
Now it is time to talk about the settings that are found in the Physics Properties of Properties Editor. There are a lot of them and only a few of them make major changes. So I will introduce only ones that I consider important enough.
Starting from the top with the Quality Steps setting.
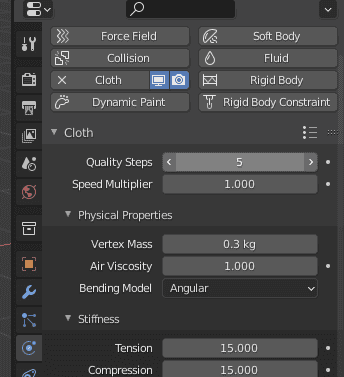
This setting literally controls the quality of the whole simulation. At the lower values, it can be really bad. Objects will intercept, bug and lag out, etc.

Quality Steps at 1
The higher you put this setting – the more realistic simulation would be calculated. Already at the value of 2, it is much better.

Quality Steps at 2
But same as with a lot of other things – it is important not to go over the top with this. Because obviously each increase in this setting also increases the power needed to calculate this simulation.
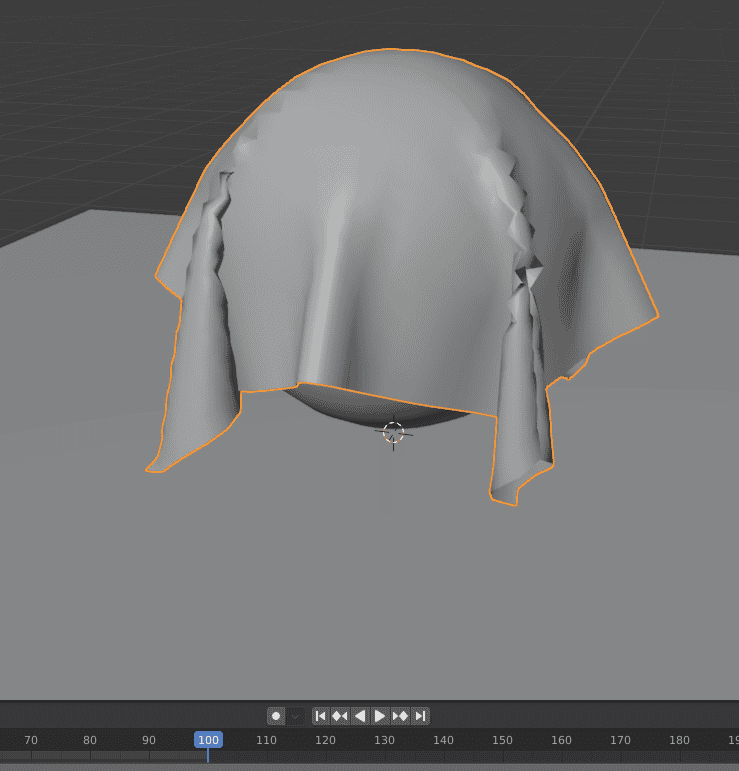
And most of the time – there is no need to go too high with it anyway. Like here we can see the same simulation at Quality Steps 5 and 10, but they don’t look very different. Instead, they are very similar and have the same problems. But Quality steps 10 is much slower.

Quality Steps at 5

Quality Steps at 10
Right below – Speed Multiplier. Pretty self-explanatory, it manages how fast it calculates the simulation. So at higher values, you can simulate the same thing on a much earlier frame. Or with lower values, it will be simulated much slower and it would be possible to catch a very detailed frame, which is not possible to catch with Speed Multiplier at 1.
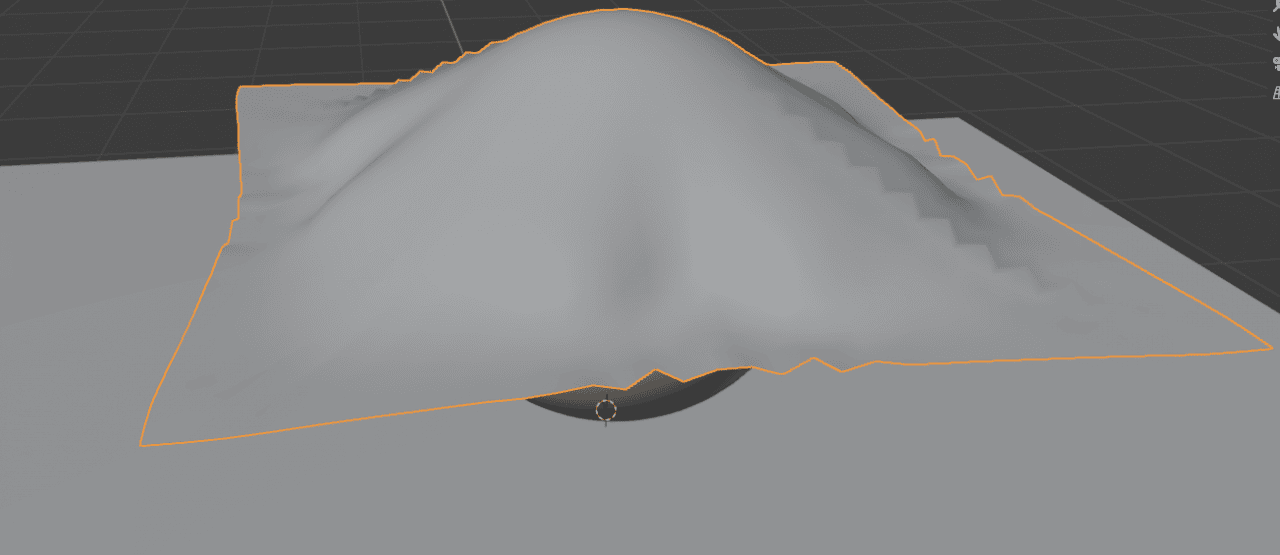
Vertex Mass changes the weight of each vertex present on the object. If you have a very low weight – the object will fall slowly and will be constricted by the air. When I make my plane very lightweight – it can’t even fully envelop the sphere, because of how light it is.
Vertex Mass is at 0.05 kg
Heavier Vertex Mass drops faster and envelops objects easier. Here you can see that my plane fell onto the sphere and did not get pushed up by the air, because of how heavy it is.
Vertex Mass is at 50 kg
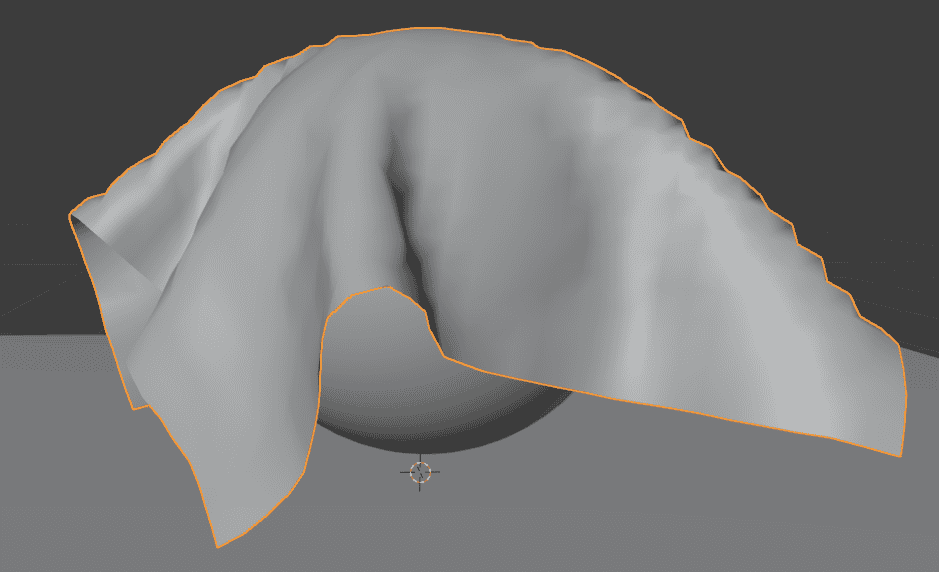
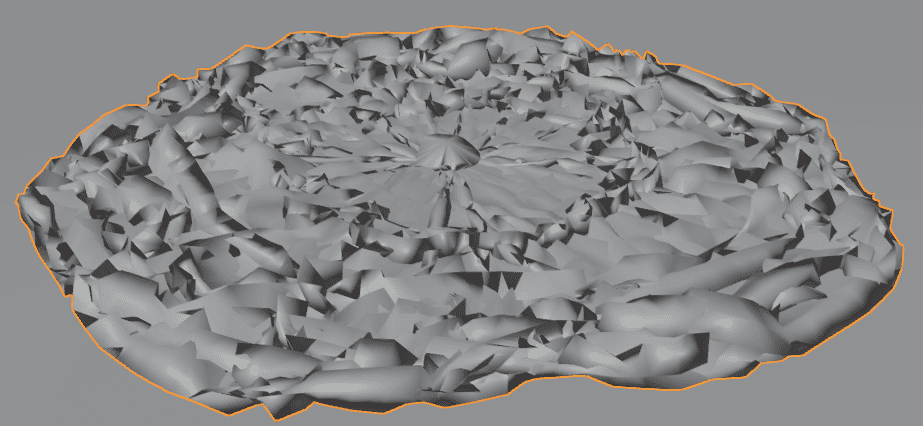
Air Viscosity controls the resistance to deformation. At low Air Viscosity – the object is very easy to deform. My plane has fallen onto the sphere very fast and enveloped it with ease.
Air Viscosity at 0
But if you have high Air Viscosity – it will not deform as easily. Similar to when it was lightweight – the object falls slowly and deforms much less.
Air Viscosity at 10
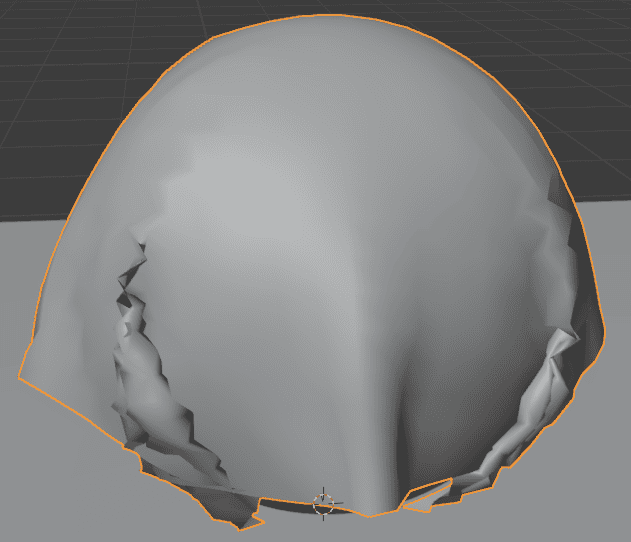
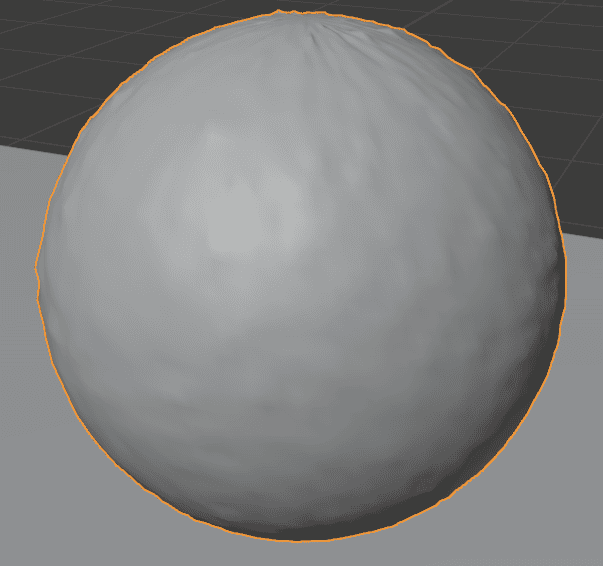
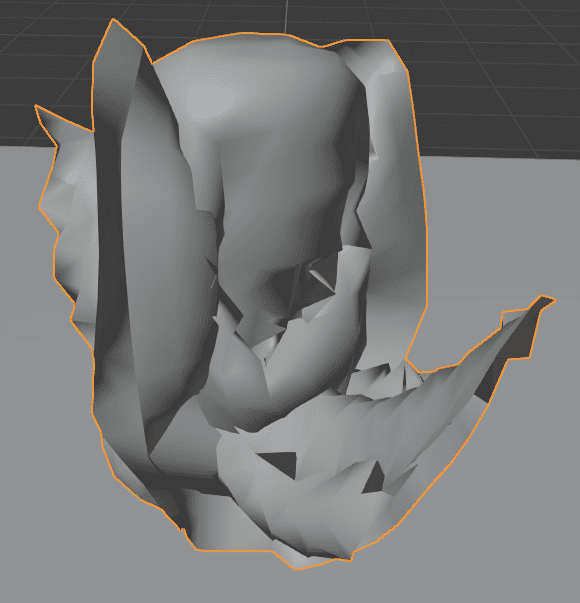
Next, we have an Internal Springs setting. It does what it says – adds springs to the simulation, so it would bounce. The plane does not work well with this setting, so instead let’s use a Sphere. Here is how it looks when just simulated with the regular Cloth Simulation settings:
Just a deflated mess. Does not even resemble a sphere anymore. But when I add an Internal Springs setting to this – it behaves totally differently. Instead of deflating and falling flat on the floor – it behaves more like a ball.
When it hits the ground, the whole object deforms a bit, after which it jumps upwards, as if pushed with the springs. This works together with all other settings. For example, if you increase the mass of this object, it will jump absolutely in a different manner.
After this, we have the Pressure setting. Again, it is not very obvious on the plane, so let’s return to our old friend – subdivided default cube. If you don’t remember, here is how it looks simulated with the default Cloth settings:
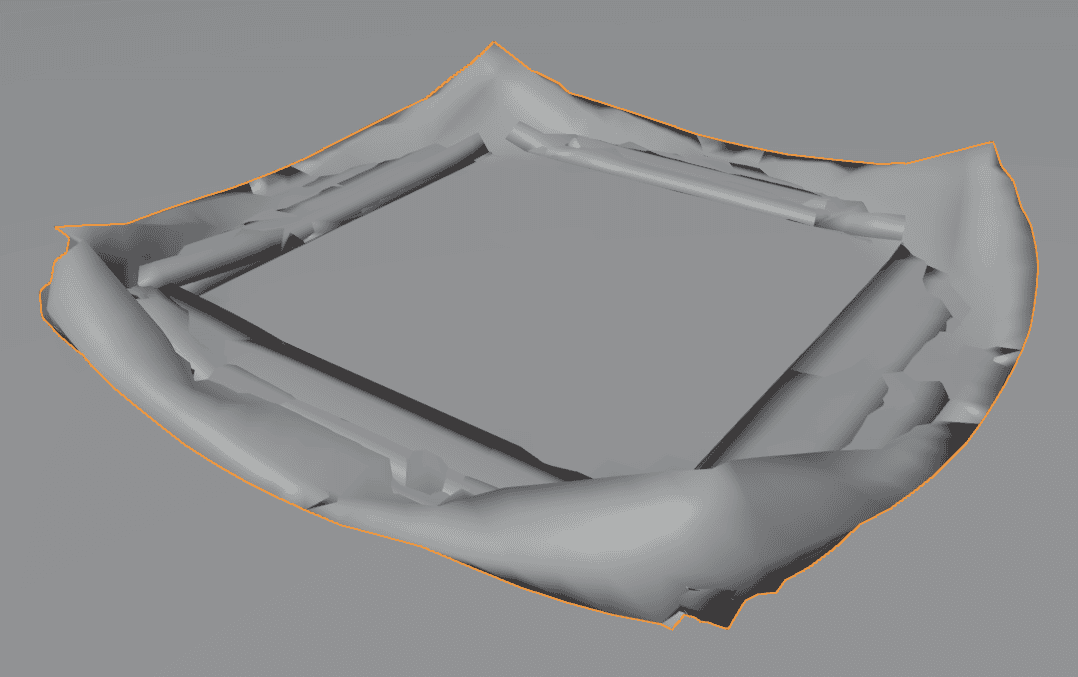
Pressure is turned off
A deflated and deformed object. But look how much everything changes, when I turn on the Pressure setting.
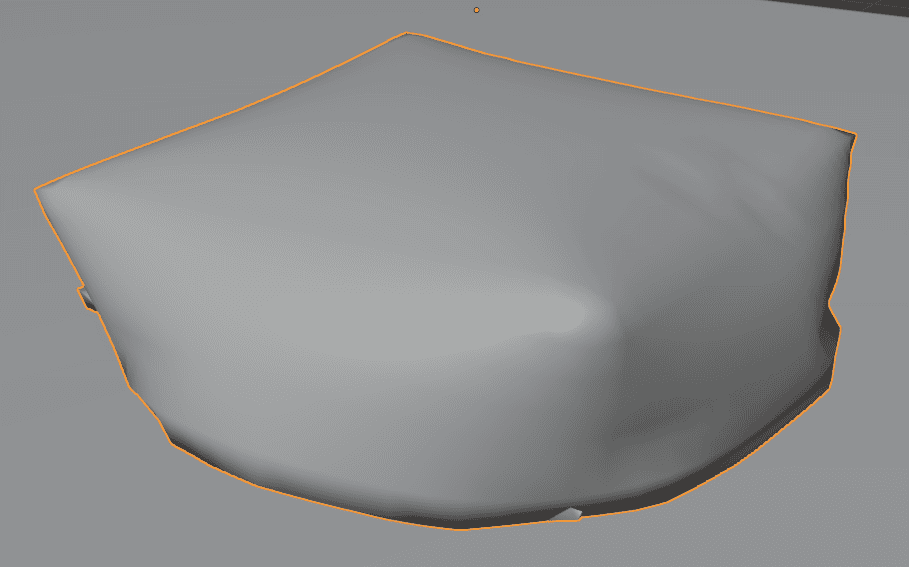
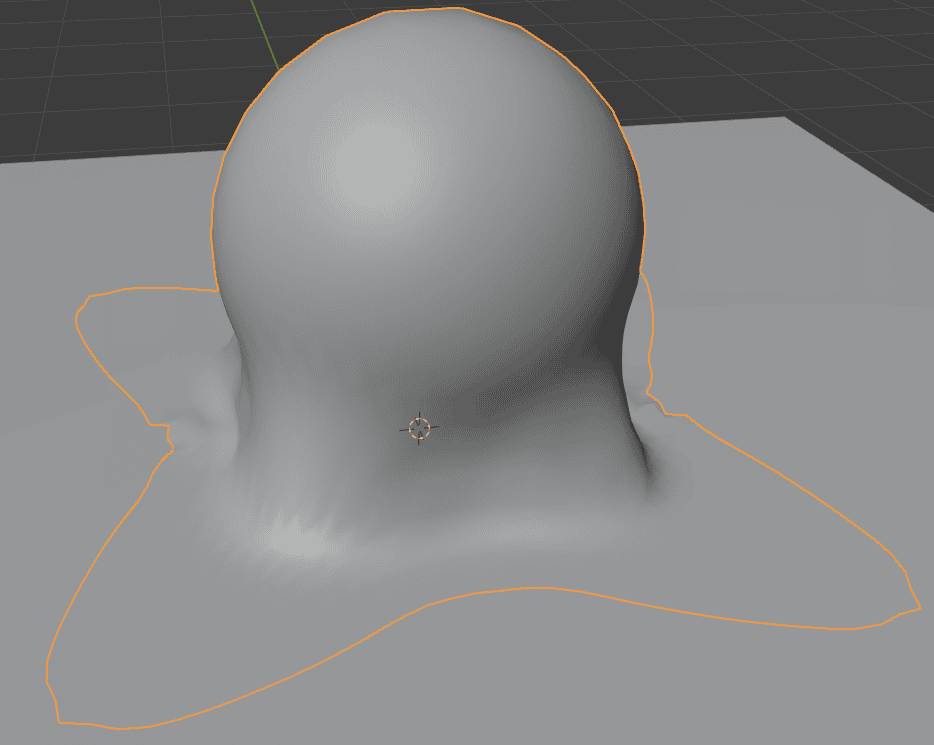
Pressure is at 0
Now a part of the cube looks inflated. And this is basically how it works. It creates pressure on the object from the inside, similar to how air creates pressure on the inflated object. By adding more pressure, we will make it look a lot more like an inflated cube:
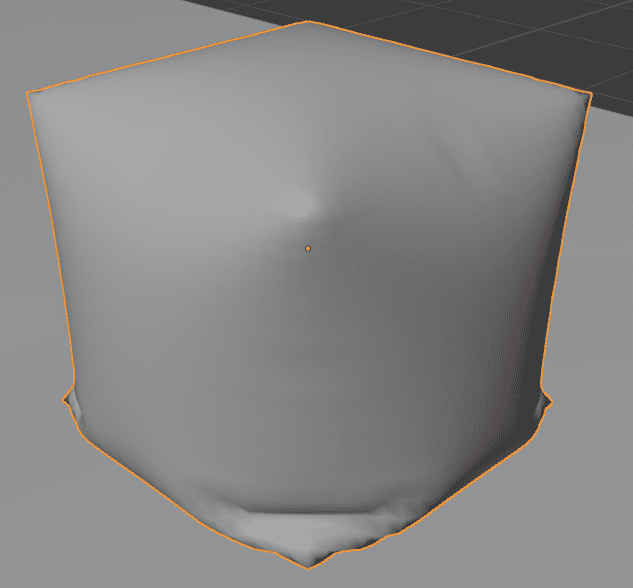
Pressure is at 5
You should have noticed yourself that on some of the examples – objects that we work with don’t look particularly well. I mean cases when they intersect with themselves and pass through their geometry. Like this:
Frame 62 without Self Collision
Looks terrible and can be a big problem, depending on the scene. Gladly it is easily fixed. All you need to do is to find the Self Collision setting and turn it on. It will prolong calculation times, but the result would be much better:
Frame 62 with Frame Collision
Pinning Parts
One thing you may want to do with the Cloth simulation is to pin it somewhere. Usually, cloth objects don’t just fall everywhere, they are often connected to something. For example, a flag is connected to a flagpole, etc.
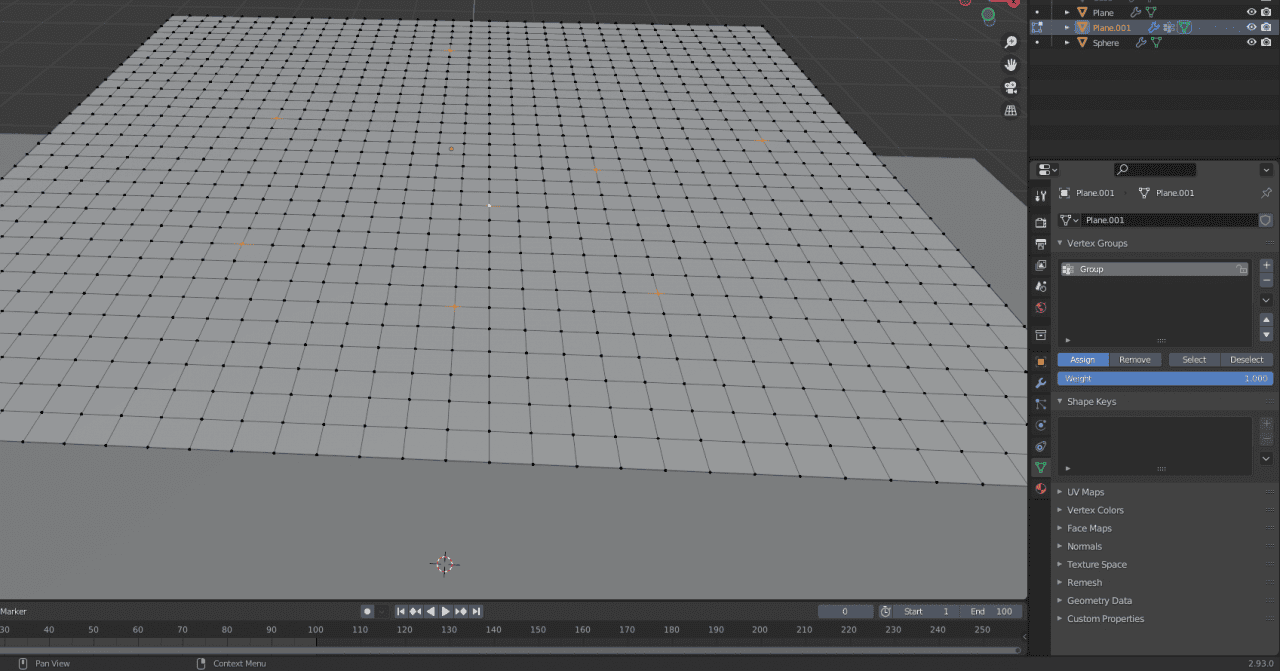
This can be recreated in the Blender by creating pinned vertices. To do so, you need to enter the Edit mode and select vertices that you want to pin. Next, proceed to the Object Properties, create a new Vertex Group and assign selected vertices to this group.
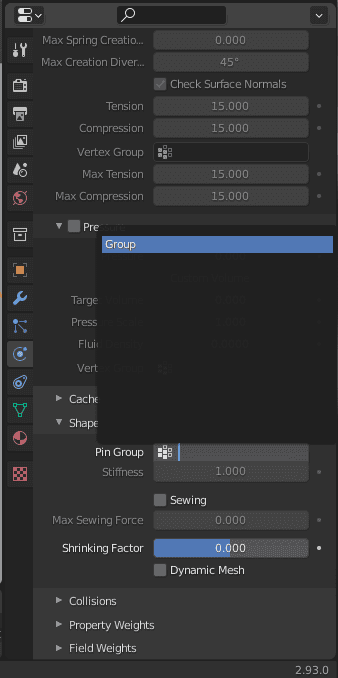
Then we go back to the Physics Properties window and here find the Pin Group option in the Shape section. Here you need to choose the vertex group that you have created.
And it is done. Now when I press play – I can see how everything falls except vertices that I selected to the Pinned group.

Hooking Simulation to an Object
Leading out of the previous example, we have a more advanced trick: hooking the whole simulation to an object. For this technique, it would be better to assign a whole edge loop to a group, instead of random vertices. Delete previous selection.
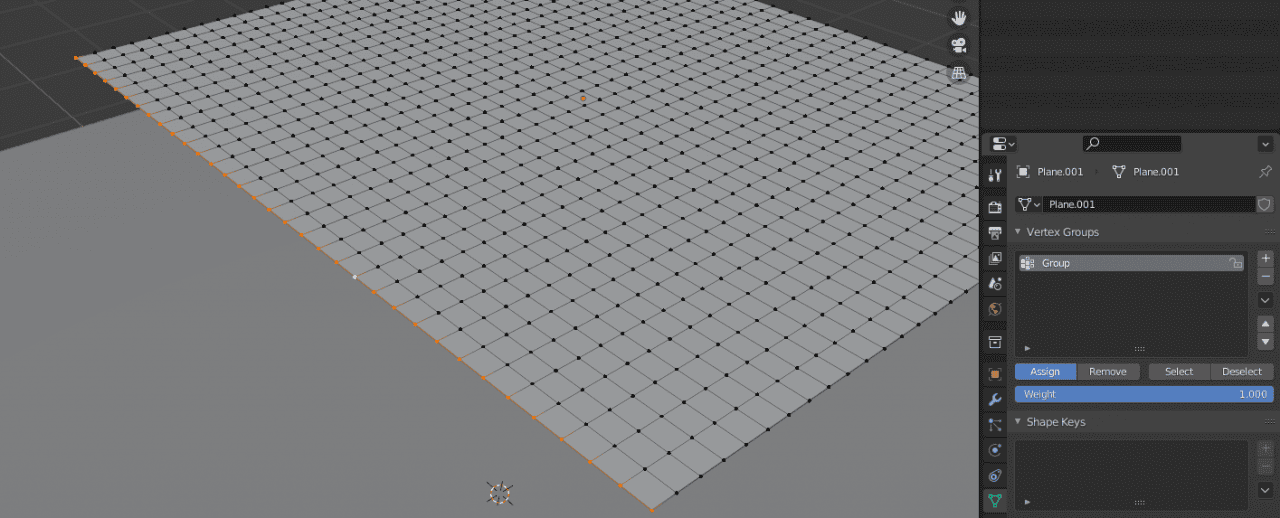
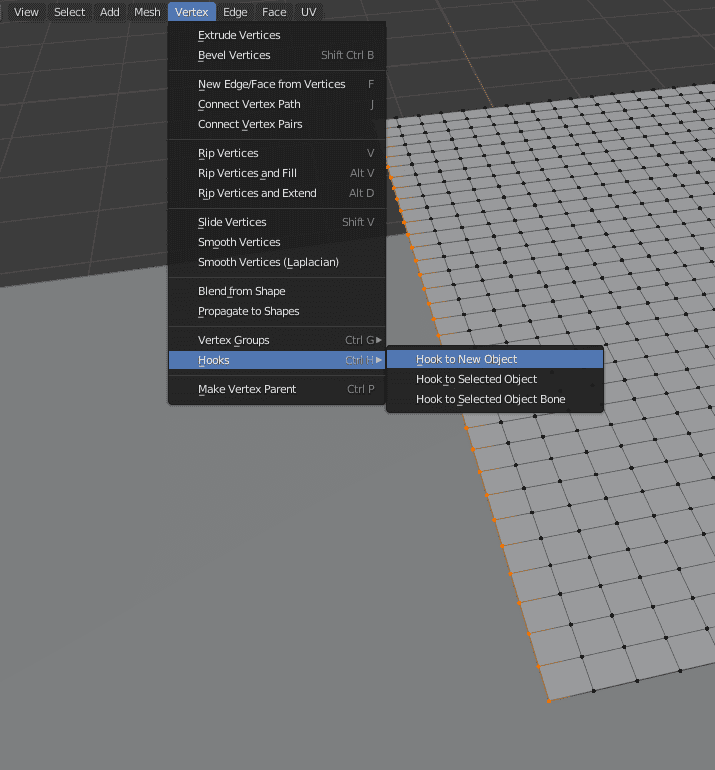
After creating a vertex group, we can select it and add a hook modifier to it. Then create an Empty object and connect it too. But instead, Blender can do all this automatically for you. With the vertices selected – go to the Vertex > Hooks > Hook to New Object.
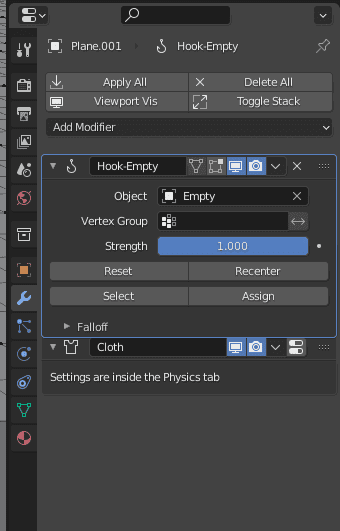
This will automatically create a modifier, an empty, and connect everything as it should. The only problem is that most probably the Hook Modifier would be at the bottom of the modifier list. For everything to work properly, you need to move it to the top.
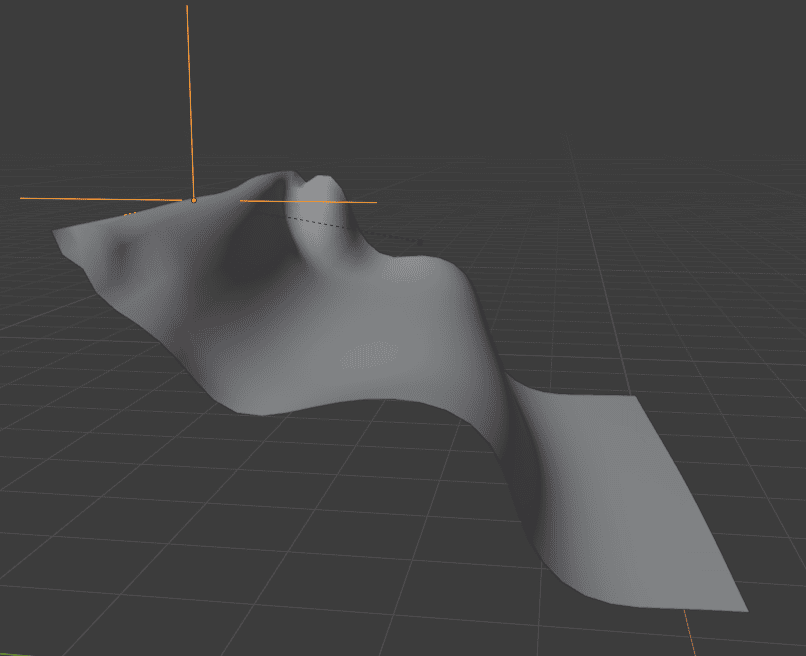
When this is done, you will see that when you move an Empty around – it also moves the vertex group that we connected to it.

Does not seem very useful though, does it? Maybe. Until you try to move this empty, while the animation is going and calculations are made. It will affect the whole object and make it follow an empty with the cloth simulation in real-time.
Like this, you can animate your cloth object moving from one place to another very easily. It is a very useful trick.
Baking Simulation
When you play your animation for the first time after making any changes – it will automatically calculate the whole simulation again. So each time you make any change – everything needs to be calculated one more time.
Sounds logical, but not ideal, because sometimes simulations can be complicated enough, so it would take a long time to calculate it. That is why you can always Cache your Blender Cloth Simulation, so there would be no need to calculate it each time anymore. This is done in the Cache section of the Physics Properties.
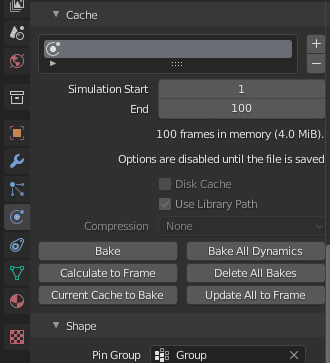
All you need to do is to select the start and end frame of your simulation and then press the Bake button. Then the progress bar will appear at the bottom of the Blender interface.

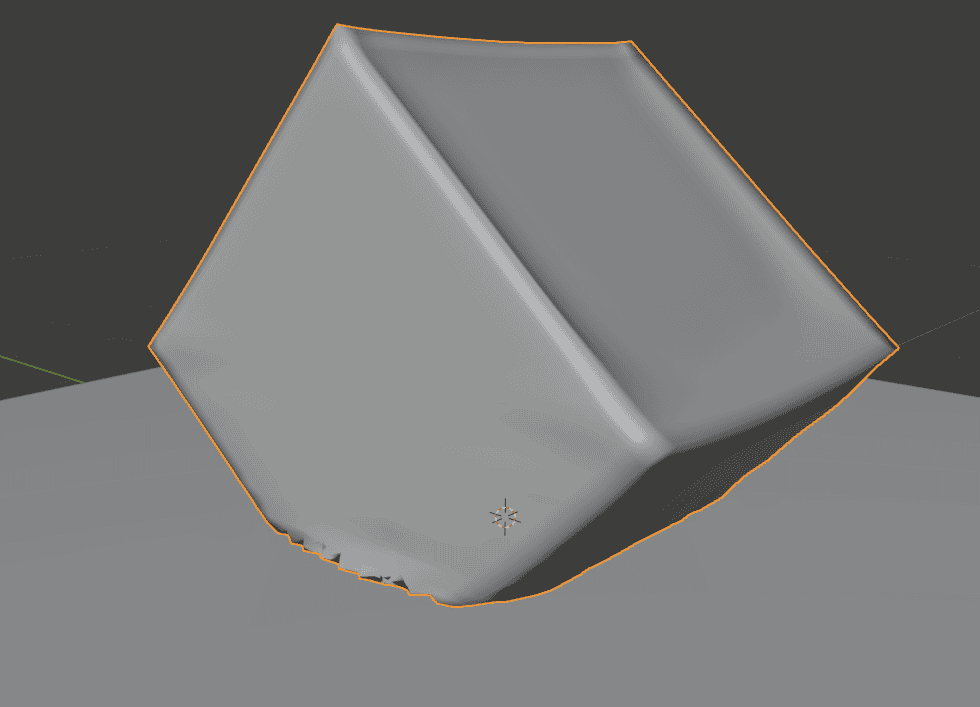
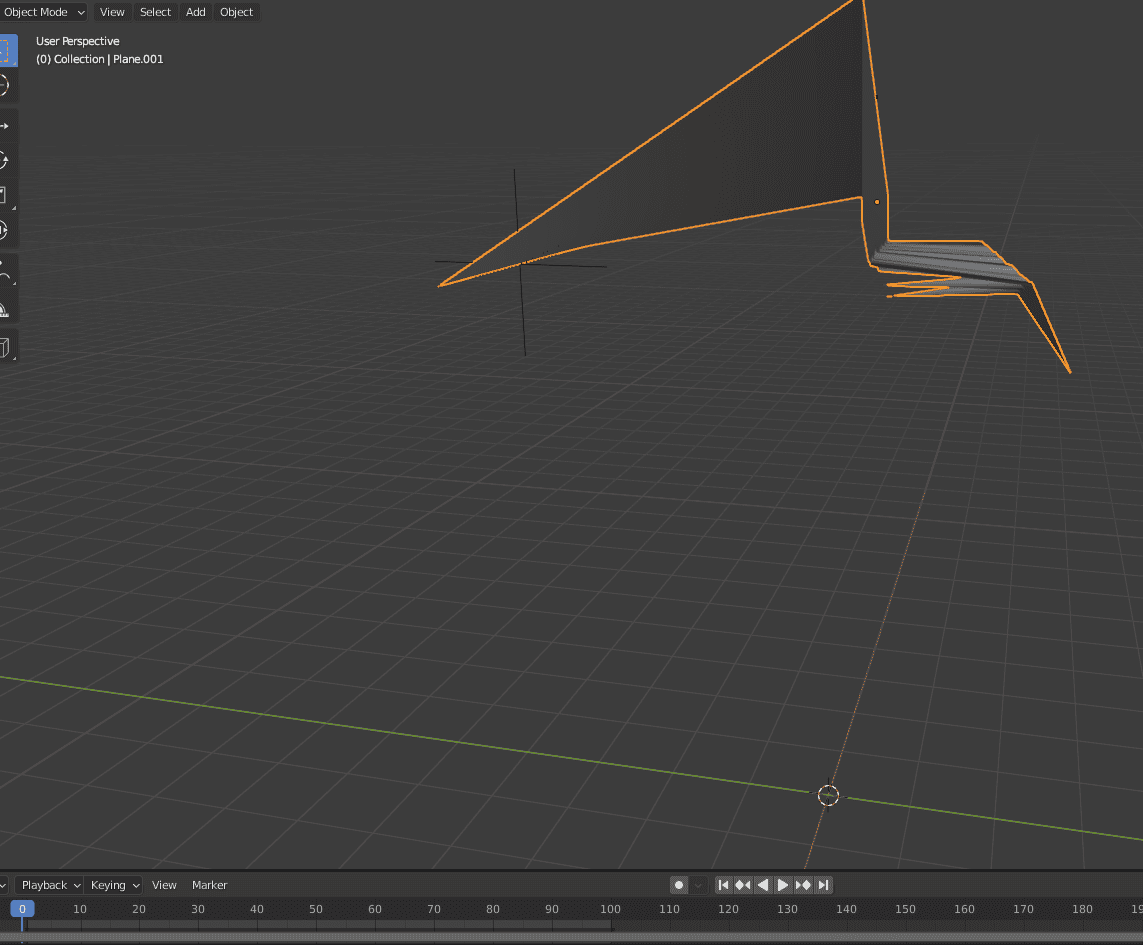
And when this is done, you will have your simulation Cached. This means that it would not be calculated anymore, no matter what you do. For example, you can see how here I have deformed this mesh a lot. I have moved and rotated it. And even changed its geometry on frame 0.
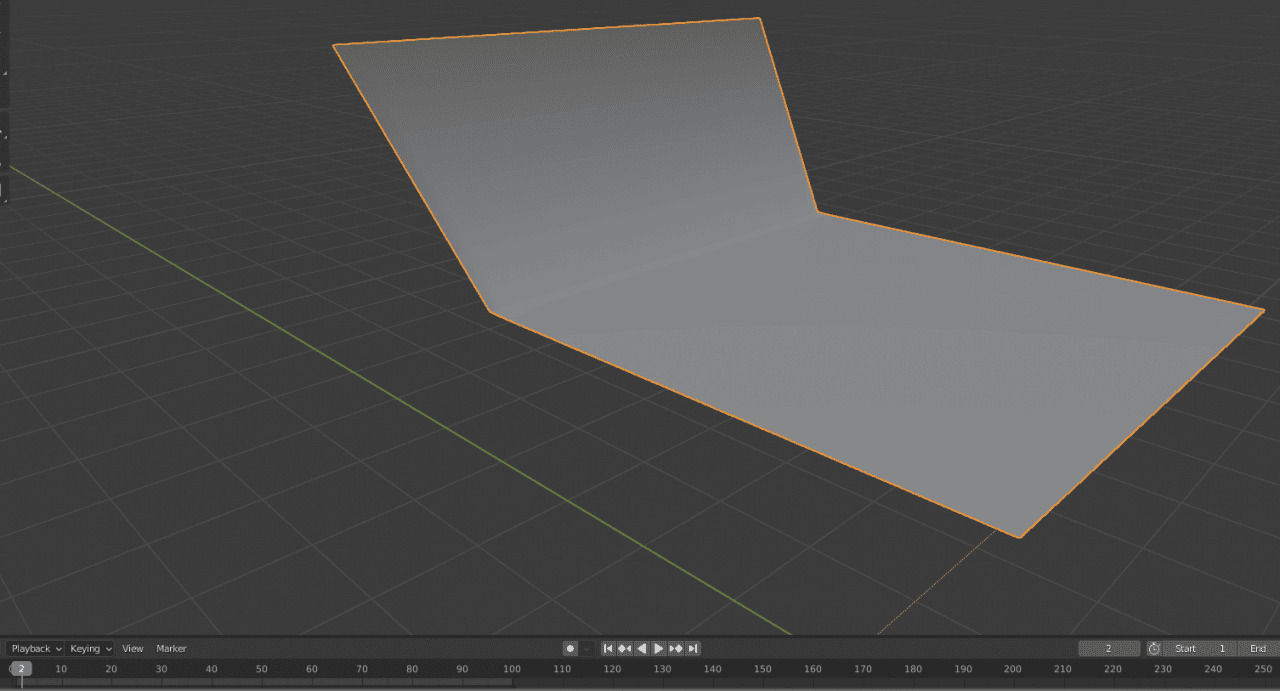
But as soon as the animation starts playing – it jumps back to the state in which it was cached. On frame 2 you can see that it is absolutely in a different position.
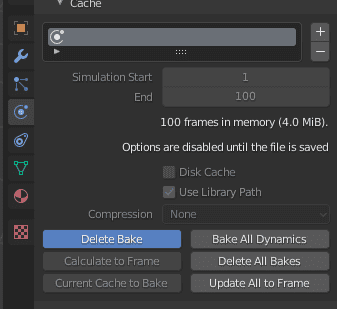
And I can’t change it out of this position, no matter what I do. The only way to change this simulation now would be to Delete the baked cache.
Conclusion – Blender Cloth Simulation Tutorial
The Blender Cloth Simulation turned out to be quite a big deal. It is a powerful tool that can help us to create a realistic fabric object. Especially combined with the Cloth Brushes.