
The Blender Fluid simulation is a very interesting topic. Usually these simulations are a lot of fun and allow users to create some awesome renders. Blender has Fluid Simulations built-in and they are pretty good too. But it is not easy to use them for a newbie, so let’s see how to create liquid and smoke simulations in Blender yourself.

Blender How to Simulate Liquid
Blender Simulating Liquid can be really confusing on the first glance. But let’s just start. Follow my steps and everything will be altright.
Creating Liquid Simulation Domain in Blender
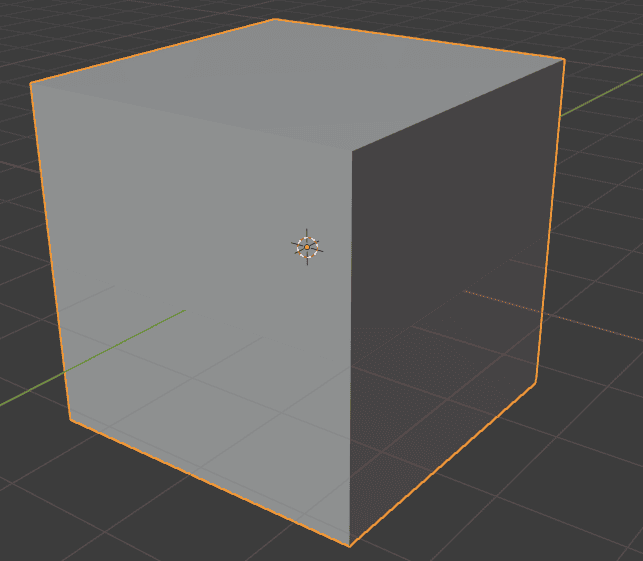
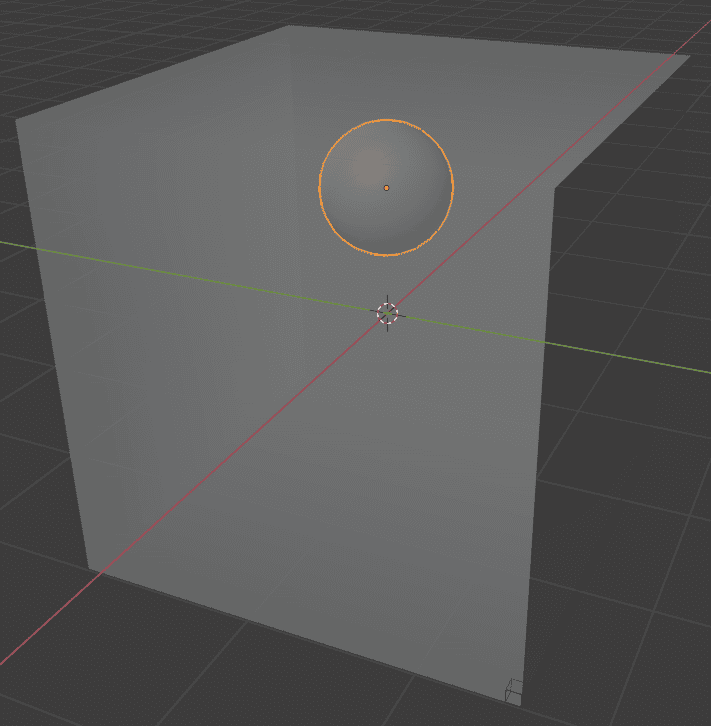
First of all we need to create bounds for the liquid to contain. We can’t simply put it to nowhere in Blender. So this step is very important, as there always needs to be bounds for the fluids. For this bounds we need to use an object. Any object will be found, but a bit sized Cube would be perfect for now.
Now with this box selected proceed to the Physics Properties and turn on the Fluid Simulation for it by clicking on the name.
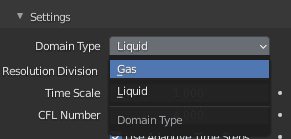
Then in the Fluid Type choose the Domain. This means that it will be bound for our Fluid Simulation. You will see the changes to the Cube right away.
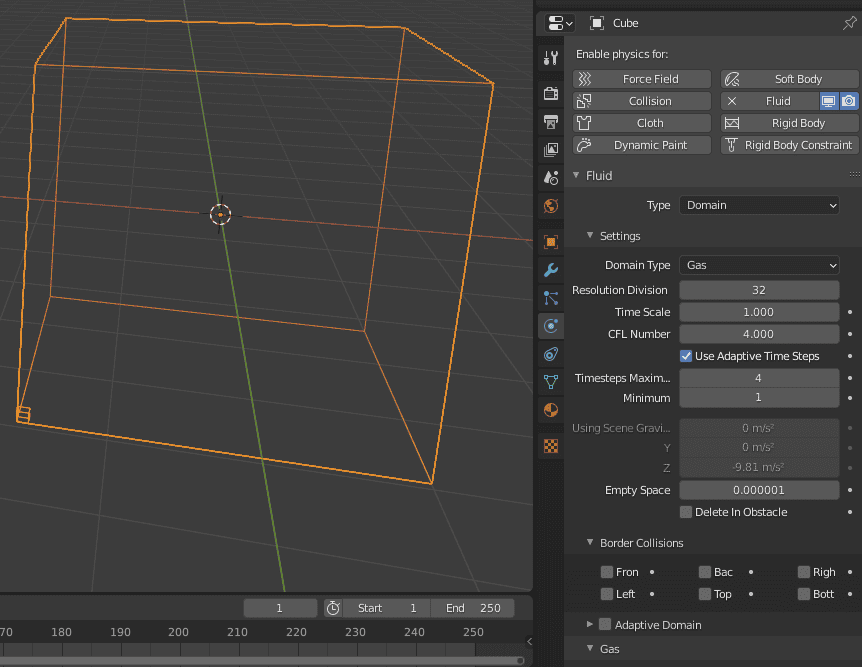
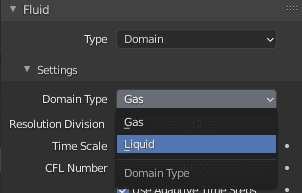
Now we need to change the Domain Type from Gas to Liquid. This is important, because it will not work with liquids right now. The Cube should turn back to solid after that.
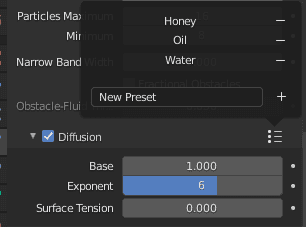
We also need to change some other settings. Firstly, we need to turn on the Diffusion option. This one is important because it decides how our liquid feels and looks. There are three available presets even for Honey, Oil and Water. I will leave it at the default – Water.
Also enable the neighbouring Mesh option. This will enable a Fluid Mesh that we will create later.

And the last thing is to check in the Cache section whether your Type is set to Replay and not Modular. It should be like that by default, but it is useful to check. Otherwise you could not be able to see liquid in real time.

Creating Liquid Simulation Flow Object in Blender
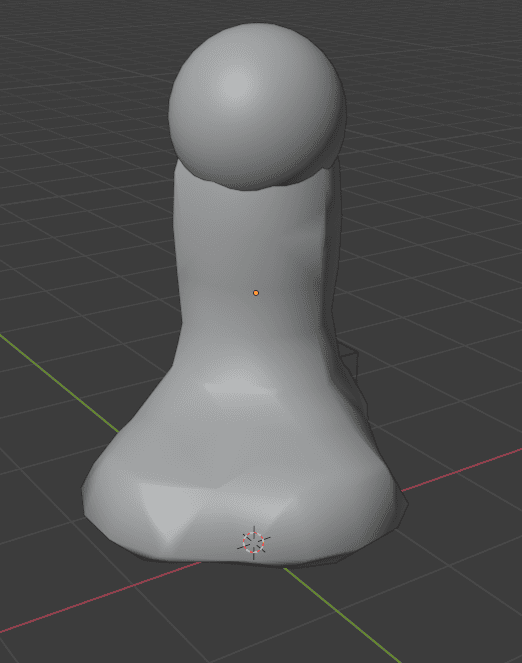
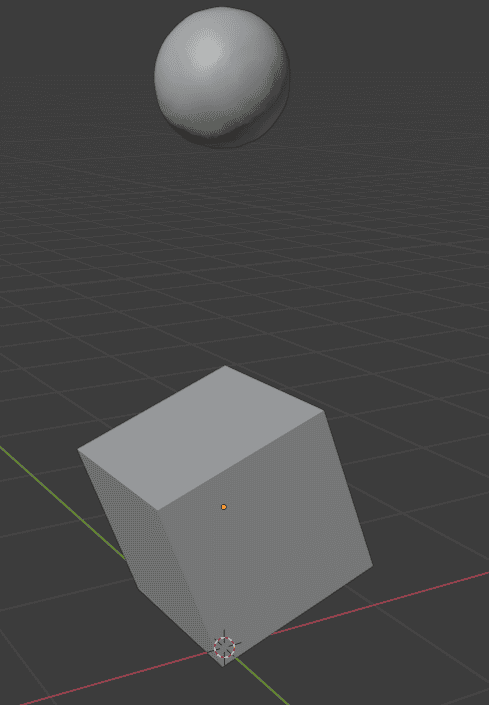
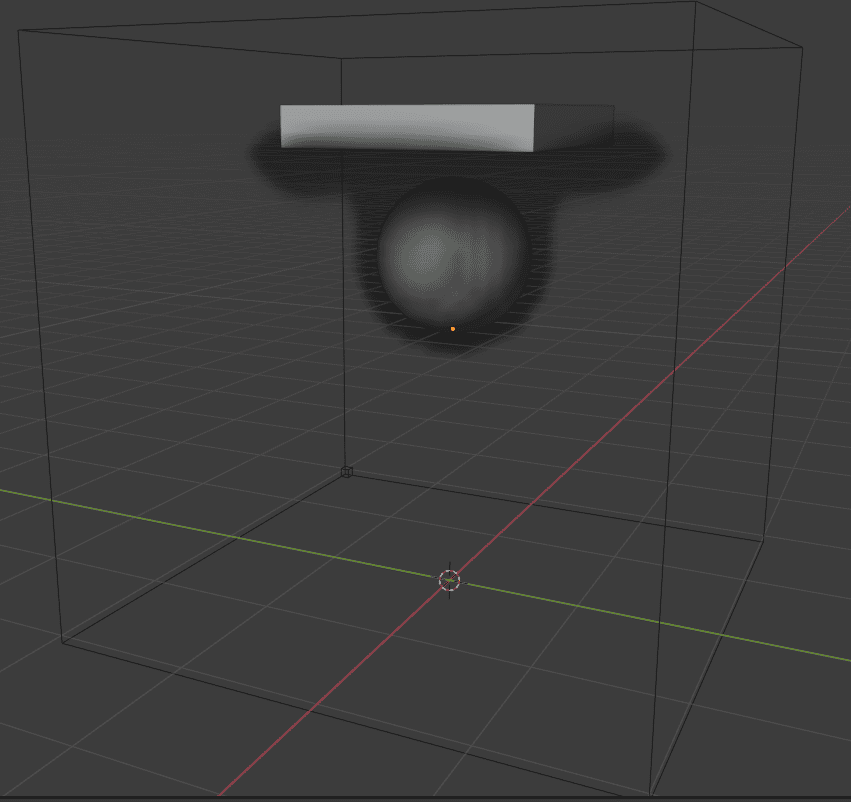
Now that we created the bound object for our Blender Liquid Simulation, we need to add liquid itself. For this we also need to create an object that will spawn liquid to the scene. The best object for this right now is probably a UV Sphere.
After creation – place it somewhere in the Cube. Turn on the X-Ray[Ctrl+Z] or Wireframe Viewport Shading to help you with this.
Now enable the Fluid Physics Simulation on the Sphere in the Physics Properties. But this time change the Type to the Flow.
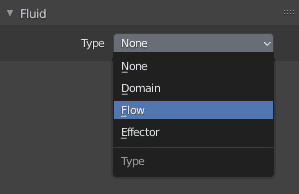
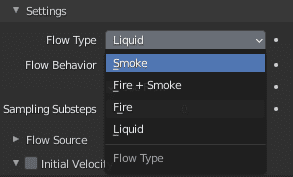
After that change the Flow Type to the Liquid, because that is the one that we want to deal with. Also change the Flow Behavior to the Inflow option that will add fluids to the simulation.
Objects are ready and you should be able to Play Animation[Spacebar] and see the fluids flowing. But there is a good chance that nothing happens. It looks like that is a bug. But worry not, because it is easy to fix.
All you need to do is select the Domain Object again and change the Resolution Division setting. You can change it to whatever you want and then turn back. This will just refresh the simulation and fix the problem. Also make sure that your Animation is starting from the exact frame №1.
If you did everything right – the Domain object should become transparent and you should see the fluid particles appearing around the Flow Object in the X-Ray mode.
Simulating Liquids and its Settings
Finally, you should be able to Play Animation now by pressing the [Spacebar]. This should start calculating the physics. This can be heavy on your system and especially on your CPU, so depending on how good it is – it may take some time to calculate. Though after the initial calculations are done – next times would be a lot faster.
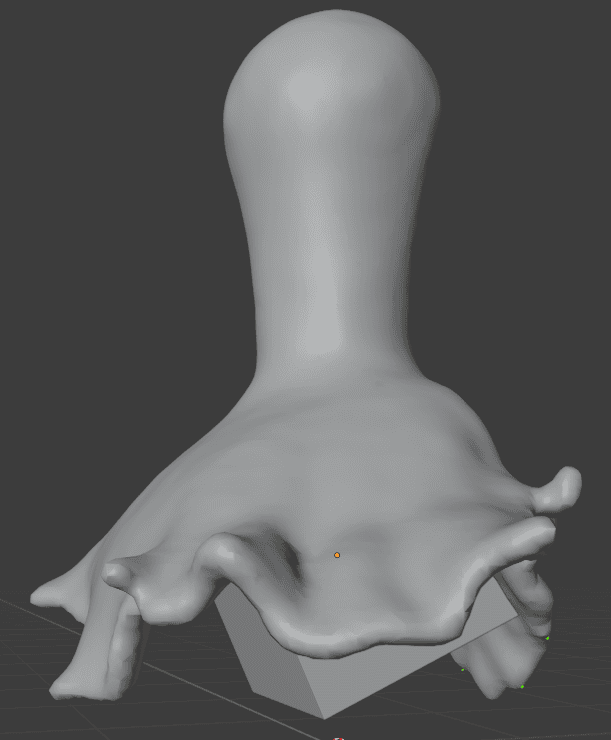
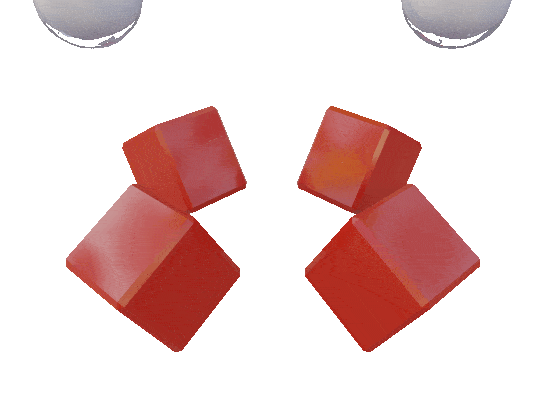
As you can see – the result is not very detailed. Water is quite low-poly and is shown in big “chunks”. That is because of the Resolution Division setting in the Domain Object settings. The bigger the value of these settings – the more detailed your liquid will be and vice versa. But, of course, this will also change the calculation times tremendously.
The minimum value is 6 and it looks quite funny. Does not look really like liquid, but more like jello. Though the calculations are practically instant.
The default value of 32 is more of a preview value. It is high enough that you would see the minimum amount of details and approximation of how liquid will behave. But it is always recommended to bump this setting up a lot before rendering.
This shows how much better it looks by only increasing it to the 50 divisions:

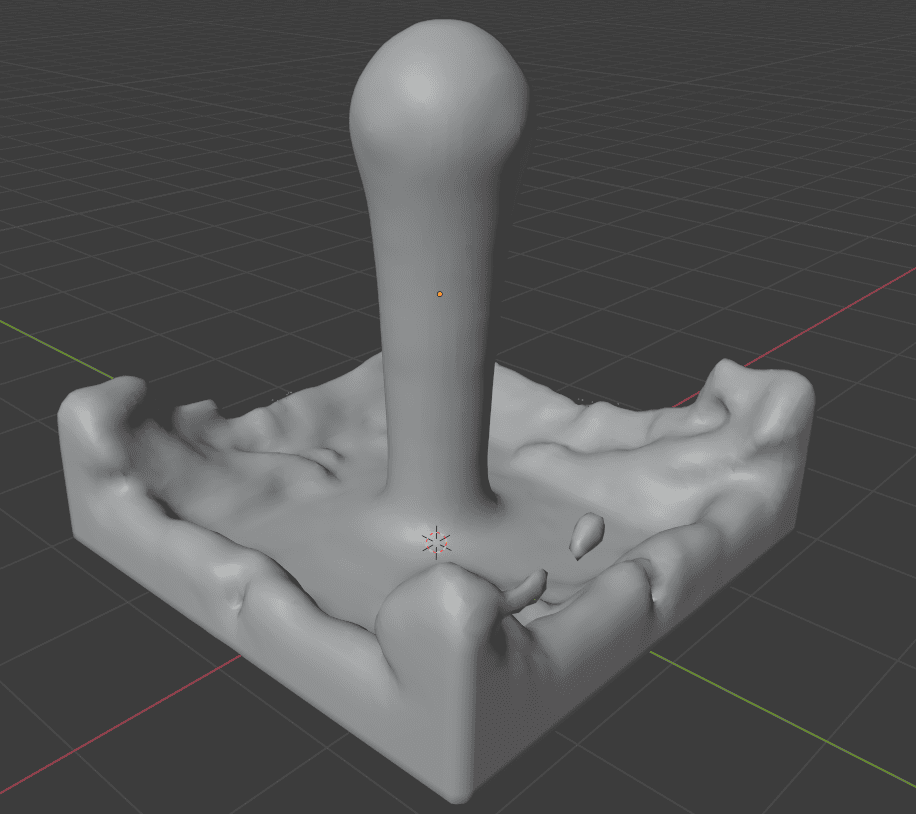
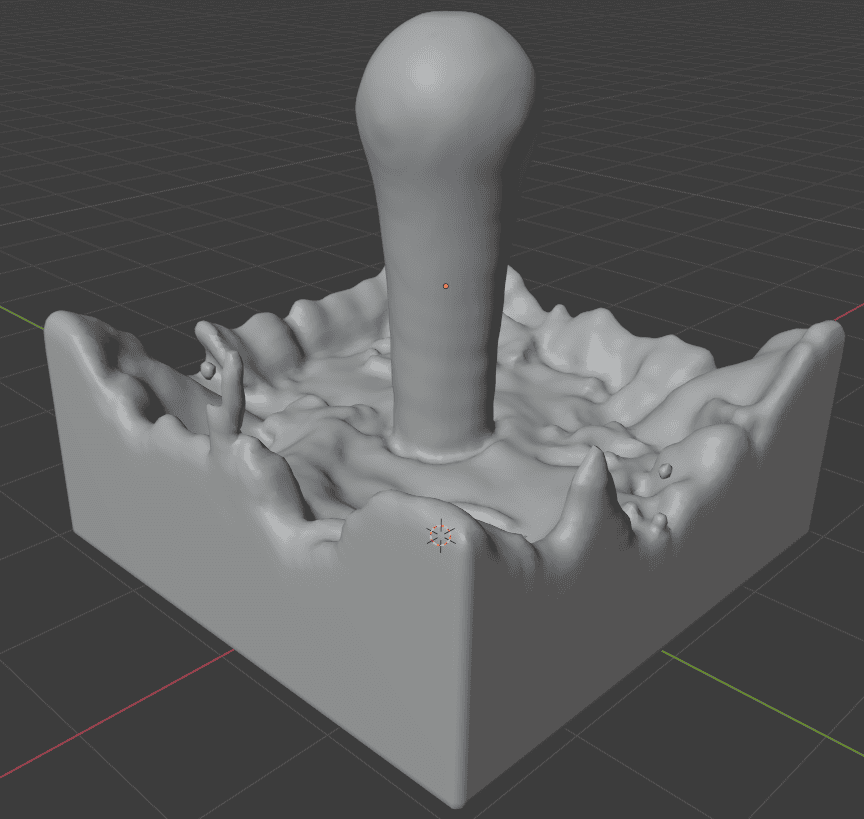
Changing Resolution Divisions to a 100 resulted in a really nice simulation quality that you see below. By far has most details and small droplets everywhere from liquid hitting the ground and walls. But it was very slow compared to the others. Though people usually go even higher for final renders.

The other important setting is the Time Scale just under the Resolution Division. It controls how fast the liquid simulates. Meaning how much changes between each frame. The default value is 1.0 and all the previous results were with it.
Here is the result of the Resolution Division 50 calculation, same as was 2 screenshots before. But with the Time Scale set to 2.
If you compare – you will see the difference. The one with the bigger Time Scale is a lot further in animation, there are more liquid and it is calmer already. Even though it is the same frame of the animation.
Usually people decrease the Time Scale value. This will slow down the animation, but each frame of the animation will be more detailed. Some people use this to increase the detail level of their final render animation. Sometimes you can even decrease Time Value by a lot and then in post-production increase the speed of the animation so it would look realisticly.

How to Add Collision Objects to the Fluid Simulation
Just simulating plain liquid in a box is not that interesting. It is far better when there is something for these Fluids to interact with. Some other objects that they can wrap around.
To add an object like this – first create one. It can be any mesh that you like, absolutely no restrictions. Then, if you read our Blender Physics Simulation you would guess that we probably should add Collision Physics to it, because that is the one that interacted with other physics.
That is not right, sadly. Because liquid goes right through the object. Same goes for the Active and Passive Rigid Bodies.
What we really need to do is to again add a Fluid Physics to the object. But this time we will choose the Effector Type.

This means that the object will be affected by our fluids. And by default Effector Type is set to Collision and that is exactly the one that we need. Now it will Collide with our object.
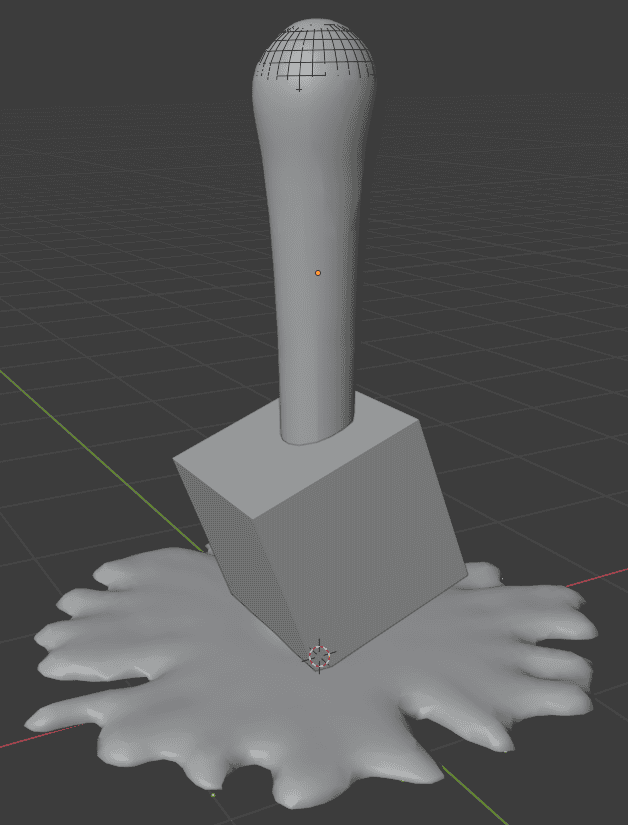
You may need to change the Resolution Division back and force again to refresh the simulation. And then it should be done:
Our Fluid collides with the mesh and wraps around it nicely.
Blender How to Simulate Smoke
There is more to Fluid Simulations in Blender than just Liquids. Namely I am talking right now about Smoke Simulation. So let’s create a small scene with the Smoke Simulation.
Basically it is all the same as the Liquid Simulation that we did before, we just need to change some settings a bit. That is why I am even going to use the same scene I had – a big Cube and Sphere inside it.
First of all I want to change the Domain type of my Cube back to Gas as it was by default.
After that you also need to change the Flow Object’s Flow Type from the Liquid to either Smoke or Fire + Smoke.
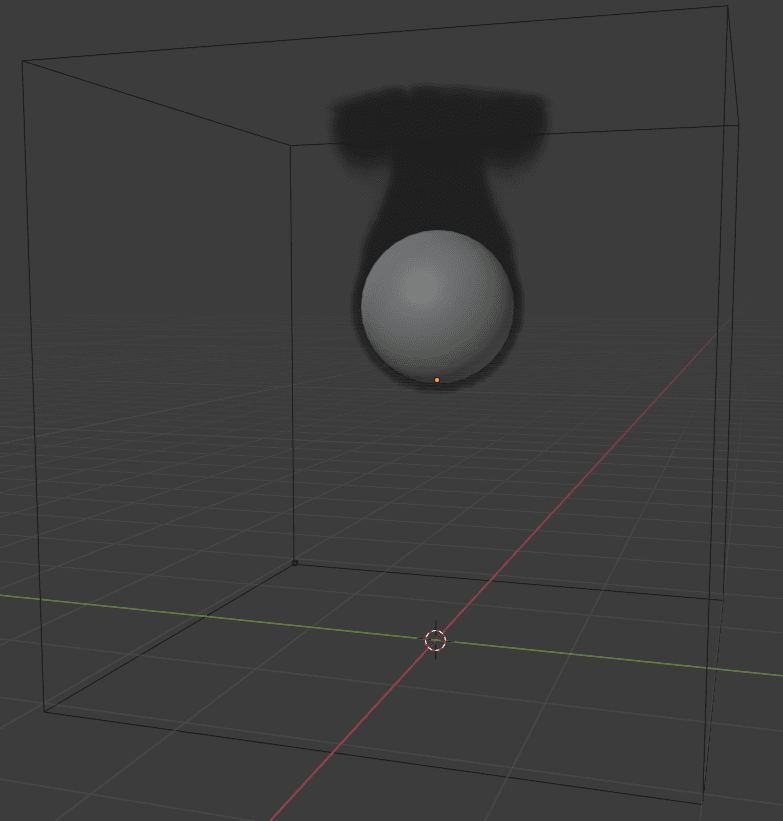
When this is done – you can Play Animation[Spacebar] and see how Smoke starts coming out from the sphere and interacting with the Cube’s “roof”.

All the same rules from the Liquid Simulation also apply here. Meaning that Time Scale will increase or decrease the speed of the smoke appearing and moving and the Resolution Division will increase or decrease its detail level.
Resolution Division 100
And, of course, you can create Effector Objects that will interact with the smoke just as they did with the Liquids.
Conclusion Blender Fluid Simulation
At the beginning a Blender Fluid Simulation can be really confusing and we know it. But we hope that with the help of this tutorial you learned how you can use Blender to simulate physical liquids and smoke. Here the final animation below.
Have a look also at our other Blender Tutorials and Top 3D Model Reviews.