This Blender Liquid and Glass Materials Tutorial covers all kind of techniques how to create unique materials and render them inside Blender. Blender is a huge and very diverse software. It allows for creating most different objects, characters and scenes. One of the most common things that people want to create in Blender is translucent materials. There is no clear way to create one and it might sound difficult for someone new to 3D design. In this article we will see how you can create both liquid and glass materials in Blender and how they are different.
Glass Material in Blender
First would be the simpler one of the two – the glass material. Also it is easier to understand how and why does this work. We will look at how to create it in both Cycles and Eevee rendering engines.
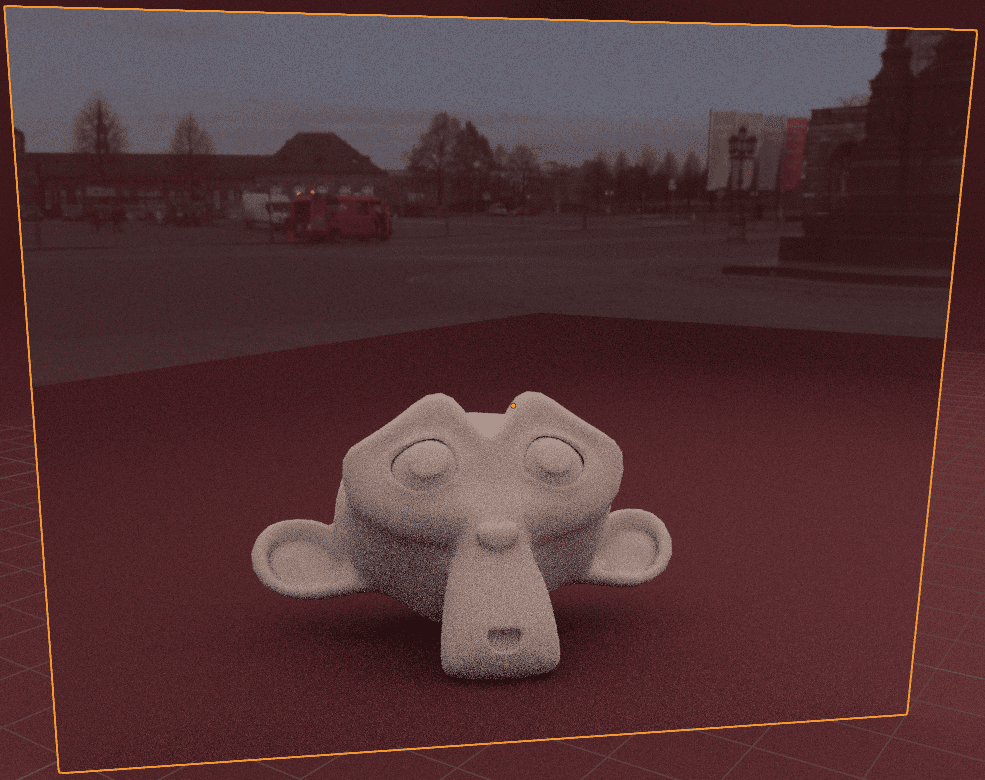
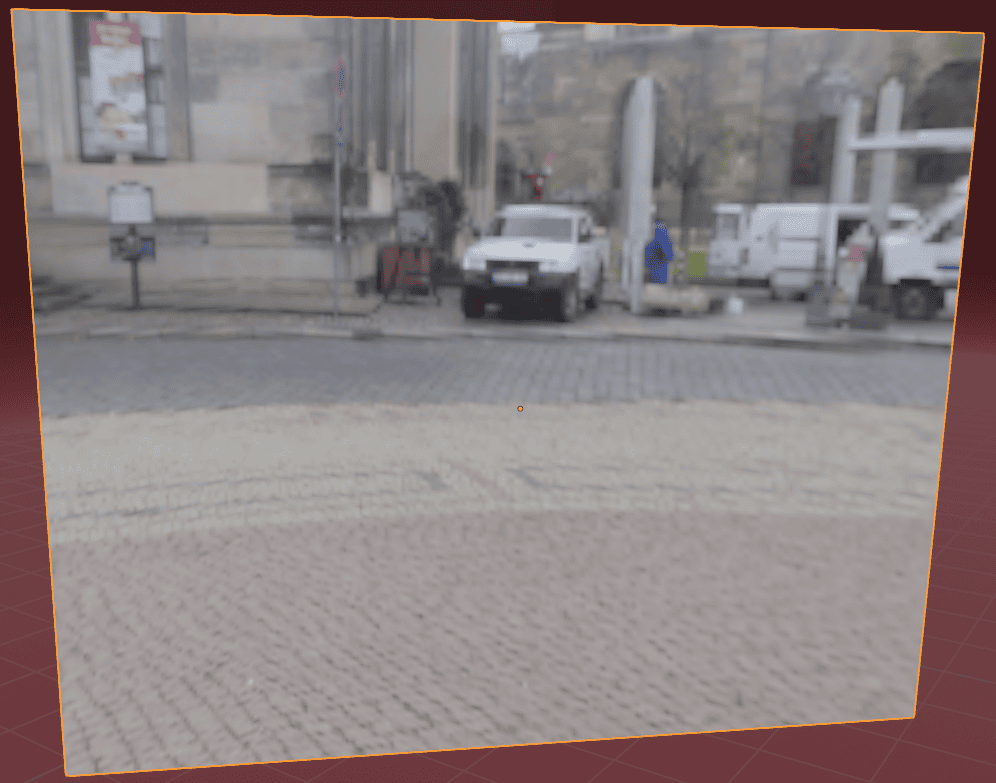
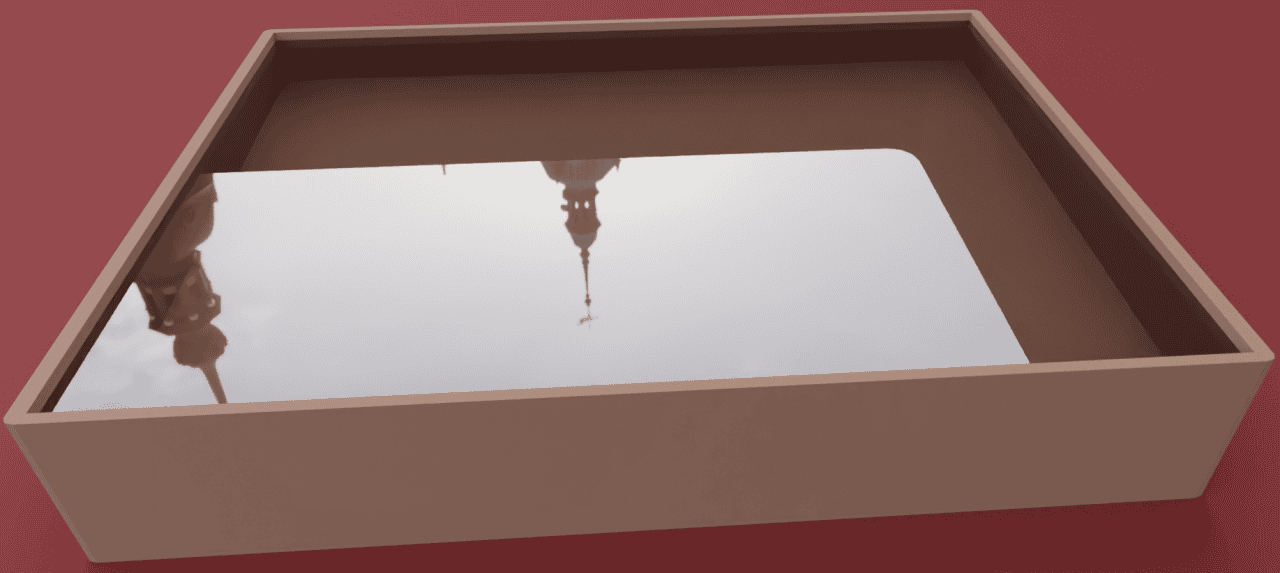
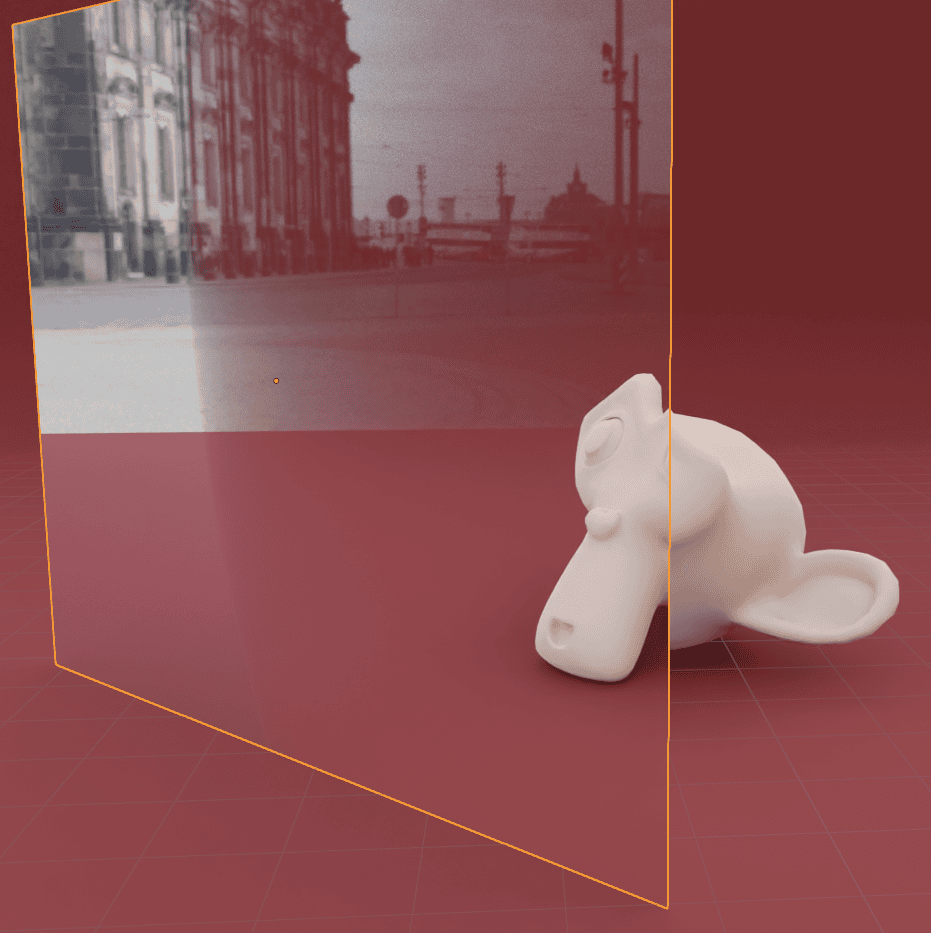
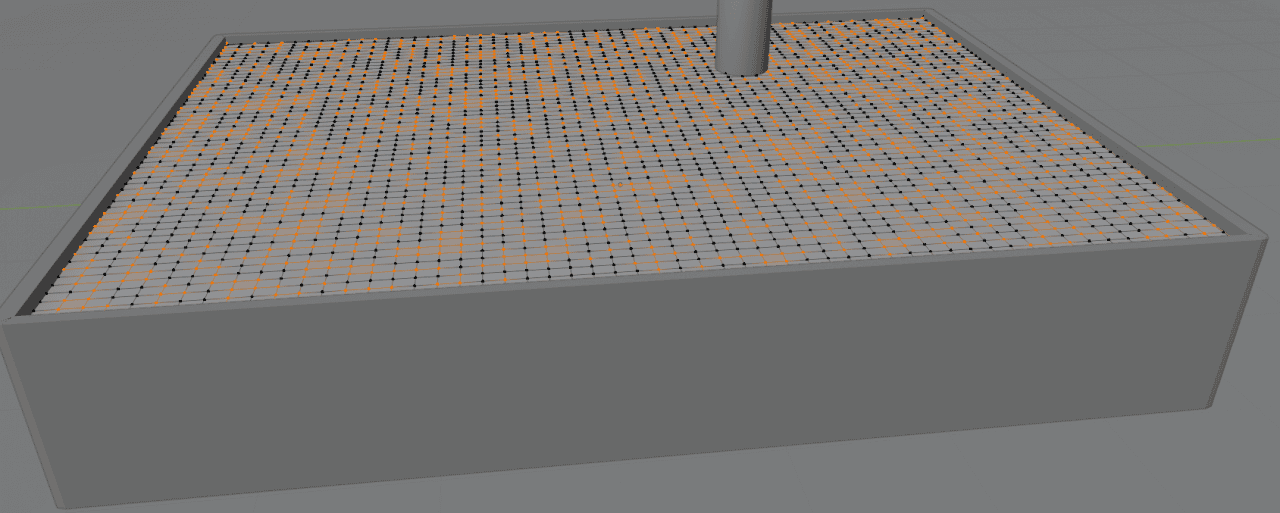
I have created this simple scene below that I am going to use to show everything:
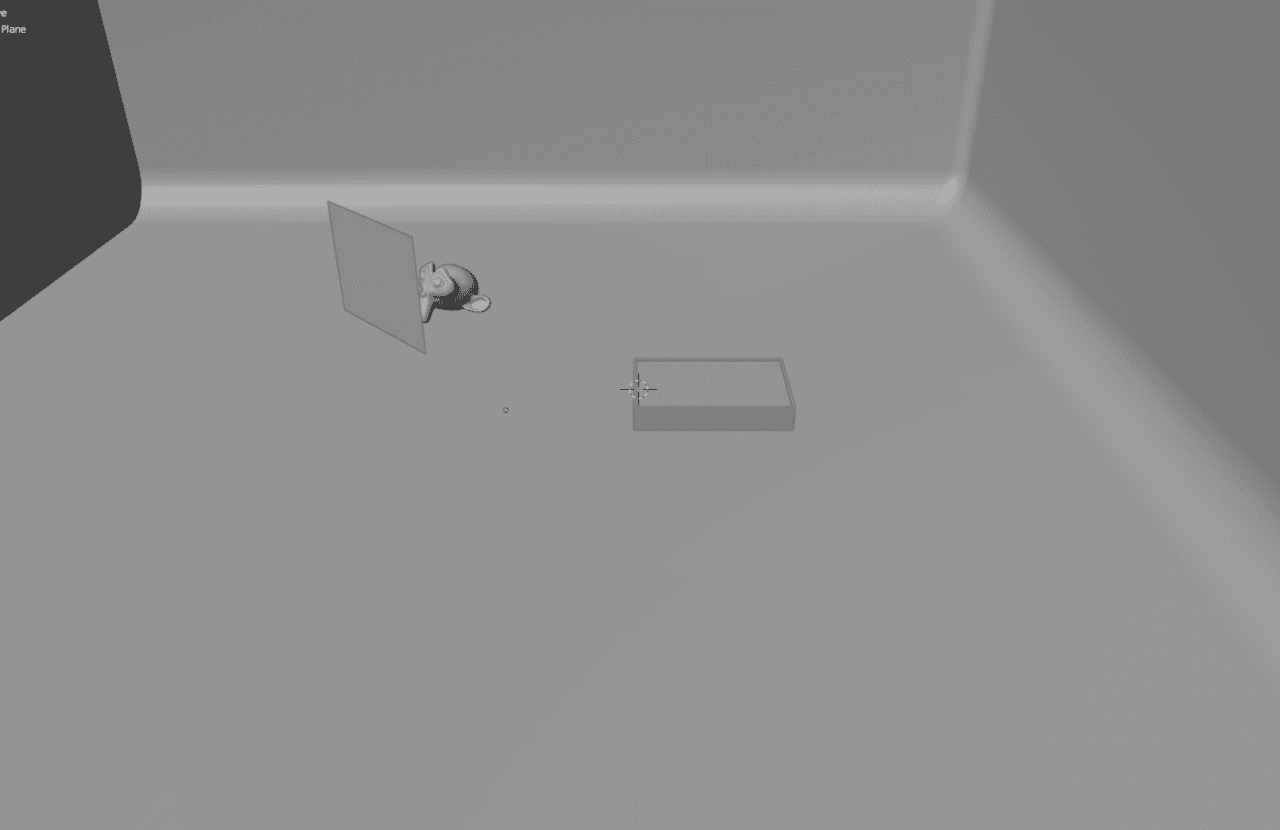
It has a Suzanne monkey behind the Plane, and also a container with another object in it. Plan is to make the Plane to be made of glass, so we could see the monkey through it. And to make the object inside of the container – our liquid.
Cycles Glass Material
Starting with the main rendering engine – Cycles. Cycles tries to match the physics of the real world. Meaning that it is not difficult to create something that is translucent.
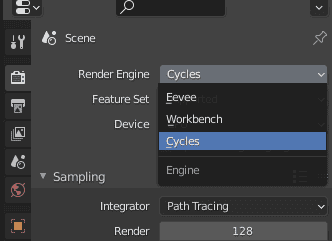
Before proceeding – make sure that your Render Engine in the Render Properties tab is set to Cycles. Otherwise some options would be different and we could not see the progress too.
And to see the results of the changes made to your material, we will need to be in the Rendered Shading mode.

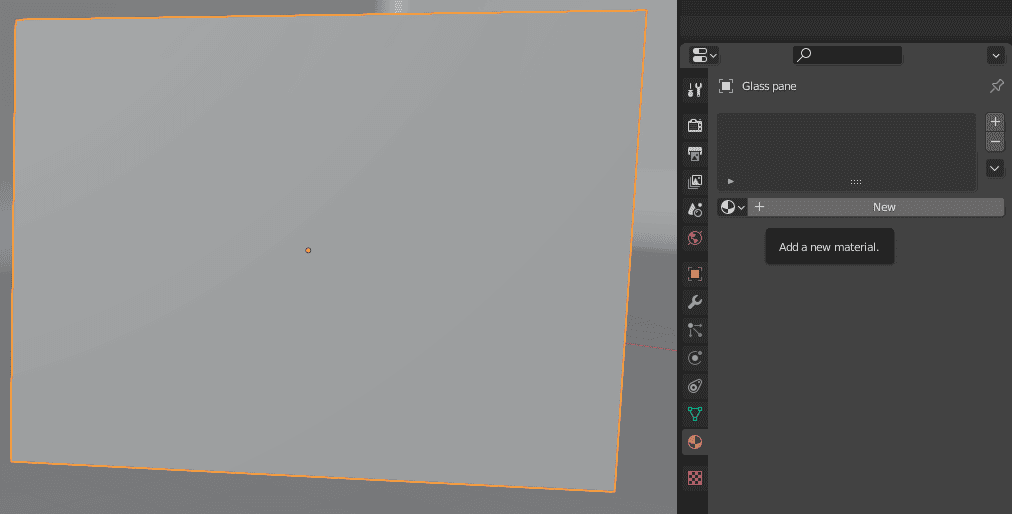
First of all we need to select an object and open the Material Properties tab of the Properties Editor and create a New material for this object by clicking on the “+ New”.
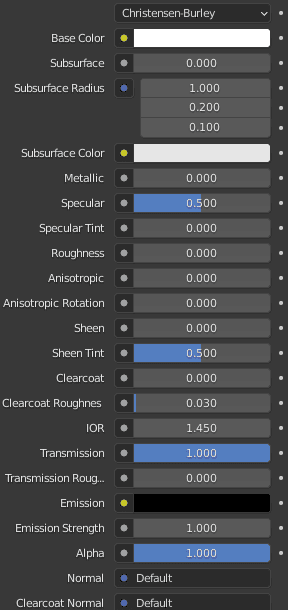
Now using the settings that appeared – we will create a glass material. Basically, we will need to change only two simple settings. First one is quite obvious – Transmission. It should make our object let the light through. Set it to the maximum value – 1.
Transmission set to 1.0
It already kind of works and we can see the shape of our monkey. But the glass looks a bit foggy or frosted. This is happening, because by default the Roughness value is set to 0.5. All we need to do to fix that is to change the Roughness value to 0.
Roughness set to 0.0
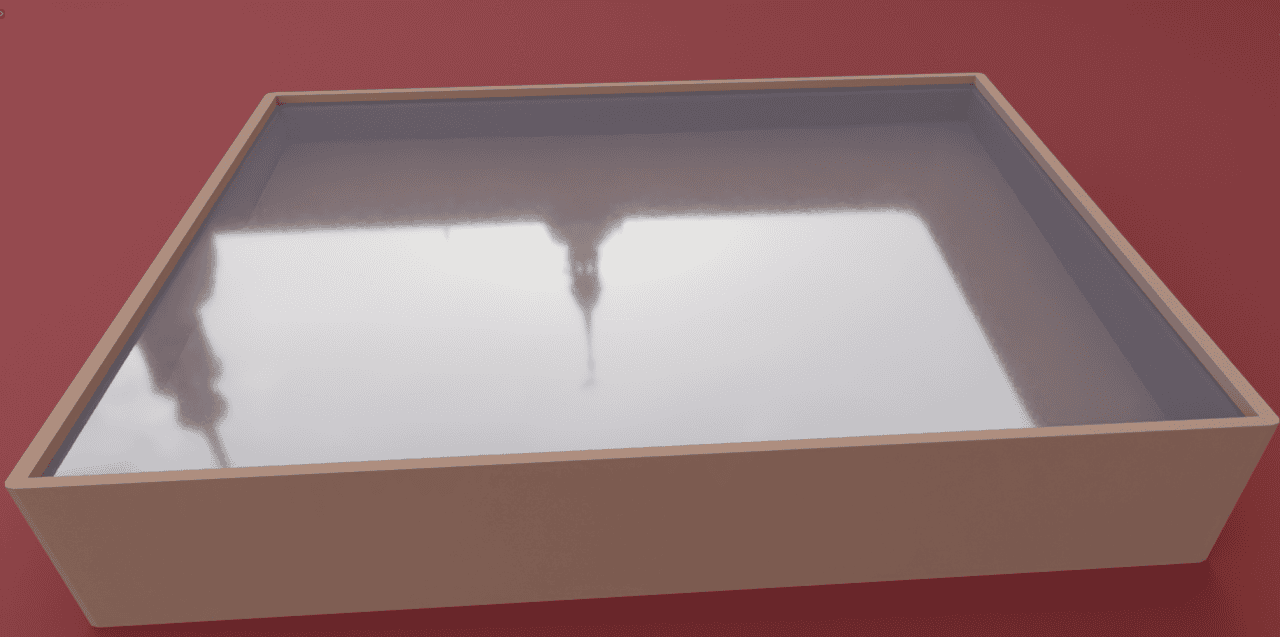
This made our plane fully transmissive and reflective. You can see the monkey object without any problems through it. Also you can see the reflection of the HDRI that I am using right now.
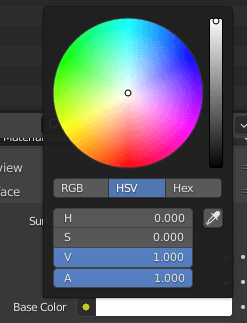
We are almost done, there is just one thing left to do. You may have noticed that the floor through the glass and without it – looks different. Everything looks a bit darker through the glass. That is because by default the Base Color of any object is not purely white, but instead a bit darker. Just change this for our glass to have values of Hue – 0, Saturation – 0, Value – 1.
After that – the glass material is done. The result is like this:
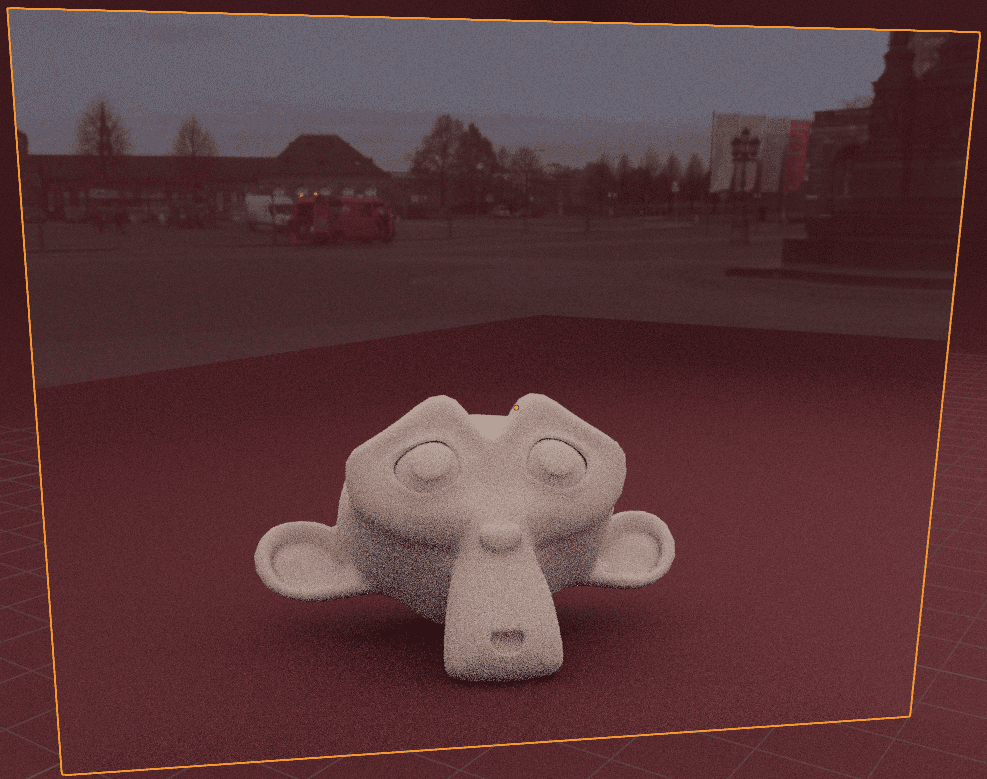
We can see everything through and it does not darken the behinds of it. The material settings setup is like this:
Cycles Glass material settings
Eevee Glass Material
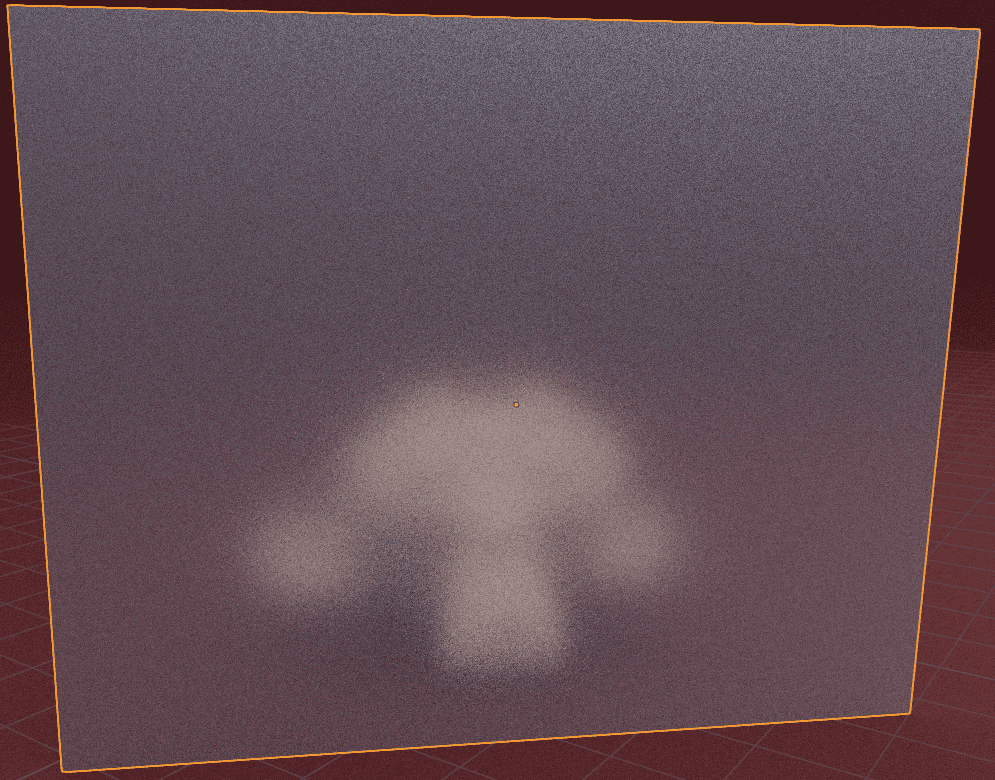
If we would change to the Eevee Rendering engine right now with all the settings in place – you would expect it to work as well as it did with Cycles. But it does not work.
This looks more like a mirror than a glass. We can’t see anything through it at all, only reflections.
It is like this, because Eevee works differently. You can’t just increase Transmission for this to work. Instead we need to change the Alpha setting.
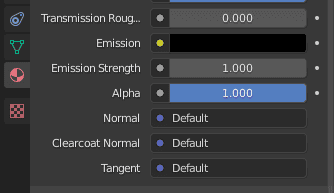
Though changing it now yields no results at all. Before that, we also need to change the Blend Mode from Opaque to something else.
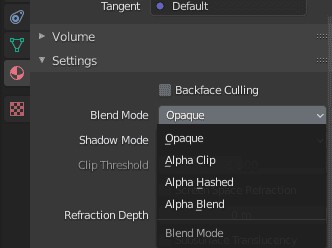
The Alpha Clip does not work as desired. It makes the object fully invisible. No reflection, no nothing, it is gone.
“Alpha Clip” Blend Mode
Next is Alpha Hashed. It is a lot better. We clearly can see through the object and at the same time the object is still there. We can see reflections and it is not gone. But the Plane looks a bit odd. It is made of a lot of small particles, like a white noise.
“Alpha Hashed” Blend Mode
Last but not least is the Alpha Blend option. This one looks the best in my opinion. It is not more granulated and neither is it invisible. I recommend sticking with this option.
“Alpha Blend” Blend mode
That is basically it for creating a glass material in the Eevee. Roughness is 0 and Transmission is 1, same as was in Cycles. Control the translucency levels using the Alpha option and use Alpha Blend to see through.
Liquid Material in Blender
Liquids are very similar to glass in their looks. They are also mostly translucent and reflective. But they are different at the same time. Let’s look at these differences both in Cycles and Eevee engines.
Cycles Liquid Material
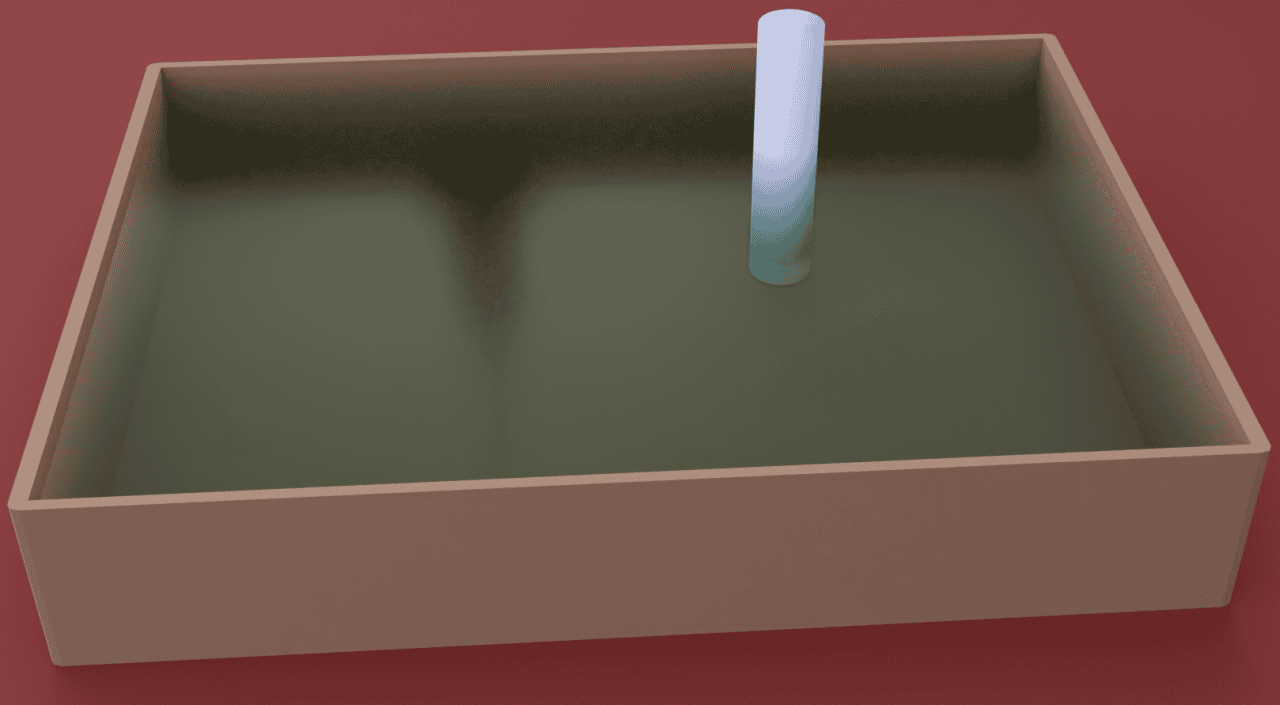
If we would just add the same glass material to the liquid object right now – it won’t really look like a liquid. It looks just a piece of glass inside something.
We added glass material, so that was expected. Mostly this happens because liquids are not the same as glass, just can be similar. Liquids have volume, meaning that they are not fully transparent, unlike glass. Just think of any deep water – you can’t see the bottom usually, because it is not that transparent.
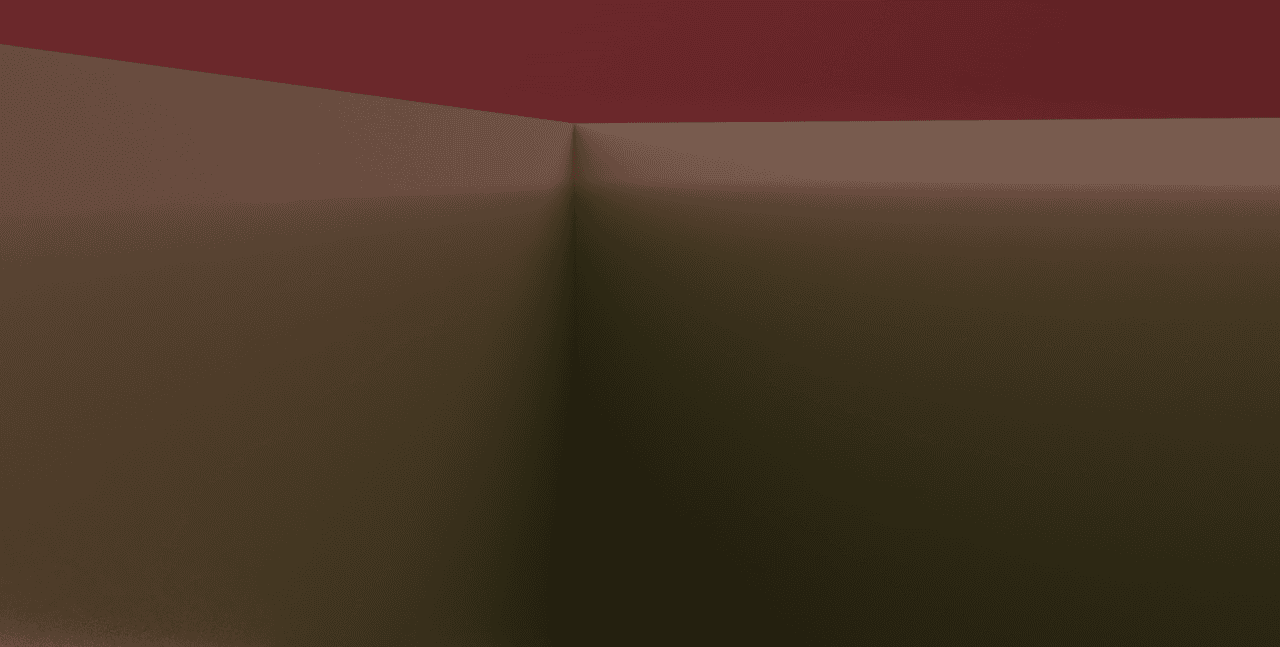
You can try and fix this problem by changing the Transmission and Roughness settings. Lower the transmission and add some roughness to reduce the overall transparency and reflectivity.
This does look better and we now can distinguish this as something different from the regular glass. But this is not a solution to our problem in any way. It still looks just like a foggy glass. Instead, we will have a different approach.
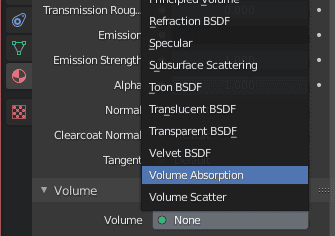
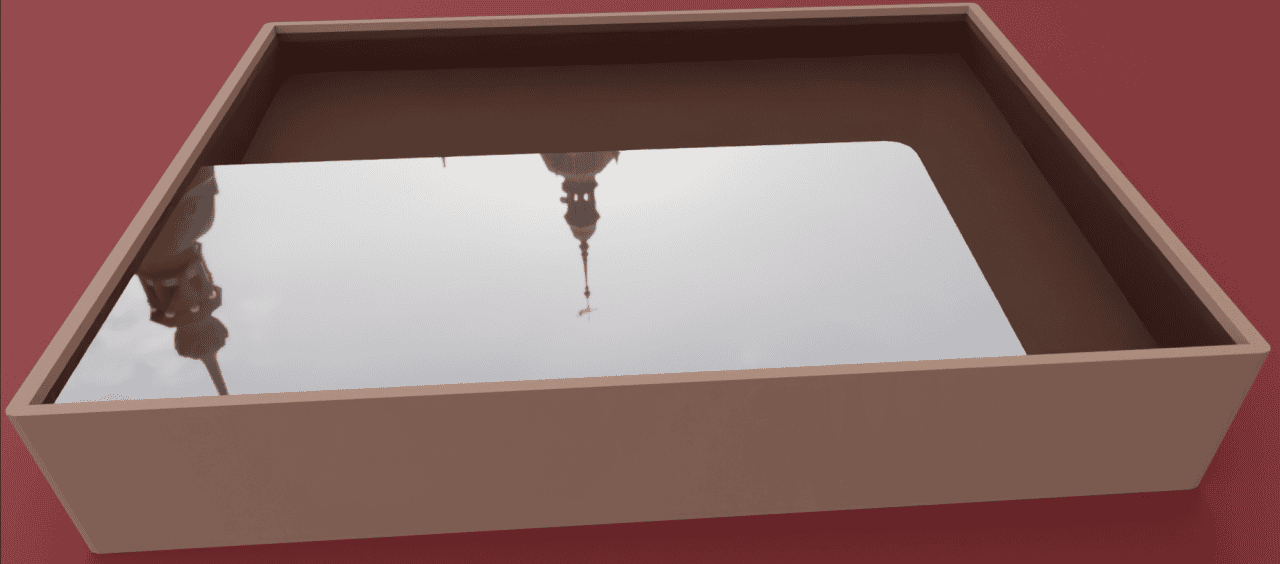
Reverse the changes back to how it was, we will add volume to this object. Because, as I mentioned before, liquids usually have some volume in them. In the Material Properties, you should be able to find a Volume section. We will need to apply a Volume Absorption here.
Right after adding this – it already looks a bit different. Though not too much, it still looks like glass.
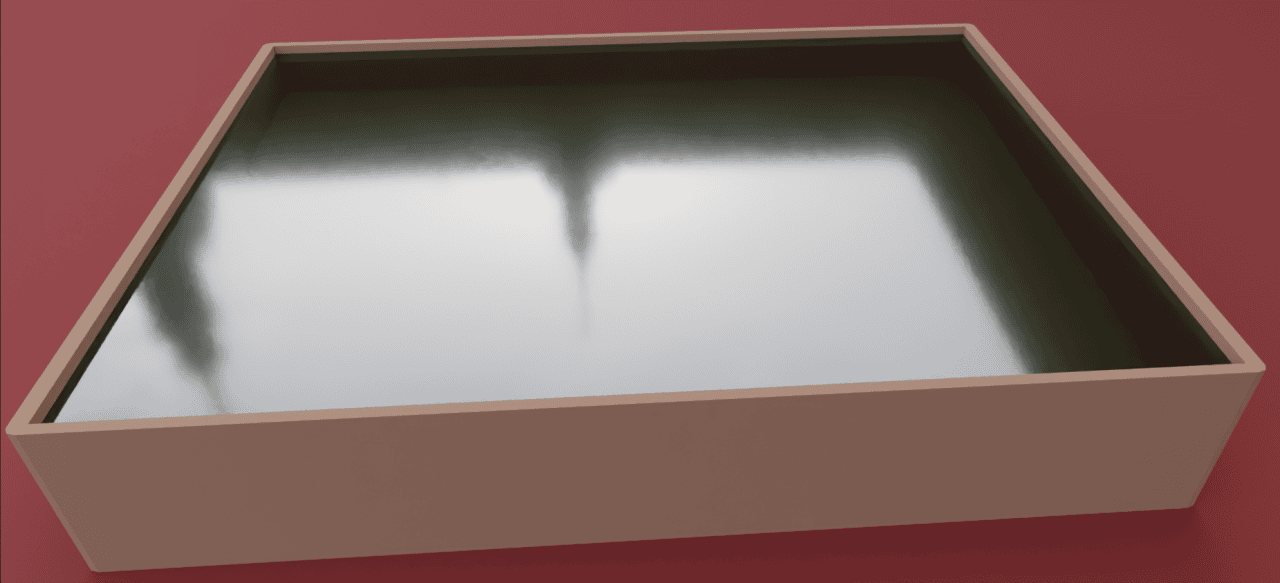
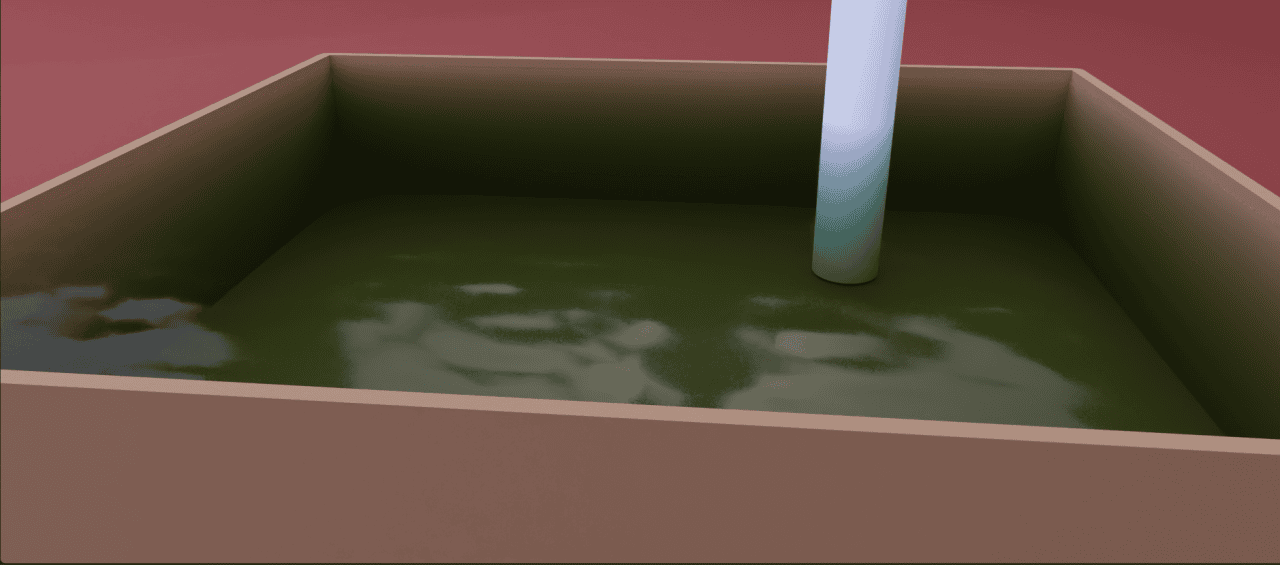
You can use the newly appeared settings to control both how dense the absorption is and also the color of the absorption. So instead of changing the color of the object itself – we will change the color of an absorption, which looks more realistic.
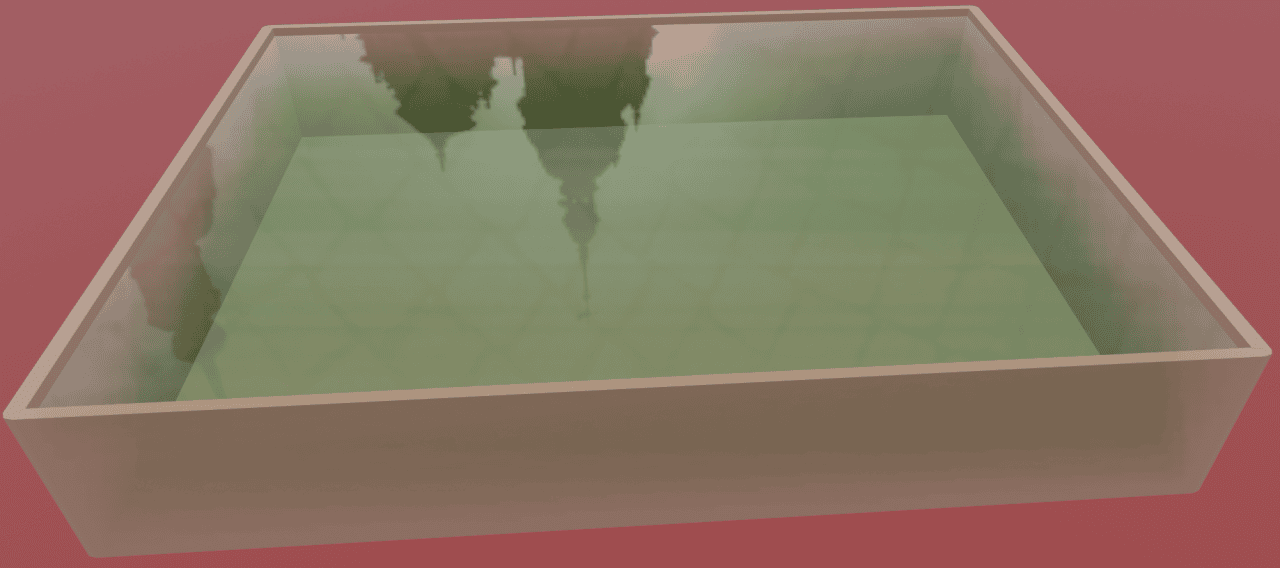
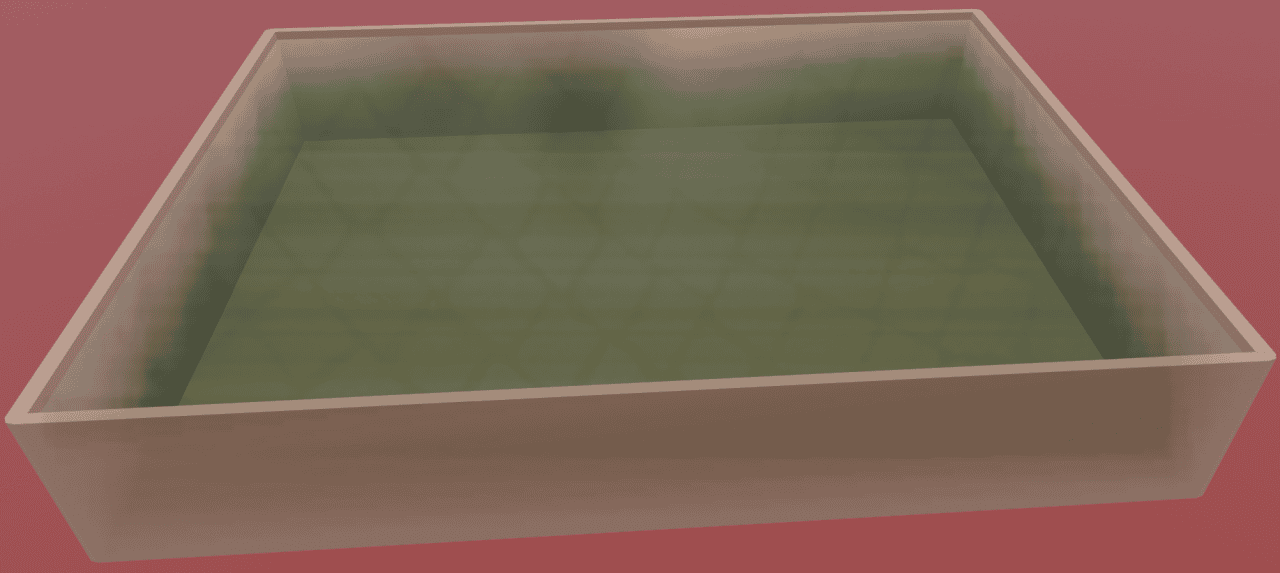
I plan to create something that looks like water from the bog. Water like this does have a lot of volume. So I have increased density a bit and added a green tint to the volume. I think that the result looks good
Eevee Liquid Material
If we would change our render engine to Eevee with all the settings from Cycles active – it already mostly looks good. Just don’t forget to change the Blend Mode and Alpha settings.
Though it is not ideal, definitely not as good as it was in cycles, but I don’t think that it can be. To make it look better, I will increase the density even more, as it seems to work lighter in Eevee. And also will make it a bit foggier by increasing roughness and decreasing transmission settings.
And that’s it for the Eevee. All the things that we made to create a liquid material in Cycles also apply here, with some additional things.
Tips for Creating Liquid and Glass Objects
We have some tips for you to create a believable liquid object. Let’s examine them.
IOR or Refractive Index
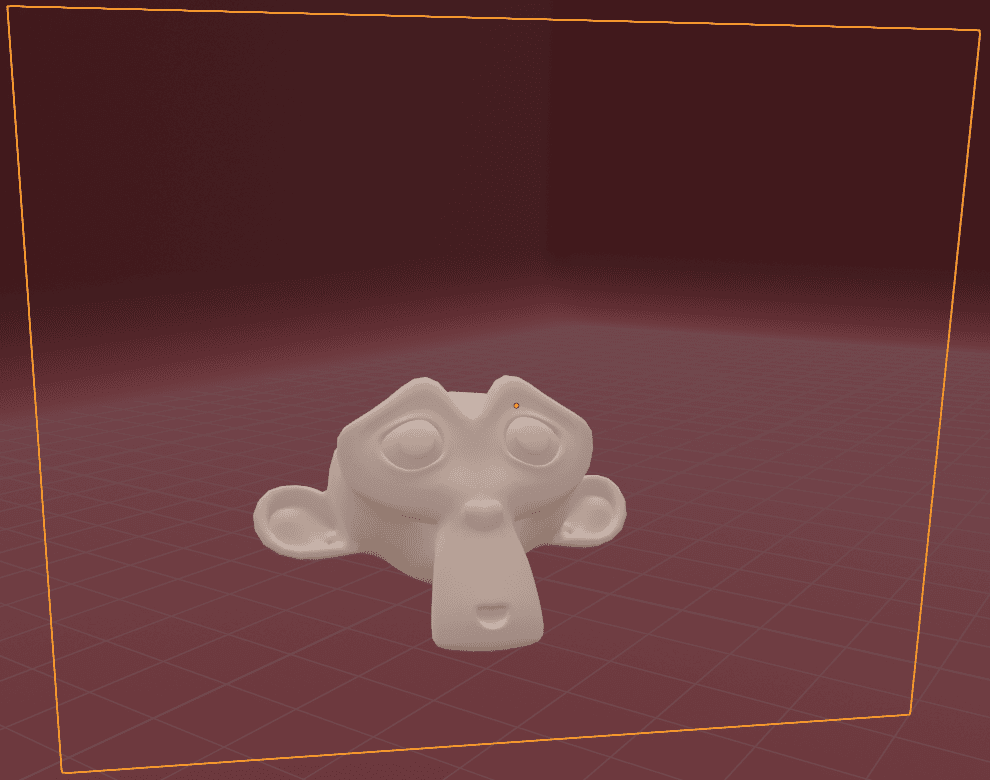
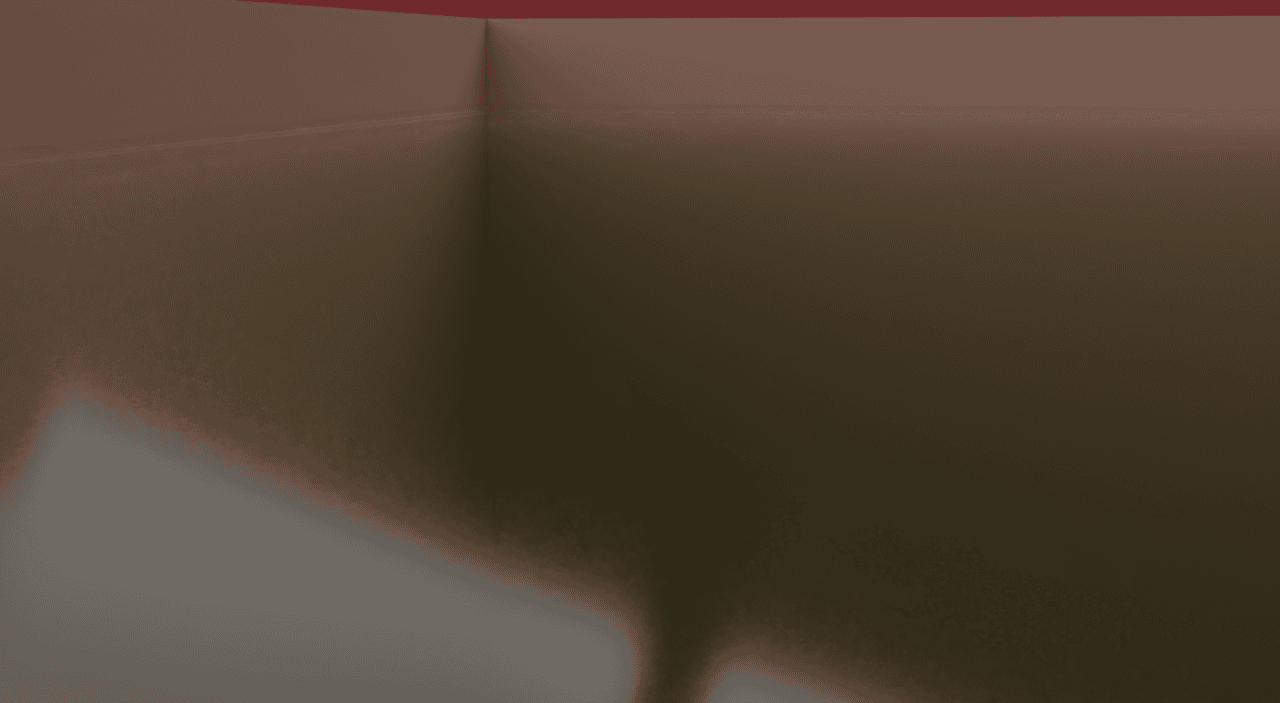
One of the settings that your material has is an IOR. This setting changes the way light passes through your object. This is important, because usually light becomes distorted a bit after passing through an object. Like when you are looking at something through the water, it can look distorted and bigger, when in reality it is not.
So IOR value of 1 makes so that light passes without any distortion or change. A quick example on the glass pane that we did earlier:
IOR at 1.0
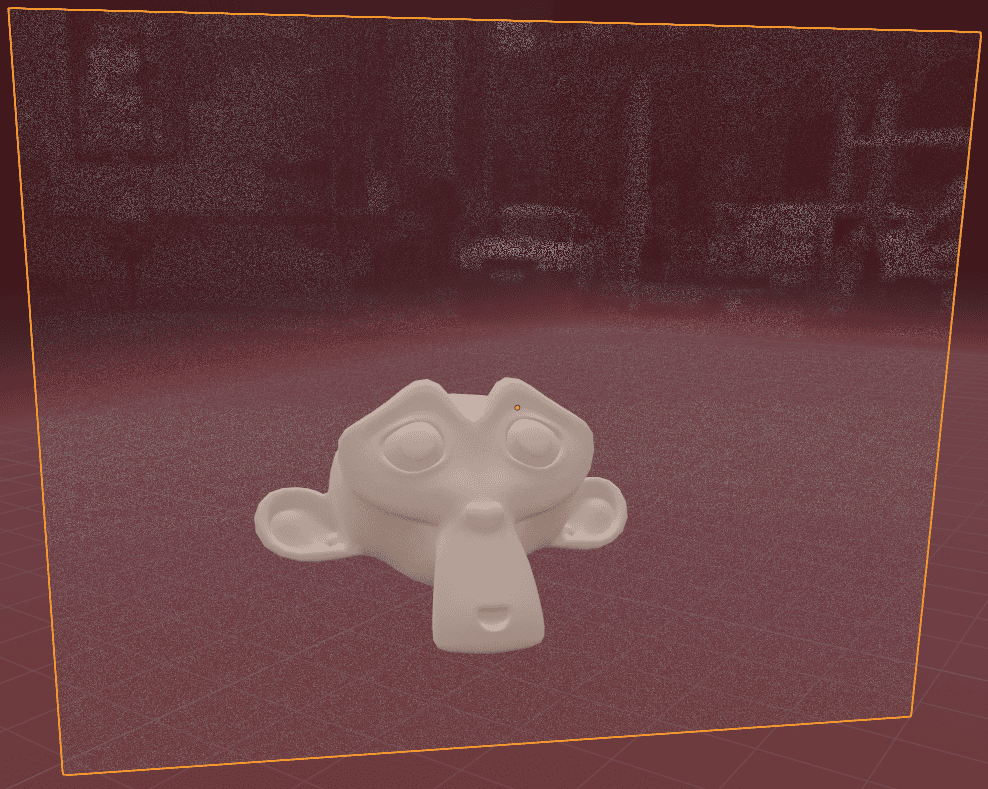
Glass pane became practically invisible, because it did not react to the light in any way. There is no such object in the world. Higher value returns the glass back. And at the same time distorts the view. Monkey now looks bigger through the glass and displaced to the left more..
IOR value of 1.4
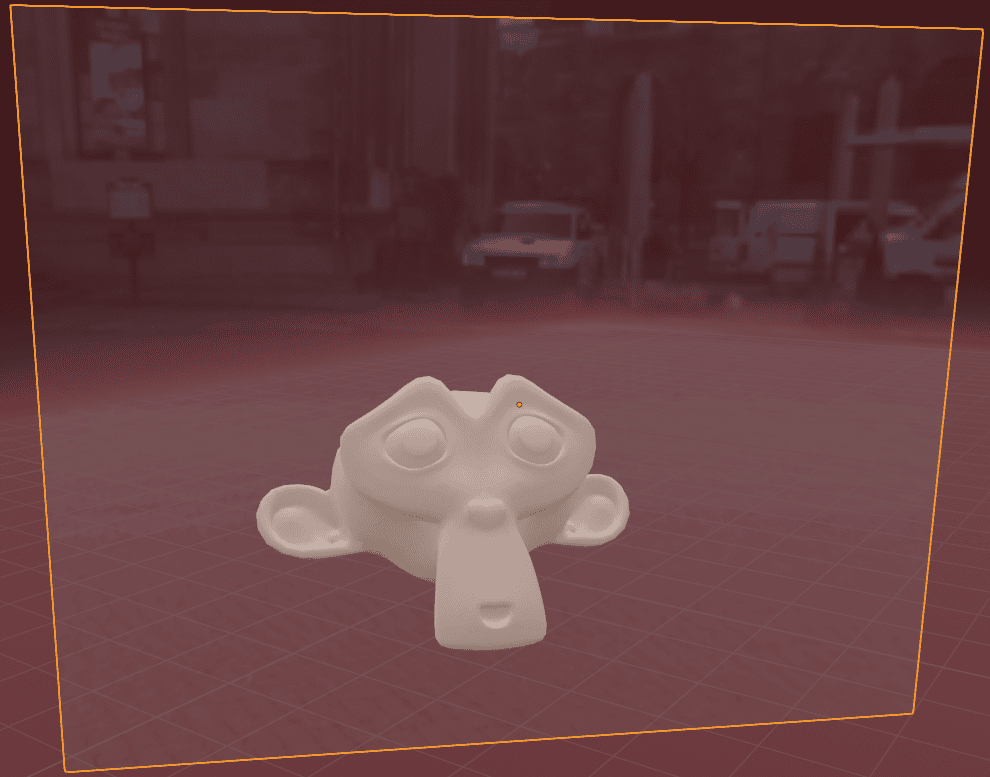
On the other hand, lower value distorts it another way around. Now Suzanne looks a bit smaller and feels like she was moved to the right.
IOR value of 0.75
It is important to set the correct value for the IOR, this will make your render a lot more believable. And it is not that hard to make it right, correct values can easily be found on the internet. Just search for the right material’s IOR and you will get a value. For example, glass can be very different, but 1.5 is a good middle ground. And water is usually around 1.33 IOR.
IOR value of 1.33 for liquid
Liquid Object Geometry
Another thing that you can improve is the geometry of your liquid object. Because in reality liquids are not just a flat plane lying in the container like that.
First of all – the surface tension. When liquid interacts with an object such as a container – there is a surface tension between them. This manifests itself in the edges of the liquid object. They react to the container and “stick” to it, this makes them protrude up a bit.
I have recreated this effect by adding some geometry to the edges(you can use bevel for this) and moved the geometry a bit upwards.
It is a small detail, but it adds realism to your final render and makes it better. Besides, it is easy to make, so no reason not to do it. Looks like this in the Cycles:
Another change that you can make to get rid of the feel of glassiness is to add some irregularity to the geometry. To create a feeling that the liquid is in motion, instead of being perfectly still.
For this we will need to add geometry to the top face of an object. So either use a Subdivision Modifier or just manually subdivide this face a couple of times.

Deselect everything by pressing [A] twice and then go to the Select > Select Random.
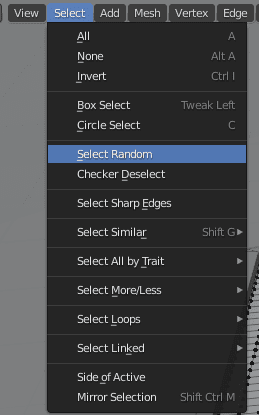
This option will select randomly chosen vertices of our object. Should look something like this:
What we are going to do now is move these vertices on the Z axis a tiny bit up. So this will create an irregularity in the object’s plane and it won’t look so flat anymore. It will look detailed and a lot more interesting.
Conclusion – Blender Liquid and Glass Materials
Turns out, it definitely was not that hard to create a nice-looking realistic glass and liquid materials in Blender. If you are interested in Blender materials, then we have a nice Blender Materials Tutorial for you. There is also a way in Blender to simulate liquids, to maximize their realisticness – Blender Fluid Simulation Tutorial is a great introduction to that. Hope you enjoyed this Blender Liquid and Glass Materials Tutorial.
For the Blender beginners in general, we made an awesome four part tutorial that goes through all steps of creating your own scene in Blender from scratch – Blender Basics Tutorial.