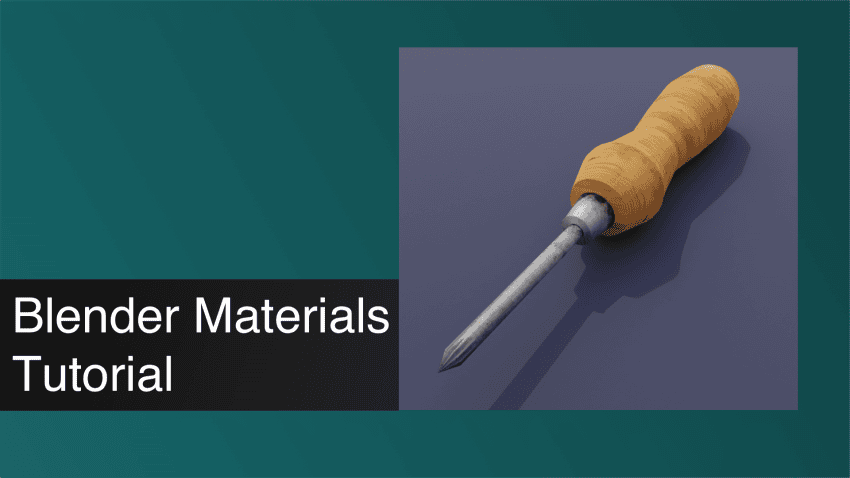
This Blender Material Tutorial shows how to add materials to a blender object. We will add materials to a screwdriver 3d model to make it look realistic. This is a Blender Materials Tutorial for beginners. We expect that you are not a total beginner and know how to move around and the basics of working in 3D space. If not – check out our four part article where we explain everything you need to know to begin working in Blender – Blender Basics Tutorial: Creating a 3D House.
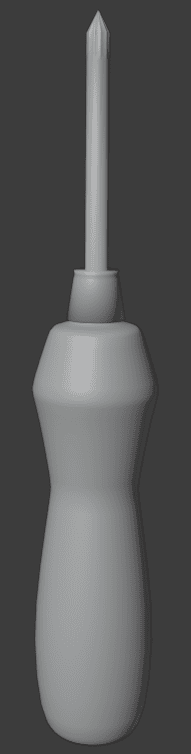
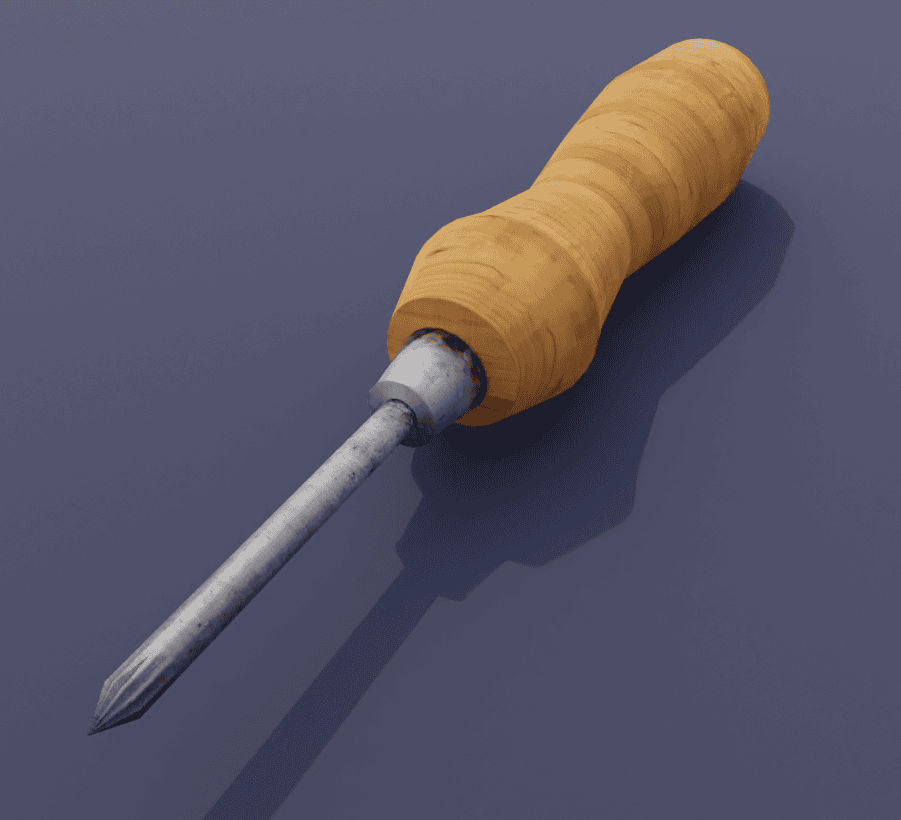
I have made a simple screwdriver object that I am going to apply all materials on as an example. It is just a cylinder extruded and scaled a bunch of times. If you can’t create something like this yourself – check out our Blender Modeling Tutorial. Otherwise you can follow the tutorial on any other object, even the default cube.
Adding Blender Materials to an Object
On our object we obviously need to add two materials – one to the handle and one to the screwing part. So let’s review two possible situations. One – is when your scene is made of different independent objects. And two – when the whole thing is a one object that needs two or more materials.
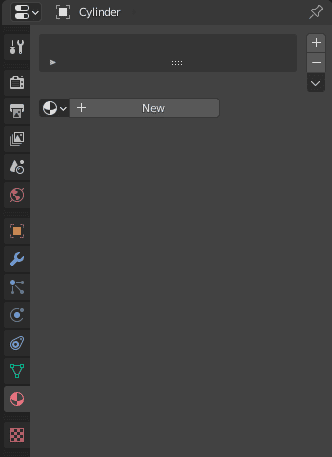
In the first case everything is quite easy. First of all – select the part that you want to add a material to, then go to the Material Properties in the Properties Editor and click the big +New button.
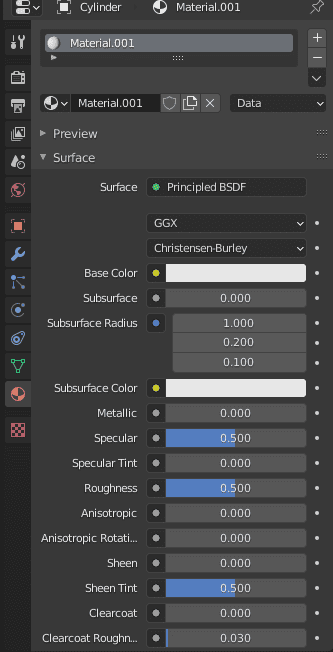
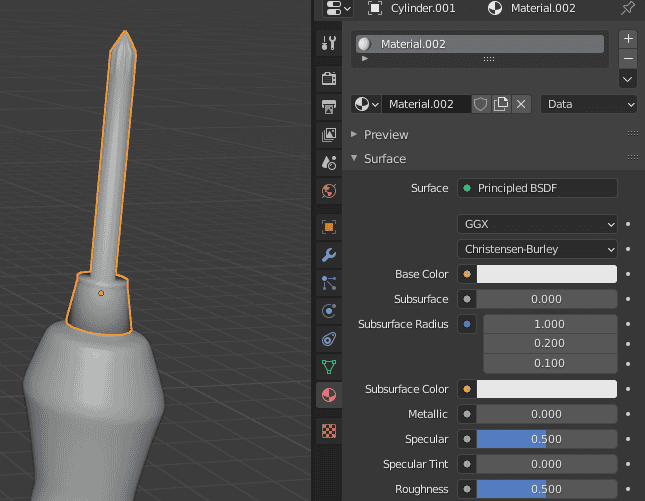
Easy as that – you have created a material. You can see that it is created if at the top there is something like “Material.001” and below are a lot of different settings, like here:
.
Then you just select the other part of the object and do absolutely the same thing. It should add the Material.002.
Now for the other case, when everything is connected. You need to do the exact same thing with selecting the object and creating a New Material. This will create a single material for the whole object.
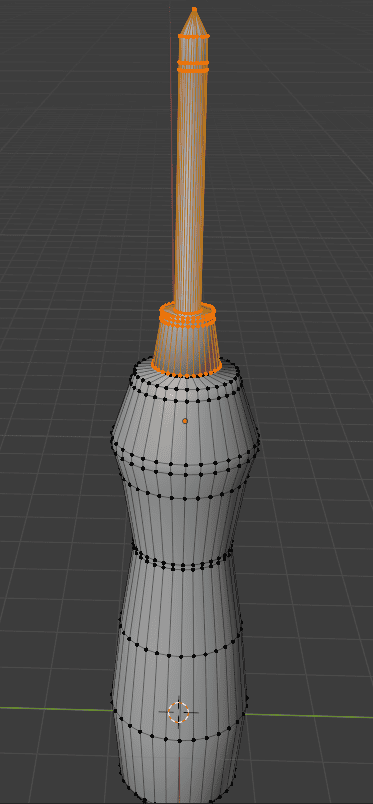
Then you need to change to the Edit Mode at the top right of the viewport[Tab] and select all of the geometry of the part that you want to have a separate material.
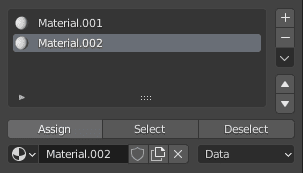
With this selected proceed to the Material Properties, on the right side click on the plus button to add material slot.
This will add a new slot. You need to again press on the +New button to add a material with this slot selected. Then you can assign this material to the selected geometry by using the Assign button.
Blender Shaders
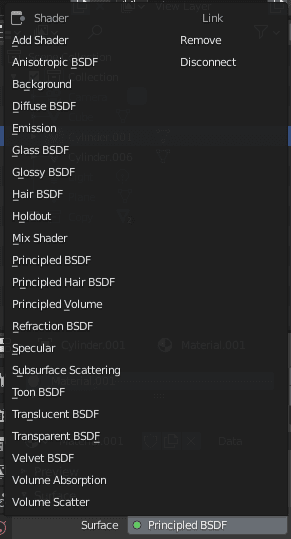
As part of this Blender Materials Tutorial let’s talk about the materials themselves. When you select a material, you see all the settings below it. Those are the settings of the current shader. The default shader that is created automatically is the Principled BSDF. But let’s start with looking into other shaders.
The first option in the Surface settings of a Material is the Surface. Here you can choose amongst all the shaders that are available in Blender.
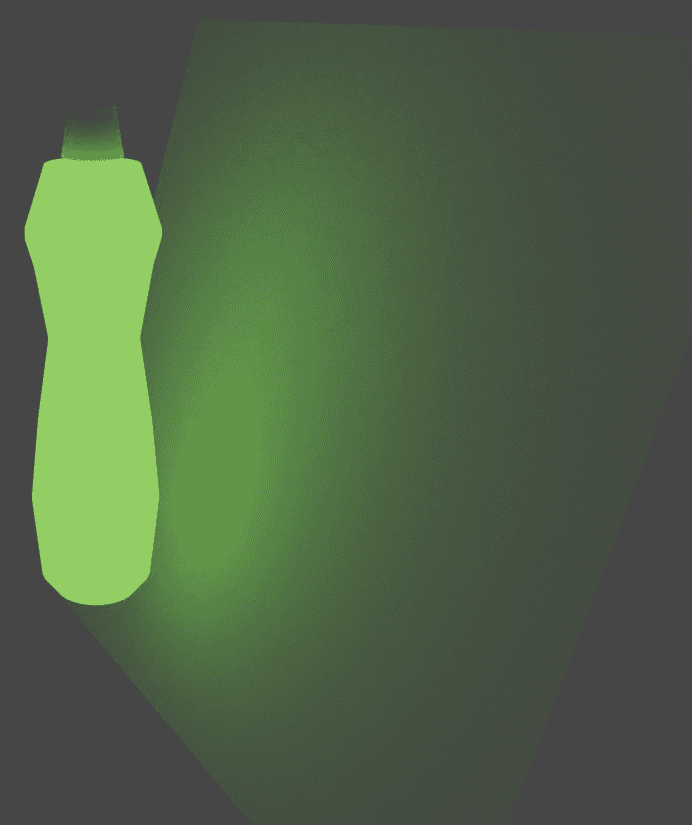
I will not go into each one of them and explain how they work. A good example to try would be the Emission Shader. You need to change to the Material Preview Shading to see the changes to the Material that you make.
Though some shaders can work exclusively in the Cycles rendering engine. And the Material Preview Shading utilizes the real-time renderer – Eevee. So consider changing between the Shadings to test everything out properly.
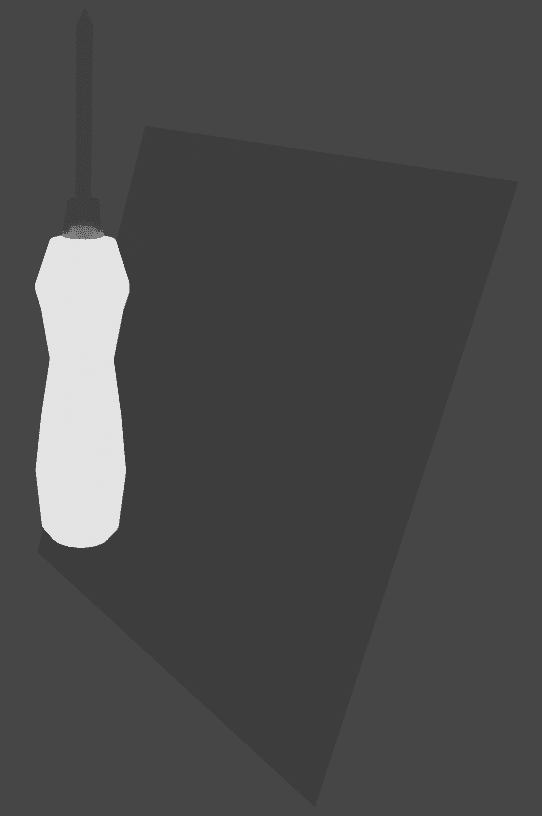
Emissive Shader in Eevee
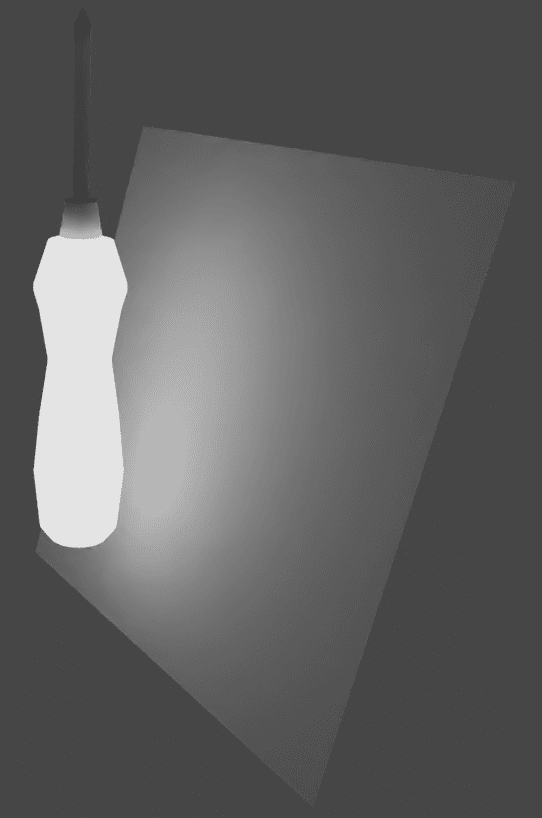
Emissive Shader in Cycles
Few more good examples are the Glass BSDF and Velvet BSDF:
I recommend you to try all the available shaders out and to try changing the settings that they have. Just as the training and for the knowledge. But we will turn back to the default Principled BSDF shader.
Blender Principled BSDF Shader
Principled BSDF is the most used shader in the Blender. That is because it is the most flexible one and you can create most of the simple stuff using only it. And, as you may notice – there are a lot of settings available for it. A bunch more than any other shader.
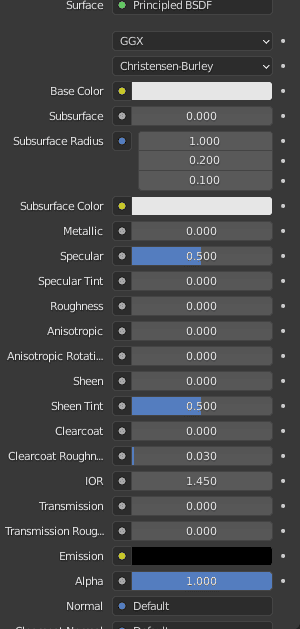
So let’s look into them. But to not extend this article for too long – we will introduce only the most important, interesting and used ones. This does not mean that other settings are useless. They just can be too advanced for now, or too situational.
Starting with the Base Color – it is the most obvious one and one of the most important settings. Fairly simply to use: just click on it and select the color, its brightness and saturation.

Next is the Subsurface Scattering settings. They are a bit on an advanced side, but I could not miss them out.
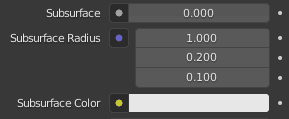
It is the effect when light comes through the object and scatters by interacting with it. Sounds really difficult, but in reality you meet such materials everyday and one example – especially. This example – is your own skin. When you glow a strong light on it – you can see the light coming through your body and exiting from the different angles creating a red glow. That is – Subsurface Scattering.
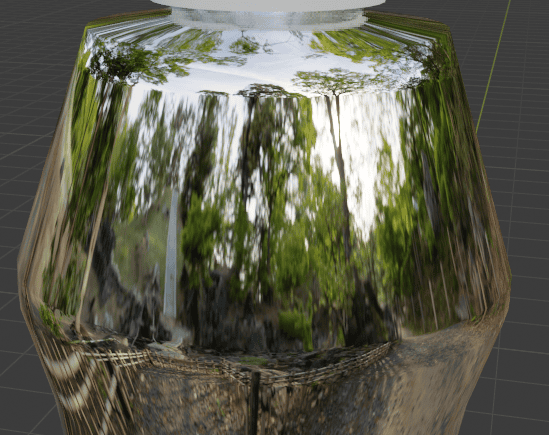
Next is Metallic and it is quite obvious how it works – makes objects look like they are made out of metal. Used in the combination with Roughness setting.
Roughness – Decides how rough your object is. Absolutely rough objects(1) do not reflect lighting at all and not rough objects (0) – reflect the surrounding perfectly.
By combining the Metallic and Roughness settings you can create a really reflective material.
Transmission is quite self-explanatory. It is for controlling how much lighting transmits through your object. So if you create a light source on the one side of the transmissive object – you will see the light exiting on the other side.
And the last important setting is Emission. It is really similar to the Emission Shader that we already tested. But this one is right in the Principled BSDF, so you can change all the other settings of your object, such as its Roughness and Metallicness in addition to making it emissive.
Matching Blender Materials to an Object
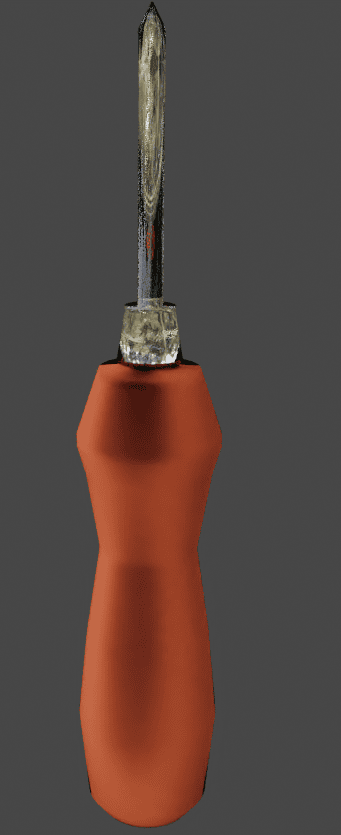
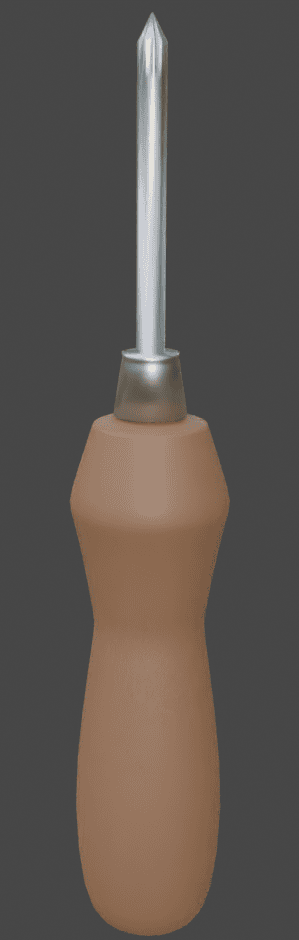
After we learned the Principled BSDF’s main settings is the time to try and create materials for our object. As I already mentioned – there would be two materials. Let’s start with the handle.
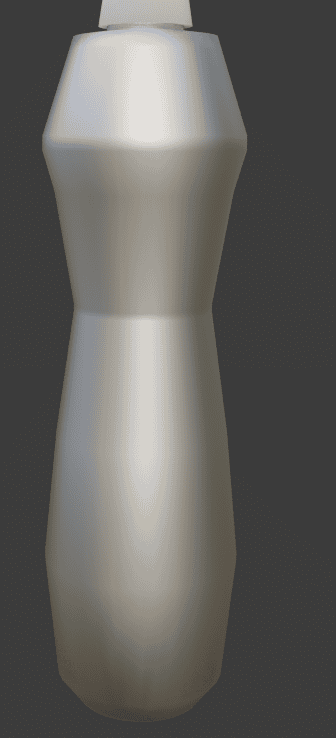
Usually modern screwdrivers are made out of rubber or plastic. But in my case it seems that the screwdriver is not that modern, so I guess the wood material would fit the best.
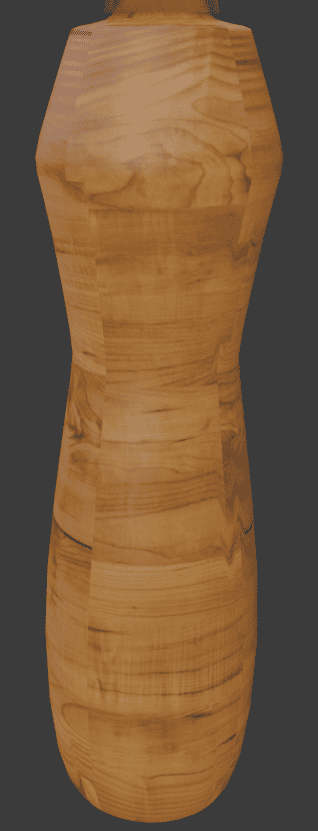
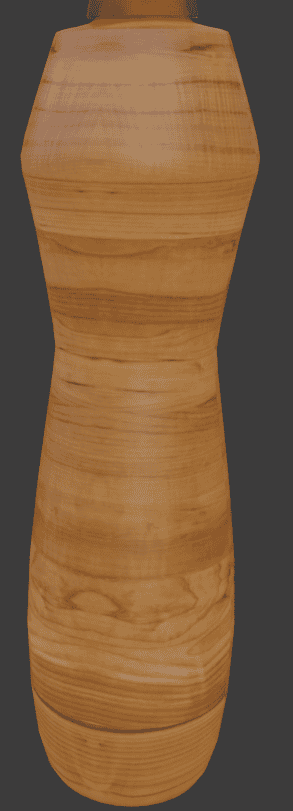
For wood material first of all I change the Base Color to be similar to wood. So something brownish, maybe with a tint of red.
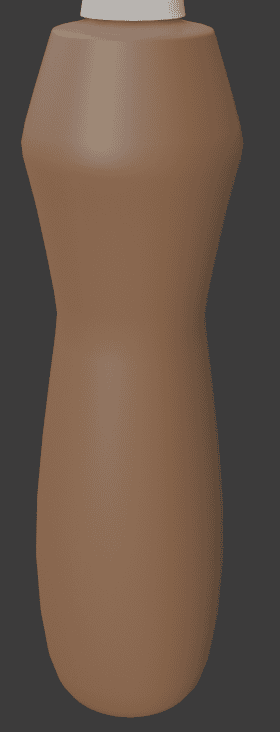
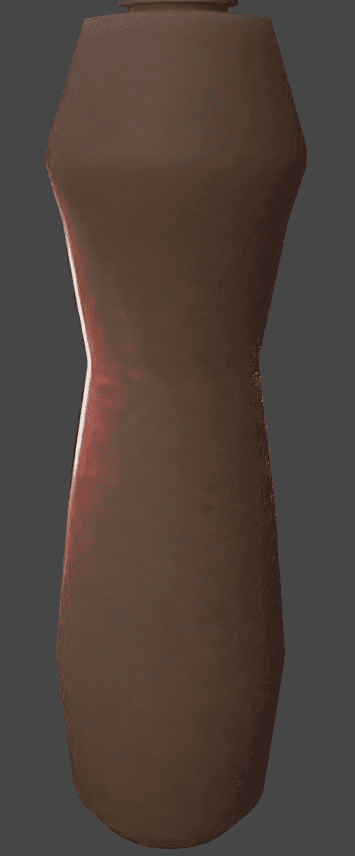
There is no Subsurface Scattering in wood and it is definitely not Metallic. Roughness: wood can be a bit reflective, but on the old screwdriver it would be too worn out, so not that reflective. Emission or Transmission is definitely not needed here. So the result is like this:
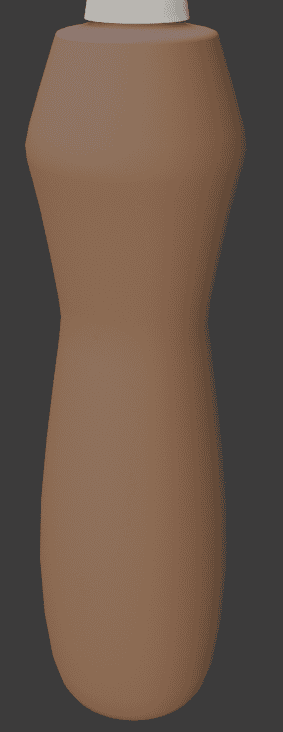
Changing it to rubber would be really easy – basically just change the color and that is it. Lower Roughness a bit too, as rubber can be a bit reflective.
And Plastic would be just like rubber, but a lot less rough(reflective).

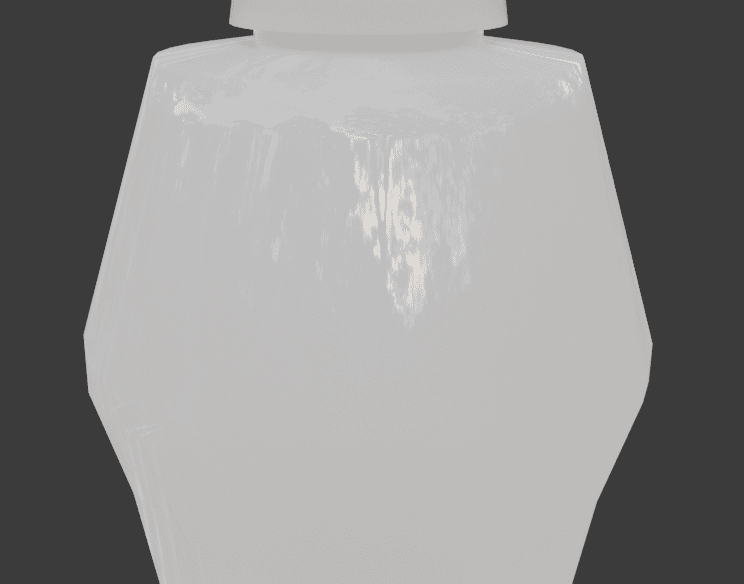
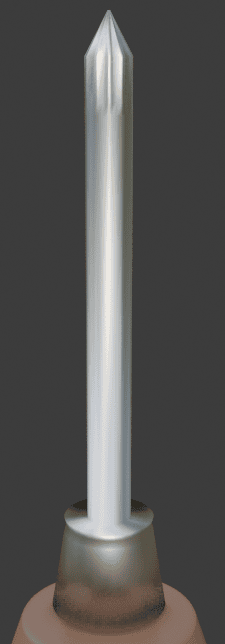
Now for the screwing part. This one is a lot easier and there are not a lot of possibilities. These parts are made of metal, so Metallic goes to 1 right of the bat. Then you lower the Roughness to something that would suit this part. In my case it should not be too reflective, so like 0.4.
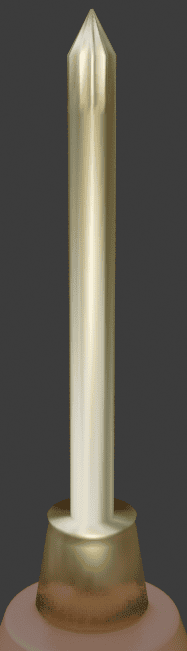
And that is basically it. You can experiment with the Roughness and color a bit. Make it look like some different metal. Maybe even golden:
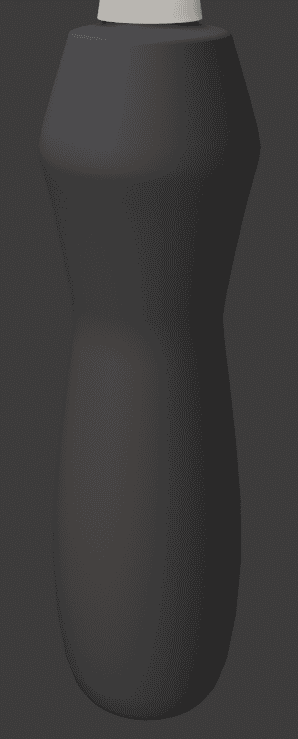
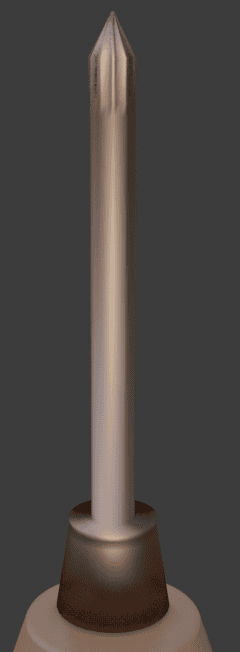
Or, as it is the old screwdriver – you can try to make it look a bit rusty by changing the Base Color.
And basically we are done. We have created two different materials for our object, so it now looks like a screwdriver with a wooden handle and metallic screw.
Adding Image to Blender Materials
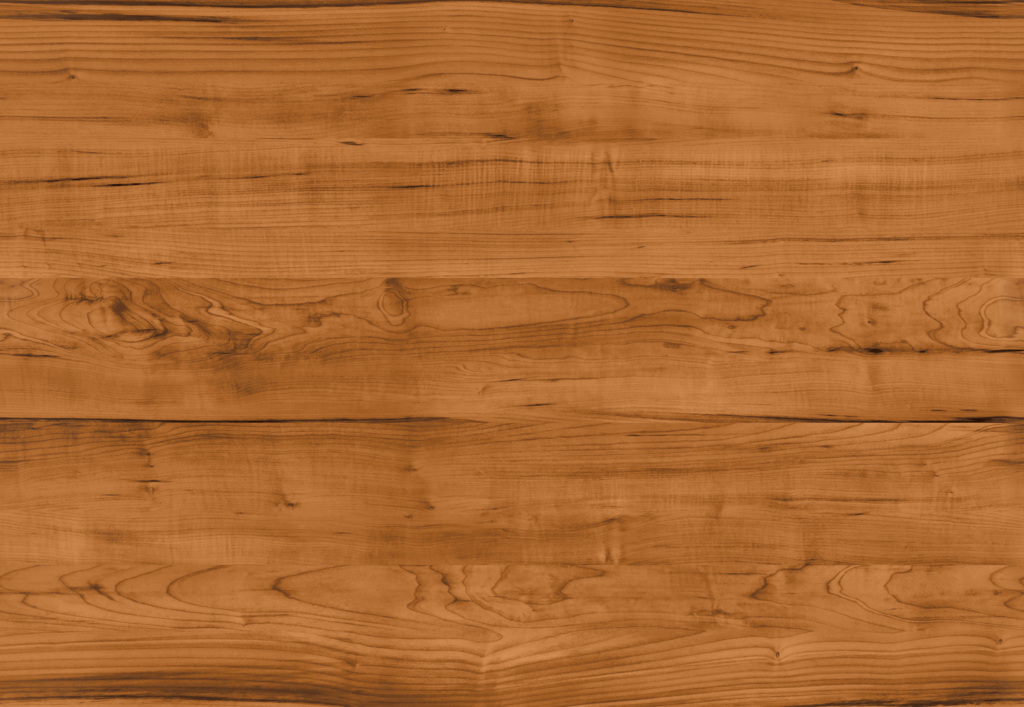
But there is another way of adding simple materials to your objects. That is adding textures – images aligned with the object. You can use any image for this that you found on the internet. Best to use the images that were specifically made for this task though. I will use this image that I found on the textures.com:
To apply it to the object, go to the Base Color setting and click on the big dot to the left of it. In the appeared window find the Image Texture option under the Texture column.
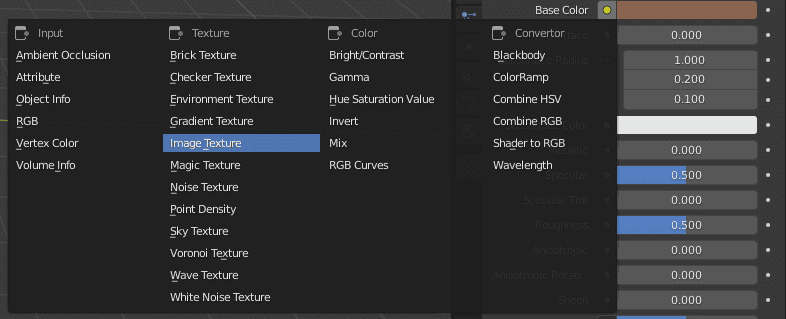
Click on the appeared Open button and select the image that you want to use from your computer. Results should be seen in the viewport instantly after you do that.
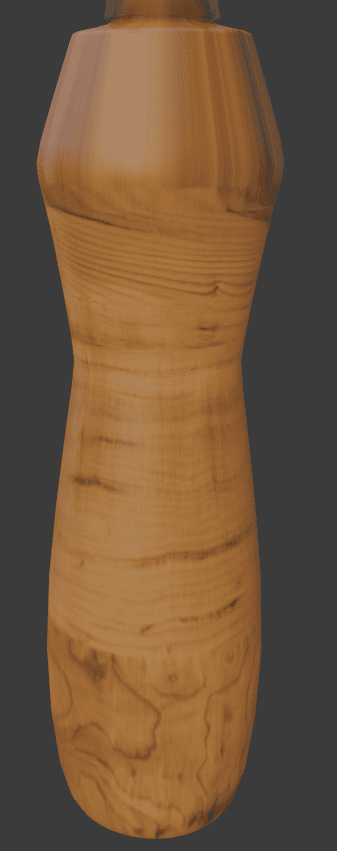
And depending on the object that you are using – the result can be quite bad. Just like in my case – texture looks really weird, stretched in some places. You can try to fix this by UV Mapping the object properly.
For an easy solution change to the Edit Mode and select all of the objects geometry. After that go to the UV Settings[U] and try the Smart UV Project option.
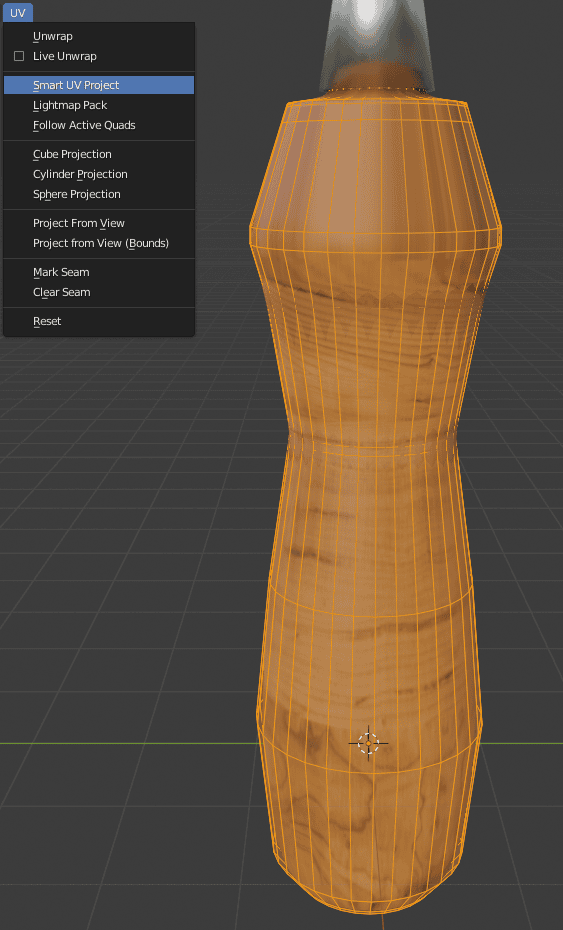
This should make it better and would totally work on some objects. Sadly in my case it is not that good either, though better. Seams are too visible:
If this did not work for you – you can try using other options from the UV settings menu. For example, the Cube Projection worked quite well for me.
Sadly, this still will not work for every and each object. Some of them require an individual approach. If you want to learn how to use images as materials properly and work with UV Maps in general – check out our Blender UV Mapping Tutorial. The main advantage of using this approach is that it looks more realistic and you even can control the Metallic, Roughness and other settings of the image texture you applied.
Conclusion Blender Materials Tutorial
In this Blender Materials Tutorial we introduced to you the basics of the Materials. What shaders are there, what is the main shader and what are the most important settings there? Also the method of adding images to your objects as material was shown.