This Daz3D Create Custom Morph Tutorial explains all steps you need to take to create your own individual Daz Morph.Morphs are an easy way to change your character and its look. It is a unique function of the Daz Studio that makes your experience significantly better. But there are not a lot of them built-in to the program on itself. Adding them usually costs money. Besides you might have something very unique in mind. Some really specific morph.
If you prefer watching a video, see below, otherwise keep reading.
In this case you can create your own morphs. It really is easier than it sounds. So we are going to show you how and introduce two ways of creating your own unique morphs. Because this can be done both using the Daz Studio and using third-party software.
Daz3D Create Custom Morph With DForm
First method of creating your own morphs is to use a D-Former and DForm tools. These are the tools that allow you to change objects geometry directly in the Daz Studio and save changes as morphs. To access this tool you will need to select your character and go to the Create drop-down list and choose “New D-Former” there.

Then find the “D-Former_*_Field” object in the “Scene” tab and select it. You will see the field around your character.
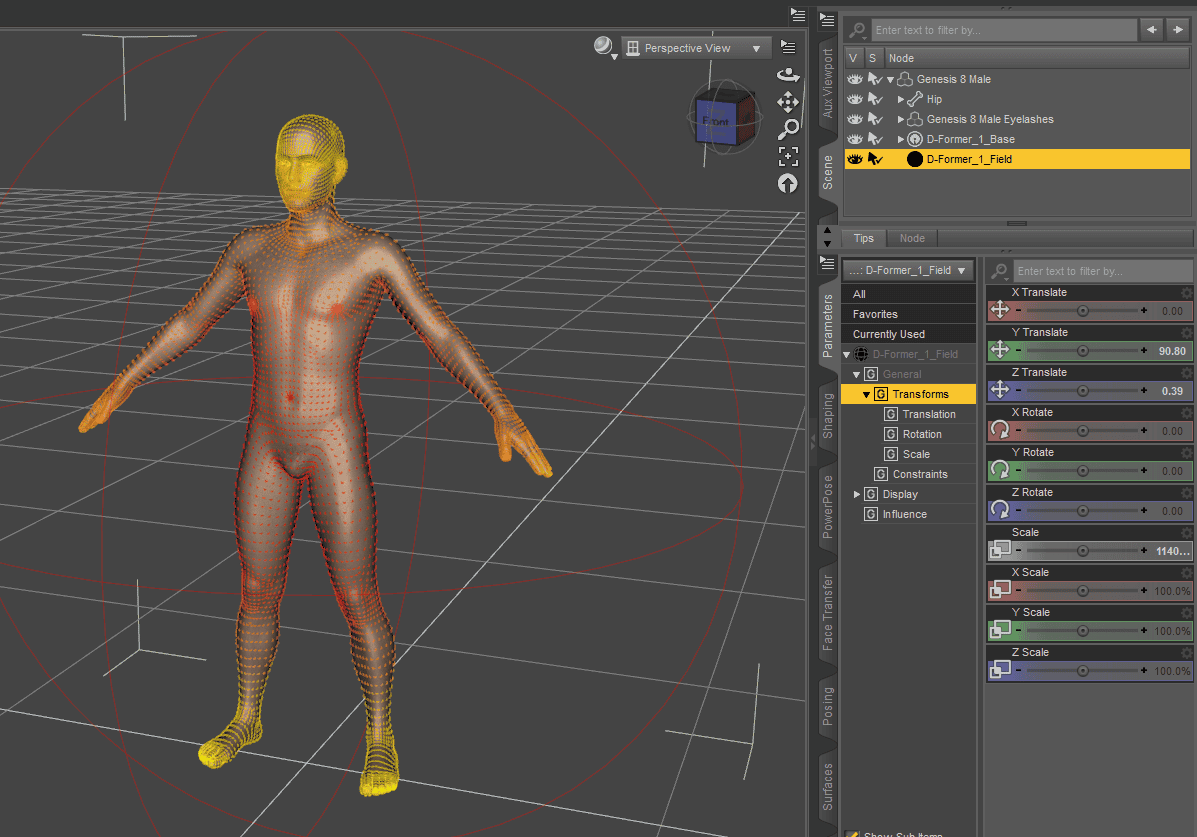
Now place this field over the part of the character that you want to change. Use Scale and Move transforms for this.
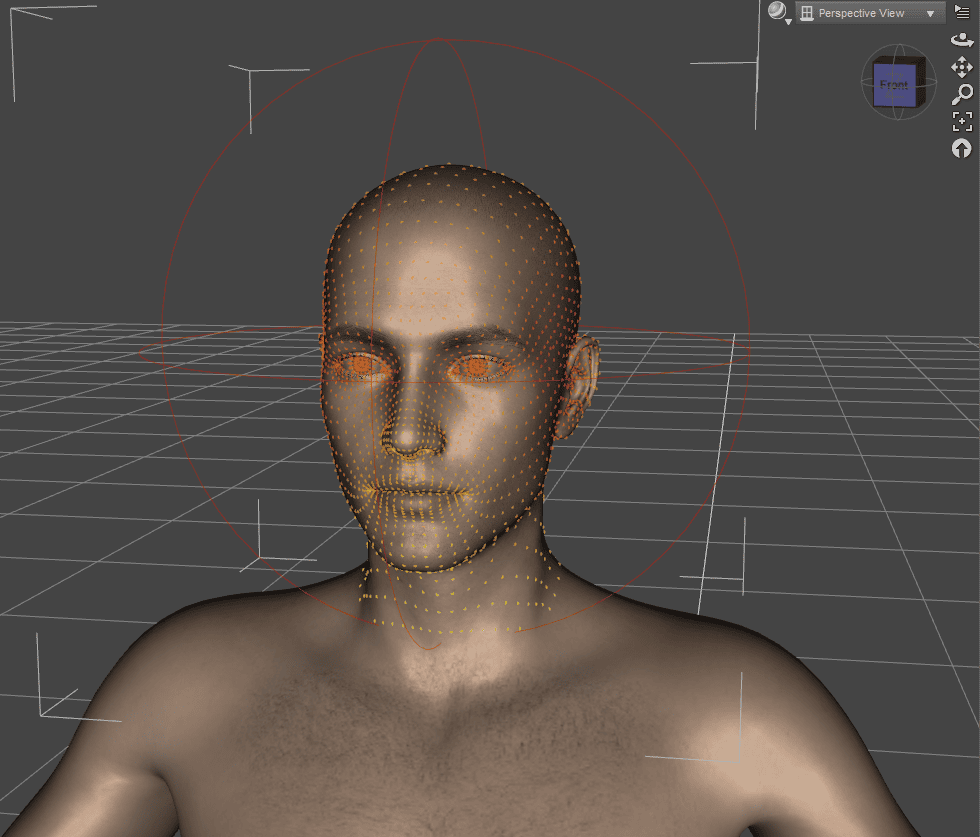
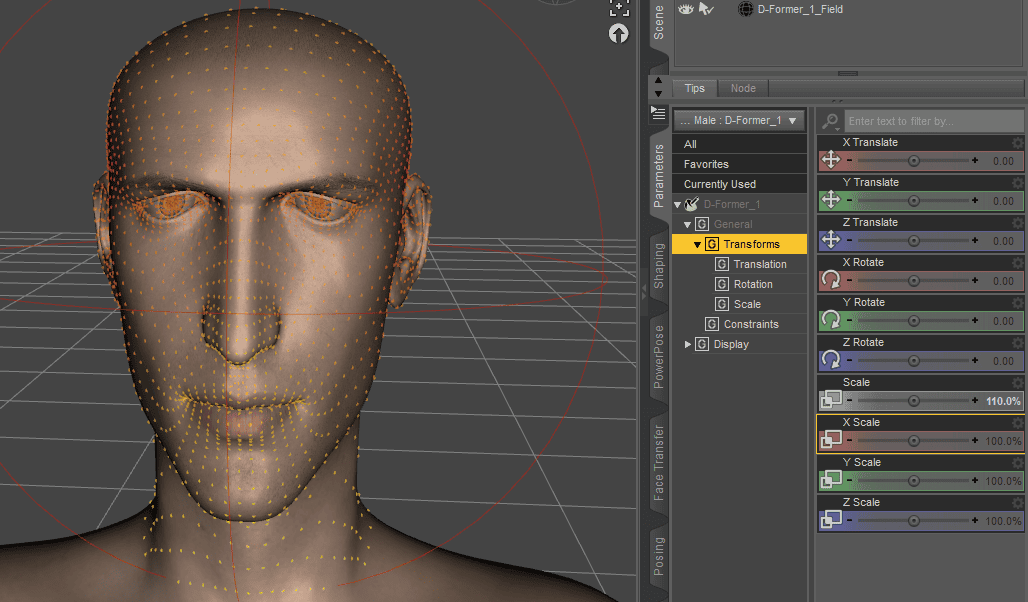
Under the “D-Former_*_Base” find “D-Former_*” object
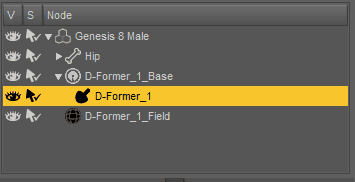
With this object selected – apply any transforms such as scale to it and see how your characters geometry would change.
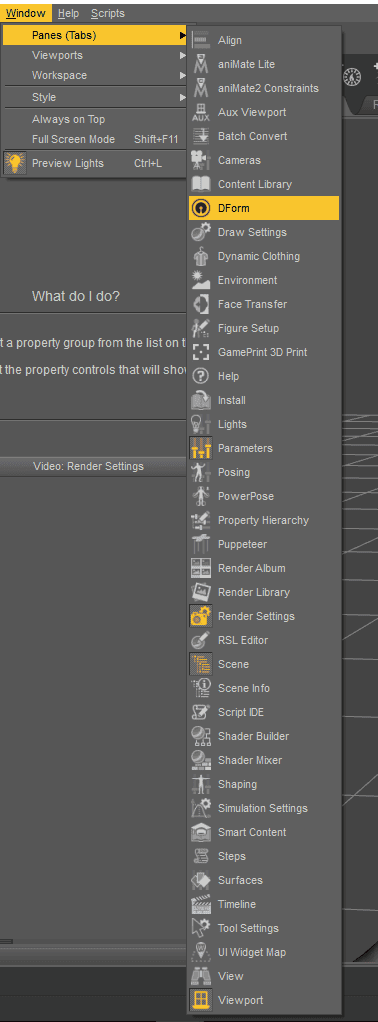
When you are done with your transforms – proceed to the DForm tool. It can be opened in the top bar “Window > Panes (Tabs) > DForm”.
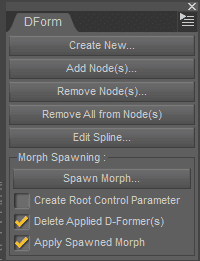
In the appeared window you can create morphs out of changes made with D-Former. Don’t forget to select your character. Then proceed to check the “Apply Spawned Morph” and, if you want – “Delete Applied D-Former(s)”. Then press “Spawn Morph…” and give it a name.
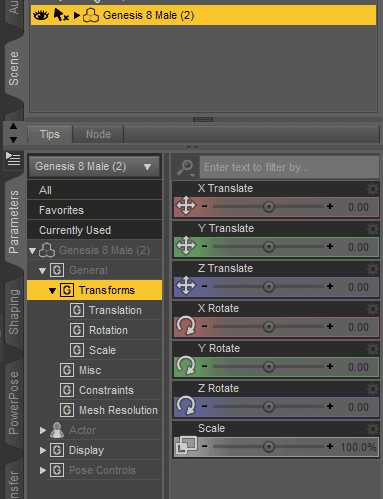
Then you should notice that in the Parameters tab there is a new “Morphs” section. Here you can find your newly-made morph.
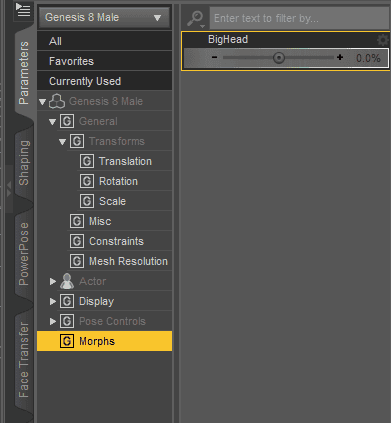
Change the value of the slider to apply your morph. By default you even can go higher than 100 or into negatives, which will invert the changes to geometry.

Morph is created and you can work with it. But we are not done yet. Because if you will create a new figure – you will notice the problem. There would be no “Morphs” section for it. That is because the morph we created is unique to that one figure that we created it for.
No “Morphs” option
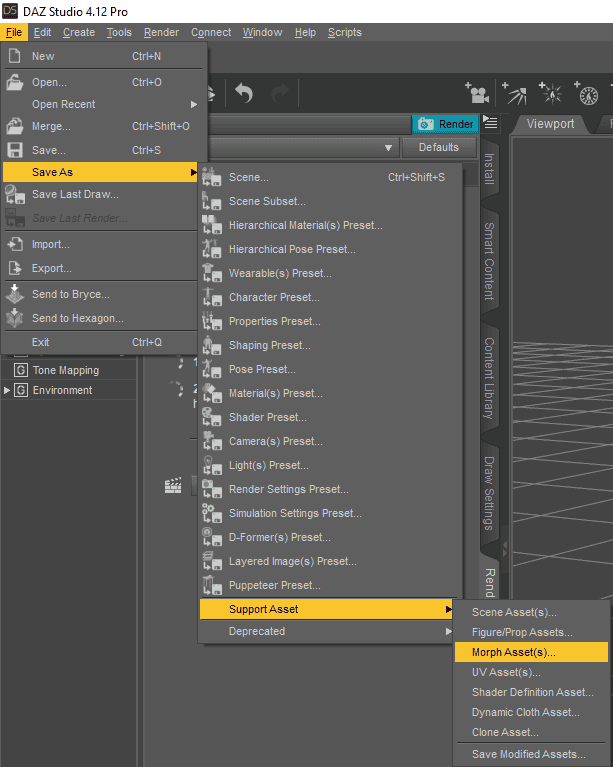
But worry not. We just need to save this morph, so I could apply it later to any Genesis 8 Male figures. For this select the figure with the morphs on it and proceed to the top bar, where “File > Save As > Support Assets > Morph Assets”
In the appeared window find your morph and enable it. Then change the “Asset Directory” to the “My Library” path. Give the product a name and save it.
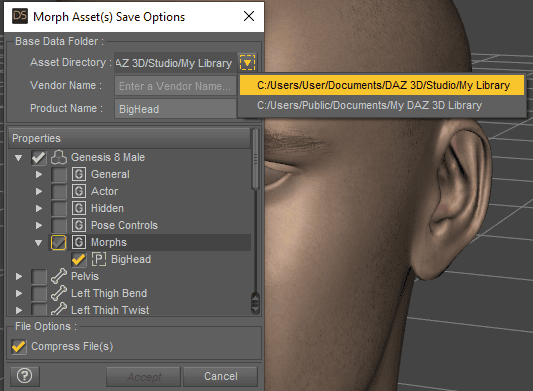
.
After that I will have a “Morphs” option available for any Genesis 8 Male figure and it is possible to apply my created one there.

Daz3D Create Custom Morph Using Other Software
Second way of creating custom morphs for Daz Studio is to use another software for this. This means that we are going to export our figure out of the Daz Studio and import somewhere else.
This should be some modeling or sculpting software. That is why I will use Blender for this example. It is a free open source software with both modeling and sculpting functions. Also we have a Blender Basics Tutorials series if you want to learn this software.

Though there is a Daz to Blender bridge tool and we even have a tutorial on it – for our task now we will use common export and import functions. This is done because we need exactly .obj file format for this.
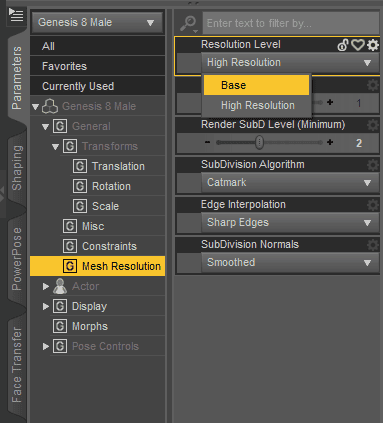
To export your figure you need to change its resolution first, as the default resolution can be a problem later. To do this go into the “Parameters” tab, find there “Mesh Resolution”. change the “Resolution Level” from High to Base.
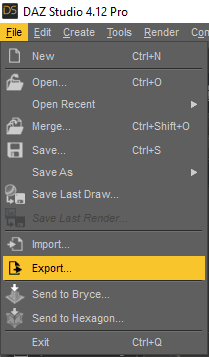
Now with the character selected proceed to “File>Export”. In the appeared window select the path on your computer, write the name of an exported file and save it as Wavefront Object (.obj).
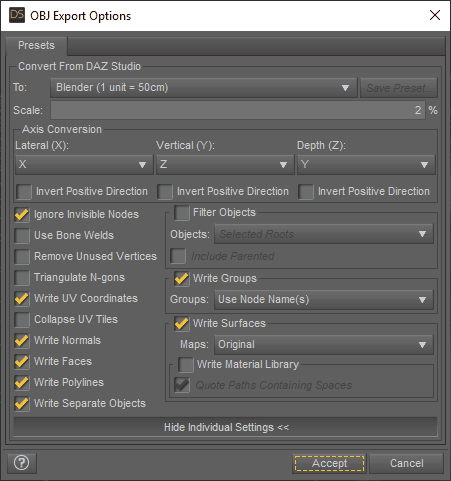
After that an OBJ Export Options window should appear. Here you can change a lot of things, but I don’t recommend it. Default settings are totally fine. Only change the preset on the top. There is a Blender preset that I am going to use.
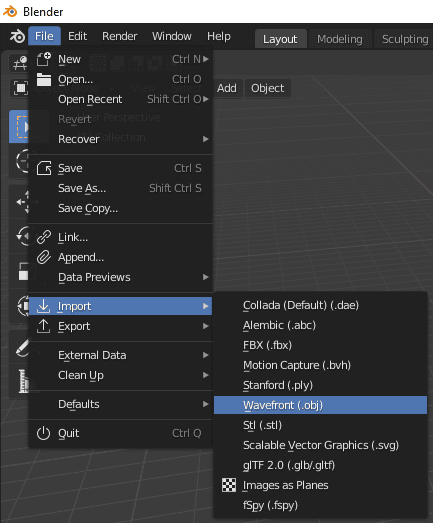
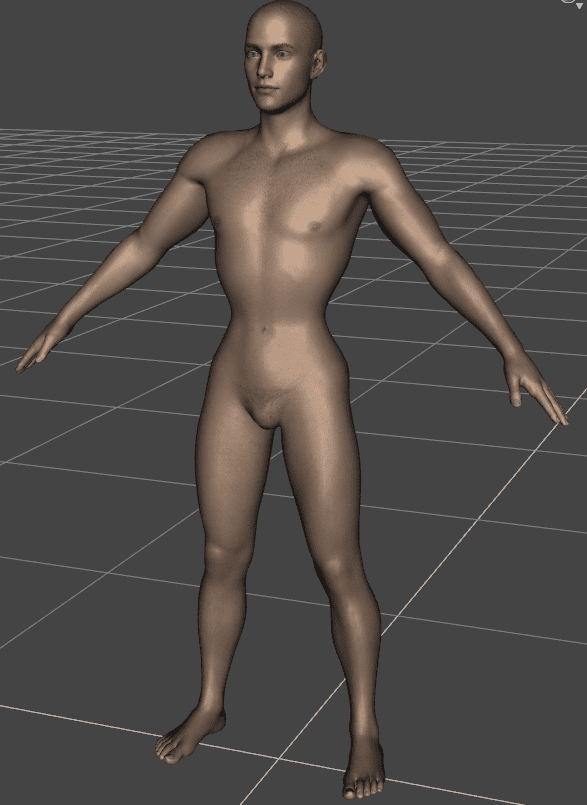
Following exporting, I need to open Blender and Import my character there.
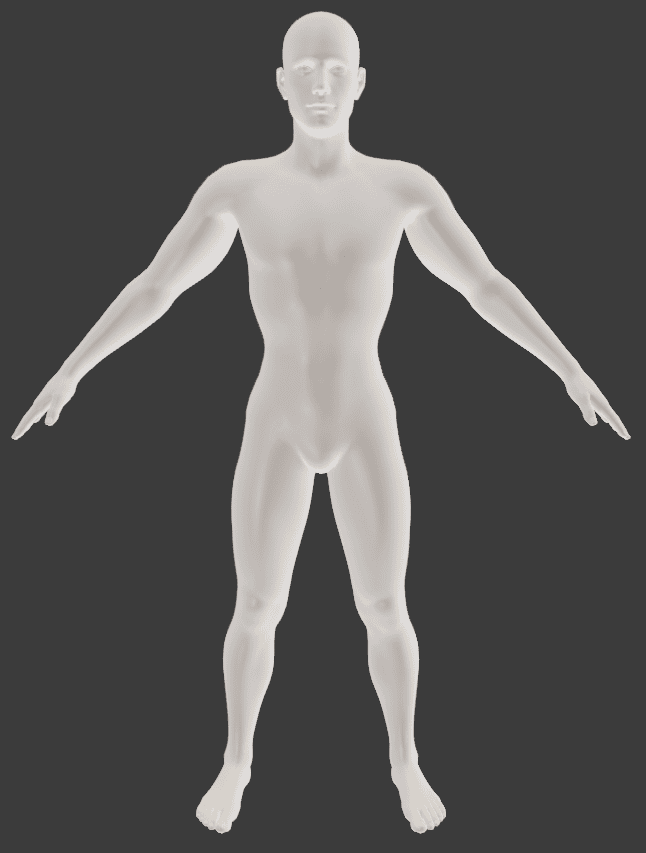
And with the character finally imported – I can proceed with making changes to its geometry. I have changed its waist, biceps and shoulders.
Then I exported this model as an .obj file. It is done almost in the same way as importing.
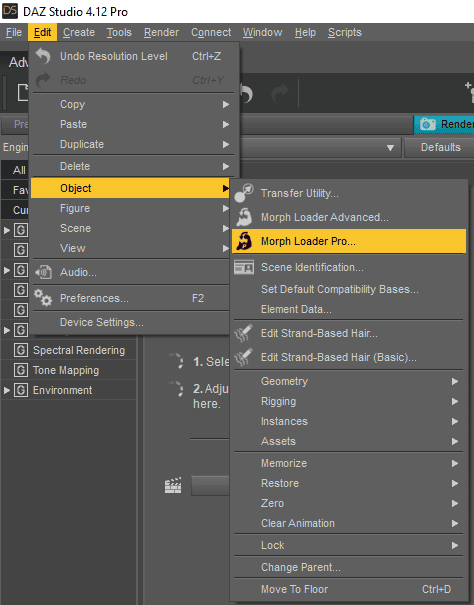
In Daz Studio we need to import this file as morph, so we are going to use the Morph Loader tool. It can be found in the “Edit > Object > Morph Loader Pro”.
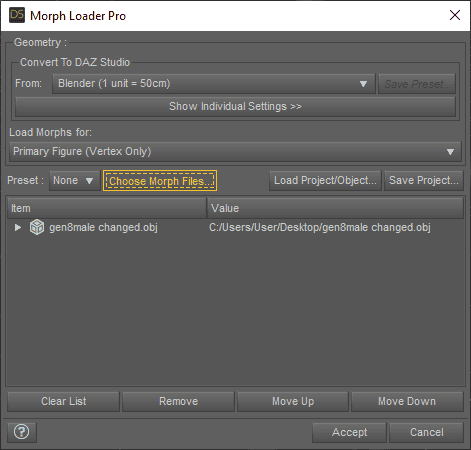
In the Morph Loader Pro window select the same preset that you used when exporting the original figure. Then click “Choose Morph Files” and find the file that you exported from the modeling software.
When this is done – new morph will appear under the “Morphs” in the Parameters tab.

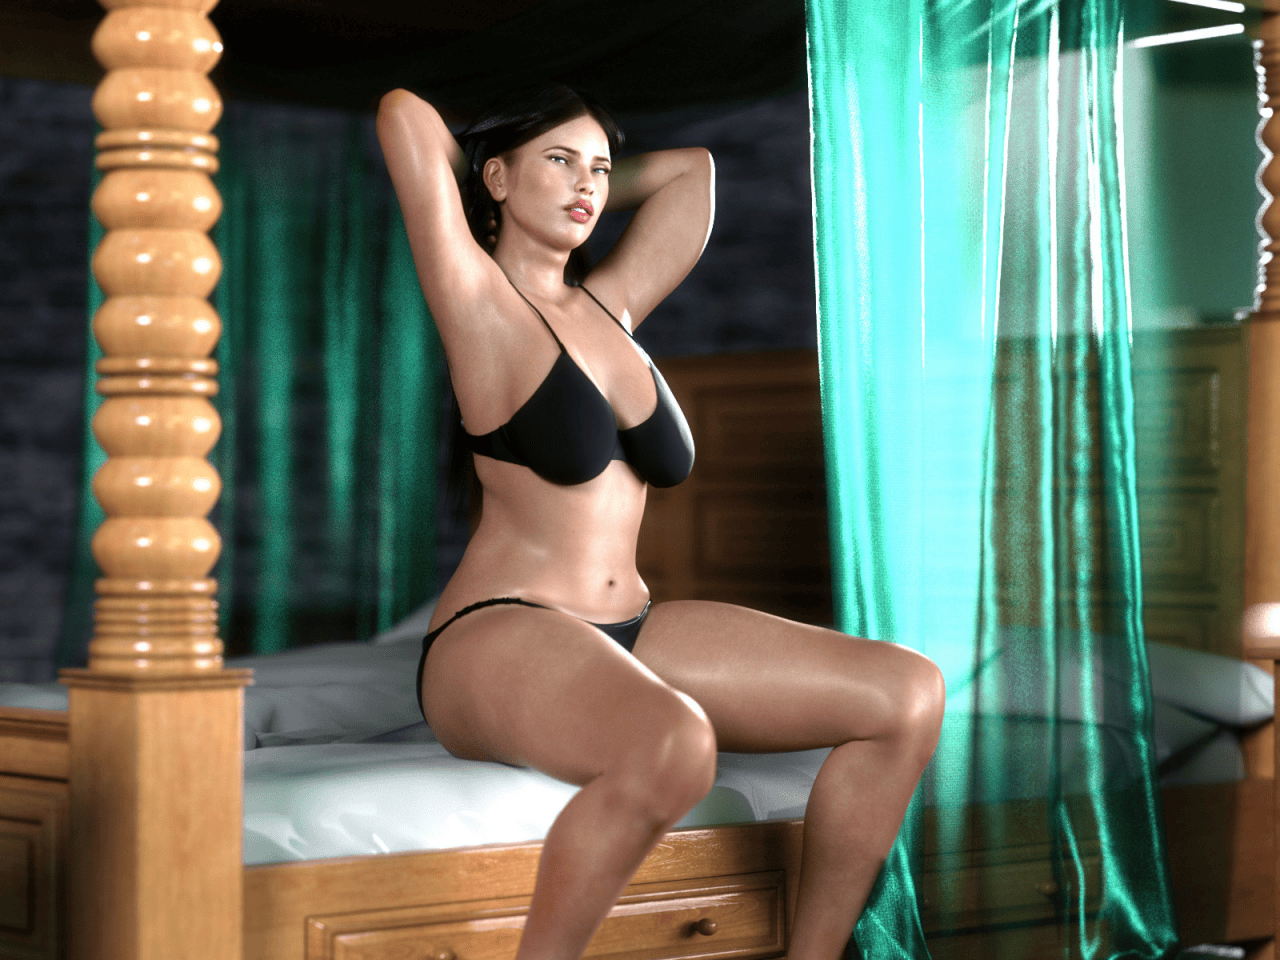
And it changes my character exactly how I did it in the Blender. Waist is a lot smaller, biceps and shoulders are bigger.
Though, same as was with the previous created morph – it is not saved properly yet. It is available only for the one specific figure and would not be possible to use on any another. To save – select the figure with the morphs on it and proceed to the top bar, where “File > Save As > Support Assets > Morph Assets”
Daz3D Morph Products
Creating your own morphs is not an easy task. So it is okay to buy ready-made ones. Especially if there is something like Z All Natural Morphs and Pose Mega Set by Zeddicuss which does not only include a bunch of morphs but also a big collection of most different poses.
Source Z All Natural Morphs and Pose Mega Set
If you want to have a bigger morph collection it would be nice to look at the Daz Originals products such as Genesis 8 Female Body Morphs and Genesis 8 Male Head Morphs.
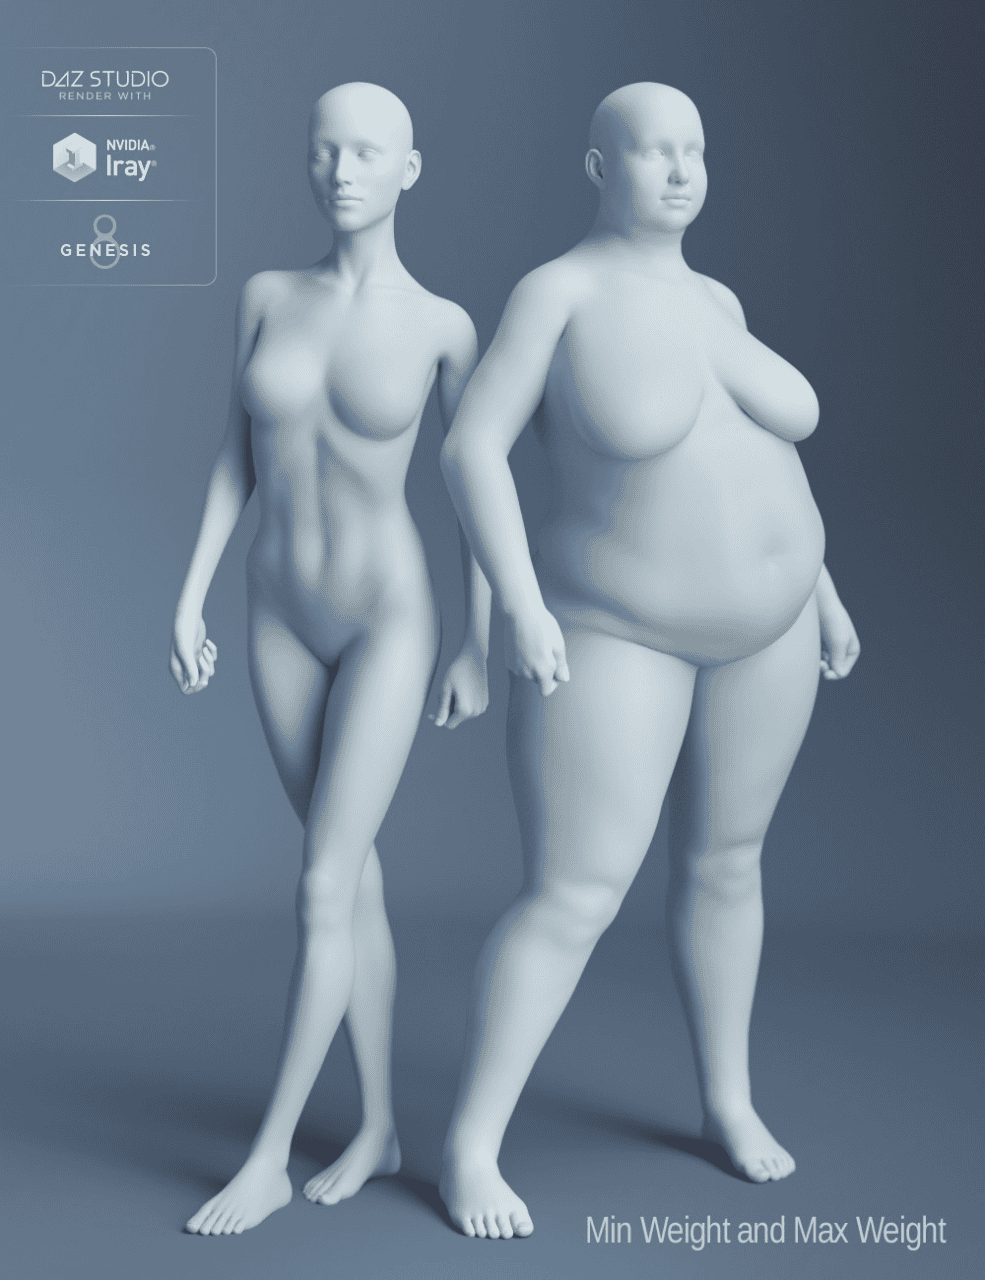
Source Genesis 8 Female Body Morphs
Sometimes there are such difficult morphs that it would be simply too difficult to create something like this yourself. This can be true for something like Aging Morphs for Genesis 8 Male(s) or Growing Up for Genesis 8 Female(s) both made by the master of his work – Zev0.
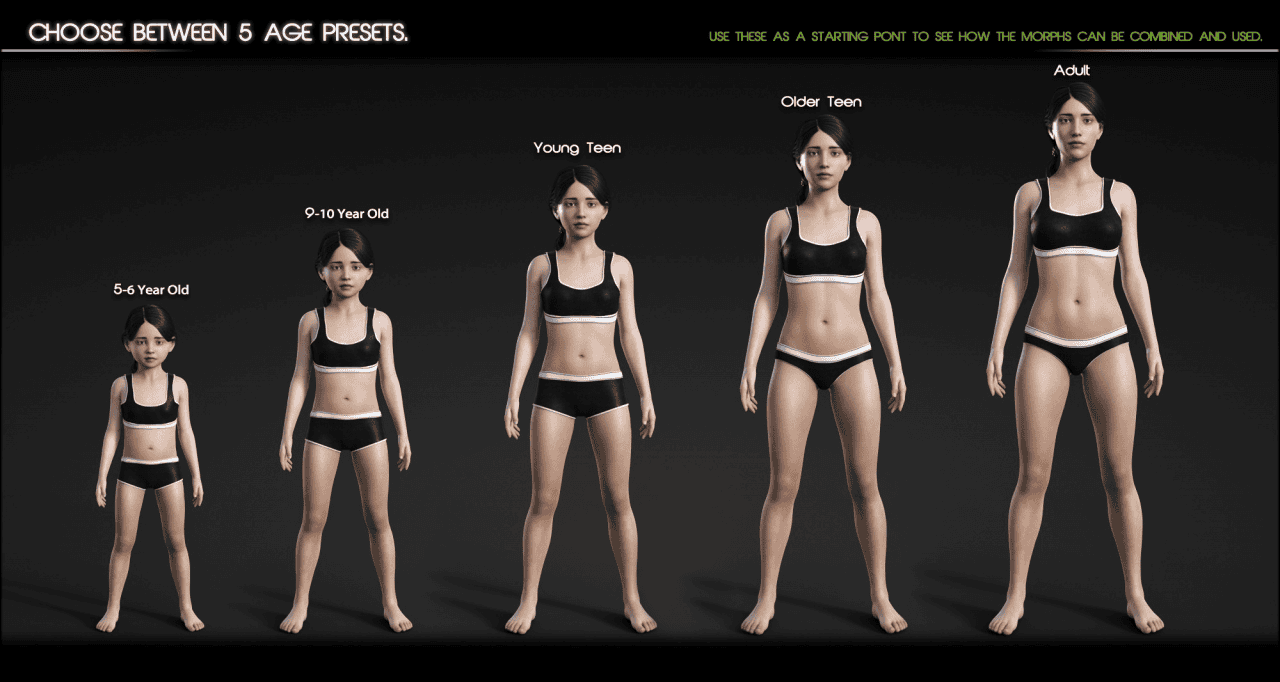
Source Growing Up for Genesis 8 Female(s)
Conclusion – Daz3D Create Custom Morph
Creating your own morphs sounds really difficult at first. But in reality it turned out to be easier than it sounded. Really simple morphs even can be created manually right there in the Daz Studio. And for more difficult and advanced morphs you can use other software with proper modelling or sculpting capabilities such as Blender or ZBrush.