
This Daz3D Billboards Tutorial shows you two examples how to create and add your own custom image as billboard into your render scene in Daz Studio. You might probably think, what good billboards do to my renders? First reason, and probably the keyword here is: Performance. We will see how billboards can boost the speed of renders without compromising quality. Moreover, we will test and see fantastic ways to add fully customized assets like neon street signs or advertising screens effortlessly. It is no joke, billboards do magic. Let’s begin!
If you prefer watching a video, see below, otherwise keep reading.
Daz3D Billboards, Why are They Useful?
As we briefly explained, billboards are basically…billboards. Ok, that didn’t really help. Let me put it in this way:
- In some cases, billboards portray human models from real life. These fake billboards translate into plain images in Daz and other softwares. So back to the question, how can they help me? You can easily replace human models (extras to fill your scene) with plain images without compromising neither quality nor computer memory.
- For other creative uses, you can take advantage and place banners or advertisements to visually enrich your scenes. They can also be LED screens.
- In most cases, some complex and distant objects are often first rendered and then added as plain images, like cityscape backgrounds.
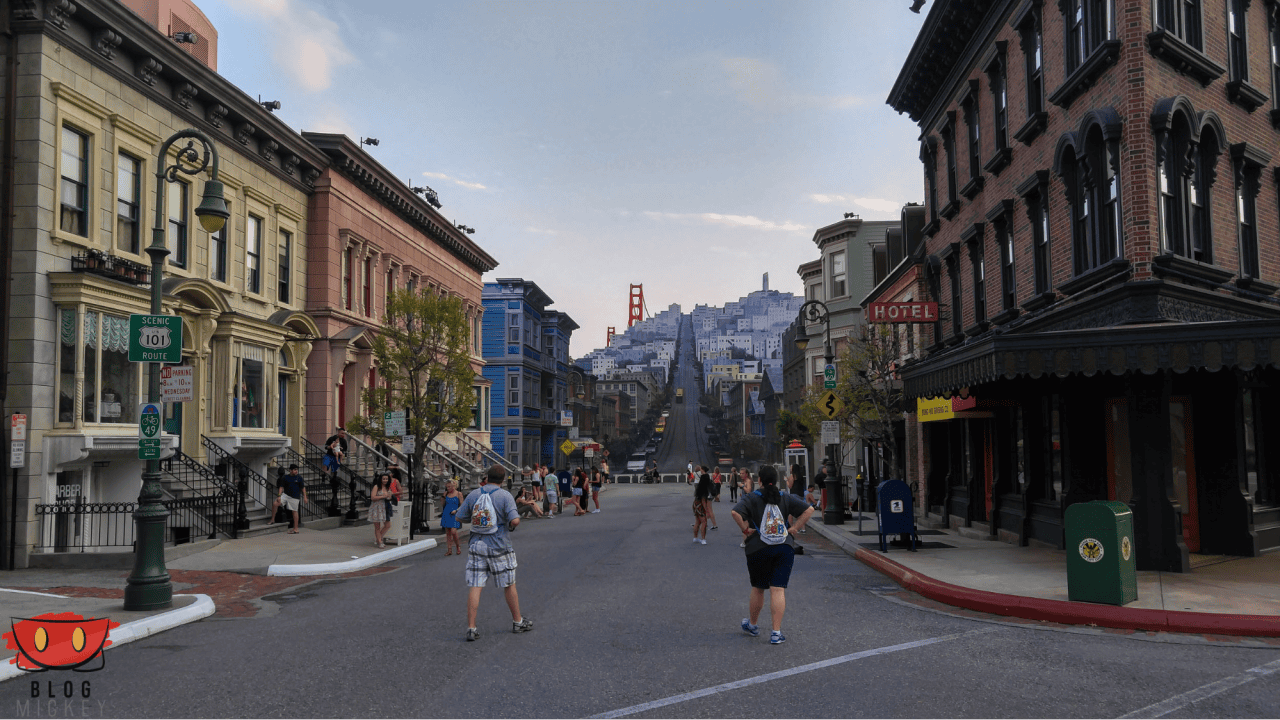
Billboard background of San Francisco at Walt Disney World – blogmickey.com
Create Your Own Daz3D Billboards
Pick your banner. For the purpose of the tutorial, I decided to create a custom banner based on the website’s logo. You can create and edit your images in any photo editor like Photoshop and then save the image to use later in Daz. There are tons of websites where you can get the resources to create your custom banners. Freepik, Pixabay and Pinterest are just some of them.
Images can be saved in .jpg or .png format. However, If the image has transparency, export always in .png format.

Since we will work with a typical case of image without transparency, .jpg will do just fine.
Also for this tutorial, I downloaded this incredible subway station scene.
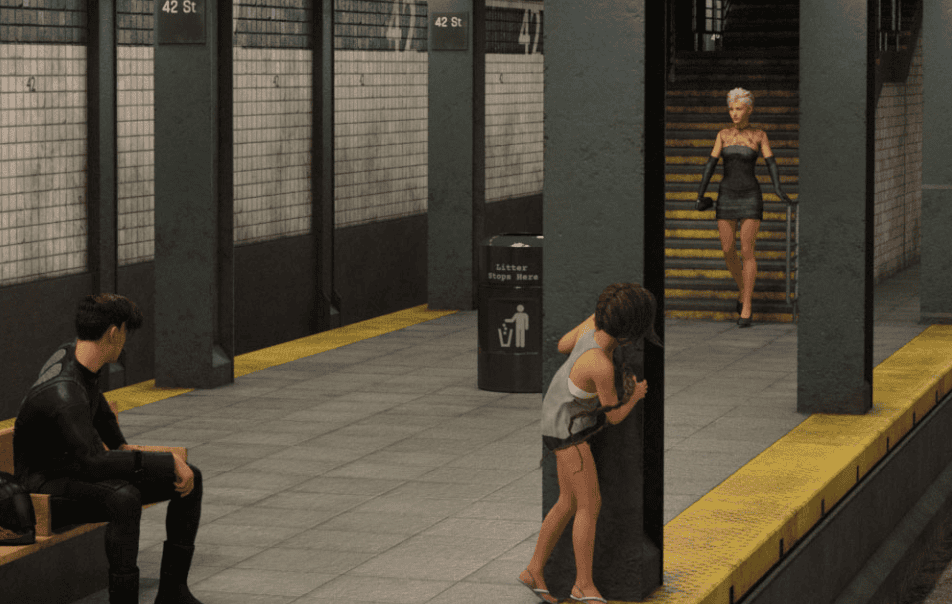
Subway Station by Ile-avalon
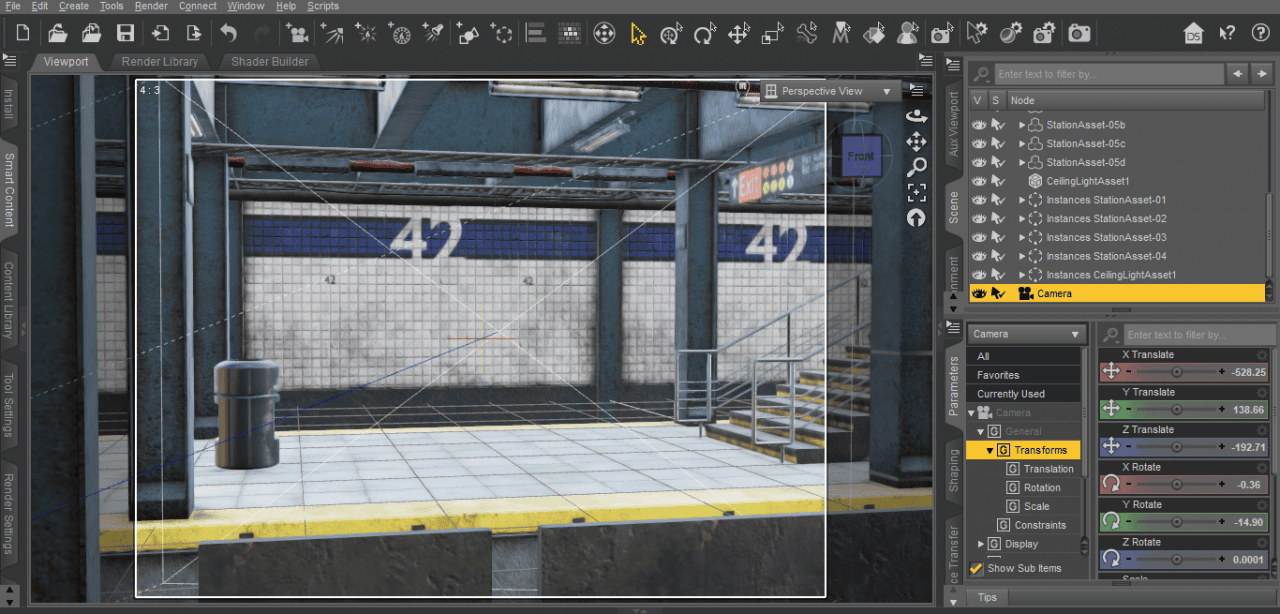
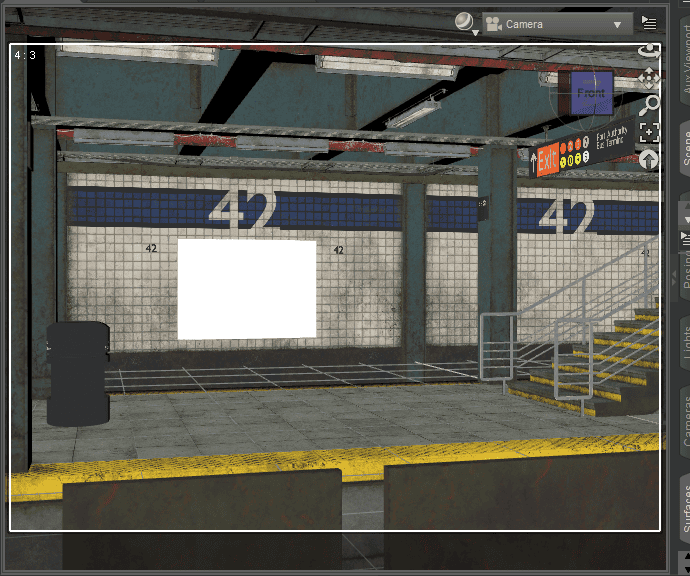
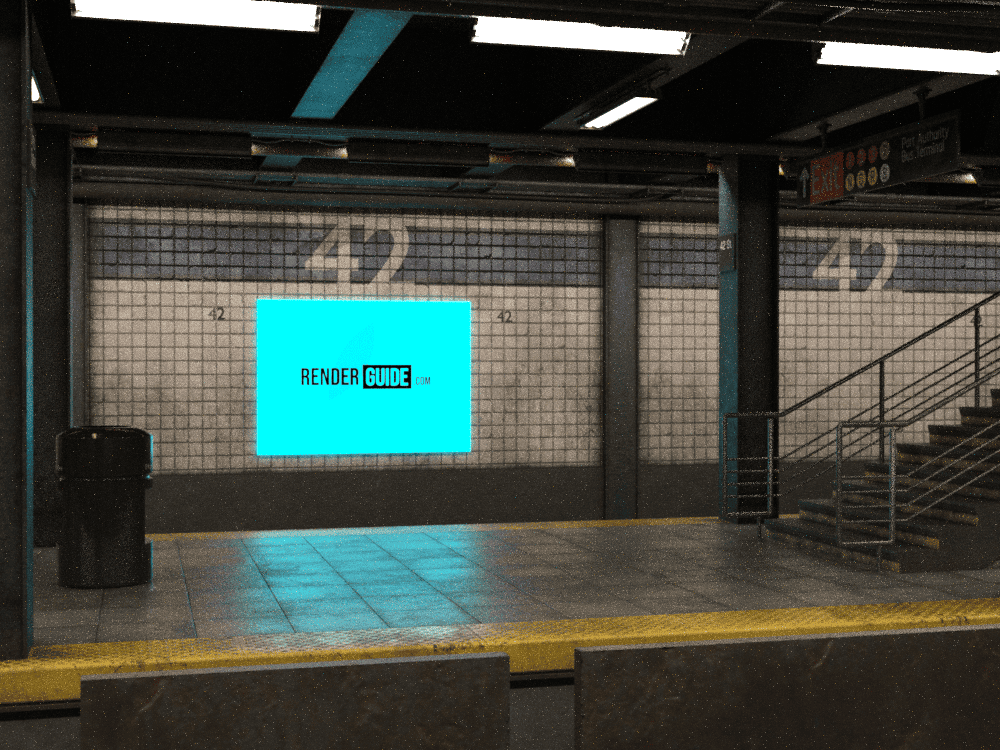
- We will open a new project and bring our subway station to the scene. I placed the camera facing that way because I will place the billboard on that empty wall.
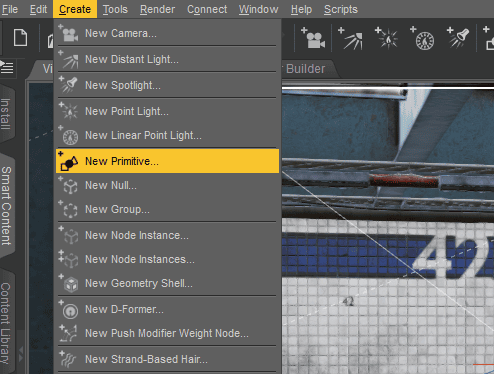
To add the plane, go to Create > New Primitive > Plane (Hit accept, the settings shown are not important).
- Now go to Parameters: Translate, rotate and scale the plane to its final position. You can use the actual size of the file for help.
For example, If the image has a dimension of 2000 x 1500, then you can set these same values when you scale. X Scale is width and Z Scale is height. Then use the global scale to shrink proportionally. Following this tip, your image will not suffer distortion.
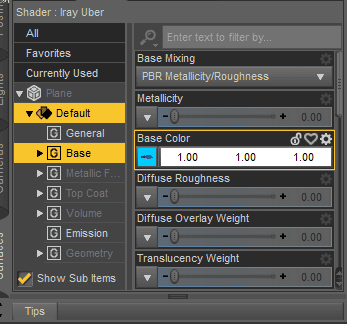
- Ideally, we want our surface to lack reflectivity. We will then go to the Surface pane and change the values for Glossy Layered Weight and Glossy reflectivity to 0.
- Go to Surface > Default > Base > Base Color click the small square, browse and import your image file.
You can now render with Filament or Iray. Enjoy!
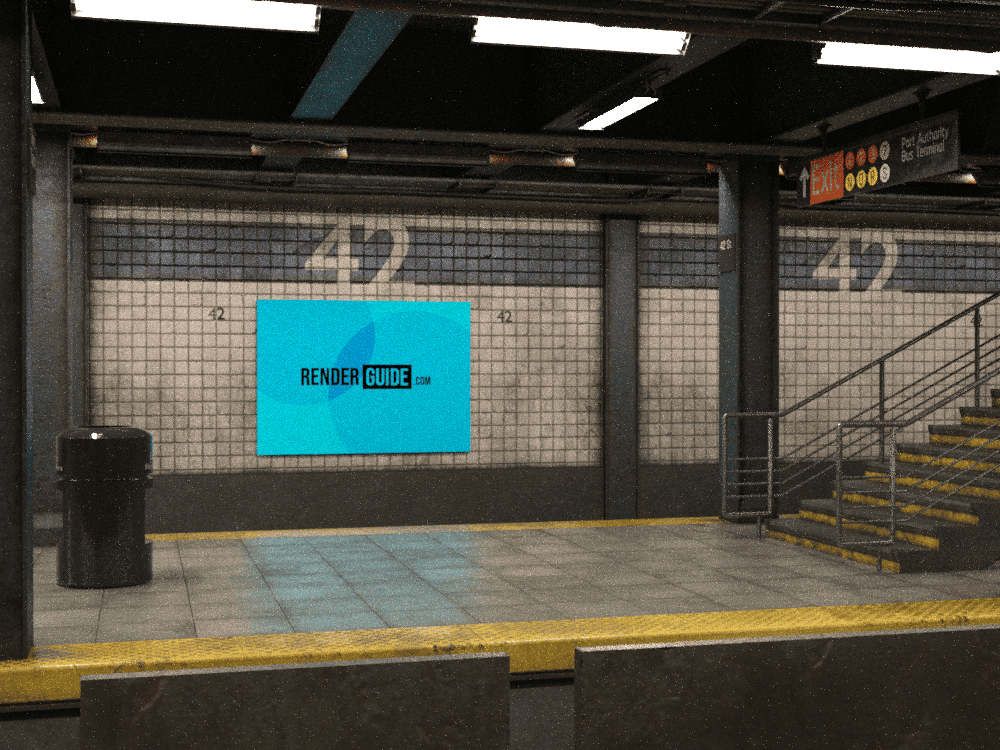
Easy 😉
Apply Emission to a Daz3D Billboard
In order to apply emission (which means to add a light source to the billboard like a LED Screen) we need to change a few simple parameters:
Go to Surface > Emission > Add your image. Also change the value to white (1,1,1). This action basically can be expressed as the choice of light color emitted from the plane. Typically, it is always the same file we use for the base color.
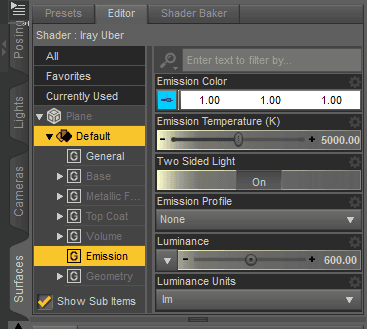
A new set of options will now appear available to customize the emissive effect. You can change the Luminance values for more intense light as well as Emission Temperature. There are many tutorials on this website that explain in-depth these features. Check these fabulous articles Daz3D Emissive Lights Tutorial [2021] as well as Daz3D Glow and Glare Effects in Daz Studio to learn more.
Again, very easy!
Bonus! Create a Simple Bush Billaboard in Daz Studio
On the one hand, the following technique is rather old school but you can still appreciate it in many games nowadays. Also worth mentioning, by following these simple steps you will also be able to import other types of models to the scene and not necessarily bushes.
On the other hand, there is a way to make your billboards follow the movement of the camera, setting them up always facing front. In Daz however, this feature is not present by default but several users have come up with scripts to make it possible. One of them is from mCasual and he offers his script for free here. We also encourage to help him with donations.
Back to our bonus tutorial, I picked and downloaded the image of a beautiful pine tree. I made sure that it had no background, although in reality this is not a requirement. Just easier to work with.

- Open a new project and create a primitive plane. Go to its base color and apply the image you downloaded.
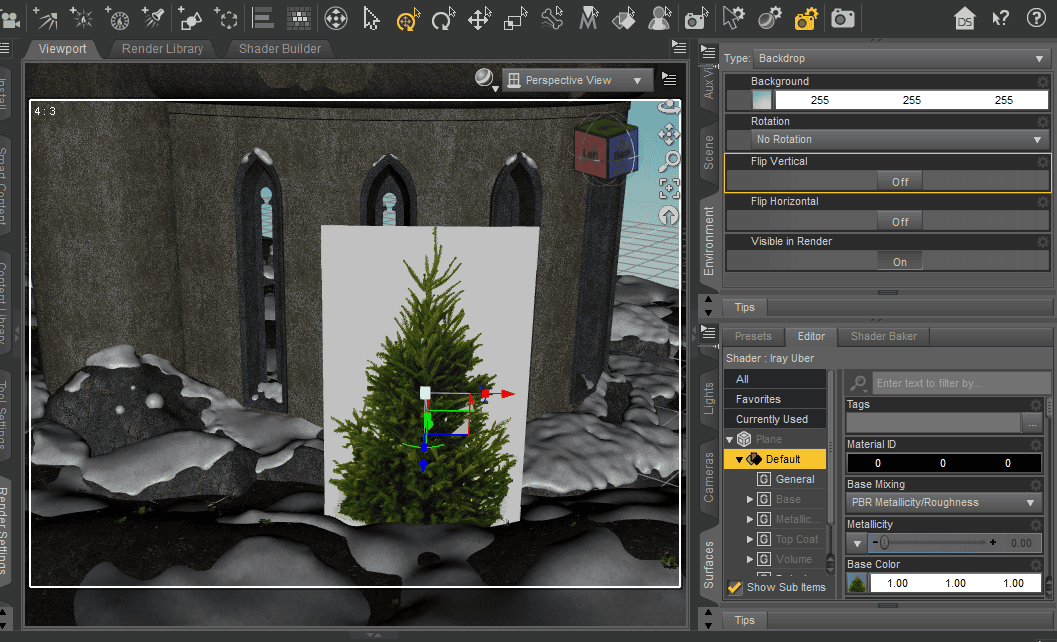
- Oops! Apparently there is a problem with Iray and png images. The transparency (or opacity) seems to be misinterpreted. No problem, we have the solution!
- To solve the issue you will have to create a quick mask for the alpha channel. A simple black and white image where white is the space visible and black is the space not visible. Take a look at the following image.

You can do this in any graphic software, save the image and go back to Daz.
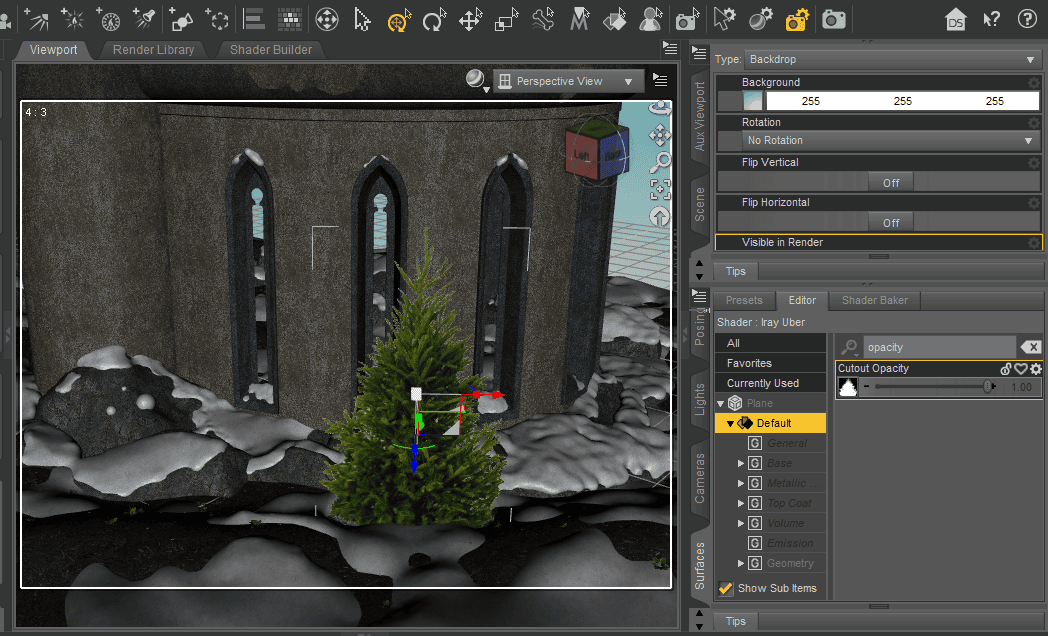
- Go to Surface > Type Opacity. The Cutout Opacity parameter should now appear. We will upload the black-n-white image and magically, the problem is solved. Well, not magically since we indicate with an extra layer of information areas to be turned off (equal to 0 or black) and areas left on (equal to 1 or white)
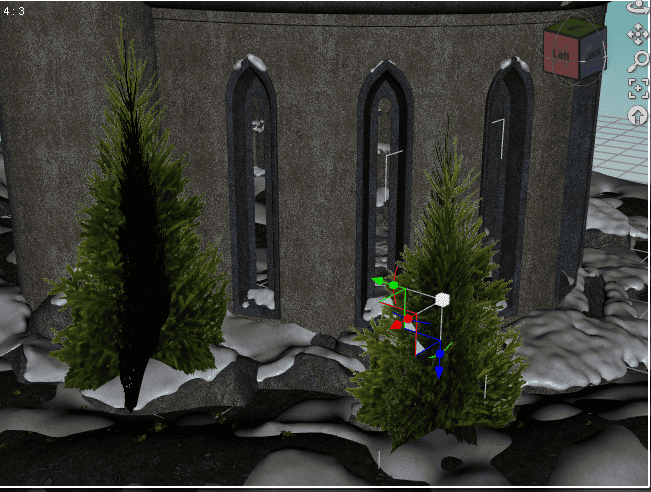
- Select the plane and go to Create > Node Instance in order to duplicate the plane. Create as many and rotate to make a 3D representation. Using Node Instance makes any copy dependent on the original model, so if you change the original image, all other copies will also be affected. In fact, this saves a lot of time.

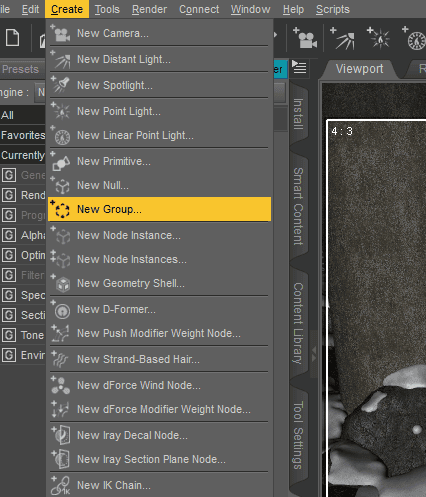
One last tip is to organize items in groups, Go to Create > Group. It will be more comfortable for moving objects around.
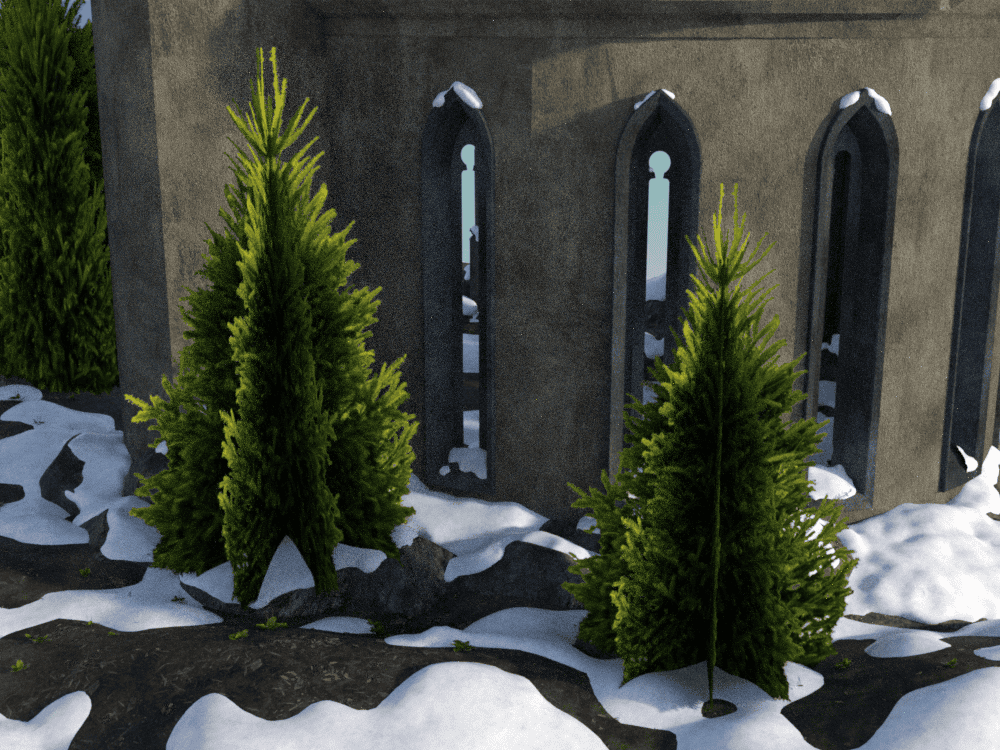
Our final result! For most renders, it is better to make a single billboard, placed perpendicular to the camera. For uses like inside games, you can go with this alternative.
Daz3D Billboard Products
Here are some products based on billboards that can be truly helpful in your projects. Take, for example, the Now-Crowd billboard product series. They offer an incredible amount of images from models with diverse postures and taken from many camera angles.
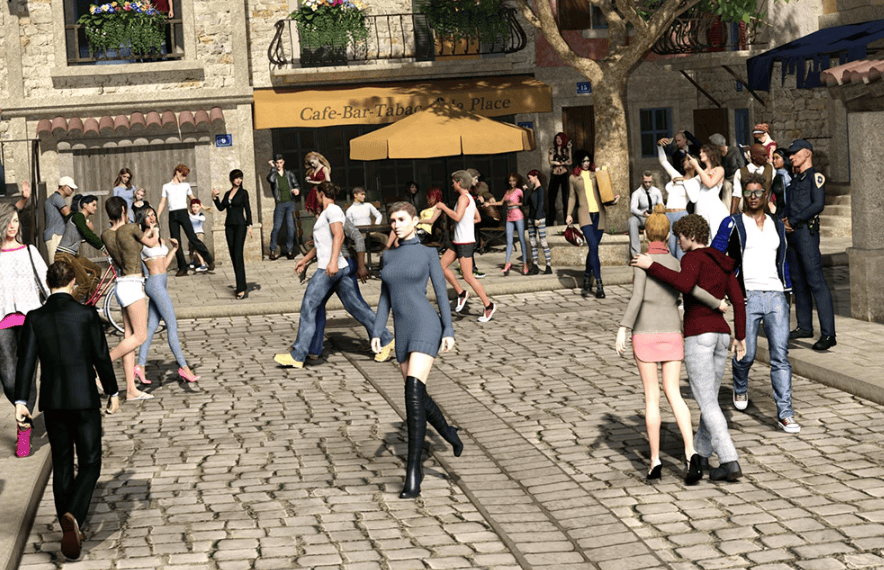
Now-Crowd Billboards – Modern City Life by RoverSoft Art

Now-Crowd Billboards – First Responders, Police by RoverSoft Art
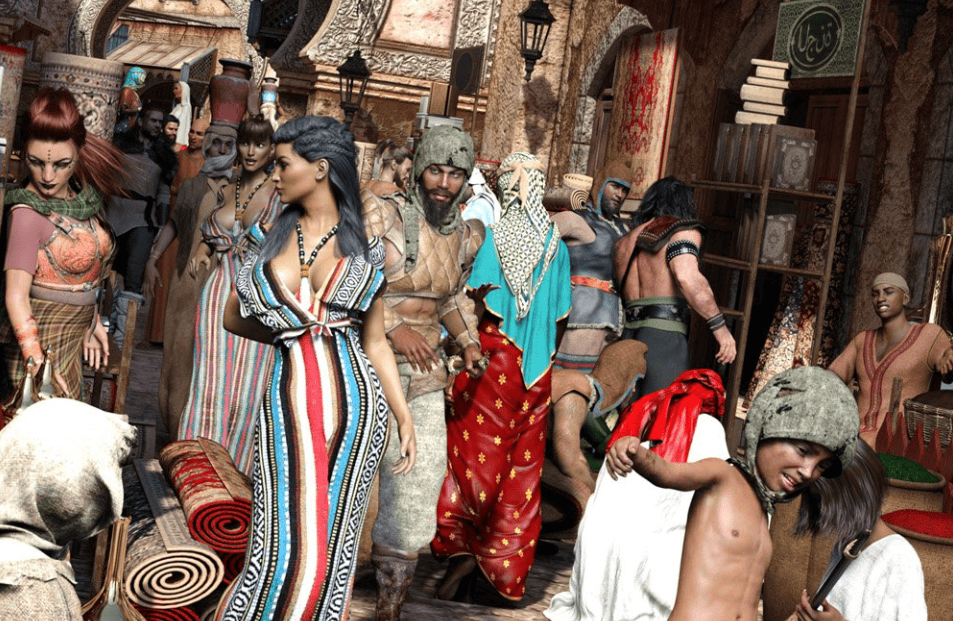
Now-Crowd Billboards – Ancient World by RoverSoft Art
Billboards FX Master by SimonWM
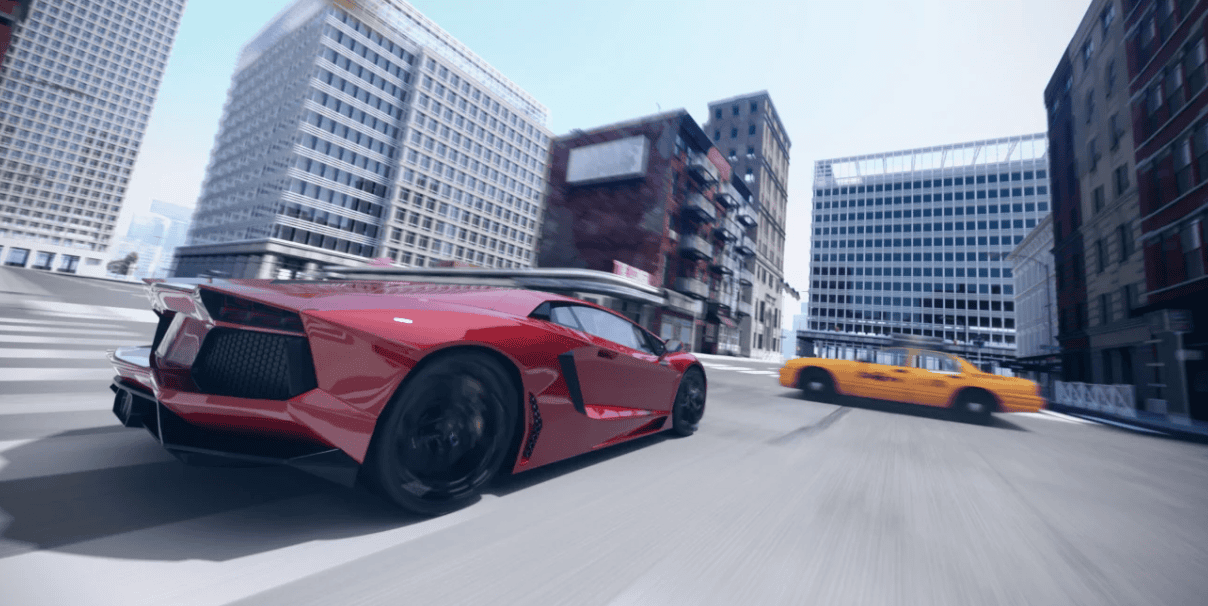
Getaway – HDRIs and Billboards by Dreamlight
Conclusion – Daz3D Billboards
To sum up, I would like to point out the fact that Daz3D billboards are pretty easy to use. What’s more, they take up very little memory. I highly recommend them especially to use as LED screens and street signs, or simply as distant backgrounds. It does not take more than just a couple of minutes to set them up and the results can change the feeling of the whole scene. Hope you enjoyed this tutorial, and do not forget to check the other amazing articles from Renderguide.com! Have a look also at our other Top 3D Model Reviews and Daz Tutorials.