This Daz3D Emissive Lights Tutorials explains you step by step how to easily use emissive lights in Daz Studio. Easy use of the emissive lights is one of the main advantages of the Iray renderer. There is no reason not to try them out and learn how to use them. Besides, there are a bunch of ways how and where you can use them.
If you prefer watching a video see below otherwise keep reading.
Daz3D Emissive Products mentioned in the video
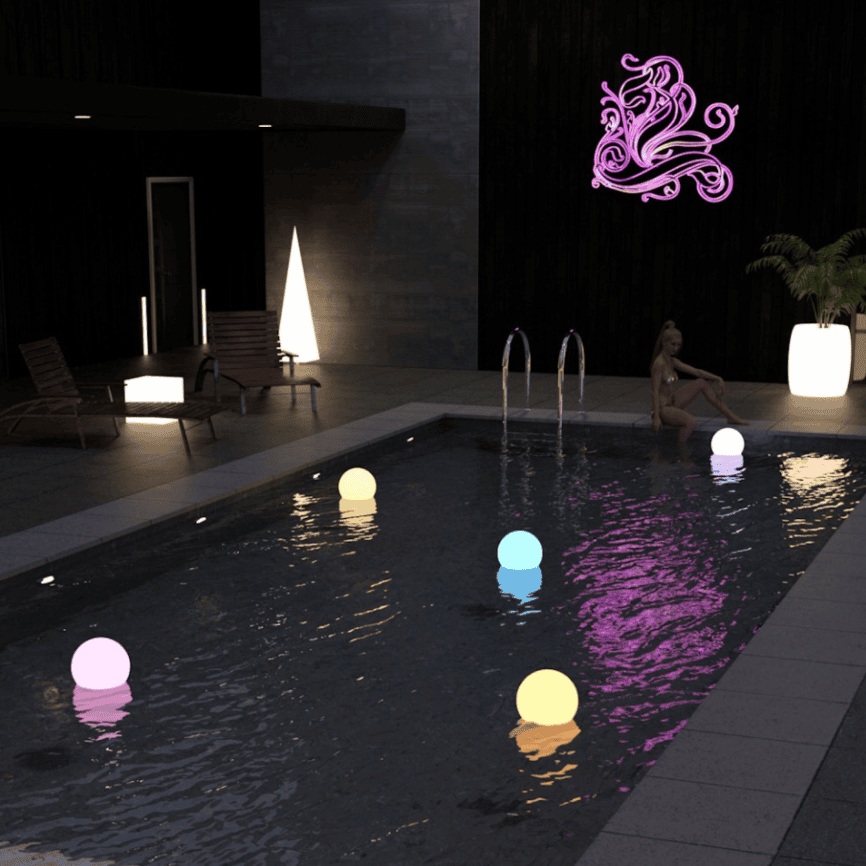
You can easily make your scene more futuristic and neony or simply add light bulbs as emissive lights to where they need to be. This can and will make your scenes more alive. And in this tutorial you are going to learn how to do that.
Daz3D How to Create Emissive Lights
I will use a simple sphere in the default free Pergola environment available in the Daz Studio for the examples.
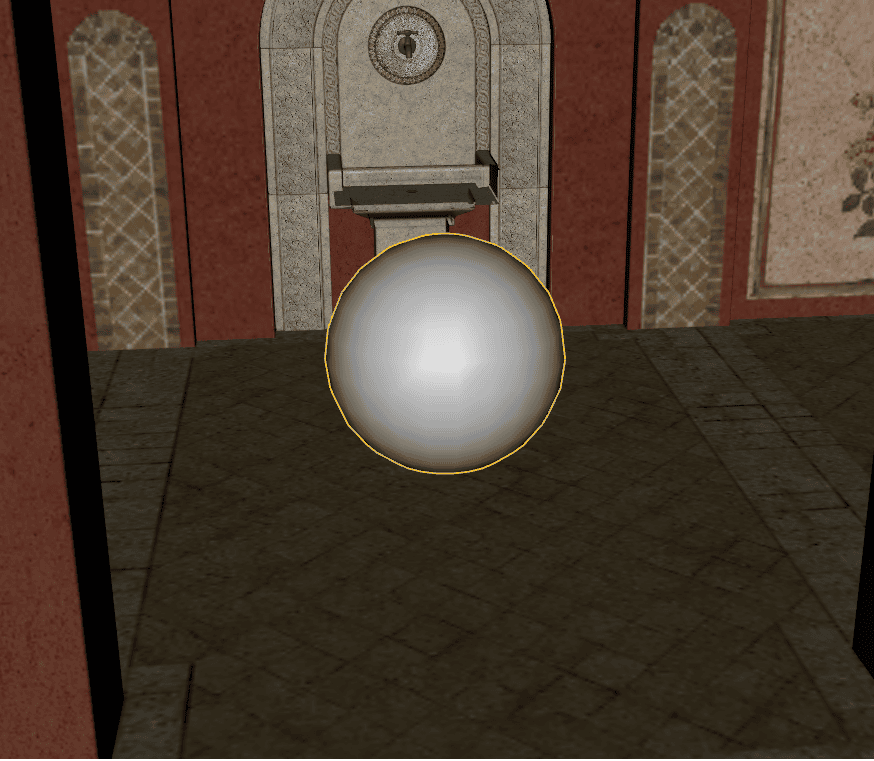
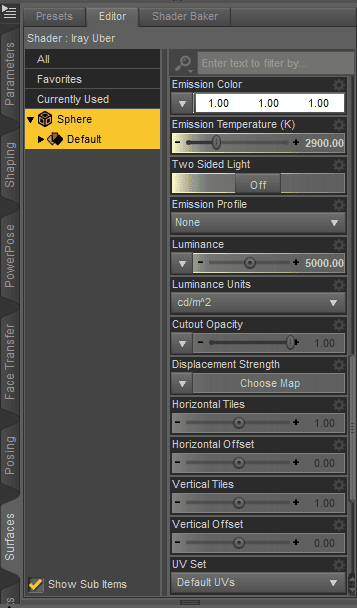
To create an Emissive light you will need to select your object or its surface and proceed to the “Surfaces” tab and in its “Editor” section you should be able to find “Emission Color”.
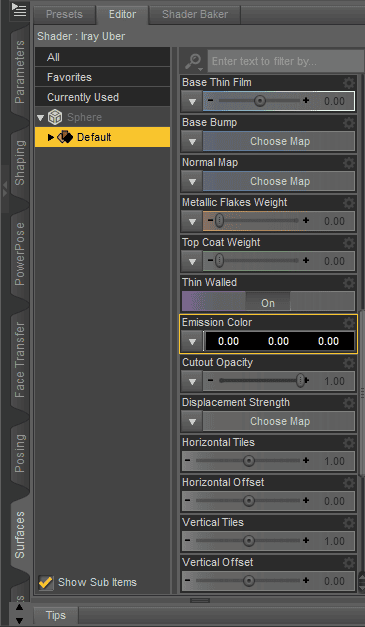
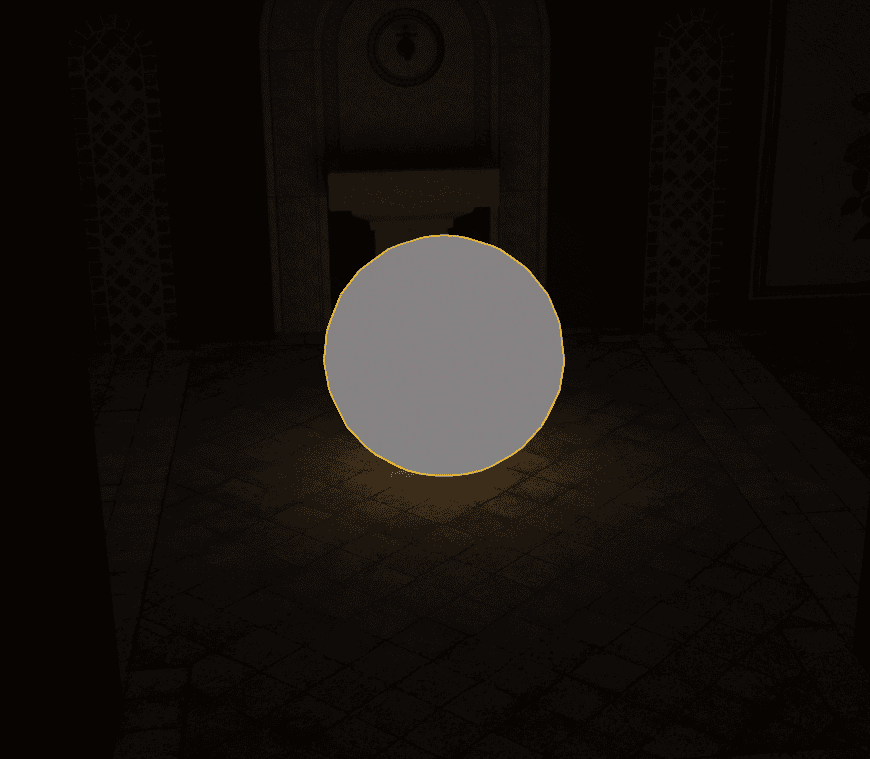
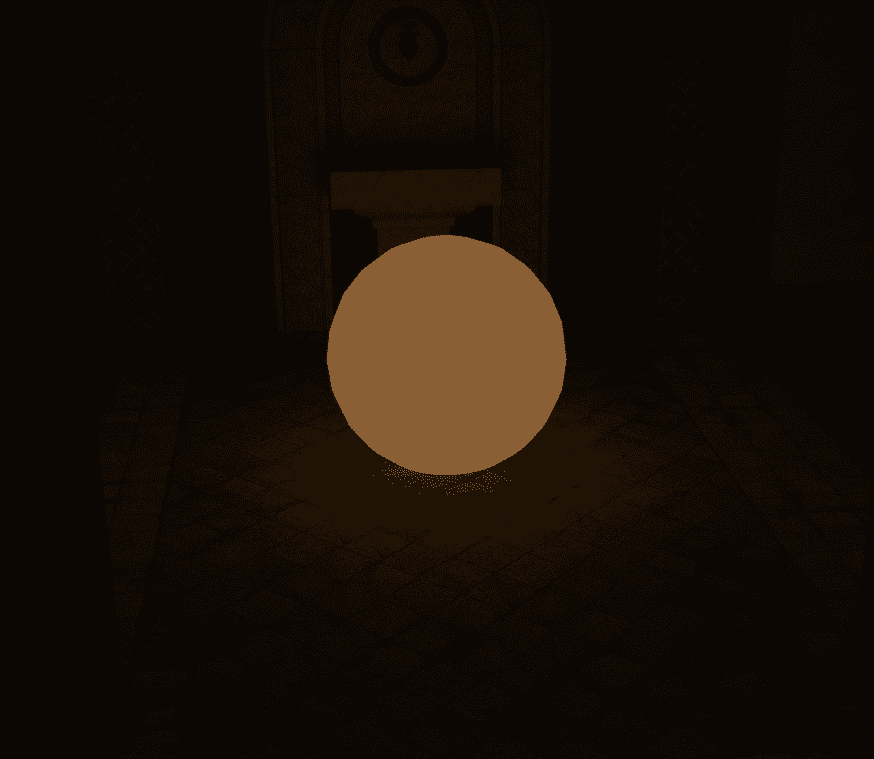
By default it is set to full black. This means that the surface is not emissive. You need to change color to something not black. Good idea would be to increase all the way up to “1.0 1.0 1.0” – pure white. The result can only be seen in render or in the Iray Preview shading.
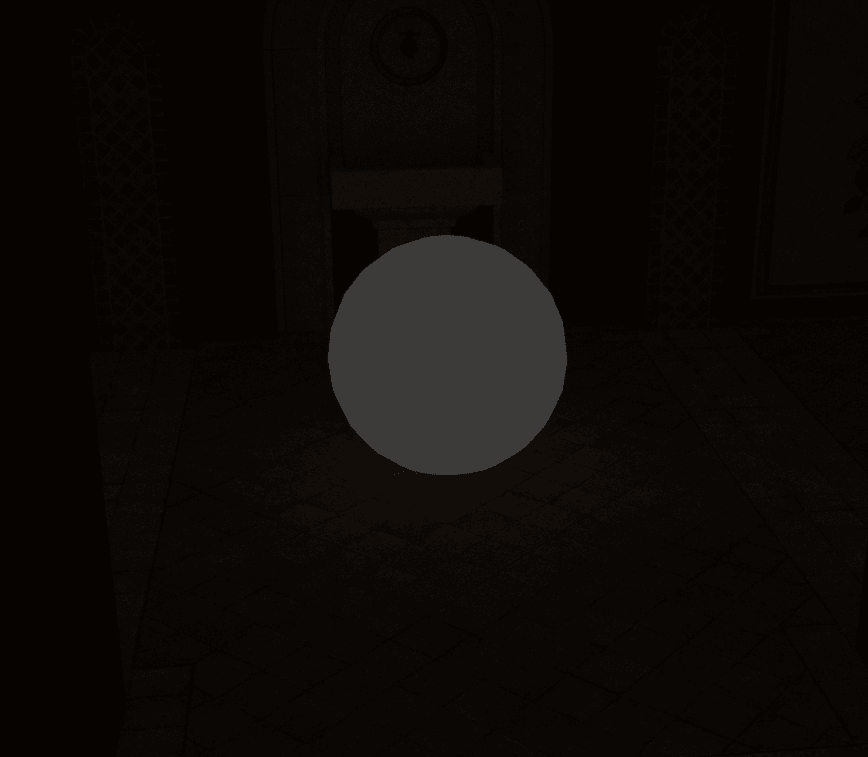
And we can see that it produces almost no lighting at all. Just a white circle on the black background. That is because its default settings are set like that.
After you changed “Emission Color” from black – new settings should have appeared. They allow you to control emission of the selected object.
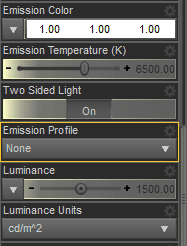
Right now we are interested in “Luminance Units”. By default they are set to cd/m^2 which is candelas. Meaning basically power of the wax candle. You can change it to, for example, more convenient Watts that we use when to measure power of the light bulbs if you want.
Already we can see a better result. There is light on the floor that we can see and some of the background. But it is still too weak and dim.
To improve on that we will need to change the “Luminance” from the default value of 1500 to something at least around 5000. I have set it to 6000. Also now we can experiment with “Emission temperature” and make our lighting warmer or colder.
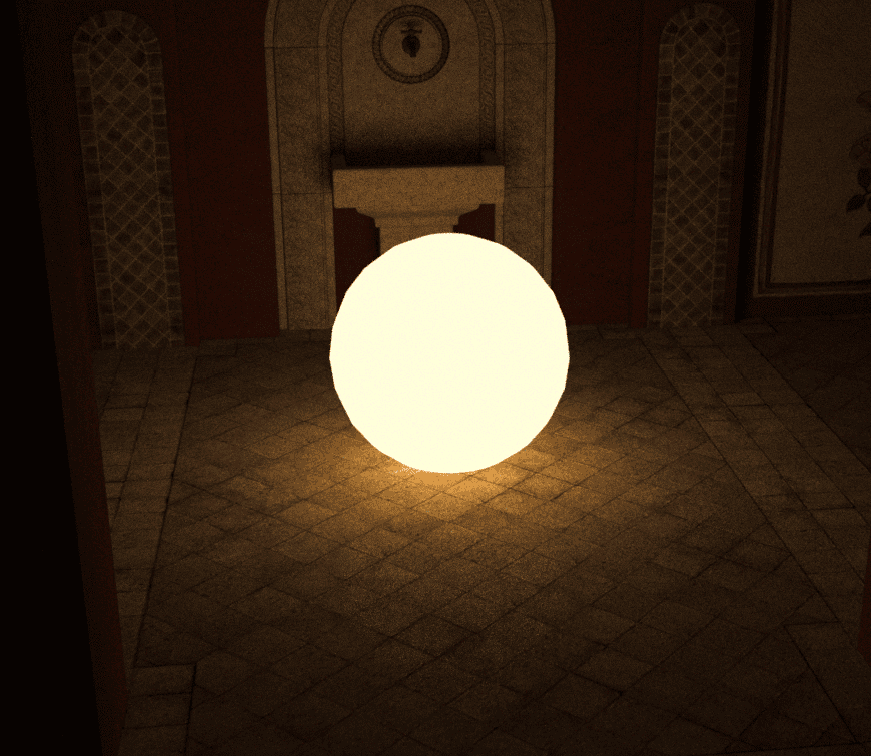
Just like that I have a bright and warm emissive lighting on my scene. Though there was an easier way to achieve similar effect. It’s using Shader preset.
There is a good default Emissive Shader Preset. To use it you will need to open the “Presets” section of the “Surfaces” window and find there under the “Shaders” the Iray Emissive Shader.
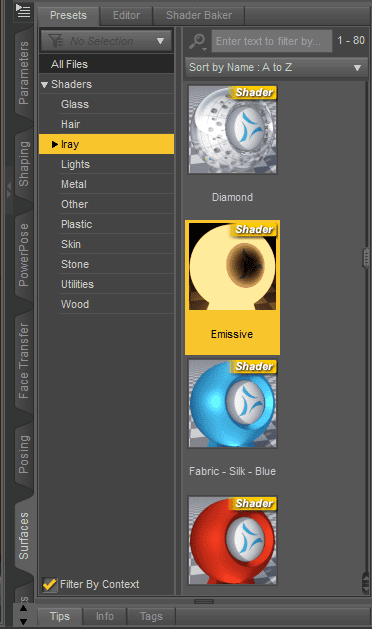
Basically it does absolutely the same thing that we just did – changes “Emission Color” and “Emission Temperature”. Also increases “Luminance”. But does this in just few click instead of setting everything manually.
Emission Shader default settings
Though the result still looks rather dim. So you probably still will have to go and either change the “Luminance Units” or “Luminance” to something that will make the scene brighter.
Using Shader preset can be really convenient when you have a lot of surfaces that you want to be emissive and these default settings do satisfy you. Especially if you have more than one Shader Preset available for you.
That is to say, that you can find products on the Daz3D Shop that will extend your shader presets collection. For example Creative Emissive Lighting for Iray by Khory. It adds more than 70 most different Emissive Shader presets for you to use.
Source Creative Emissive Lighting for Iray by Khory
Using Maps for emission
You can also use images to produce emission out of your objects. Color information of the image will be transformed into the lighting information. You just need to press the arrow button on the “Emission Color” and select “Browse” there.

This will open your OS explorer where you can find whatever image you need. This can be absolutely any image. For example, a random fire image that I have found on the internet.
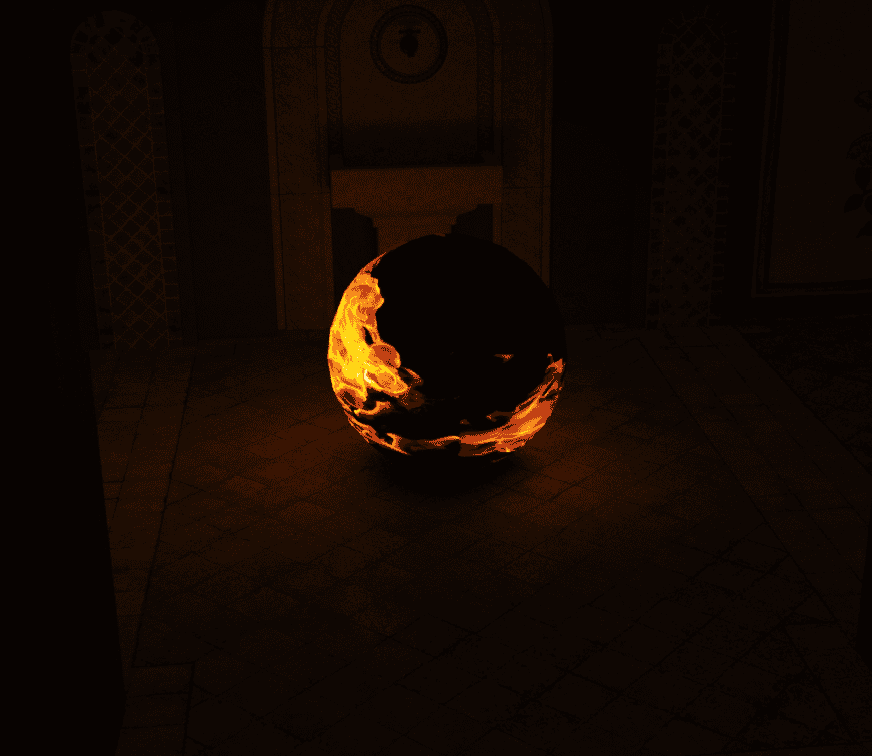
As you can see – this made my sphere produce a lot less light. And it only produces light where there is an image of fire, in the places where the sphere is black – no light is produced there. Besides, emission color is matching the image colors.
Though random images from the internet are not the best for this. You would be better to use special images that were created for this that are called Emission Maps. For example you can find one here on the Textures.com for free – Lava 1.

This looks really good. Especially if you combine it with other texture maps. You can learn how to do that and more in our Daz3D Texture Tutorial: All about Textures, Materials and Shaders.
How to use Emissive Lights
You should have learned how to create emissive surfaces and what settings are there. But how to use emissive lights in scenes? Now would be a good time to look at some examples.
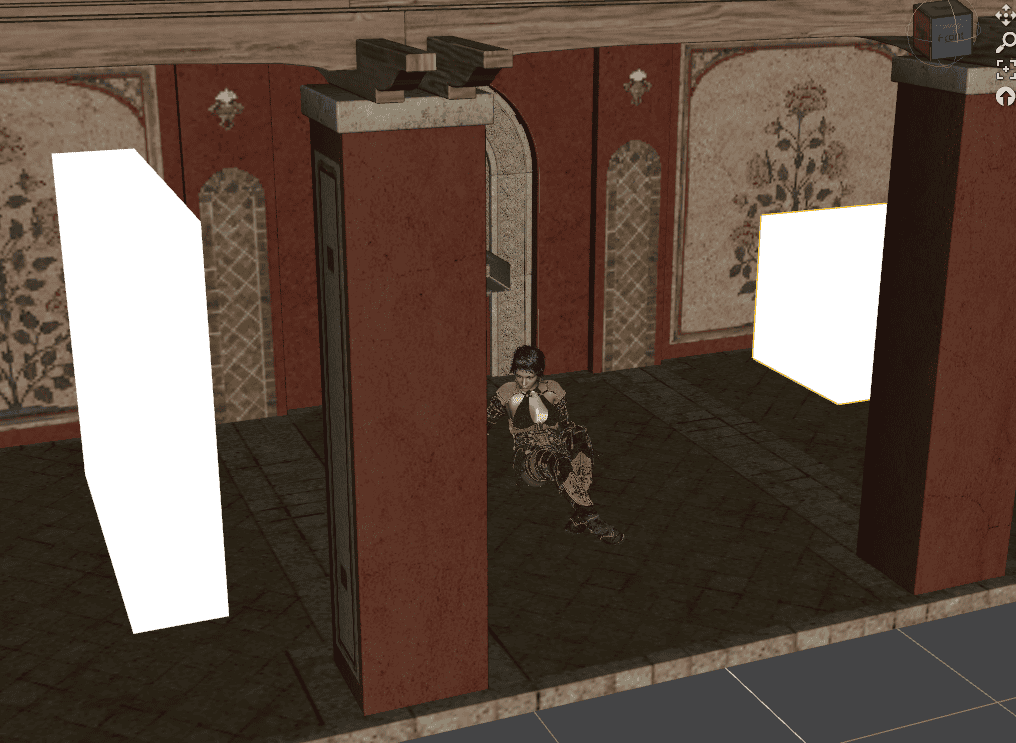
- Use them as lighting sources. You can place emissive rectangles or spheres out of the camera view to produce lighting on your scene. This can give a different result than just using regular lighting sources.
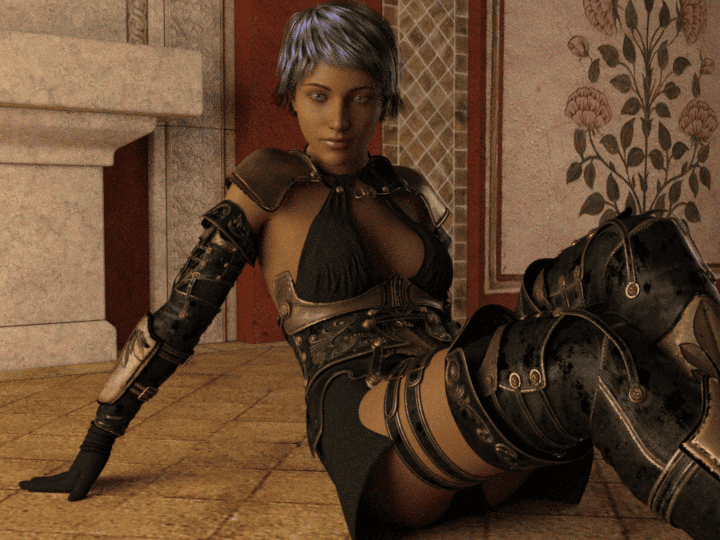
- Integrate them into the environment. Use emissive lights on places of fire, light bulbs or any other material that is emissive in real life.
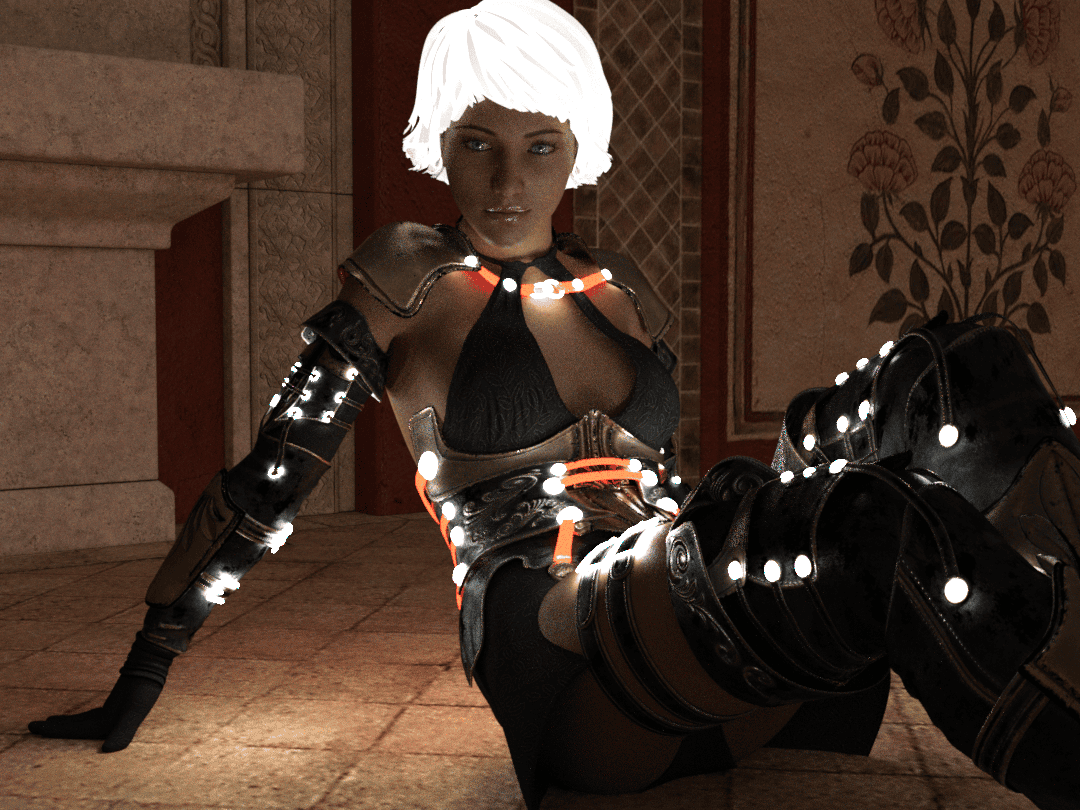
- Use it in unusual ways. Create unique glowing costumes or environments by making parts of it – emissive. Or even use this on characters themself and their parts such as hair.
Conclusion Daz3D Emissive Lights Tutorial
Emissive lights are a neat trick that will make your scene look more interesting. And now you learned about how to use them, what settings are there, how to use preset shaders and even some examples of them in use.
We have a Daz3d Iray Lighting Tutorial if you want to jump deeper into the world of lighting setups in the Daz Studio.