
This Daz to Unity Bridge FAQ covers all kind of questions and problems that might come up while using the exporter. We’ll also explain many advanced tips. In our previous article we covered the new release of the Daz to Unity Bridge Tool. We have seen how to export and import our characters, props and how to animate them in Unity from our Daz content. Now for this quick FAQ overview we will go over some typical cases and problems mostly regarding materials & textures. I will be using my beautiful assistant Rose HD that can be downloaded here. In addition, I will also be using Lynna Hair for Genesis 8 Female and X-Fashion Chic Bikini for Genesis 8 Female.
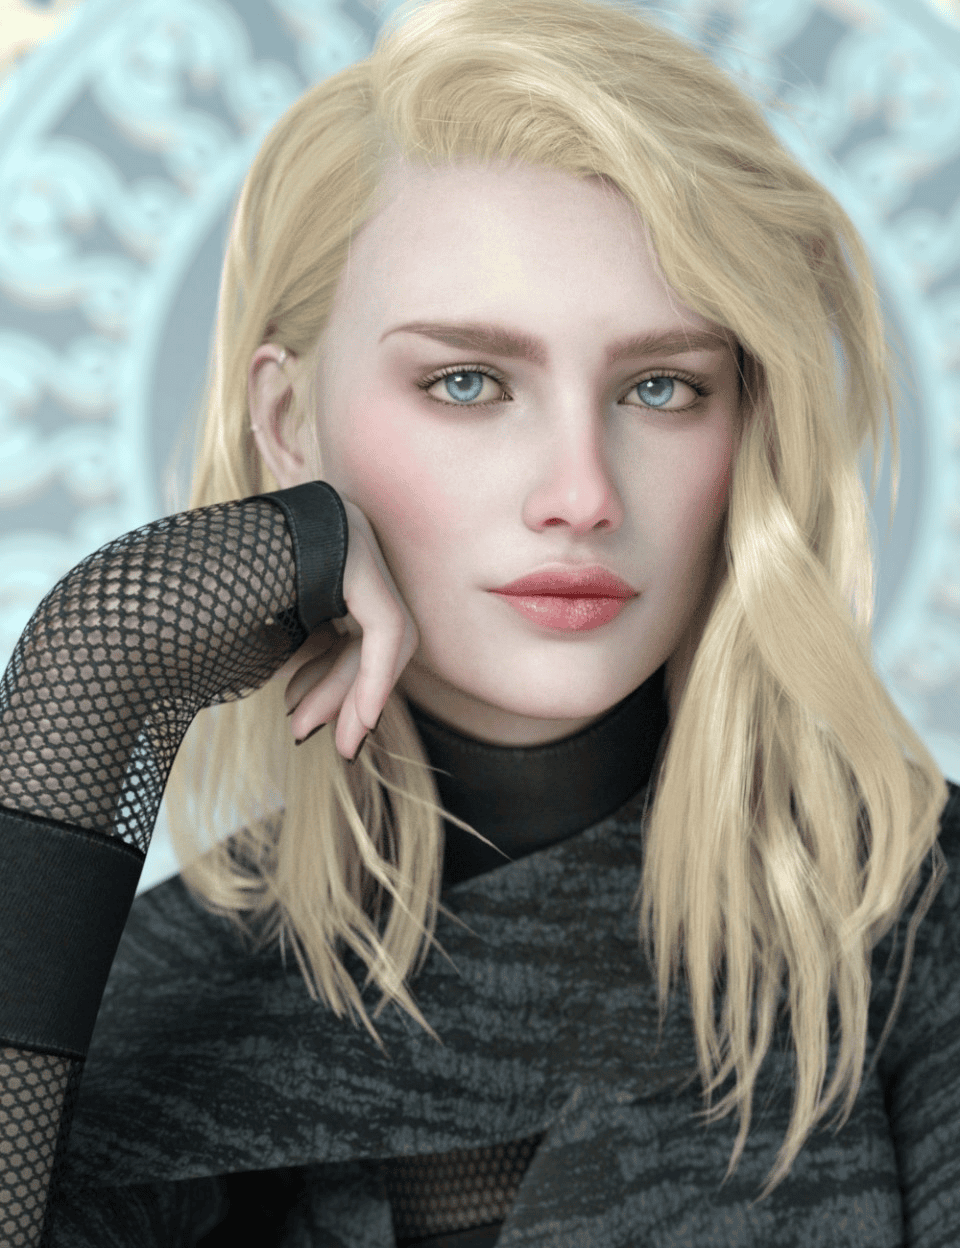
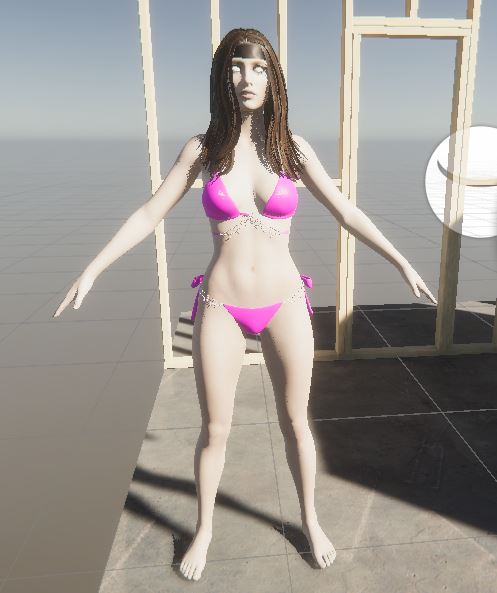
Our beautiful assistant Rose by Cherubit
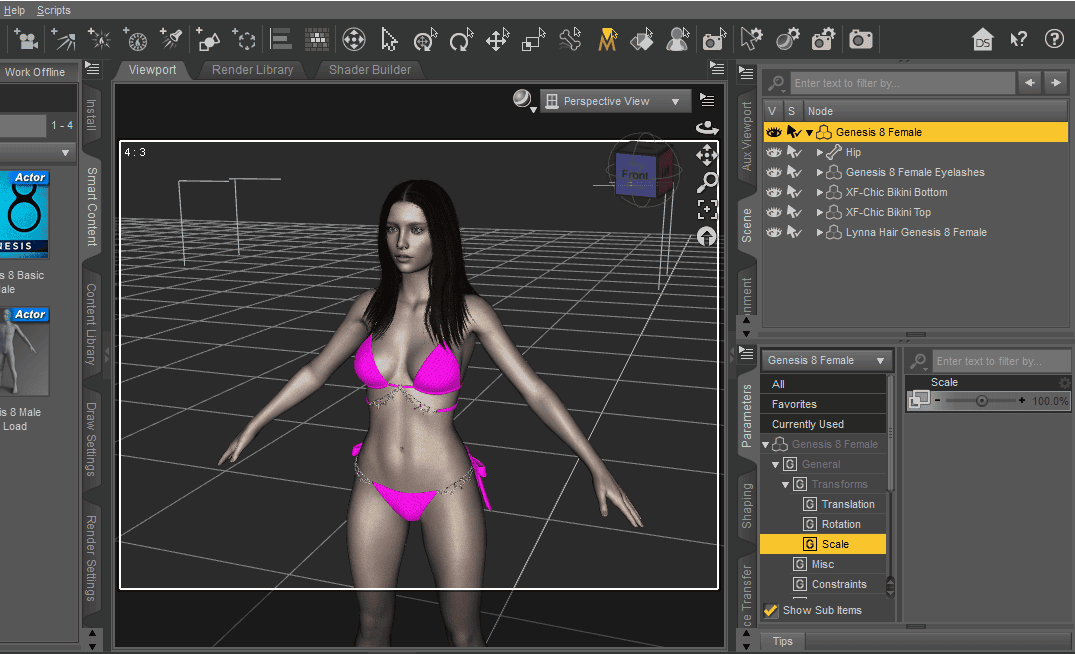
Before Exporting
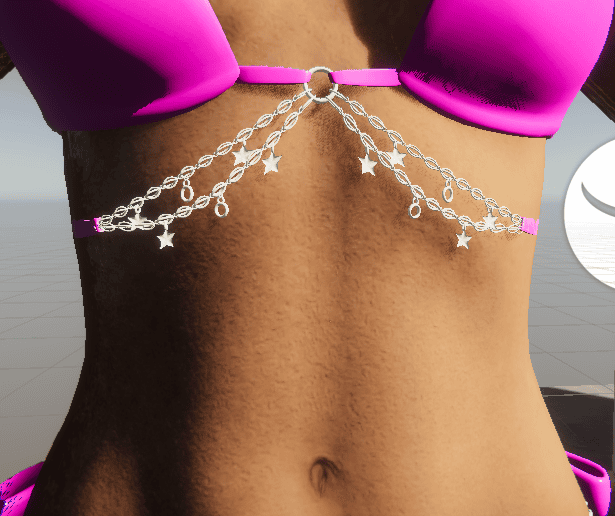
It is worth pointing out that before exporting we need to check our model, in case there is any clothing clipping through. You can either rescale (as I did with the bikini top) or use a push modifier. In any case, after we export we will not be able to scale the same way since we would have to re-write some scripts in Unity.
Daz to Unity Bridge: How to Rig and Pose
It is not recommended to pose in Daz since this action could cause several issues to the model later in Unity. For that reason, we will carry out the operation in Unity.
After we open our project in Unity, we will go to our Daz Folder and locate the imported model.
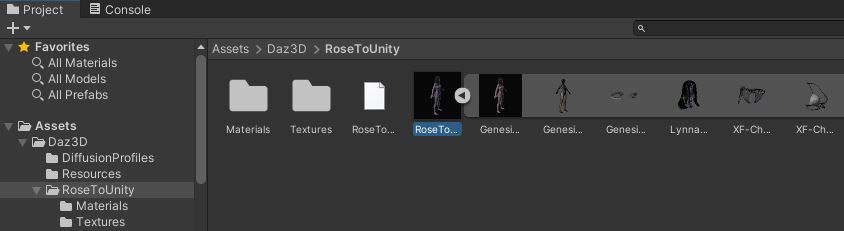
Drag the model to the scene port so we can view the pose applied. In the project tab, when we click the thumbnail, a new set of parameters will show in the inspector tab, which is the vertical panel located to the right.
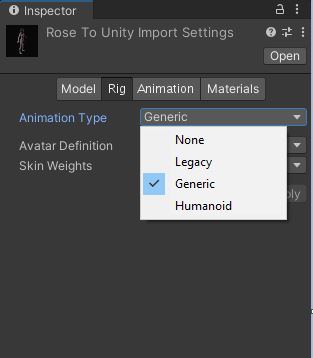
We will need to select the Animation Type and change it to Humanoid. The other settings can remain as default and we will click Apply.
Nothing seems to change, but if we look closely a new avatar thumbnail was added to our model.
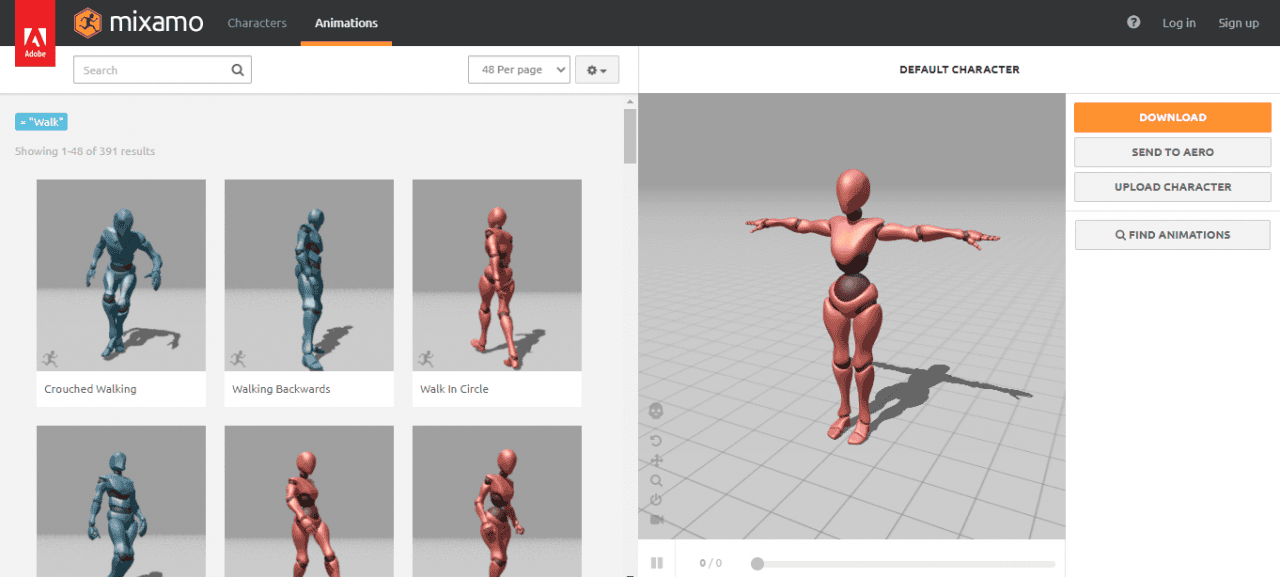
Now we are able to import some cool animations and poses from Mixamo to use with our models.
Daz to Unity Bridge: Textures & Materials
In this section we will focus on issues that might come up when exporting a character. One of them is the wrong reading of textures such as eyelashes. To this problem and many others, we offer a comprehensive and really easy solution:
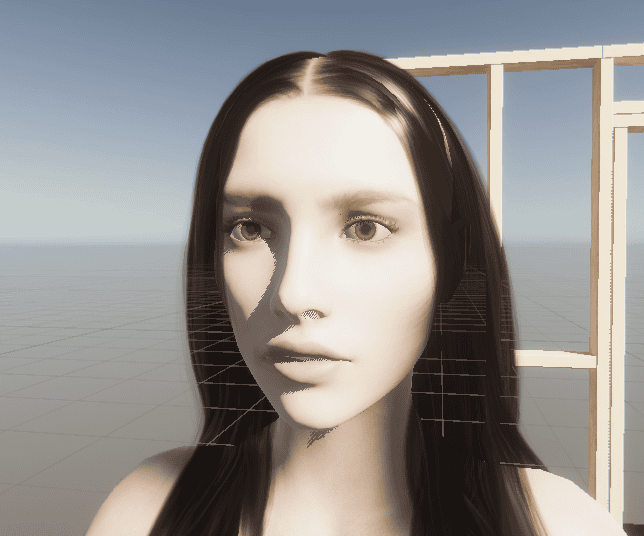
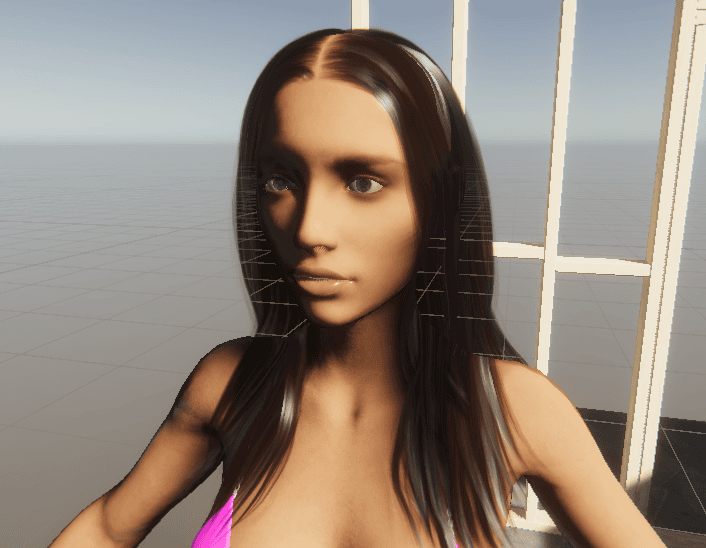
Now referring to material and textures, it seems the bridge does not really handle very well the export conversion. As far as my model goes, she looks…disappointing, to say the least.
But after some tweaks, we will see how it all falls into place. To start we will again click on the model thumbnail and go to “Materials”.
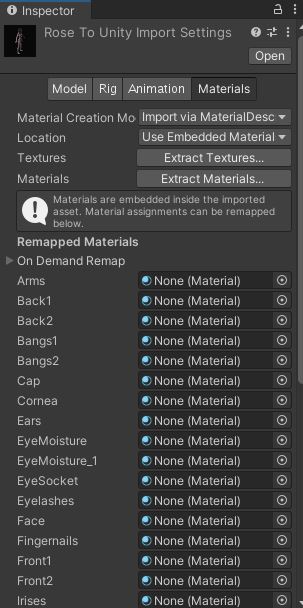
We can see that there are no materials available to edit for each of the body parts. We will click Extract Materials and create a folder with its same name in the directory. We can see a Textures folder was already created by the Bridge Tool.
Now all materials are extracted and if we go back to the Assets folder, it will appear available to edit.

Remember that only we will need to extract the materials, not the textures since the operation was already carried out by the Bridge Tool. If we do, we will duplicate the texture files.
Daz to Unity Bridge: Texture Files
Now for the textures, if we open the pre-existing folder we will see a bunch of base maps (if you get lucky perhaps some non-color maps). To make it work, we will have to locate the folder to our full library of texture maps and import them manually to Unity.
The location of the texture libraries are often located in My Library/ Runtime /Textures.
We will drag and drop the necessary textures to our Texture Folder inside Unity. We will do this for our Rose model, as well as the clothing textures and the hair textures. You can also create additional subfolders to organize your content.
Textures & Materials – Hair
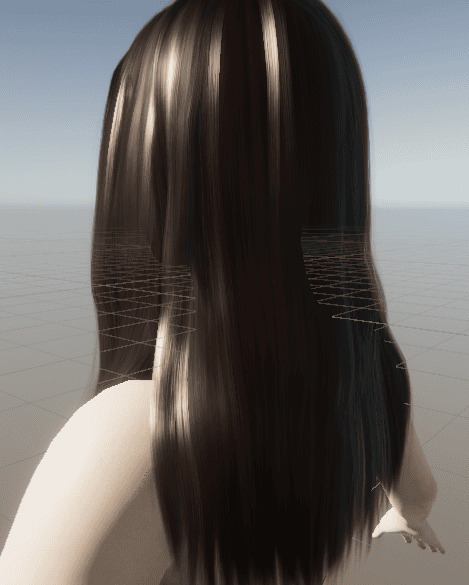
Now the fun part! We are ready to edit each of the materials. To start, we will make some changes to the hair settings.
But before that, a quick tip. We want the Inspector tab to show the material settings always. We want to reach and drag our textures to the window without it showing new settings. For that, we will lock the Inspector tab with the material we will be working with.
You can easily lock your Inspector Tab clicking the small lock in the upper-right area of the window.
Daz to Unity Bridge: Hair Settings
For my the hair settings I went for this set of parameters:

The most important thing to keep in mind is to set the surface type to transparent. Check double-sided with normal mode to mirror. Uncheck Receive Decals. You can also use the Hair Shader.
To my color map I also added a tint to get a stronger hair color. You can save the color to your palette collection so you always apply correctly the same tone to each of the hair materials.
As you can also see in the small thumbnails, I added the Smoothness map in the Mask Map and the Bump map in the Normal Map. You can try using the texture maps included with your first model and tweak and touch each of them until they provide some good results.

Cap Material
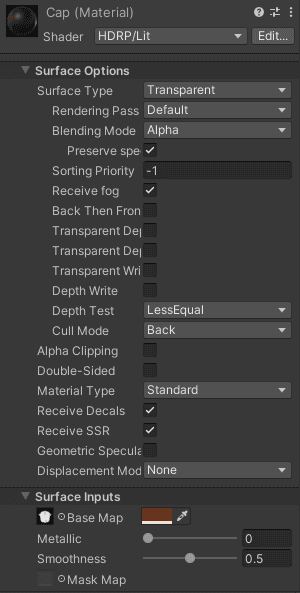
For the Cap Material we want to have the parameters as shown in the picture. We will set it as a transparent surface and sorting priority -1. Bye bye helmet!
Textures & Materials – Eyes
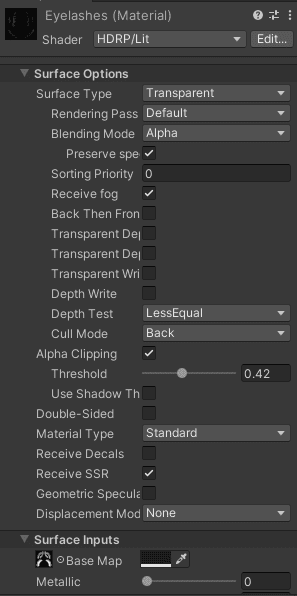
For the eyelashes, most importantly is to add some tint in the Base Map slot to highlight them and make them more visible. Also check the alpha clipping to hide undesired texture data.
For the eye moisture material, we want to set smoothness to 1 so it is fully glossy.
Daz to Unity Bridge: Textures & Materials – Skin
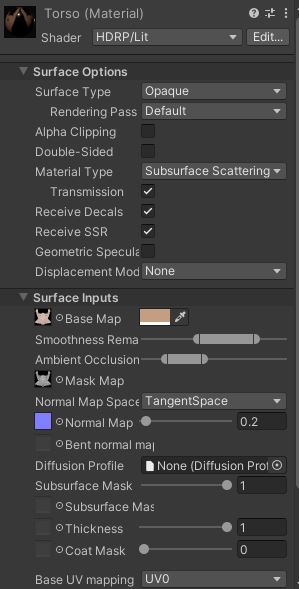
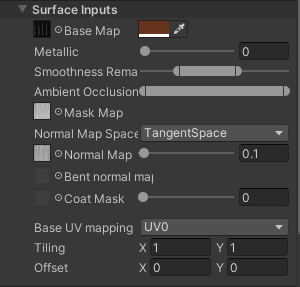
For the skin parameters, we will indicate that the material has subsurface scattering. After this action, we will notice the skin tone in the viewport will turn green. That is why the bridge tool comes with the skin diffusion profile to solve the issue. As seen in the picture, we also apply the profile and the green tone should disappear. I personally added a tint to the skin and saved the color to apply to the arms and legs as well.
We can see how the normal map can help highlight some skin texture (input = 0.2). Keep the value low otherwise it will be inconveniently noticeable.
Daz to Unity Bridge: Some Useful Key Facts
- Daz to Unity Bridge is available to Windows users only at the moment.
- It is safe to export Genesis 3 & 8 characters, props, clothing and hair (no strand based). You need to export one at the time or multiple items if they are parented to the character.
- Only the HDRP Pipeline is currently supported.
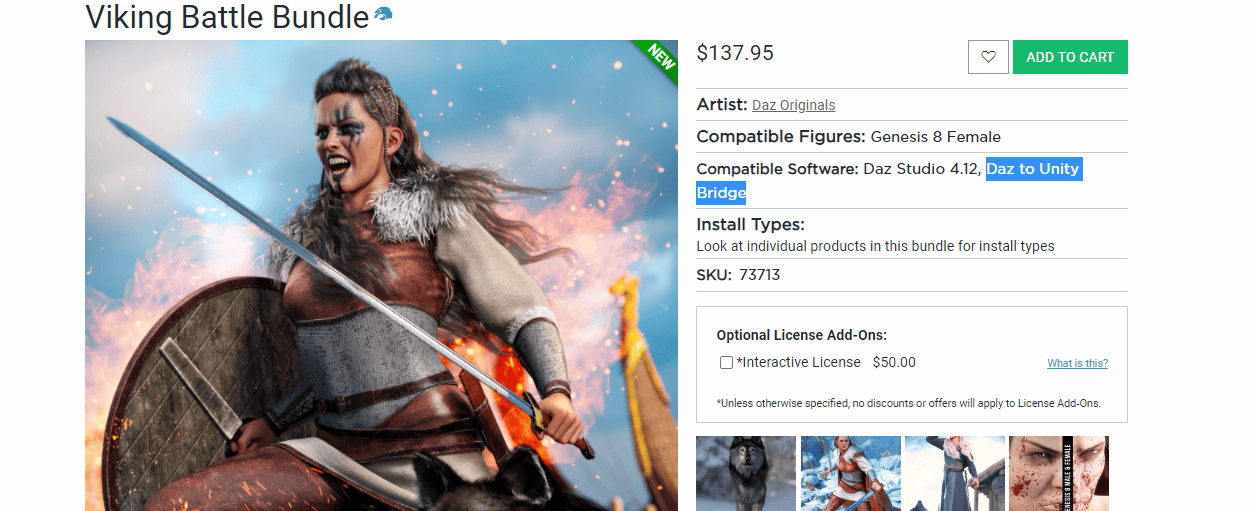
To see if the item is compatible with the bridge tool add-on, simply type “Unity” in the search box and look for Compatible Softwares: Daz to Unity Bridge in the product’s description.
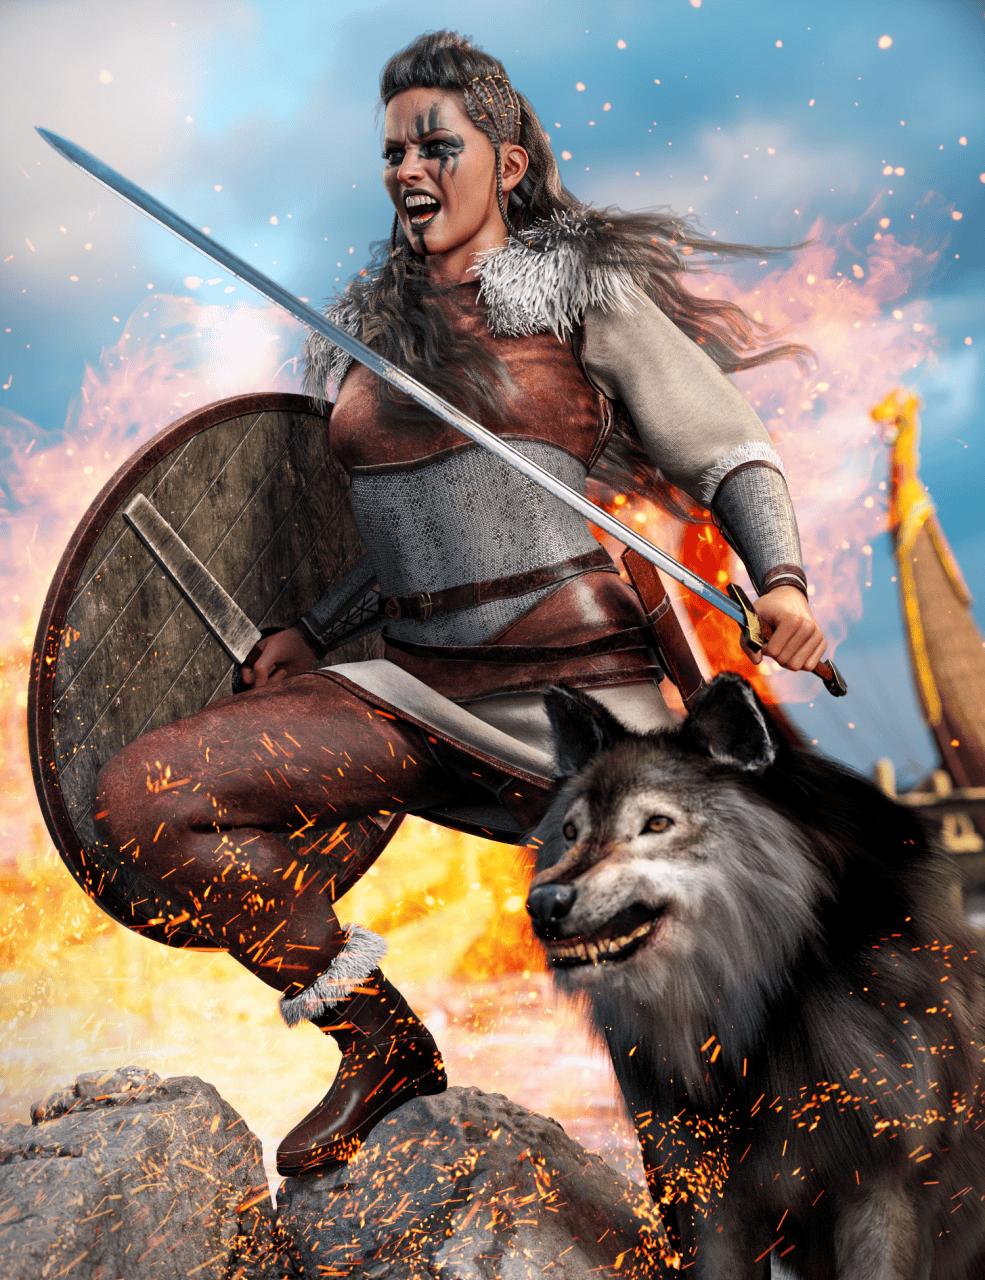
This amazing package contains 9 products- Viking Battle Bundle
Some new amazing products just released also compatible with the Daz to Unity Bridge Tool:
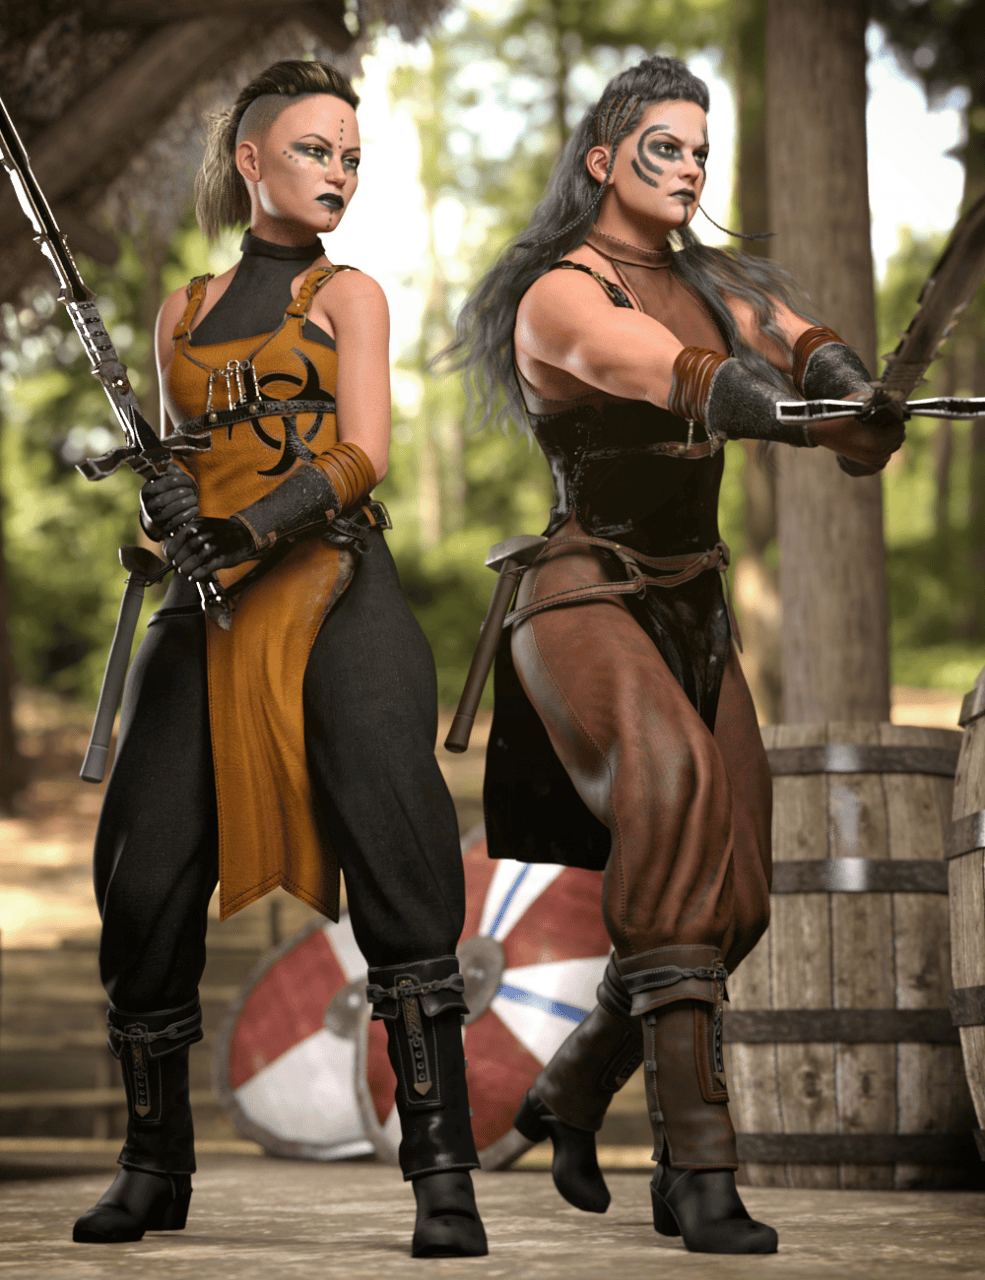
dForce Alerune Outfit Textures by Anna Benjamin
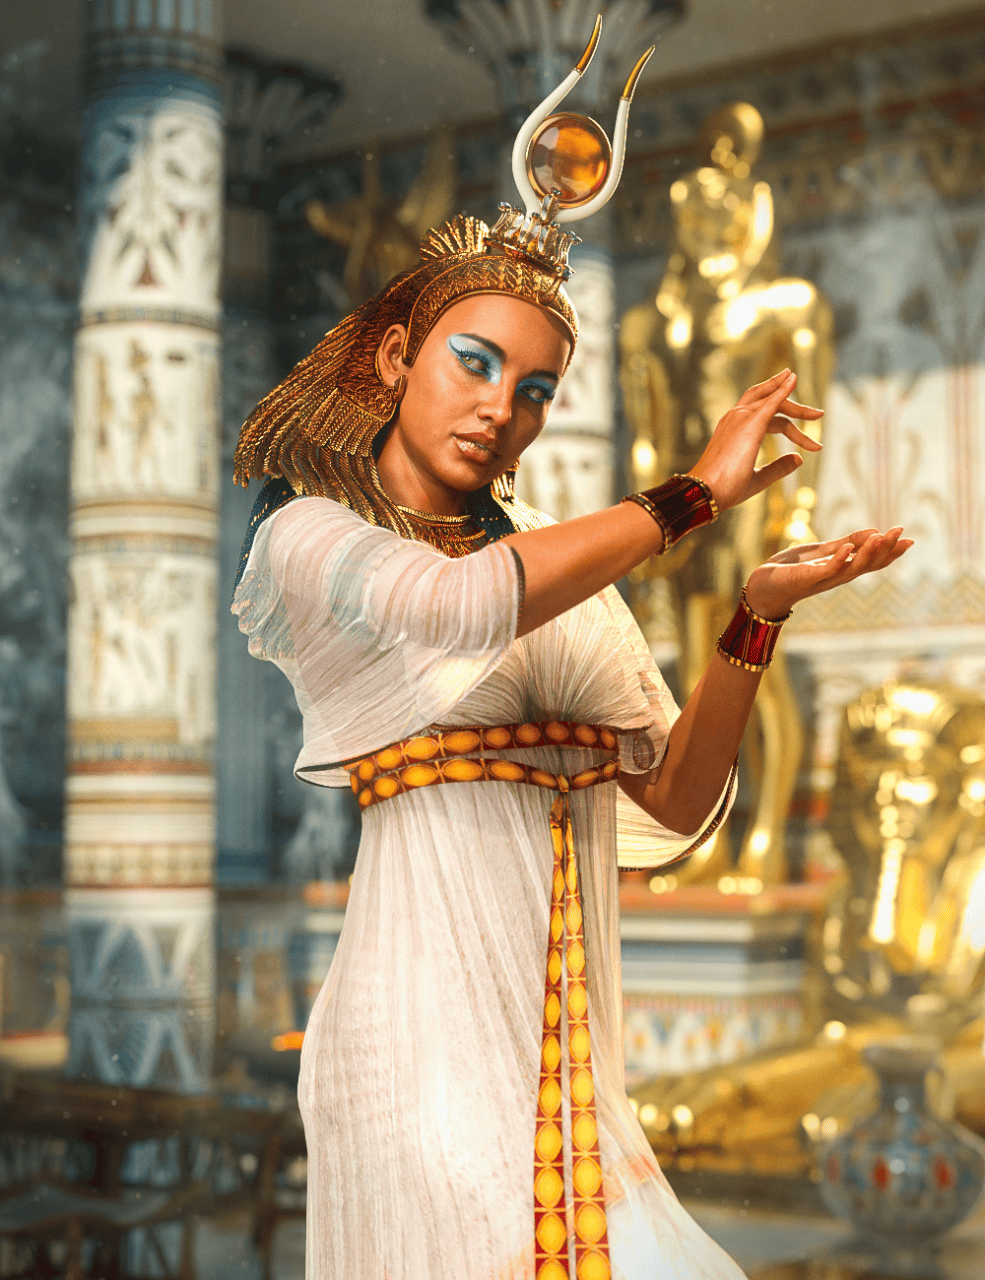
The bundle includes 14 products ready to use in Unity – Twosret 8 Pharaoh Living Bundle
Looking for Daz 3D Models for your Games?
Checkout also many of our Daz3d Product Highlights here some examples below – always check their “Compatible Software” mention for Unity:
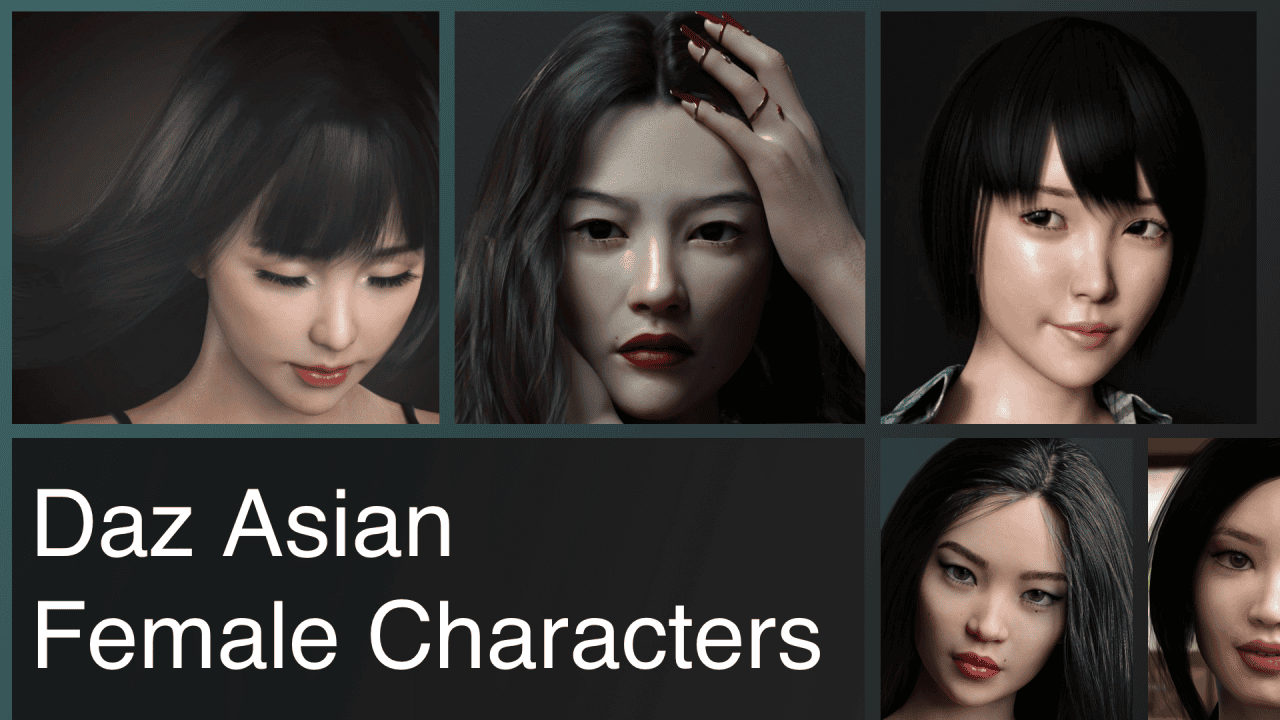
Source Daz3D Asian Female Characters
Source Top Card 3D Models for Daz
Source Top Daz3D Swimsuit 3d Models
Conclusion – Daz to Unity Bridge FAQ
As we have covered in our previous article, the Unity Bridge Tool works very well. However, textures and materials are still part of some minor issues to solve as the tool continues to develop and release new versions. We hope that this quick Daz to Unity Bridge FAQ has been of much help with those problems. You can also check our other articles such as Daz to Unreal Bridge Tutorial and Daz to Blender Bridge Tutorial.
For additional information you can read the official Daz to Unity Bridge Guide
Keep the rendering up!