It’s Finally Here! Daz3D has released a new tool called “Daz To Unreal Bridge” here. It is a cross-platform plugin who makes our process to import models from Daz to Unreal Engine way easier. Now we can leave that rough effort trying to export anything from Daz and we will learn how to do it in this tutorial!
This Daz To Unreal Bridge Tutorial will teach you how to install this plugin and use it to export assets and animations from Daz to Unreal Engine 4, once you have finished this tutorial you will have a playable character in UE4 directly from Daz!
So, let’s move on!
Installation Process Daz To Unreal Bridge
Installing Daz Studio
If you have not installed Daz Studio yet here’s a link. Once Daz Studio is installed we will install the Daz to Unreal plugin found here. You have to “Buy it” for free, after the product is in your account, you can check your new plugin in the Daz Central Hub.
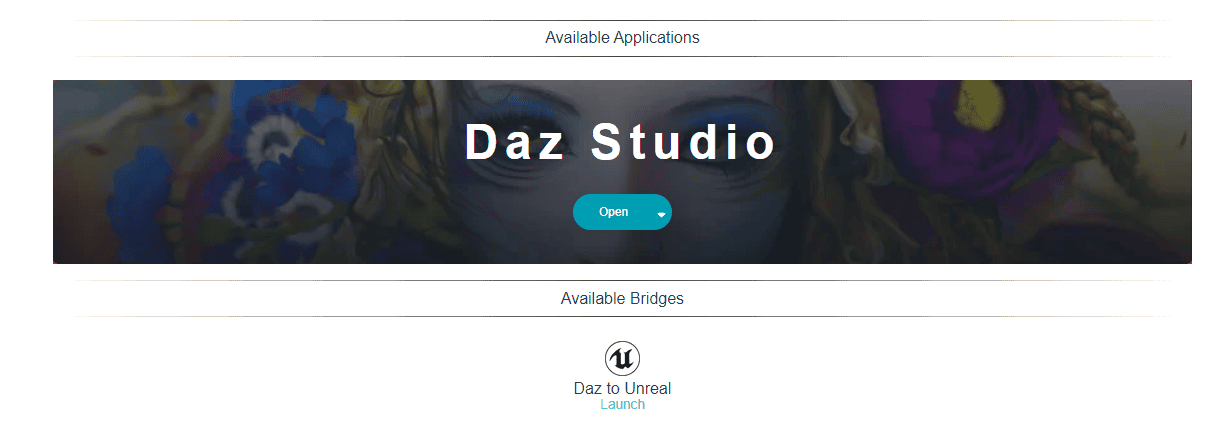
Inside the DazStudio>Plugins you can find every plugin you have for Daz
Installing Unreal Engine 4
Before the installation of the plugin, you must have Unreal Engine in its latest version installed(Actually 4.25.3), You can download UE4 in the Epic Games Launcher you must have an account to continue.
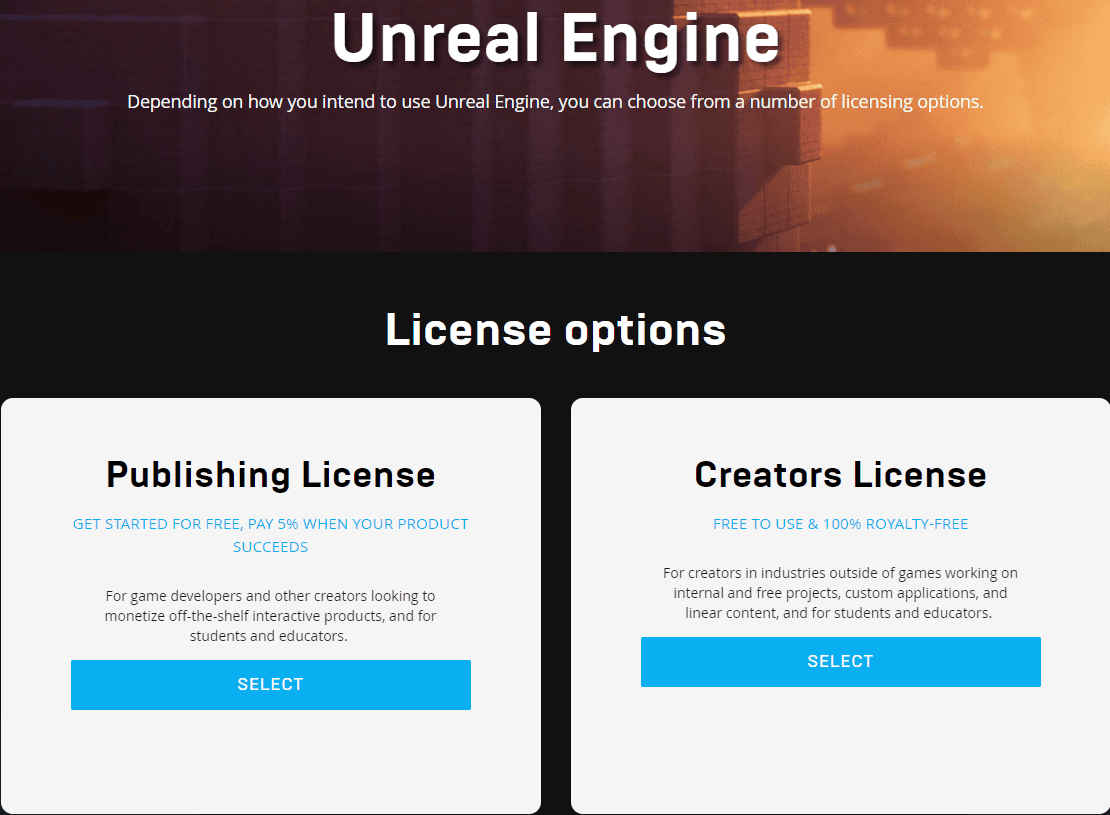
Submit any of these two options, once you finish a new download will start, install the file.
This is the Epic Games Launcher
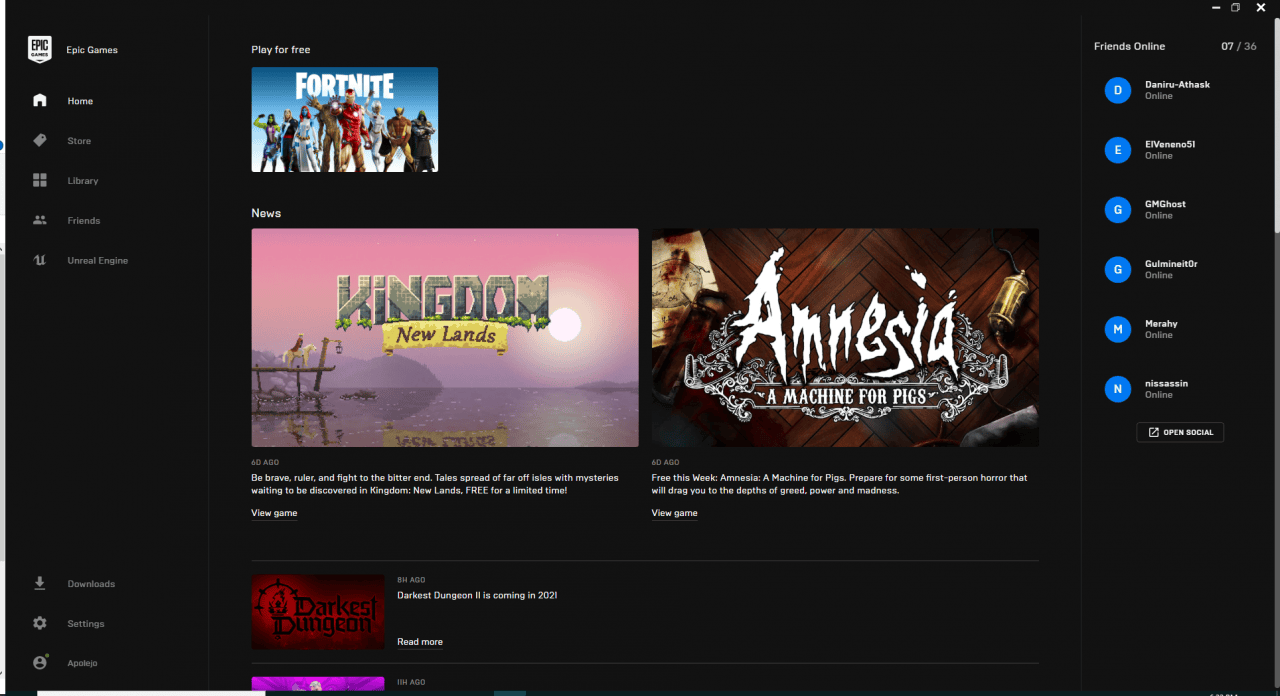
Once the launcher is installed, go to Unreal Engine Section
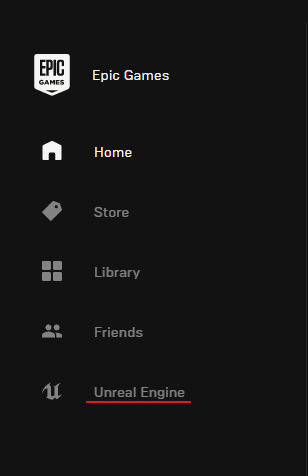
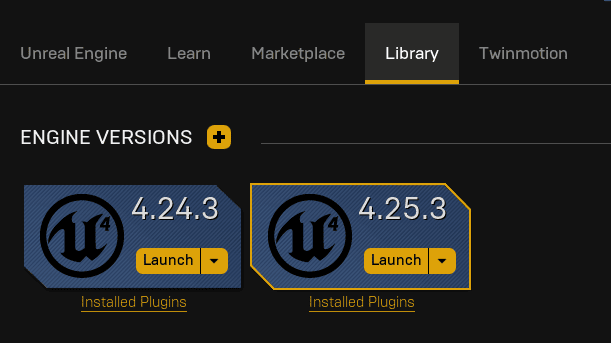
Select Library, click on the + to add a new version of UE4, in this case i’m working with version 4.25.3(The latest version)
Installing Daz to Unreal Bridge Plugin
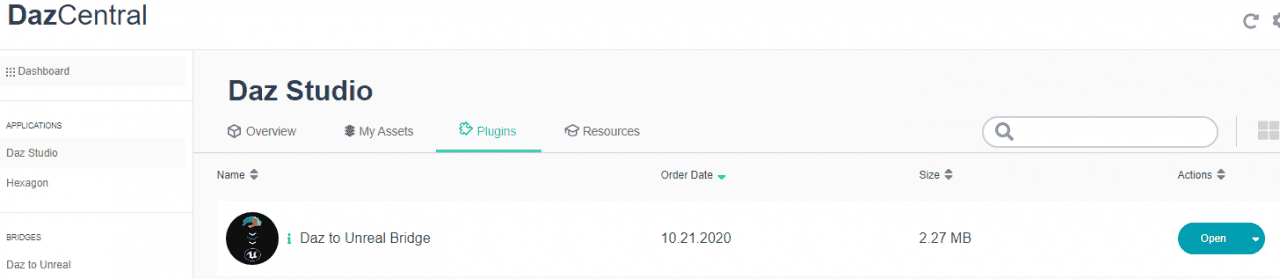
After Installing Daz Central, Daz Studio and Unreal Engine, we must proceed with the plugin installation.
You can find your plugin inside DazStudio>Plugin in the DazCentral Hub

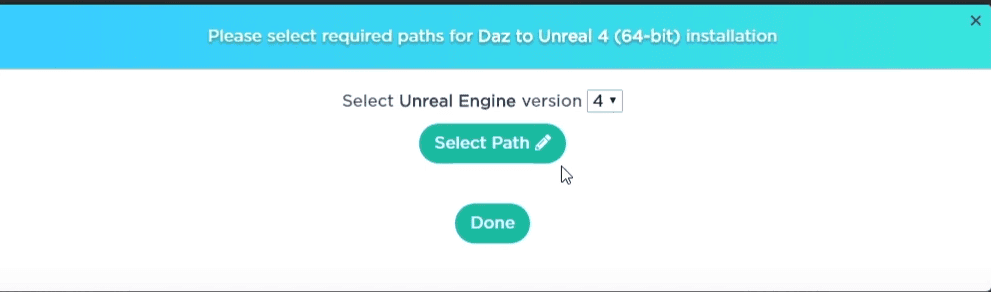
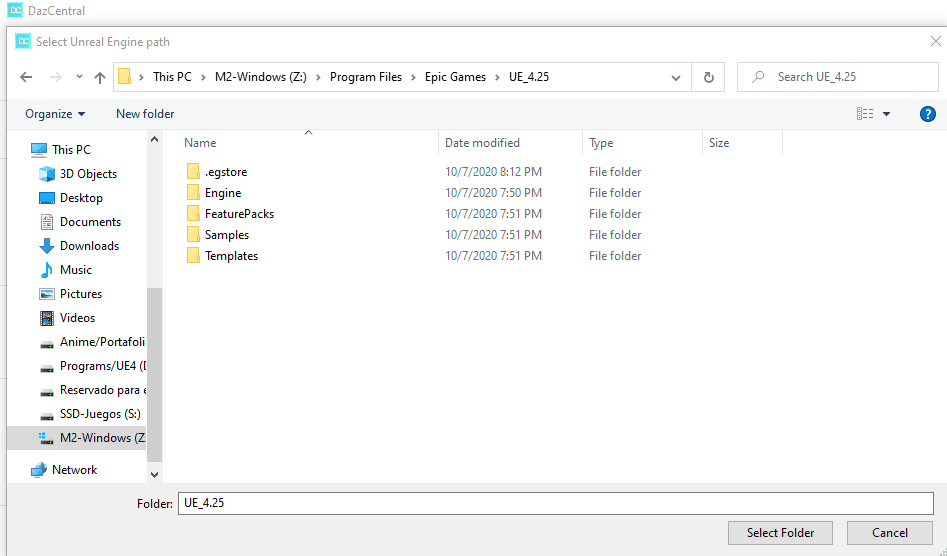
Click on install, it will ask you for the UE4 location, link the same location where you installed UE4. In my case is in Z>Program Files>Epic Games>UE_4.25
Creating A New Unreal Project
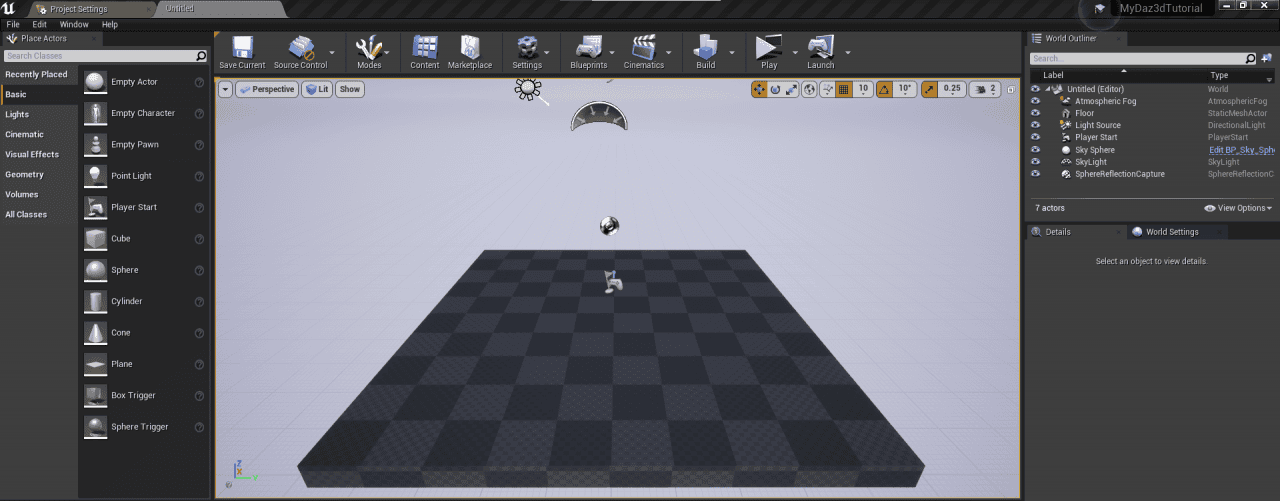
After the installation of Unreal Engine and DazStudio+UE4 Plugin has finished
We can proceed creating a new project for UE4.
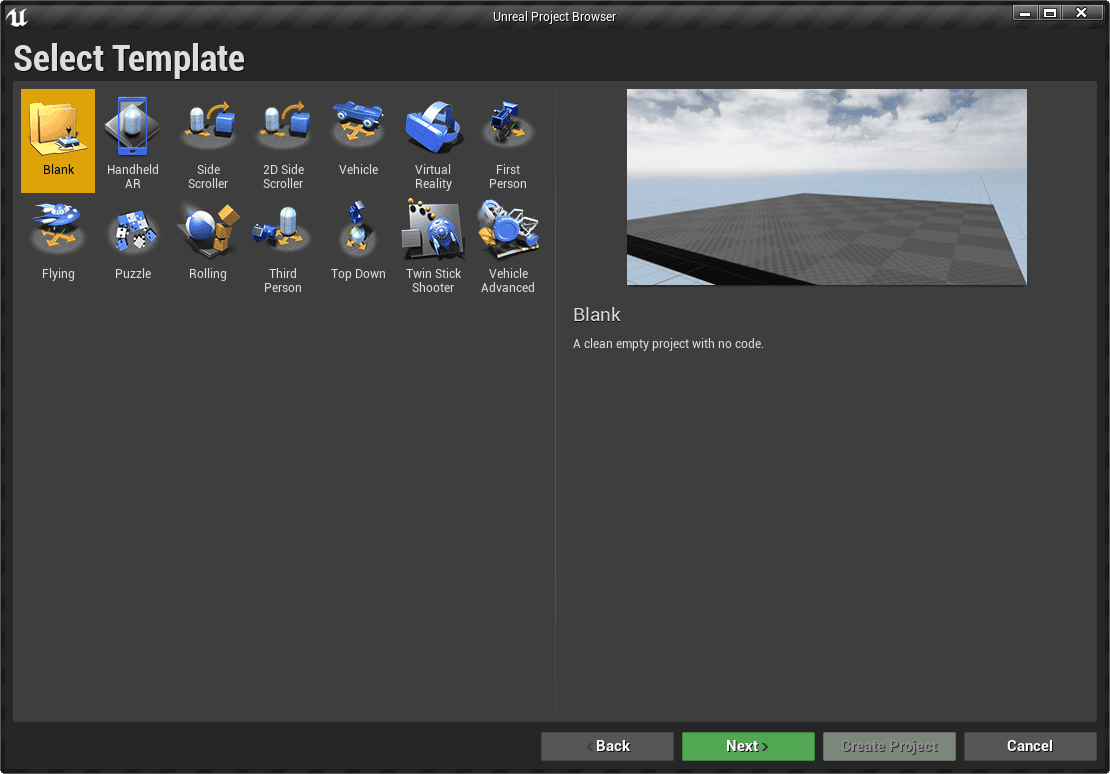
For testing we will start using a Blank project, Click Next.
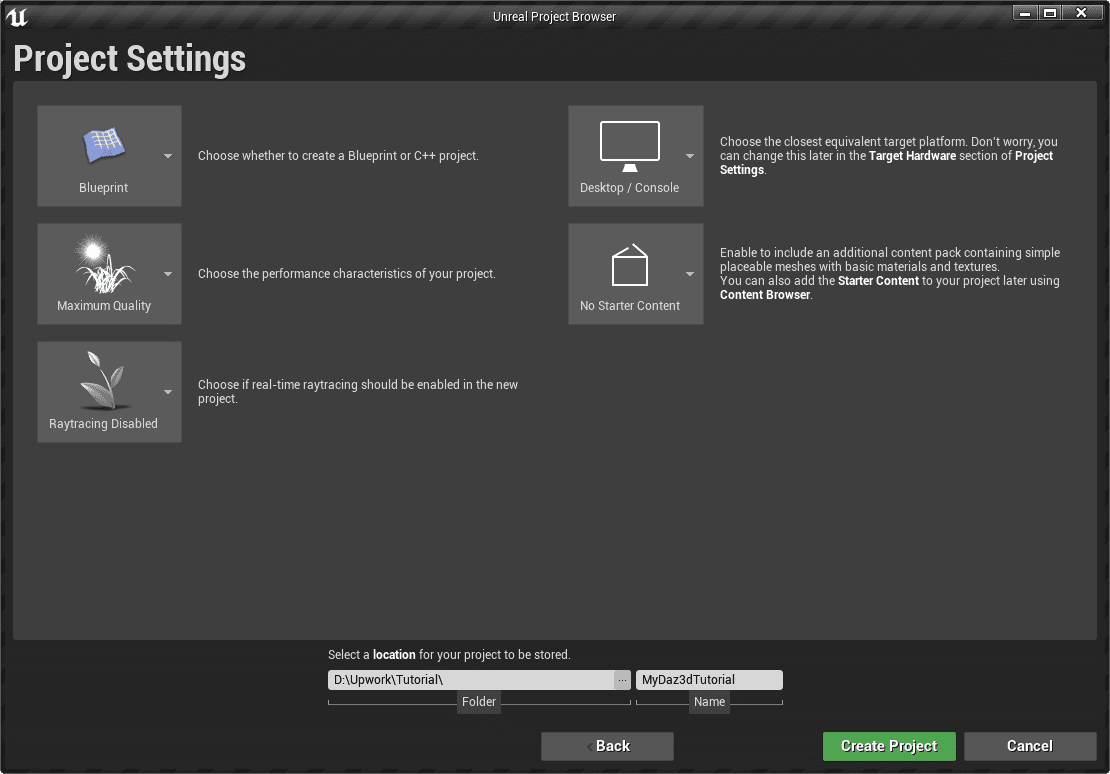
Leave it the way it was, Select a Path for your project, name it and Click Create Project
Setting Up The Project
Before we can continue, we need to activate the DazToUnreal Plugin.
Go to Edit>Plugins
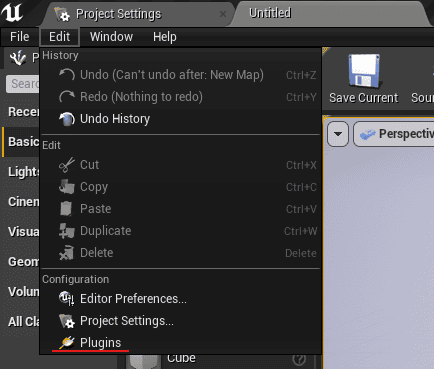
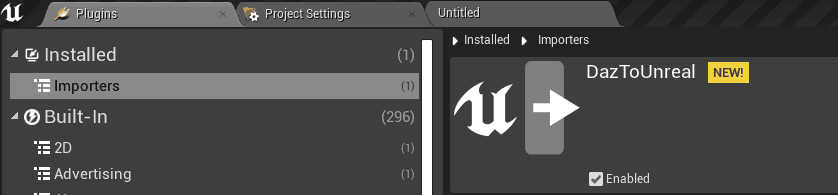
A new window will PopUp, Go to Installed>Importers and Check the Enabled box
Now restart your project.
Exporting the Daz 3dModel
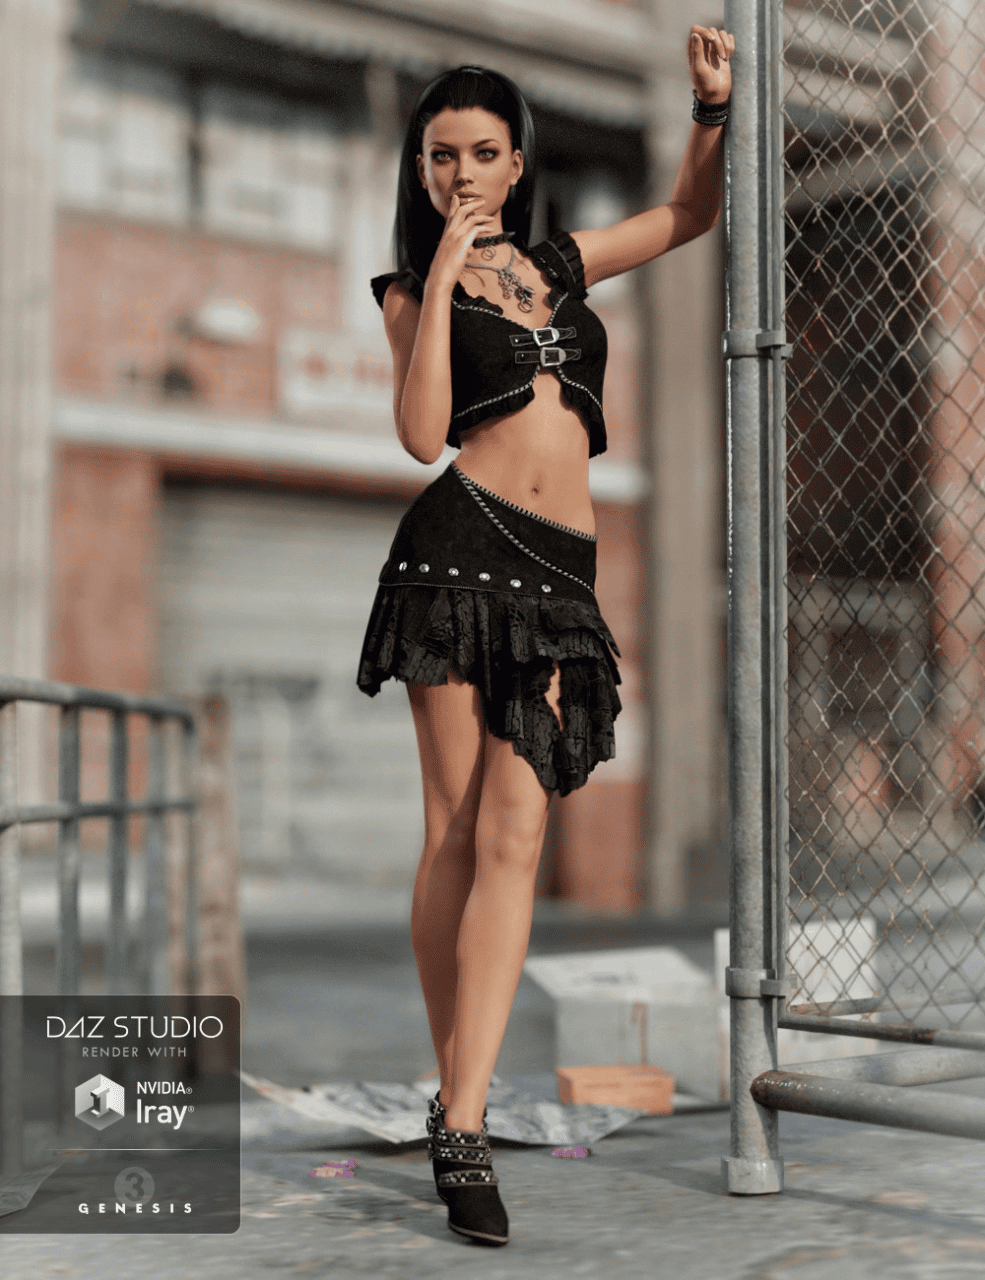
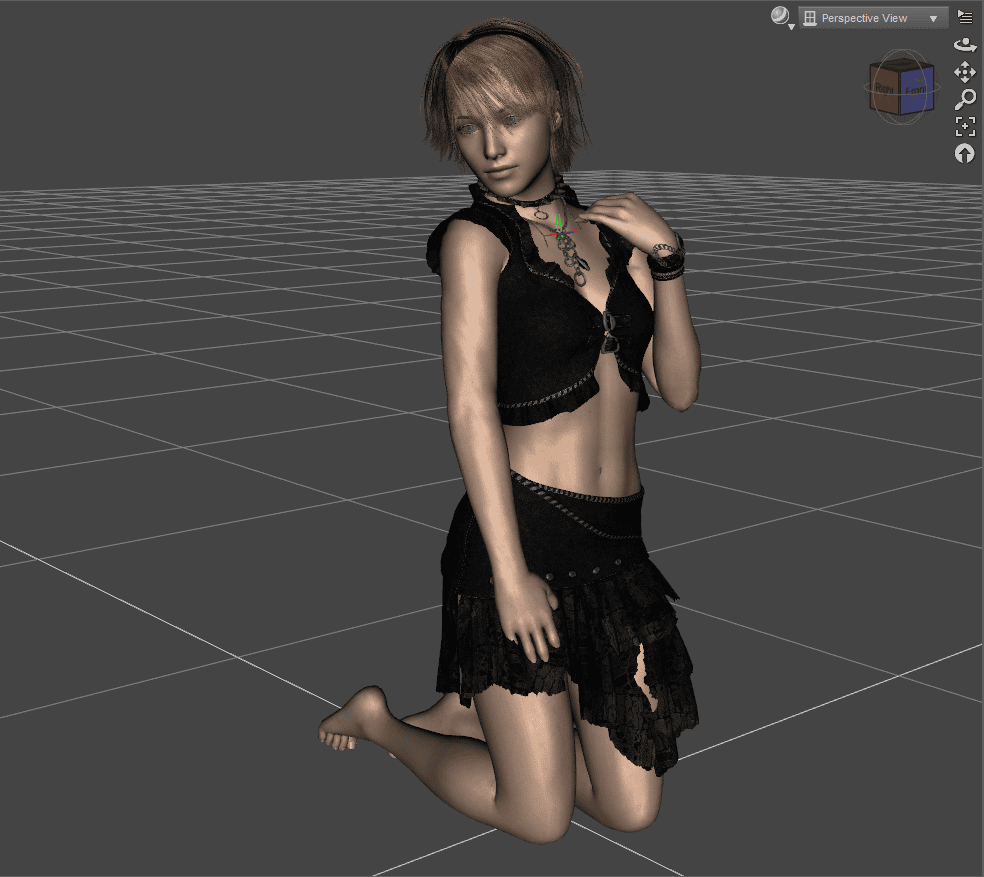
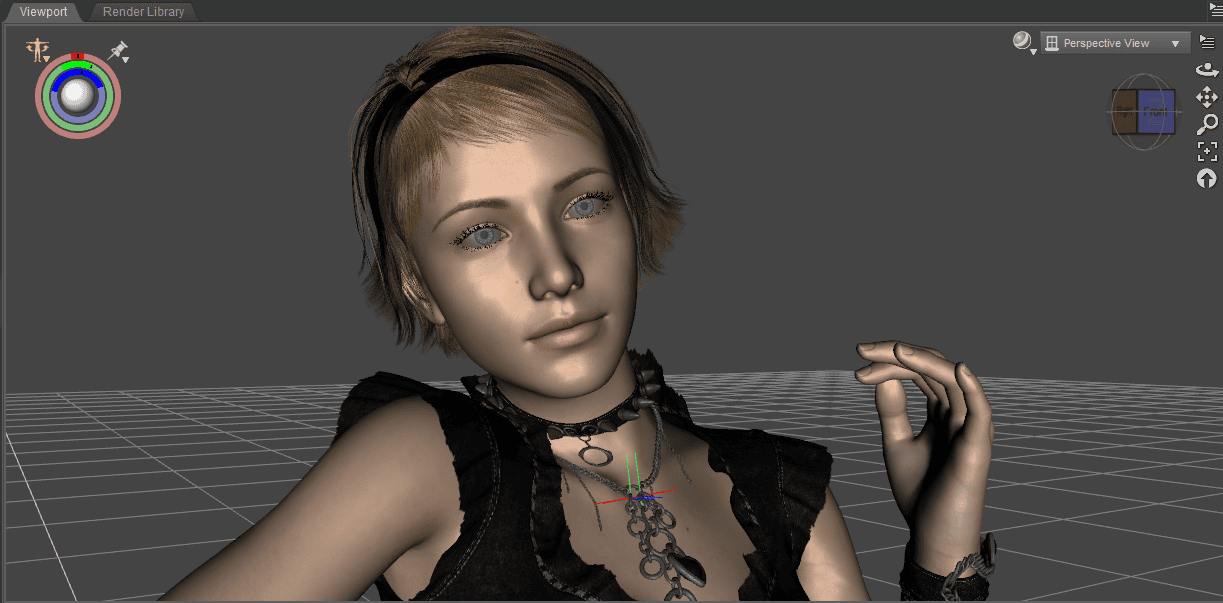
In Daz we can pick our props and characters to be port to Unreal Engine, in this tutorial i will work with this Model
Setting Up The Model
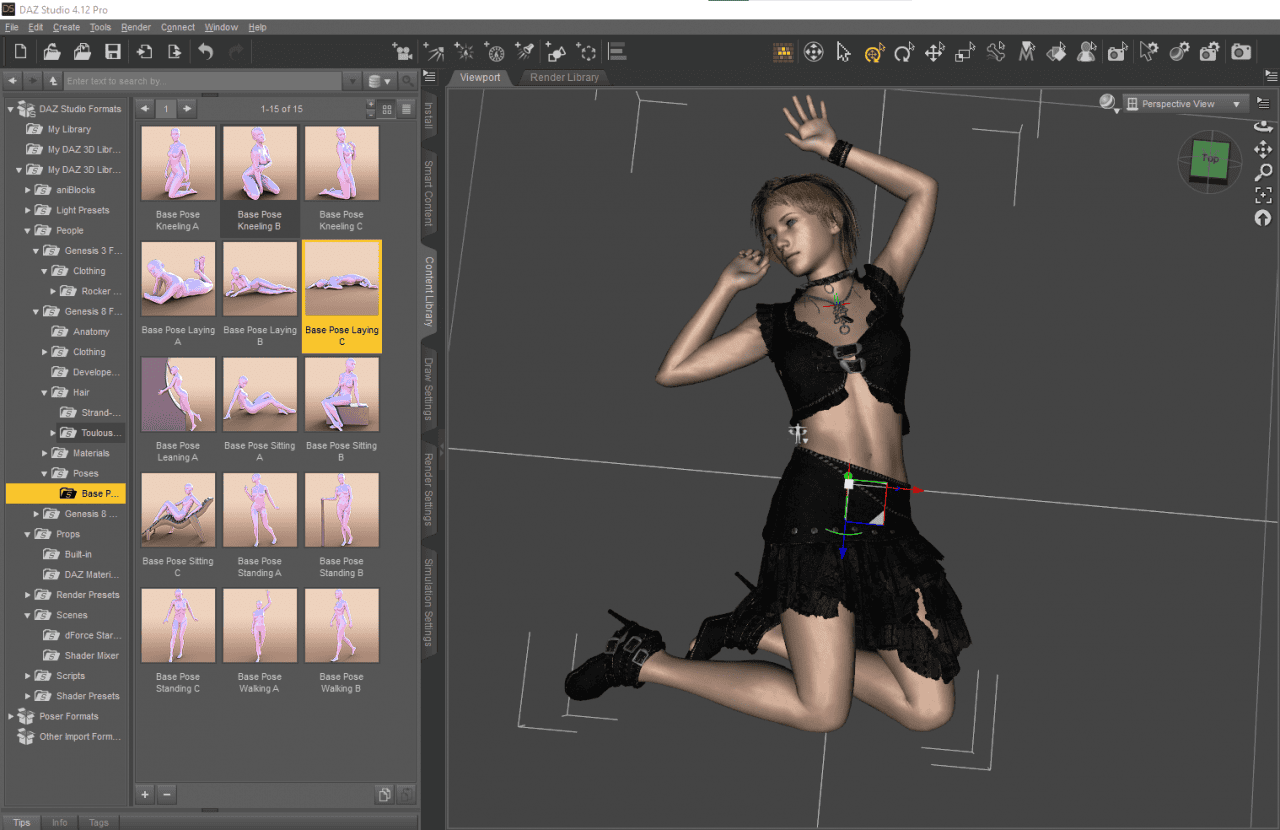
Here’s my model in Daz and for this tutorial i will show you how to setup poses and animations
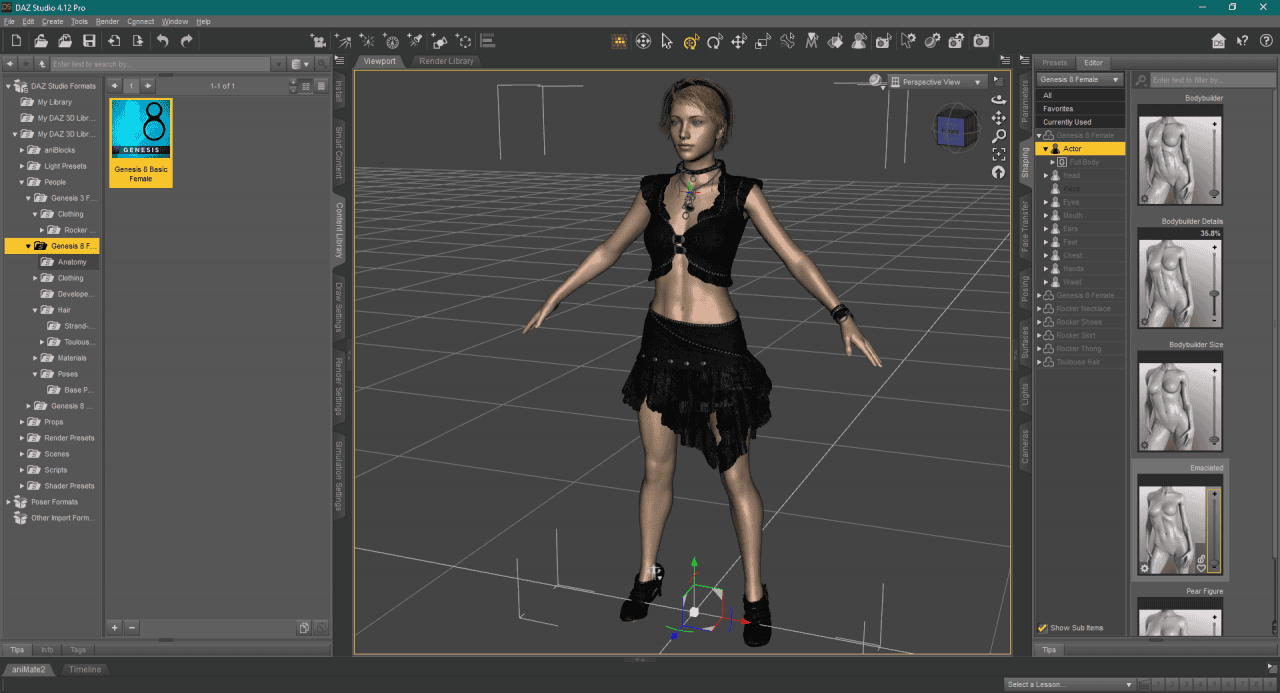
This is the pose i will select to work with
Export Character Using the Daz3D to Unreal Bridge
Once everything is setup, Select the model then we will go to File>Send To>Daz To Unreal
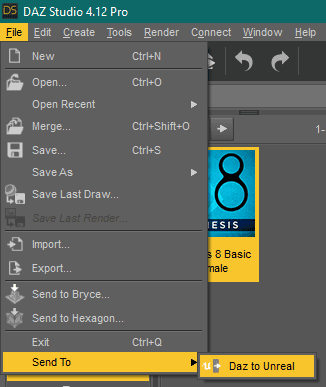
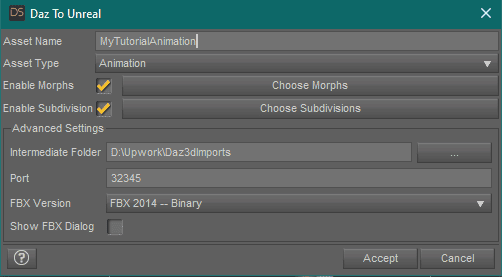
A New menu will show up.
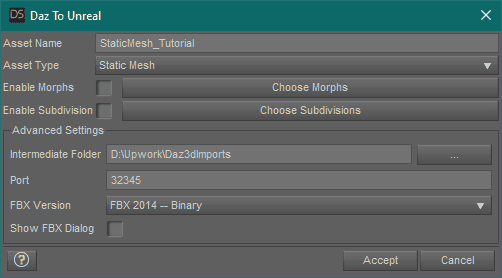
This window has different export options that I will explain.
First name your asset so you can find it
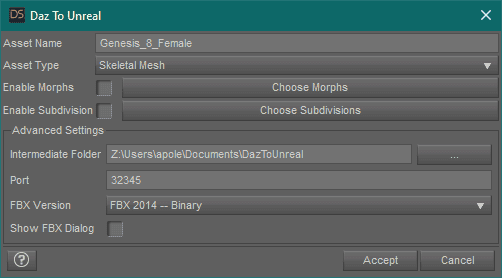
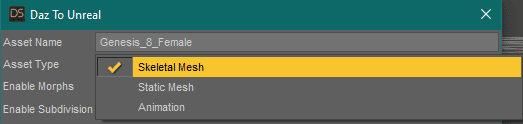
- Asset Type
We can set up if we want an animation, Static Mesh or a Skeletal Mesh.
Select Skeletal Mesh since it is a rigged object
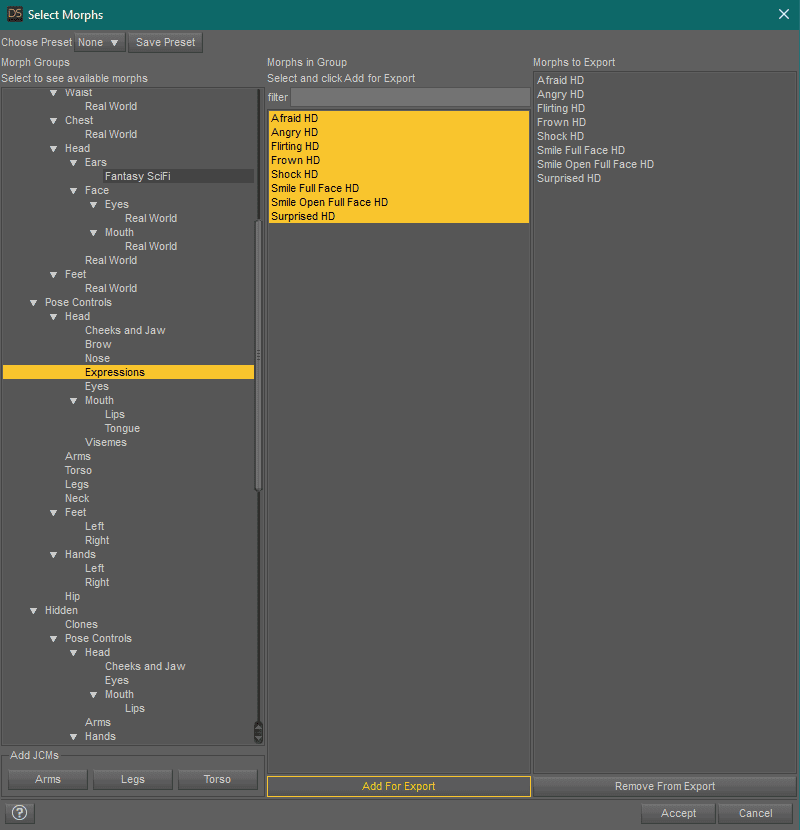
- Morphs Targets
We can also select if we want some Morphs Target, these are deformed versions of the model that can give access to certains animations

For this model, i will export it with the Head Expressions Morphs
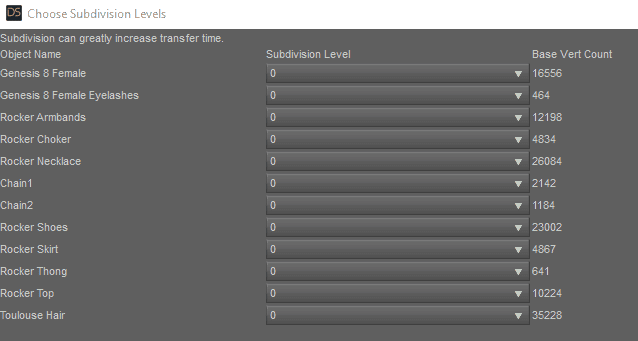
- Subdivisions
Here you can set how many subdivisions you want in the model, I do not recommend using this option since it duplicates the Vert Count of the model.
If you want more definition based on geometry, you can get as many subdivisions the model has.

Everything is set up, we can proceed with exporting the model.
Before you click Accept, be sure you have opened the UE4 project we just created.
Exporting Daz3D Props & Environment
We can also export props or environment objects. I will use the MaterialBall as example

Open the Daz To Unreal, Select Static Mesh since this is a 3d model without a rig
Unreal Engine FBX Import of Daz Character
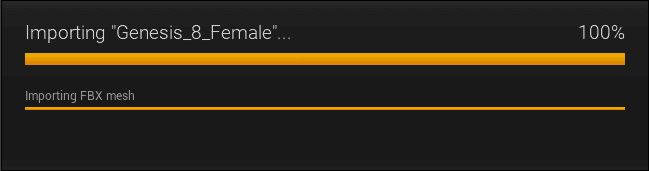
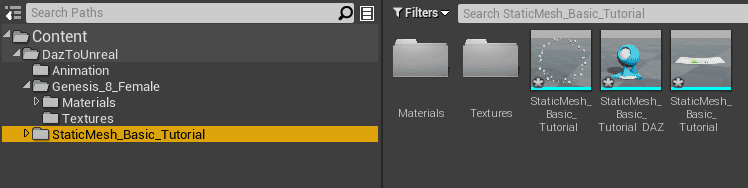
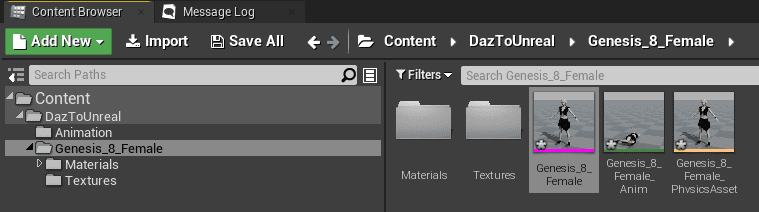
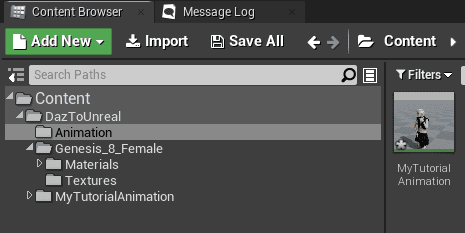
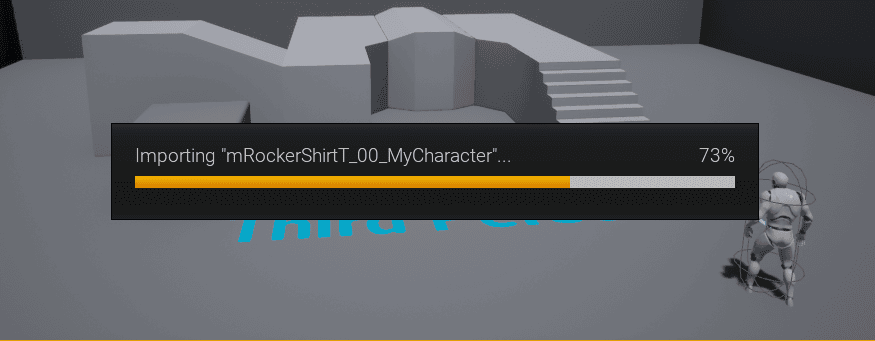
Once you have clicked Accept and it finished exporting, the project will automatically import the assets.
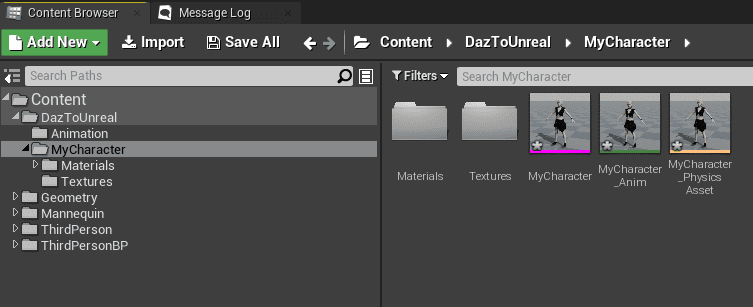
Now we can see our character with her pose and our Static_Mesh are in the project.
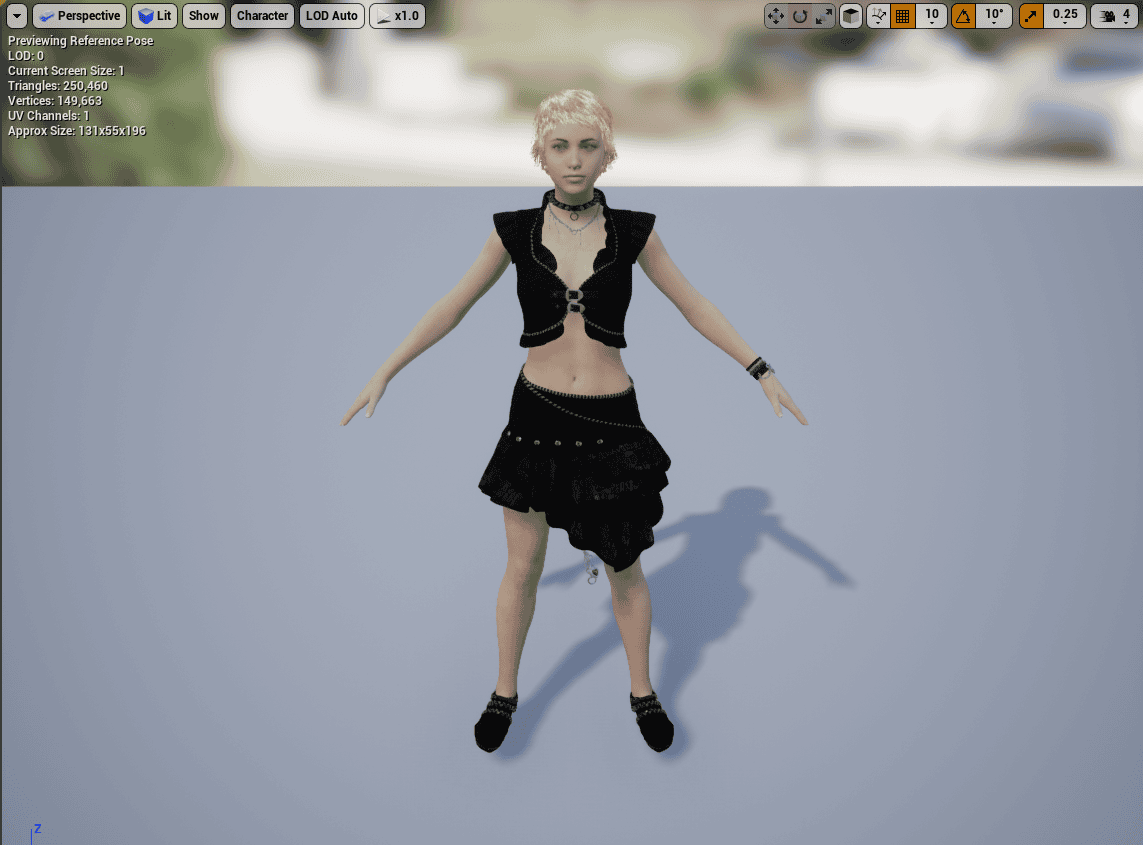
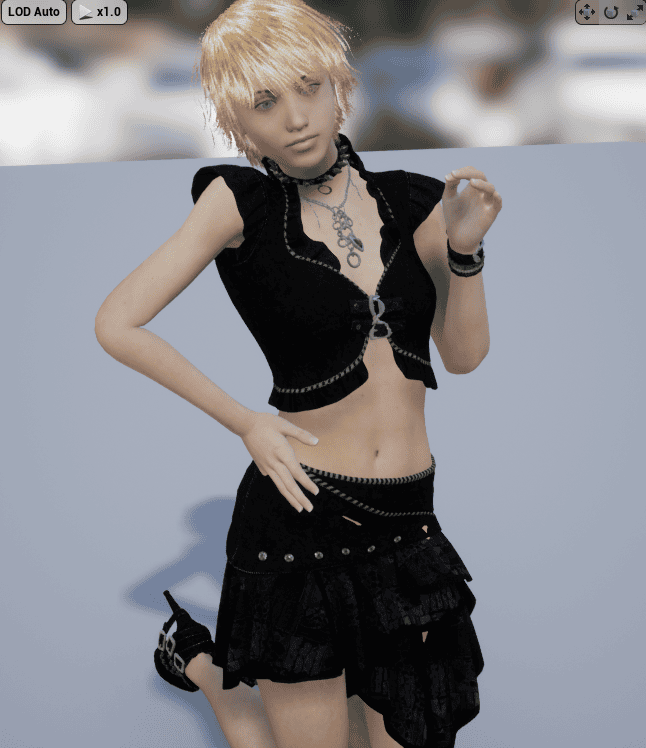
Open the Skeletal_Mesh(The pink lined object)
A new window will open, here you can see how your Character from Daz is looking in Unreal Engine.
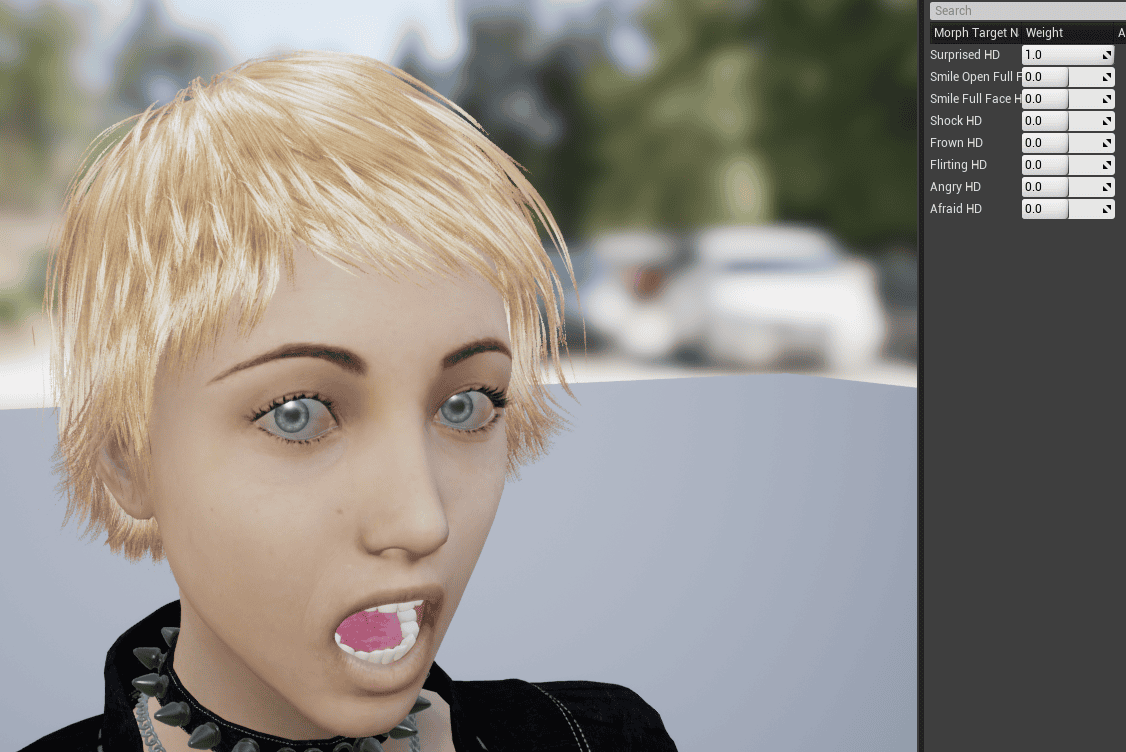
Morphs Targets In UE4
Inside the Skeletal Mesh window, at the top right you can see the Morphs Targets we exported the model with.
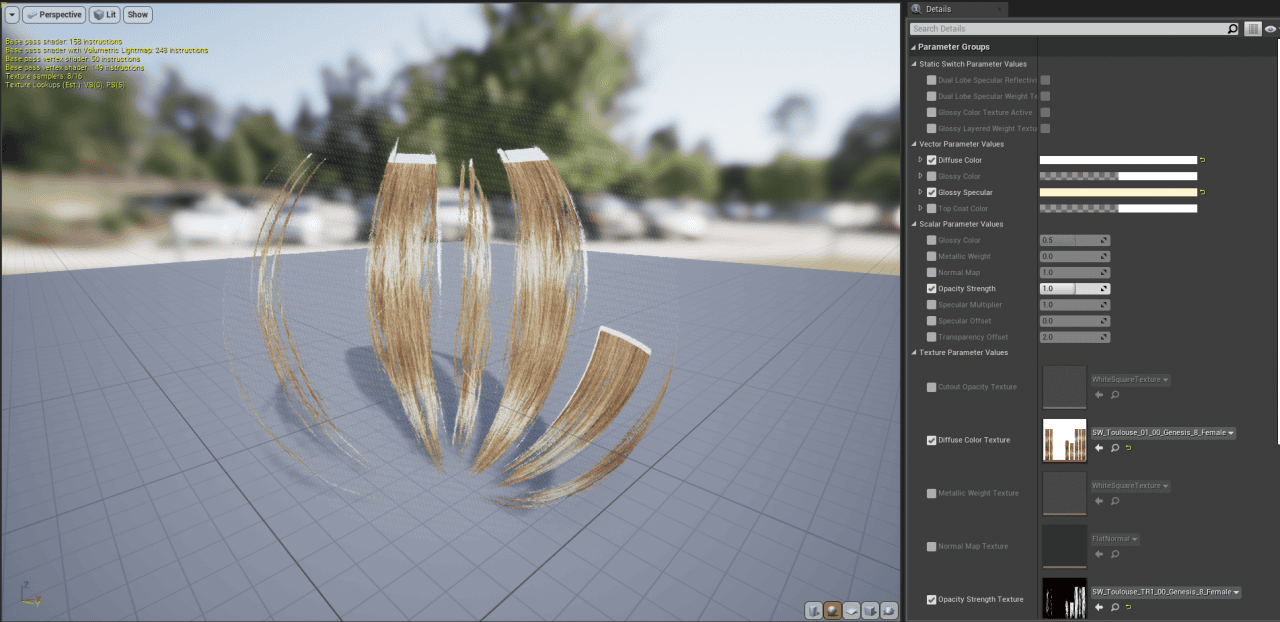
Materials Setup
We can also modify the materials of each asset we imported; each model has his own material folder; we can spot them by the dark green color line. In this case I will modify the hair Material to change its color.

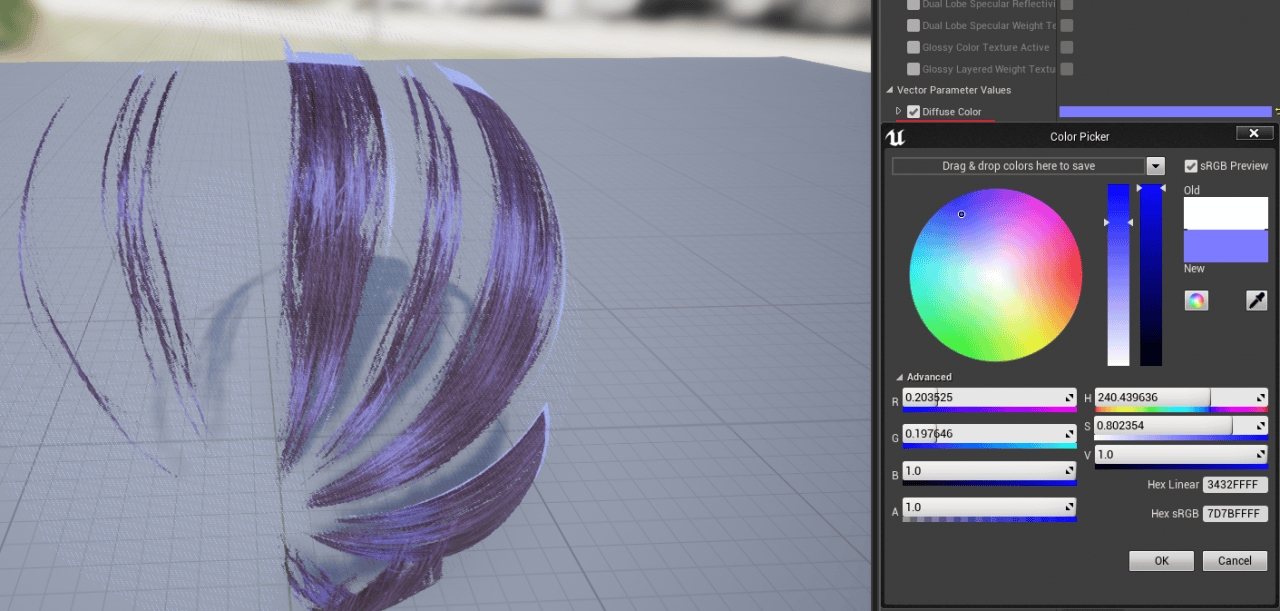
Now, inside the Material window at the right panel we can modify each parameter, i will modify the diffuse color by clicking the color next to the name.
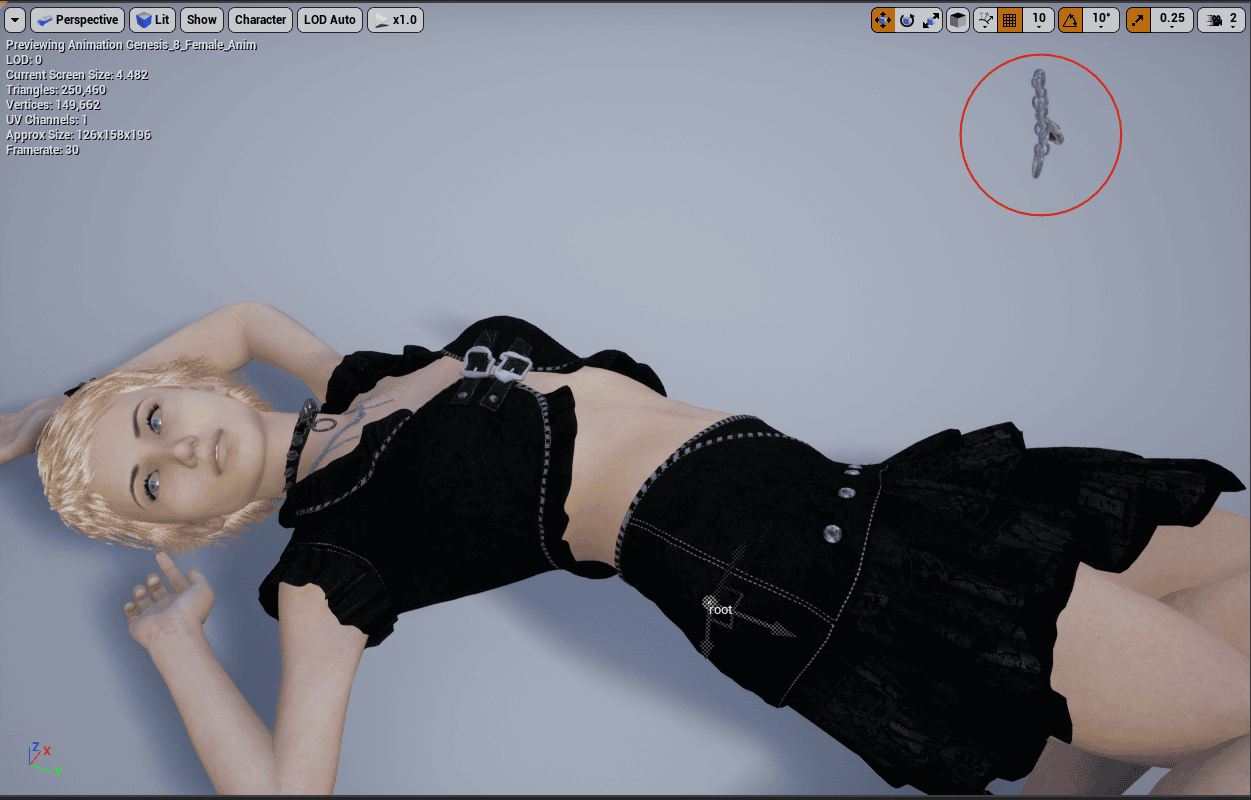
Fixing Props Issues
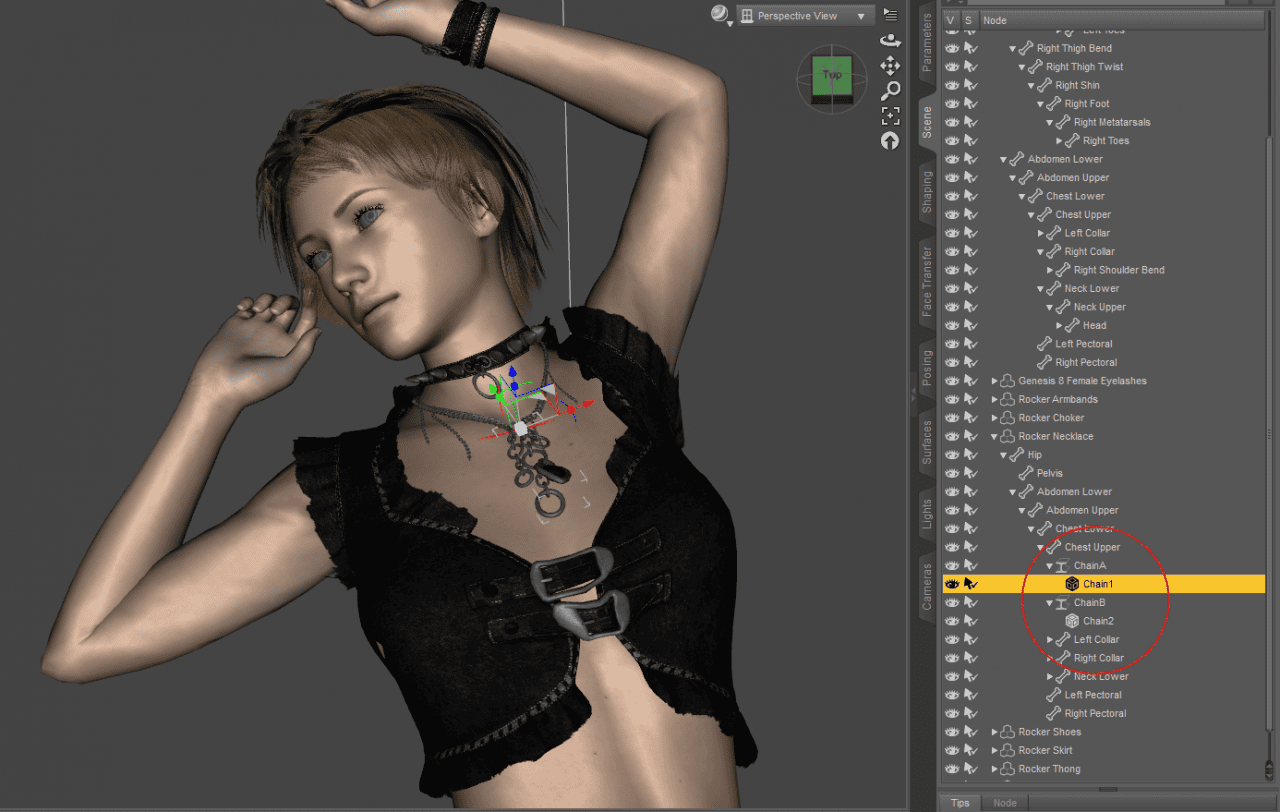
You may find props out of parenting who don’t follow the animations.
Here’s a fix for this issue
In DazStudio, in the Scene window we must find the prop we want to fix
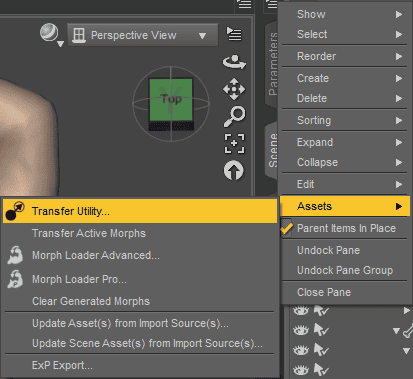
Click on the top corner button in the Scene box, go to Assets>Transfer Utility…
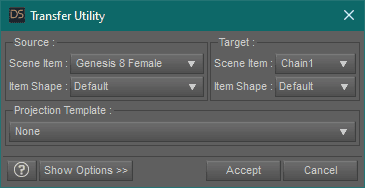
A new window will show up.
- In the Source section, select the main model as Scene Item
- In the Target section, select the prop you want to fix as target
Repeat this process for each prop that you find with this issue
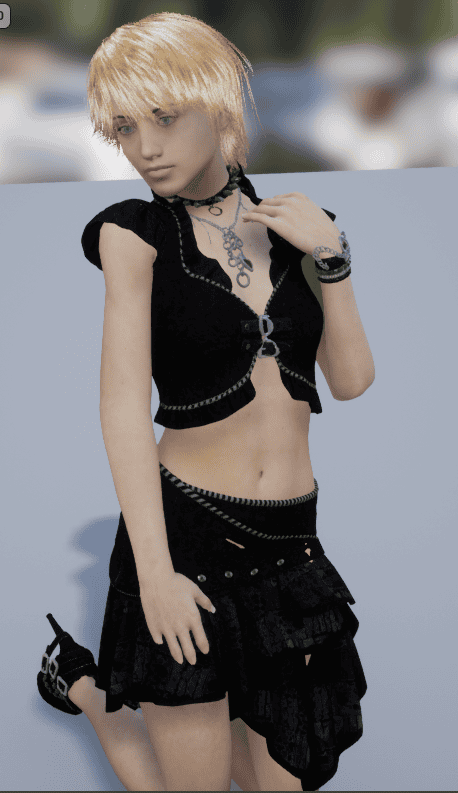
Re-Import the Character and the error is fixed.
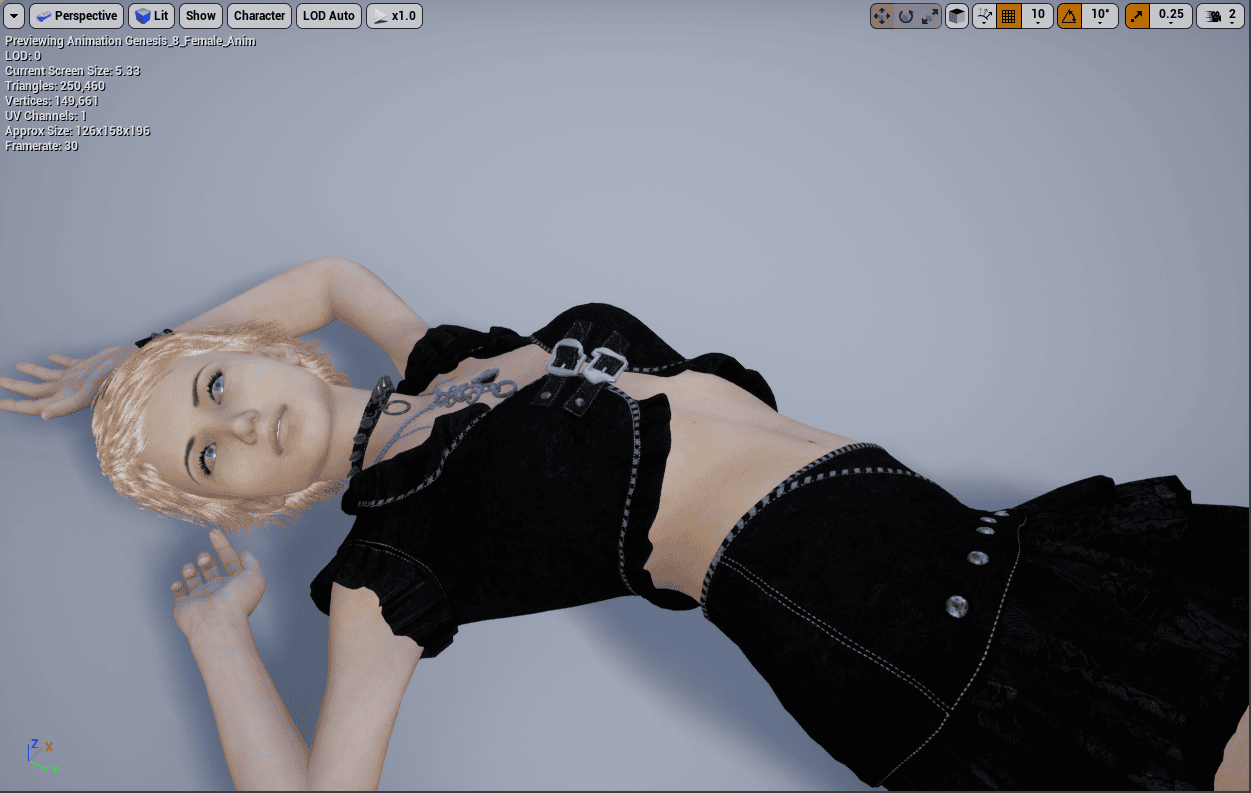
Character Fixed inside the UE4 visualizer.
Re-Import Asset
You may find some errors or something you want to change in the model you exported.
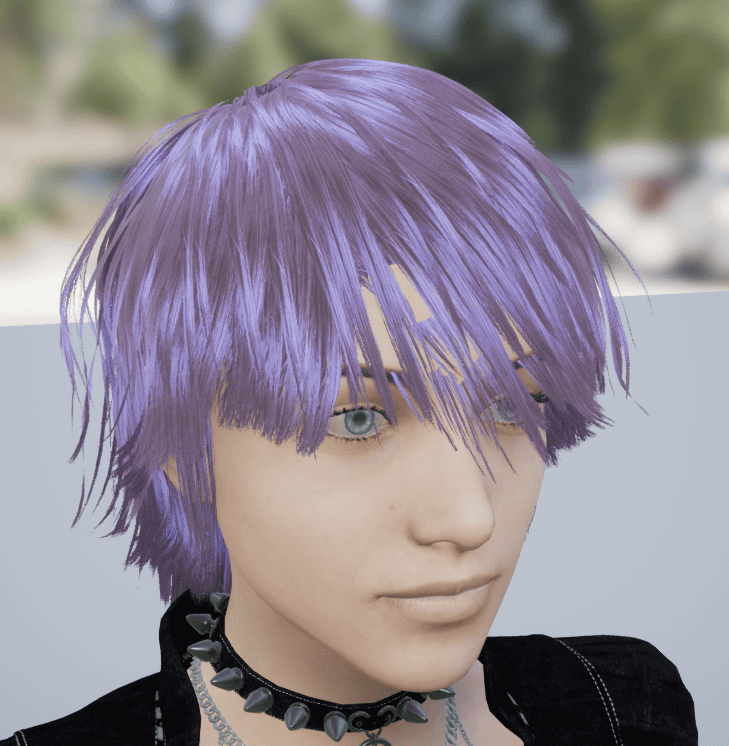
In DazStudio do every change you want on your character, i changed the pose and growed her hair, once you have finished editing repeat the Export Character process using the same name you used before
Remember to keep your UE4 project open.
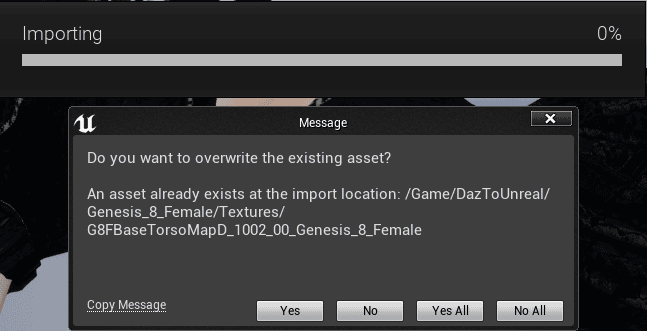
Once the character is re-imported, Unreal will automatically import and will ask you if you want to override the assets.
Say Yes All to every message.
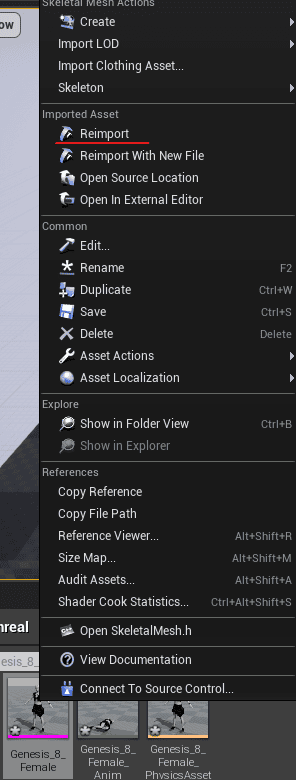
When the process is finished, we right click the Skeletal_Mesh of the model and click Reimport. Repeat with the pose Animation
Import Animations from Daz into Unreal
Now we can proceed with animations, i did a simple animation for this tutorial
Repeat the Export process, but we will select Animation as Asset type
Remember to have your UE4 Project opened.
Setting UE4 Character with Daz Character
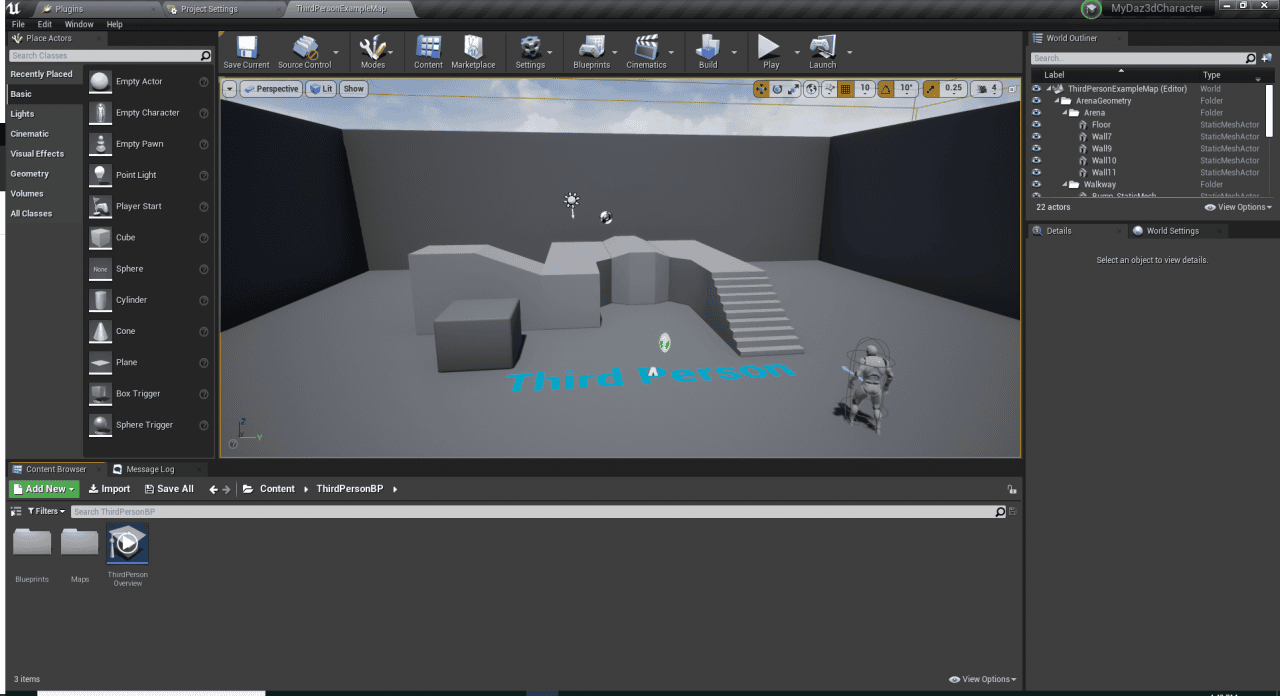
Now we will do the workflow with retargeting animations and setting up our Daz Character as a playable character.
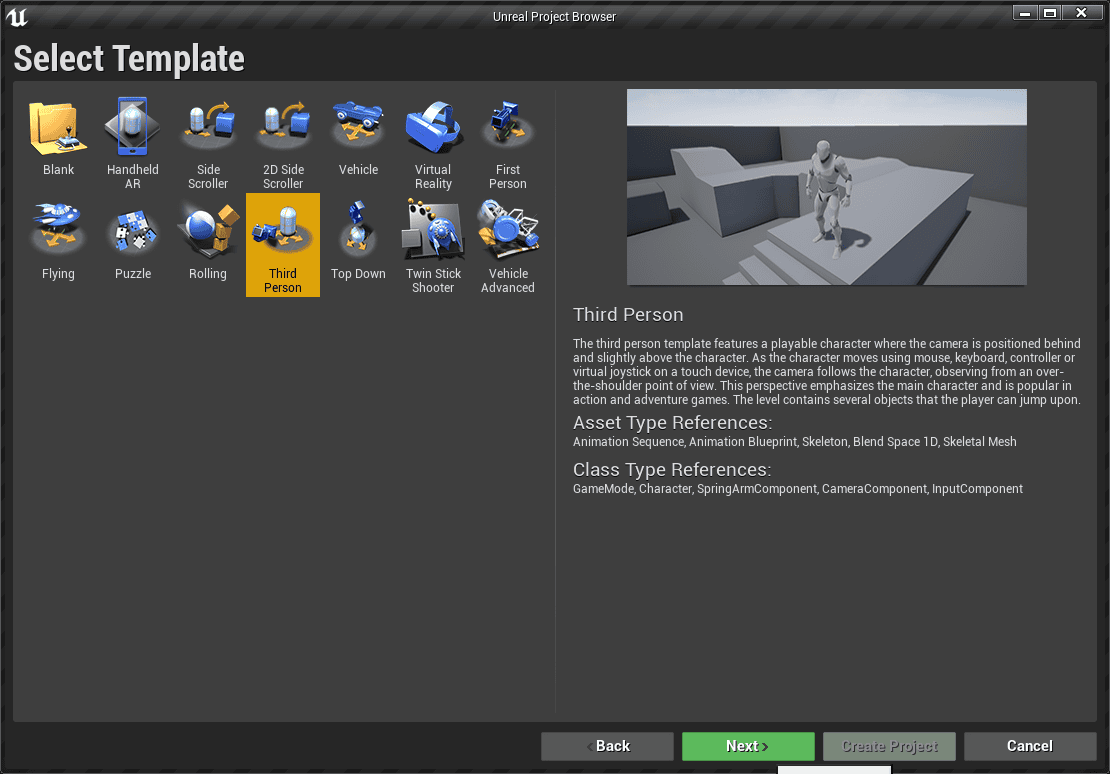
We will create a new project, select the Third Person template, select the project location, name it and create the project.
We will repeat the plugin setup since this is a new project.
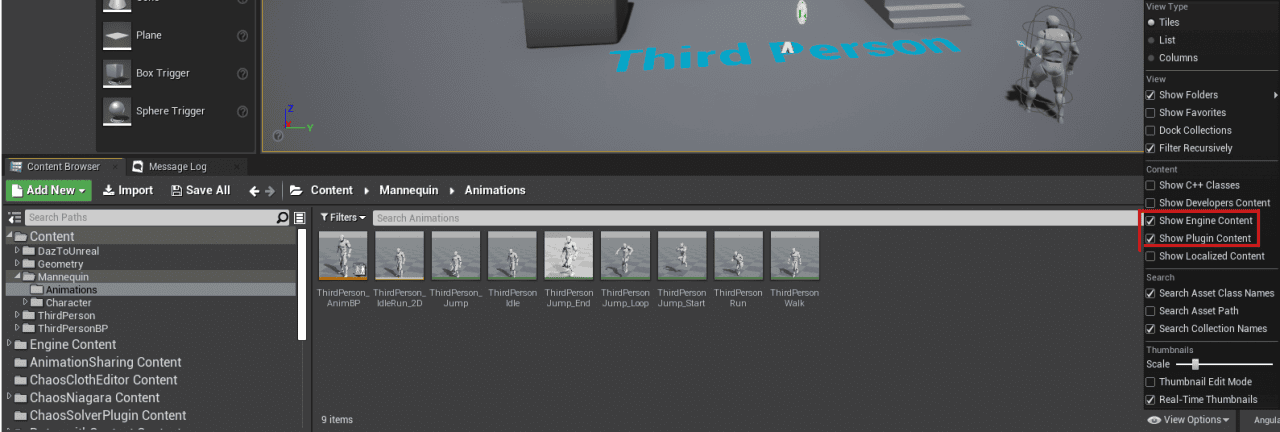
Now, we want to have access to the Daz To Unreal plugin folder because we will modify the Daz skeleton, down right in the content folder is a View Options menu, Check the Show Engine Content and Show Plugin Content boxes.
Character Model Setup
Export from Daz, once exported the file will be imported automatically in the project.
Open the Skeletal Mesh, inside the skeletal mesh you will find a Skeleton Object. Click it.
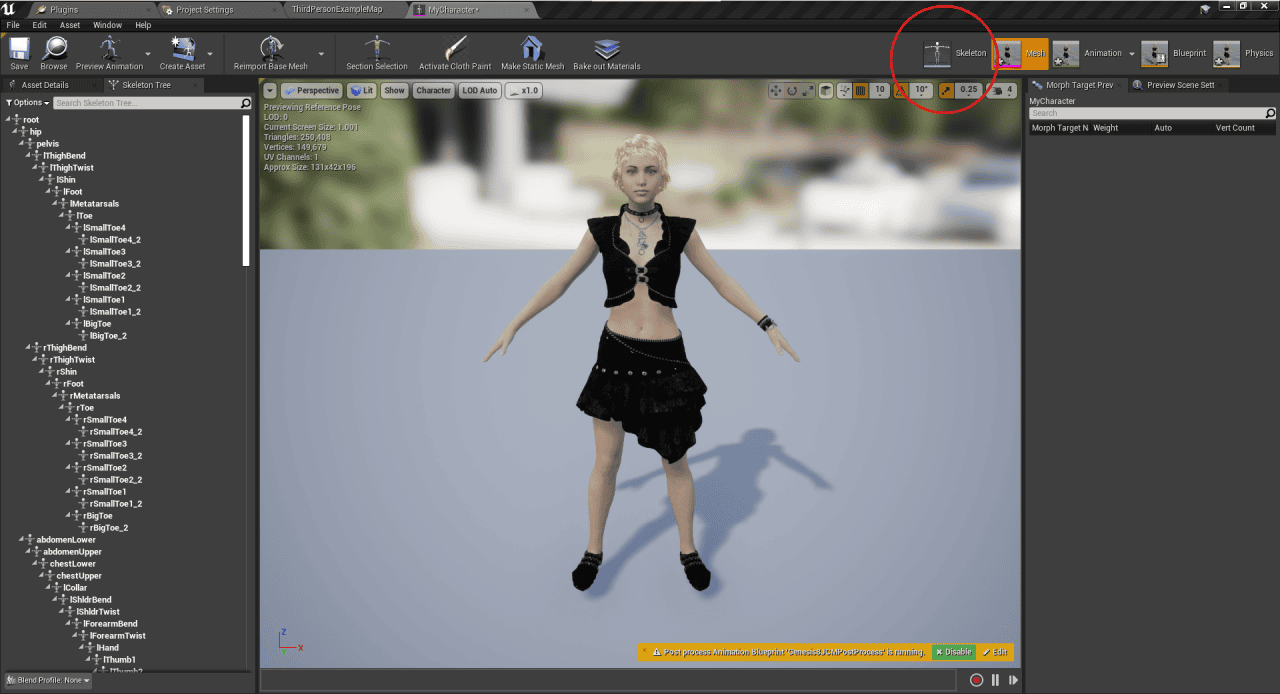
A new window will open, this is the skeleton window here you can edit the rig of the model.
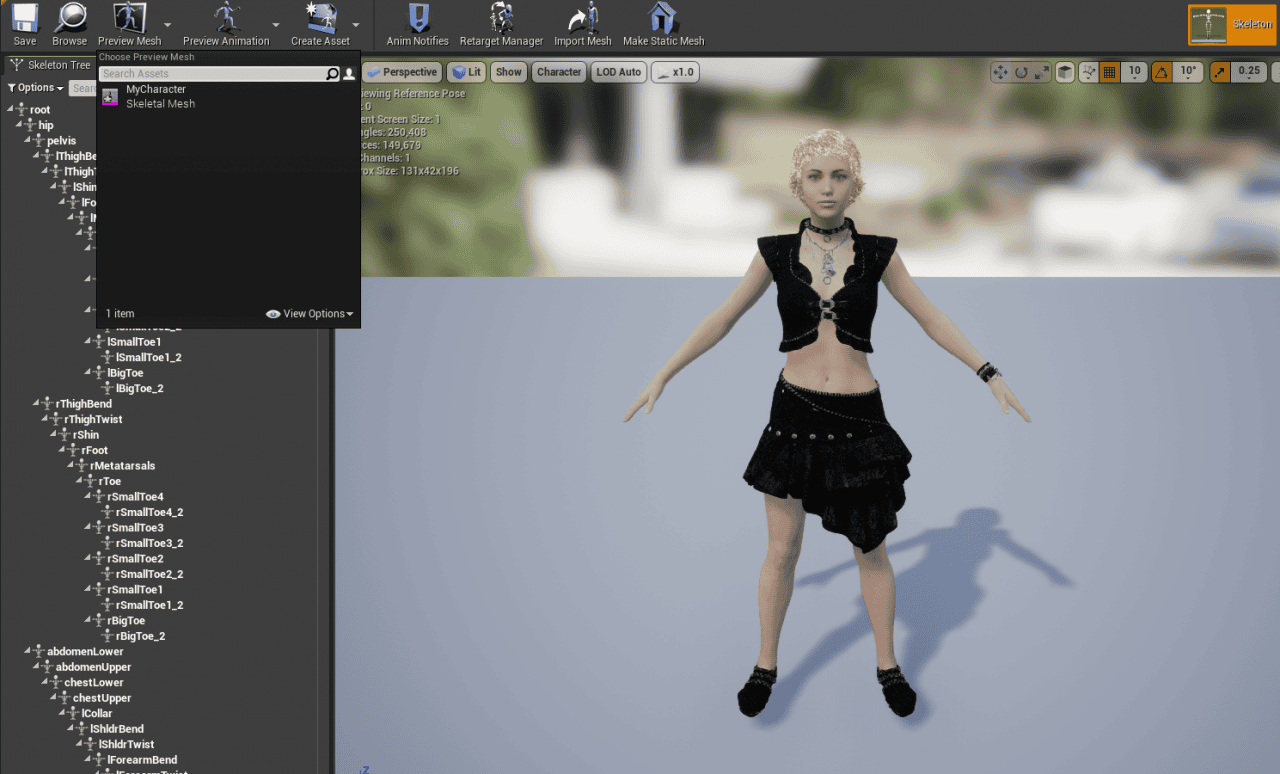
But in this case we will set the Preview Mesh as our Character mesh, this is necessary if you want to retarget animations.
An alert window will show up, click apply asset.
UE4 Mannequin Skeleton setup
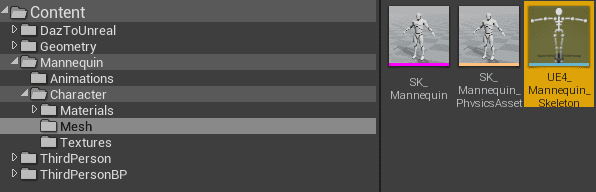
Now we will set up the character skeleton, you can find it inside the Mannequin>Character>Mesh folder. Open the Skeleton
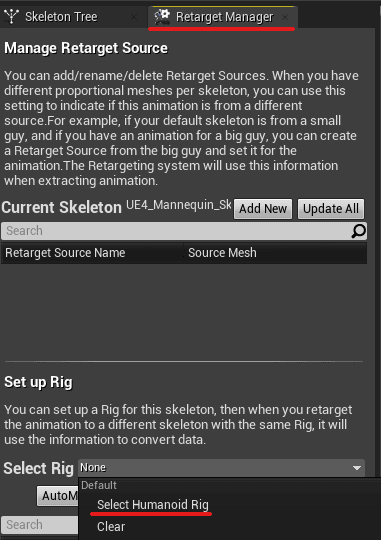
Inside the Retarget Manager(If isn’t visible go to Window>Retarget Manager to open that up)
Open the Select Rig drop down menu and select Humanoid Rig, this will recognize the main bones of each character, so the retarget animation will be more precise as both has the same Rig
Retargeting Animations
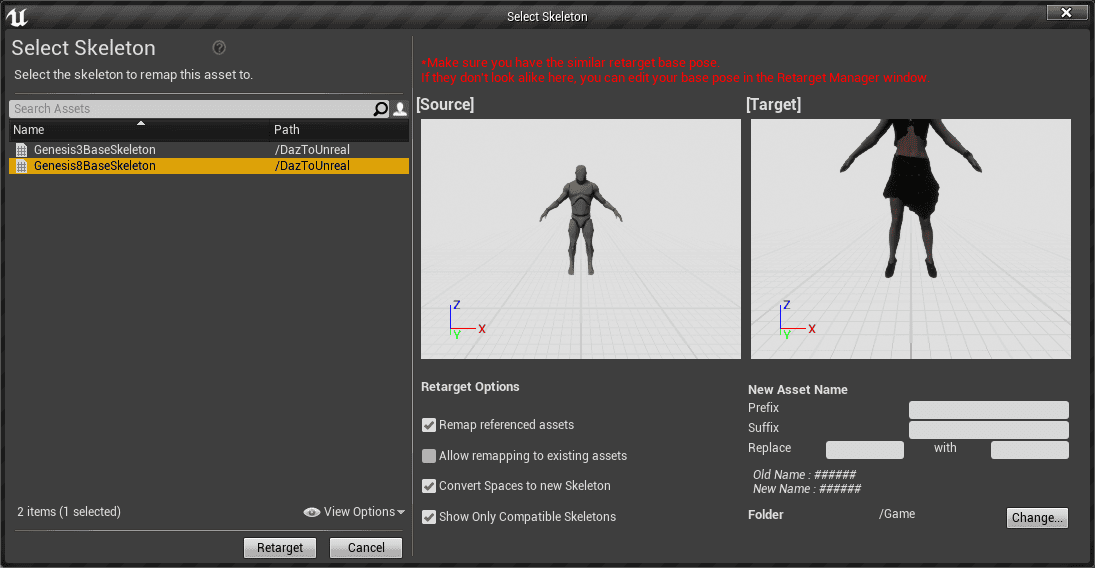
Everything is set, now we can retarget the animations, inside the Mannequin>Animations folder we will find the ThirdPerson_AnimBP, Right click on it>Retarget Anim Blueprints and Duplicate Anim Blueprints and Retarget.

Select the Genesis8BaseSkeleton, since it is our character skeleton, and click on retarget.
This will retarget all the animations inside the AnimBP with our skeleton
Rename the new Animations so you will not confuse yourself.

Unreal Player Setup
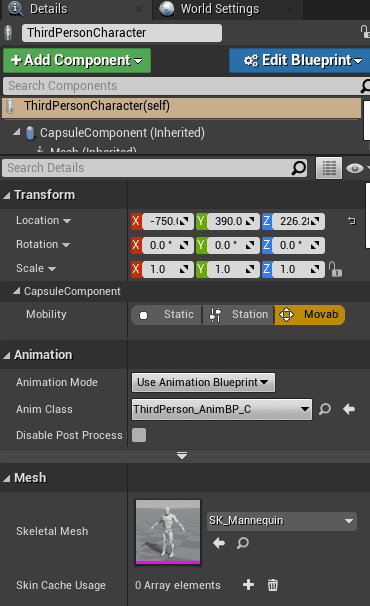
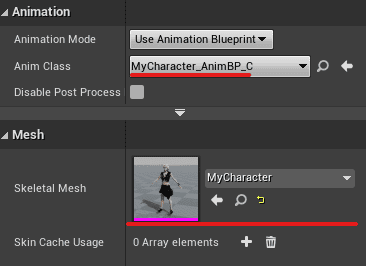
Now with the animations retargeted we will click on our Player in the level
At the right side of the engine you can see the Details panel, Replace the animation class with your new Anim_bp and replace the Skeletal mesh with your character Skeletal_Mesh
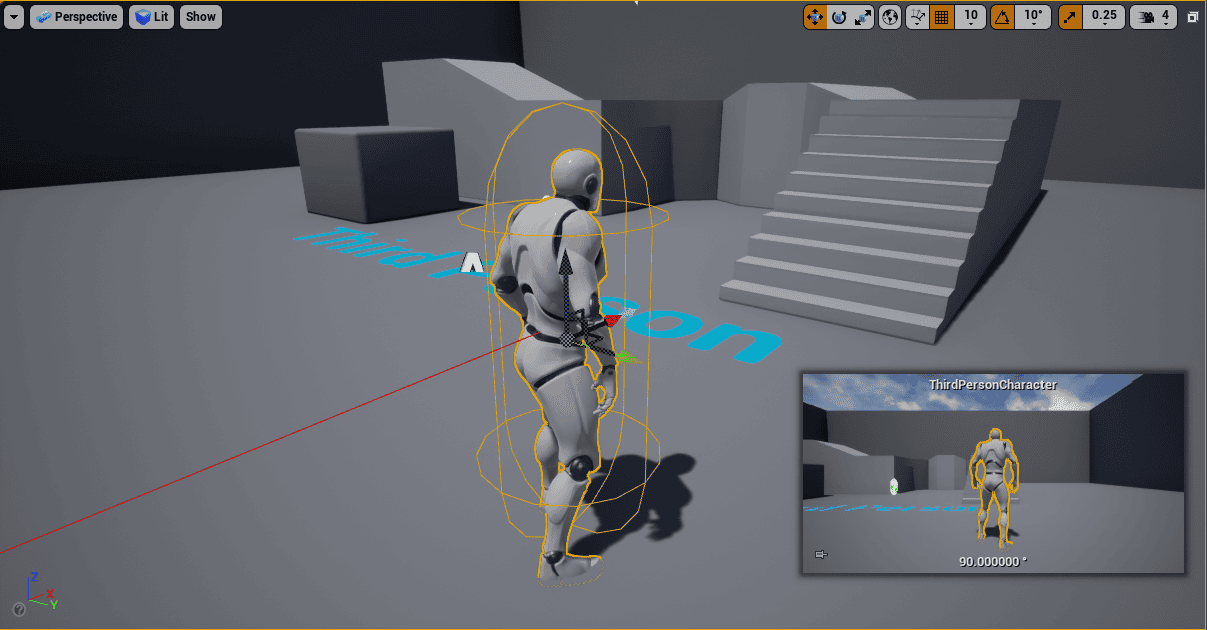
Now press play and test it. See below the gif …
Daz 3D Models
Checkout also many of our Daz3d Product Highlights here some examples below – always check their “Compatible Software” mention for Unreal:
Source Daz3D Asian Female Characters
Source Top Card 3D Models for Daz
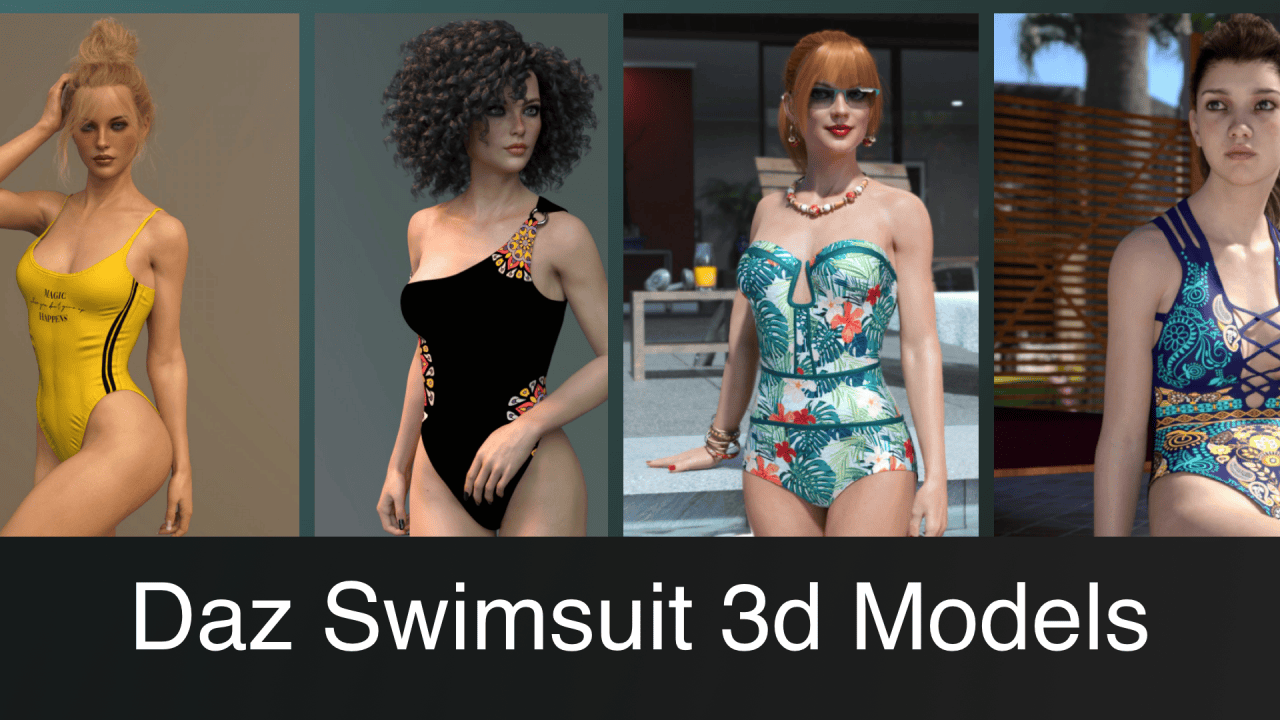
Source Top Daz3D Swimsuit 3d Models
Conclusion – Daz to Unreal Bridge Tutorial
Daz to Unreal Bridge allows users to make use of all kind of great Daz Assets directly in Unreal games. Also have a look at our other Daz Tutorials and Top 3D Model Reviews.