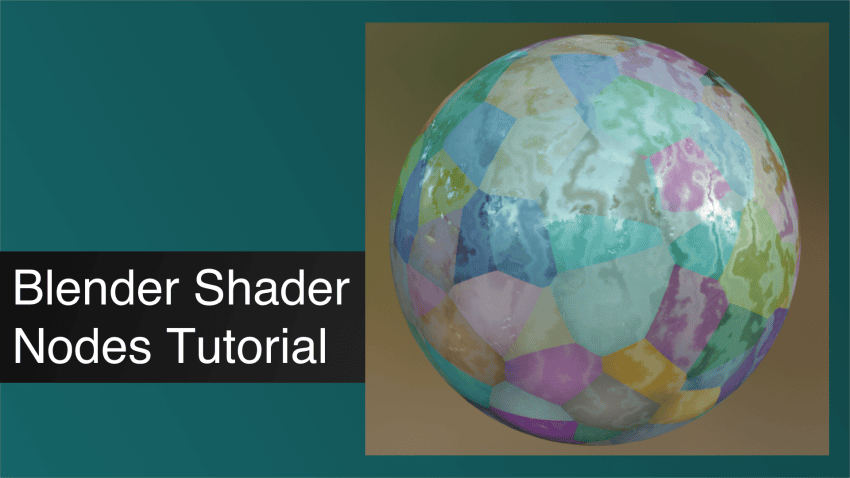
This Blender Shader Nodes Tutorial explains how to create powerful shaders. We will cover an introduction and a lot of step by step examples in Blender. Nodes is the thing that is unique about Blender and 3D Design overall. Nodes allow users to create really complex shaders by combining a lot of different values and properties via nodes themselves.
Blender Shader Nodes are a really powerful function that has a lot of possibilities but at the same time can be really confusing and even frustrating. Especially for new users. In this article we will try to dispel these misunderstandings and show you the very basics of using Nodes in Blender.
Even though we are looking at the basics of the Nodes, they are still quite complex for a total beginner. If this is one of the first times you are using Blender – check out our Blender Basics Tutorial first.
Getting Acquainted with the Blender Nodes
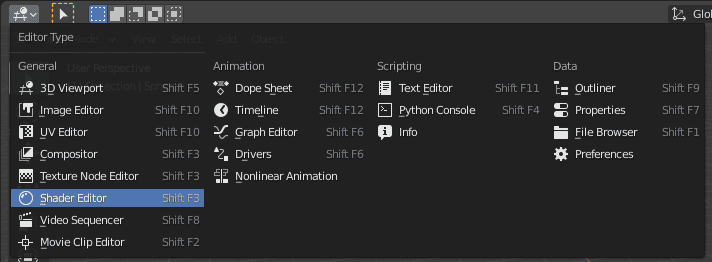
To start working with the nodes, first of all we need to open a proper window. Window swap is done on the top right of the window that you want to change. The one that we are looking for is called Shader Editor.
Alternatively, you can open a Shading workspace from the top of the interface. It has a screen divided between a viewport with Material Preview shading turned on and Shading Editor. Also there is a File Browser and Image Editor on the right. We don’t really need those last two, so you can get rid of them if you want.
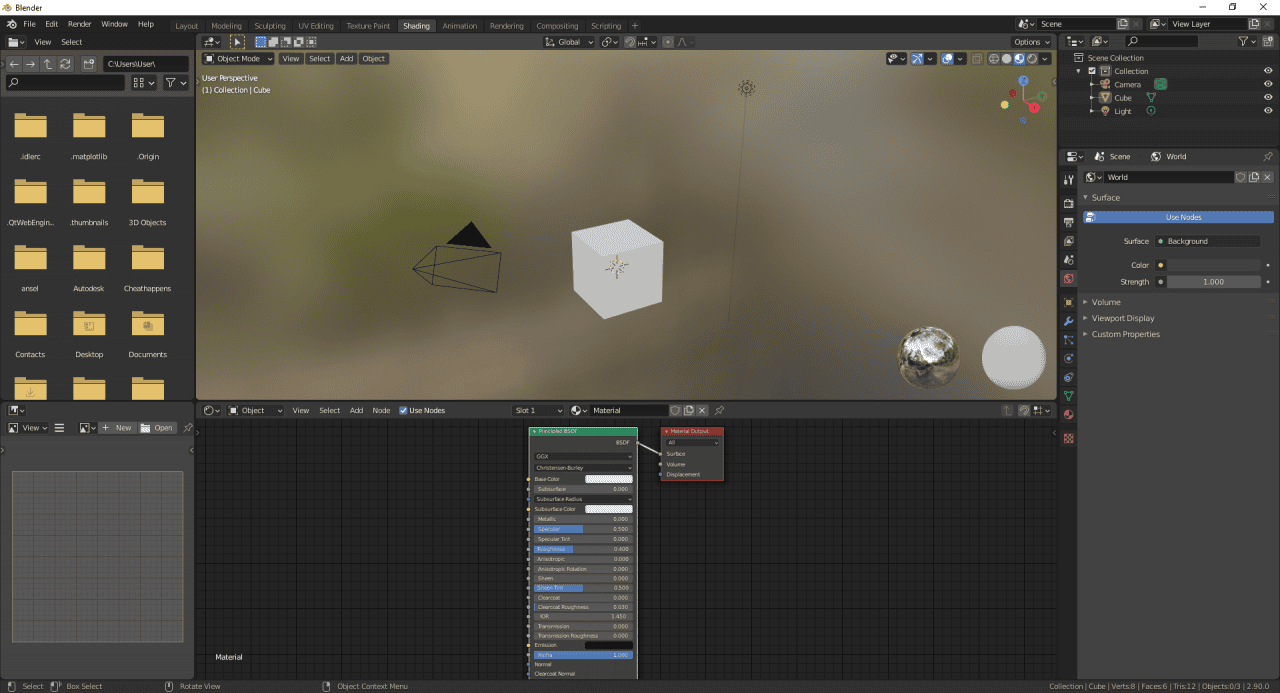
In the Shader Editor that is on the bottom you should see two nodes already there. If they are not – just select the default cube that is in the center of your viewport. Or create a new material for the object, if you want to use it.
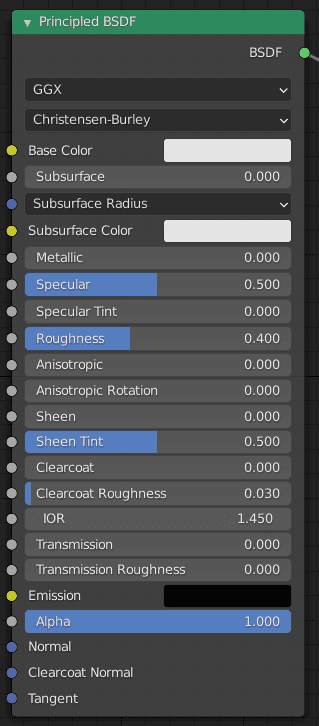
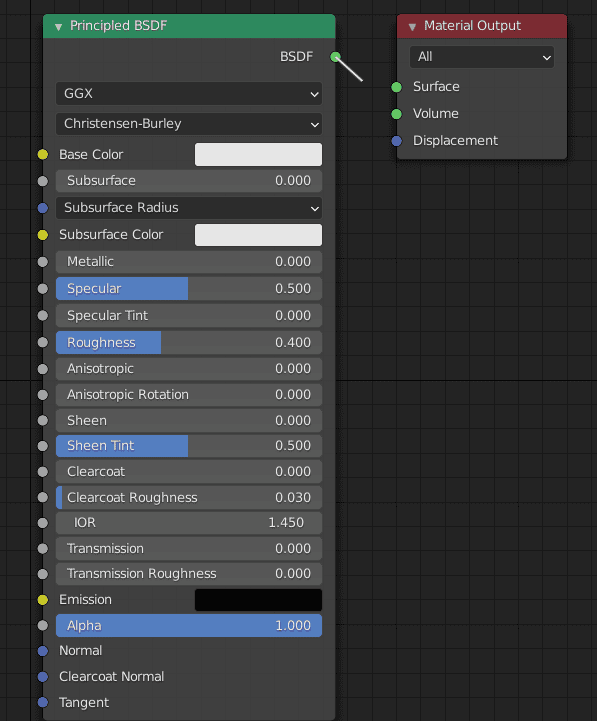
The Nodes are – Principled BSDF Shader and another one is the Material Preview. You should already know the first one, because we had a good look at this shader in our Blender Materials article. All the settings that you see here – are absolutely the same that you see in the Material Properties window of the Properties Editor.
The Material Output is the main node of any setup. The node that is connected to the Material Output is the result that you see in the viewport. You can delete connections between nodes by clicking and dragging away the connection.
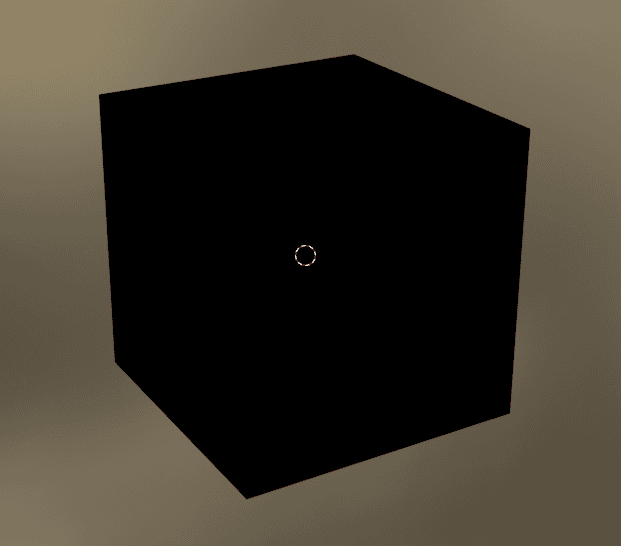
If you do that here – this would mean that there is nothing connected to the material of our object. Meaning that the object has no material whatsoever. Blender indicates this by making an object look totally black in the viewport:
To add more nodes – you can either use the “Add” button on the top of the Shader Editor or use a [Shift+A] shortcut. There would be a lot of options for you to select. I would recommend sticking with the Shaders for now, because they should be the most familiar out of the all options.
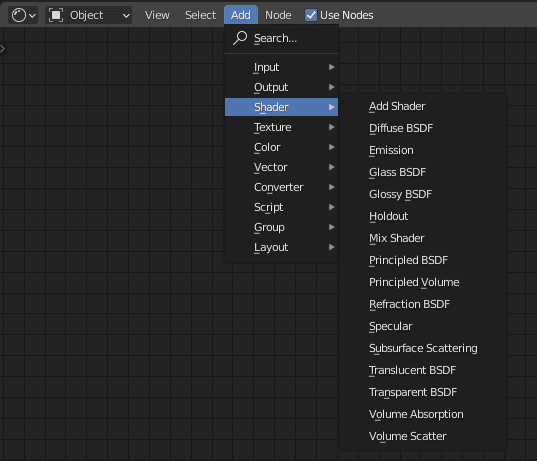
There are a lot of shaders available here, each with its own purpose and settings. I recommend you to add a bunch of them and practice moving nodes arounds, connecting outputs to inputs and so on.

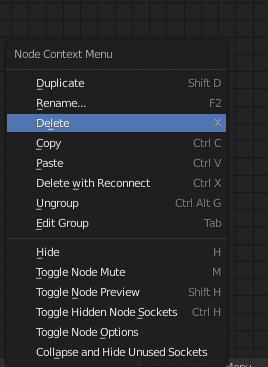
Then you can Delete any node by right clicking on it and selecting Delete[X].
The last thing you should know before proceeding is how nodes connect. You should have noticed that we have seen some inputs on their left and outputs on their right. So if you want one node to receive information from another one – you need to connect the output with an input. Additionally, you can connect one output with multiple inputs at the same time.
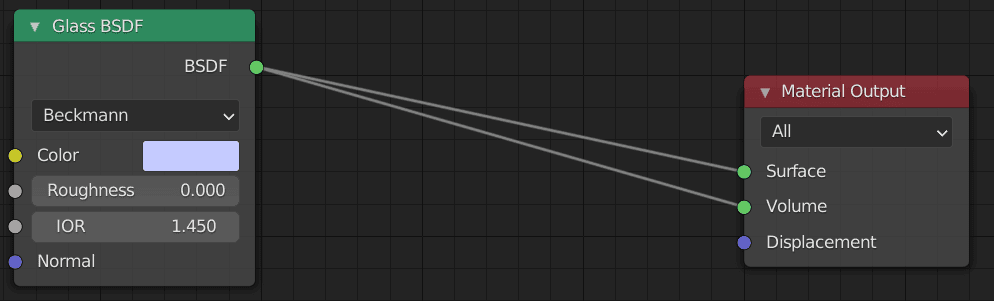
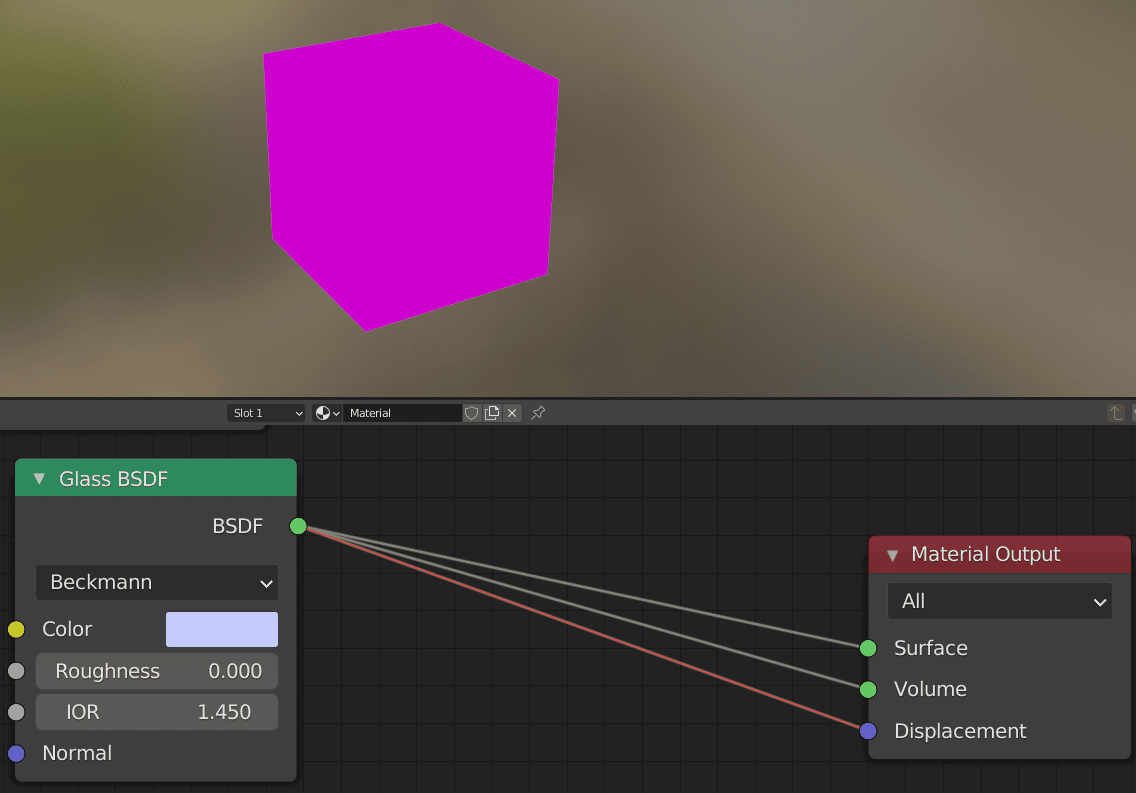
Another important thing is to color match the inputs and outputs. In our case the output is green, which means that the input also should be green. Grey outputs and inputs are universal and can be used with different colors without problems.
While connecting other colors that do not match will usually result in an error indicated by red color and quite possibly – pink object. When the object looks like this, it means that there is an error somewhere in its material.
Creating Blender Nodes Setups
Just connecting a single shader to the Material Output is obviously not why we need a Shader Editor and all the nodes. They can interact, you can mix nodes, add textures to them and so on. Besides, simply changing a shader and its settings can be done from the Material Properties window without a Shader Editor at all. That is exactly what we did in the Blender Material Tutorial.
Mixing Shaders
Firstly let’s try an easy thing. Mixing two different shaders. For this to work we need to add a specific node that will take the two shaders, mix them and then output this as a single information.
This node is called “Mix Shader” and can be found still amongst the Shaders in the Add menu.
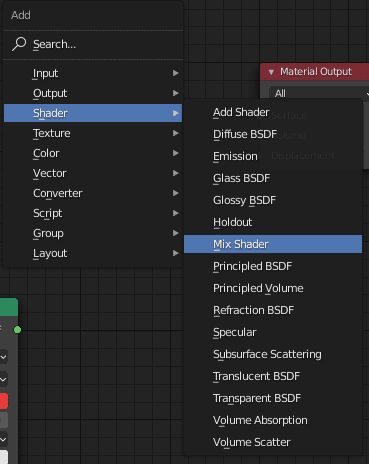
This Node has two green inputs and one output. So we can add any of the two shaders that we like, connect them to the Mix Shader and then connect that one to the Material Output. The “Fac” option on the Material Shader decides which of the two connected shaders to show more. Default is 50/50.
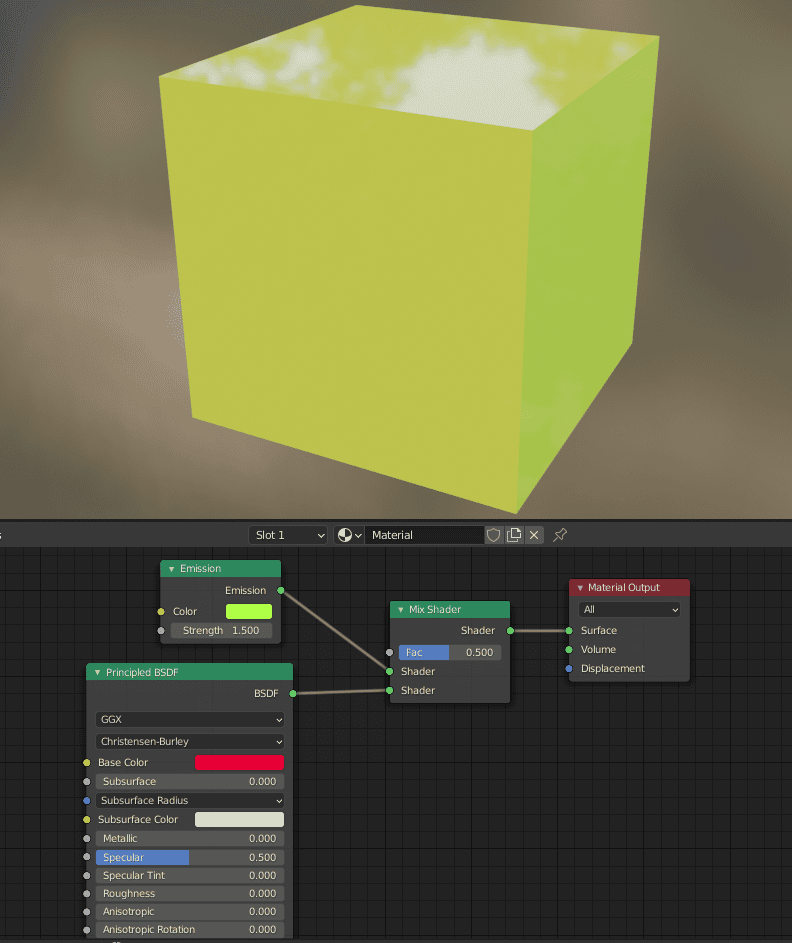
The result speaks for itself – it is clearly seen that the object is emissive and at the same time reflective, which were the values of the two different shaders. Besides, we mixed green and red colors, which gave us a yellow.
And that is basically how you mix shaders. It is that easy. But I would suggest you try things around and mix different shaders a bit. Especially try mixing the two Principled BSDF ones, because they are basically the most important. And it can lead to some really interesting results.
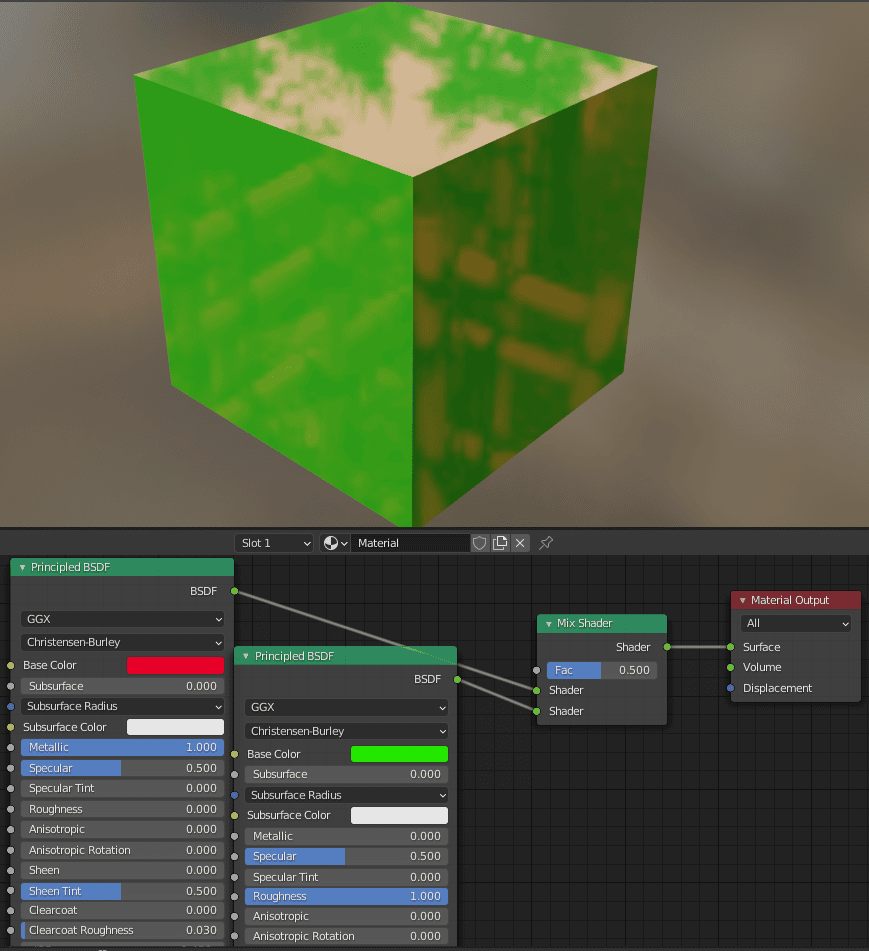
For example the material that I have made above is quite interesting. You can see that instead of mixing the colors, like we have seen before – the Cube itself is solely green, while only the reflections are red. That is because one of the Shaders is really rough, while the other is both Metallic and Reflective.
Adding Textures in Blender
The other things that we can do with Nodes is add textures to our material. This is also done from the Add menu, just this time look at the Texture.
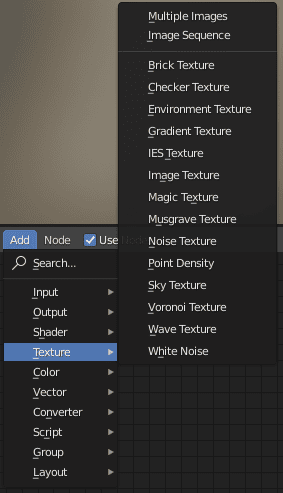
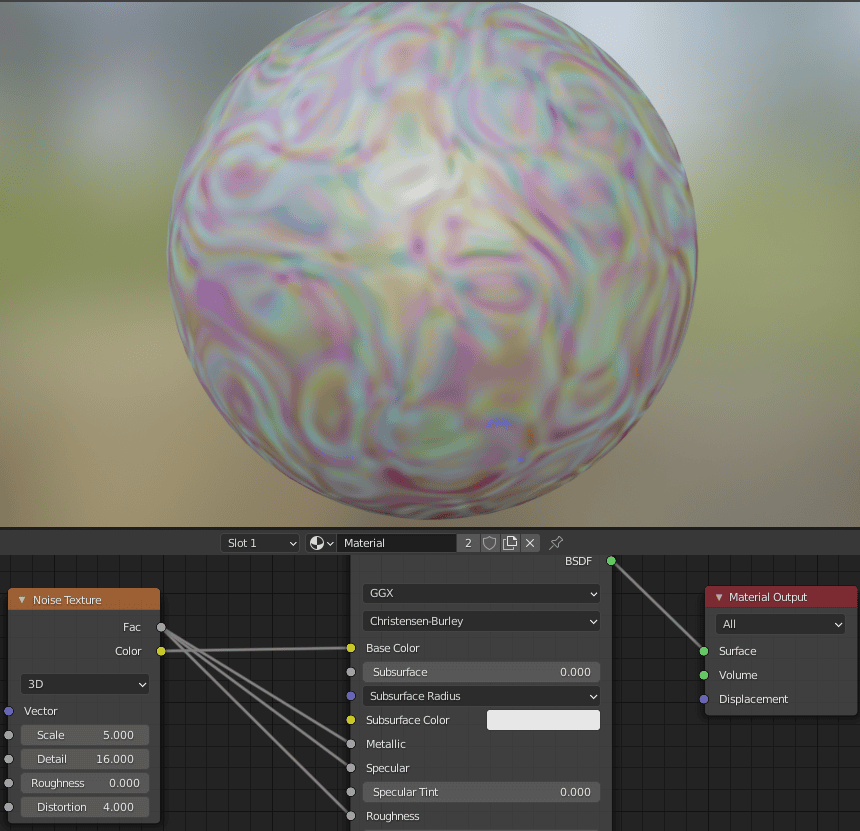
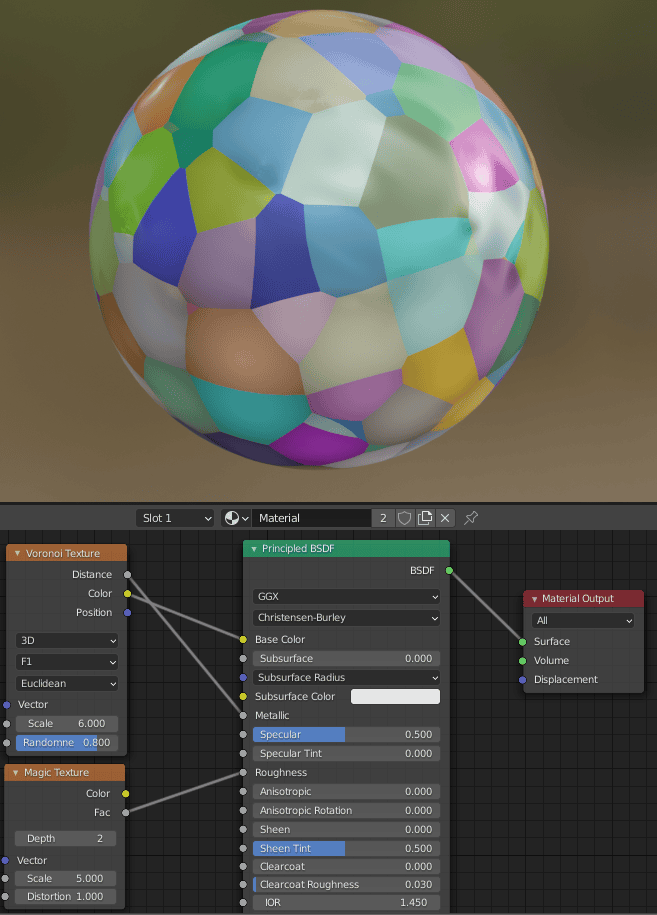
There are a bunch of them and it would be really good for you to try them out, but just for now – follow me. Let’s add a Noise Texture. It only has grey and yellow outputs.
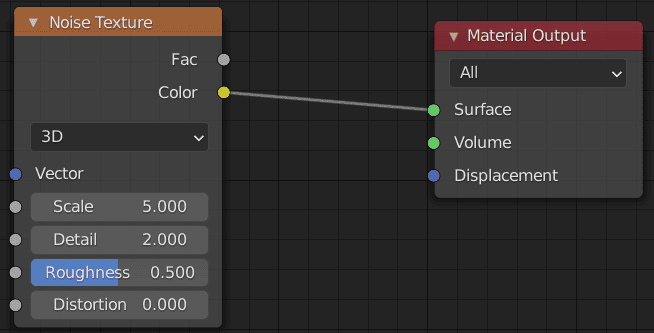
The thing is that you can sometimes not color match the inputs and outputs. Especially when it is the yellow output. I am not totally sure, but it does work when we join the Noise texture directly to the Material Output. By the way, I use spheres to show textures, because they do look quite better than cubes here.
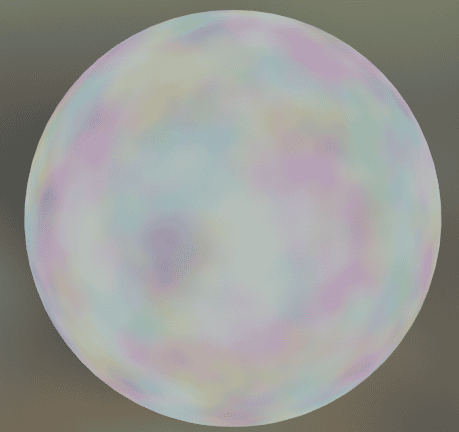
Even though this does work – it does not mean that this is a good practice. Simply because right now my sphere has only the color information and nothing else, not even shadows. So it would be much better to use Shader in-between.
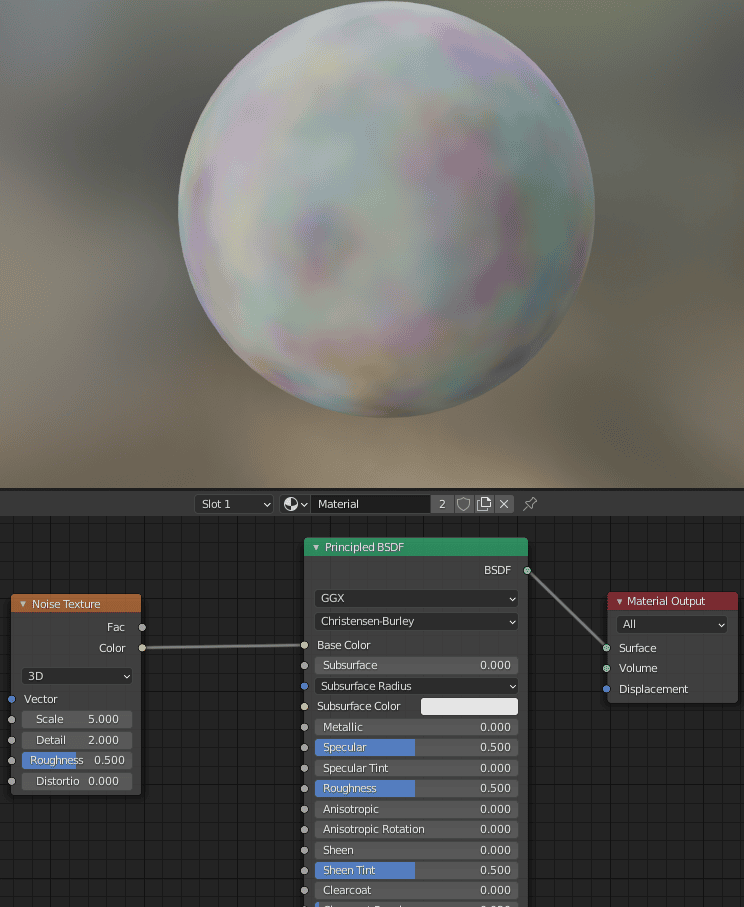
It already does look better. I have mentioned before that grey is the universal output and input color. So you can try connecting the Fac value to the Base Color to see what it does, because almost all textures has the Fac option of some sort.
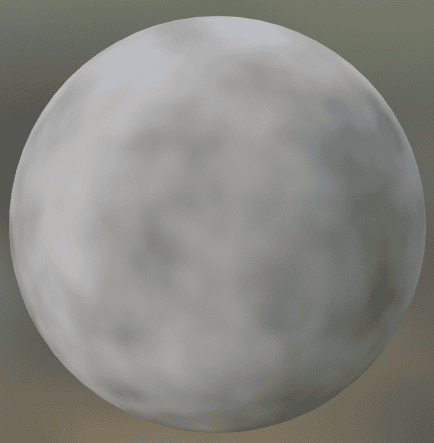
And it turned out to be basically the same texture, but just black and white. Each of the texture nodes also have a black and white variant. And it is important because when working with materials and maps – black and white images are very useful.
You see, things like Roughness Map, Metallic Map, Specular Map and so on – all are black and white. Where the white means 0 and the black is 1. Let’s connect the Fac to the Roughness value of the Principled BSDF and check the result.
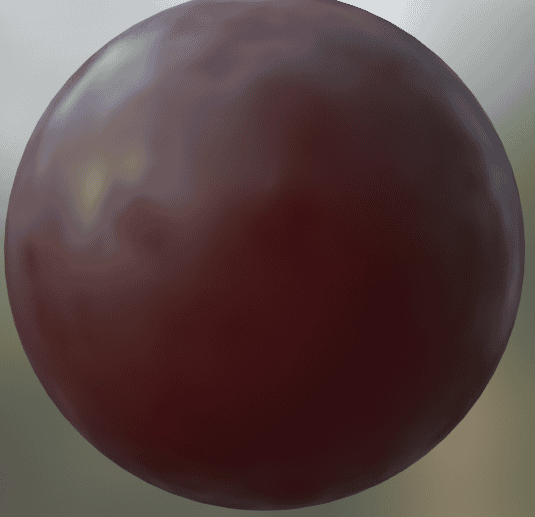
You can see, that where the image was white – it is reflective now and where it was black – it became rough. And the grey is something in between. So the black and white variants of textures are really useful and can be used to give a lot of details to the object.
This works almost with all textures available in the menu. You can use one texture as a Base Color, another one for Metallic and third one for Roughness or in any way you want. This is definitely something that you need to experiment with and try out for some time.
Combining Two Techniques
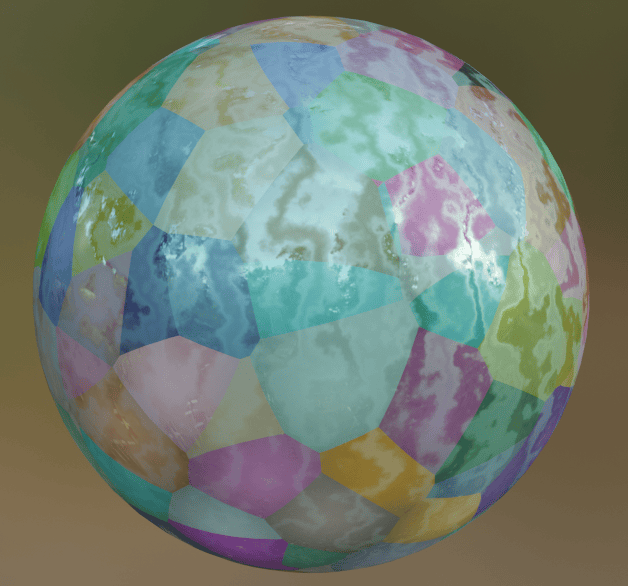
The two techniques that we just learned – the adding textures to the shader and mixing two shaders – can be also combined together to create a more complex material.
So firstly you create a Principled BSDF, to which you connect the texture or textures that you want. Then you create a second shader that you want to mix in and can add textures to that one too. And finally you use Mix Shader node to combine the two.
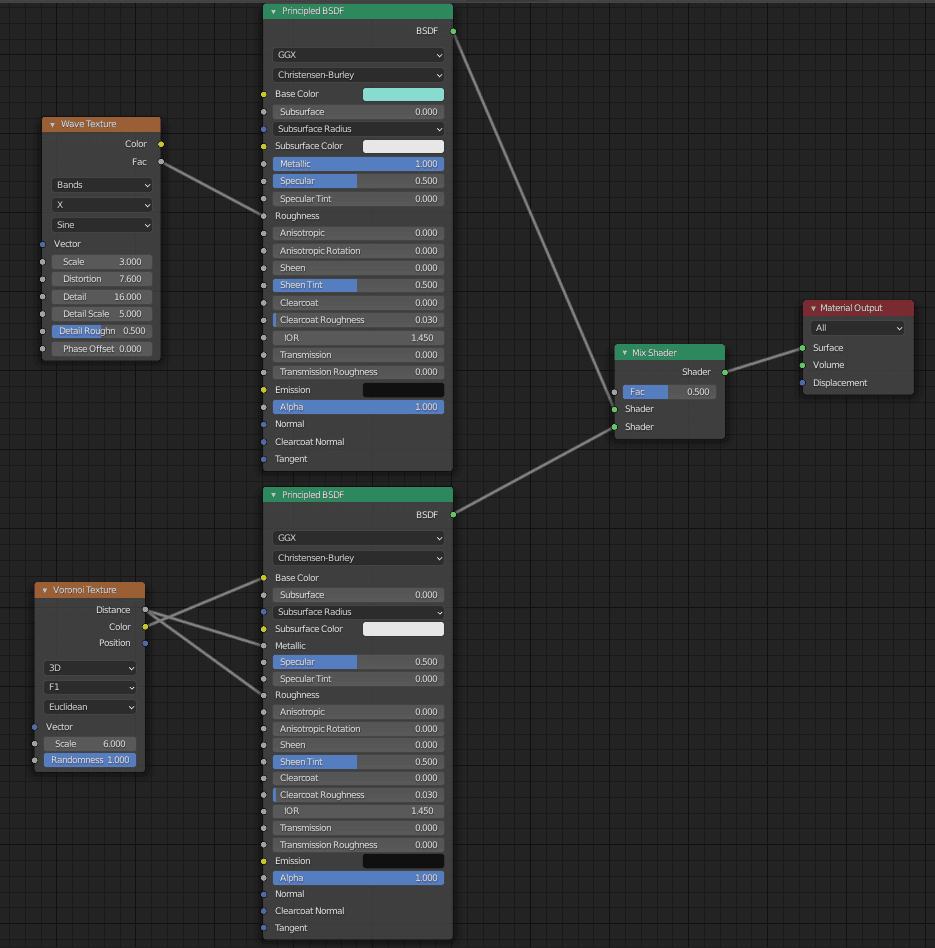
It can be difficult to come up with something really good, but trying things around and experience will get everyone there.
Conclusion Blender Shader Nodes Tutorial
In this Blender Shader Nodes article we have only looked at the very basics of Shader Editor and Nodes in Blender. There are much and much more to these. And this tutorial should give you a head start in learning everything about the Blender Nodes. See also our other Top 3D Model Reviews and Blender Tutorials.