This Blender Modifiers Tutorial explains many modifiers you can find inside the Blender tool. We will cover all kind of techniques and explain them in detail. In the Part Three of our Blender Basics Tutorial we have already talked about the Modifiers and non-destructive modeling overall. In this article we will cover this topic further and learn more about what exactly is destructive and non-destructive modeling, whis is better and how to use modifiers in Blender.
Blender Non-Destructive Modeling
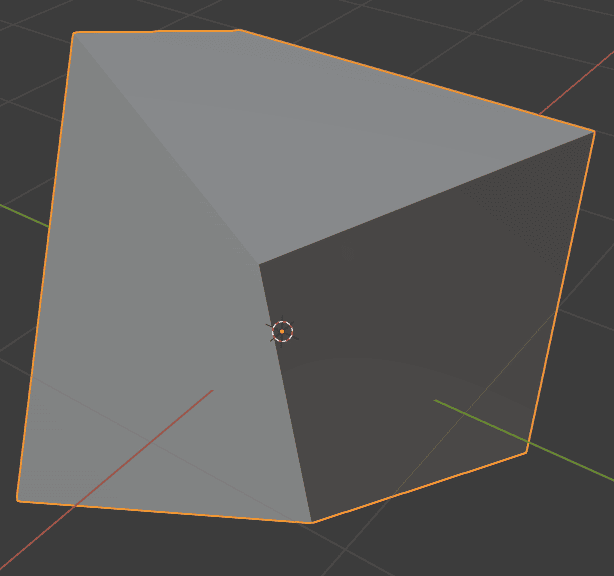
There are two main ways of modeling. The regular one – is destructive. It is when you make a change and it instantly applies to your object. For example, if I take my default Cube, change to the Edit Mode[Tab] and Move[G] around a few vertices – this change will be applied instantly and my object now looks like this:
And the only two ways I can turn it as it was before is either by undoing my steps or by manually moving my vertices and the places where they have been before. And if you imagine that you did this change two hours ago and you want to revert it – there is no way you are undoing all your steps to that point. So you only left with manual reconstruction which is clearly not the best way to go.
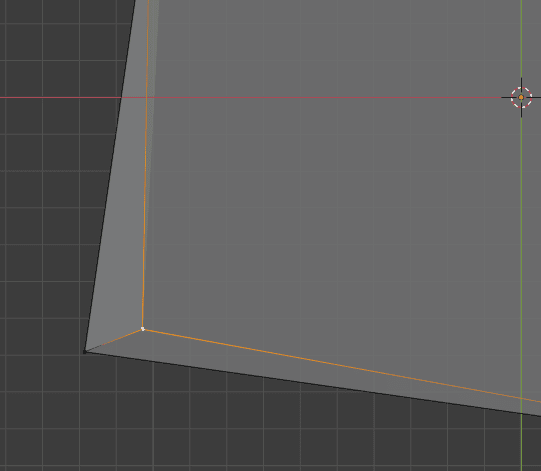
Process of aligning vertices
To resolve these problems you can use the other way of modeling – non-destructive one. It differs in a way that we talked about just now. Meaning that if you make a non-destructive change and then after two hours of work want to undo it – there would be absolutely no problems in doing so and it will be done in basically one click.
In Blender non-destructive modeling is presented via Modifiers. To utilize Modifiers you should proceed to the Modifier properties tab of the Properties Editor window
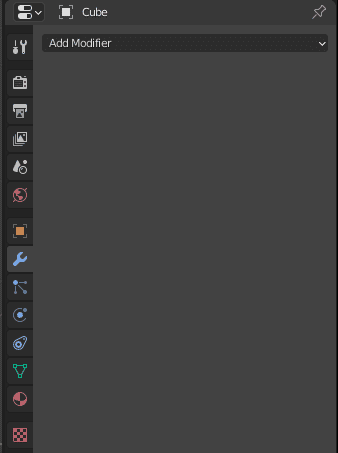
Blender How to Use Modifiers
To use a modifier you first of all need to select an object that you want the modifier applied to. In my case it would be a simple default Cube. Then in the Modifier Properties you click on the Add Modifier button. And in the drop-down window select the modifier that you would like to apply.
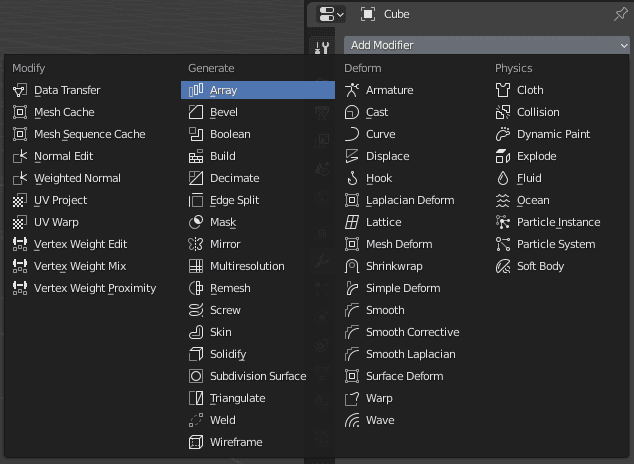
I will select an Array modifier, because it is easy to both explain and understand, thus making a perfect example. Besides, we already used it in the Blender Basics Part 3.
Right after you click on the modifier in the drop-down list – it will be added to the object. You should see both how your object changed in the Viewport and that there are settings available in the Modifiers Properties.
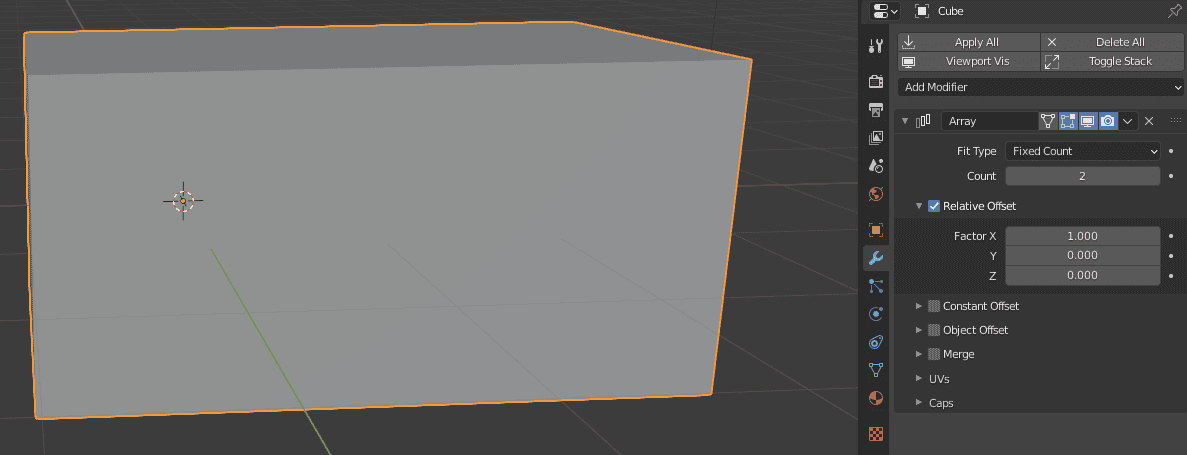
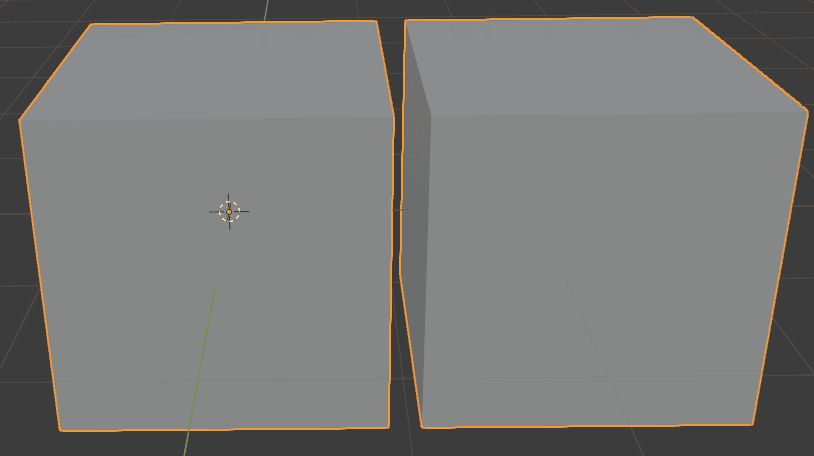
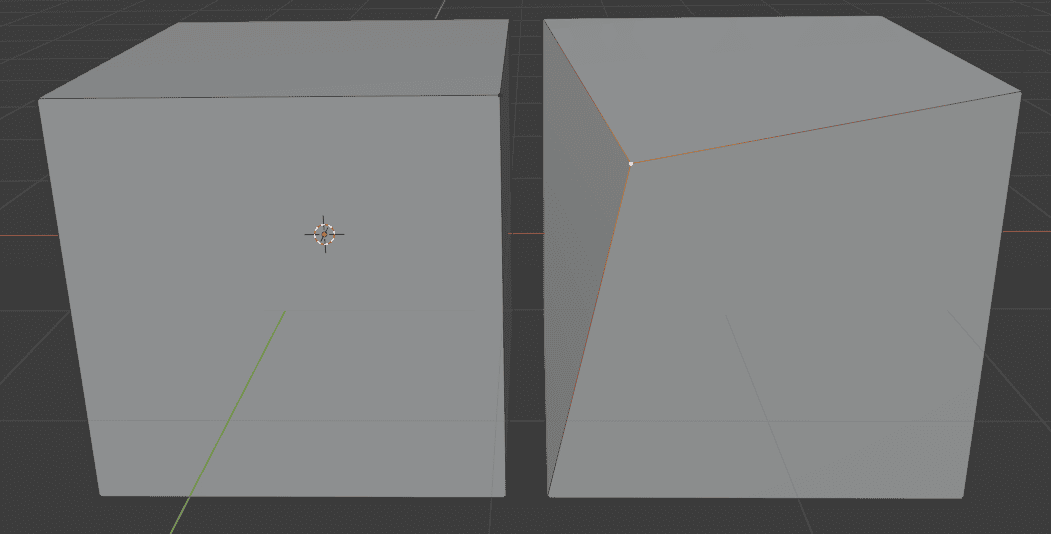
It looks like the Cube has become elongated. In reality Array modifier creates a copy of your original object placed in line. It just turns out that way, so the end of the first Cube is exactly the start of the next one. You can change the “Factor X” setting on the Modifier Properties to see that they are in fact two identical Cubes.
If you change to the Edit Mode[Tab] right now – you will notice that you can only see geometry on the first Cube and thus make changes only to it. Though making any change to the first Cube also transfers onto the other one.
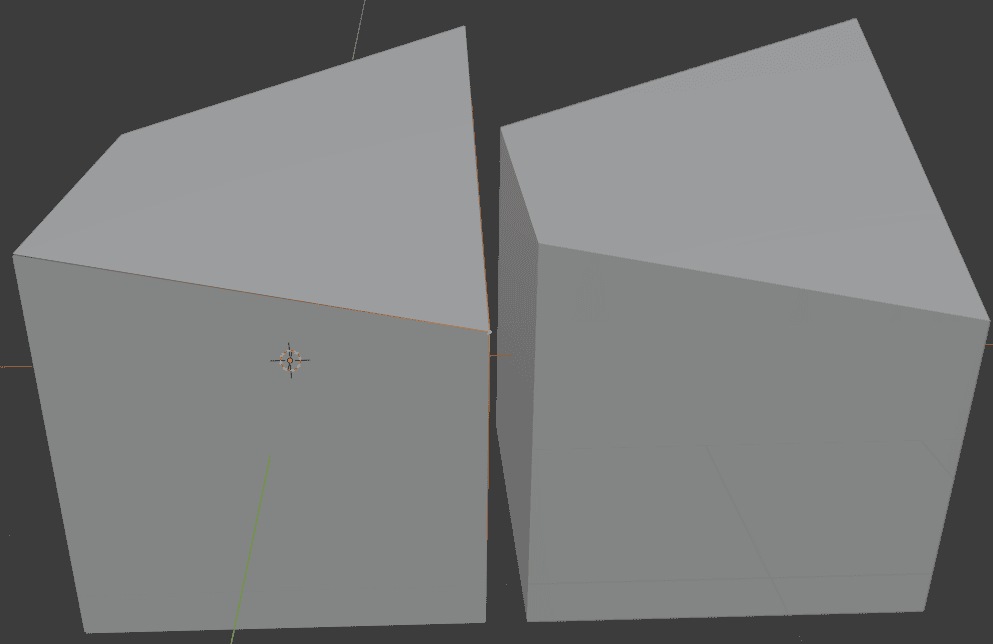
This is non-destructive modeling. The other Cube is not an independent object and does not even have its own geometry. It is a copy of the first one and fully dependent on it.
If we return to the example: after two hours of work if you decide that you want to change something about these two cubes – you can do that by using modifier settings. Or delete the second one at all.
Besides, absolutely any modifier can be made into the destructive modeling. All you need to do is to Apply Modifier in the settings.
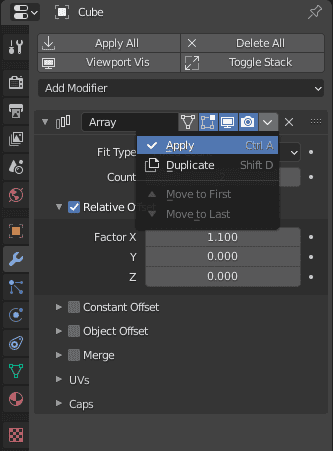
After you do that – your modifier would be applied to the object and all the geometry would be created. In the case of the Array Modifier – the second cube becomes an independent object with its own geometry that can be altered without the first cube at all.
All this is true for any of the given modifiers.
Blender Most Used Modifiers List
There are quite a lot of modifiers that are available in Blender, each of them is individual and does something unique. So we are going to introduce you to some of the modifiers. We can’t talk about all of them because there is just too much, so we will try and select the most used and most useful ones.
This does not mean that there are useless modifiers, but just that some of them are too situational and not widely used, while others do. Starting with the Modify column:
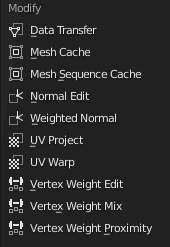
To be honest, all the modifiers out of this column are really situational. They are aimed to help you work with the UV maps, Weights and other specifical things. Though this does not mean that you would use them every time you work with UVs, they are still quite situational.
Next is the Generate column. This one is probably the most important and has a lot of really useful modifiers.
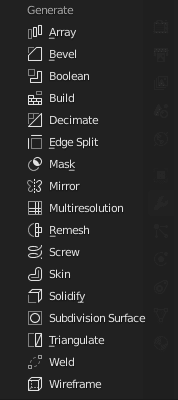
- Array. We already looked at this one. It allows you to create a line(array) or curve of the original object’s copies.
- Bevel. Adds a non-destructive Bevel to the edges of the object to smooth it out and add details.

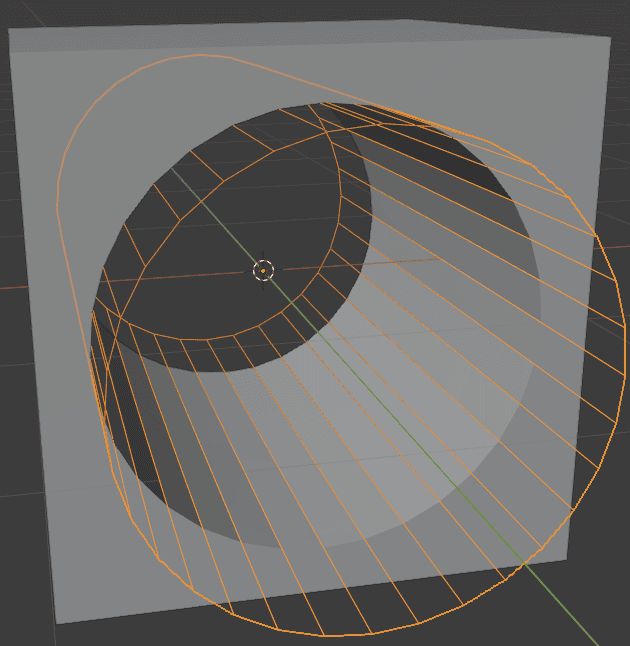
- Boolean. Powerful modifier that allows you to add holes to the objects by using other objects geometry.
- Decimate. Allows you to simplify selected objects by collapsing its edges and faces. Can be used to delete unwanted geometry.
- Mirror. Allows you to mirror the object onto the other plane. It is widely used to create symmetry on the object.
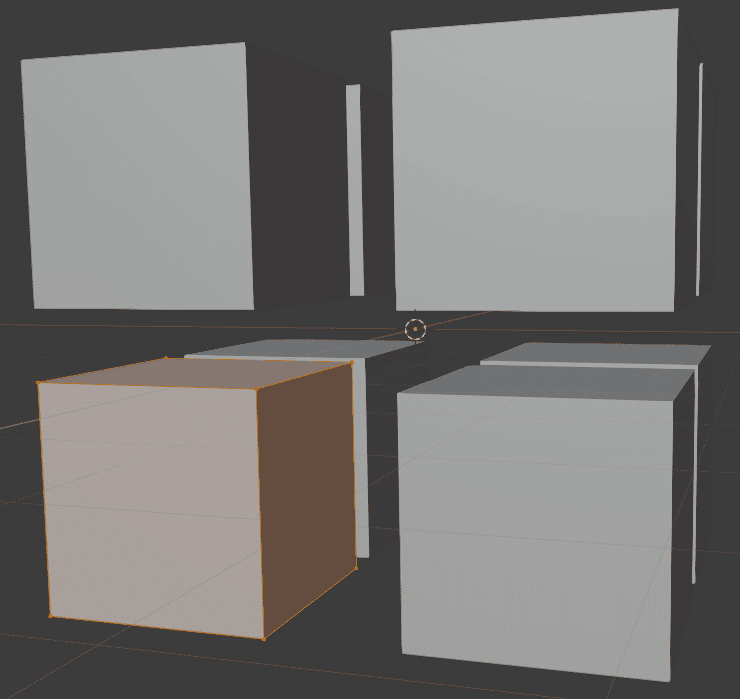
- Solidify. Adds depth and thickness to the geometry. Best example is seen on the Plane object.
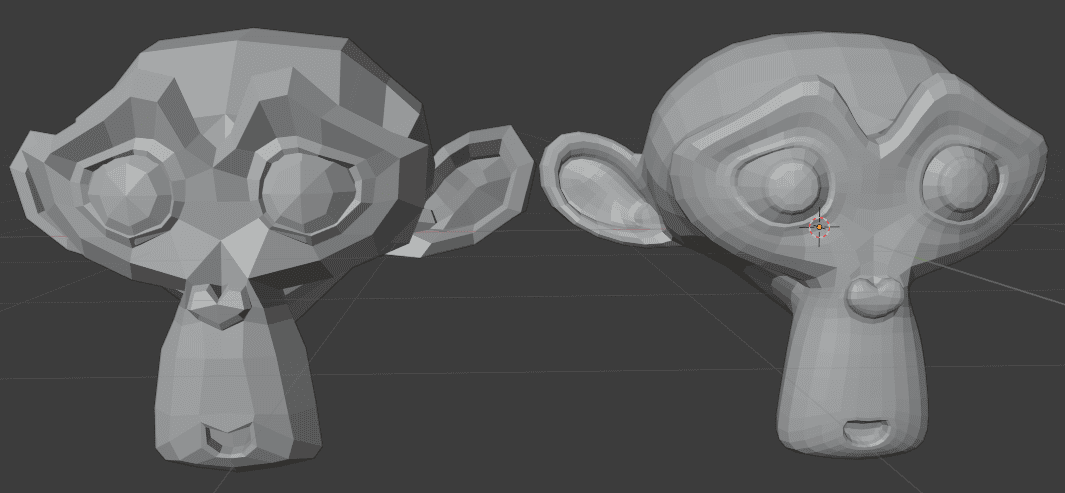
- Subdivision Surface. One of the most important modifiers there are. Allows you to easily add more details and geometry to the object. Though can be hard to use at the beginning. Best to use on more advanced objects than Cube, for example the Suzanne monkey.
The next column is Deform. From what follows, it is about deformation of different types.
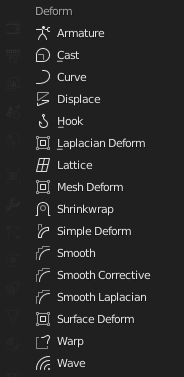
- Curve. Allows you to deform any object following a Curve that you have created.
- Hook. Deform the object by “hooking” it to another object. Usually an Empty is used for this.
- Lattice. Set a Lattice object and the modifier will deform your original object in accordance with it.
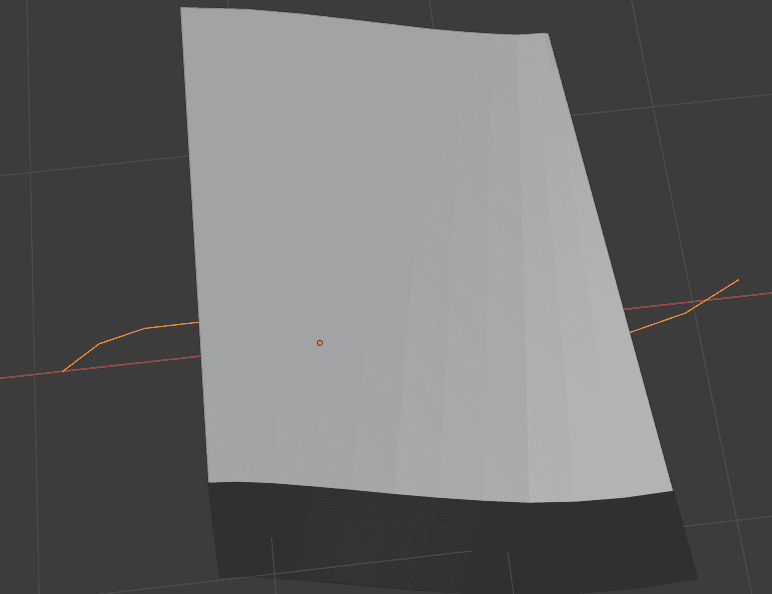
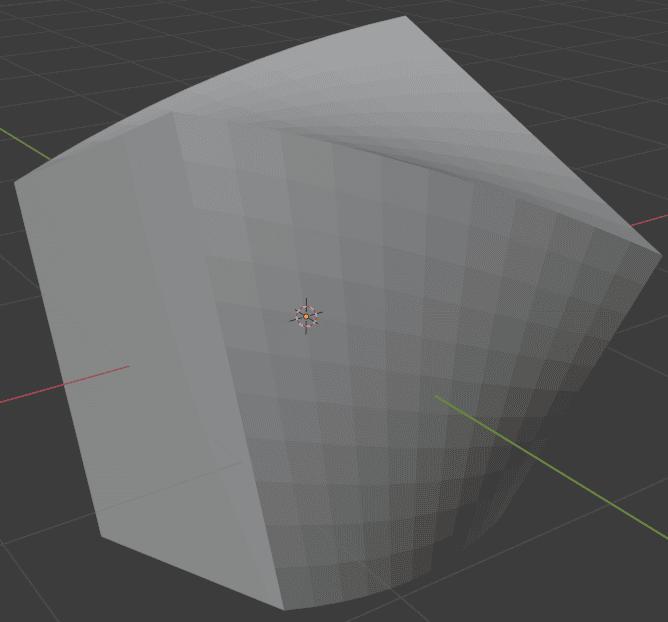
- Simple Deform. Twist, Bend, Taper or Stretch the whole object.
- Smooth. Smoothes out the edges of the object. Similar to the Bevel modifier, but does not create new geometry.
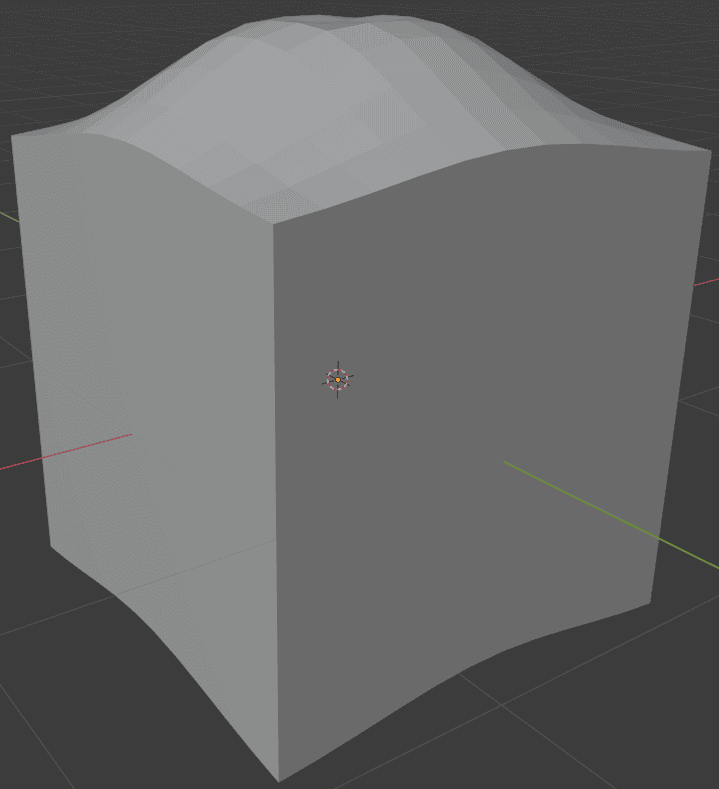
- Wave. Deforms an object in a wave-like shape.
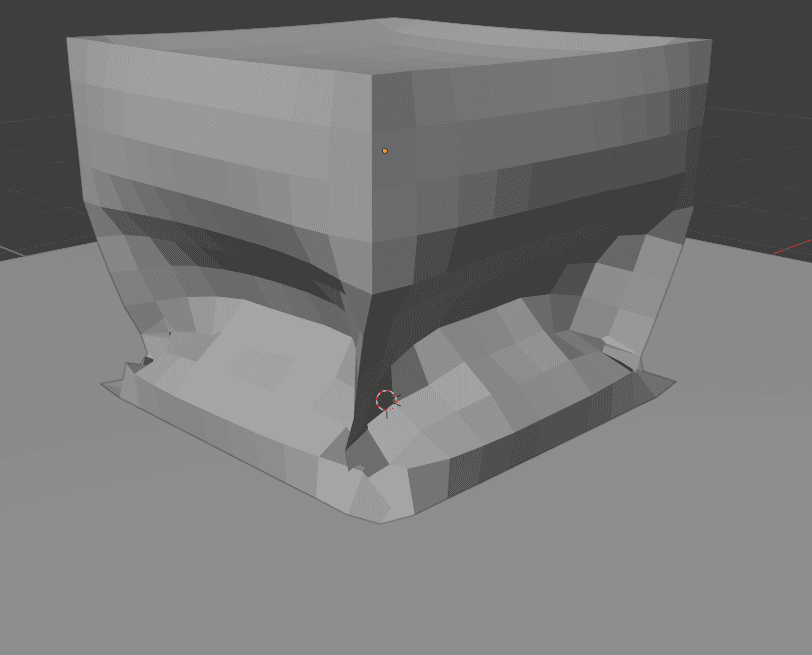
The last column, Physics, is quite easy to understand. Basically it takes the things that you can do in the Particle Properties and Physics Properties menus and adds them as non-destructive modifiers.
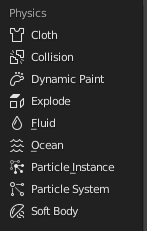
So you can add different physical qualities to the objects. For example, make a Cube made of Cloth and drop it on the Plane that has Collision. So when they collide – the cube will collapse.
To learn more about Physics in Blender – check out our Blender Physics(Coming Soon) article.
Conclusion Blender Modifiers Tutorial
Modifiers are a really powerful tool that allows you, as a user, to save a lot of time. And even besides the fact that non-destructive modeling is such a convenient thing – modifiers allow you to do things that are either too difficult to do yourself or even impossible. For example, creating a round hole in a cube is a really difficult task. But Boolean modifier allows you to do that in a few clicks. See also our other Blender Tutorials!