
This Blender UV Mapping Tutorial explains you everything about UV Mapping. It covers what UV Mapping is, how it works, unwrapping options and much more. Both UV Mapping and UV unwrapping are not an easy thing to understand. Especially for the beginners, who don’t have experience in this. That is why we made this article that should help the very beginners to understand what UV mapping in Blender is and how to work with it.
What is UV?
First of all you need to understand what it is. “U” and “V” are just coordinates of the 2D space. Usually people use “X” and “Y” for this purpose. But those are already used to designate coordinates in the 3D space. Thus, U and V are used instead.
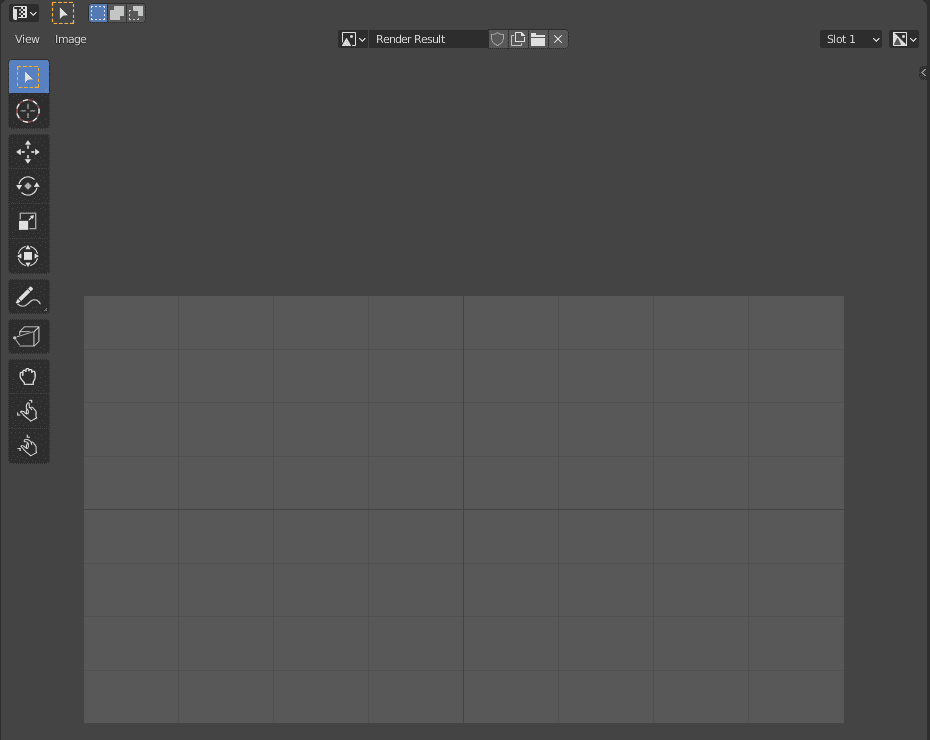
UV Editor interface
Therefore UV unwrapping is a process of projecting your 3D figures onto the 2D space that is called UV. This needed so later you could use these unwrapes to project 2D images onto your 3D space.
It is usually not an easy process, because making 2D images project normally onto the 3D space is difficult. But it is a very important part of mastering Blender or any other similar 3D software.
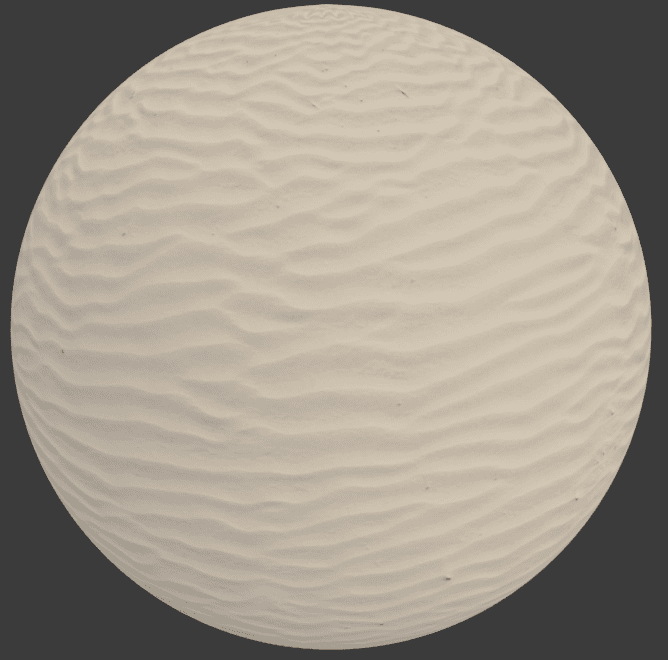
Image of sand UV mapped onto a sphere
How Does Blender UV Mapping work?
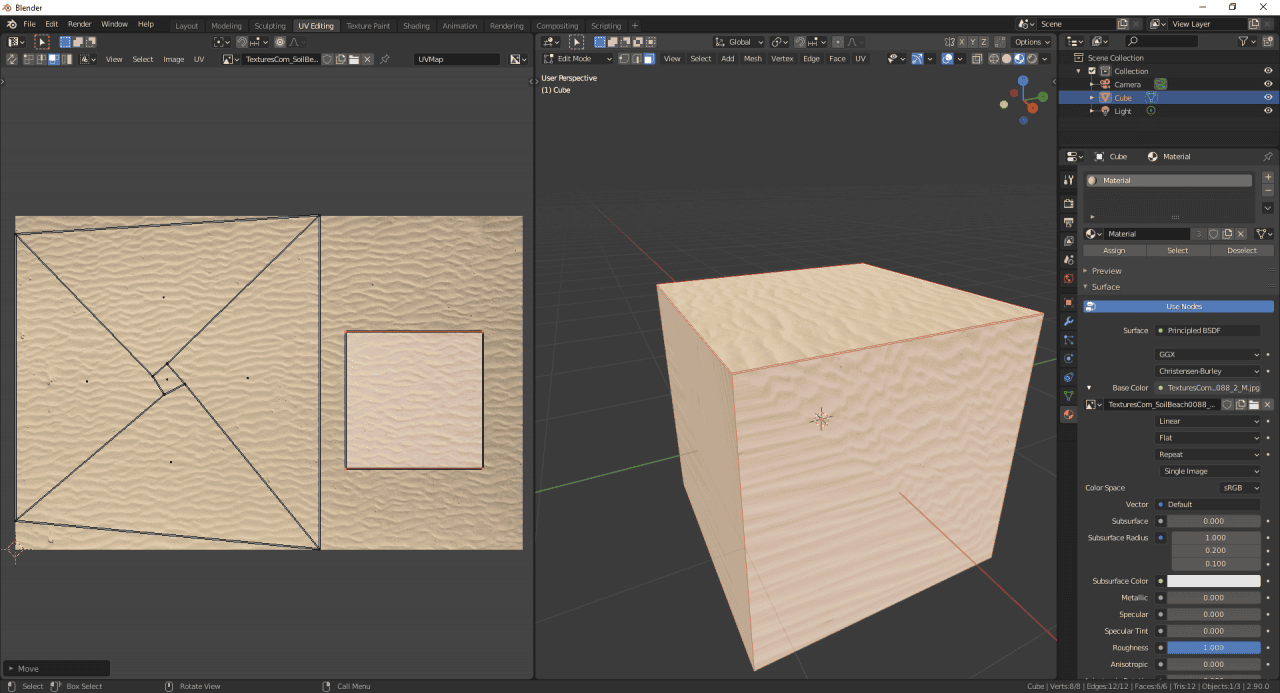
To start working with Blender UV mapping you need to open the UV Editor. A good idea would be to change to the UV Editing workspace that automatically creates a convenient interface where you can work with UV.
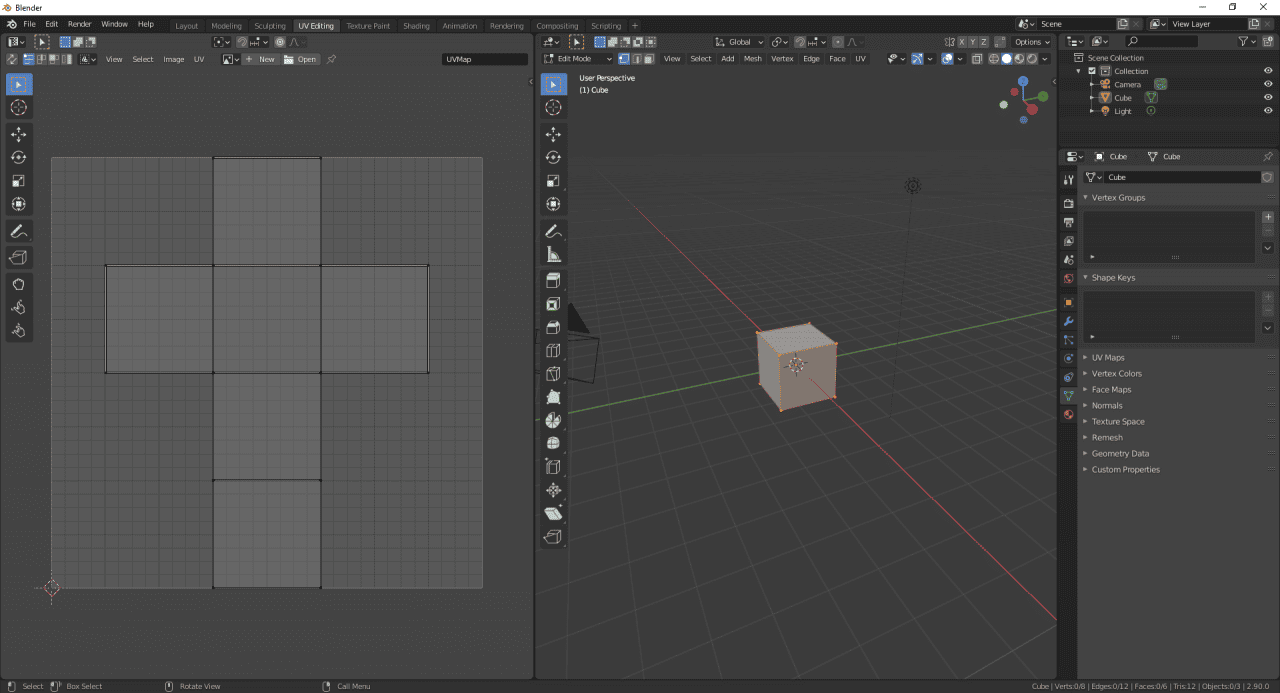
You can also right away notice here that the default cube comes already unwrapped from the get-go. That is because any of the simple objects from the Add menu come with a ready UV map.
This is a good moment to add material to the cube and add an image texture to it, so you could see how it works yourself. Just in the Properties Editor, Material Properties change the Base Color source to the Image Texture.
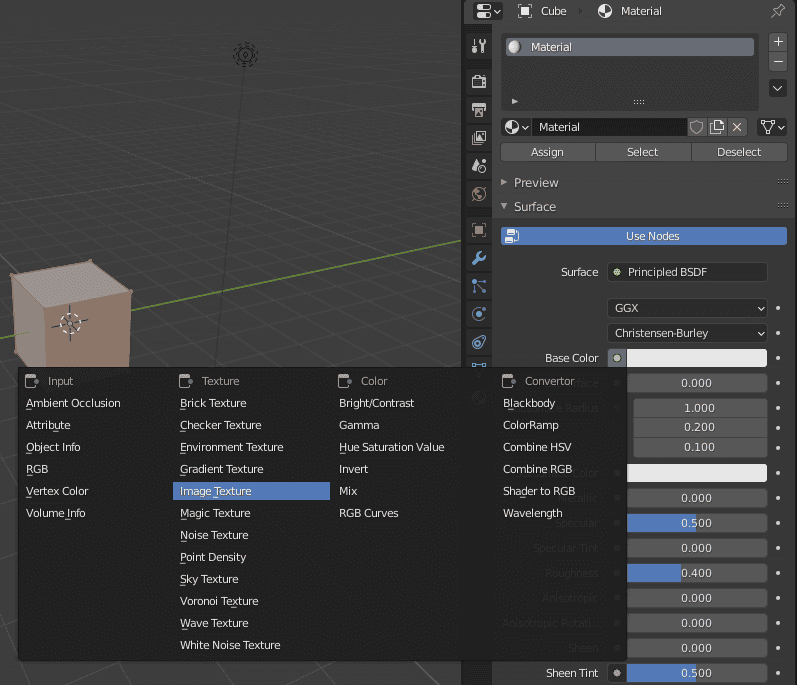
Then use the Open button to locate any image file on your computer. After that change to the Material Preview and you should see the new texture applied to the cube.
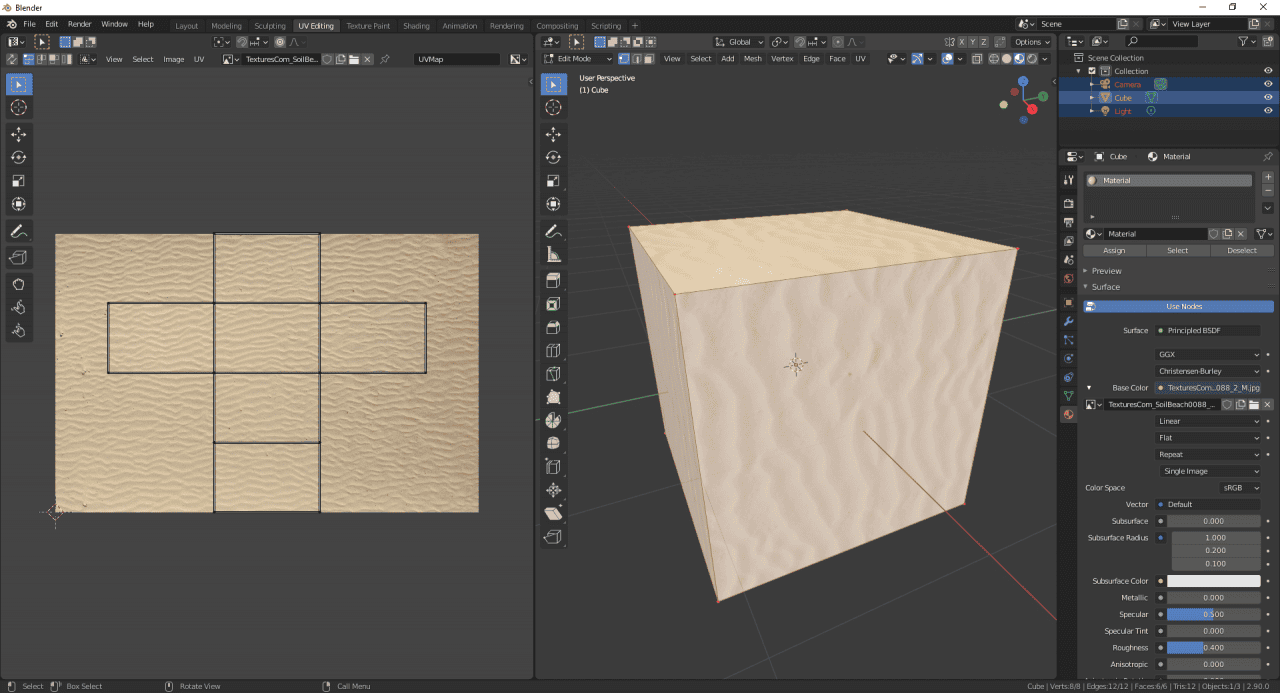
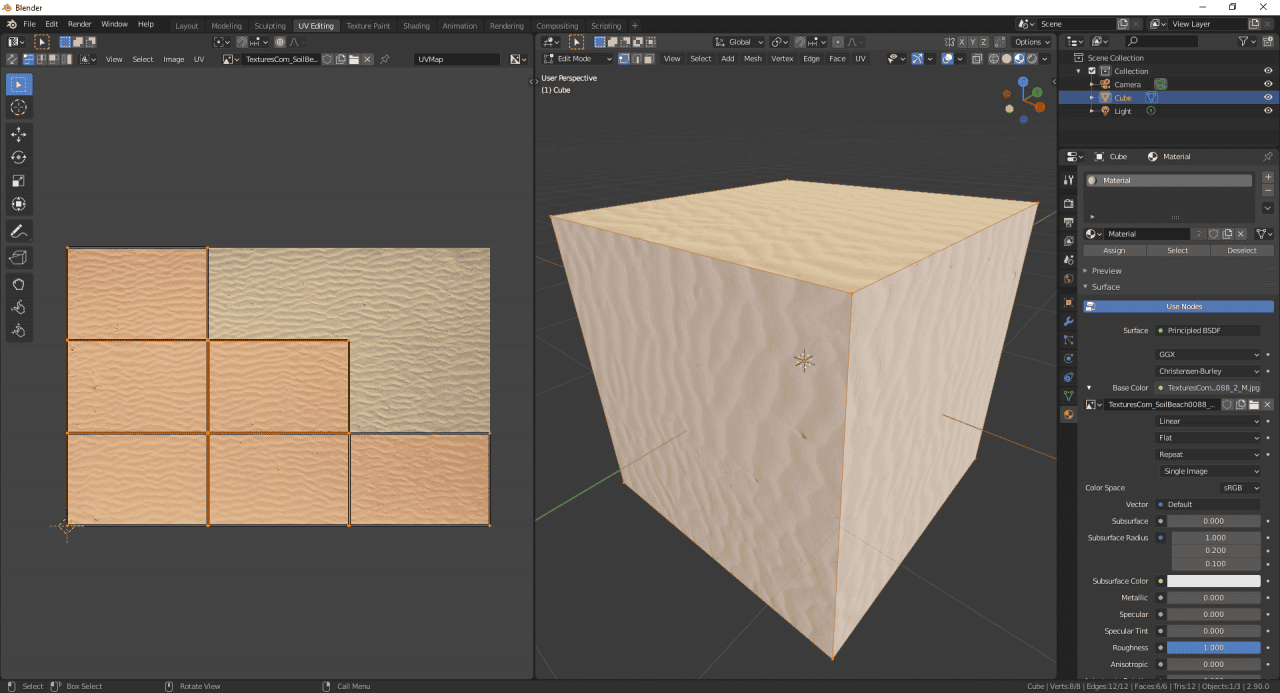
On the left you should see your image applied to the object and the unwrap on top of it. Each of the elements of the unwrap like face, edge and vertex correspond to the according face, edge and vertex on your 3D model.
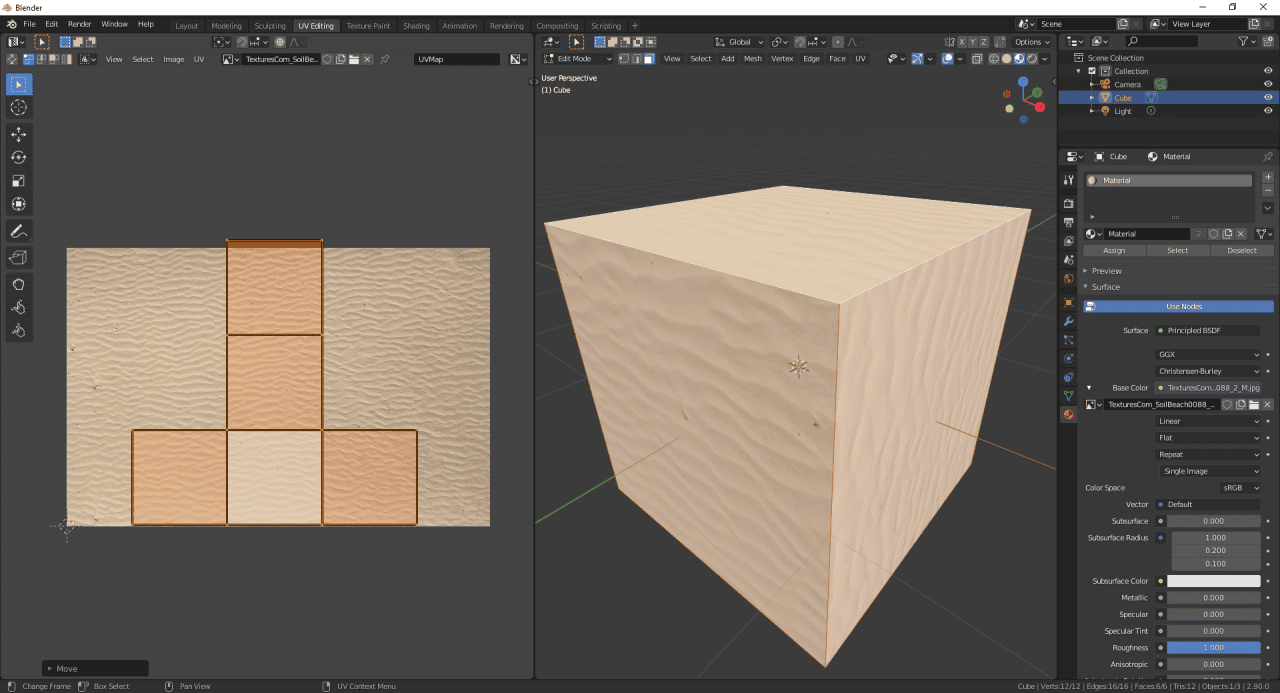
Also you can transform the unwrap in the same way you transform any 3D object. Meaning that you can move, rotate and scale it by using the same instruments and shortcuts. If you try to do any of the transforms on the UV map – you will notice the changes made to the texture on the object in real time.

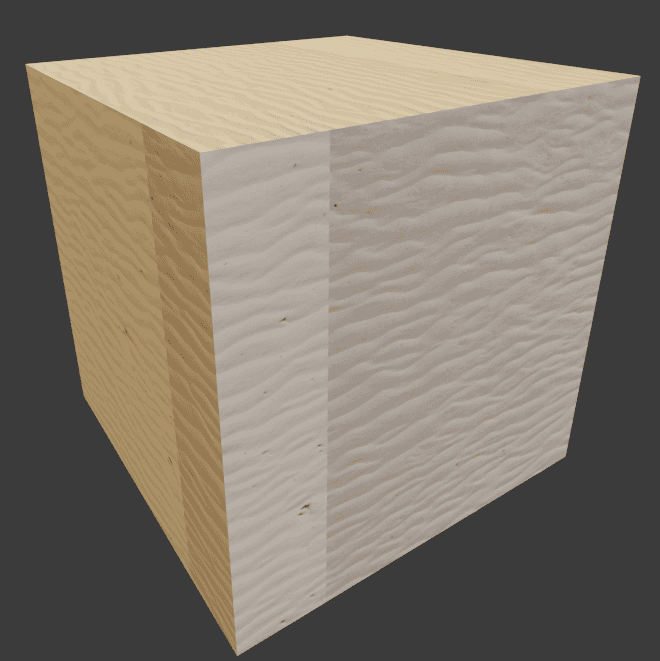
As you can see I have both rotated and scaled my UV map and the sand texture have also scaled and rotated in the same way. And as I have scaled the UV map more than the image itself – it becomes duplicating the texture. And on my sand texture this is very noticeable.
Now let’s try to Unwrap the Cube ourselves. Yes, it is already unwrapped, but more complicated objects would not be. So it is a good idea to test things out and train.
Blender Unwrapping Options
To open the unwrapping menu – in Edit Mode of 3D Viewport click on the “UV” button on top or use the shortcut key – [U].
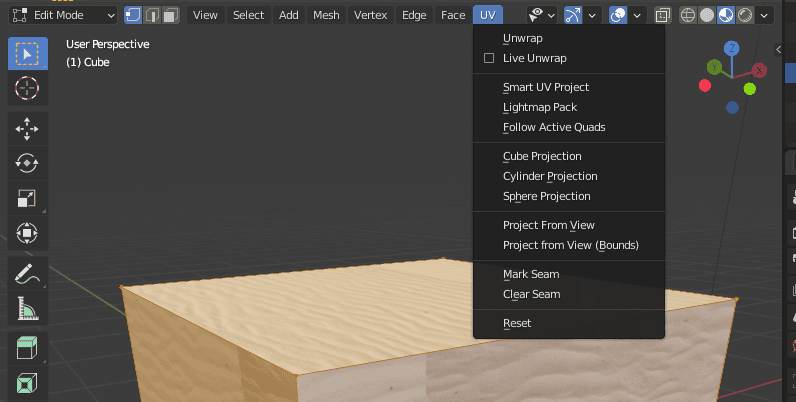
Here you can see a lot of different Unwrapping options and settings. Let’s go about them one by one:
- Unwrap. The basic unwrapping function. At this moment – does nothing, because we don’t have our object set up for this. Will get to this later.
- Live Unwrap. Unwraps your object in real time. As soon as you add seams – it changes the unwrap.
- Smart UV Project. Probably the best way for simple and quick unwraps. Though it needs smoother objects and does not work well with the sharp angles such as I have on a Cube.
- Lightmap Pack. Separates all the faces on the unwrap and disconnects them from all other faces. Usually used to make textures for games and to save the UV space.
- Follow Active Quads. Takes the selected face and lays out UV map in the face loops. More advanced method and hardest to understand. Can work differently depending on the smallest changes in mesh, such as selected face.
- Cube, Cylinder and Sphere Projections. Maps your mesh onto the object that is in the name and then unfolds. Works best with the objects that are similar to the shape in the name.
Sphere Projection
- Project from View. Creates the UV unwrap out of what you currently see in your viewport. The main problem with it is that it only works if you don’t move your view around. As this does uncover the stretched textures on the different from the original sides.

Stretched textures on the sides after Project From View
- Project From View (Bounds). Same thing as the last one, but scales the UV map to the bounds of the image.
Adding Seams and Unwrapping object with Seams
Last options in the UV settings are Mark and Clear Seams. The simplest way to understand how Unwrapping works is to imagine that your 3D objects are made out of a single piece of paper. And you need to flatten this piece of paper on the ground by making as few cuts to the object as possible. These “cuts” are what is called seams in Blender.
So to properly Unwrap an object you need to mark seams in the right places and then press the “Unwrap” button. You can try pressing it right now – but as I mentioned before – nothing will happen as you need seams to unwrap an object.
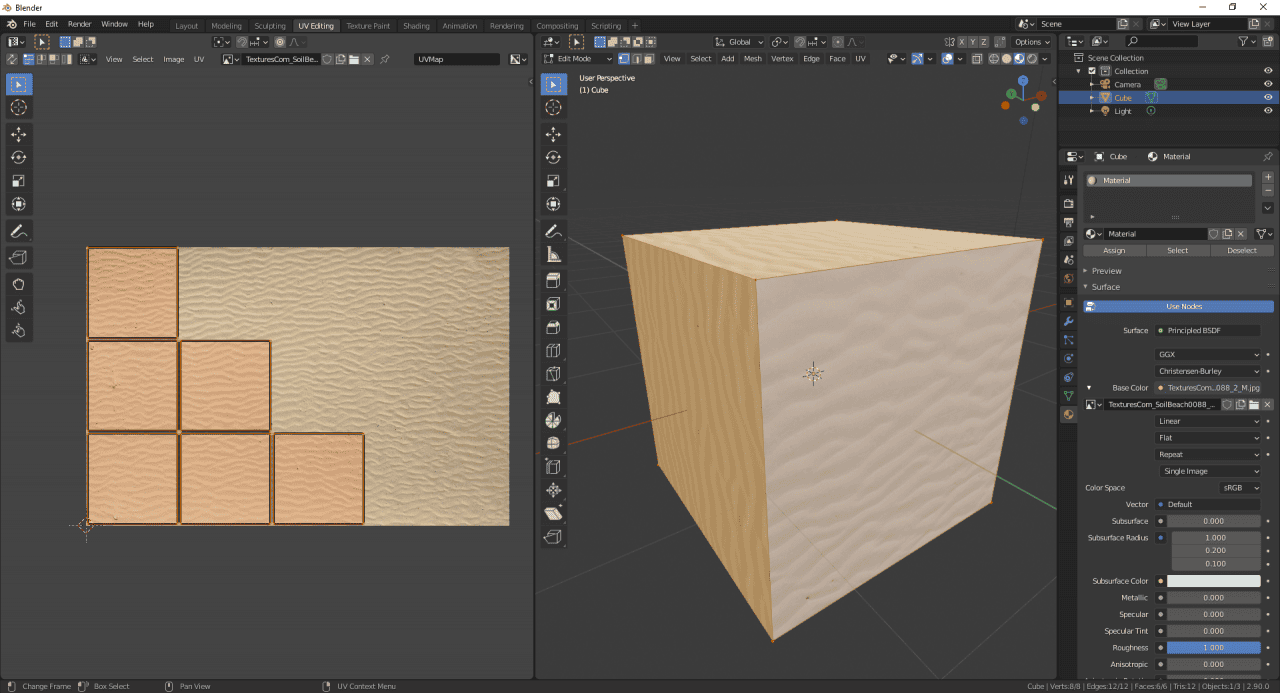
For a quick example select a face and press Mark Seams. This will create seams on the all edges of the selected face. You can notice that the edges became red. This means that they are marked as seams.
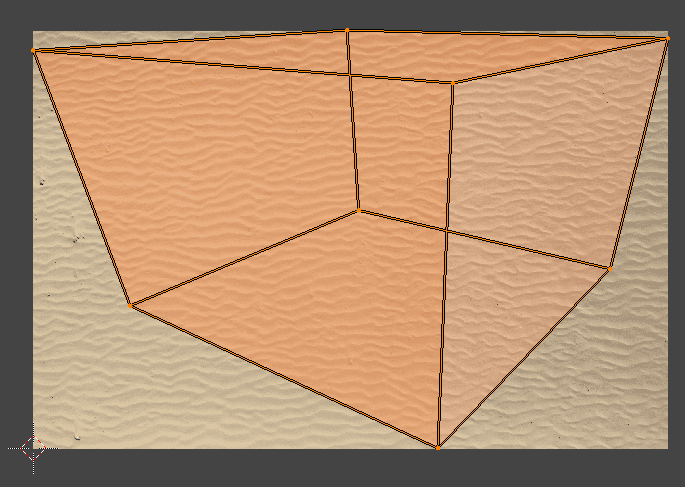
After Unwrapping this you can see that this face’s UV is now separate from the whole object. And all other faces of the cube are overlapping each other and scaled poorly. That is because we don’t have any seams there, so Blender just squished our object into 2D. Imagine the paper Cube getting squished – it would look something similar to this.
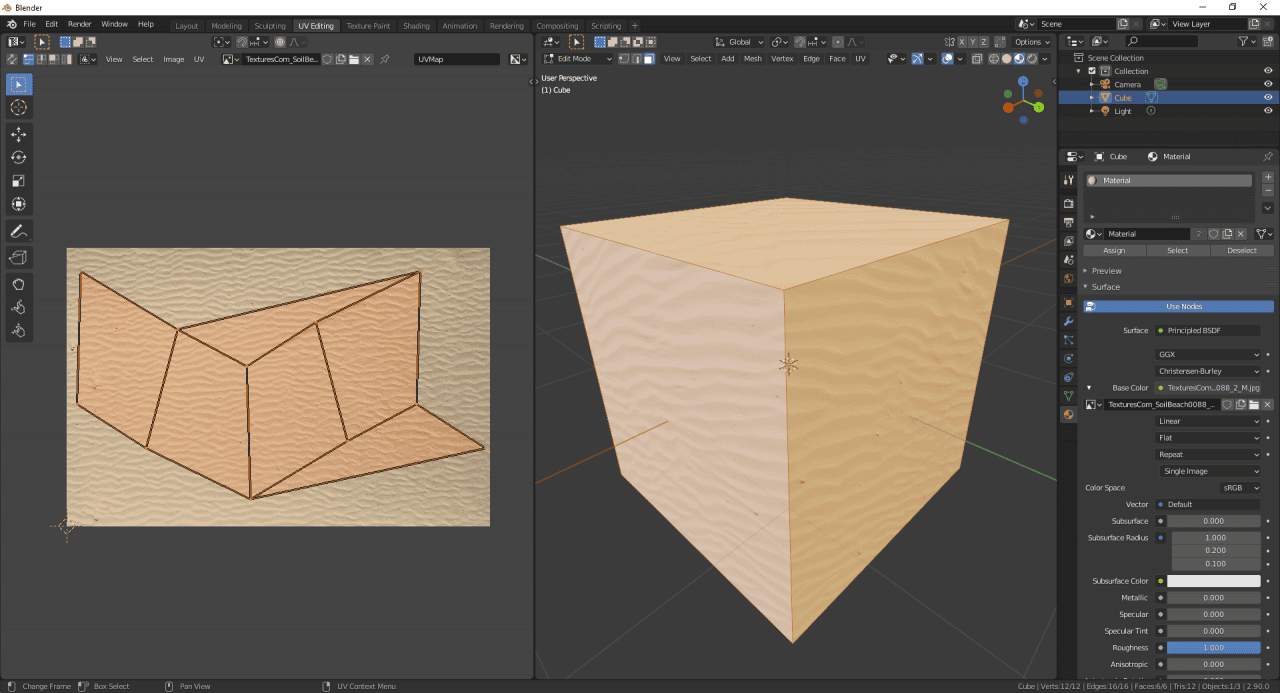
To fix it, we will need to add some seams in the proper places and unwrap again. Try imagining how to do this and try it yourself. Here is how I did it and the result. It is practically the same cross shape that we had at the very start.

Blender UV Mapping A More Complicated Object
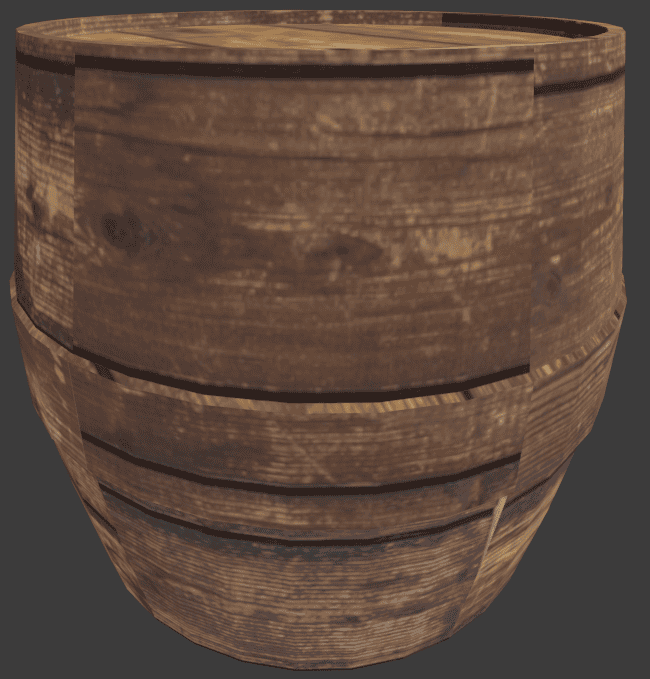
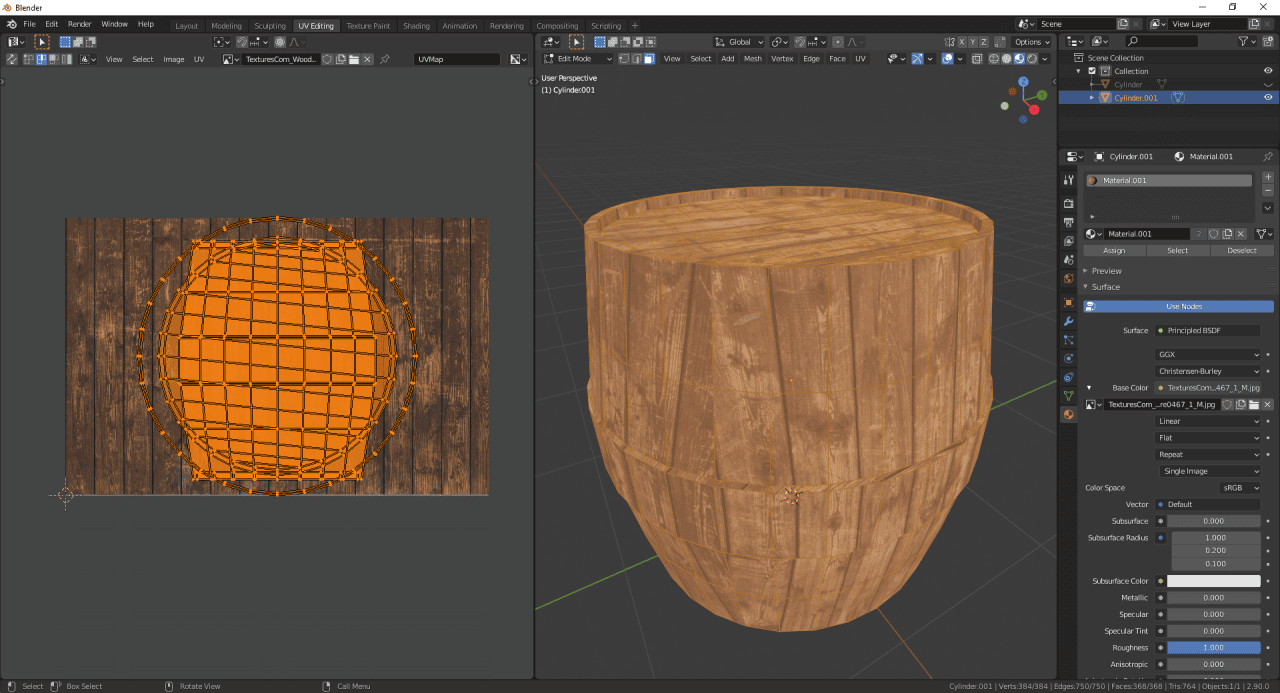
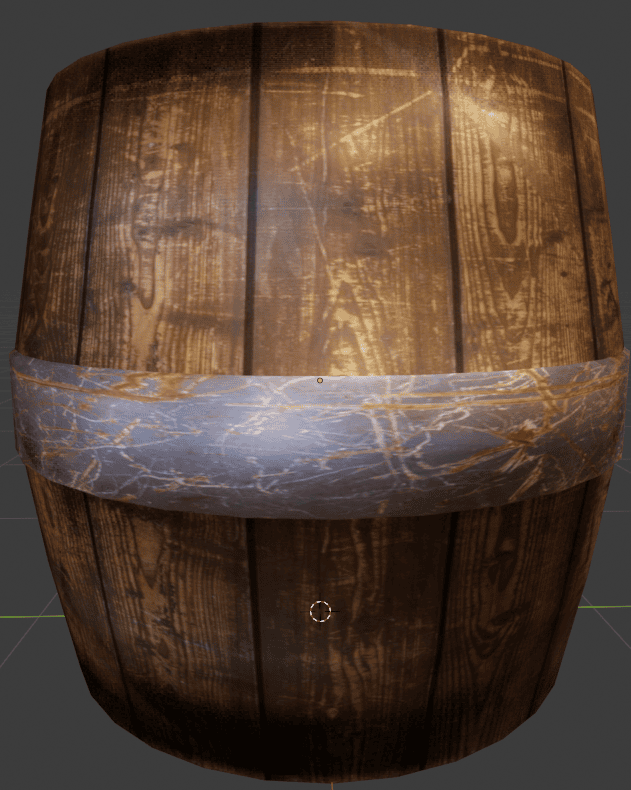
Now let’s try to UV unwrap and map a more complicated object than just a cube or any other default objects from the Add menu. I have made this simple barrel object for this task.
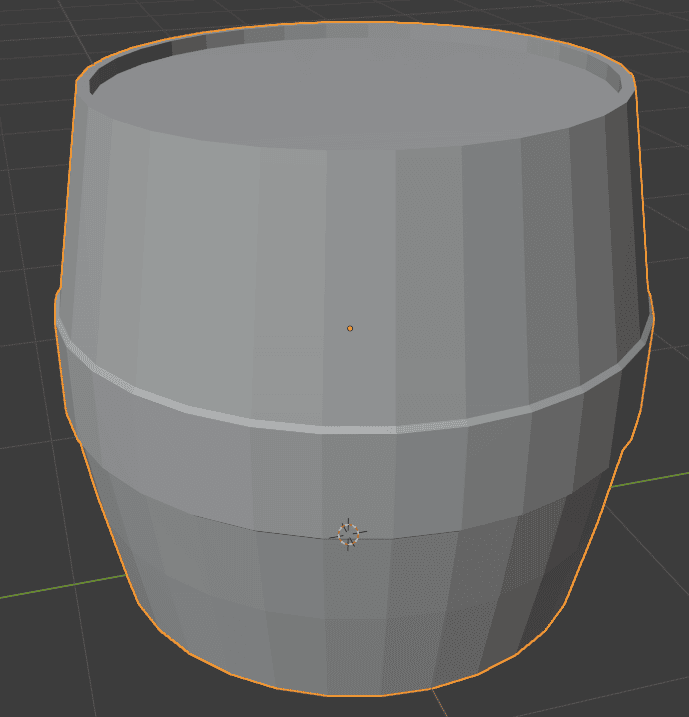
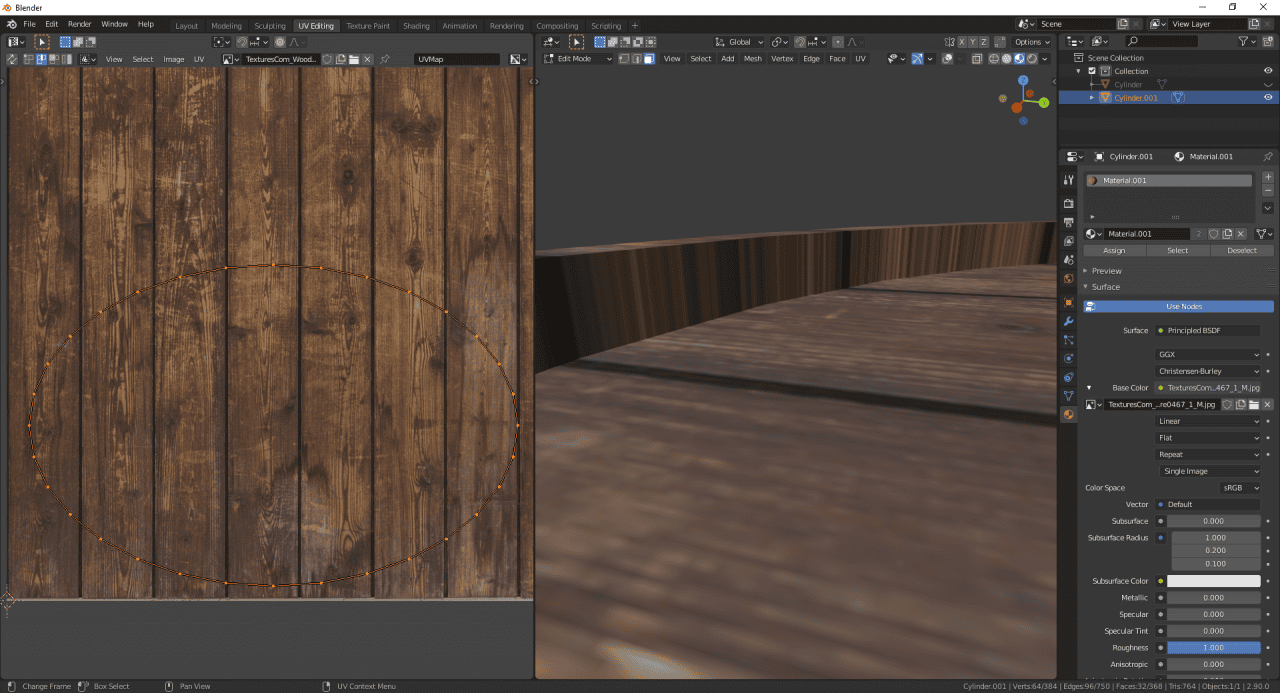
I have applied an image of wood as material to it. And as you can see – it is already unwrapped. That is because I have made it out of a cylinder. And as you already know – any object from the Blender Add menu comes unwrapped.

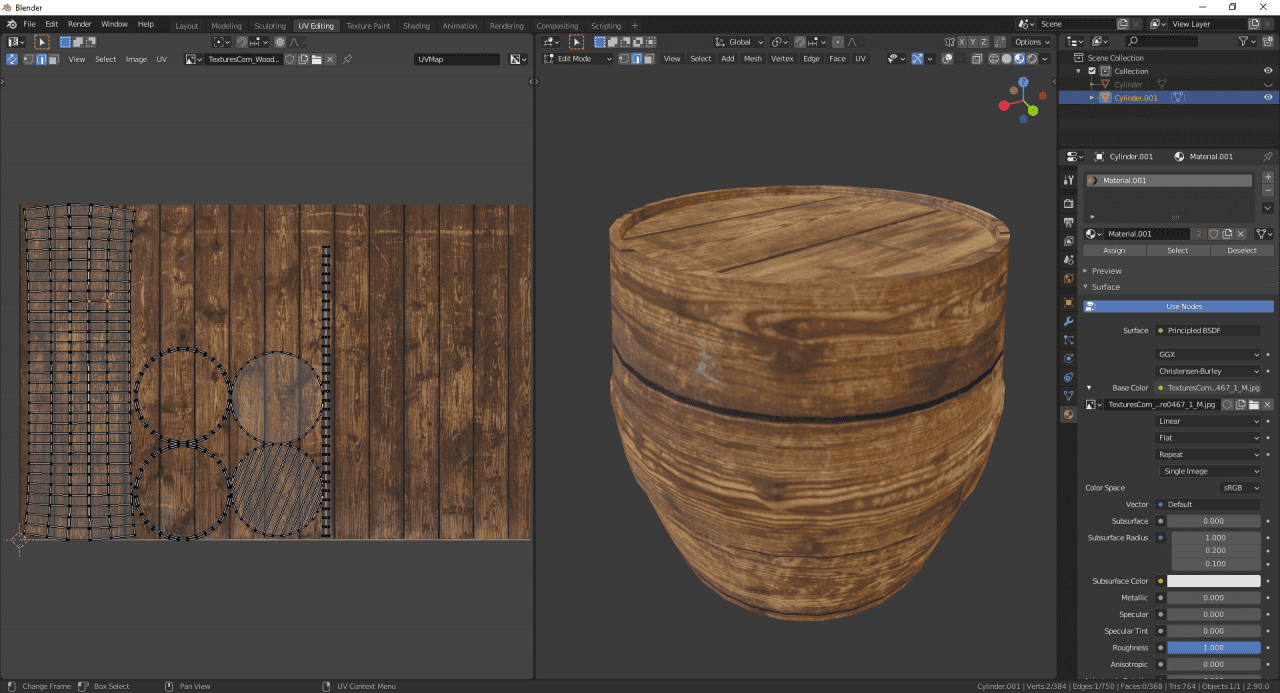
But because I have distorted and changed this original cylinder – the default UV map is no good for me. It has some really stretched textures in the places where I have changed the mesh. And you can see on the UV Editor that they are so stretched because they unwrapped as edges instead of faces.
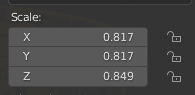
To fix this let’s try to use some of the Unwrapping options. But before that it is important to Apply the transforms of your object. Because when you change the object’s information this can affect the UV mapping and mess it up. As you can see – in my case Scale is all messed up.
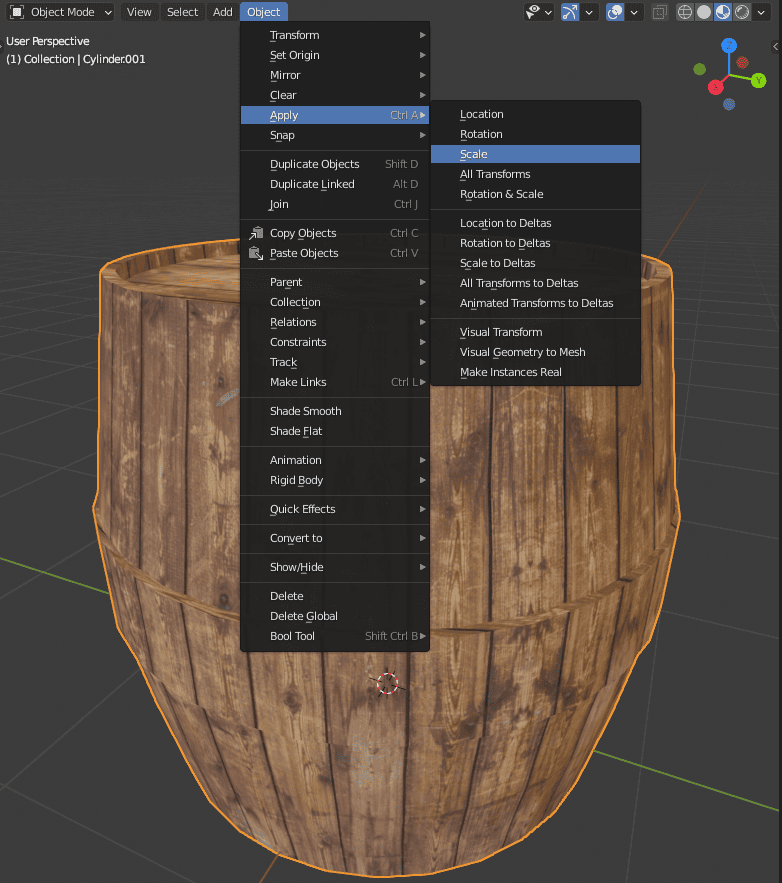
And to fix it I need to Apply a Scale transform. To do this proceed to the Object > Apply [Ctrl+A] > Scale. Or also you can Apply All Transforms, including scale.
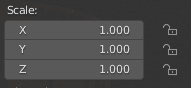
This changed the all messed-up scaling of my object and made it all equal to 1.
Now proceeding with the UV mapping. Starting with the Smart UV Project. It does not bring good results at all. You can see seams all over the place and it overall looks terrible.
The Lightmap Pack is even worse. Frankly, none of the other Unwrapping options look any better. The only one that is at least close to looking good is the Cube Projection.
Still there are clearly visible seams and overlapping textures. But it is manageable and if I work on it a little – move and scale the UV’s, you can see that it can be considered a properly UV mapped object.
The problem with this is that it requires a little bit of work and, most important, knowledge of what you are doing.
Therefore let’s try to unwrap it ourselves by marking seams. I chose a wooden barrel mesh because it can be easier to understand where to apply seams. Just imagine a real life wooden barrel and think which parts of it can’t be made out of the same piece of material.
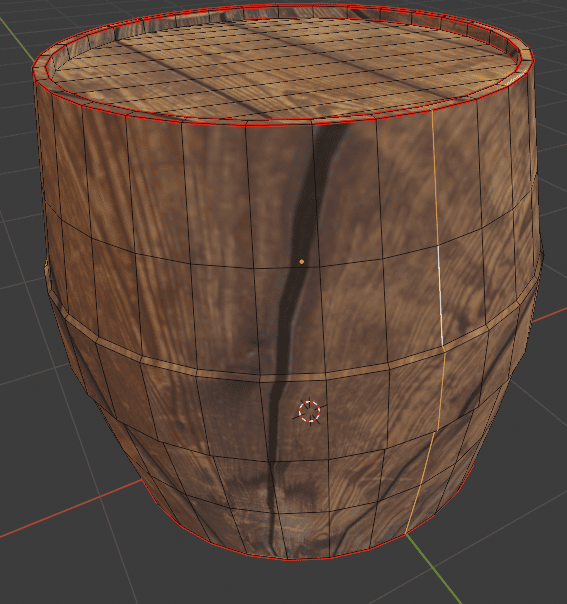
For example the lid should definitely be made out of separate pieces. So I can safely select the edges around the lid and mark them as Seams.

Unwrapping this, though, clearly shows that this does not work yet. That is mainly because Blender tries to unwrap the whole main cylinder of the barrel as one connected UV mesh without any cuts.
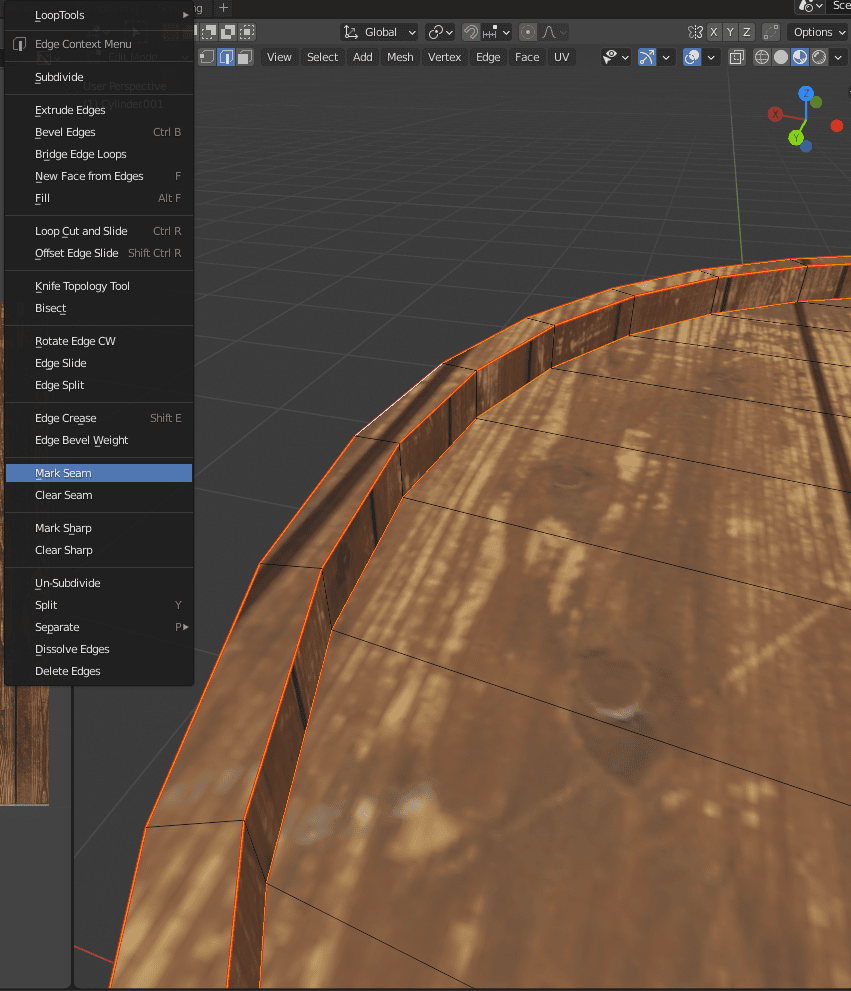
Marking this edge loop as Seam should both fix the barrel main cylinder problem and unwrap it a lot better on the 2D space.
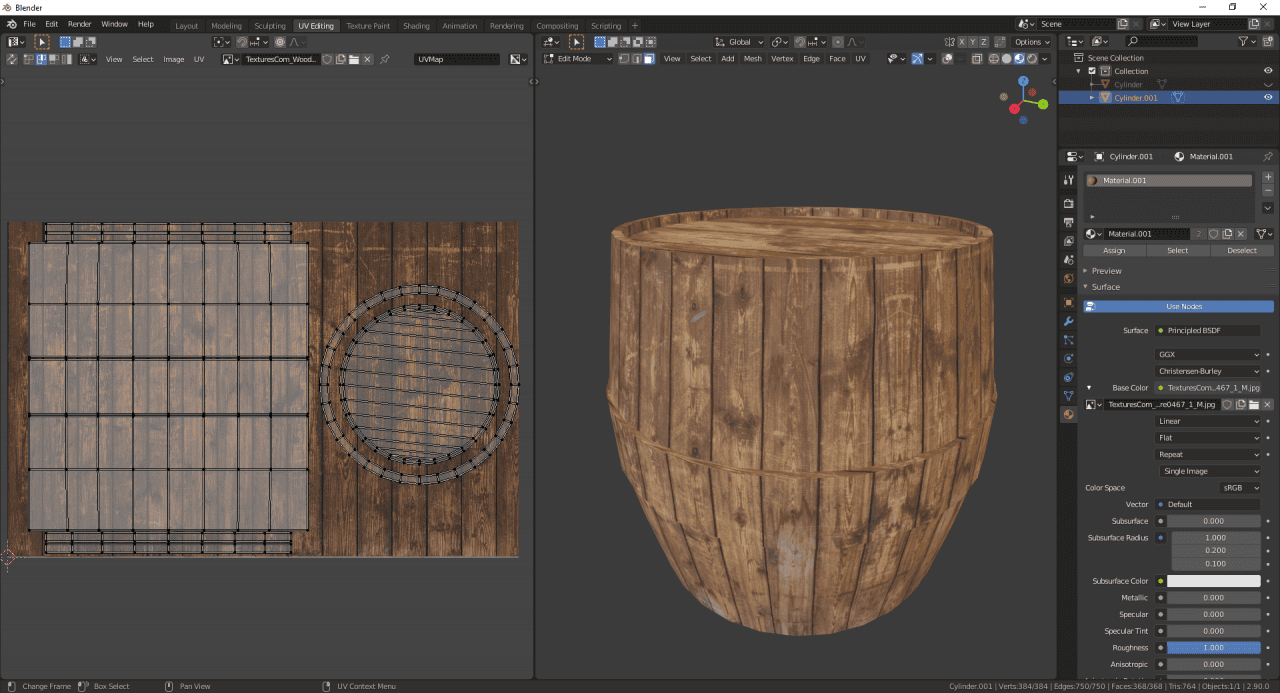
At first glance it may seem that everything became even worse than it had been. But in reality I just need to change the scale and rotation on some of the UV’s and this will make the result a lot better.
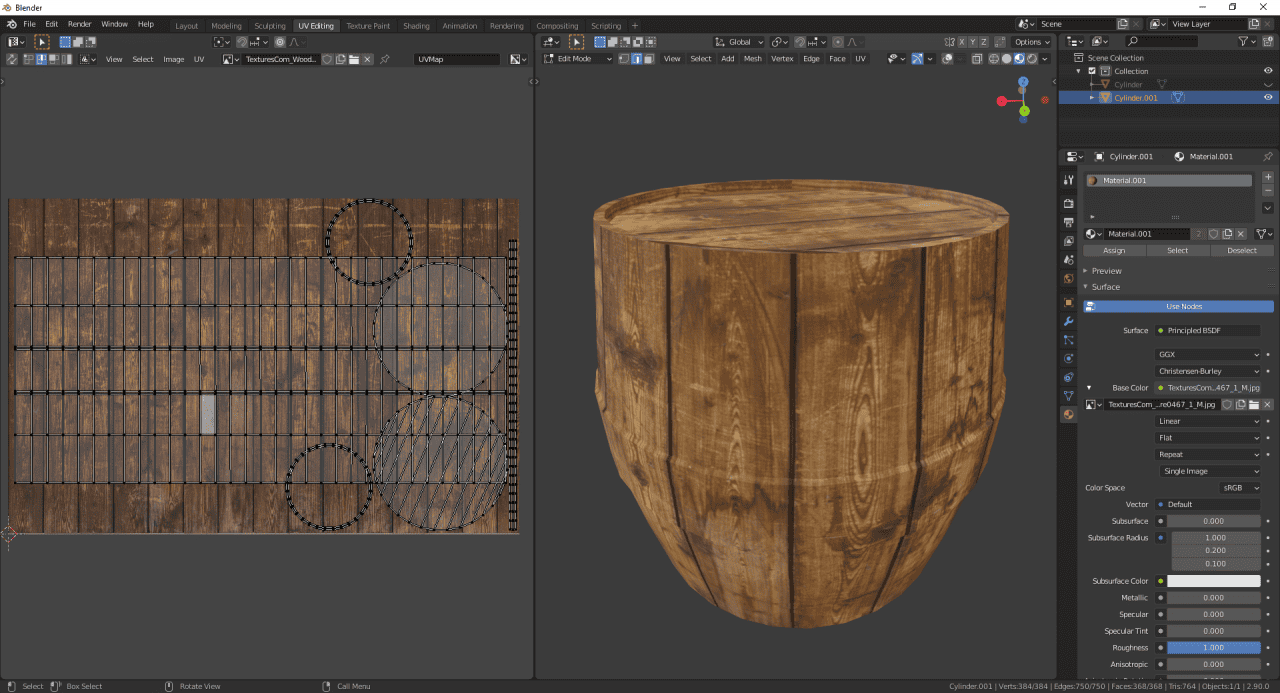
After a little bit of work – the result is much better. As you can see – some UV’s do indeed overlap. In some cases this can be a problem – in others such as this – not a problem. In my cases overlapping meshes simply does not bring any problems to the result.
Adding Second Image to a Blender UV Map
You can notice that my barrel has a mesh in the middle that extrues out.This part of the barrel looks really weird right now and merges too much with the main cylinder. That is because from the very beginning this part was intended to have different material.
There are basically two ways how you can make this part to have different texture. First is to merge two wanted textures into one image. You can use any image editor for this. For example here is what I have made:
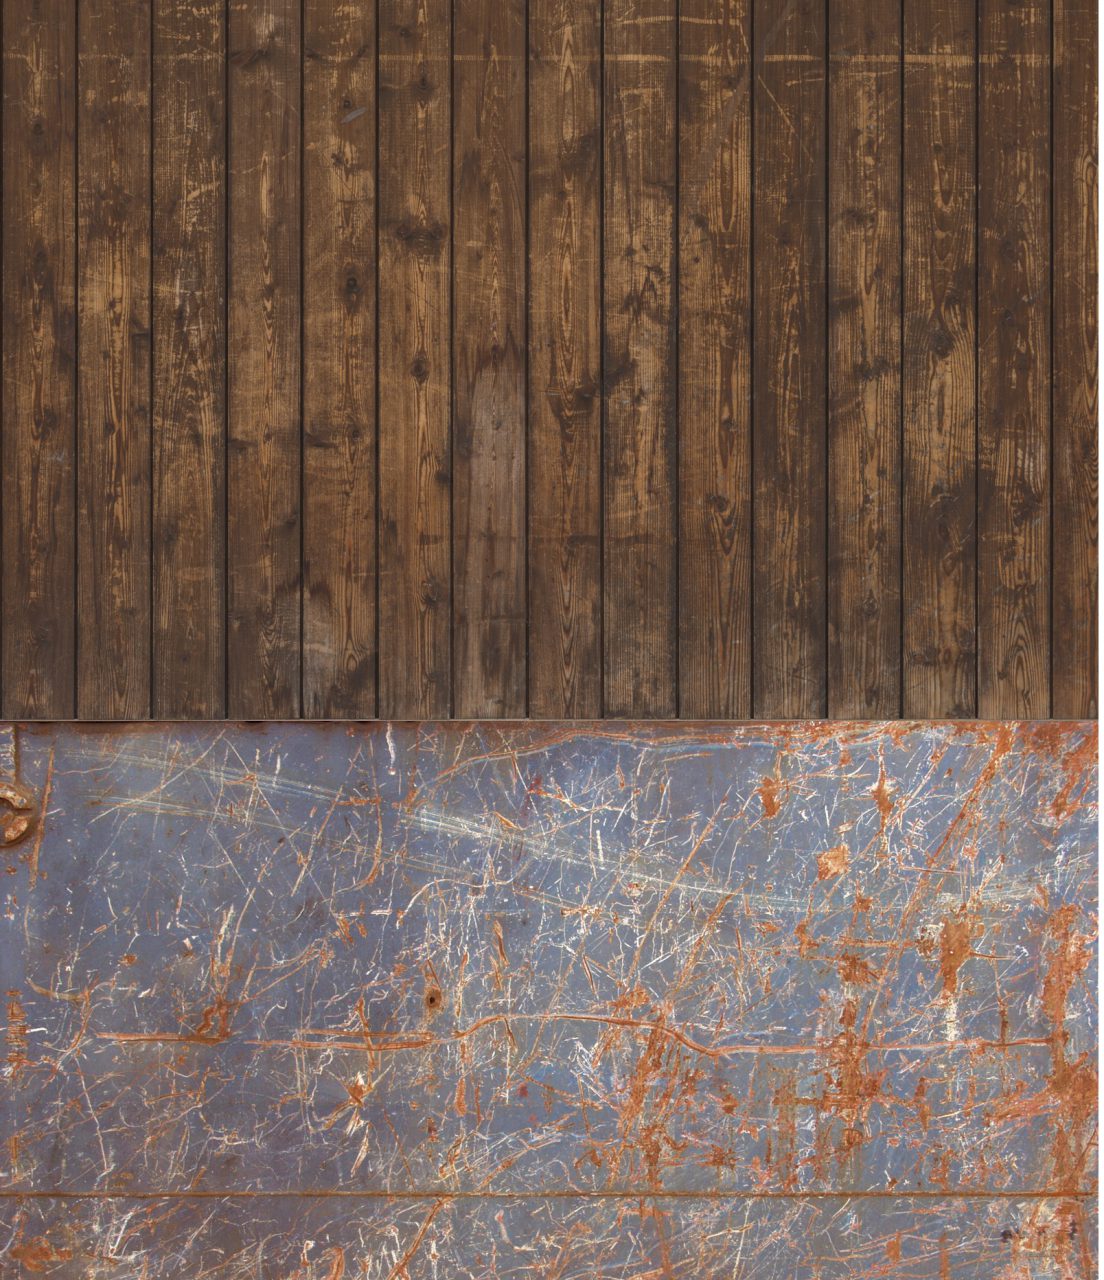
Then you simply need to use this image as texture for your object and then use transforms to place all your UVs the way, so that necessary parts would be in the necessary places.

It did what we wanted it to do. But the second method would be better. The only option when you would use the first way that I see is if you really need to have only one material applied to an object. Because the second method adds one more material.
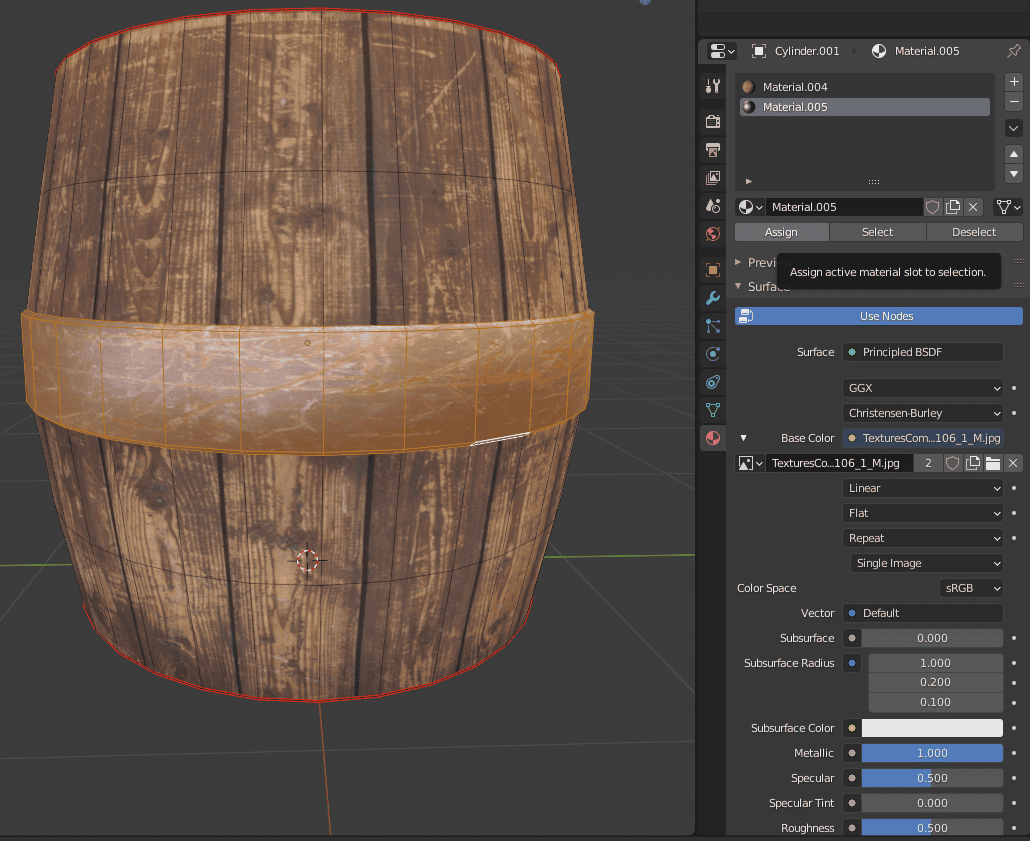
Simply create new material, add it to an object. Then select the part that needs to differ and press Assign.
Alternatively you can also separate the needed part from the object all together and then apply new material to the separate object.
The main advantage of this method over the other one is that you can change settings of the separate material. For example – I can make it metallic and reflective. If I would do that for the previous material – wood would also become reflective and metallic, which is not the desired result at all.
Conclusion Blender UV Mapping
Blender UV Mapping is a very important process if you want to produce high quality textures and then renders. Though, as we saw – UV editing can be difficult to work with and needs some time to get used to.
But it becomes easier over time. Both because you learn more and receive experience and because technologies help you. Some time ago there was no way for automatic Unwrapping such as Smart UV Project and all needed to be made manually. Maybe in some time more the process will be even more automated. See also our other Blender Tutorials or since Blender can now also work with Daz3D Assets checkout our Daz Product 3d Model Highlights.