This article explains step by step how to mirror a pose in Daz Studio. Besides mirroring we will also show you how to flip a pose of genesis character.
Mirroring can be a big time-save for your scenes. But it is not obvious at all how to even do something like this in Daz Studio? Besides, there are two major things that you can mean when saying “to mirror”. We will introduce you to these ways of doing mirroring and explain both variants too.
Mirroring a Pose
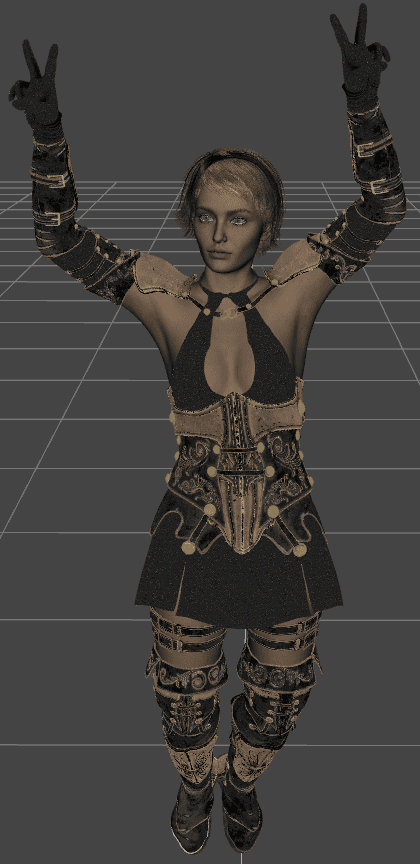
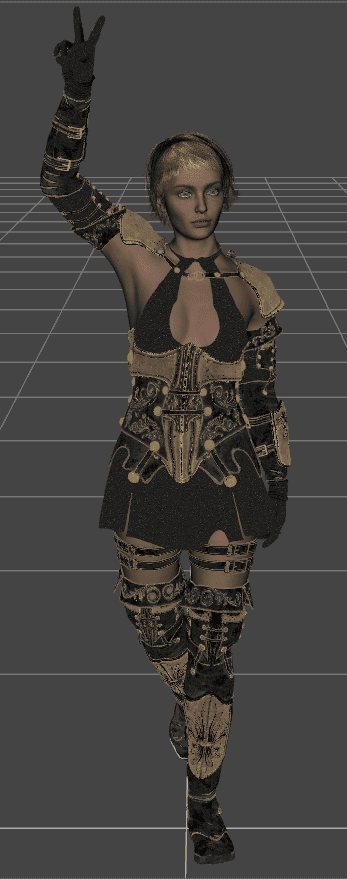
The first variant is when you have a character on a scene in some pose. And this pose is asymmetrical.

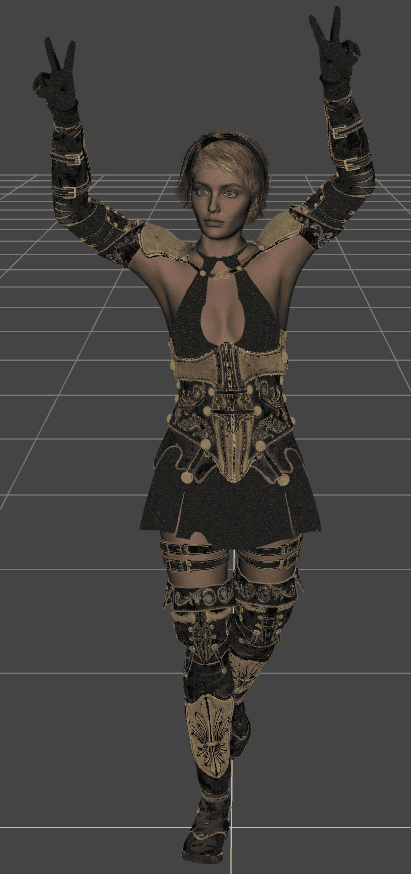
Like here my character has one leg in front, another leg is in the back, and most noticeably – only one hand is up and showing two fingers. So right now we are going to look at how we can make this pose symmetrical so that both sides of the character would be the same. Let’s start right away how to mirror a pose in Daz Studio.
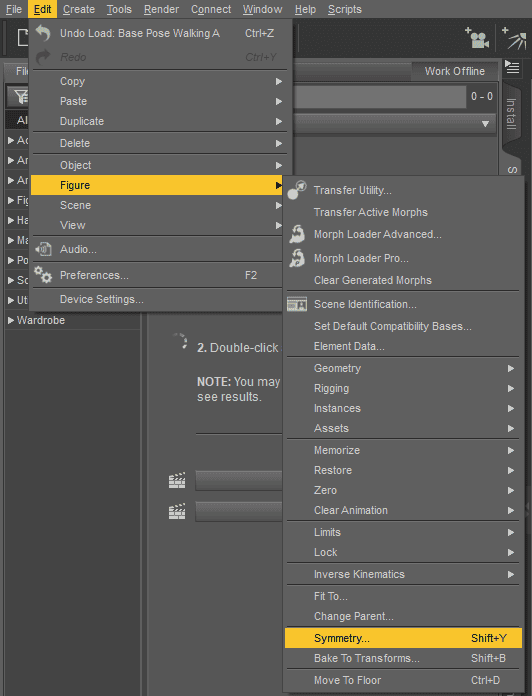
Firstly, we select the character in the Scene menu and go into the Symmetry settings, that are located in Edit > Figure > Symmetry. Or you can press the [Shift+Y] shortcut keys to open it too.
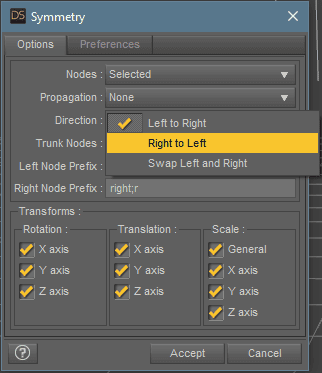
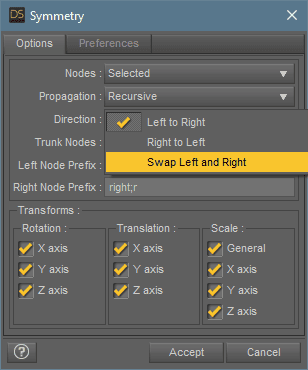
A Symmetry window will appear after that. Here we can see a lot of very different and confusing settings:
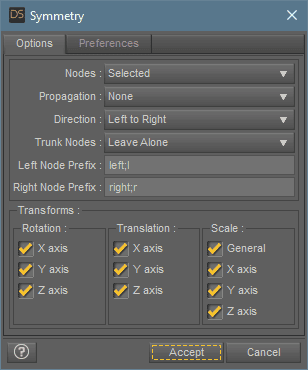
Worry not though, because there is no need to change a lot of things here. To make the character’s pose symmetrical – all we need to do is to change the Propagation setting from None to Recursive.
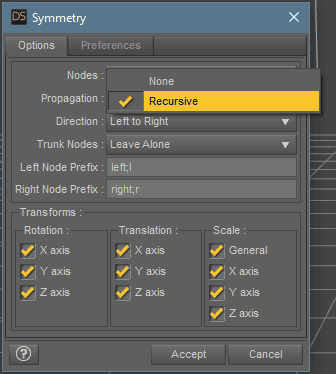
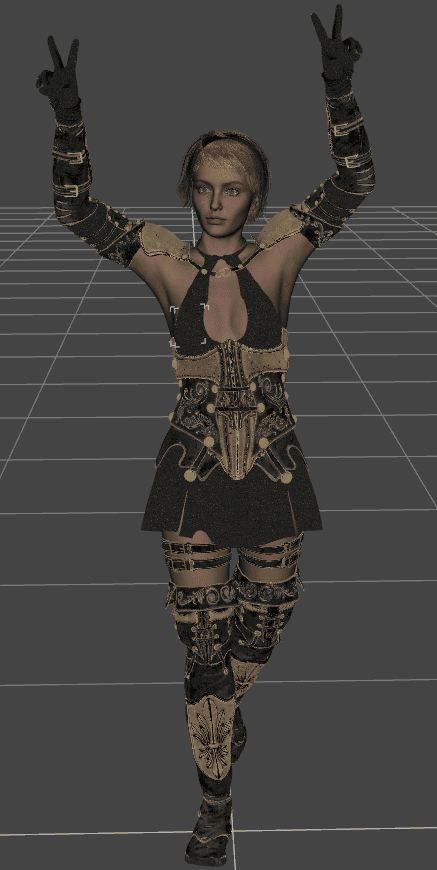
This setting always should be set to Recursive, including each example further too. Then click accept and the result would be a symmetrical pose:
Both hands are up and showing two fingers and both legs are in the back. Worked perfectly.
And if you want it to go the other way around, you just need to change the Direction from Left to Right to Right to Left.
And it will swap which part would be mirrored onto which.

Mirroring Only Part of the Pose in Daz Studio
Both poses that we received looked weird. This is because usually, you don’t want to symmetrize the whole character and the whole pose – it will look weird. You only want to do this on one of the parts. In this case – I want both hands to be up, but nothing else to change.
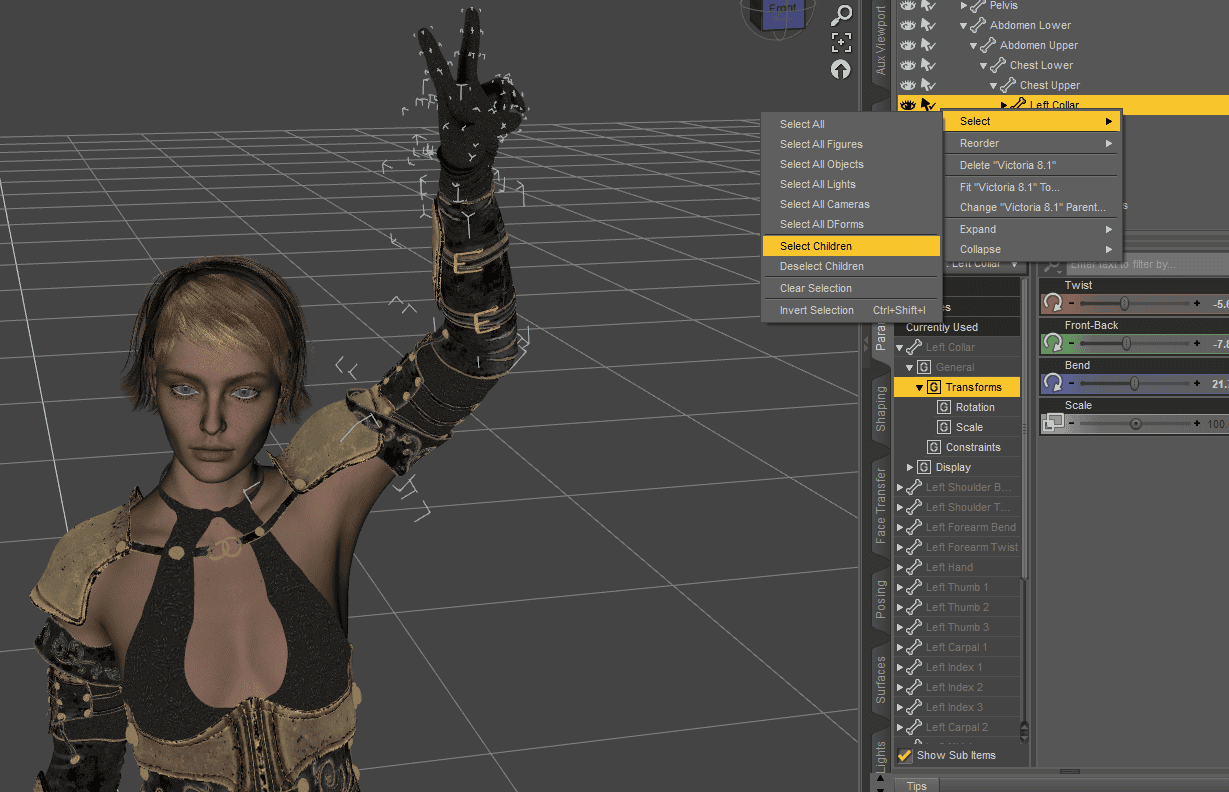
For this, we will simply select the part of the character that we want to copy to the other side. So I am selecting a hand. To select the whole hand, you need to use the Select > Select Children function.
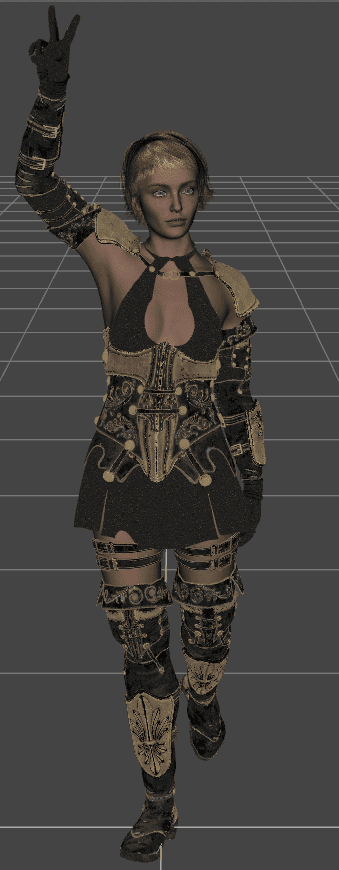
And now in the Symmetry Menu, we do everything in the same way. It is just important that Nodes are set to Selected. This will apply the Symmetry to only the selected part.

And we receive the desired result. Both hands are up, but nothing else in the pose is changed – it is the same as it was before.
Excluding Part to Mirror
Another problem that you may meet while using this is very similar to the last one, but vice versa. Instead of mirroring a single part of the character – you want to mirror everything except one of the parts. I will do this on the leg – I want everything to be symmetrical, but for the legs to still be different.
We can use the same method as last time. Select everything that we need by using Select Children. But it is difficult to do sometimes because selecting everything except something is not an option in Daz Studio.

Instead, everything would be selected and you will be left with the only choice – deselecting parts that you don’t want manually. What a drag!
We are going to do this in a much better and more convenient way. For this – I select the whole part that I want to exclude with the Select Children. Then open Option of the Parameters tab and their Lock > Lock Selected Node(s).

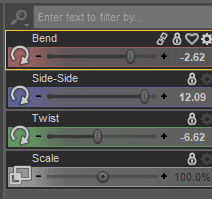
What this will do is it will prevent any changes done to these parts of the character. You can see that in the Parameters menu the Bend, Side-Side, and Twist options now have locks on them. This means that they are locked in their current state and can’t be changed in any way.
All that is left is to use the Symmetry window to apply mirroring from the left side to the right. Same as we did before.
Everything was mirrored to the other side, except the leg. Because the leg was locked and could not be changed. Perfect.
Flipping a Pose in Daz Studio
In the beginning, we said that this can be understood in two different ways. And now we will talk about another way. It is when instead of copying a pose from one side of the character to another – you flip the whole character’s pose.
This is done very easily. Select the character, proceed to the Symmetry menu, and change Direction to Swap Left and Right option.
Instead of applying changes from one side to another, this setting will simply swap sides. After clicking Accept, it does exactly that:
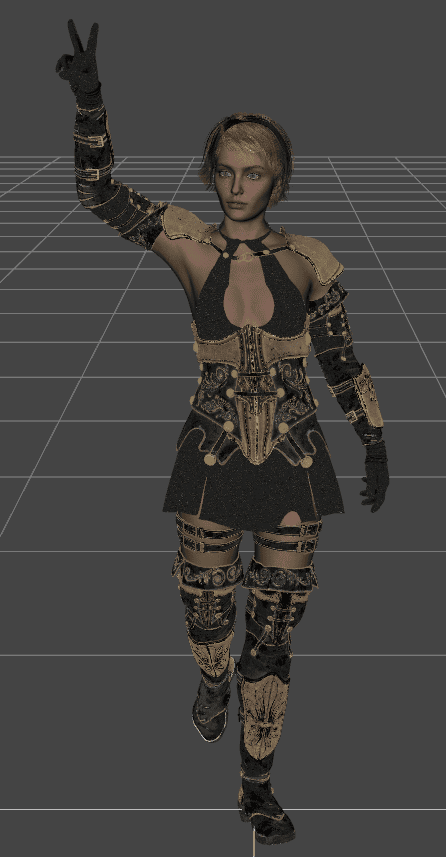
Now the character walks in the other direction, and hands that are up and down are swapped. But you may have noticed that it looks a bit odd. It did not flip perfectly and the head did not move at all.
To fix these problems, we also need to change another setting in the Symmetry window – Trunk Nodes.
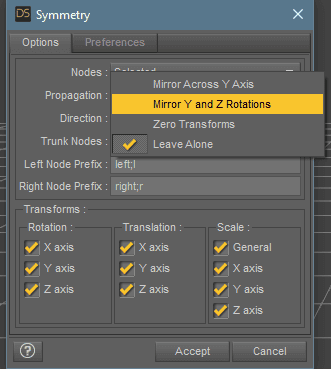
It should either be Mirror Across Y Axis or Mirror Y and Z Rotations, depending on the situation. In most cases, the first option works best. In my situation – both work the same.
This result looks better: the head also did flip and everything else looks more natural and less odd.
With this method, you also can do all the stuff that was mentioned previously. So you also can exclude parts of the character to flip. Or flip only selected parts, for example, here I flipped only legs:
Daz3D Product to Improve Experience
Some items from the Daz3D Shop to improve your quality of life, while working with mirroring characters.
First of all – you need things that you would want to mirror – poses. There are a lot of different variants out there and they hugely depend on your preference, so I won’t be talking about this a lot. Something that I like – an HD Trumpet and Poses for Genesis 8 by Daz Originals & Protozoon. Very unusual, as it features a trumpet.
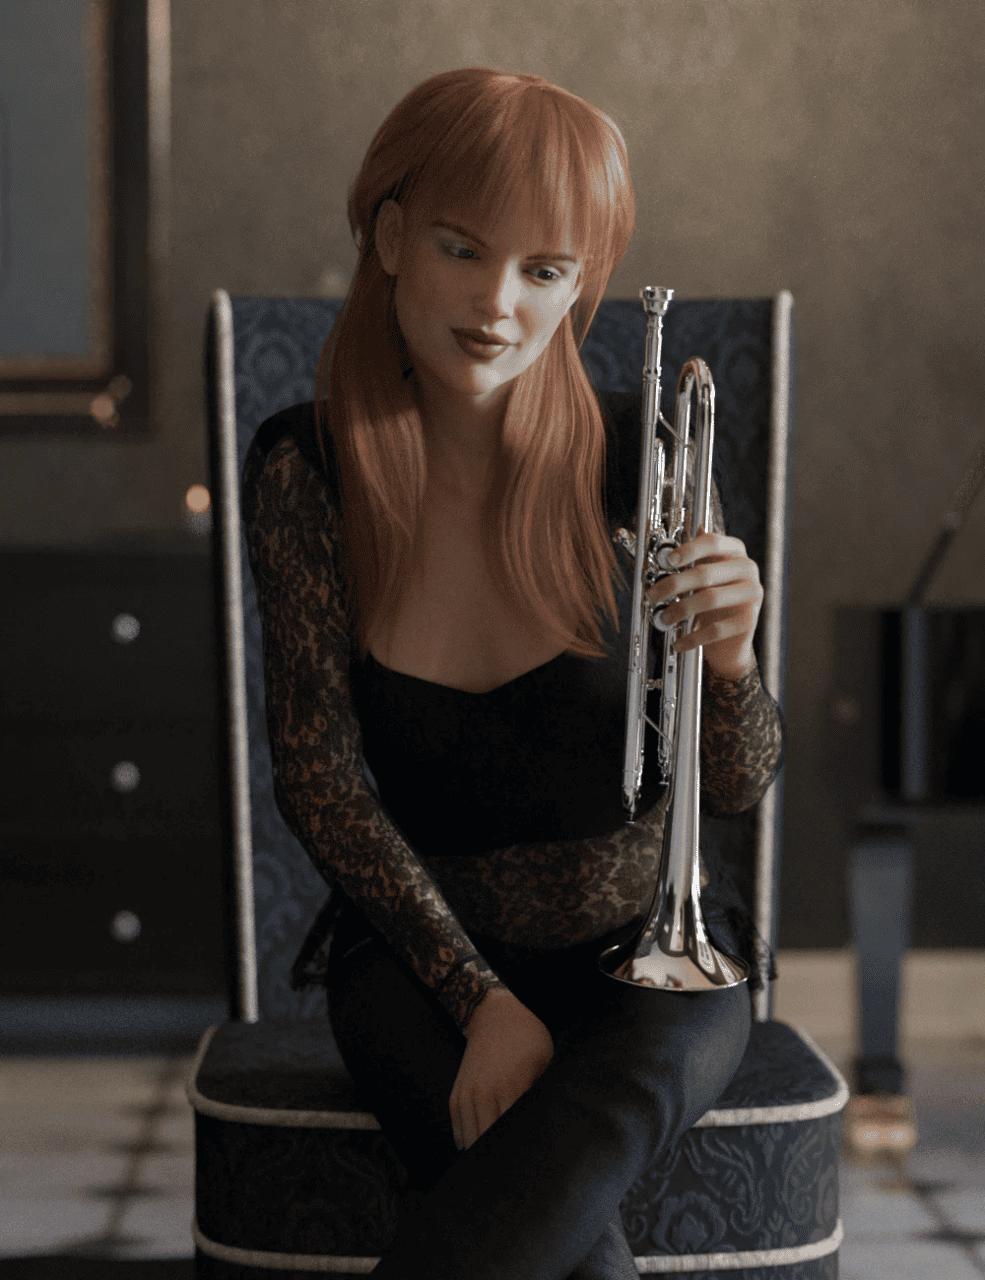
Source HD Trumpet and Poses for Genesis 8 by Daz Originals & Protozoon
Another unique example – AB Mixed Alien Poses for Genesis 8.1 Female and Delpyune HD by AuraBianca. The poses that this adds are very unusual and can be used in some very interesting ways.
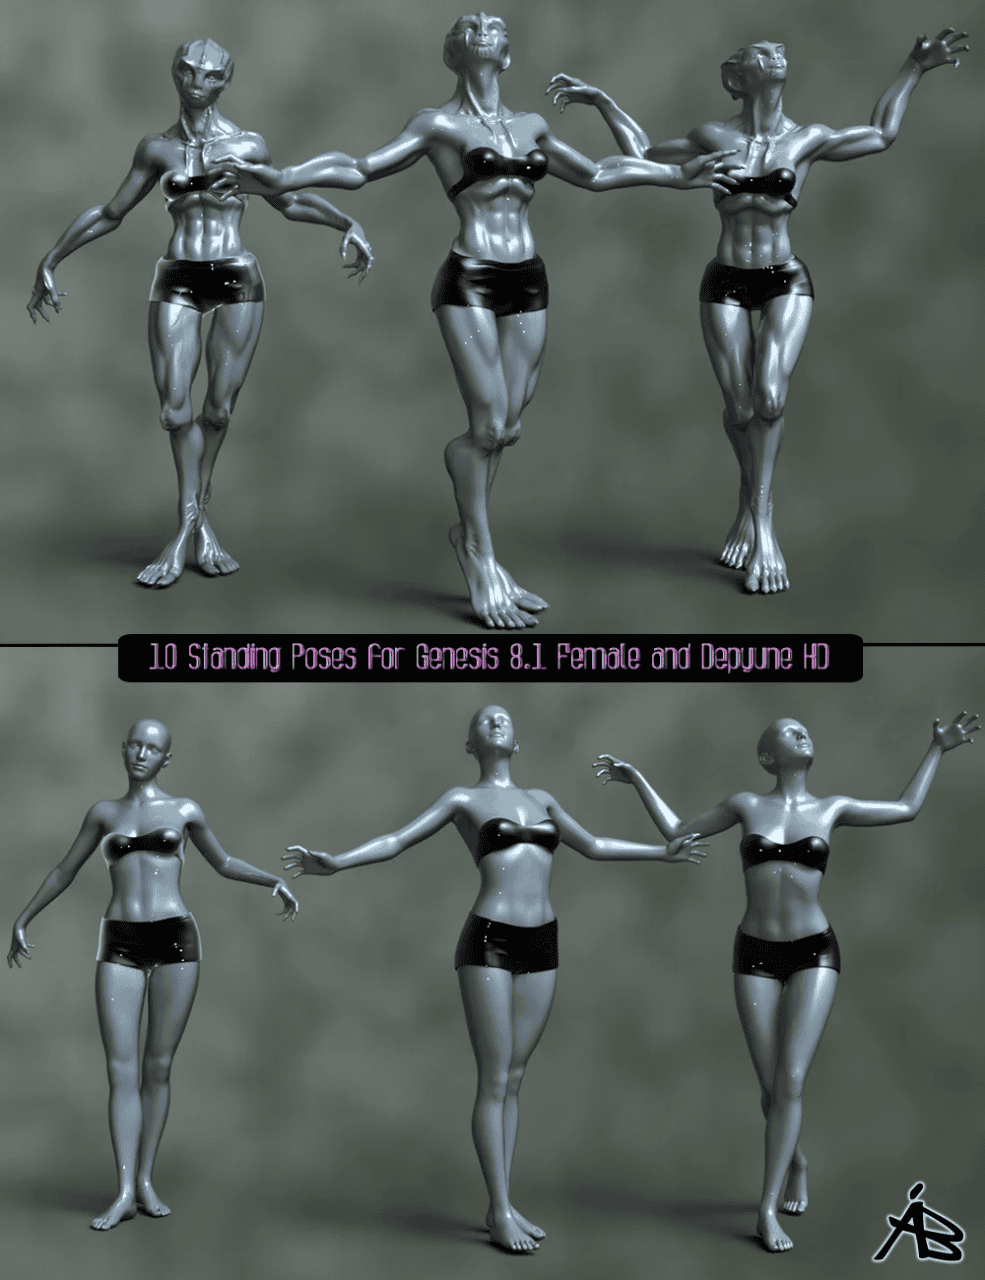
Source AB Mixed Alien Poses for Genesis 8.1 Female and Delpyune HD by AuraBianca
The Daz Studio 4 Scene Tools Set 3 – Pose Symmetry by 3D Universe is the tool that can take away the need of managing the Symmetry tab at all. It makes it easier to Pose Symmetry by utilizing scripts for Daz Studio.
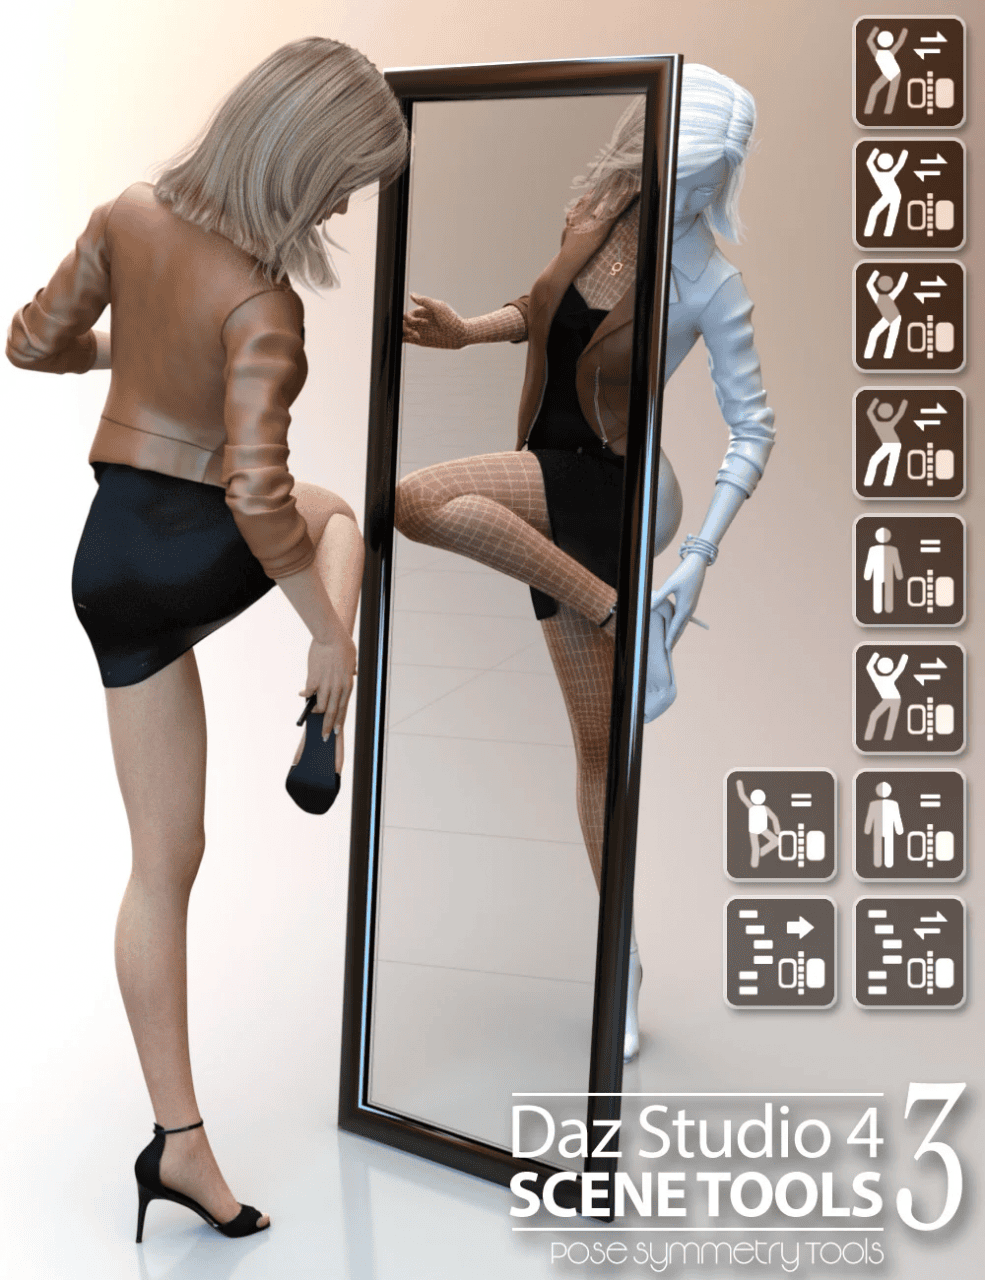
Source Daz Studio 4 Scene Tools Set 3 – Pose Symmetry by 3D Universe
Similarly, the Pose Fusion for Genesis to Genesis 8 by Zev0 & bitwelder is a big Pose Interface that allows for a lot of control over posing your character. Amongst other things such as Adjusting a Pose and Resetting it – you can also Mirror the pose.
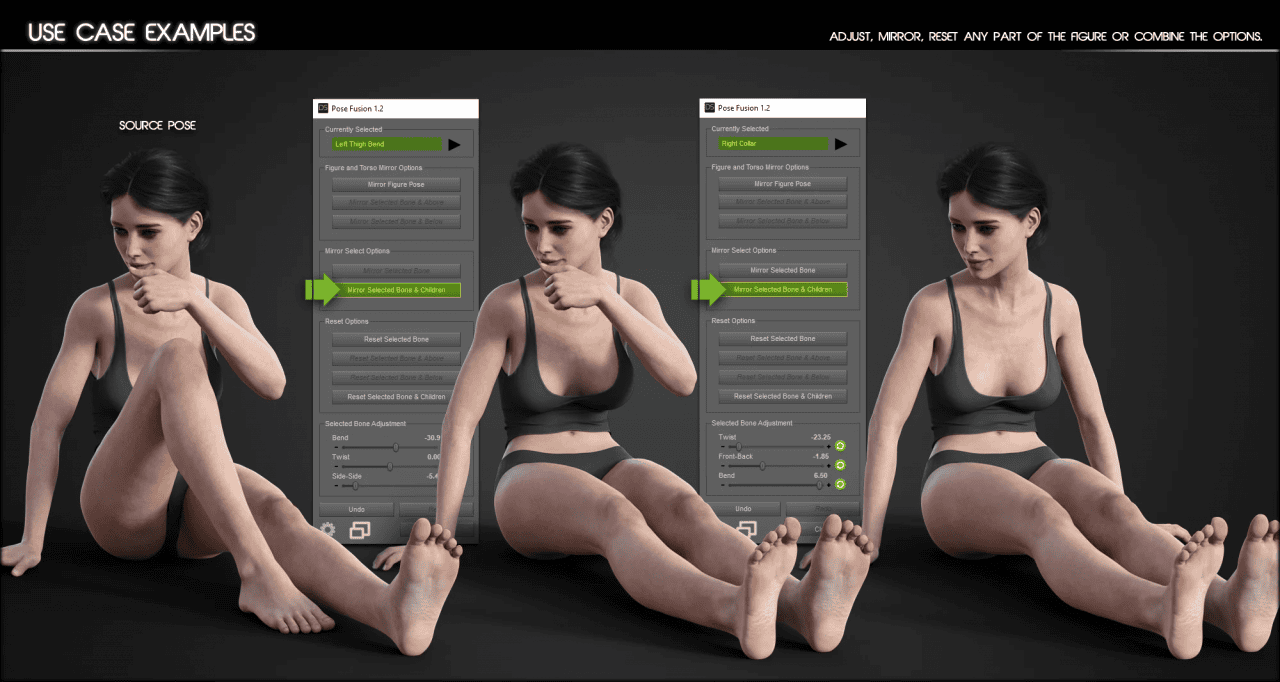
Source Pose Fusion for Genesis to Genesis 8 by Zev0 & bitwelder
Conclusion – How to Mirror a Pose in Daz Studio
I hope this tutorial about how to mirror a pose in Daz Studio was helpful. Both ways of mirroring a character are not that hard at all. Besides, if you have problems – you always can find useful products on the Daz3D Marketplace that will do difficult parts for you. We have a Daz3D Posing Tutorial that goes much deeper into posing and introduces how it is handled.