This Daz3D Posing tutorial covers many tips how you can pose your genesis character in Daz Studio. We cover several techniques you can use to do it. Posing is something that is really important for a good scene. A decent fitting pose will always make your scene look better and more believable. But how to understand what pose is fitting and how to create these poses yourself? Let’s look at the few tips that should help you.
Daz3D Three Main Posing Methods
The first thing that you want to know as part of this Daz3D Posing tutorial is that there are three main ways to pose your character manually. Meaning not using pose presets.
The first method includes using a tool known as ActivePose Tool. It can be found in the default layout on the toolbar amongst other most-used tools.

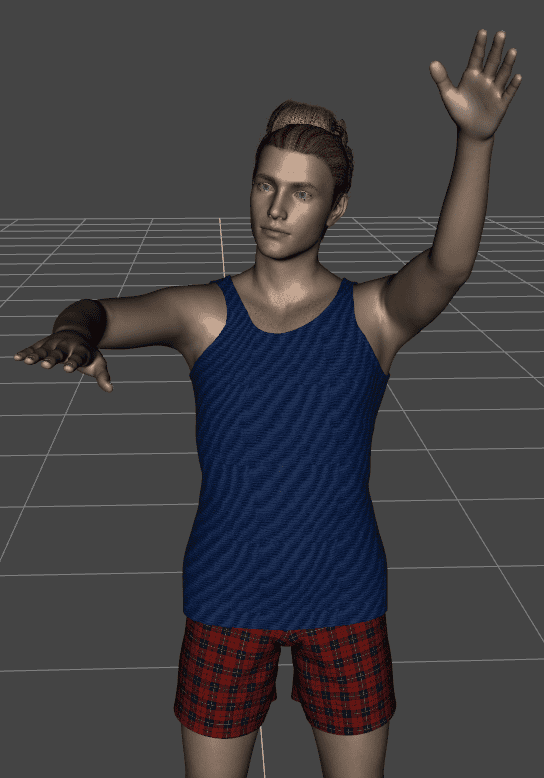
When the tool is active all you need to do to pose a character is click on one of the bones and drag it. When you hover over the character you will see its active bones light up like this:
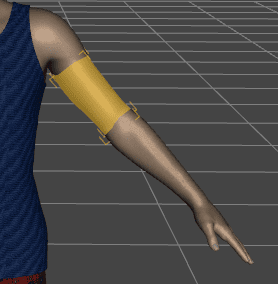
All you need to do now is to click on the highlighted bone and drag it. The thing with using this tool is that it not only moves the bone itself, but also all the connected bones in a way, similar to a real bone moving around.
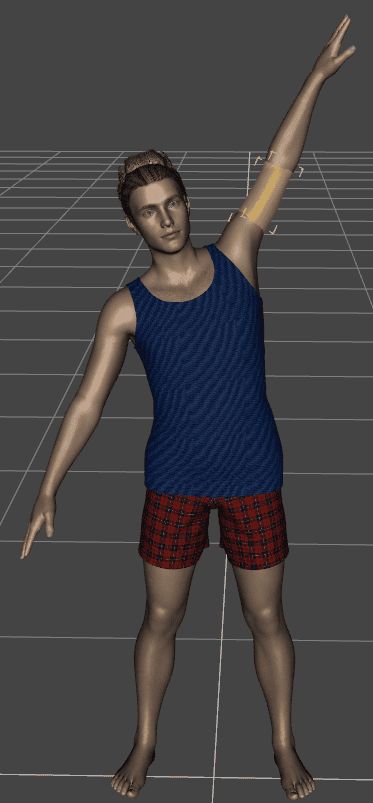
As you can see above, I have only moved the Shoulder Bend bone, but the whole body including even the head moved to compensate for the movement.
The main problem about using this tool is that it is really hard to use for precise movement. Any bone movement can and will disrupt the whole figure. And it is basically impossible to create a precise pose with this tool.
Though it can be good when combined with other methods that we are going to see further down the article.
Next is the regular Bone Posing. It is when you use the ActivePose Tool that we talked previously but use it to only select bones. Meaning that instead of clicking and dragging them around – just clicking on them to select. Then take a look at the “Parameters” window.
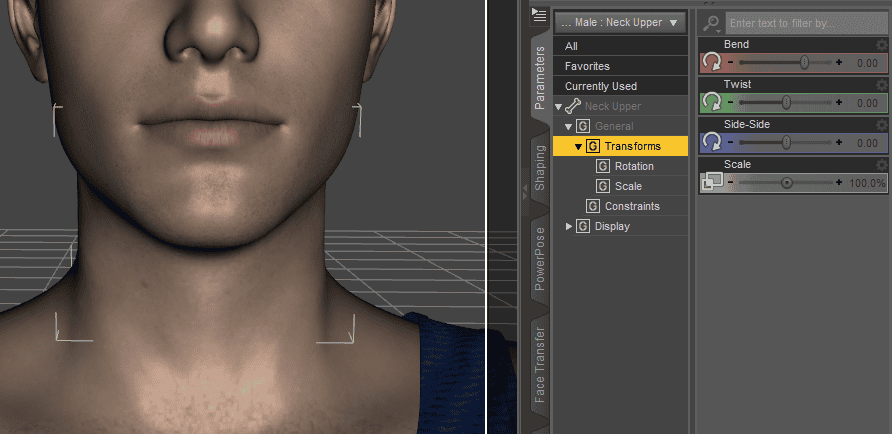
You can find here options to “Bend”, “Twist” and “Side-Side”. These are the transforms of the selected bone only. Meaning that when you apply them – only the one bone that you selected and its child-bones will move.
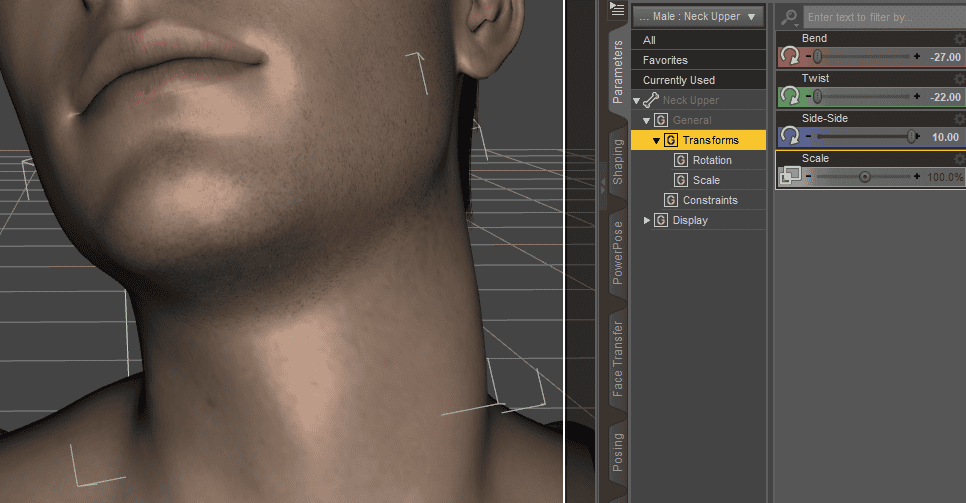
Advantages of this method over the last one is the precision. As you can select which bone to move, how to move and for how much. This allows a much more precise pose creation.
Also when you have a bone selected – you can use the gizmo that appears on the top left of the viewport. There you can also change the “Bend”, “Twist” and “Side-Side” transforms but without opening the “Parameters” window.
Third and last method is by using another interesting built-in tool. It is called PowerPose and is not open by default. To use the tool – you should open its window. It can be found amongst all other windows in the “Window > Panes(Tabs) > PowerPose”.

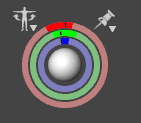
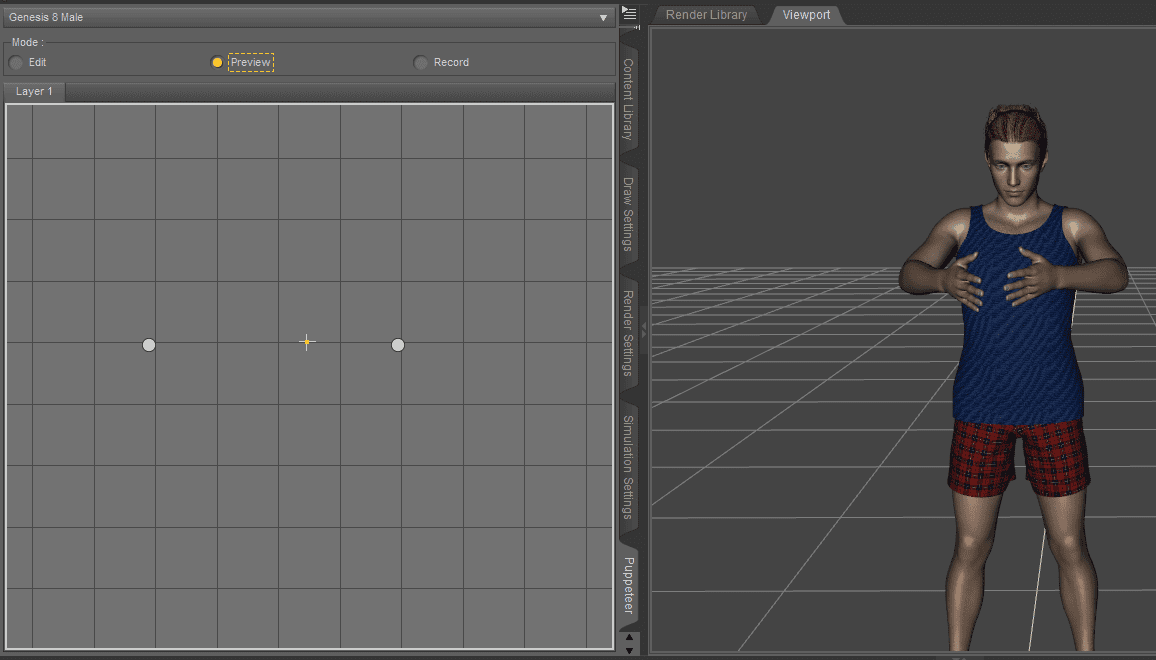
The window is used a lot, so a good idea to dock it somewhere. The interface should look like this:
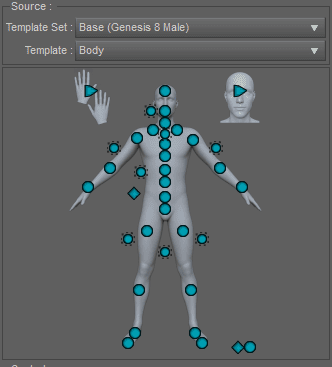
Here you can see all the bones on the character’s body as interactive points. And you can select these points and drag them around to see your character’s bones move. The best thing about PowerPose is that there are additional buttons available.
For example, the sun button allows you to control several bones at the same time. In this instance I am controlling both legs simultaneously. This is a really helpful mechanic that allows for easy posing.
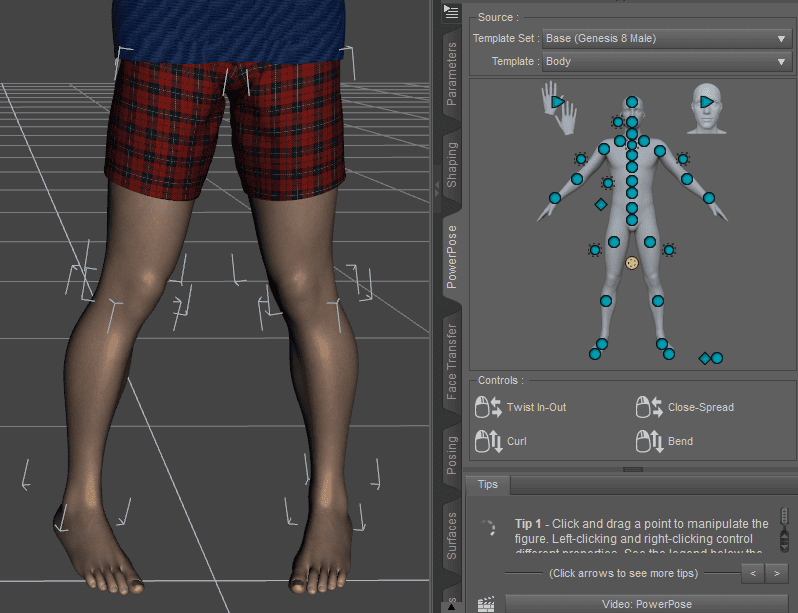
Using the sun button you can control things like: each of the hand and leg separately and simultaneously, the head and the torso. The only problem with PowerPose is that it needs templates to work with characters. And only Genesis 8 figures have good templates available,
Daz3D Facial Expression Posing
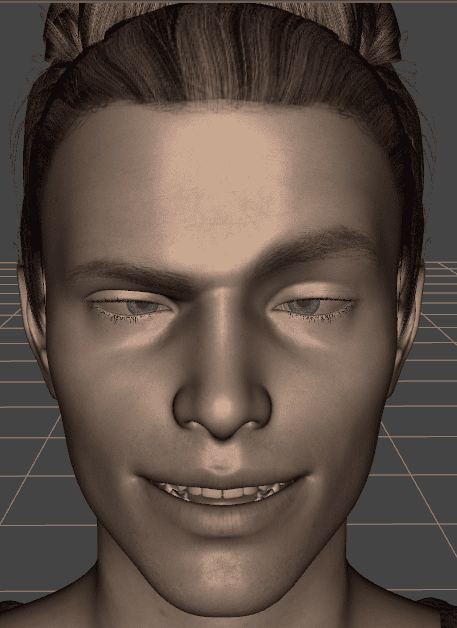
One important part of this Daz3D Posing Tutorial is also Posing Faces. The face is usually the first place that people look at when they see your scene. So a good face expression can influence the look and feel of the whole scene.
There are two main ways that I know of. The first one is the simple one – it is using sliders in the menu. If you select a character, then proceed to the “Parameters” menu and in the “Editor” select the “Head” – you should be able to find a lot of sliders for changing the face and facial expression.
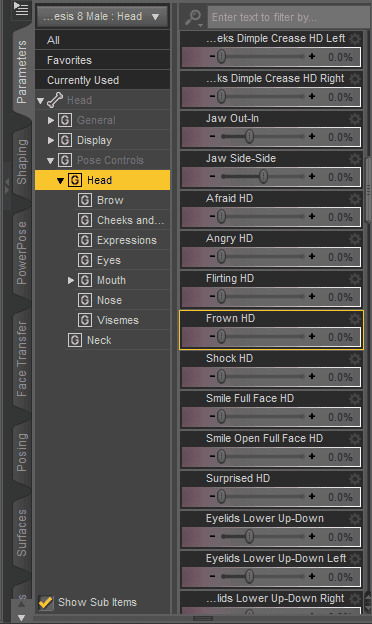
The thing with these settings is that they are really good and detailed. But there are not a lot of them, so it is hard to create something unusual and unique. And if there is no preset for your particular case – you can do nothing about that.

The other method of creating face expressions is more precise. And it again utilizes the PowerPose from the pose creation. At the top right of the PowerPose interface there is a head button available.
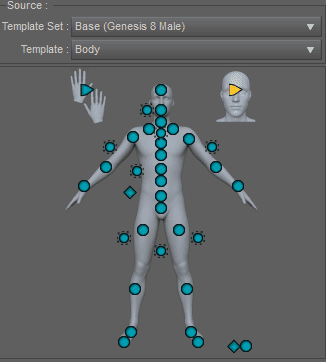
After pressing on it – the template changes from the Body to the Head. Here you can control the head overall, like where it is pointed at and also the expressions of the character.
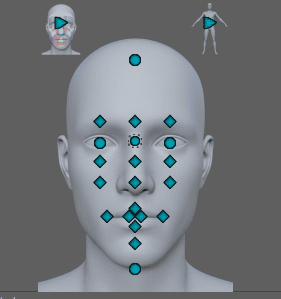
These settings are quite versatile and allow you to create some really interesting and unusual expressions. Besides, PowerPose is a comfortable tool to use, so creating these is easy.
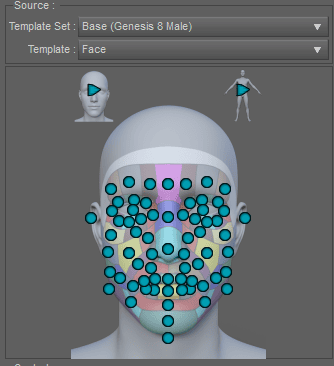
Additionally there is a Face template available in the PowerPose that allows you to control all the smallest bones on the characters face and create a really vivid face. Though it is a lot harder.
Daz3D Pose Animation
Also you can animate the poses that you have made. It would be a smooth transition from one pose to another.
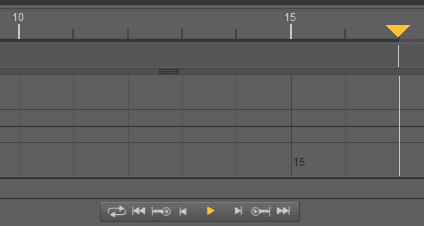
After you have made a first pose, open a Timeline and put a keyframe there on a first frame.
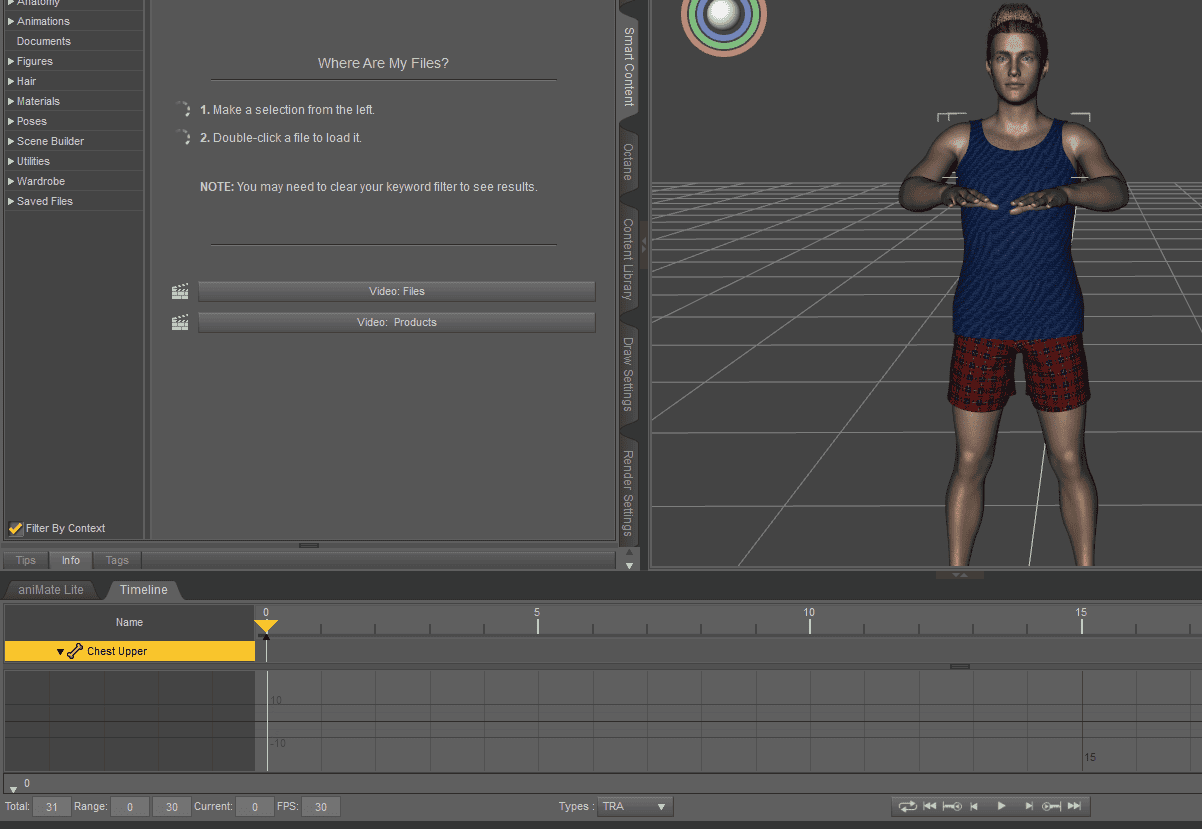
Then change the frame on a timeline to something later, like a 25-th frame or any other. After that change the characters pose to another one that you want a transition to. And put a new keyframe on the timeline.
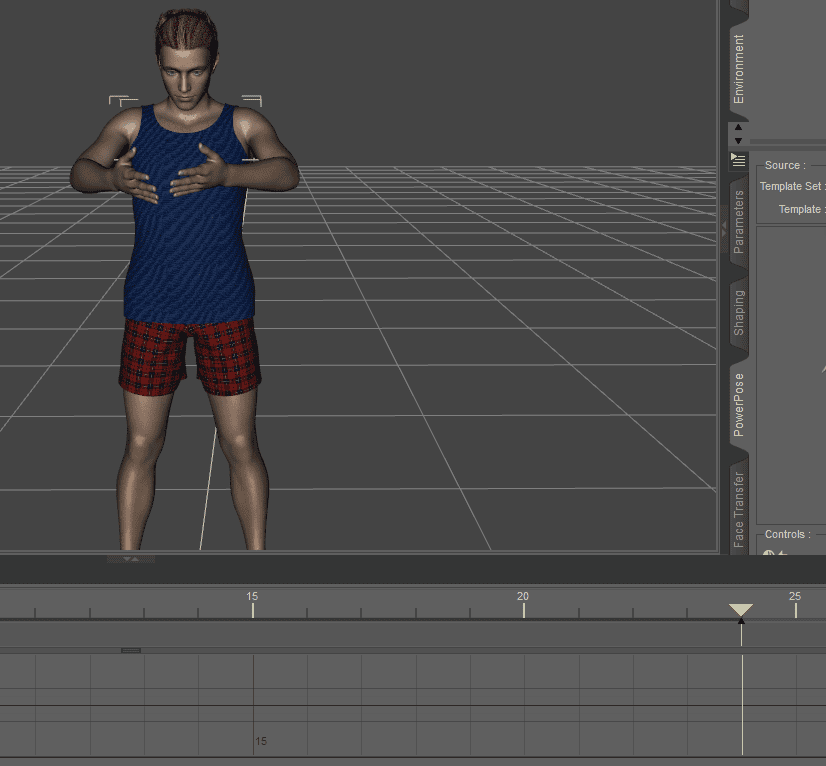
And now if you press a Play button – you will see your animation playing out in real time.
There is another way of creating animations from poses. It utilizes a Puppeteer tool – a quite interesting instrument that allows you to store poses as points on a graph and then animating them by moving your mouse around.
To learn more about animating in Daz Studio, about how to use Puppeteer tool and other animation tools – you should give our Daz Studio Animation Tutorial: Step by Step a read.
Daz3D Saving a Pose
After you have created your own pose that you are fine with – you will probably want to save it. Sadly, there is no clear and easy way for a novice to do it themselves, but we will teach you how to save your poses.
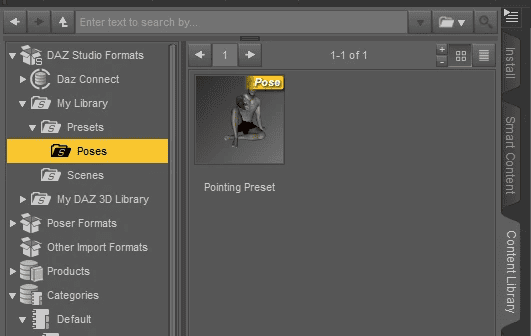
Generally you would want to save your poses as presets. This means that you would find your saved pose in the “Content Library” and would be able to apply it to any suitable figure.
From How to Save & Combine & Reset a Pose in Daz Studio
To save a pose – select a character that has a pose applied to it. Than proceed to the “File > Save As > Pose Preset”
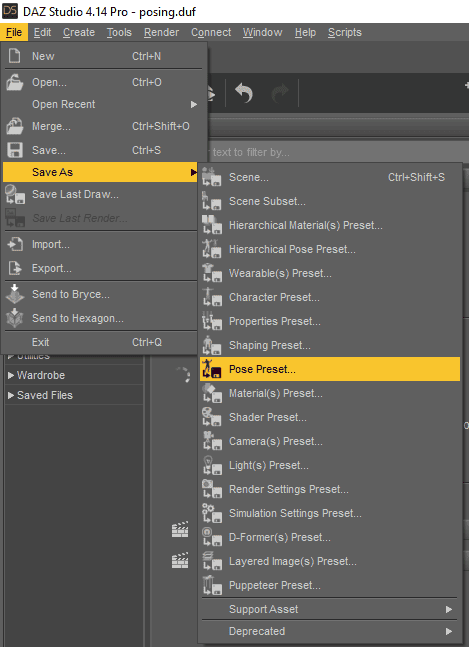
Then select a Path and name of a pose that you want to save. In the appeared window click “Accept” and the pose would be saved.
To learn more about saving poses as presets, resetting poses and other methods of saving a pose – check our How to Save & Combine & Reset a Pose in Daz Studio article.
Daz3D Pose Products
If you have problems with making poses yourself, struggling with the tools and precision of this Daz3D Pose Tutorial – there is always a way for you to find ready-made poses on Daz3D Shop. There are a lot of different poses that can be found there.
Some poses are really generic, that can fit in a lot of different scenes, lightings and environments. This includes products such as Z Photoshoot Builder Props and Poses for Genesis 8 by Zeddicuss which includes a set of different props and poses that are themed around fashion and modeling:

Source Z Photoshoot Builder Props and Poses for Genesis 8 by Zeddicuss
The Sister Poses for Genesis 3 and 8 Female by aurora is another good set of poses that can fit a lot of different scenes, where you want to render out a pair of sisters.
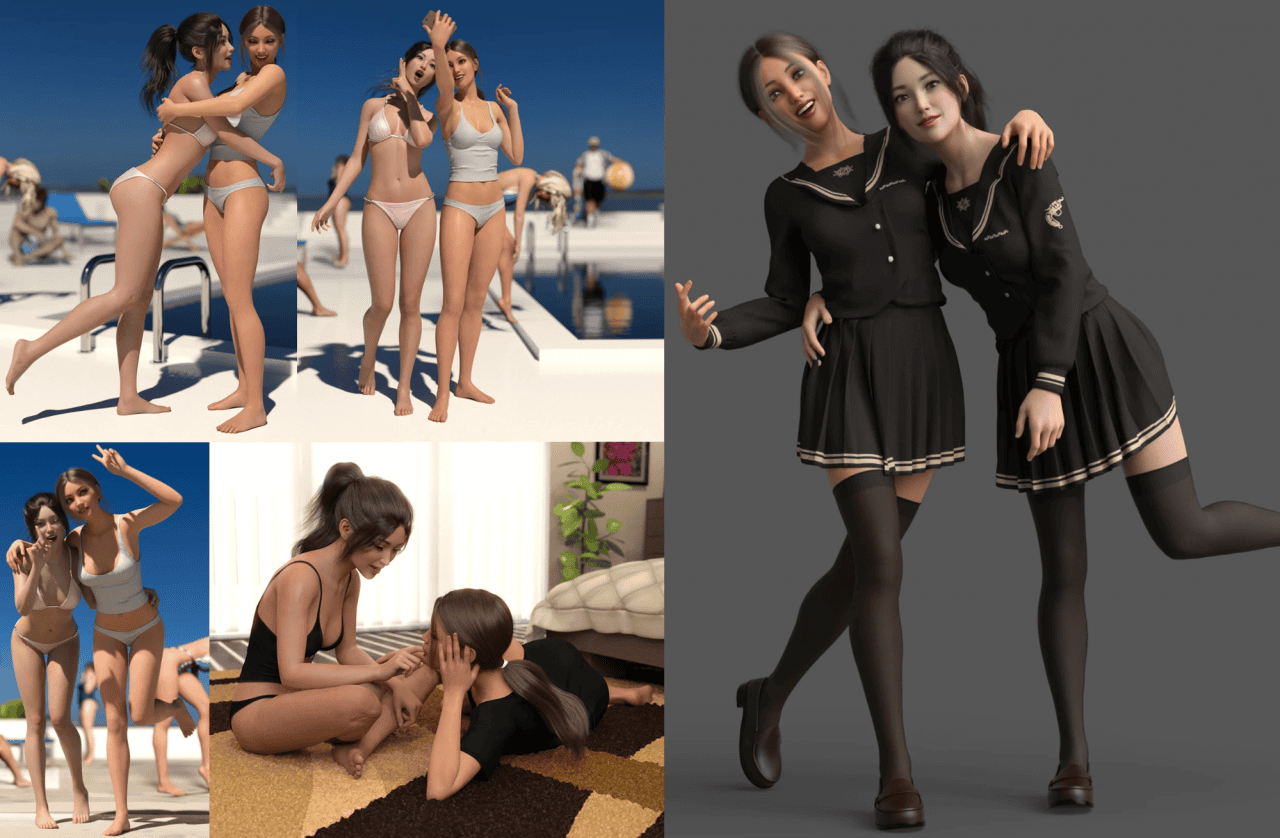
Sister Poses for Genesis 3 and 8 Female by aurora
On the other hand – there are some pretty specific poses available there. Poses that made for a specific reason that will fit only a really small amount of scenes. Meaning that there is a good chance that even if your scene is really specific – you can still find a suitable set of poses for it.
A good example is Z Police Props and Poses for Genesis 8 by Zeddicuss. Because even though these poses are quite good – they can only be used in a scene, where there are some kind of police people.
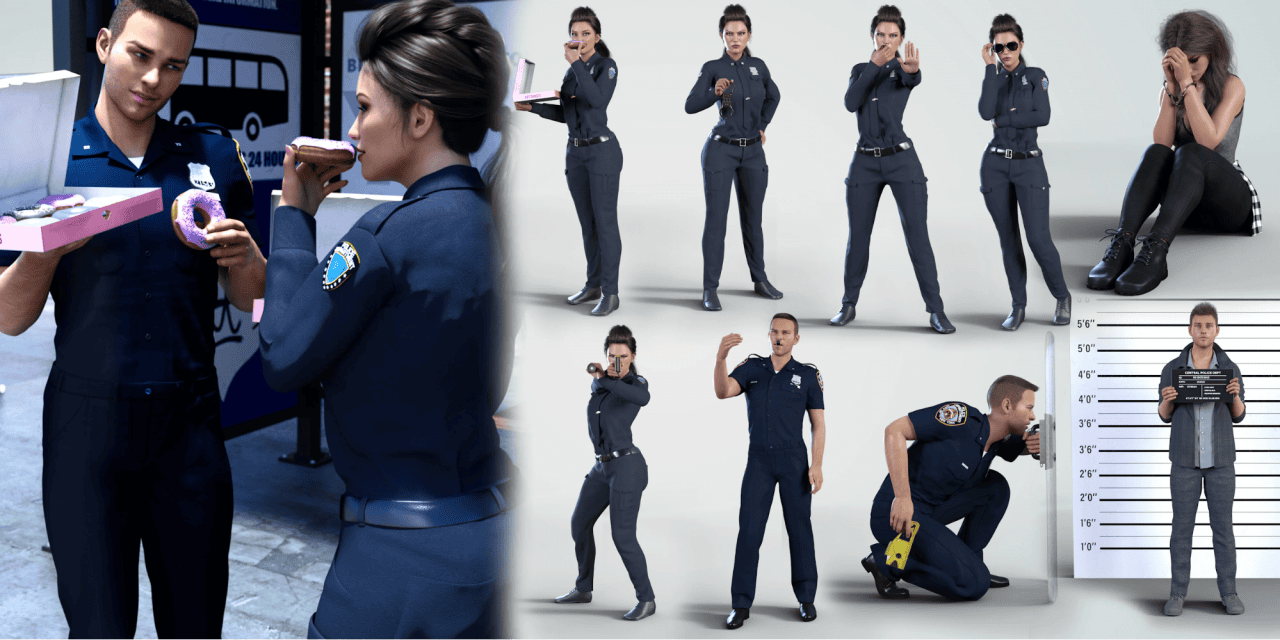
Source Z Police Props and Poses for Genesis 8 by Zeddicuss
Same goes for the 101 Series: Pure Elegance Ballet Poses for Genesis 8 Male by 3D Sugar. These poses are detailed and overall awesome. And even though the theme is quite unusual – I am sure that there are a lot of people who are glad that they use them.
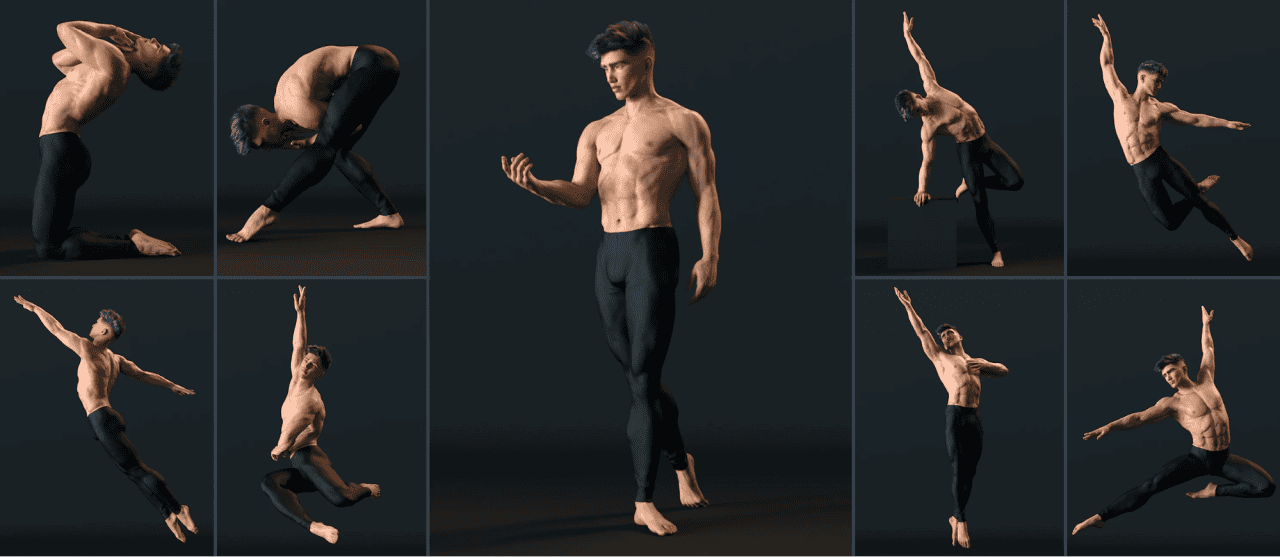
101 Series: Pure Elegance Ballet Poses for Genesis 8 Male by 3D Sugar
Conclusion Daz3D Posing Tutorial
We hope that after reading this Daz3D Posing Tutorial you now know how to pose your character in the Daz Studio, received some tips and overall improved your level of posing. And if you find that it is hard for you to handle posing – remember that there are always pose presets that you can use. Also have a look at our How to Save & Combine & Reset a Pose in Daz Studio Tutorial and our other Daz3D Tutorials.