This tutorial explains you everything about how to animate in Blender. We will cover all kind of techniques related to animations step by step in Blender.
Animation is a very vast topic and is not something that you can learn in a few days or especially hours. Learning and comprehending animation requires a lot of time. So in this article, we will be looking only at the very basics of animation in Blender. How to start animating and what you need to do for that.
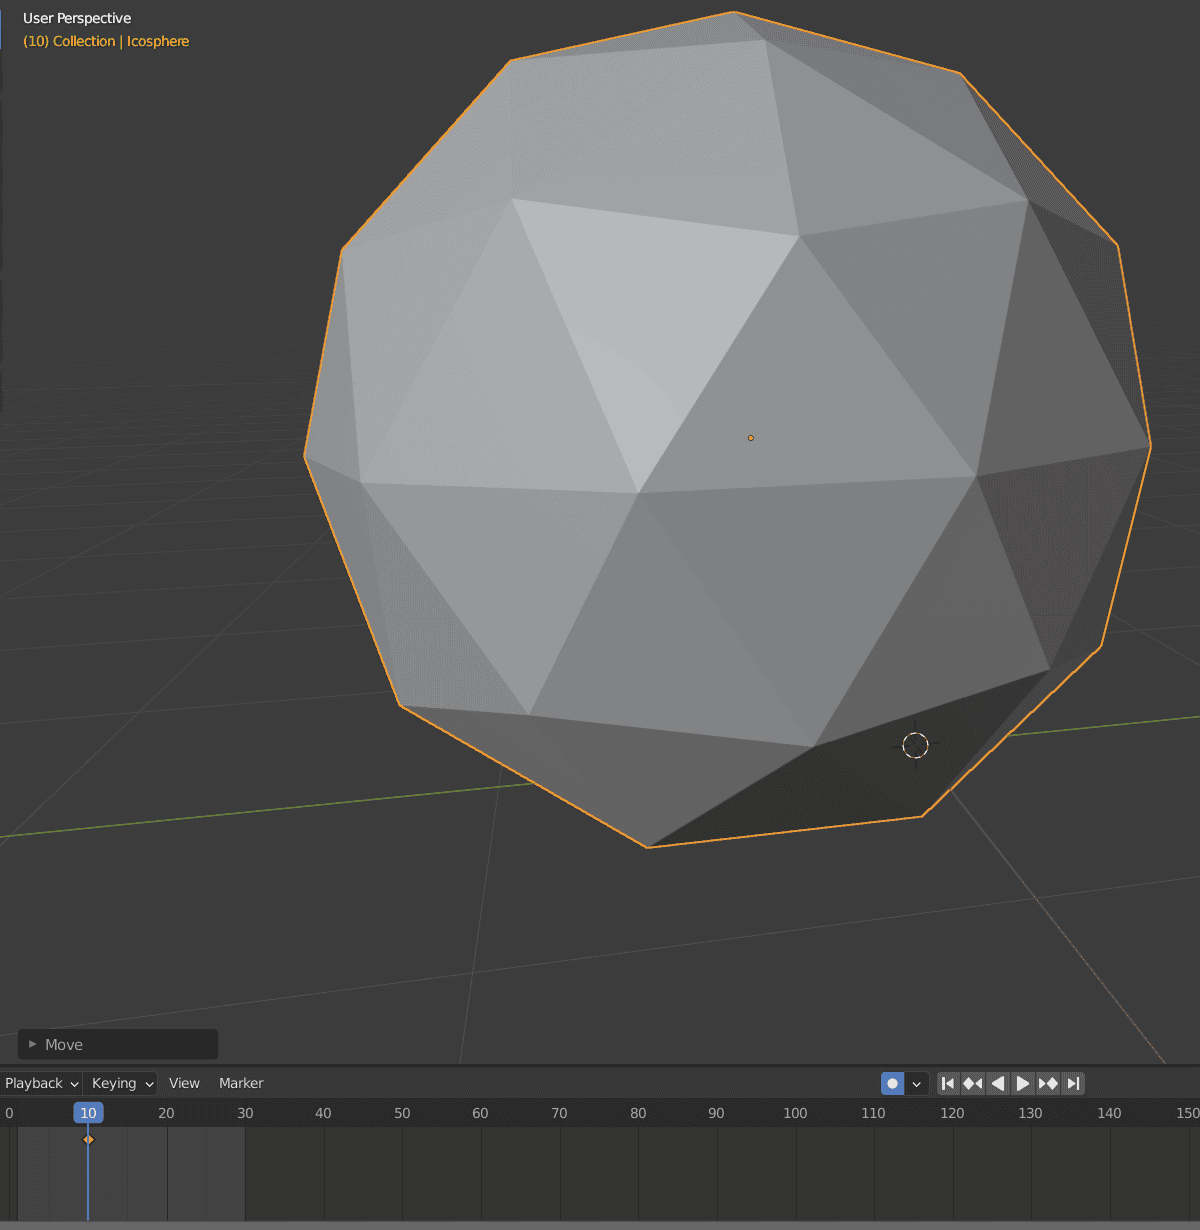
Timeline Editor in Blender
First of all, we need a tool that will help us animate in Blender. This tool is called a Timeline Editor. It is a window(editor) that is open at the bottom of the screen in a default Layout.

It is the main editor that you will need for working with animations. There are more editors for this, such as Dope Sheet or Graphs. But those are more complicated and advanced, so for now we will stick with the Timeline.
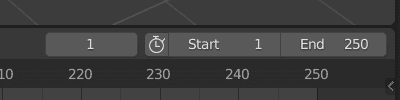
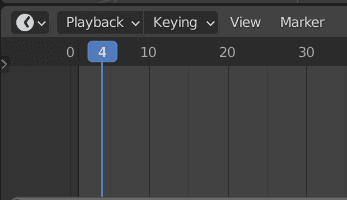
So on the Timeline, we can see a playhead – a blue line showing us the current frame.

Also here we can see all the frames of the animation. Right now they range from 1 to 250. At the top right there we can also see which is the current frame(1), the start frame of our animation, and the end frame.
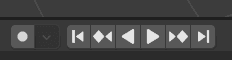
And in the middle, there are main controls buttons for animation. Here you can play and pause an animation, play animation backward, jump to the previous or last keyframe and also jump to the first and last frames of your animation.
So you have almost everything that you need to work with the basic animations. The only major setting that is missing here is the ability to select the Frame Rate. Frame rate is the number of frames your animation will have in one second. Fewer frames lead to a stuttery result and more frames give a much smoother result. Though the more frames you have in a second – the longer it would take to render this second.
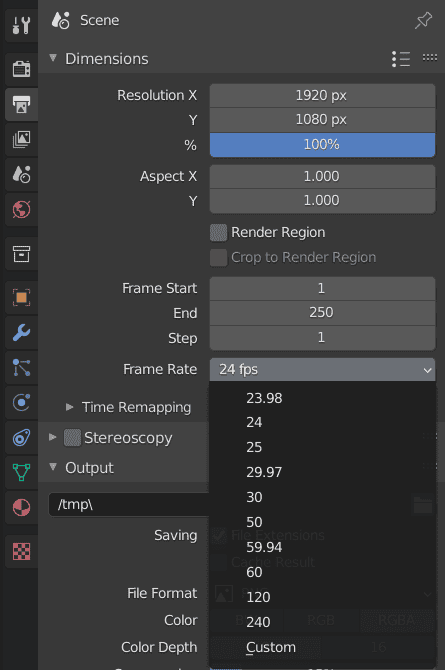
Settings for the Frame Rate are located in the Output Properties tab of the Properties Editor. 24 fps is a usual Frame Rate for most movies, while TV Shows get up to 30 FPS. But with each day higher frame rates become more common. Especially on the internet.
Animation in Blender Keyframes
The main things that you will need to work with animation are keyframes to animate in Blender. Keyframes are frames that contain information about the object on this exact frame. So when you have at least two keyframes with different information – Blender can animate this shift from one state of the object into another.
It will be easier to understand in practice. So first of all you need to move the Playhead on the frame on which you want to create a keyframe. Let it be the 4-th frame for me.
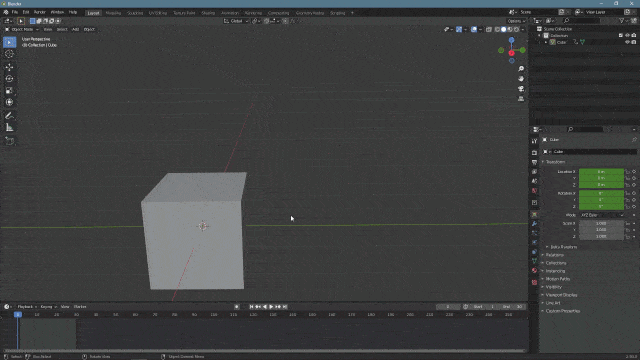
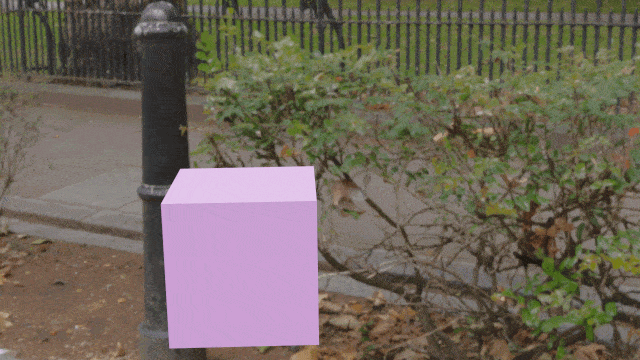
Now you put your object in any state that you would like it to be at the start of the animation. I will just leave the default Cube at its start position in the center of the scene.
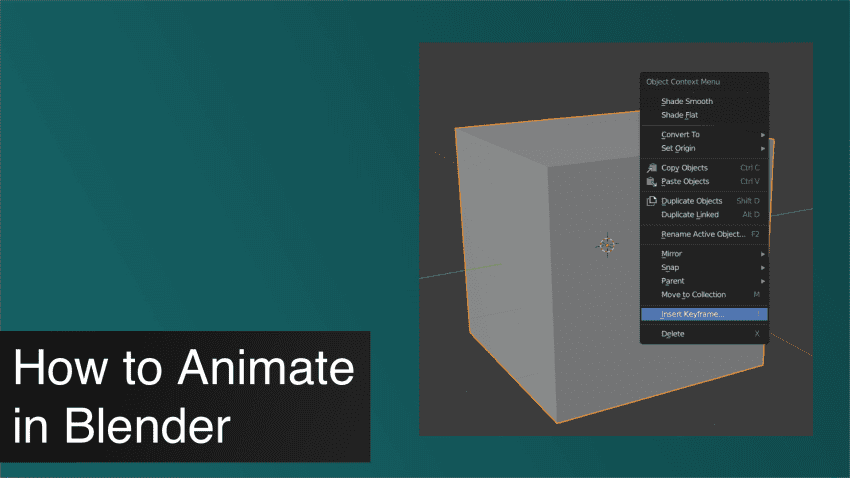
Next, you select the object and right-click on it > Insert Keyframe. Alternatively, you can just press the [I] on a keyboard.
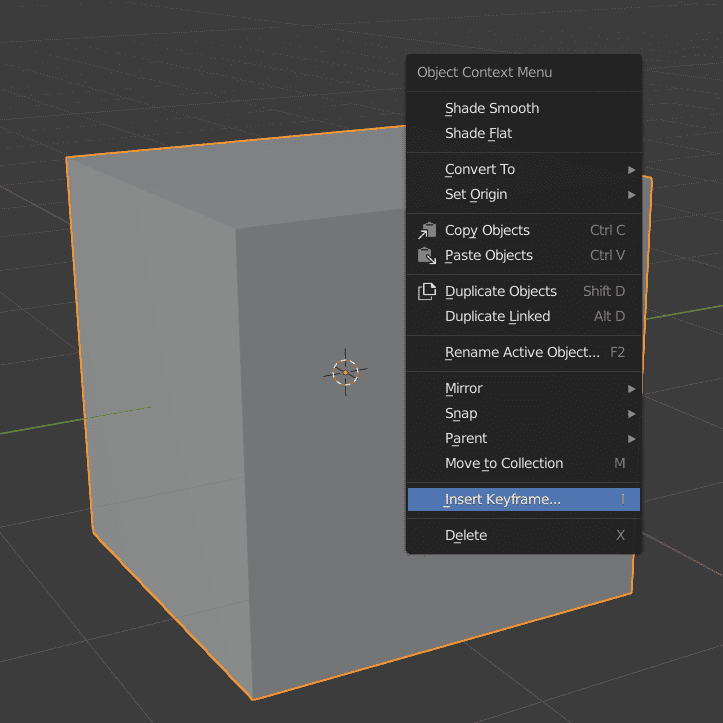
This will bring up an Insert Keyframe menu. In this menu, you can choose which type of keyframe you want to create. It can be overwhelming from the start, as there are a lot of them.
But most of these just save Location, Rotation, or Scale information and combinations of the above. Any other types, such as Delta Location and others – are on a more advanced side and you won’t need to use them anytime soon, if at all.
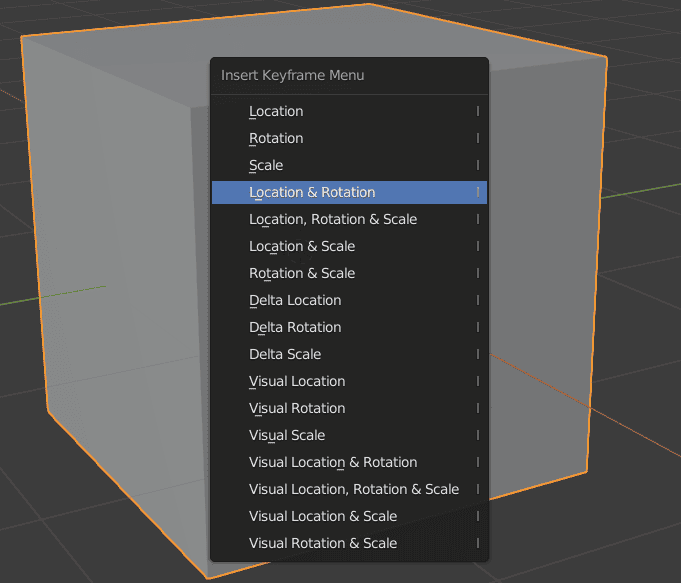
The most used one here is the Location & Rotation option. This covers most of the stuff that you will animate, as you don’t often need to animate scaling. And basically, any other type of movement is animated by changing the location and rotation of an object.
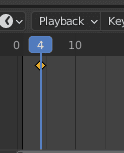
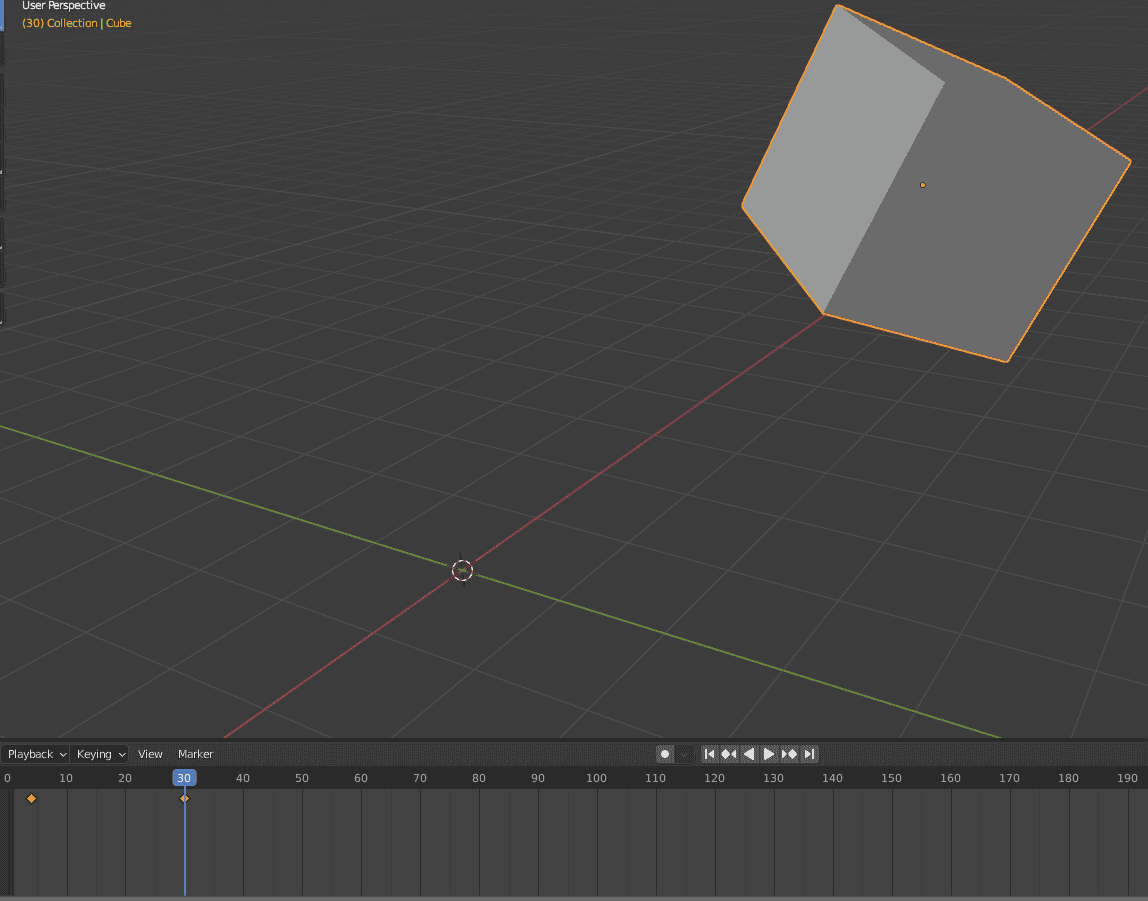
After choosing a type of keyframe and clicking on it, you will see a keyframe appear on a timeline. It should look like a yellow diamond shape.
Next, we need to create another keyframe. The first thing that you need to do is change the current frame. Because if you make changes on this frame – it will either override the existing keyframe or all your changes would be gone, depending on the situation. So it is important to move the playhead to another frame.
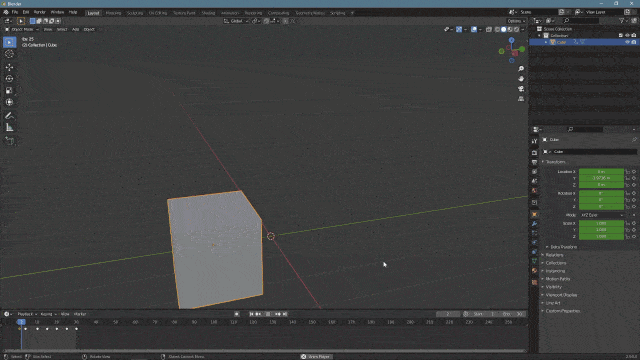
When you move the frame, it is time now to change the properties of an object. I have moved it a bit on all three axis and rotated a little. Then create a keyframe.
And the very simplest animation is now ready. All you need to do is press the Play button or hit [Space] for it to play in real-time. Also, it can be a good idea to match the number of frames in the animation to the end frame, so it would loop nicely.
And this is the basics of creating animations in most animation software. You create keyframes with different states of an object and then the program automatically fills everything in-between.
This was an example of a very simple animation. Most animations are not as simple and consist of a lot more than just two keyframes. Instead, there are tens and sometimes even hundreds of keyframes needed to create a proper animation. So I would recommend you to try things out a bit more and add more keyframes to the existing animation and see how it works.
Auto Keying
An additional thing that you will need to know about creating keyframes in Blender is the Auto Keying functionality that will help to animate in Blender. You can find the button for Auto Keying on the Timeline, near other animation controls.
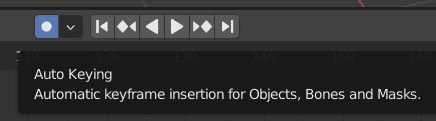
As it is stated here: it will automatically insert keyframes for you. So instead of manually opening the Insert Keyframe window and choosing which type you need – it will do this automatically for you.
For example, you turned on Auto Keying and your playhead is on frame 10, where there are no keyframes.

As soon as you apply absolutely any kind of transformation to the object – it will automatically create a corresponding keyframe for you. So when I move my object, the Location Keyframe is created.
There is no need to do anything else. And it works with any kind of transformation. So if I would rotate an object on the same frame – it will also add a Rotation Keyframe automatically without overriding the Location Keyframe.
It is a very easy and convenient way to animate in Blender. It can save a lot of time and be very comfortable. But if you are not yet familiar with it enough – you can easily override existing keyframes or create extra ones without noticing it. So you may need some time to get a hang of it.
Baking and Rendering an Animation
Blender Baking Animation
When you are done with your animation – you will obviously want to render it. But before that, you may want to bake it first. Baking an animation is not necessary, but it is useful. Especially for the more complicated animations.
What Baking animation does is guarantee that animation would look exactly as it looks at the time of Baking. Also, it should minimize any problems that it may have had.
Baking is very easy. All you need to do is select an object that has animation and go to Object > Animation > Bake Action and this will help to animate in Blender with more stability.
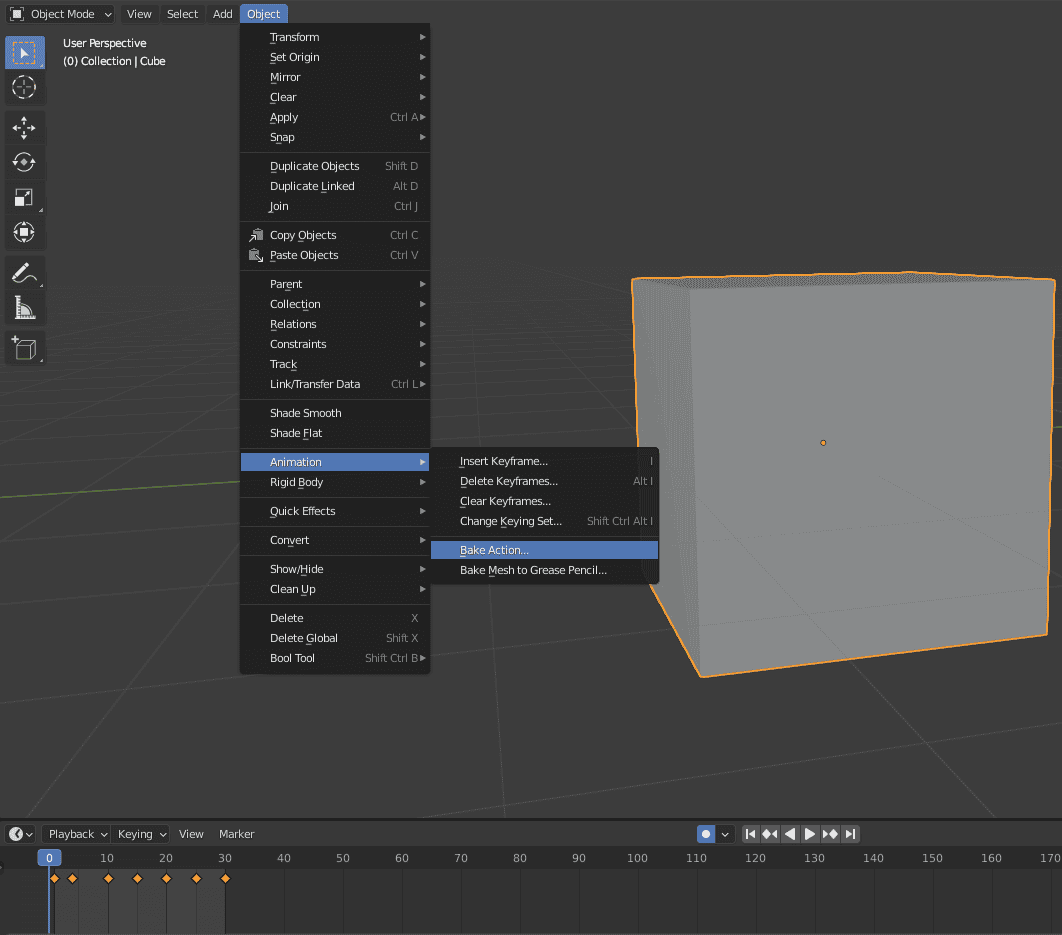
Then the window would appear that has some baking settings. In most cases, there is no need to change anything, so just press OK.
At first glance, nothing happened. But if you look closely at the Timeline – you will see that now each frame of an animation is a keyframe. While previously I had only 7 keyframes.
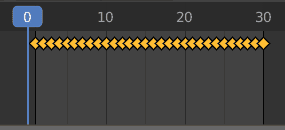
The rest of the animation and objects in general should be without any changes. This is how baking works – it takes your current animation and fills all those gaps between keyframes with the information that should be there. This way, Blender will always know exactly what movement should be done between each keyframe and so on.
Though notice that it is a lot harder to make any changes to the animation, that have already been baked. As it is much easier to change 7 keyframes than it is to change 30 keyframes. So Baking is the last step that you take only when you are sure that you are done with your animation.
Blender Rendering Animation
Animation is done and baked, it is now ready to be rendered. Rendering animations is not as easy as rendering images, where you usually just press [F12] and wait for it to be done. We need to change some things. A very important first step is to visit the Output Properties of the Properties Editor.
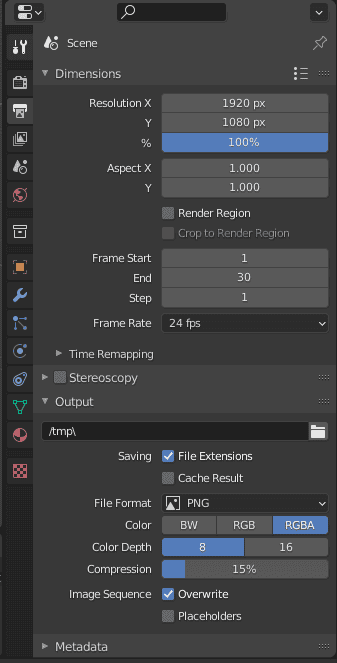
We have already used it to set the correct Frame Rate. Now you need to double-check everything. Is the resolution right? Remember, that rendering video is a lot more difficult and will be much longer than animating an image. So you may want to lower the resolution to make renders faster.
Check whether your Frame Start and End are correct. Because you will render a lot of unneeded frames if they don’t match. Lower you can select the Output path. This one is important because the default “tmp” path is regularly cleaned.
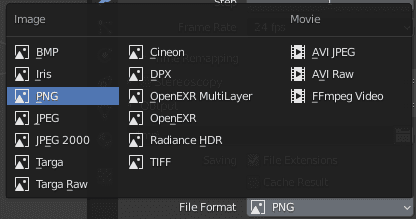
Next is the File Format. This one is very and very important. There are a lot of options here:
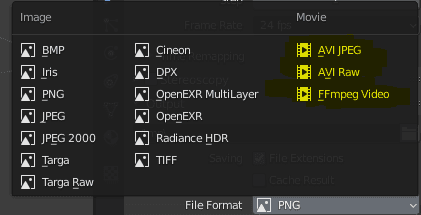
The logical thing would be to choose any of the Movie variants, right? As we except the video as our output. This may be a correct assumption, but not something that I and many others recommend doing.
You see, when you are rendering as a video file – it needs to be rendered like that from the first to the last frame to receive the result. So if an error happens in the middle – you need to redo everything. The same happens if you want to add any changes to animation later – everything needs to be rendered again.
But if you choose an image output – you will receive an image sequence. Single image for a single frame. This way, if there is a problem of any sort – only the single frame would be corrupted and you will need to redo only it. Same way, if you want to change something later – you can change specific frames and render only these frames. So I recommend sticking with an image output.
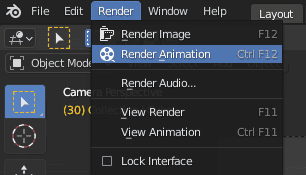
When everything is ready and checked – you can proceed to render. Just press the [Ctrl+F12] combination or go to the Render > Render Animation.
You will see Blender rendering each frame of your animation one by one. When it is done – you can find all the rendered images in the path that you set in the Output setting.
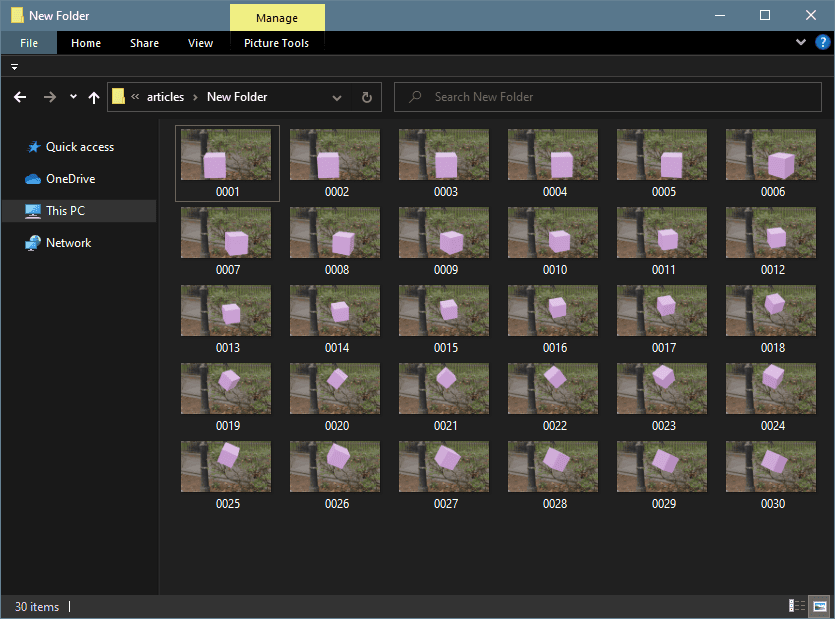
Then you can use any video editor or even some image editors to create a video out of these images. Don’t forget to match the Frames Per second with what you set in the Blender.
Conclusion – How to Animate in Blender
This is it for the basics of animation. As was already mentioned – there is a lot more to how to animate in Blender and you can’t learn everything just out of a single article. But I hope that it is a good start that helps you to learn how you can start animating in the Blender using Keyframes.
Learn a lot more about Blender on our website. We have an awesome Blender Basics Tutorial series for beginners to start working in Blender.