This Daz3D Subsurface Scattering Tutorial explains all about what SSS is and for what it is useful for to make better renders in Daz Studio.
There are a lot of different interactions an object can have with light. One of them is Subsurface Scattering, also known as SSS. It is when light is absorbed and scattered around the object’s subsurface. It is a very important interaction because one of the materials that interact like this is our own skin. So if you want to have a believable human on your scene – it must have a Daz3D Subsurface Scattering applied.
What is Subsurface Scattering
As I have already said, it is when light is scattered around the material, in our case – skin. In Daz Studio, when you add a character to the scene – it will already have the Daz3D Subsurface Scattering active, so you can see it right away.
The best way to see SSS is to point a strong source of light at the thin part of the skin. This works both in the real world and in the Daz Studio. So to show this effect, I have created a very simple scene:
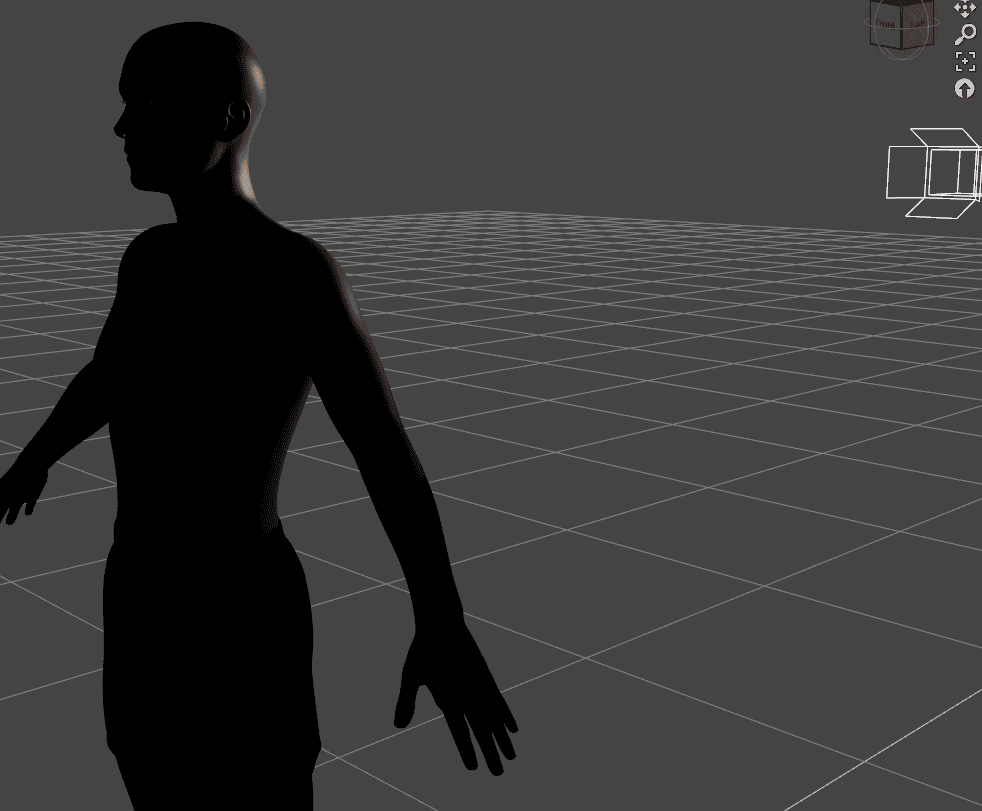
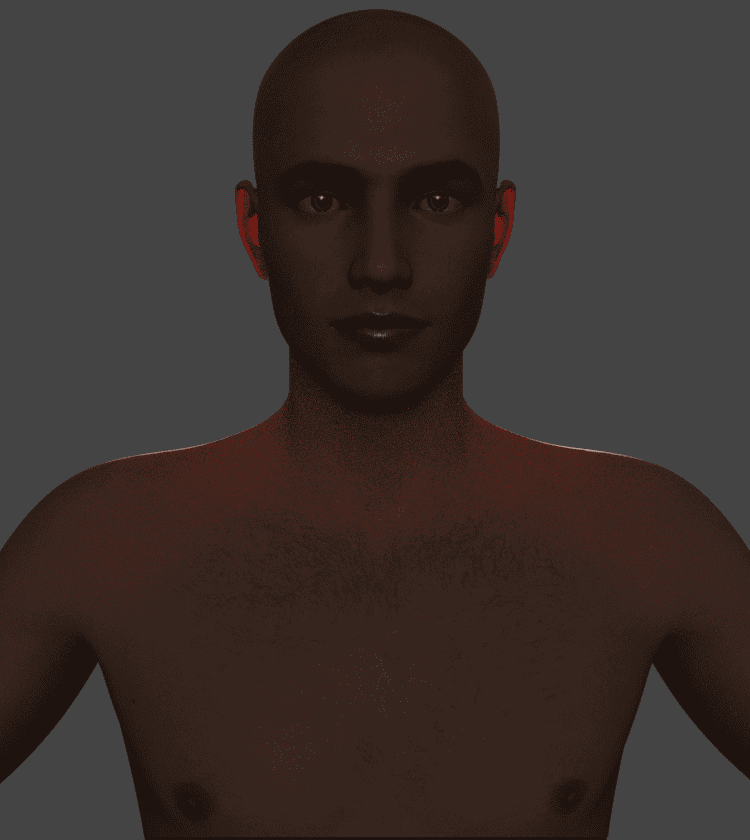
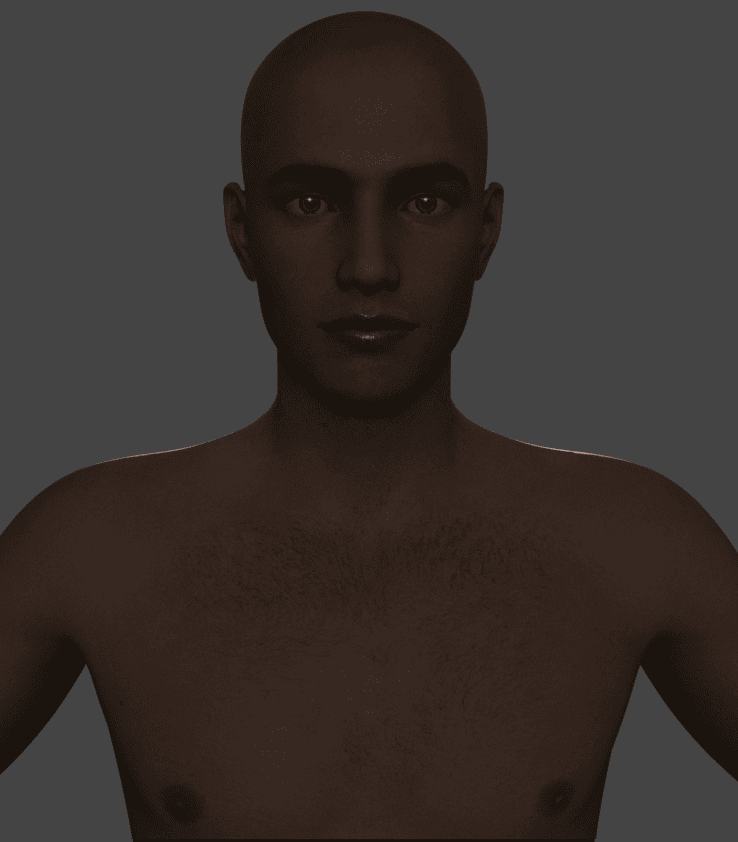
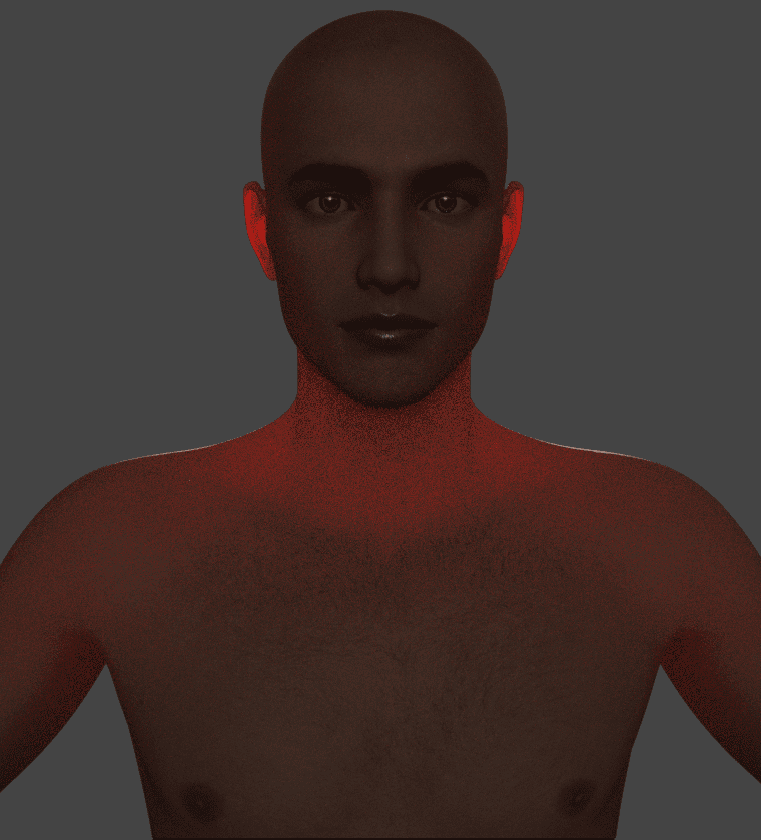
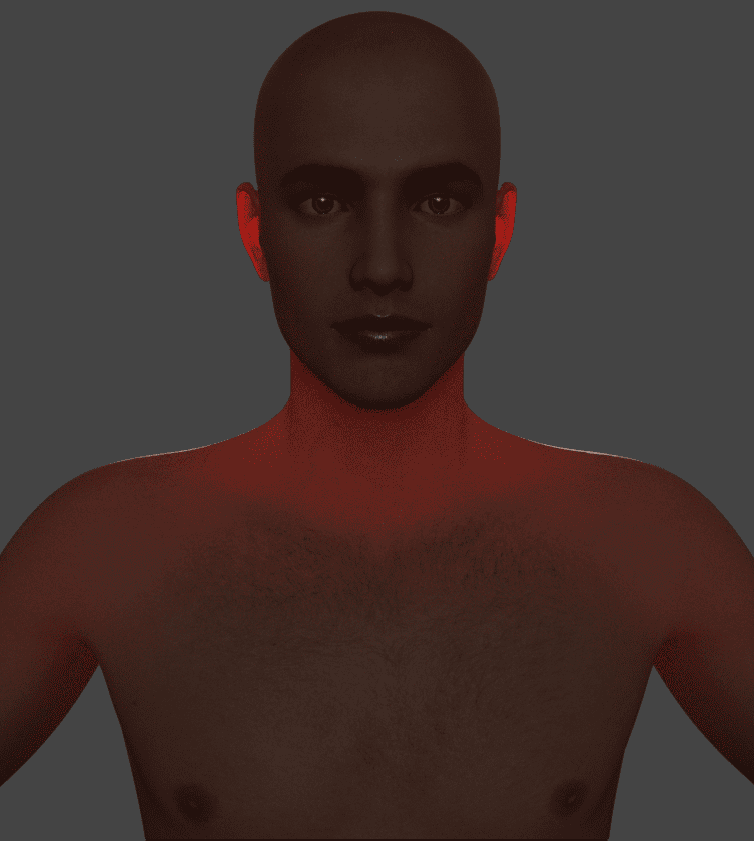
Here I have a Genesis 8.1 Male character standing in front of the strong spotlight. Also, I have turned on a little bit of the Environmental Lighting, so it would not be totally black from the front. Here is rendered look:
Notice the red glow in some places. Most evidently: the ears are very red, also you can see a little of this effect on the shoulders. This is what we are talking about, the Subsurface Scattering. Lighting goes into the body and scatters around, so we can see through it and see the red blood vessels under the skin.
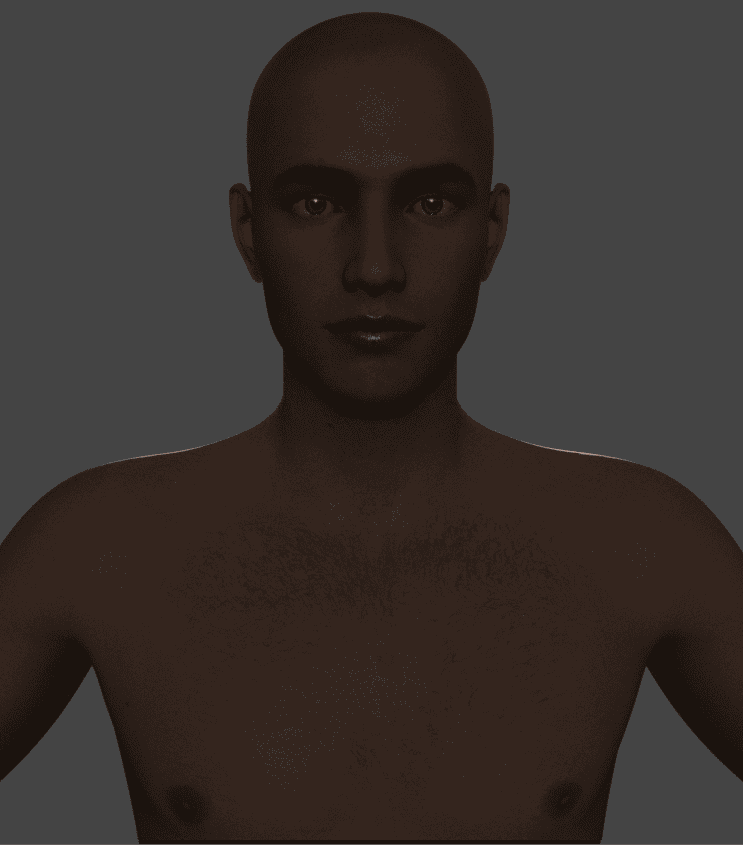
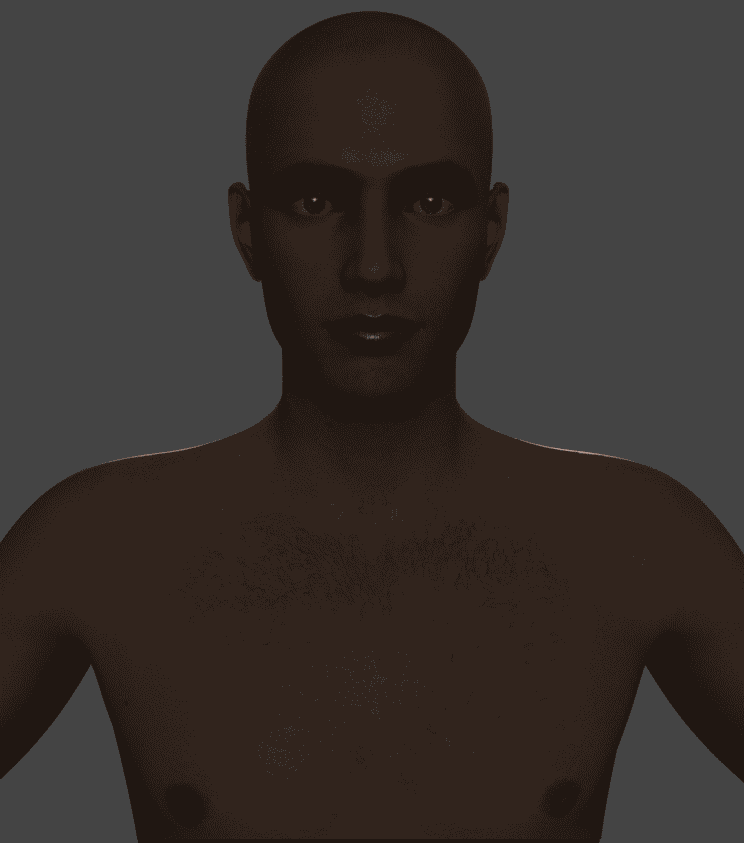
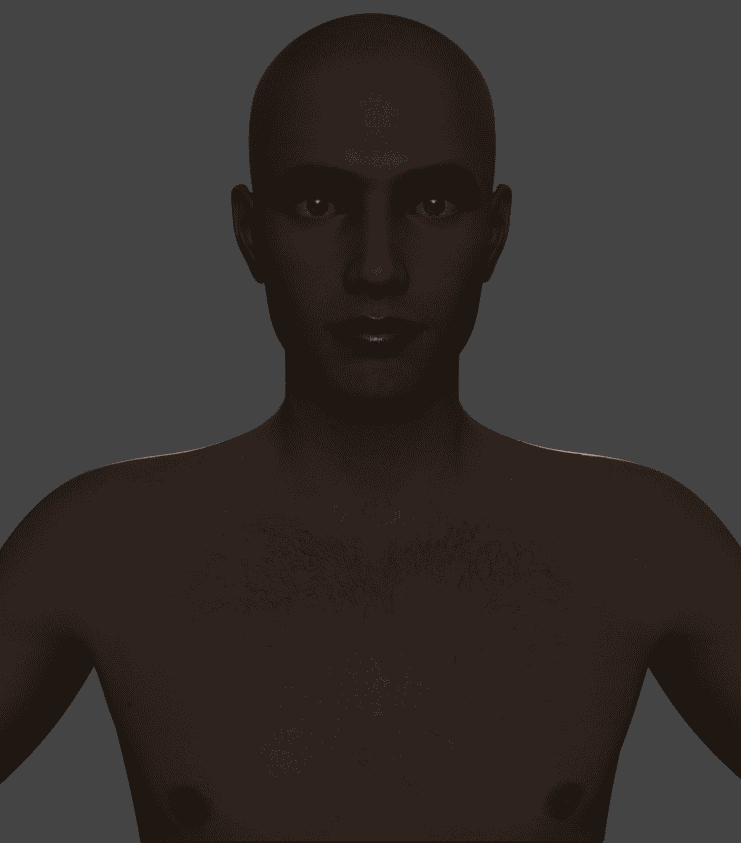
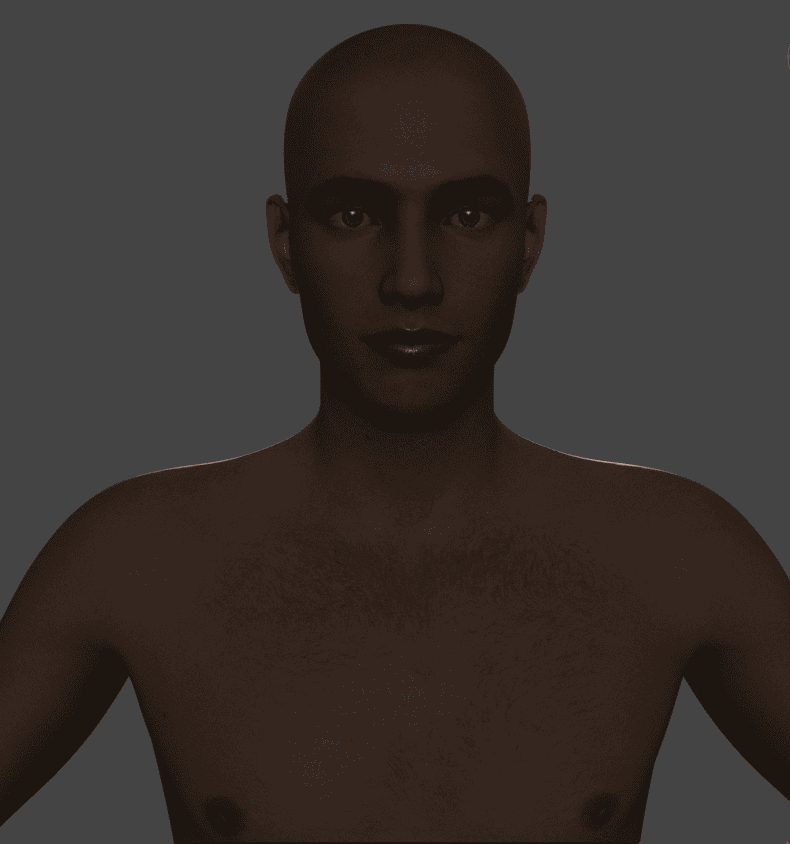
This sounds like a very small detail – a bit of glow in some places. But SSS does a lot more than that, this is just the most noticeable result. If you wonder how this character looks without any Subsurface Scattering – here is the result:
No Subsurface Scattering
Does not look too great. Instead of scattering the light – it was just absorbed. It feels as if the character has the light inside of him. So that is why we need a proper SSS.
You may also think that why would you need to know any of this if characters already come with the SSS? Well, it is partly true. But default Subsurface can be bad or even really bad, depending on the character. So you can improve on this a lot and make your character look more believable if you know what you are doing.
Subsurface Scattering Settings
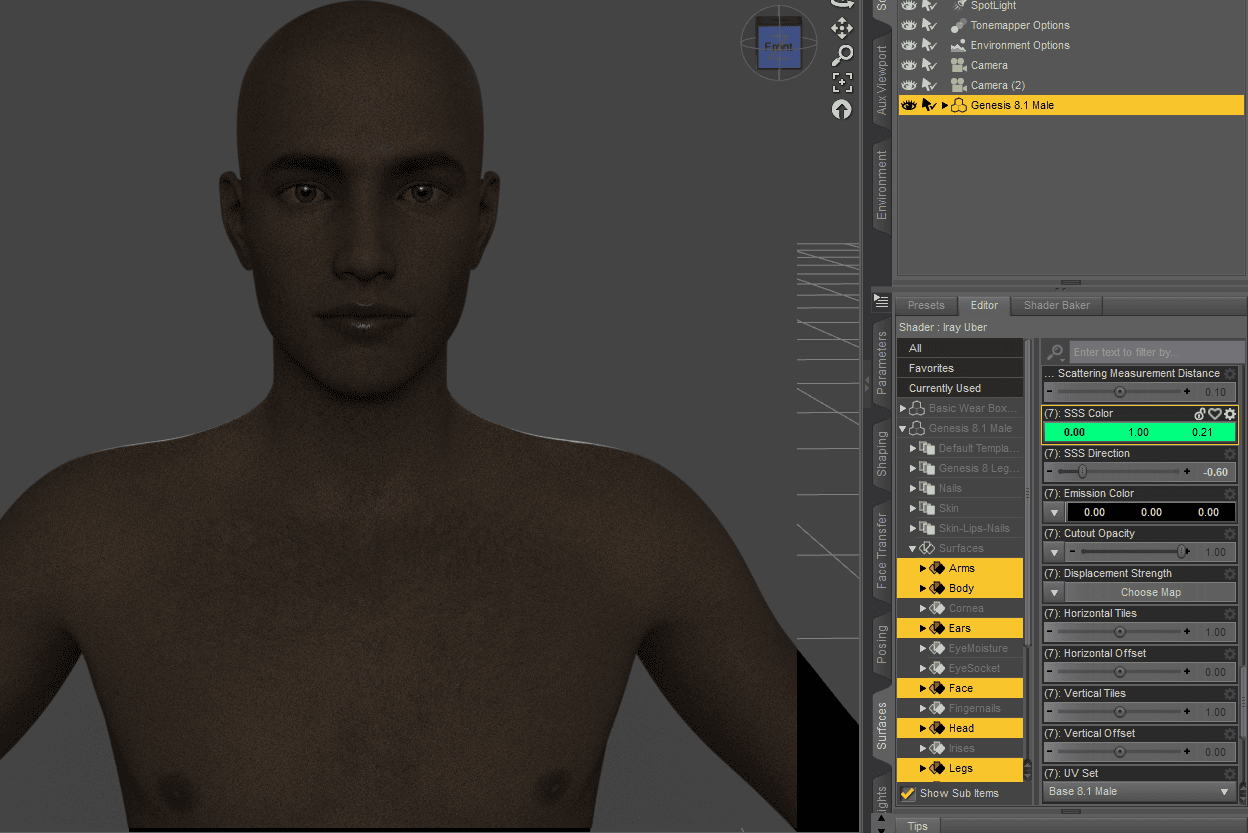
To access any settings connected to the Daz3D Subsurface Scattering (SSS) – you need to select the character and proceed to the Surfaces tab. In the Editor here you need to select the parts that we are going to work with. It would be logical for this to use a Skin selection preset, but sadly it is not ideal. It does not include Lips and instead has Eye Socket. So I select the right parts manually.
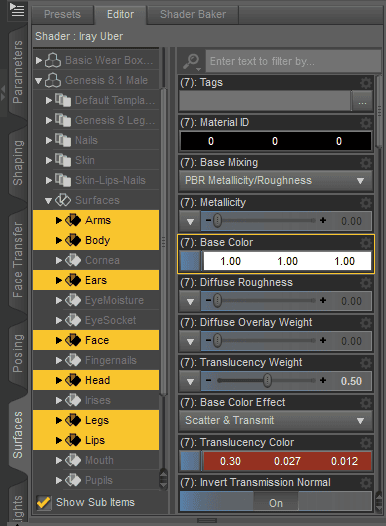
The main setting here is the Thin-Walled. Though we don’t need to change it, as the default Off value is the right one. Where it is set to On, it basically takes away SSS and that is what I did to show the character without Subsurface.

The purple settings that are below Thin Walled will appear only if it is set to off. They all change the way SSS works, so let’s look at them closer. I will try to explain everything very simply without going into the details and overexplaining.
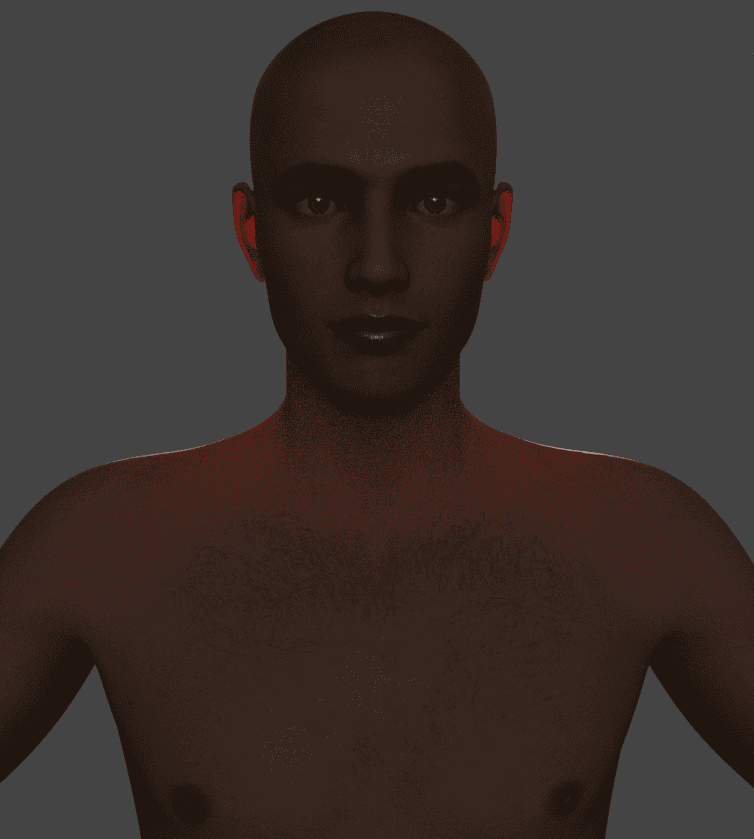
The first is Transmitted Measurement Distance. It decides how far the light will travel through the body. For my character default is 0.3, which can be considered a lot. On the render, we saw that you can see scattering on the shoulders, which is not very realistic. Usually, it is seen only on the thinner parts. So when I increase this value, this effect starts to appear even more on the other parts of the body:
High Transmitted Measurement Distance
But if I decrease it, then it will be less prominent on the thicker parts, such as shoulders. But it still is visible on the thinner parts, such as ears.
Low Transmitted Measurement Distance
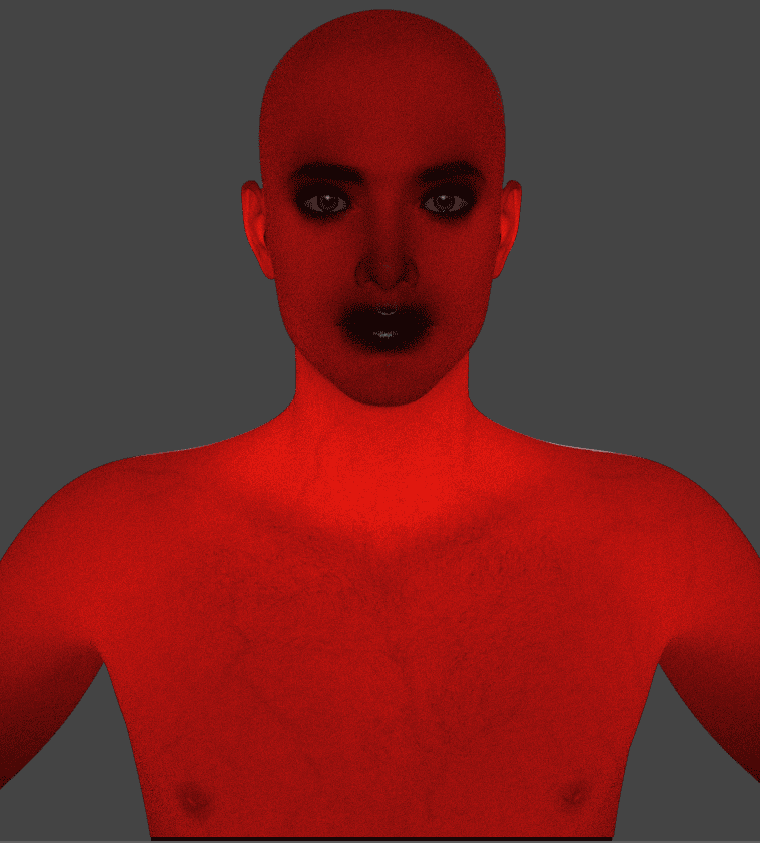
The next setting is Transmitted Color. It works together with the last setting in a way. It controls the color of the transmission, but you can’t set it to any color. It is dependent on the different settings – Translucency Color. By default, only the red color matters here. So the more red is the color you set – the more prominent would be the SSS effect.
When I set this setting to the full 255 red value – SSS will be very prominent. And even with the low Transmitted Measurement Distance, it looks as if it was high.
Maximum red Transmitted Color
Same way, if you set it to something that is not that red or not red at all – the effect would be much less visible or even totally gone.
Not so red Transmitted Color
Generally speaking, you usually don’t want to change this setting much. It should have a pretty high red value but not the maximum.
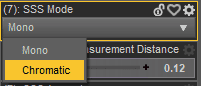
SSS Mode has two Scattering Modes available. In most cases, you stick with the default – Mono SSS. But later we will also look at the other option – Chromatic.
Scattering Measurement Distance is the distance that light needs to travel before scattering. In other words, it makes the effect of scattering less or more visible. So with the Transmitted Measurement Distance, we set which parts of the body will have this effect. And not with this setting we take these parts and change the way they look. So when it is set to a very high value – the red glowing would be quite overwhelming.

High Scattering Measurement Distance
And when it is set to something very low – it would be not noticeable at all.
Low Scattering Measurement Distance
In my case, I will stick with the lower value of 0.1. So the effect still would be visible, but not as much.
After this, we have an SSS Amount setting. It does what it says – decides the amount of the scattering that is done. At 0, there would be no scattering at all, so all the lighting would be absorbed by the body. It similar effect to what we saw, when I showed characters without SSS.
SSS Amount at 0
And when it is set to 1 – then all light would be scattered, so the effect would be less prominent.
SSS Amount at 1
With this one, you would not want to go to extremes. So usually it is set somewhere between 0.3 and 0.8.
Next – SSS Direction. It can be a bit more difficult to understand. It controls how much of the light would be absorbed by the volume of the object. So at the maximum value – it would be fully absorbed and there would be a lot more scattering in the front.
SSS Direction at 1
On the other hand, at the minimum value, there would be a lot less scattering on the other side of the light.

SSS Direction at -1
What is interesting about this setting is that it changes not only the front of the character but also the back. Usually, skin looks warm and yellowy, because lighting scatters around and makes it look that way.

SSS Direction at 0
But when you increase the SSS Direction and the volume of the character absorbs all the light – it would not be scattered around the skin. This means that it would not look as warm and yellowy and instead would be paler.
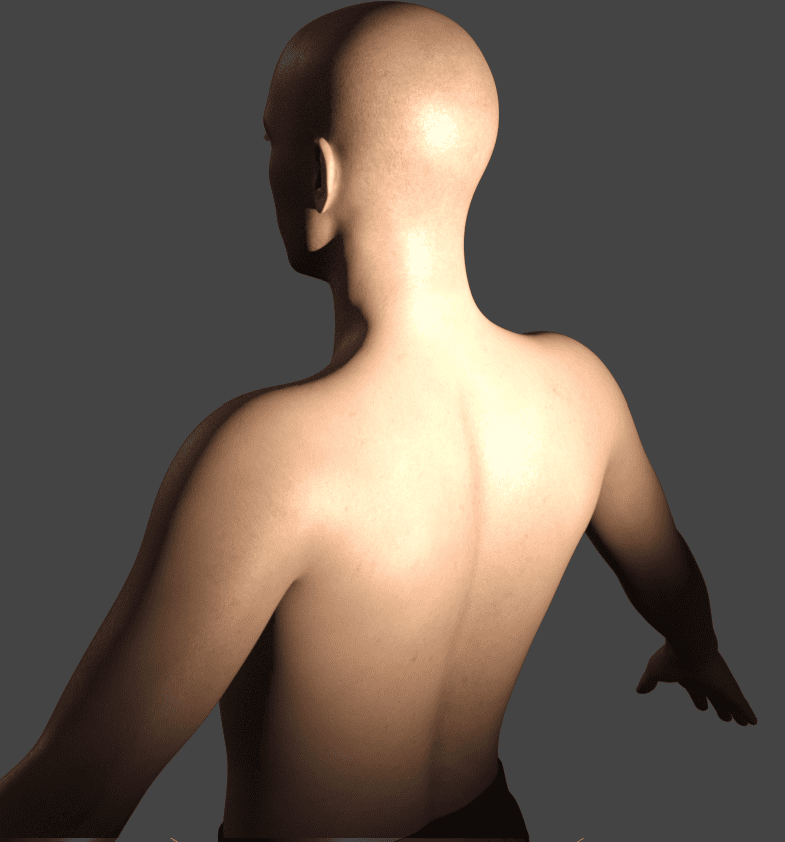
SSS Direction at 1
It is a very subtle difference, so you may need to take a closer look to see it.
There is one more important setting that is not connected to the Thin Walled. It can be found higher and is called SSS Reflectance Tint.
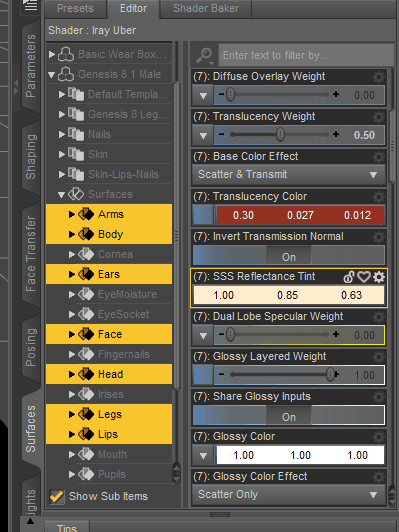
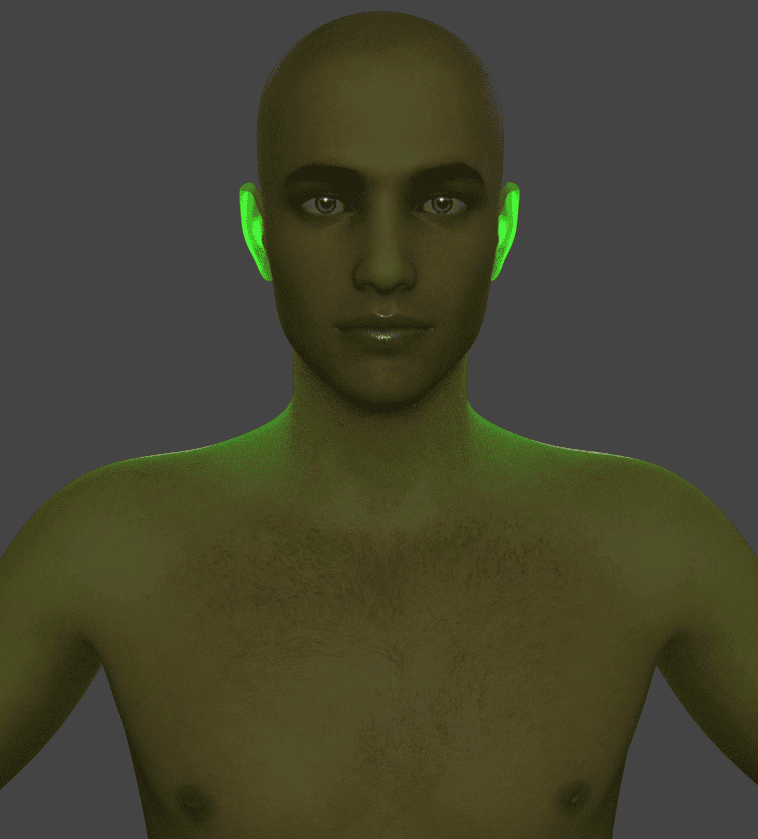
As comes from the name, it is the tint that is created by the SSS. Right now it is set to match the default skin tone, which is logical. By changing this setting you can tint the skin color of the whole character. For example, here it is with the green tint:

It is this easy to change the tint of the character’s skin color. Though this is not the way of changing skin color. If you want to learn about that, we have a Daz3D Change Skin Color Tutorial.
Change the Color of Subsurface Scattering
Even though the character turned green, notice that the scattering did not change one bit, it is still red. Same as it was before. It is possible to change color, but other settings do this.
If you want to change the color of the scattering itself, first of all, you need to change the Translucency Color. It is important that it will have the color that you want SSS to be in it. For example, I want Scattering to be a blue color. I can set Translucency Color to anything – even purple. It is just important that there would be a lot of blue in this color.
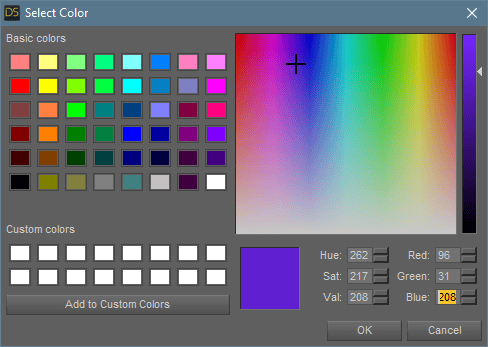
Translucency Color
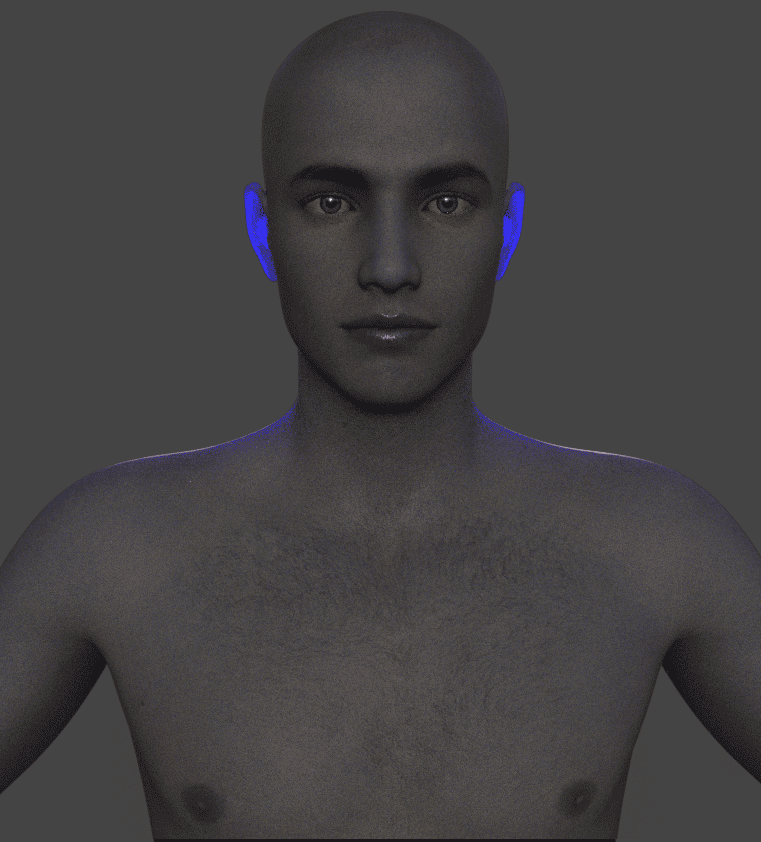
Now SSS should practically disappear from the scene. To fix this, we need to change the Transmitted Color setting. It should be the color that you had the most in Translucency Color. For me it is blue, so:
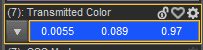
And it is done. Now the light inside the character scatters in blue, instead of red. This adds a very unusual and outwardly feeling. Though it is sad that Translucency Color also changes the color of the skin. So it is very hard to change the SSS color without changing the skin color.
Subsurface Scattering Mode: Chromatic
In the Daz3D Subsurface Scattering (SSS) Mode setting, there was a default Mono mode and a Chromatic. Let’s look closer at the second one.
SSS Mode: Chromatic
It is all the same settings that we had for the previous renders with the Mono Mode. But this one just looks worse.
One important thing that it does is adds a new setting – the SSS Color. But it is not that important, because it is very similar to the Transmitted Color that we had anyway. It also changes Scattering depending on the value of red. So when I set the red color to 0 – there would be no SSS.
The only thing that I can think of that this Chromatic Mode can be useful for is to create some alien characters. Because if you want a realistic human – a Mono mode would be much better and easier to use. But to create something like this it would be better to use Chromatic mode.
Subsurface Scattering Products
Changing skin properties is not an easy task, especially if you are doing it manually in Daz Studio. So it is okay if you need some more help – professionals from Daz3D have created products that will provide this help.
One example is SF Beautiful Skin Iray Genesis 8 Female by Fuseling & Sickleyield. It is the Iray Shaders presets. This includes basic presets to apply the shader and normal maps and detailed presets to apply many tints and shades of skin, whether light or dark or alien.
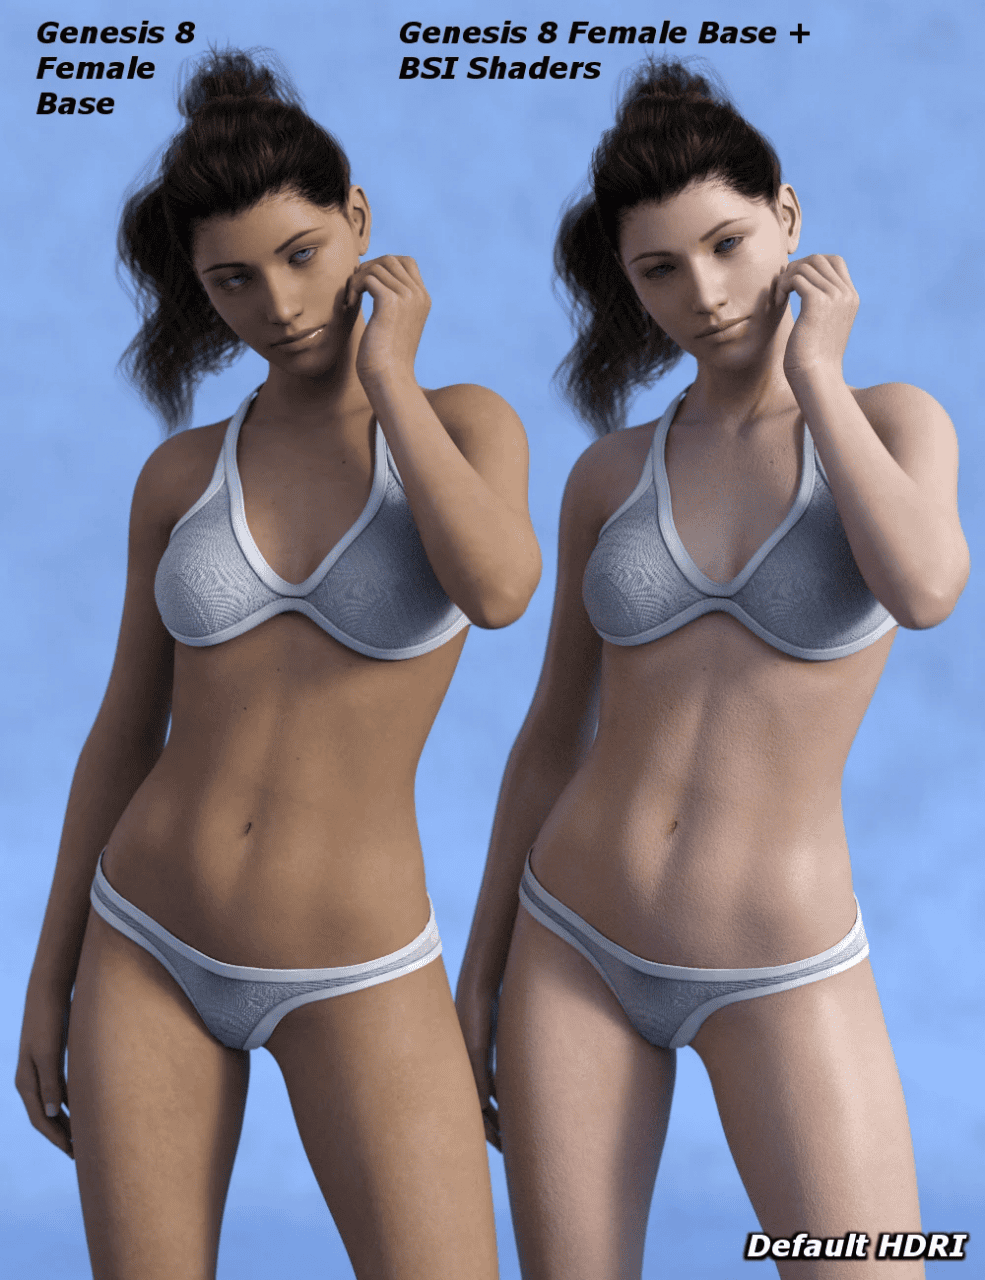
Source SF Beautiful Skin Iray Genesis 8 Female by Fuseling & Sickleyield
The Skin Builder 8 for Genesis 8 available only for Females by Discobob & Zev0. It is not a Shader Preset it is a full all-in-one skin creation and skin modification system. Meaning that it allows you to customize skin in a lot of different and better than default ways. For example, it can go as far as to add tan lines and freckles. Of course, it can also change the SSS properties.
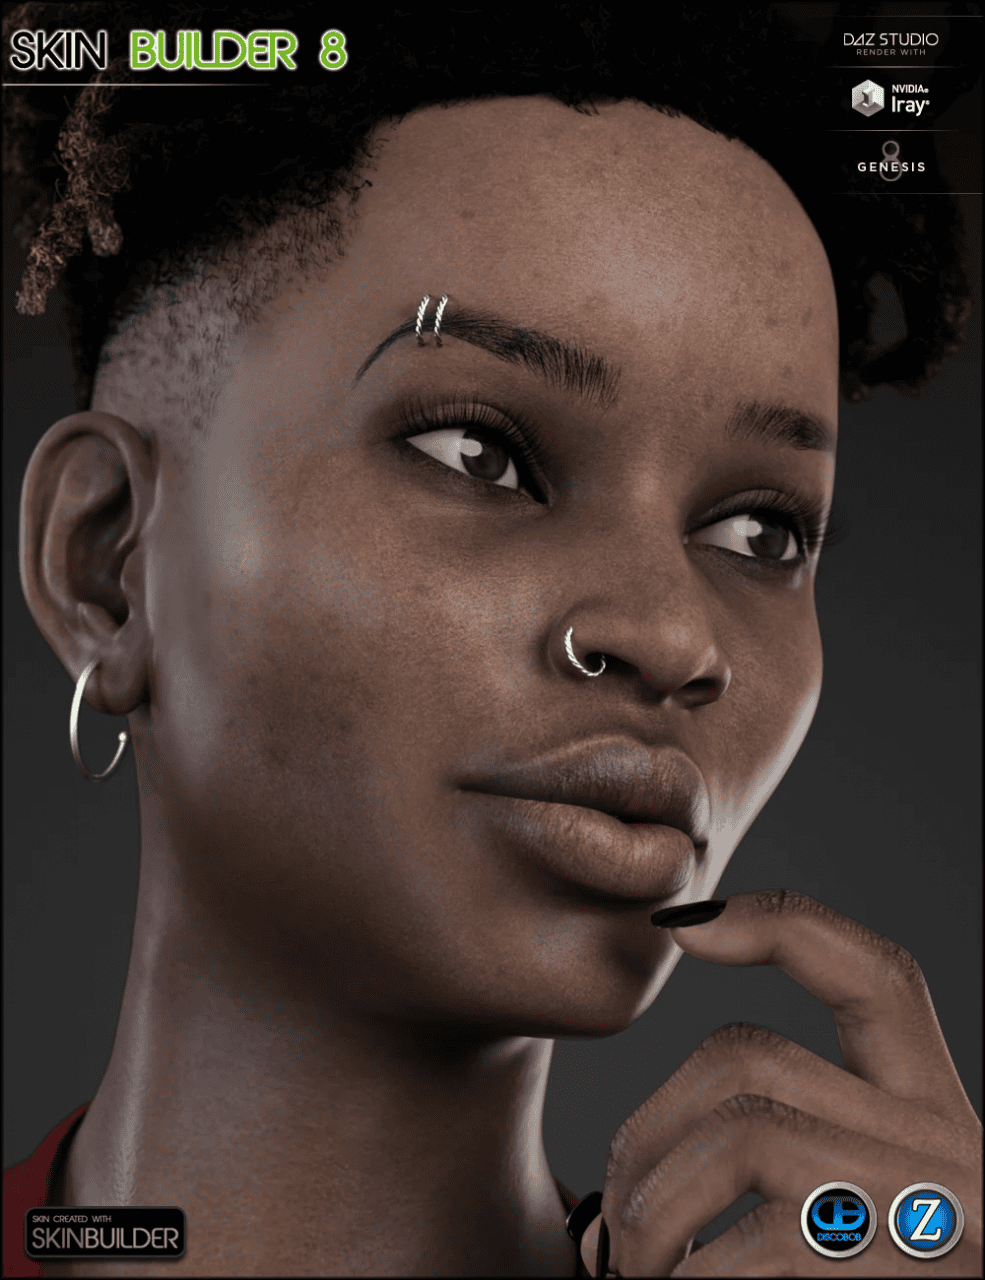
Source Skin Builder 8 for Genesis 8 by Discobob & Zev0
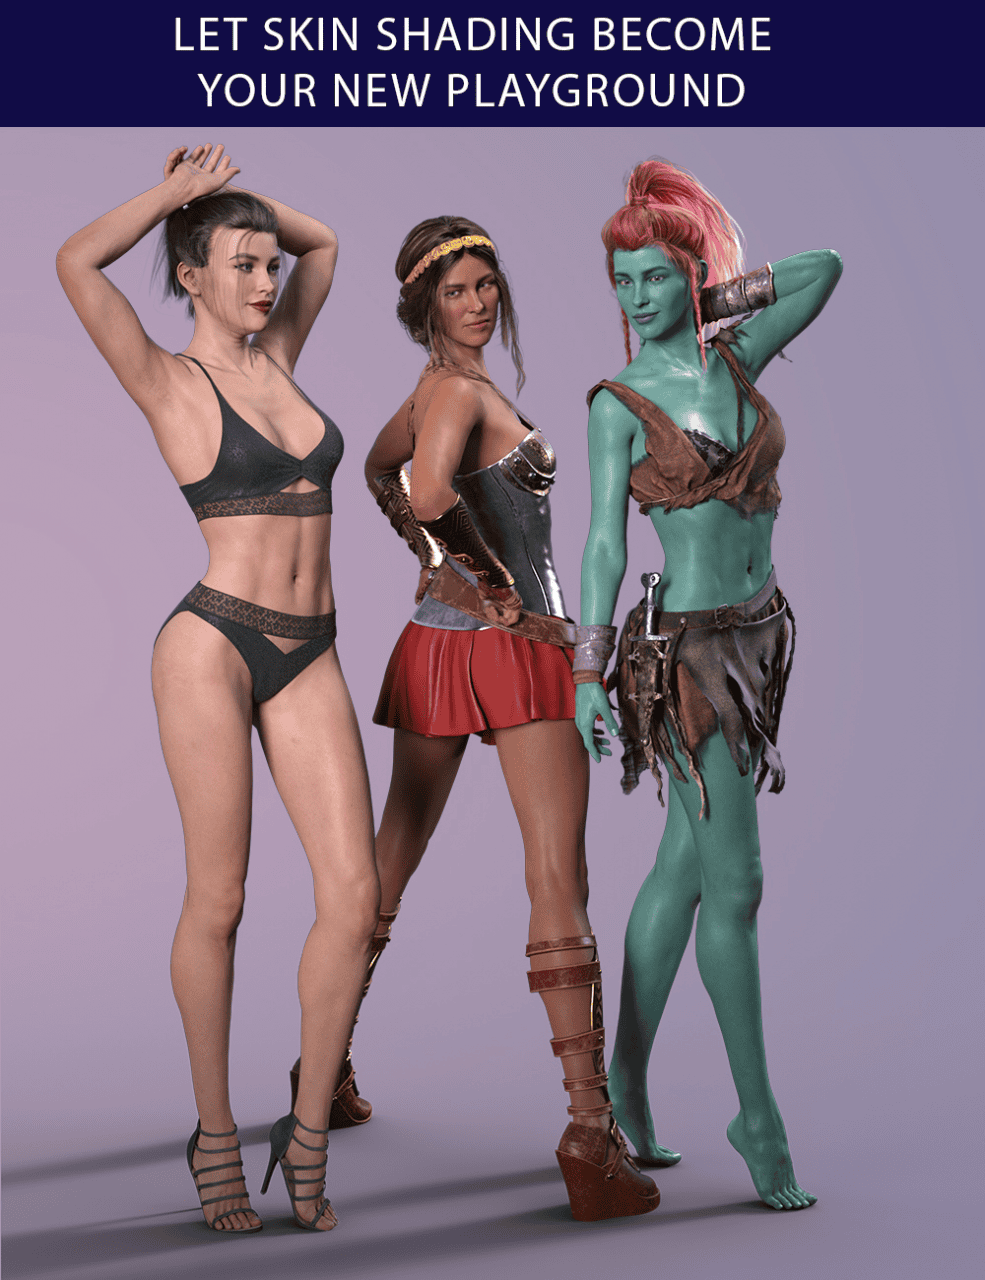
Another similar item is the Altern8 – Skin Shader System for Genesis 8 by 3Diva. It is a Skin Shader system. Meaning that it also includes shader presets. Furthermore, you can do a lot of additional settings such as skin translucency strength, eye enhancement, SSS tint, and more.
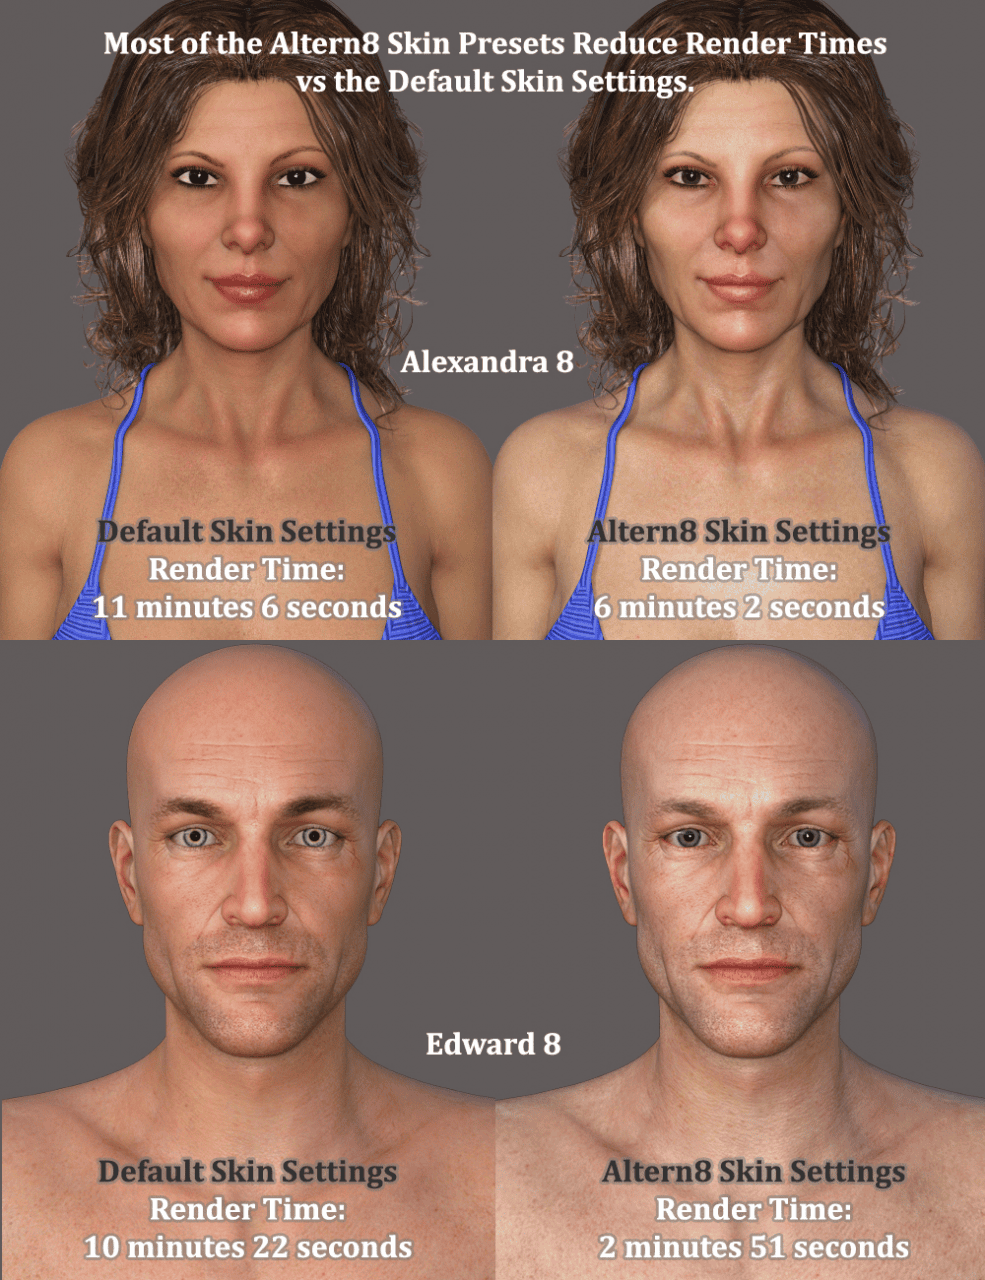
Altern8 – Skin Shader System for Genesis 8 by 3Diva
Finally, there is the Ultimate PBRSkin Manager that makes it easy to customize skin color quickly. This can be the best and most efficient tool ever made for working with skin in Daz Studio.
Source Ultimate PBRSkin Manager by V3Digitimes
Conclusion – Daz3D Subsurface Scattering Tutorial
Daz3D Subsurface Scattering is a very powerful tool that can and will help you to create magnificent scenes in the Daz Studio. If you want to learn more about how to handle skin in the Daz Studio, you can do that by reading our Daz3D Change Skin Color and Daz3D Wet Skin Tutorial articles.