This Daz3D Wet Skin Tutorial shows you tricks how to make the skin of your genesis character wet. Whether you plan to make a rainy scene, a scene on a sunny beach or a pool-party scene just like on the FG Beach House environment – you will need a wet skin for your characters. This will make like your characters truly belong in the scene and are indeed wet. But how would one just make a figure’s skin look wet? Let’s look into this in the article and learn.
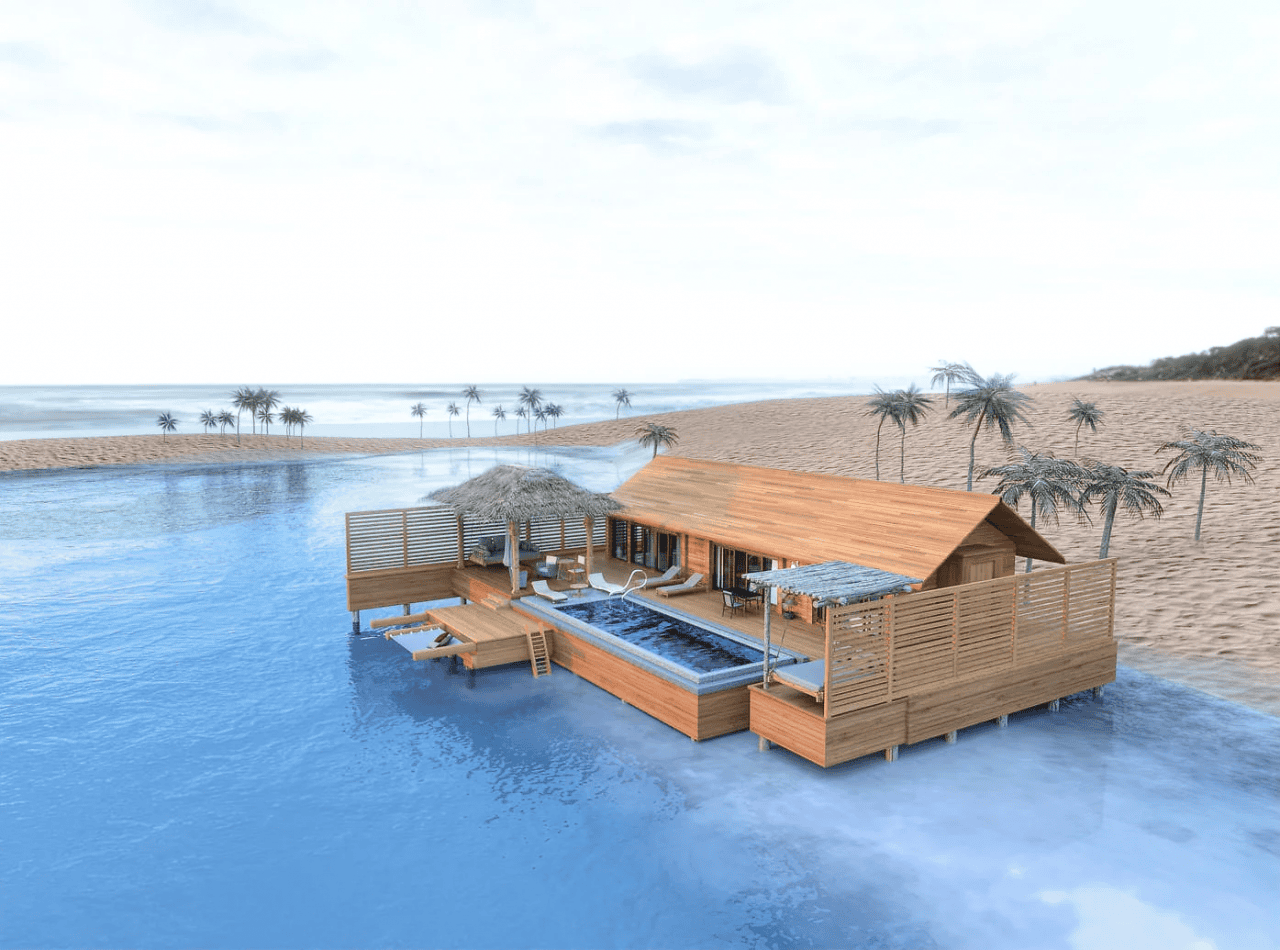
Source FG Beach House by Fugazi1968 & Ironman
Daz3D Wet Skin Manually
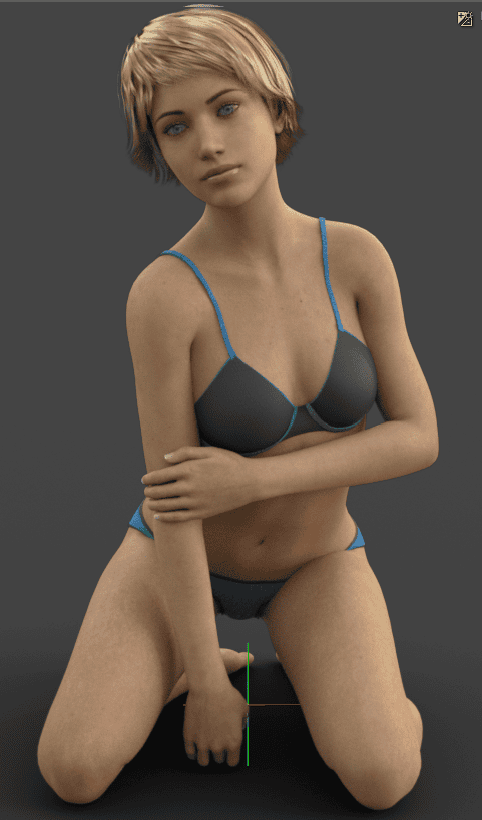
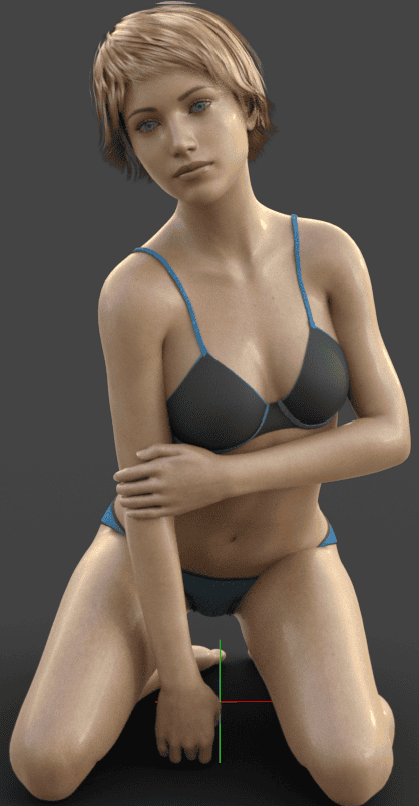
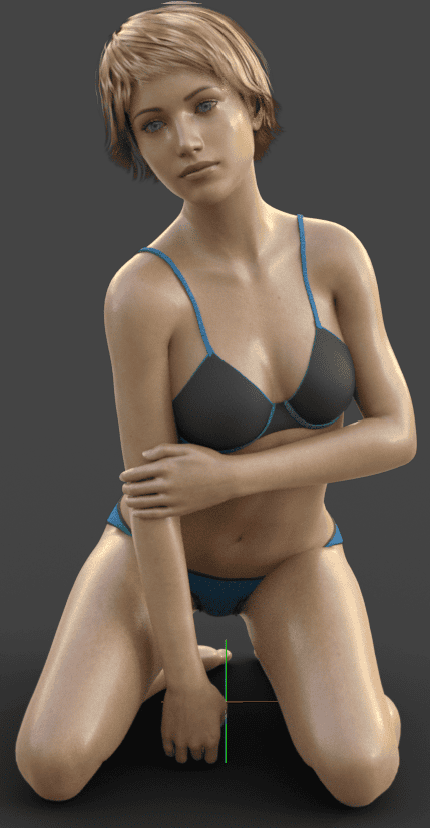
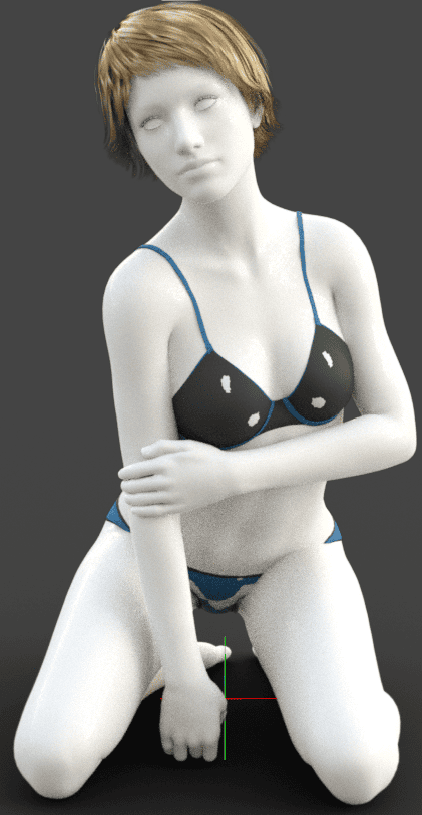
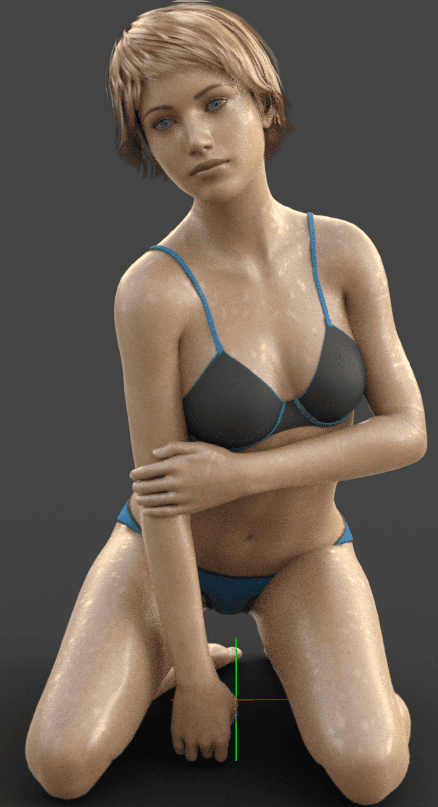
The first method of creating a Daz3d Wet Skin is making it on your own manually. For this we will use the Surfaces Window that is found on the right side of the screen by default. And we will try to the skin of the character below to look wet with it.
Actually, we already did a similar thing in our Daz3D Change Skin Color article. There we explain more thoroughly what is found in the Surfaces Window and how you can not only make skin have different colors, but also how to make it look wet. Though in this article we will go deeper about this.
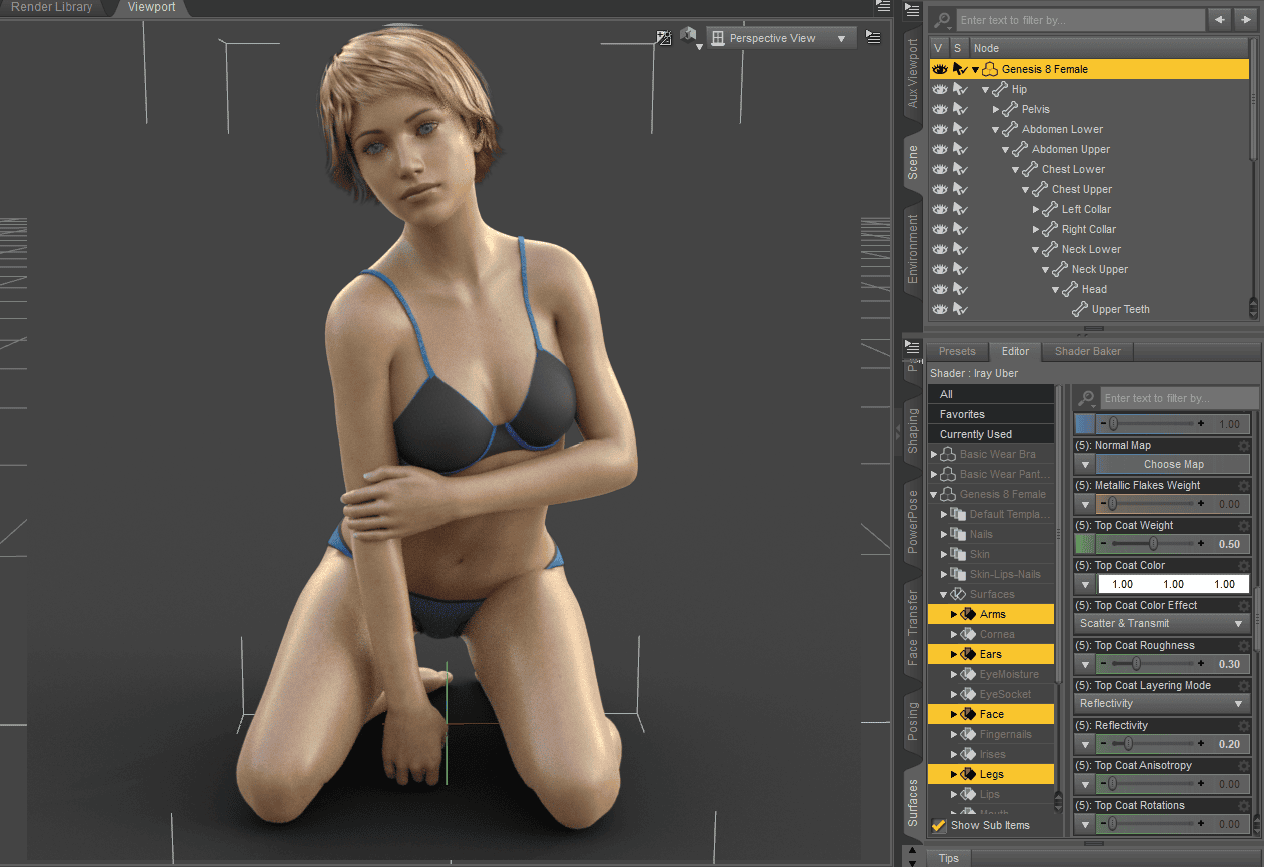
First of all, select the character. Then in the Surfaces tab you will see a bunch of settings and options. Now we need to select which parts we will make wet. There is a “Skin” template that fits our goals well, as we don’t really want to make other parts such as lips, eyes or nails look as wet as the skin.
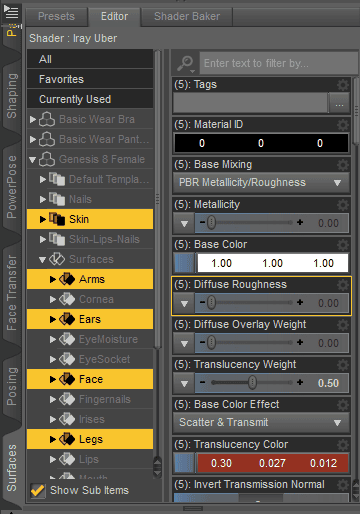
The first setting that we are going to use is “Dual Lobe Specular Weight”. When you use this setting – the new sub-options will appear. Though there is no need to use them now.
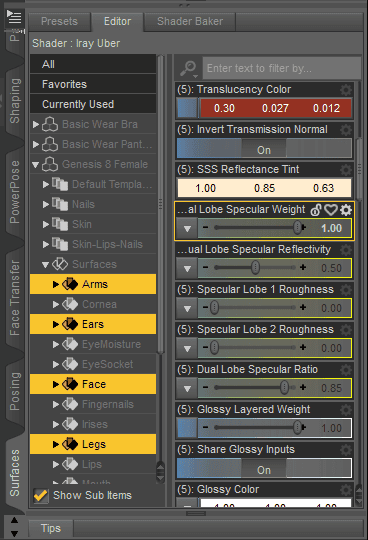
The “Dual Lobe Specular Weight” alone will make the character already look kind of wet. At the very least they now looks glossy.
The next option that could be interesting to us today is the “Glossy Layered Weight”.
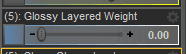
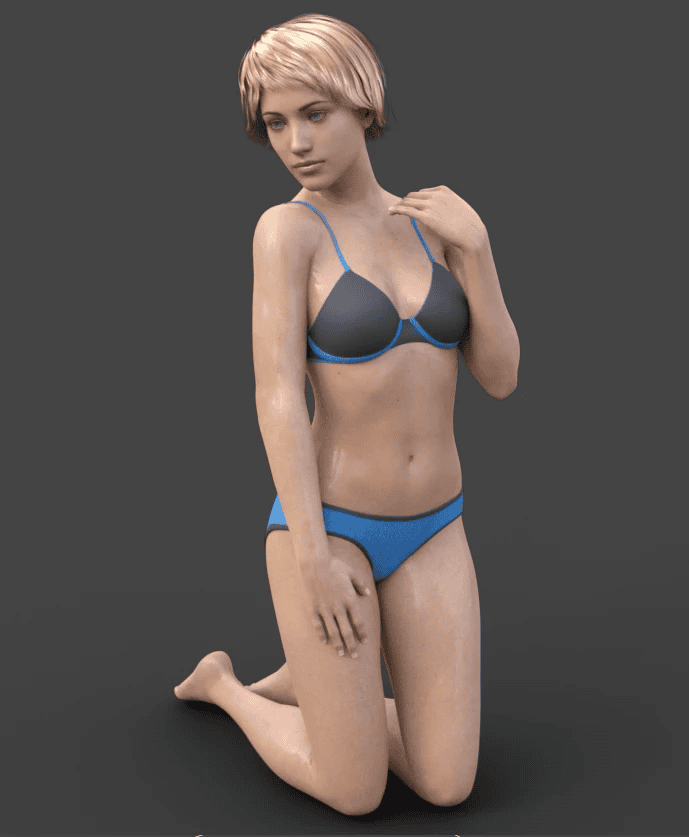
This one obviously controls how glossy the skin is. And when it is combined with Dual Lobe Specular Weight and set to 1 – it looks very shiny and glossy:
But I will not use this setting in my final result, because we will use a better replacement for it. The option that I am talking about is the “Top Coat Weight”.
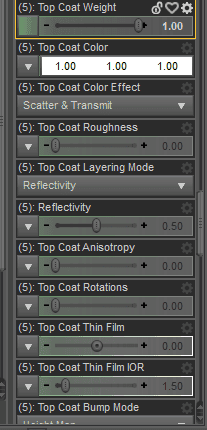
It is really similar to the Glossy Layered Weight by the look, but works kind of differently. And as you can see – when it is turned on, there would be a lot of new additional settings.
The result on the figure is practically the same as it was with the Glossy Layered Weight. So without further details, we will just use this one for better flexibility and more options.

These settings can look too reflective or glossy. Especially depending on your lighting. The bright lighting that highlights the character, such as the three-point lighting like we did in the Daz3d Iray Lighting Tutorial.
So if it is too glossy or reflective on your end – then you can try to lower down the Top Coat Weight itself. Then you can try to balance out the Top Coat Roughness and Reflectivity. Sadly, there are no ideal values here that I can just give you and it will look good. Everything heavily depends on the scene, lighting and especially skin of your character and will vary a lot because of these factors.
Daz3D Creating Water Droplets on Skin
Now for more advanced stuff besides the normal Daz3D Wet Skin. For a more believable wet look – character should not only be glossy and reflective, they also need some kind of water on them. So we need to somehow simulate as if there are water droplets dripping on the character’s skin.
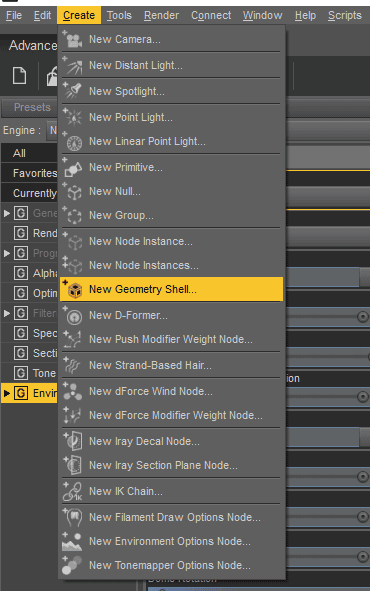
This will be an unusual process. We will use Geometry Shell to realise the effect. Shell is a copy of our character around it that we can use for various situations such as this. To create one – just select a character and at the top bar find “Create > New Geometry Shell”
Right after that you will see a white shell appearing around your character. Worry not, everything is going as planned.
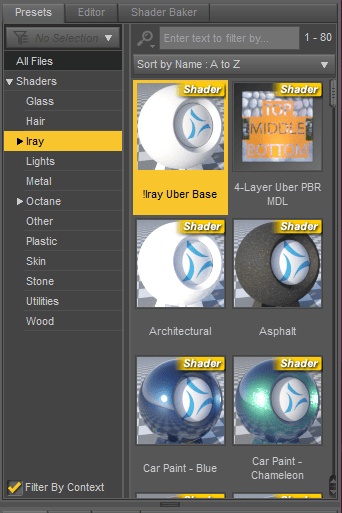
We will use this shell to create a water droplets texture around our character. But before that we need to change the shader. For some reason by default Shell uses a “Daz Studio Default” shader.
Select the Shell, proceed to the “Surfaces” Window, Presets tab, open Shaders list and double click on the “!Iray Uber Base” shader. It is much better and we need it further.
After that we need to hide the parts of the shell that we are not going to use. This is done, because we don’t need to cover characters’ eyes and other such parts.
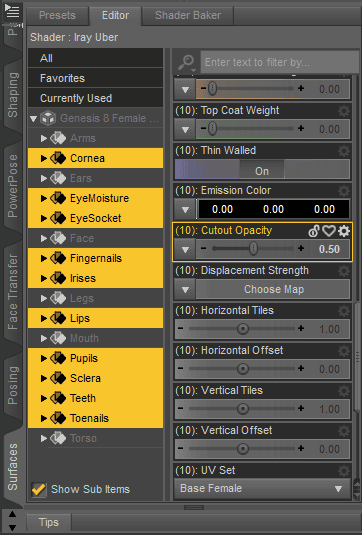
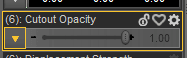
Select Geometry Shell. In the Surface Window select all the parts that we don’t want. They are: Cornea, EyeMosture, EyeSocket, Fingernails, Irises, Lips, Pupils, Sclera, Teeth and Toenails. Find the Cutout Opacity and change it to 0. This will hide selected parts.
Finally it is the time to add water droplets to the shell? No, not yet. Before that we need to find those droplets somewhere. You will need a black and white image, where water will be white and everything else – black.
You can try to create something like this yourself or find on the internet. I love using textures.com for finding my images and this time was not an exception. There I have found the image from below that suits my needs perfectly. Especially as it is totally free.
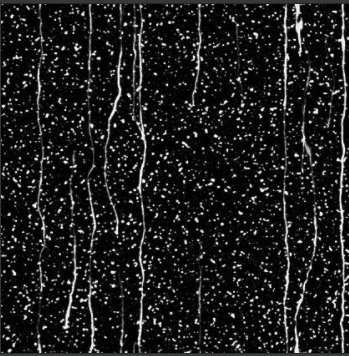
Source Animated Procedural Raindrops Textures.com
With the image we can create what we wanted all this time. Select all the other parts of the shell that we will add droplets to: Arms, Ears, Face, Legs, Mouth and Torso. Again find the “Cutout Opacity” option in the settings. This time we will change the texture for it. Click on the arrow and then “Browse”.
Then find the image using your OS and apply it. The result will look quite terrible. Droplets will be very big and white, which looks awful.
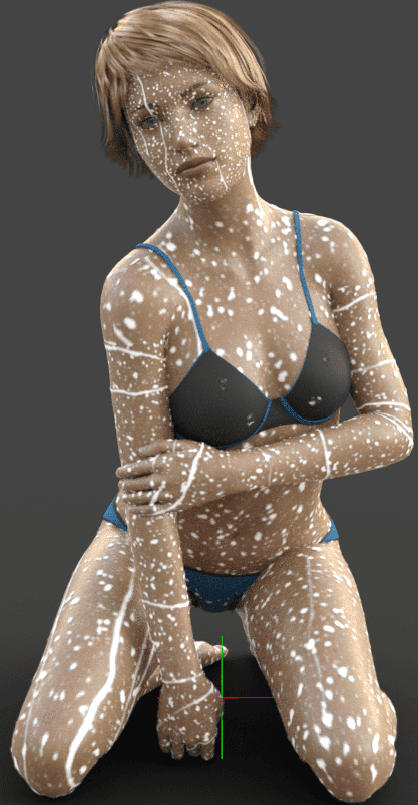
This is mainly because right now the texture is not recognised as water. The thing that you need to do to make it look a lot more like water is to add Refractions. Find the “Refraction Weight” setting and change it to 1. Also you can change the “Refraction Index” to 1.33 which is equivalent to the index of regular water.
After that you can also copy the settings that we did for the skin itself onto the shell. Meaning add “Dual Lobe Specular Weight” and “Top Coat Weight” to make it more reflective and glossy.
But the water still looks very fake and not good at all. To improve on that we again will use the “Top Coat Weight” and its settings. When it is active – you can find the “Top Coat Layering Mode” option that can be changed to the “Custom Curve”.

This will make the “Top Coat Curve 0” option appear that in its turn will allow you to make water look better.
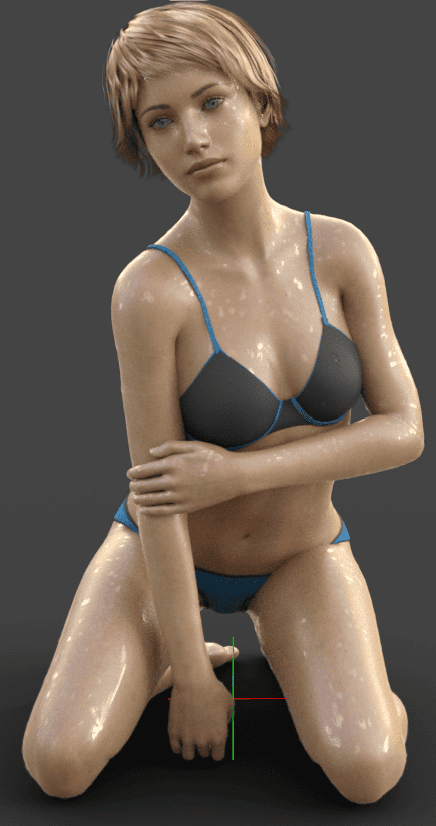
The last thing that is left to do is to tile everything properly. Right now all the droplets are far too big and stretched along the body. Find the Vertical and Horizontal Tiling settings and make them bigger to fix this.
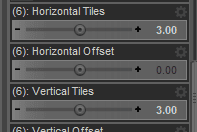
This probably will require some finnicking with some of the parts separately. For example, Tiling Settings that look good on a torso can and probably will look worse on the arms, so you will probably need to change that.

Daz3D Products for Wet Renders
The other way of getting wet skin for your characters is much simpler. Just go to the Daz3D Shop and find it there. For example the Wet and Tanned Skins for Genesis 8 by V3Digitimes adds exactly what we did today manually. And in addition to that allows you to tan the skin.
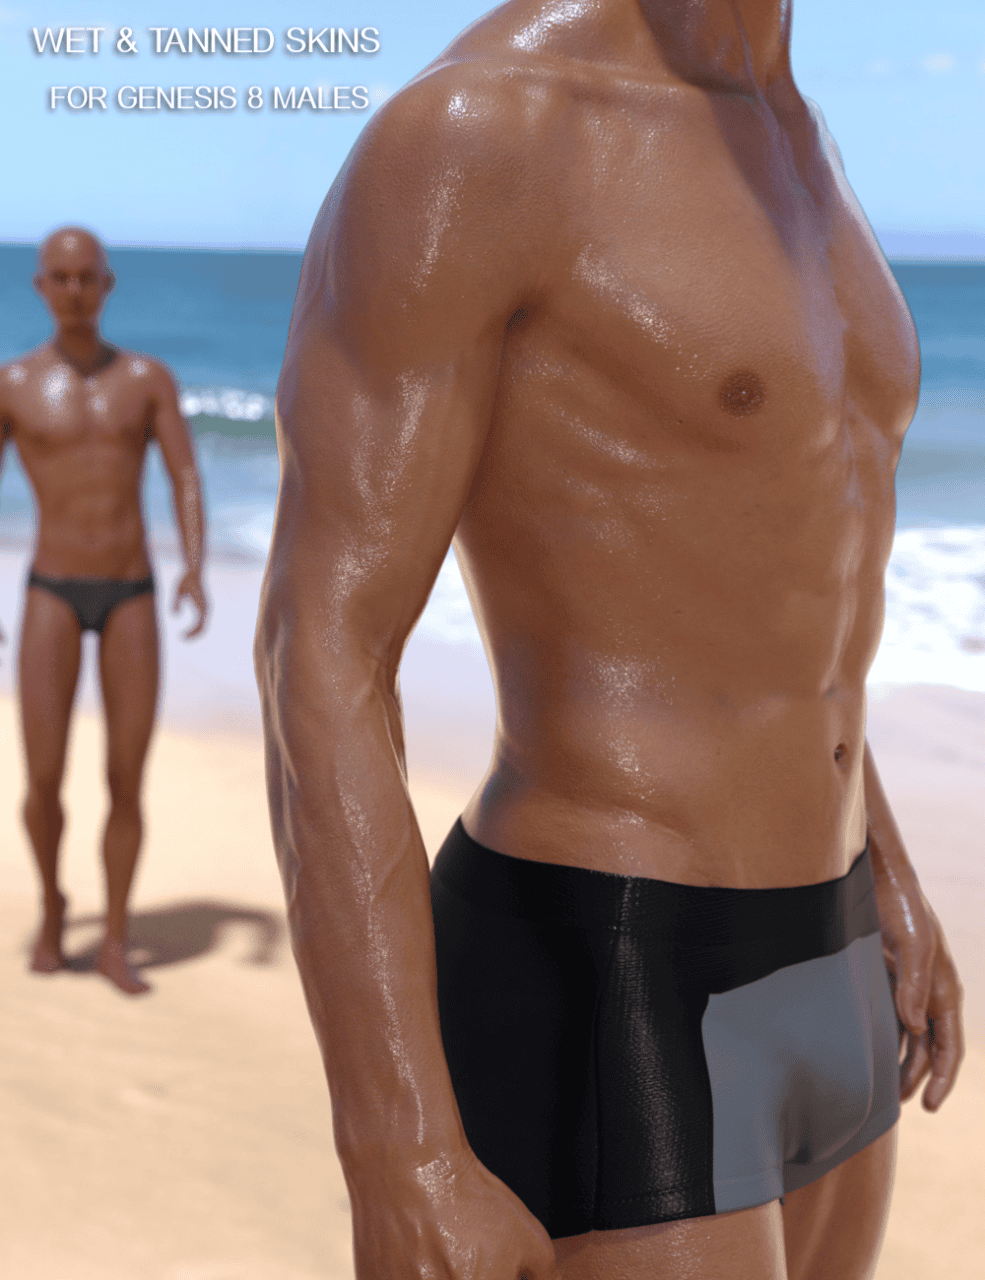
Source Wet and Tanned Skins for Genesis 8 by V3Digitimes
And the same thing is also available for your Genesis 3 characters if you use those. Wet and Tanned Skins for Genesis 3 by V3Digitimes.
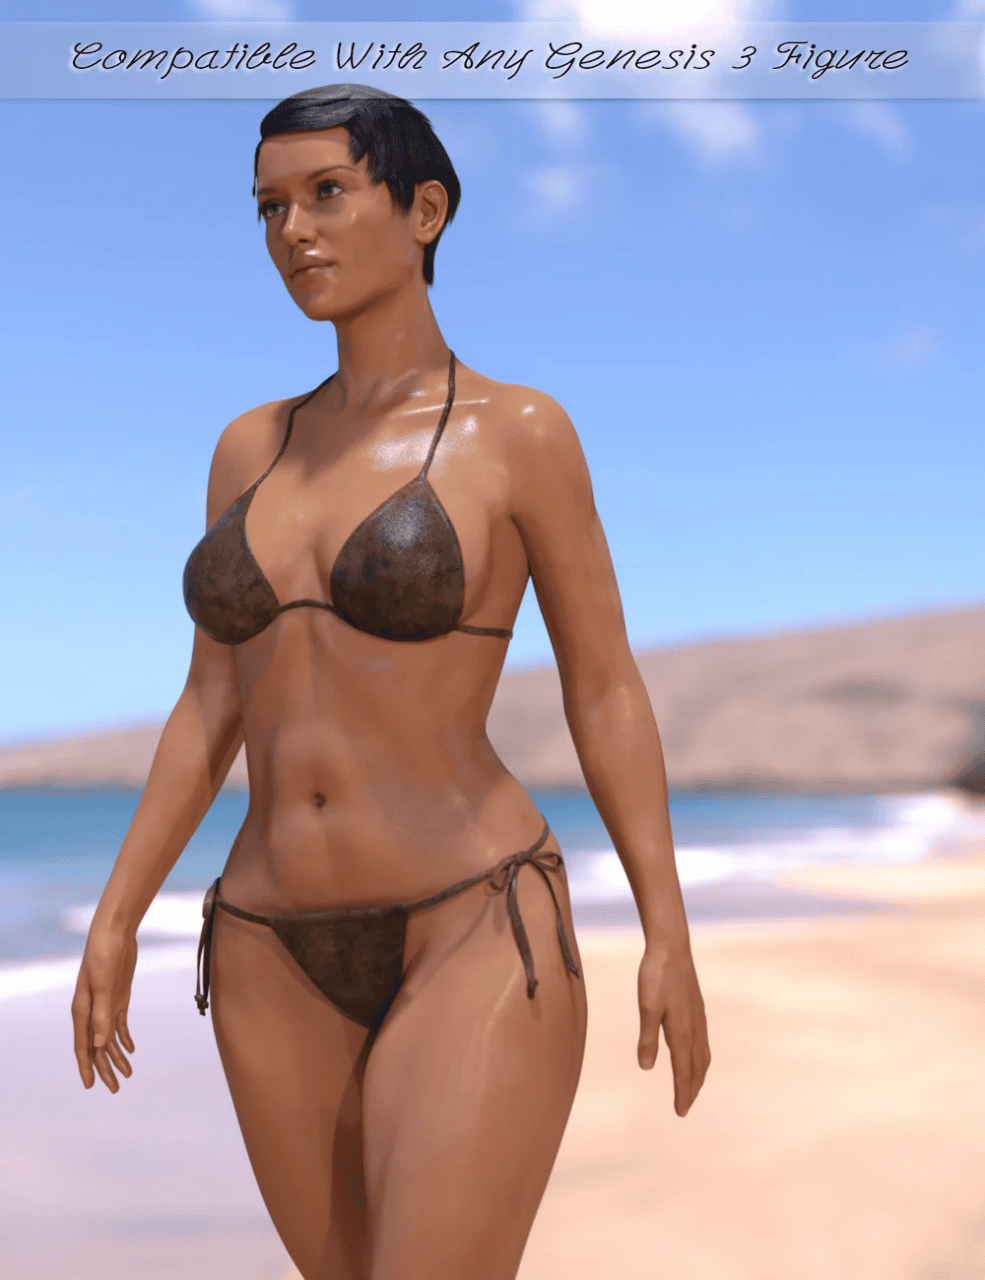
Source Wet and Tanned Skins for Genesis 3 by V3Digitimes
The great pro of using pre-made assets is that there are not only products to use to improve the skin of your characters. But also other things in the same theme. Such as you can also make clothes and hair look wet to go even deeper in the setting.
dForce HD Wet and Dry Baby Doll Outfit for Genesis 8 Female by Linday that looks astounding. What helps even more is that you can use dForce with this outfit and it will look even better.
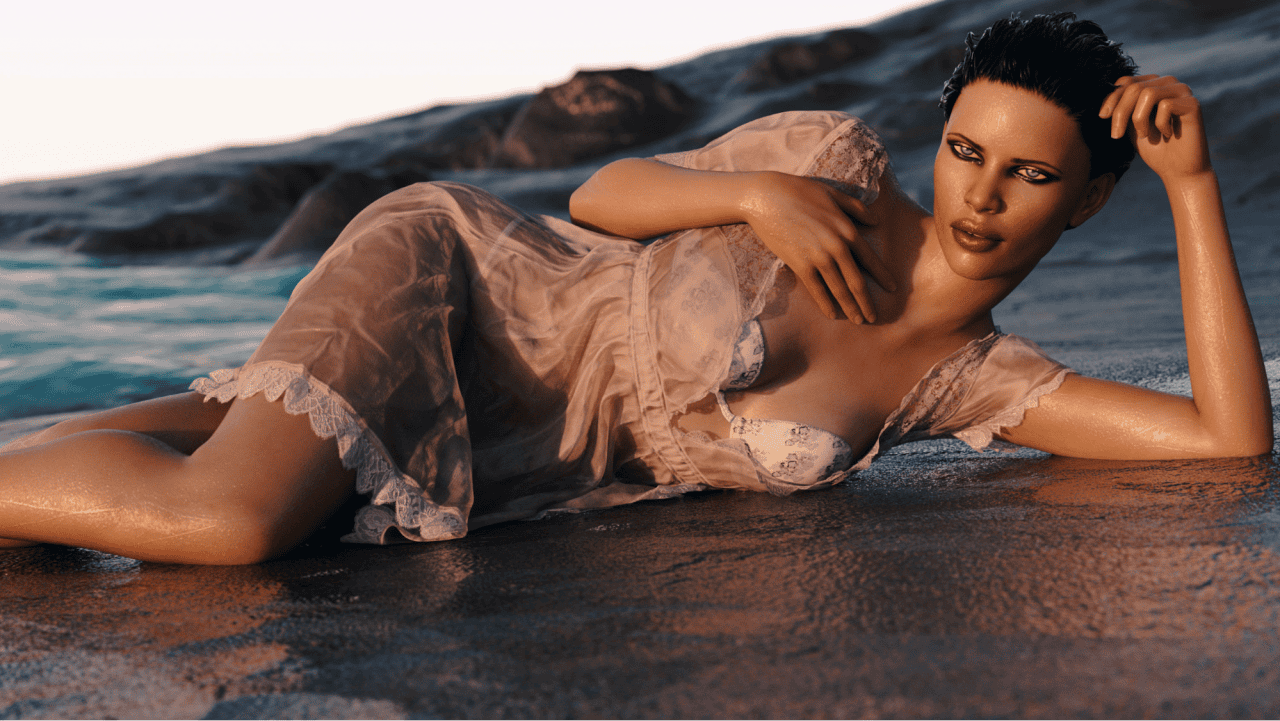
Source dForce HD Wet and Dry Baby Doll Outfit for Genesis 8 Female by Linday
Same author – Linday also has another product for wet clothes – dForce Wet and Dry Boyfriend Shirt Dress for Genesis 8 Female. Depending on a scene and setting you use it in – it can look very realistic.
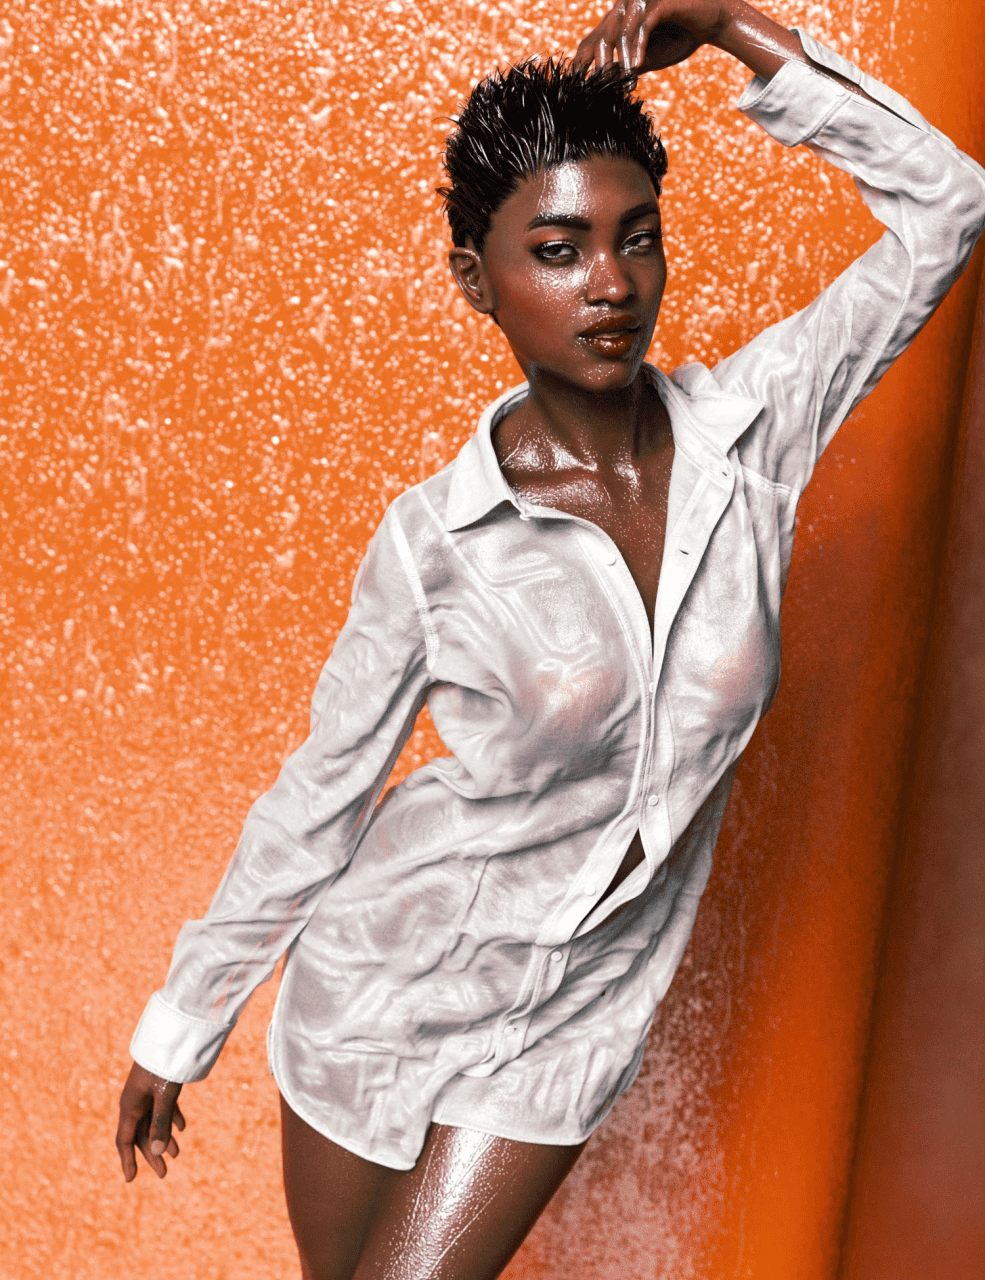
Source dForce Wet and Dry Boyfriend Shirt Dress for Genesis 8 Female by Linday
Linday also worked on Wet Hair items. So you can have a full set of wet products. There is Long Wet Hair with dForce for Genesis 8.
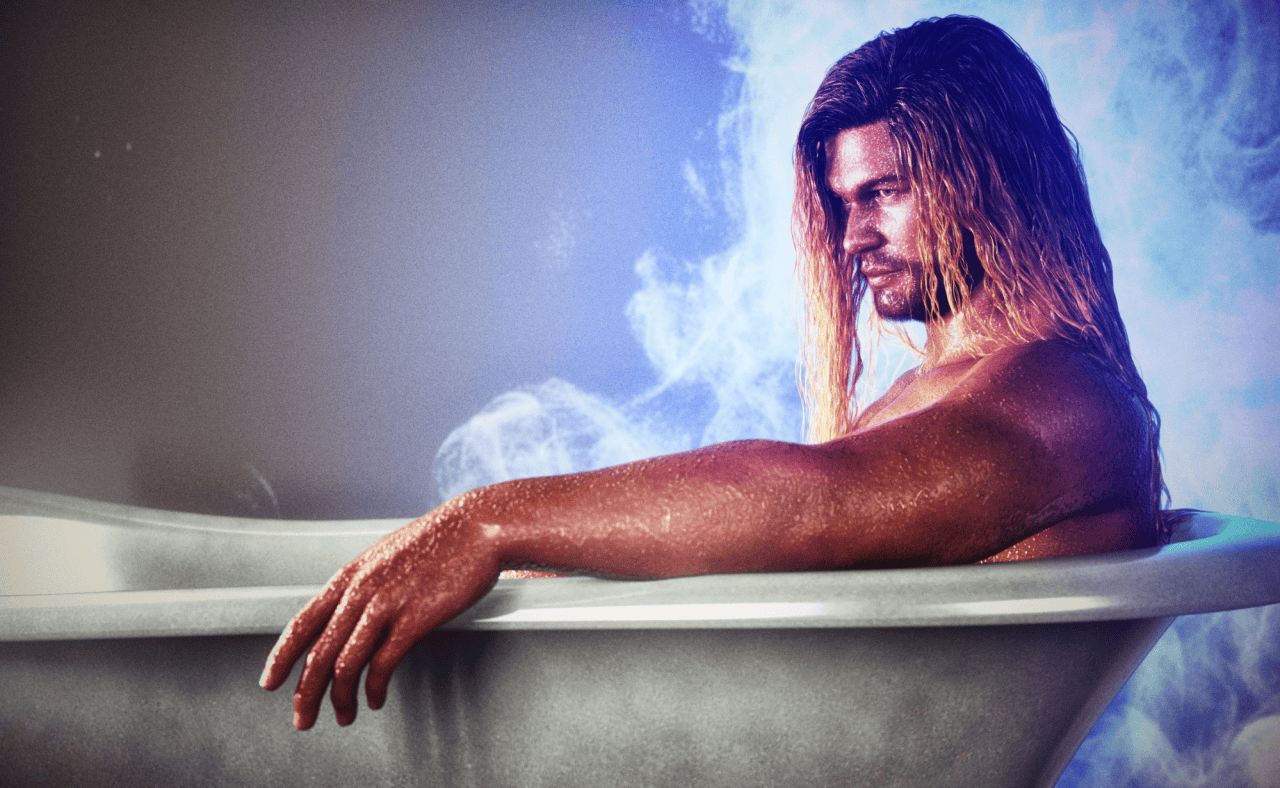
Source Long Wet Hair with dForce for Genesis 8 by Linday
The one above only includes long hair. So in addition to that there is also a set of Short Wet Hair for Genesis 8 Male(s) and Female(s).
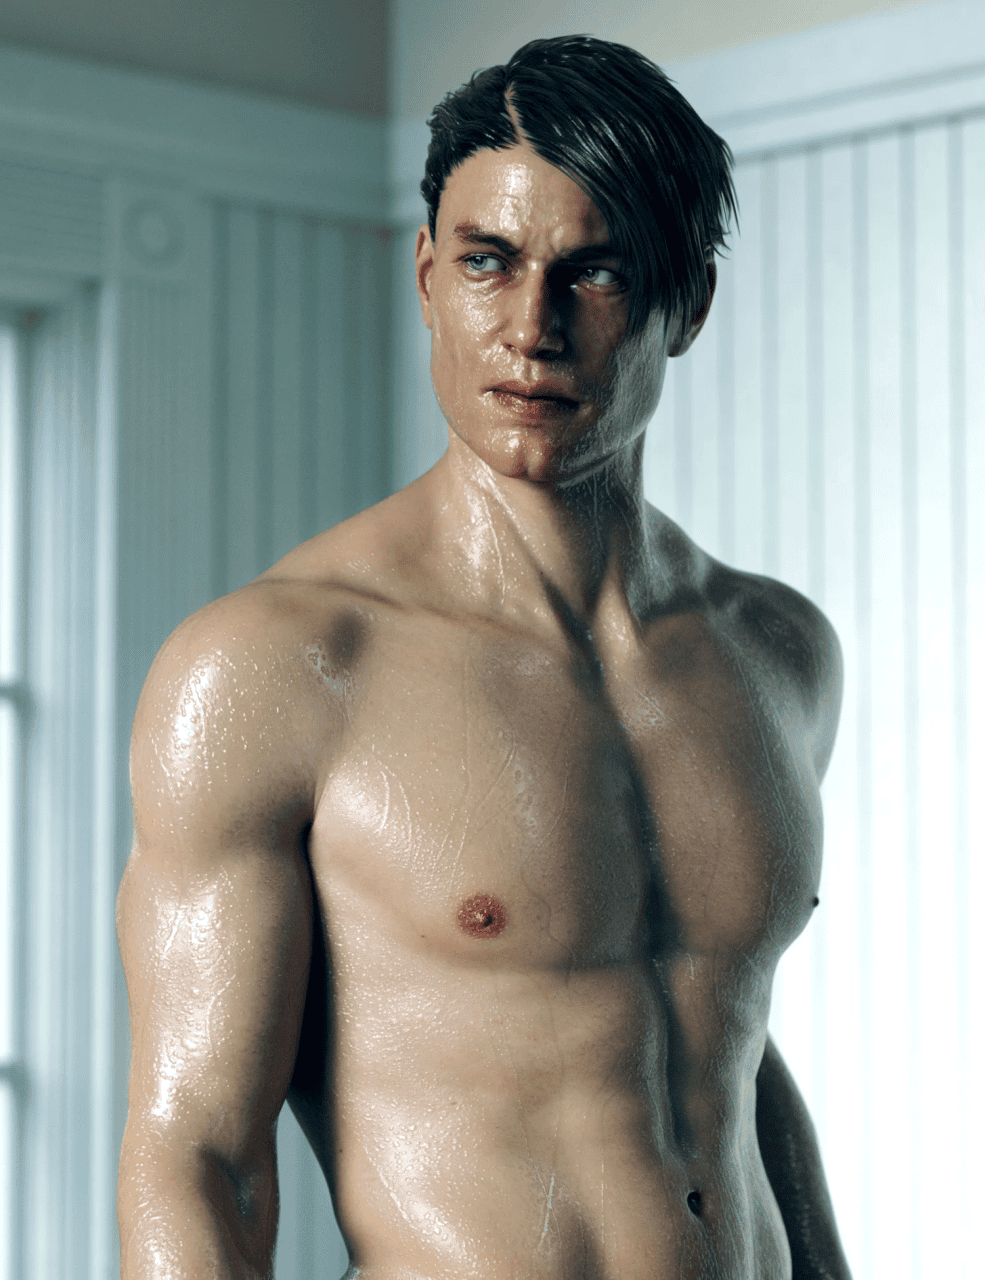
Source Short Wet Hair for Genesis 8 Male(s) and Female(s) by Linday
Conclusion
There are a lot of customizations regarding the skin in Daz Studio. In this Daz3D Wet Skin article we looked at how you can make your character’s skin wet and even add water droplets to emphasize the effect. Besides, you can always combine this or even replace with products from Daz3D Shop that we did recommend and this article.