This article explains in Daz3D how to make the dome visible. Also additional topics such as dome as environment, draw ground and more covered.
In Daz Studio Dome is an HDR environment image. Usually HDRI(High dynamic range image) are used solely for their lighting purposes. As they are images that can store information about lighting and translate that information to real lighting in 3D space. We have an Daz3d HDRI Tutorial: What It Is and How to Use article if you want to learn more about them.
In this article we are going to look into other sides of Domes and HDRIs – how they can be used as backgrounds for your pictures or even environments and hopefully answer everything about Daz3D how to make the dome visible topic.
Daz3D Making Dome Visible
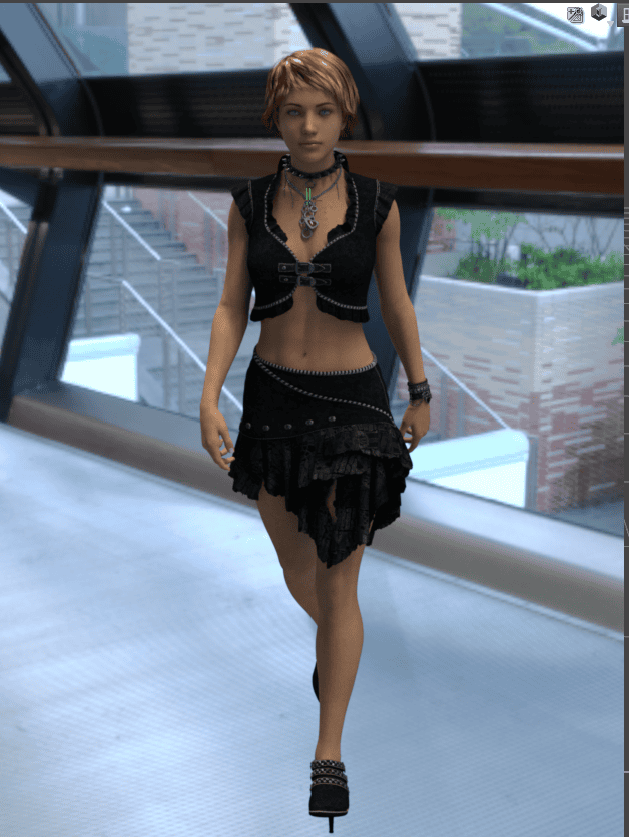
Okay, so how to make the dome visible in Daz Studio? In fact, it is a really easy task. All you need to do is to go to the Environment section of the Render Settings pane. And there enable the “Draw Dome” option. That is it.

This will make your dome a visible background image. You will see it only in render mode behind your scene, like this:
Though this is only a start of dealing with domes and turning them into the environment for your render. There is a lot that can be done and we will go step by step about that.
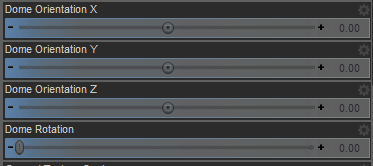
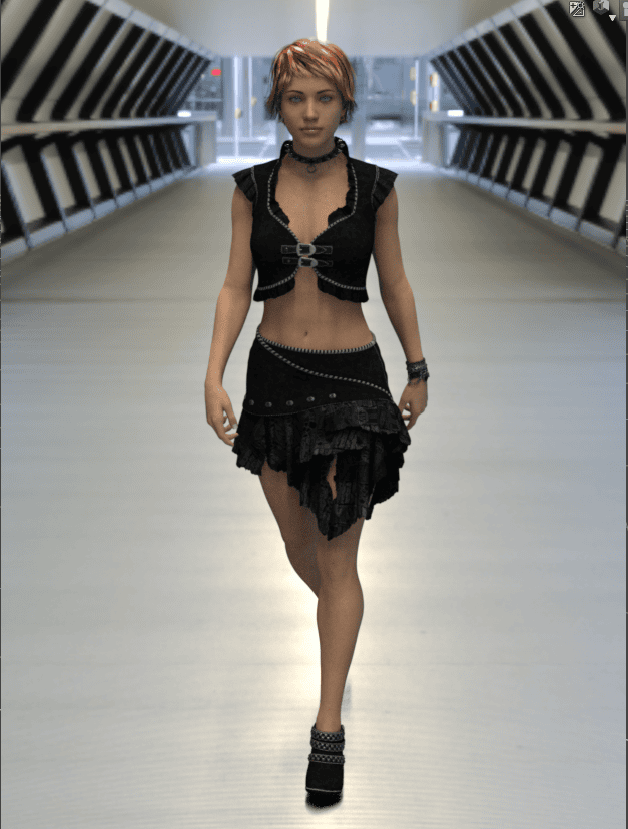
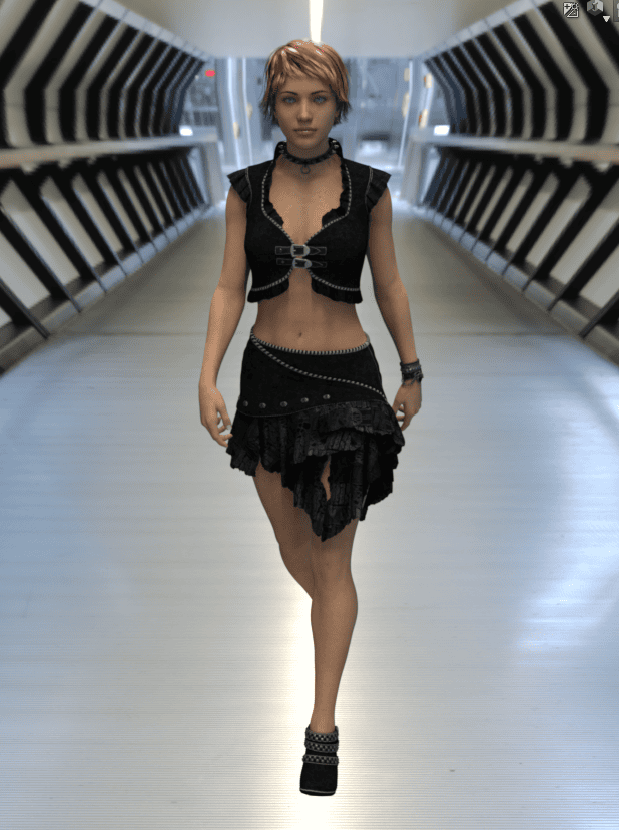
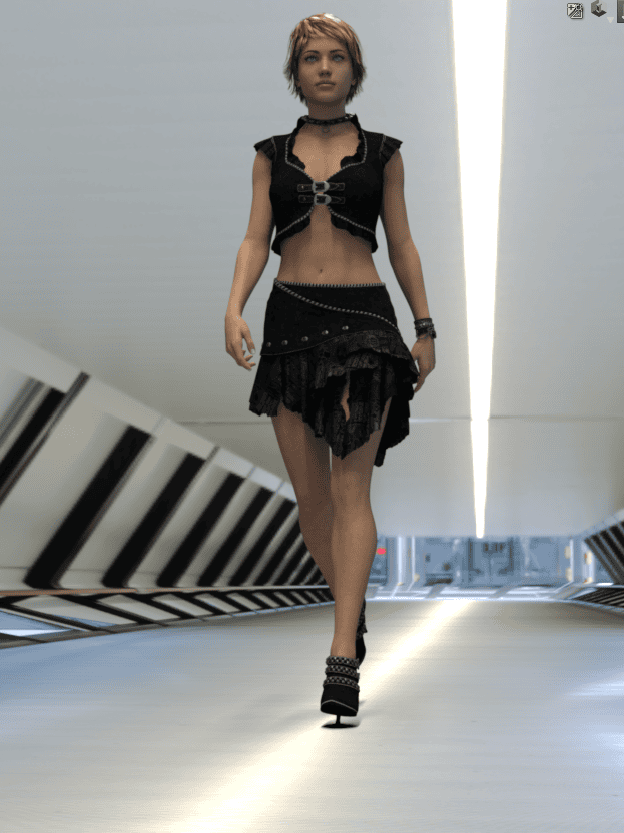
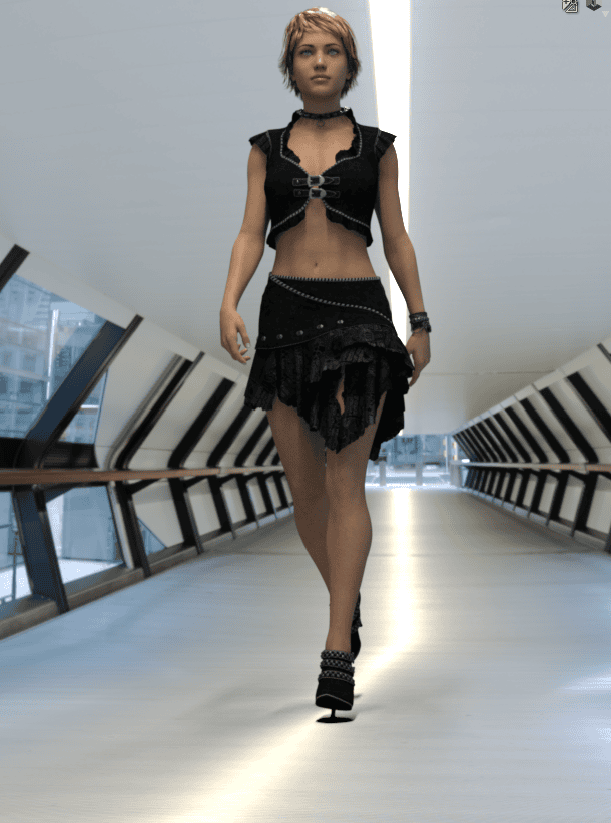
First of all, you can notice that the character is definitely not where I want it to be. I need to rotate the Dome. For this simply use the Dome Rotation and Dome Orientation tools of Environment section.
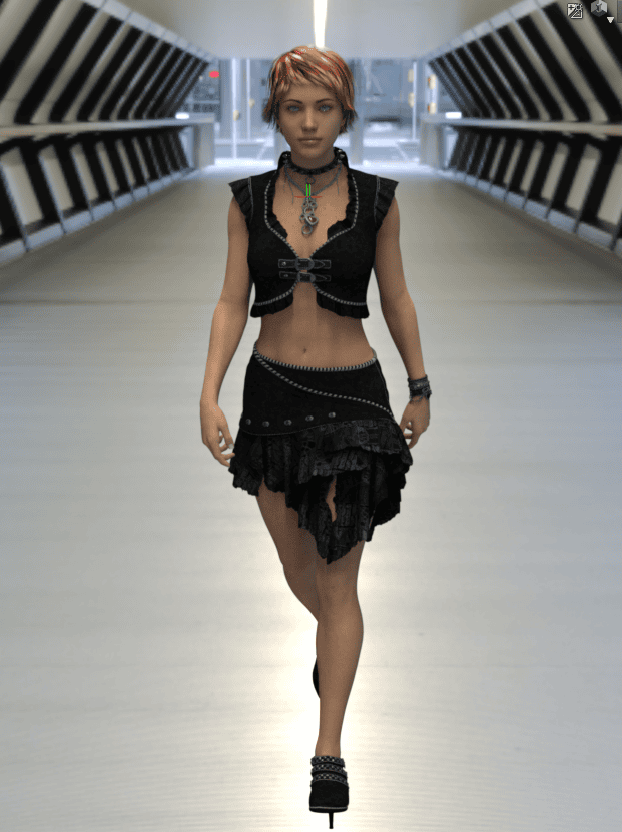
After improving that, it already looks better. The character now comes from the right direction and not from the window. And also she is lighted better, we can see more details.
Daz3D Dome as Environment
One of the things in using HDRIs is that in Daz Studio they can be more than just a simple background image as we saw just now. We can make it a proper environment that our character will look like they are standing in.
Daz3D Draw Ground
If you tried this yourself, you probably noticed that your character looks like they are floating in the air and not on the ground and the scale is all wrong.
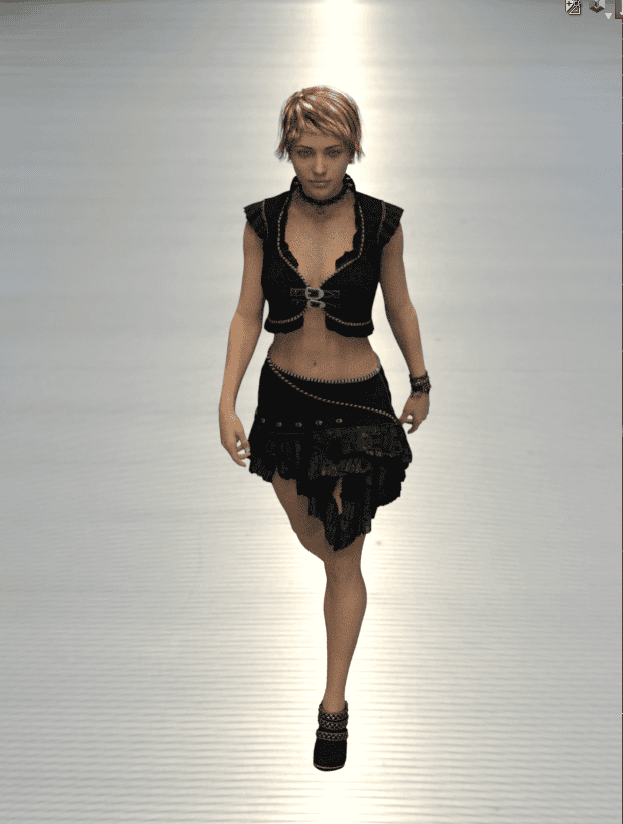
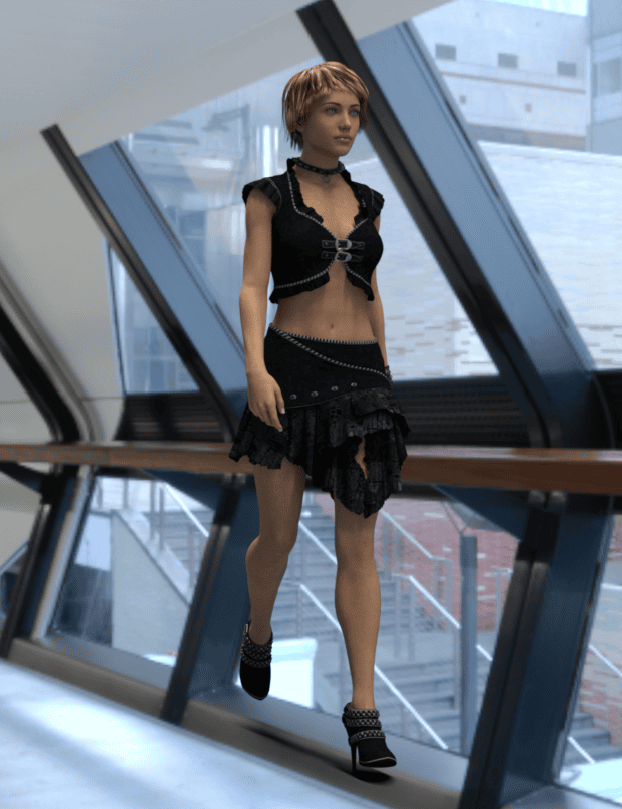
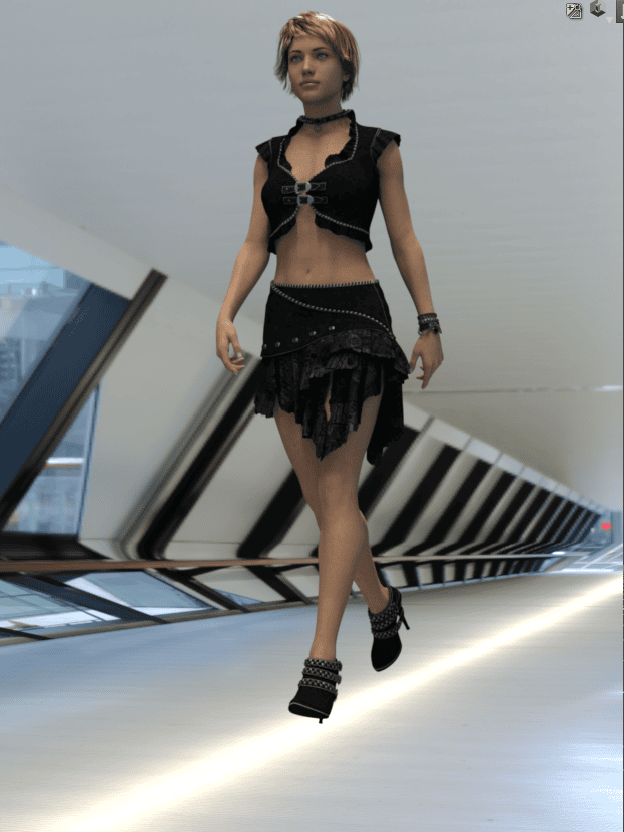
Figure looks a lot smaller with a changed angle
These problems are mainly caused because there are no shadows. And it can be easily fixed. Simply enable the “Draw Ground” option at the bottom of the “Environment” tab.
After that we will see that the character looks a lot more like it is really there. That is because shadows were added.
Daz Studio added what is called a shadowcatcher. It is an invisible plane that is able to catch shadows. So it can make an illusion that your character is really standing out there.
Though this effect is not that good, as depending on the angle you look at it – you can still see that the character is indeed in the air, both with their shadow.
Daz3D Dome Mode – With Ground
The better way of imitating characters standing on the HDRI ground would be using the “Dome Mode” setting of the “Environment” menu.
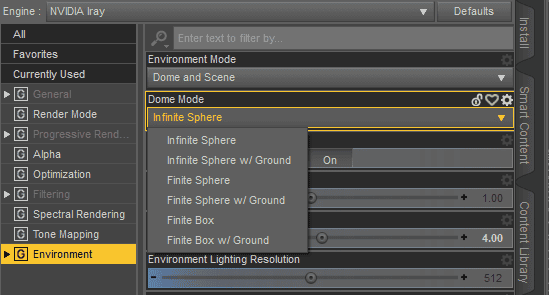
As you can see each variant of dome is also available “w/ Ground”. This will try to change the dome in a way, so that the lower side works as a proper ground. Let’s set it to the “Infinite Sphere w/ Ground” and check the result.
At first it does not look like something changed a lot. But if you start to move your view around – you would notice that there is no more feeling like the character is floating. She always looks like there is a ground that she is standing on.
And this effect becomes even better if you combine it with the “Draw Ground” setting. With added shadows the scene becomes truly believable.
There could be problems with the scale of character to the environment. Or there could be problems with what is recognised as floor. You can notice in the image where we changed angle – windows are flattened. To improve both the scale and flattened parts – you can change “Ground Texture Scale”. The higher the number – smaller your character looks compared to the picture. Here is an example with scale set to 200 (default is 100).
Background windows look like they are further away, which makes the scale of a character look smaller compared to the background. Alternatively you can use another Dome Mode. I would recommend “Finite Sphere w/ Ground” as it is better for our purposes. If you are working with the HDR image of a building insides – you can try “Finite Box w/ Ground”.
New settings would appear – “Dome Scale Multiplier” and “Dome Radius”. As now our dome is finite, we can change its size. And this can easily improve the look of our scene. Check how this angle looks with the default settings:
There is a clear problem with flattened background. Daz Studio considers windows and even columns in the back as ground and flattens it. But if I change the Dome Scale Multiplier to something a lot smaller, you will see the change right away:
If you would like even more control over Domes, want to make scenes where your characters would interact with HDRIs – check out the Iray HDRI Toolkit by KindredArts. It is a toolkit that allows you to place shadow catchers, occluders and reflectors on the scene yourself.
So with this tool you can make parts of HDRI reflect your own objects, occlude them or to allow shadow catching.
Source Iray HDRI Toolkit by KindredArts
Conclusion
We answered the main question of this article – in Daz3D how to make dome visible. But not only that, we also explained how to make your character interact with domes, stand on them, catch shadows and even change the scale. So now you can use Domes and HDRIs in Daz Studio to add to your environments or to replace them whatsoever.
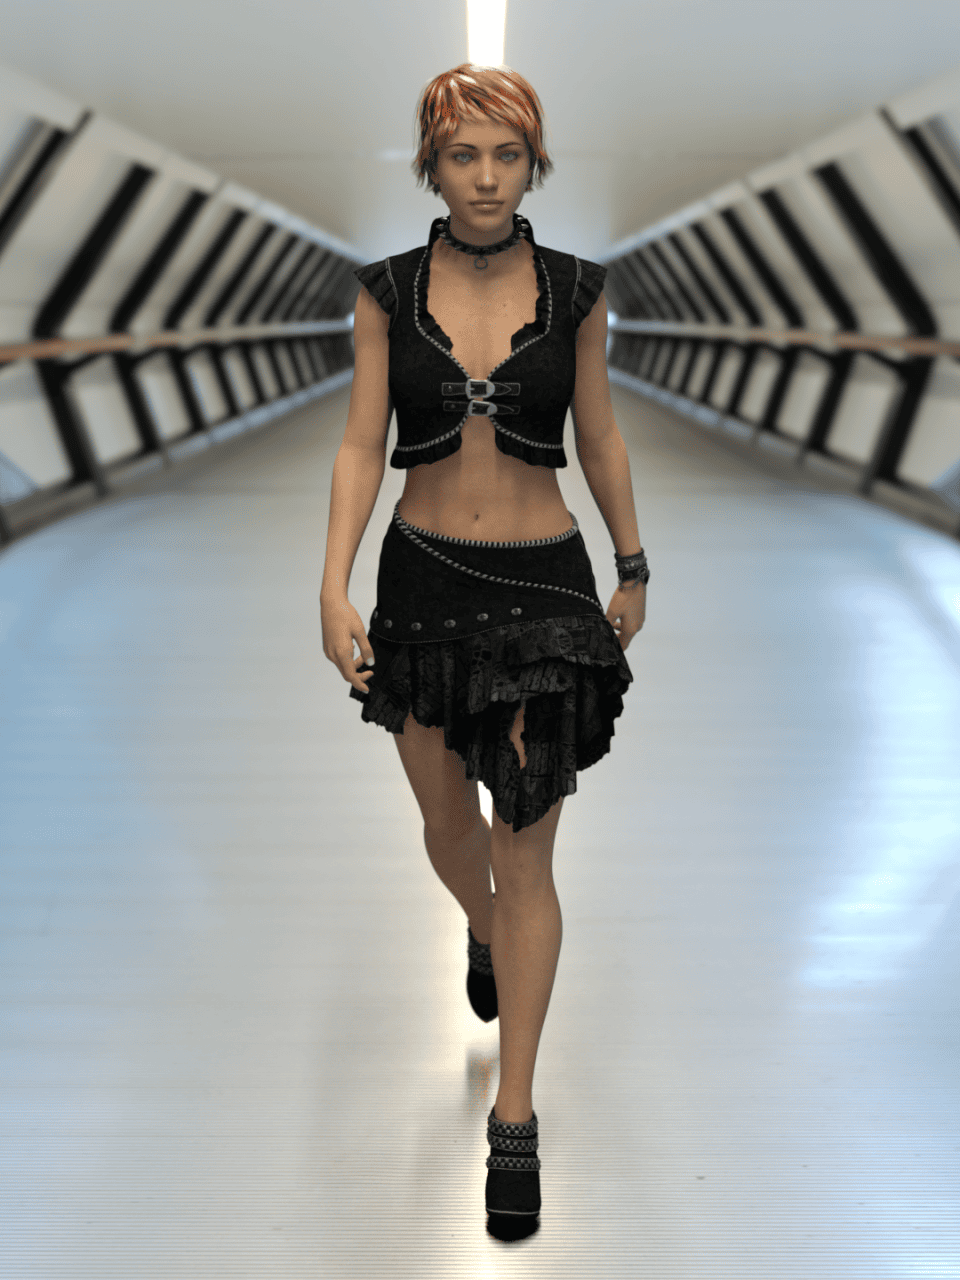
Here is the final render of our scene that we worked in this article on:
Also feel free to read Daz3d Skydome: What It Is & How to Use. They are similar to HDRIs and can also be used as environments to your scenes.