This Daz3D How to Hide Scene Parts That Are Not Selectable tutorial shows you how to hide objects of your environment that cannot be selected and be hidden. Sometimes when you add an environment to your scene – you can notice that all of the added environment is a single joint object. Meaning that you can’t select any of the parts separately. Every time you click anywhere – the whole scene becomes highlighted.
A really good example of such situations is the free environment available in the Daz Studio for free – Pergola environment. After you add it – you can see that the whole environment is truly the single object.
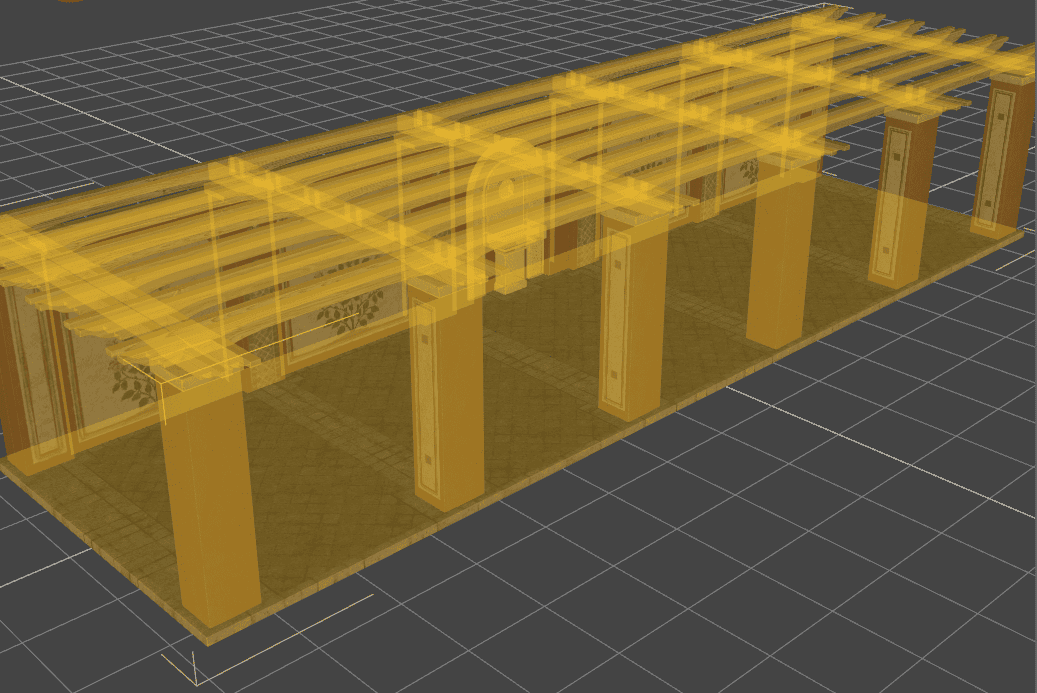
What to do if I don’t want to render some part of this environment? How can I hide it? Let’s investigate this further in the article. There are two methods that we are going to take a look into.
Daz3D Hide Scene Parts Using Materials
First method is about using the materials of an object. It does sound strange, but just wait and you will understand. Firstly you need to change to the “Surface Selection” tool that can be found on the default toolbar.

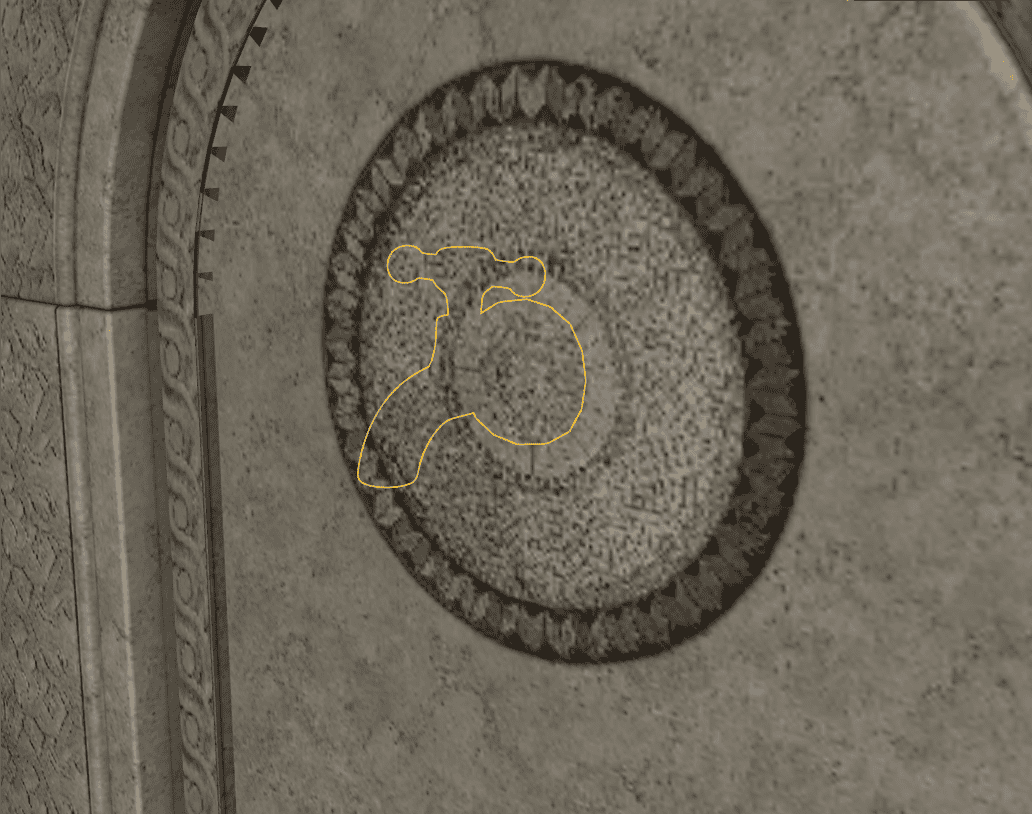
Now with the tool active, you can see that not the whole environment selects at once. Meaning that we can control what we select a lot better. For example I can select this tap inside the Pergola.
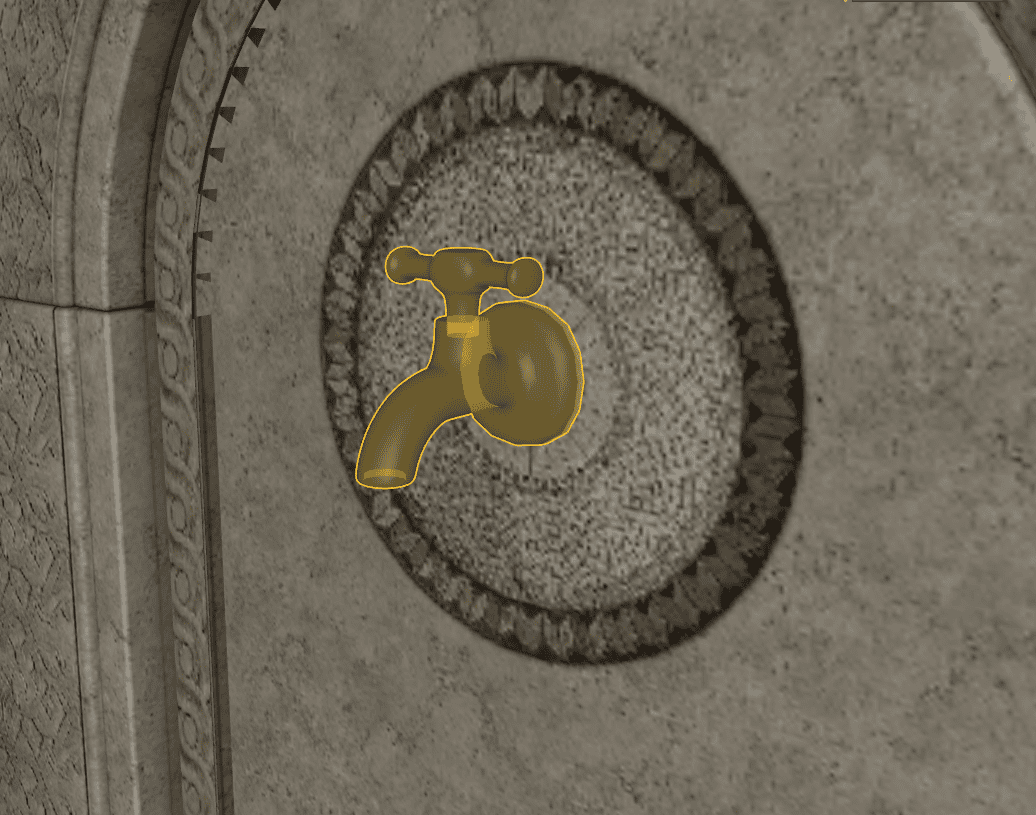
But what we did was select the material. Tap is not separated from the environment and we still can’t do any changes to it. We only selected the material of the tap and can change only the material. You may wonder how this helps us?
The answer is pretty simple. With the use of material parameters we can make objects turn invisible. To do this, open the “Surfaces” tab with the object selected and find there some kind of Opacity setting. It may be called “Cutout Opacity”, just “Opacity” or, as in my case – “Opacity Strength”.
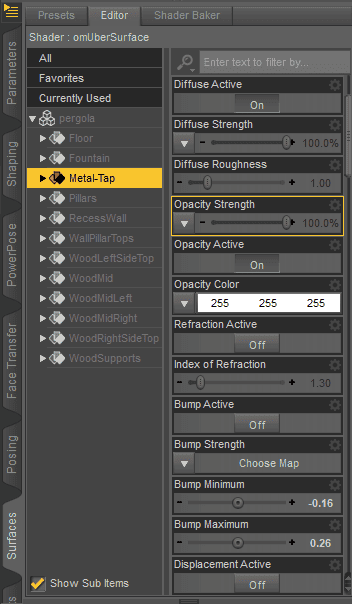
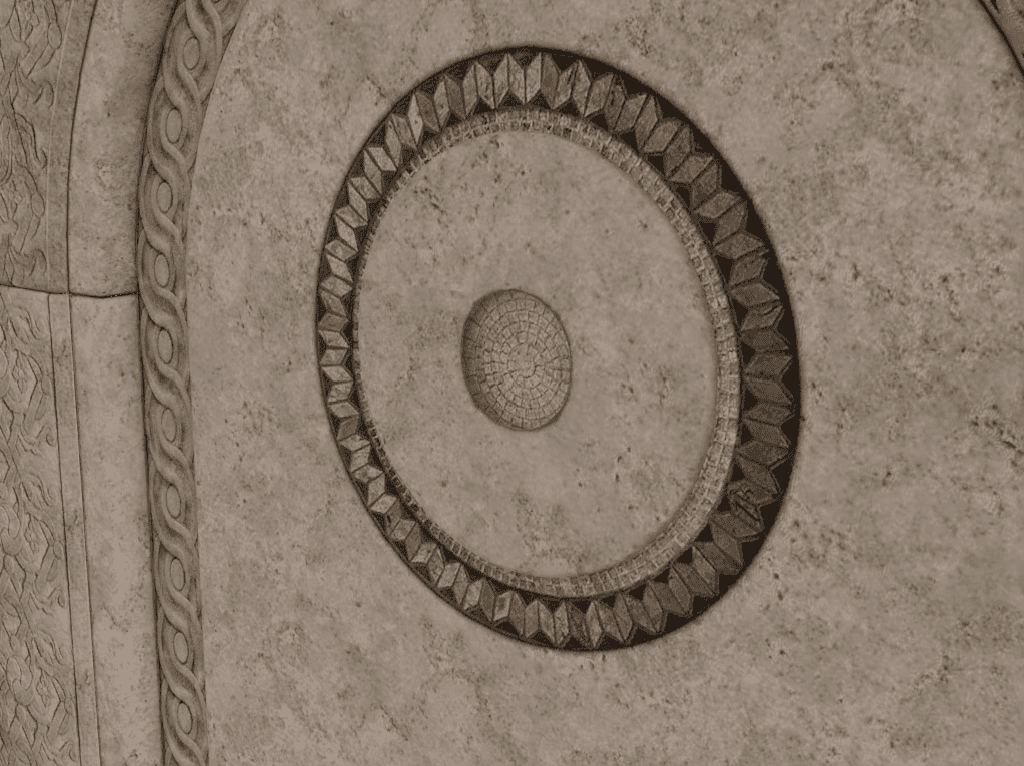
If you turn the opacity of your object to zero – object should become invisible. It is still there and you can even select it.
But it would be fully invisible and hidden on any kinds of renders.
For the good measure you can also set glossiness to zero, but usually it is not needed. The main advantage here is that this method is fairly easy to execute and the object is still there, so you can anytime select it and increase its Opacity to return it as it was.
For the more in-depth tutorial about the materials and how to work with them you can check our Daz3D Texture Tutorial: All about Textures, Materials and Shaders
From our Daz3D Texture Tutorial
Daz3D Hide Scene Parts Using Geometry
You may already have noticed the main problem with the last method. It is that it is not that precise. Meaning that you are still restricted to the materials and what “Surface Selection” tool selects for you.
For example, the columns from this Pergola environment all share the same material. This means that if I want to hide one of the columns – I can’t do that with the material method, because all columns are selected with the “Surface Selection” tool at once and all will be turned invisible.
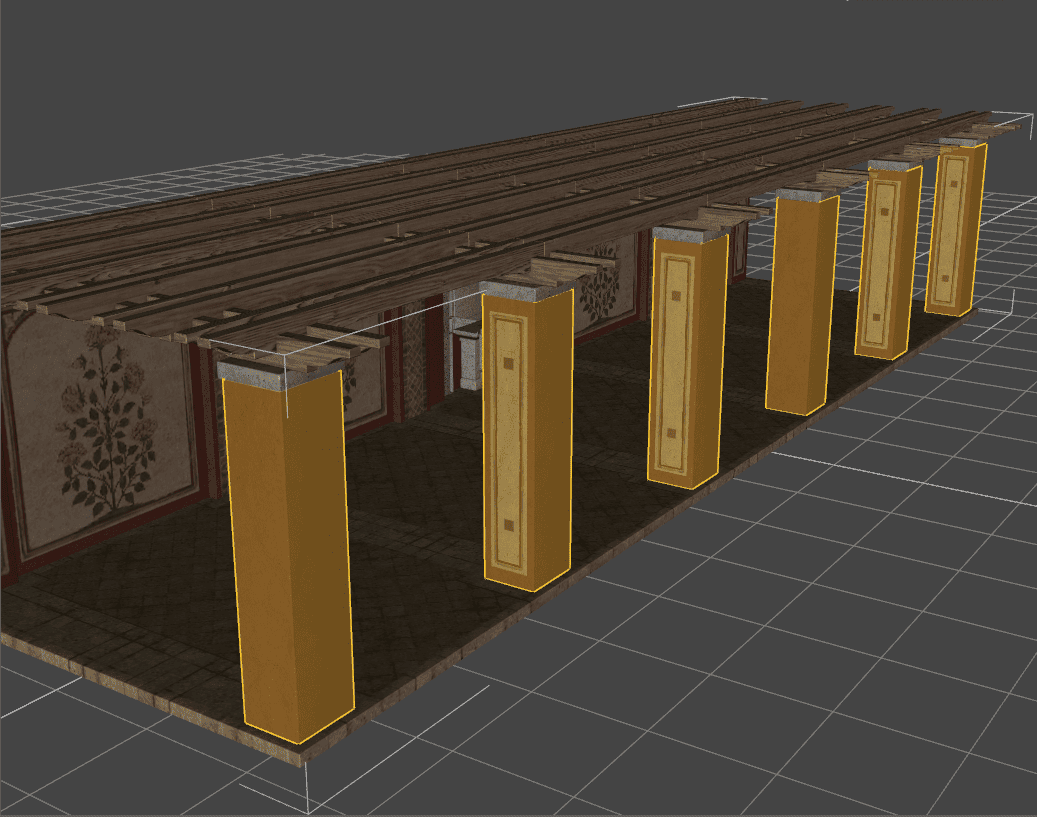
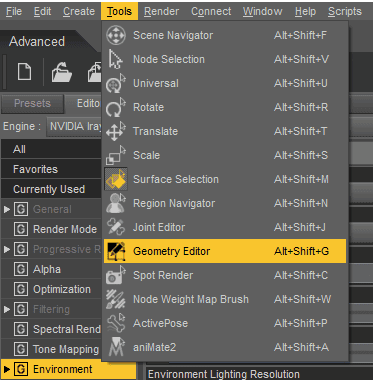
Now let’s look at the more advanced method that allows us to hide any part of the scene, even if it has the same material. This method utilizes objects geometry and thus we need to use the “Geometry Editor” tool. It can be found in the “Tools” drop-down list in the top bar.
With the tool active we now can select the geometry of any object. This means that we can select vertices, edges and faces of any surface on the scene. Click on something to see it yourself.
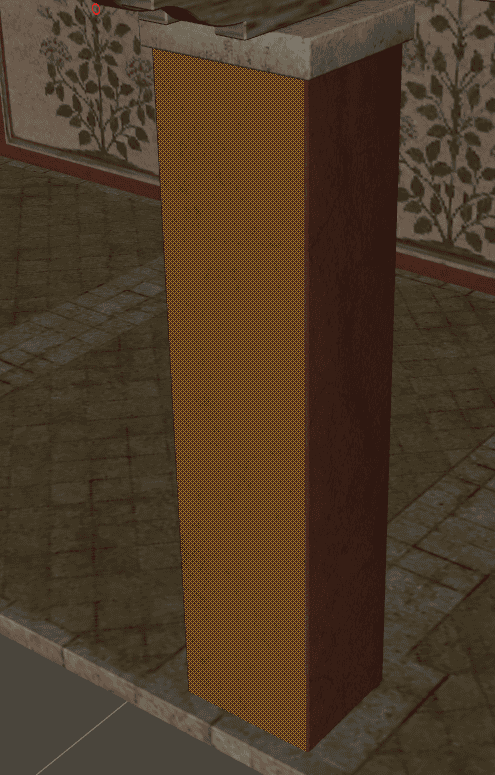
The goal right now would be to select all the geometry of the column that we want to hide. You can do this by holding down CTRL and the left mouse button to select any face that you hover over. But this is not a good way to do this, obviously. And worry not, there is a better way.
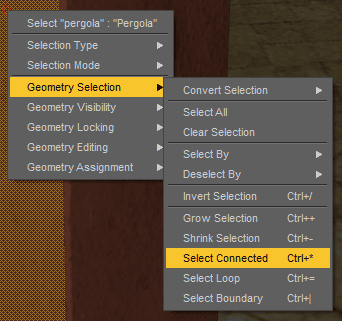
You need to select one of the faces on the object that you want to hide. Then you just press the [CTRL+*] or right click on it anywhere and select “Geometry Selection > Select Connected”.
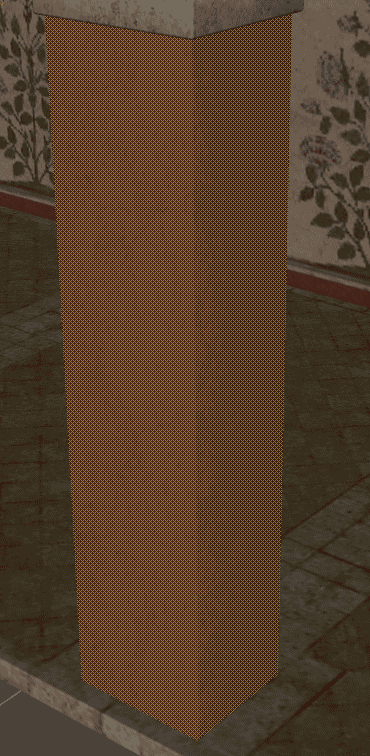
This should have selected all connected faces to the selected one. Meaning that the whole object geometry should be selected now. In my case – all of an column became selected.
Alternatively you can use the neighbouring “Grow Selection”[Ctrl+”+”] setting on the right click. It selects all of the neighbouring faces to the selected one. This can help if you don’t want to select the whole object or if the geometry selects wrong.
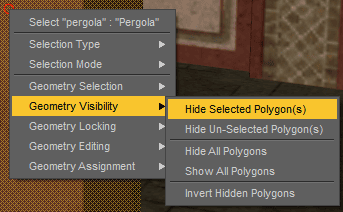
Now, when the whole geometry of the object is selected, we can hide it. To do this – right click on the selected object and in the “Geometry Visibility” option select the “Hide Selected Polygon(s)”
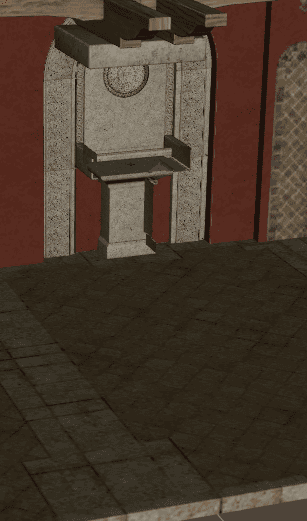
And this indeed will hide all of the selected Polygons:
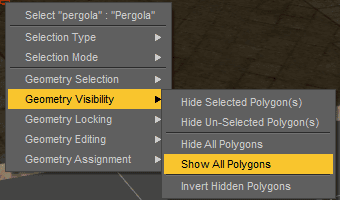
If you want to unhide the object back – in the same right click menu, under the “Geometry Visibility” select the “Show All Polygons”.
Creating Face Groups
Though you may already see a problem here. This button unhides all of the hidden polygons. Meaning that if you have hidden more than one object – all of them would become visible again. And then you will need to again select everything and hide. Or are you?
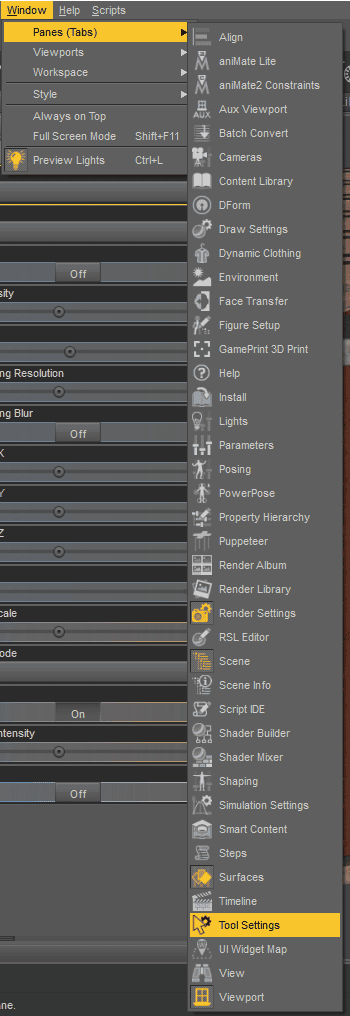
There is a way to make the process more convenient and simple. We will create “Face Groups” that will allow us to hide and unhide objects a lot simpler. To utilize Face Groups you will need to open the “Tool Settings” tab from the “Window > Panes(Tabs)”
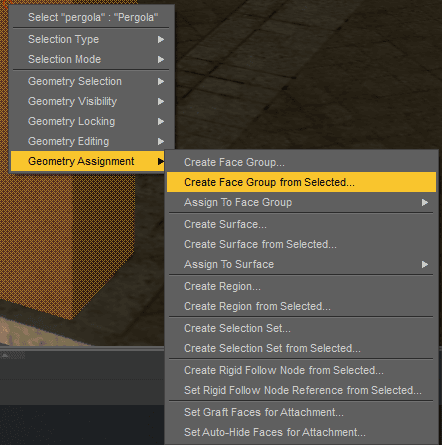
With the “Geometry Editor” active and all needed faces selected right click on the object and under the “Geometry Assignment” click on the “Create Face Group from Selected…”
Give it any name that you want. Now in the “Tool Settings” you can find this newly created Face Group. When it is selected – the geometry will be highlighted with red color.
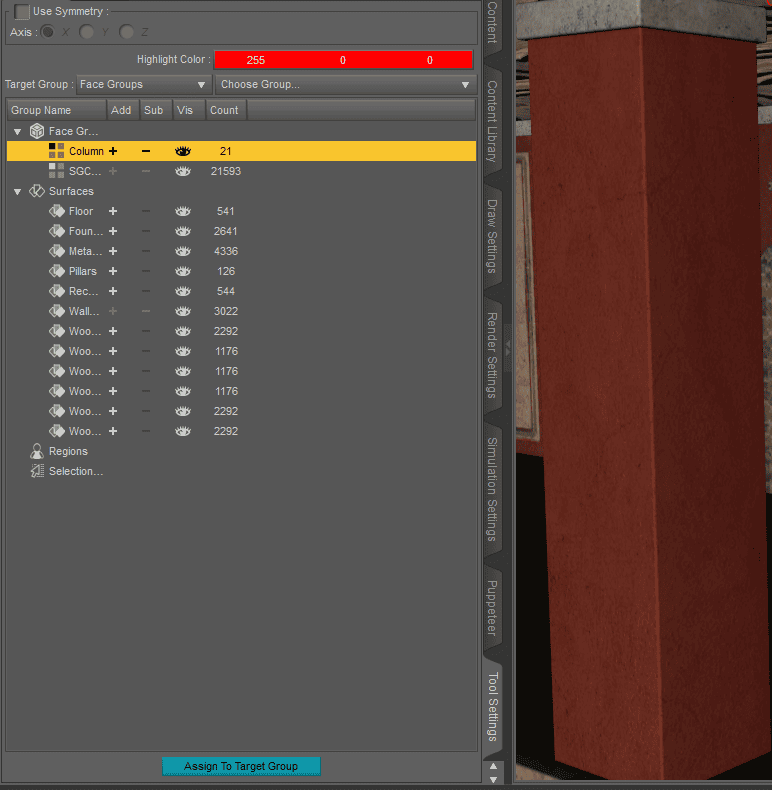
And you can notice the eye icon near the created face group. It does exactly what you expect it to do – hides and unhides the according faces.
This means that you can create as many Face Groups as you want with the most different parts of your environments. And at any time you can hide and unhide these groups.
Looking for Top Daz 3D Models?
Checkout also many of our Daz3d Product Highlights from the Daz Store, here some examples below:

Source Daz3D Asian Female Characters
Source Top Card 3D Models for Daz
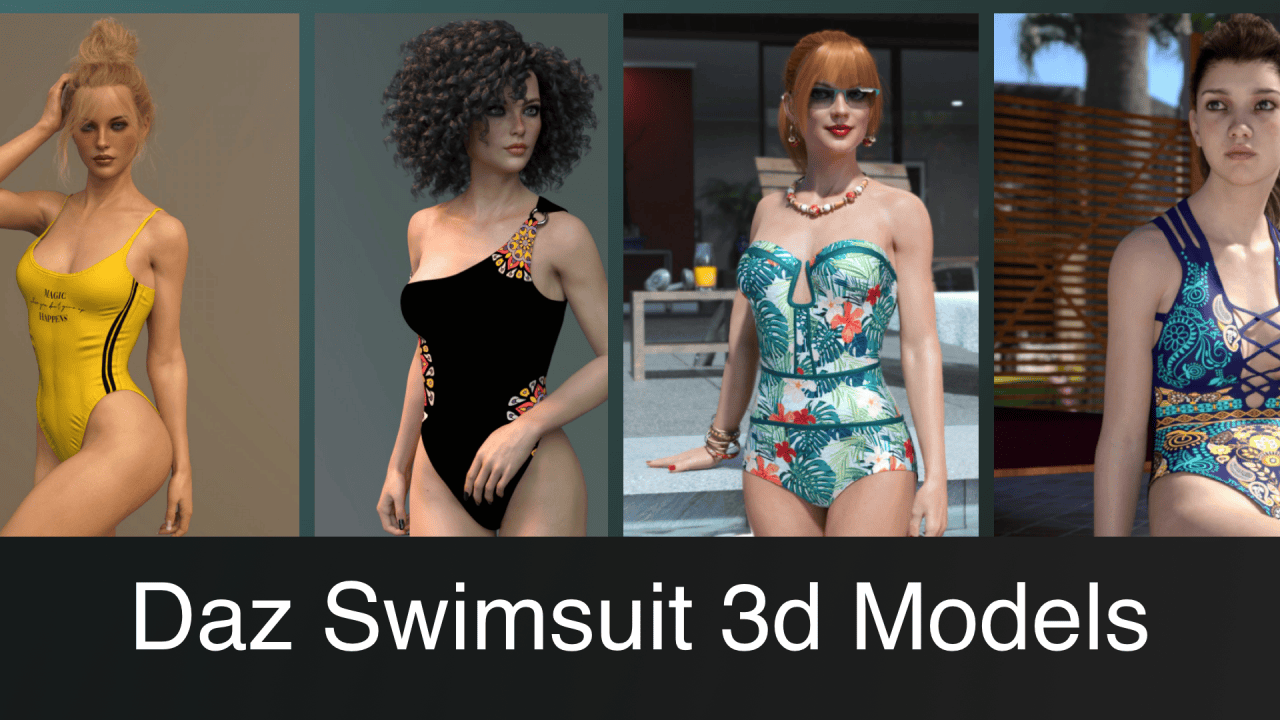
Source Top Daz3D Swimsuit 3d Models
Conclusion Daz3D How to Hide Scene Parts That Are Not Selectable
After reading the article you should be able to hide any part of the scene that you want. Be it something that you can select with the “Surface Selection” tool or something that can only be hidden by selecting its geometry. Also see out other Top Daz Tutorials.