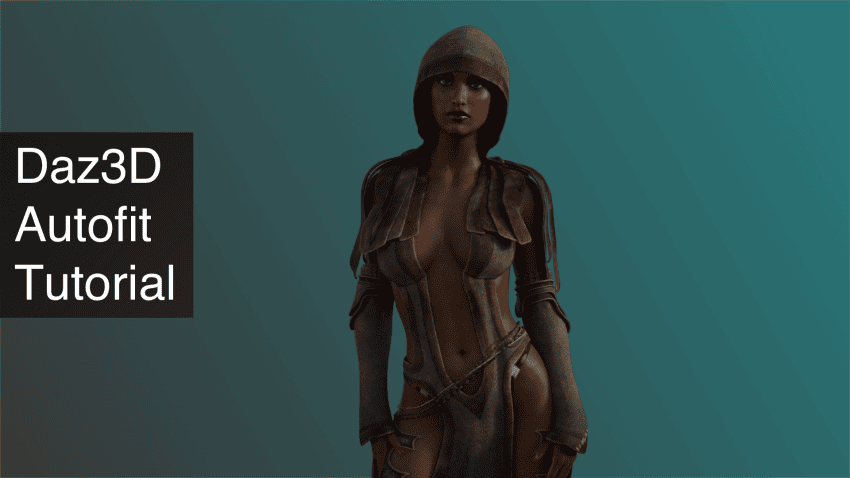
This Daz3D Autofit Tutorial shows you how to use clothes of an older genesis generation on newer one. We also cover how to handle the Poke Through issue. In this tutorial we will review the Daz AutoFit add-on. This tool was firstly designed to convert wardrobe items from Daz Generation 4 characters to be used with the Genesis, Genesis 2 Male, and Genesis 2 Female figures.
The plug-in comes bundled with Daz and fortunately, there is nothing extra that needs to be downloaded.
If you are new to Daz, this might sound a little old. To tell the truth, you are right. Autofit was released many years ago. Nonetheless, great wearable items are available for purchase in the Daz marketplace and we want to make sure you can still take advantage of those, no matter the generation.
Understanding the Genesis Generations
Before we move to the core of the article, I will share with you a very useful chart with all Daz generations and genesis releases. It is pretty common, especially for those new to Daz (Don’t worry, we got you covered) to have a hard time identifying generations.
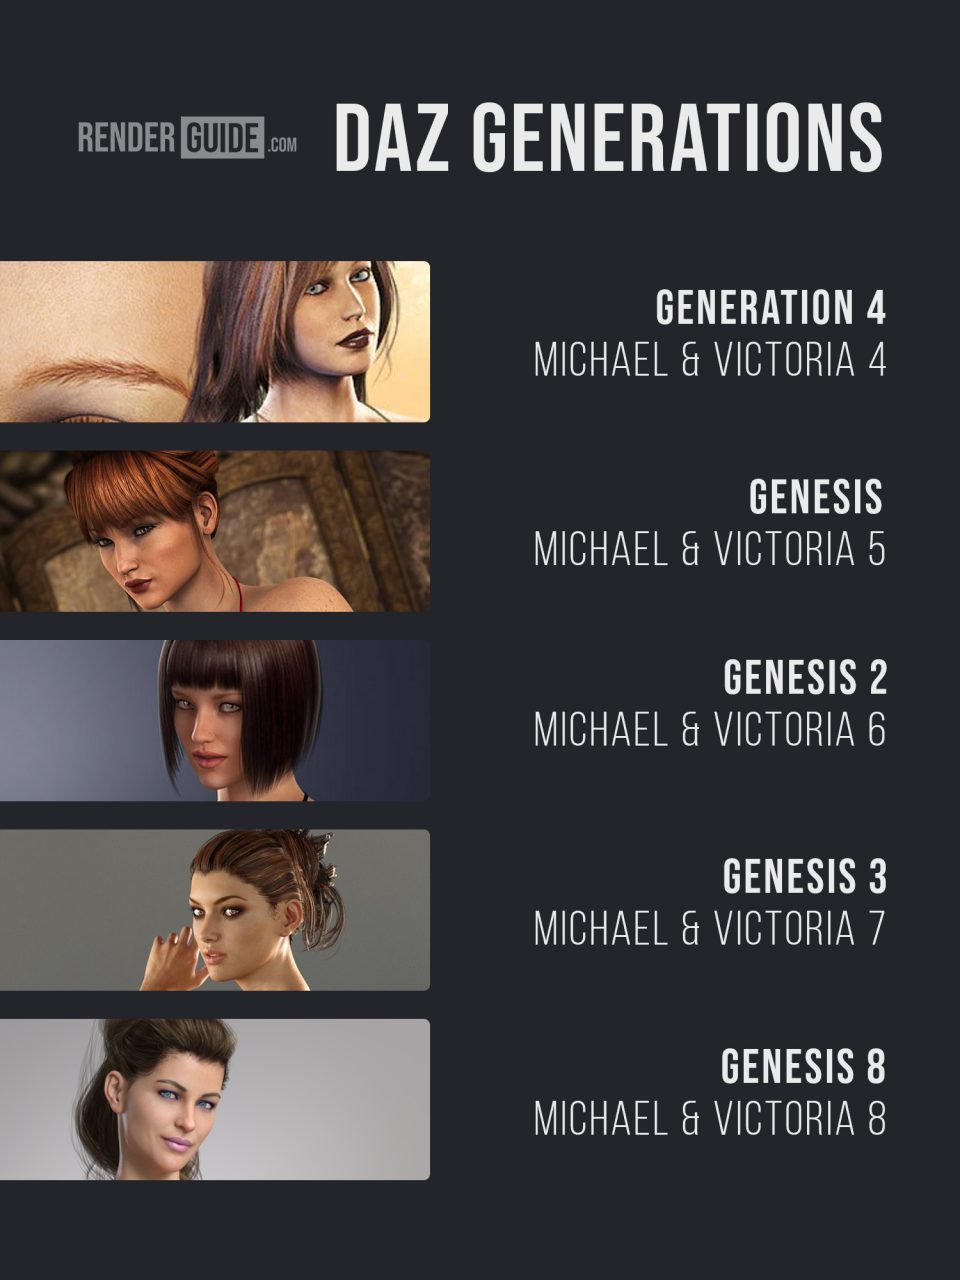
If you are interested, you can always learn more about Genesis 3, Genesis 8 & Genesis 9.
Using Daz3D AutoFit
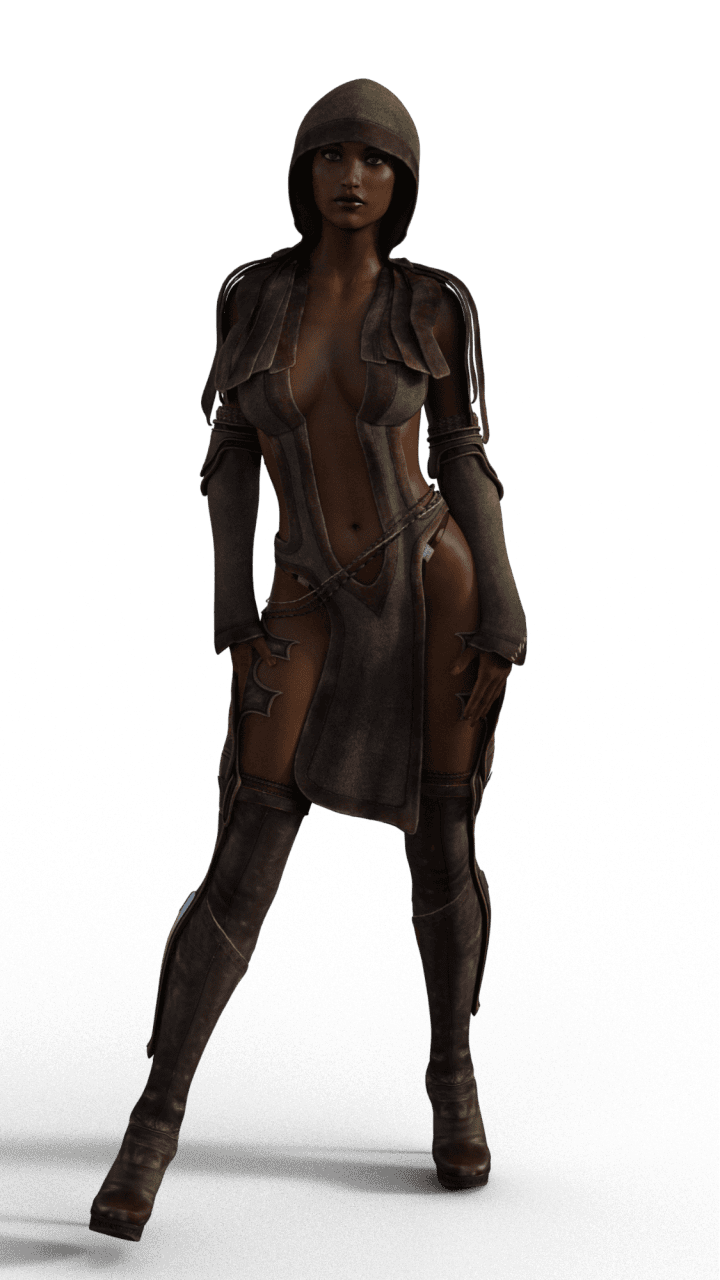
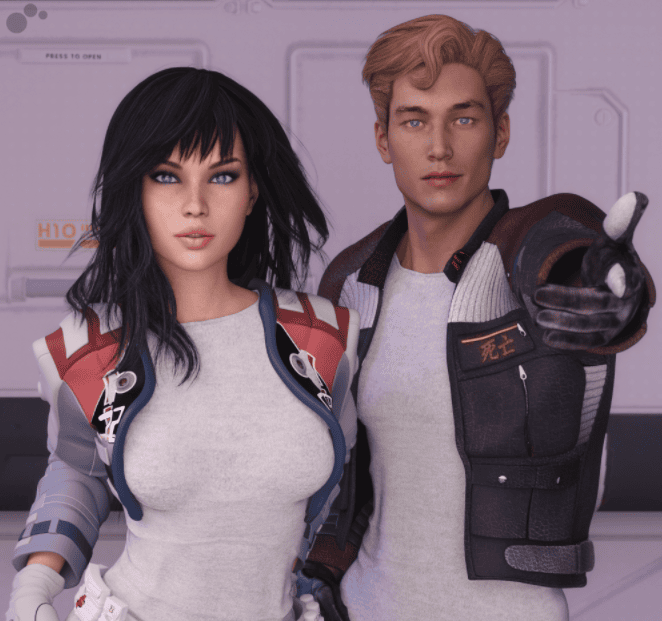
For this quick tutorial I decided to use the Genesis Female Adventure Bundle (G2F) and Taia for Victoria 7 (G3F). You can purchase them by following the links in the description.
Genesis 2 Female Adventure Bundle
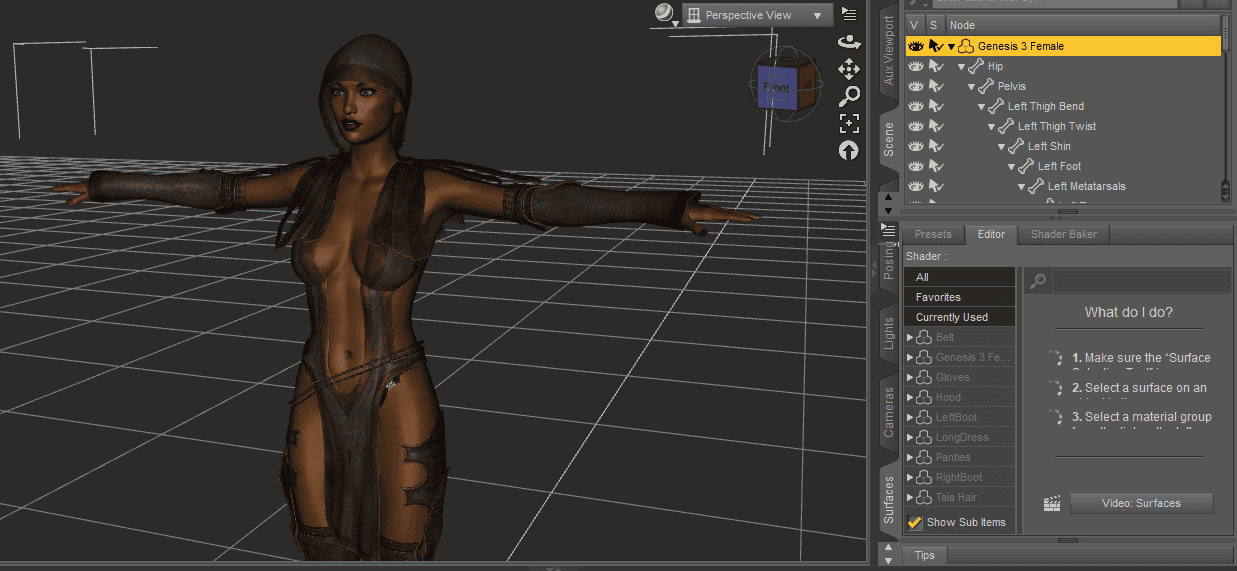
Let’s open Daz and create a new project. Then we will import our model to the scene.
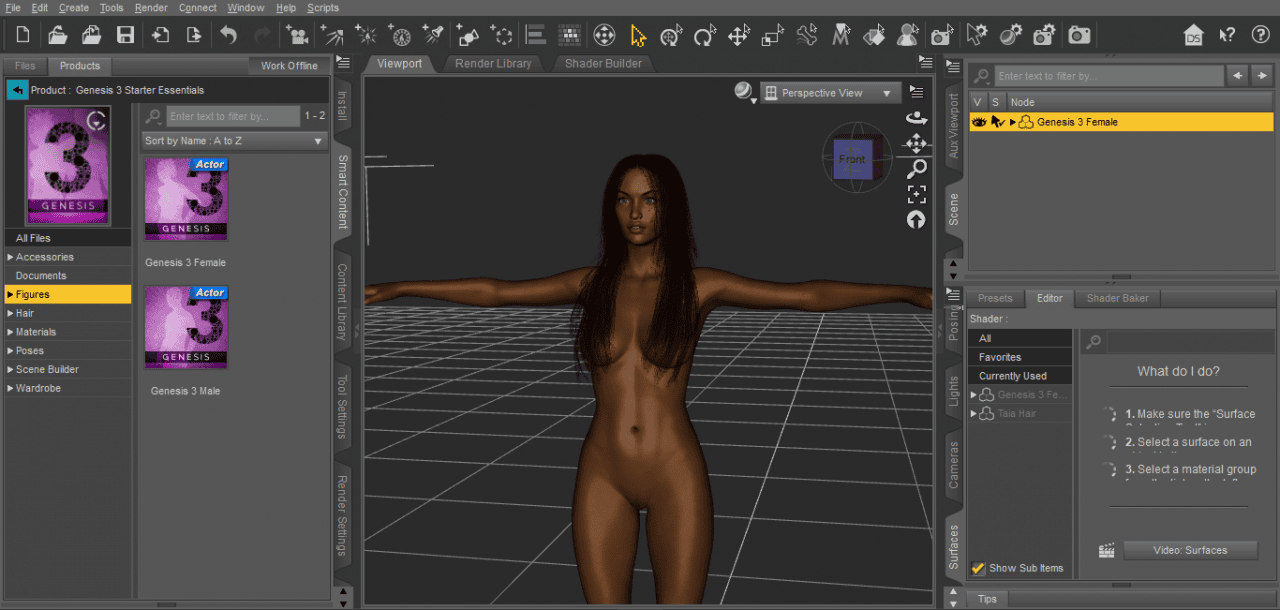
As you noticed, this is a G3F (Genesis 3 Female) model. If we want her to be wearing our G2F outfit, Daz will automatically trigger the AutoFit options window.
For now I will omit and place the clothing without making any changes. This is the result without AutoFit.
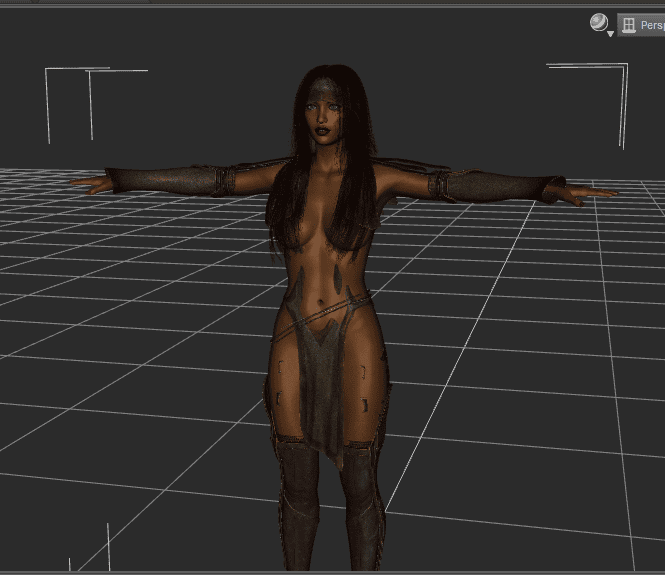
What a mess! Now, let’s do it the proper way and use the AutoFit function. A window will pop up and request more information. This will help Daz identify the object and re-adapt it to match the new model’s shape.
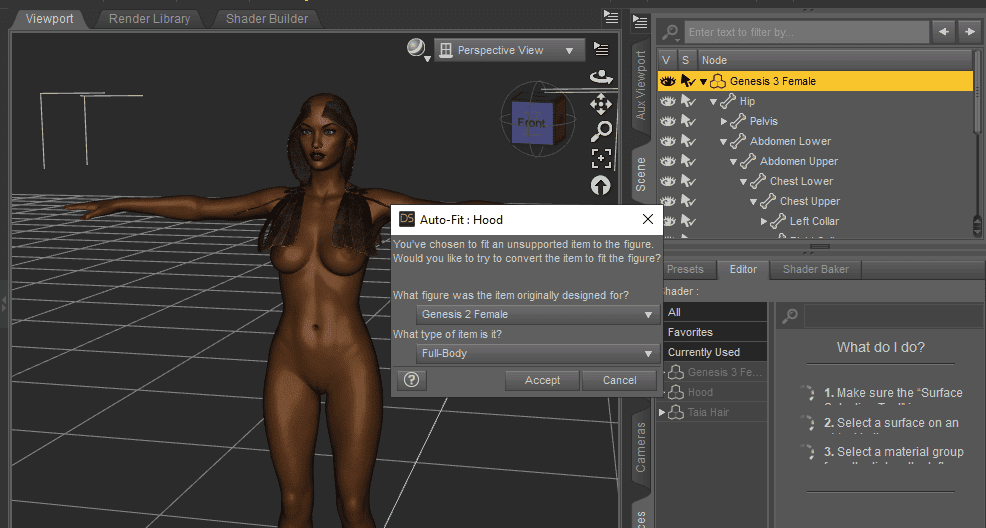
To convert items, we specify in the first option which figure is designed for. In our case, G3F.
In the second option, we specify which type of item we want to apply to this model. For the hood, the closest type would be a full-body piece. Then we click “Accept”.
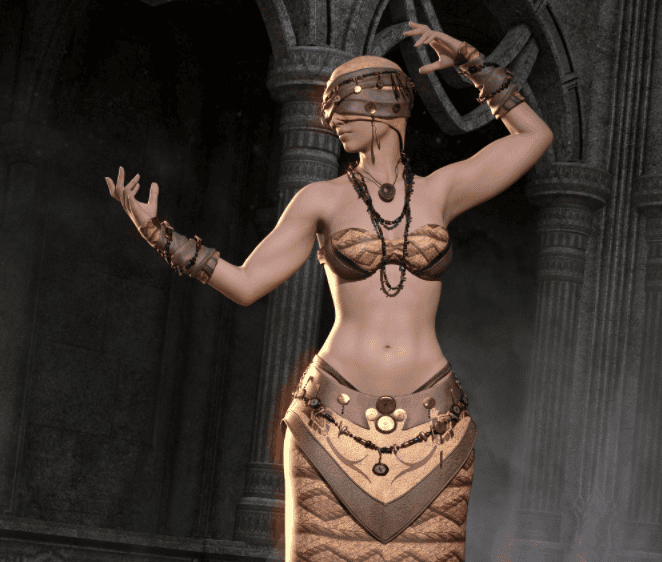
Now we can see how AutoFit has made it very easy for us to convert and re-adapt clothing across different generations.
However, and since AutoFit was not originally designed for Genesis 3 models, we will need to tackle some extra issues.
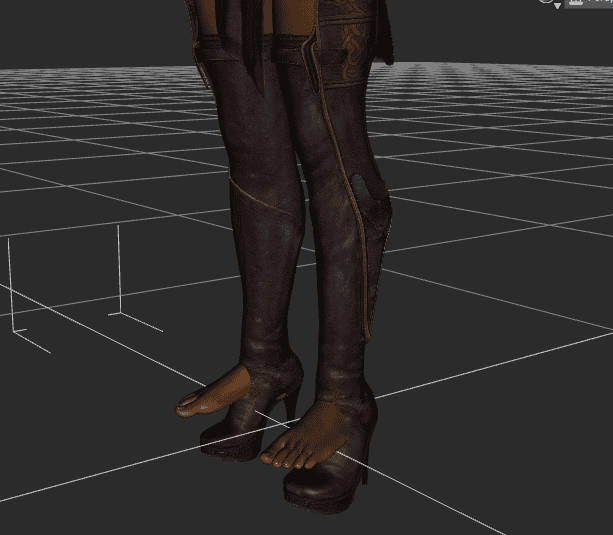
AutoFit has it very hard working with shoes, and we clearly see why. In order to solve this, we need to follow a few easy steps.
- First, we will go and activate the joint editor. Tools > Joint Editor
- Then we will look for the boot bones located in the scene pane, inside the model’s dropdown menu.
- As an example, locate the Right Small Toe 4 (make sure it’s the last item and does not have an arrow next to it), right click in the viewport and delete bone.
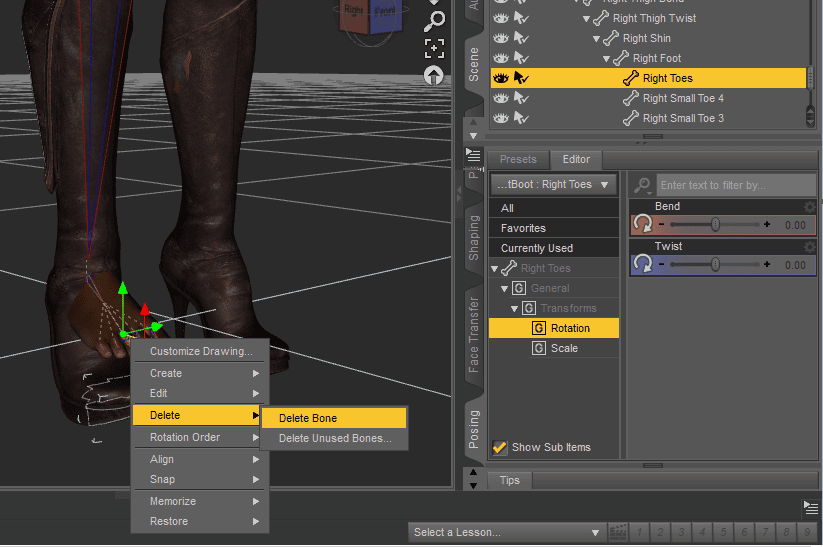
- Repeat for all 5 toes, heel bone, metatarsals and foot.
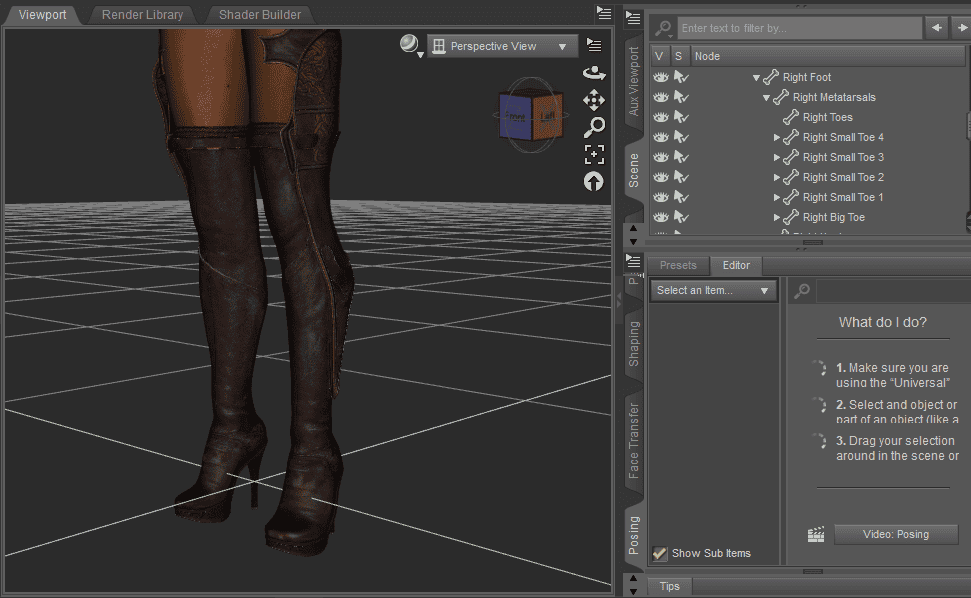
- Now locate from the scene pane the actual toes from the model and change their position to be hidden inside the heel.
- Done! If we later apply a pose, remember to change the position again.
Poke-Through and How to Solve It
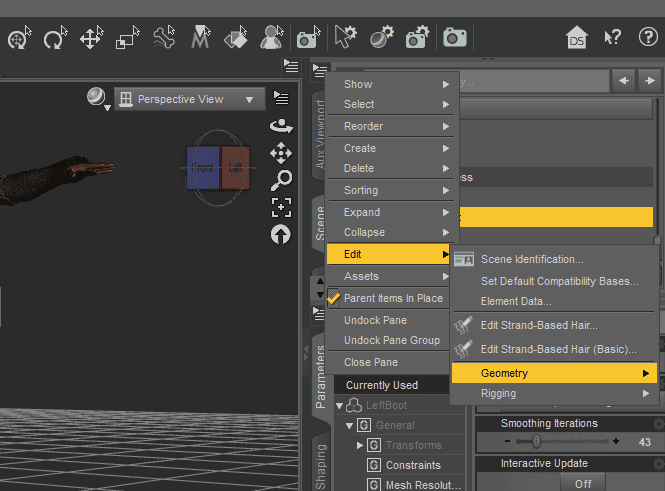
If the wearables fail to fit the model, you can try this quick solution. Select your item and from scene options, go to Edit > Geometry > Add Smoothing Modifier.
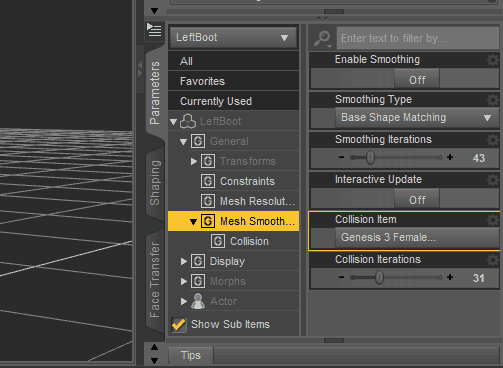
After that, a new option should appear in the Parameters pane named “Mesh Smoothing”. By increasing values on both “Smoothing Iterations” and “Collision Iterations” sliders, the issue should be solved.
An alternative is to re-scale the objects so it becomes a little bigger than the body mesh.
You should check out How to Eliminate Poke Through in Daz Studio Tutorial to learn more ways to solve this common issue.
Genesis 8 Issues & Solutions
For the Genesis 8 system, AutoFit does not provide full support when it comes to retrocompatibility. In other words, it is highly unlikely it will work converting items from Genesis 2 to 8 and vice-versa as an example.
To address the issue, some users from the web have done an incredible job developing what we now call “Clones”. Clones are essentially some target models that adapt the shape of wearables to Genesis versions that AutoFit by default does not cover. You can make your own research and find some good clones as freebies. There are also some products in the Daz marketplace that come in handy.

RSSY Hair Converter from Genesis 2 Male to Genesis 8 Male
Daz3D Autofit Related Products You Might Like
Fit any clothing to your Genesis 3 model made for previous generations thanks to this add-on.
Wear Them All – Autofit Clones Expansion for Genesis 3 (M&F)

Wear Them All – Autofitting Clones and Clothing Smoothers for G3F
SY Victoria 4 and Michael 4 Clones for Genesis 8
Conclusion – Daz3D Autofit
Understanding Daz Generations and how the different Genesis releases interact with each other can sometimes be annoying. Terms like Autofit, clones, victoria 4, michael 8, Genesis 2 and many others make it sound even more difficult. Still, we hope that with the help of this tutorial, these concepts are clear for you to focus only on creating great scenes. Until our next tutorial! Also have a look at our Daz Tutorials and 3D Model Reviews.