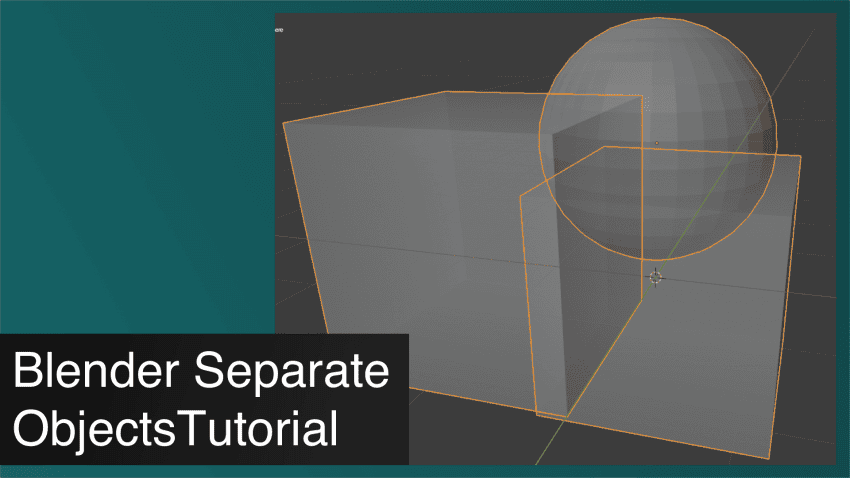
This Blender Separate Objects Tutorial explains step by step how to separate multiple joined objects. We’ll also show how to separate only parts of an object.
One of the basic things that you will do while modeling in Blender is joining and separating objects from one another. This is a very common thing. We already have a Blender Merge Objects Tutorial. Today we will be talking about separating them. Different situations need their own approaches that we will look into.
How to Blender Separate Objects that are Joined
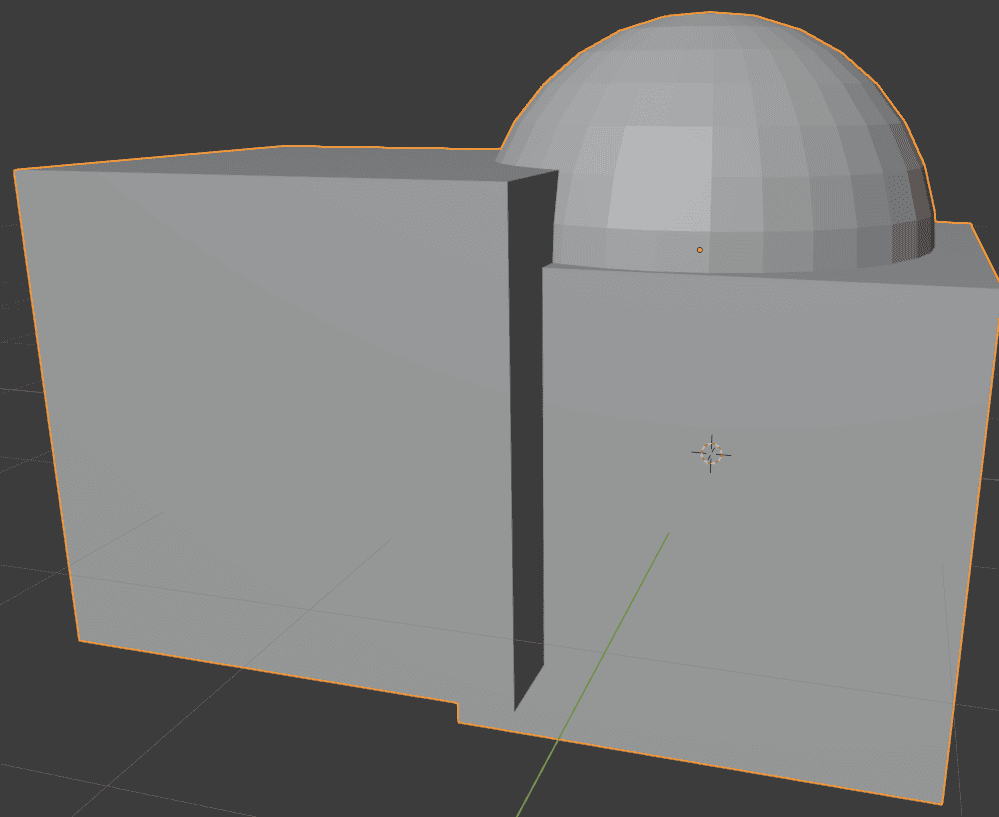
Let’s start with the joined objects. In this situation, joined means that the “Join” ([Ctrl+J]) was used on these objects. Let’s take objects on the screenshot, for example.
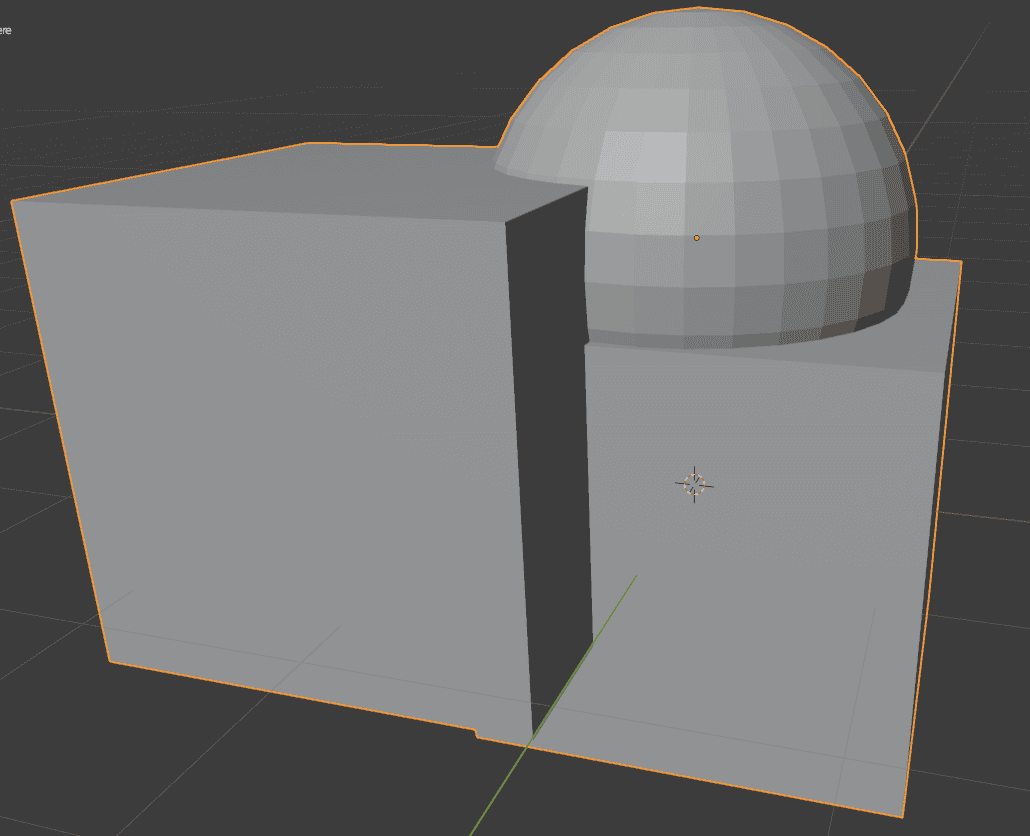
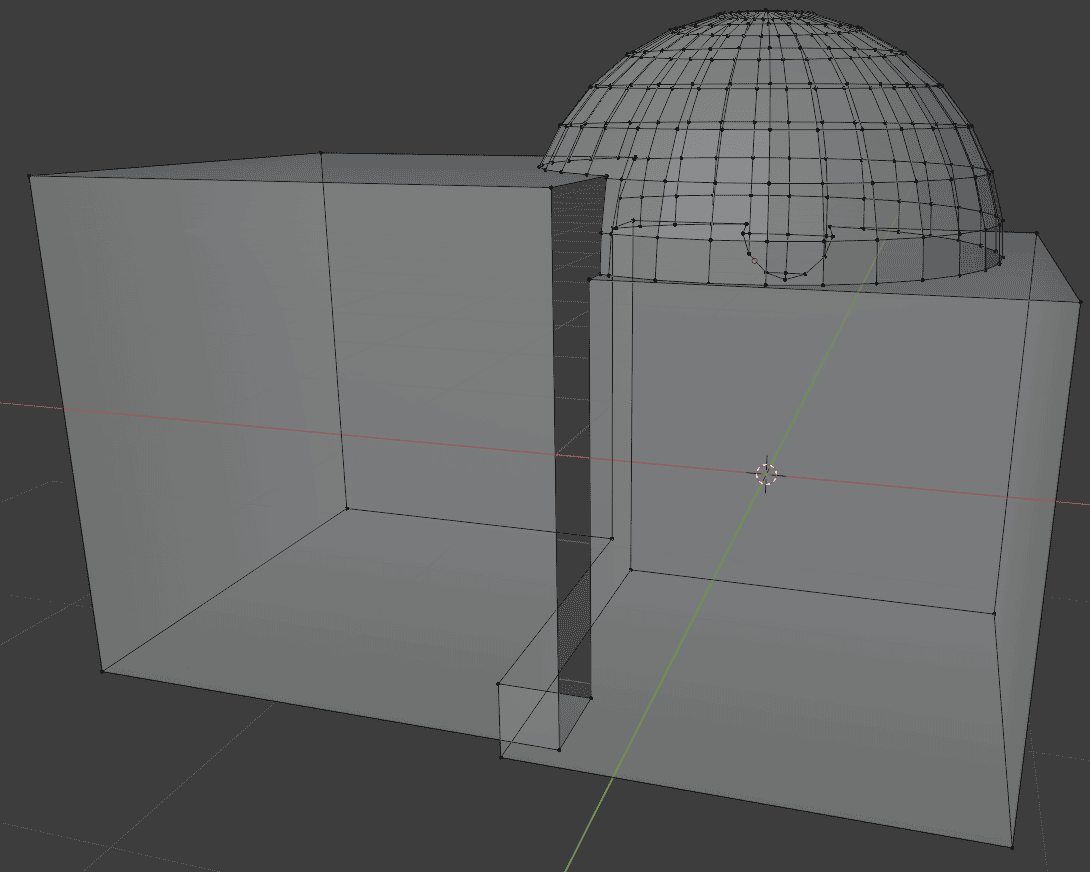
So we have two cubes and a sphere, all joined together. What “Join” did is it simply made them into a single object. But this did not alter their geometry in any way. So when I look at these objects with an X-Ray, we see this:
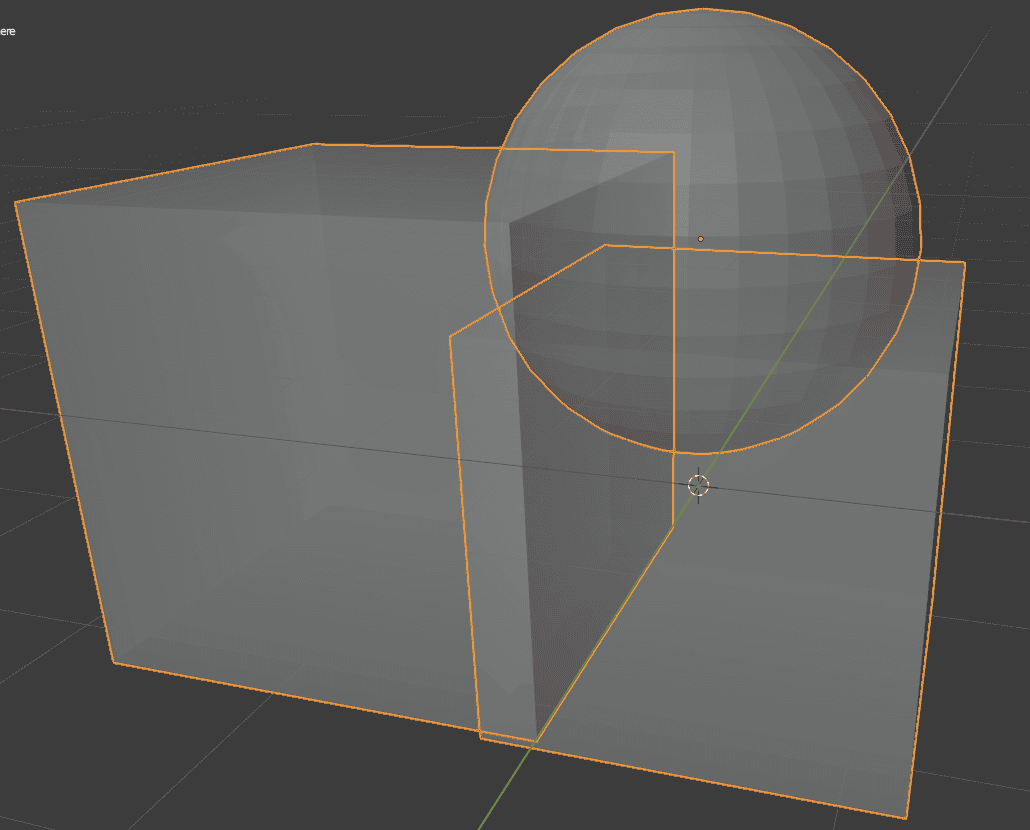
Each of the three objects still has all of their geometry and this geometry overlaps between them too. If you are in a situation like this, it will be very easy to separate such objects.
Usually, all you need to do to separate an object is select its geometry in the Edit Mode. When objects are joined like this – you need to hover over the object’s geometry with your mouse and press [L] on your keyboard.
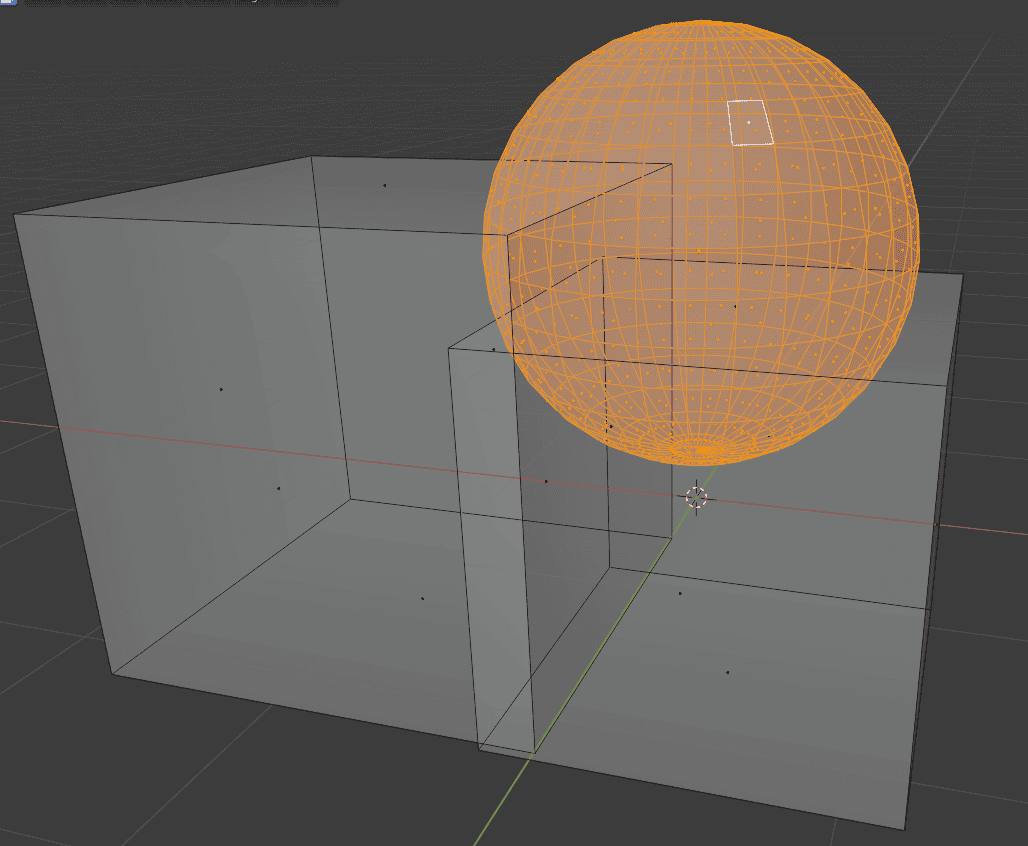
This will select all the geometry that is connected. As Cubes are not connected to the Sphere – they were not selected.
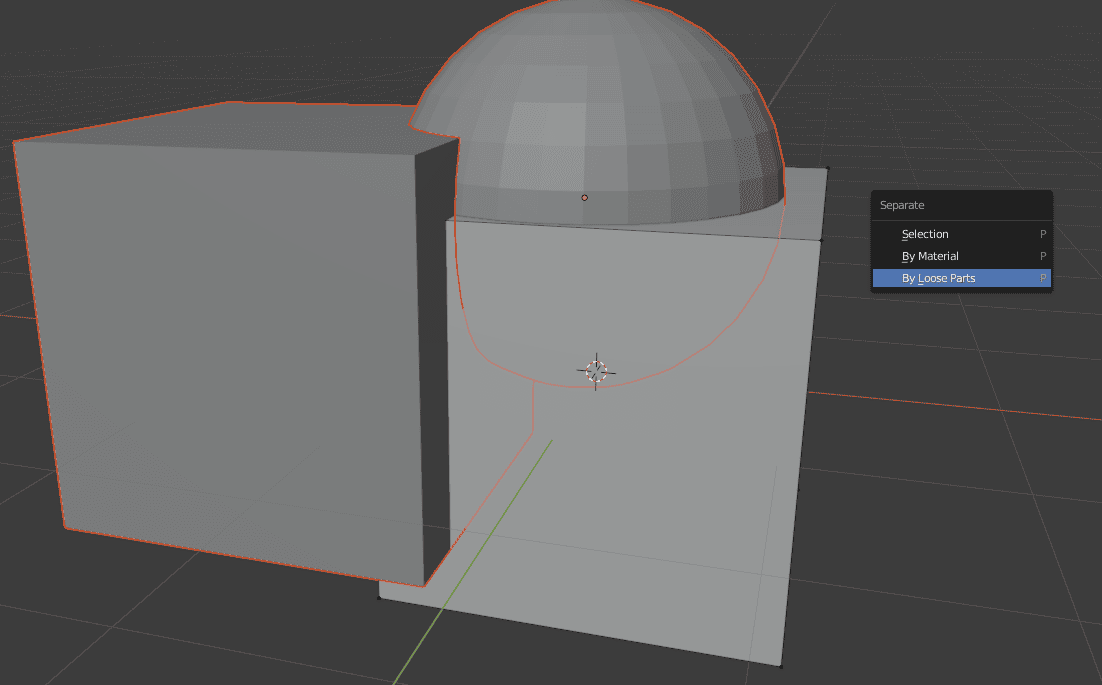
With the needed geometry selected, you just press the [P] button on the keyboard and it will open a separate menu.
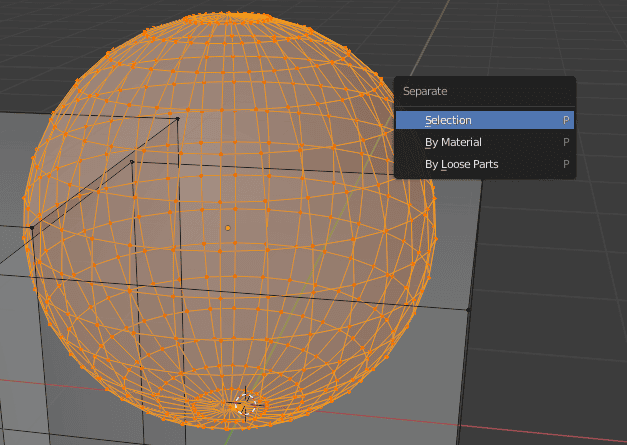
Or also you can access this menu from the Mesh > Separate.
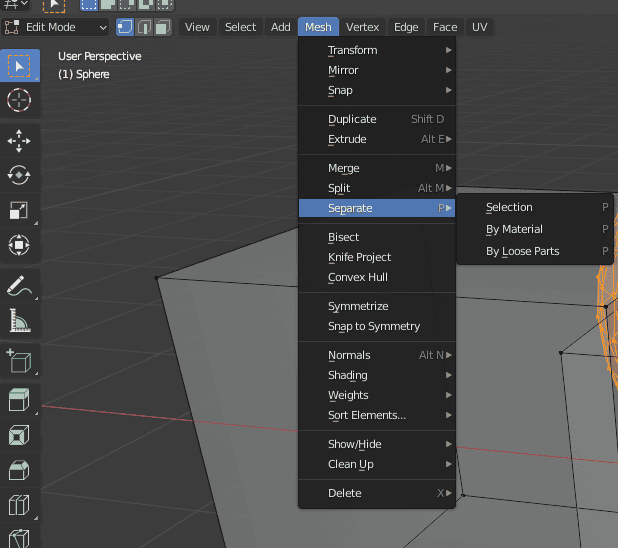
Here we have three ways to separate the geometry. The most used and easiest to understand is the Selection option. It means that everything that is selected would be separated. So this is the one that fits our case, as we have the sphere selected.
After I have separated by Selection, we can see the next thing:
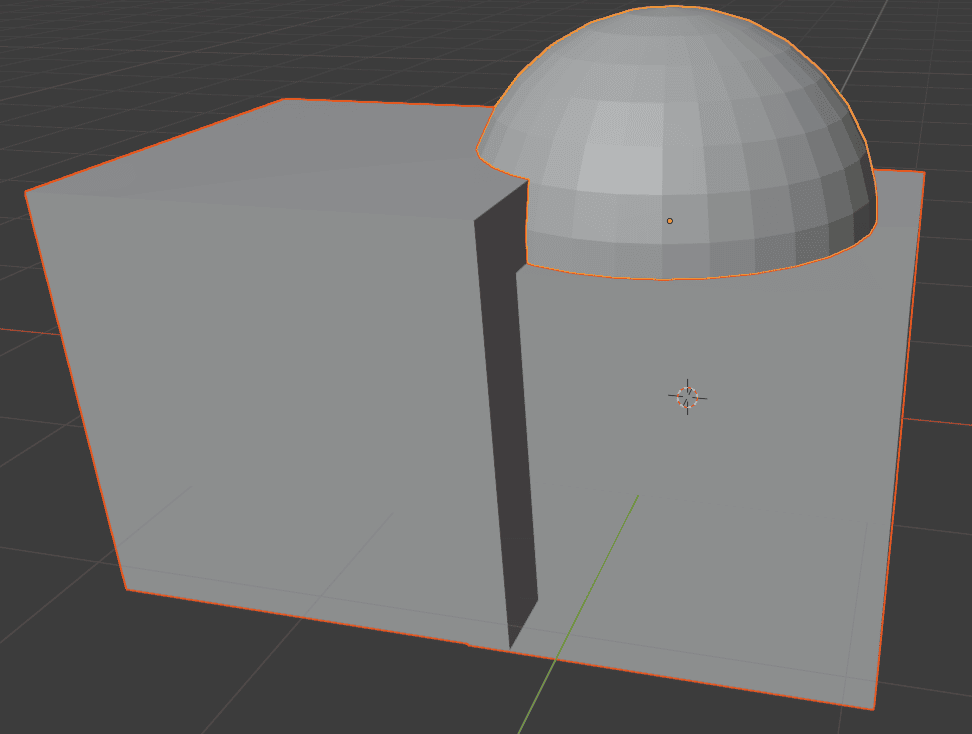
So the sphere is now separate from the Cubes. Two cubes are still the same object, but the sphere is now detached.
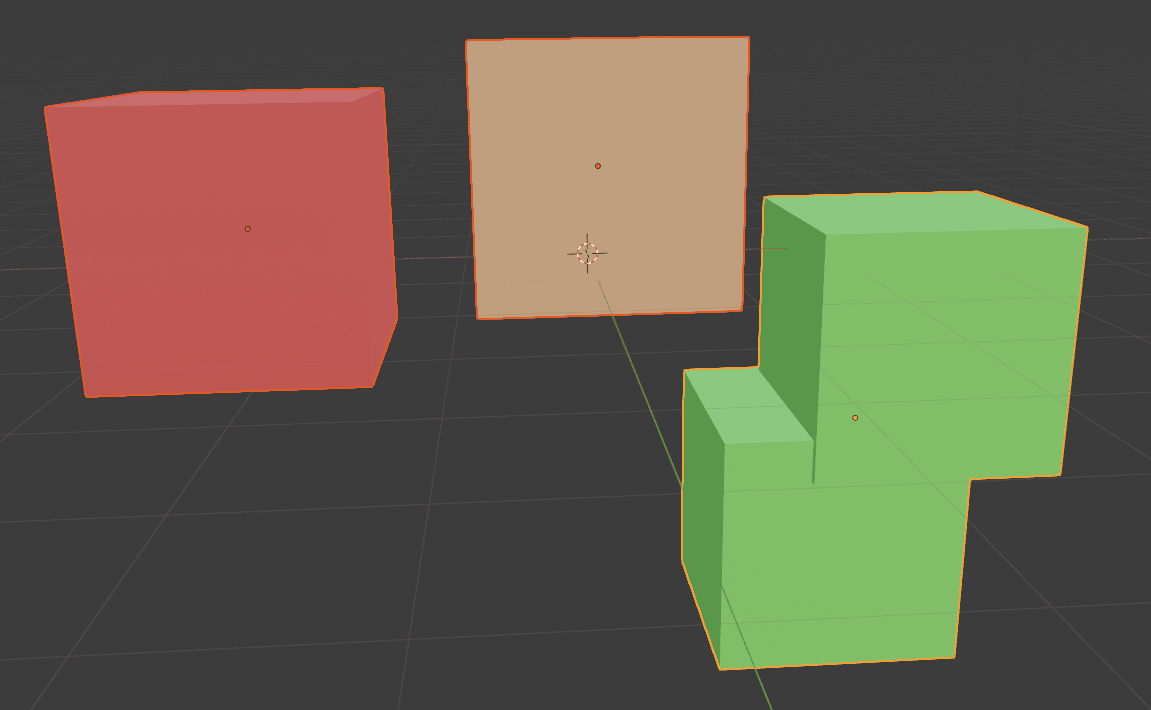
Other ways of separation that we saw were By Material and By Loose Parts. By Material will obviously separate all the objects, depending on their material. So, for example, if you have a scene like this, where you have a bunch of objects with different materials:
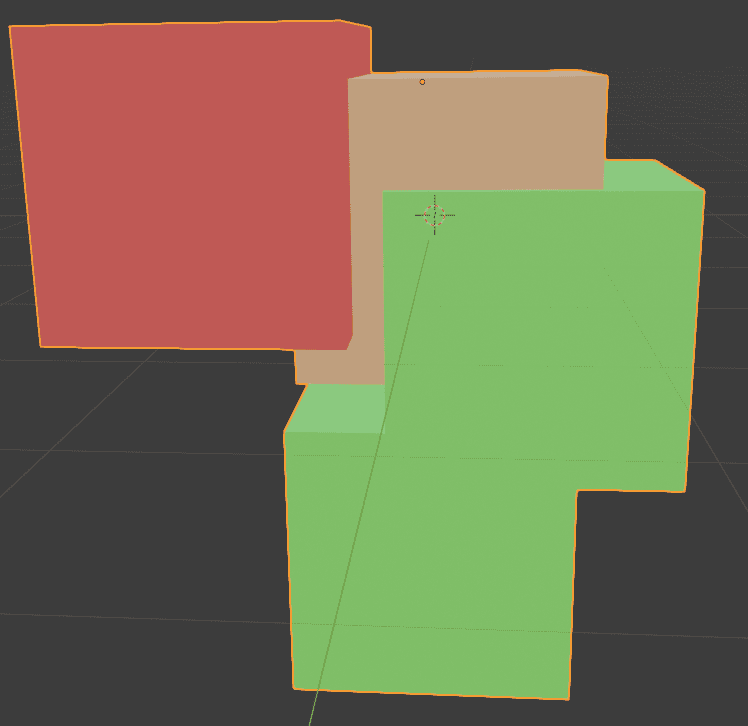
You can go into the Edit Mode and Separate by Material. This will separate all the objects, depending on their material. So in my case, I have a separate red cube, brown cube, and two green Cubes as single objects.
The Separate by Loose Parts is what we could have used alternatively to Separate by Selection in the initial scene with two cubes and a sphere connected. It separates everything that is not connected to each other via geometry.
But in this case, we would not only disconnect the Sphere, but also the Cubes. So in the end we will have three separate objects: A cube, another cube, and a sphere. This is not ideal if you wanted to only separate a sphere.
How to Separate Part of the Object
Sometimes, you would want to separate only a part of the object, instead of the whole object one from another. This is done very easily.
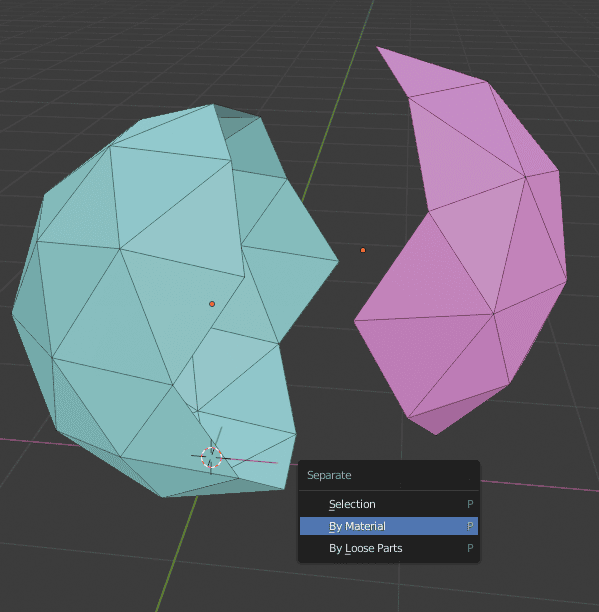
It works all the same. So if you have different materials, you can use the Separate By Material function:
Or you can just use the Edit Mode to select the needed part and separate it By Selection.
How to Blender Separate Merged Objects
Merged objects are different from the joined objects. As merged means that they are not only connected into a single object but also the geometry of all the objects was merged together.
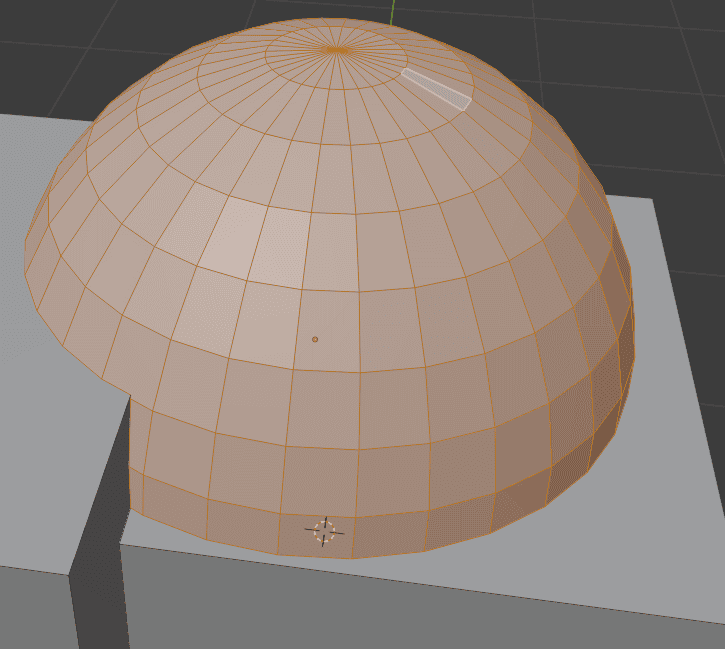
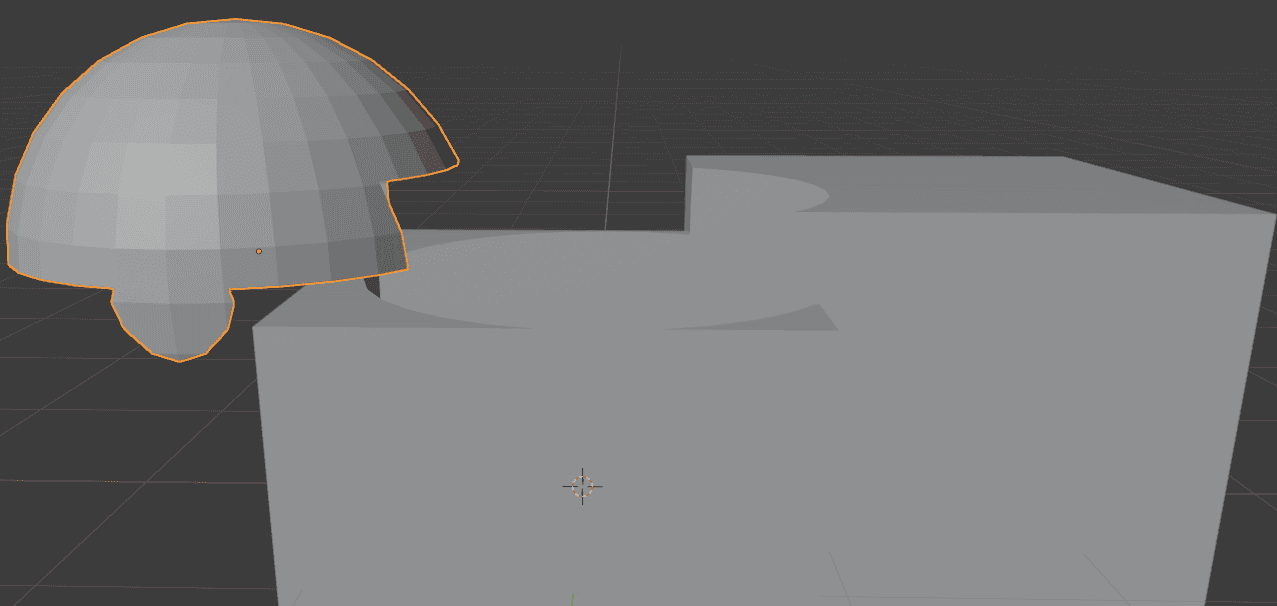
Let’s take the initial scene with two cubes and a sphere for example. But this time they will be merged, instead of joined.
At the first glance, it looks identical to what we saw initially. But if I turn on the X-Ray mode, you will see that this time none of the geometry overlaps. Instead, everything was connected into a single mesh.
So what would you do in this situation? We can’t use Separate by Loose Parts, as there are no Loose Parts and pressing [L] selects the whole mesh for the same reason. Let’s look at our possibilities.
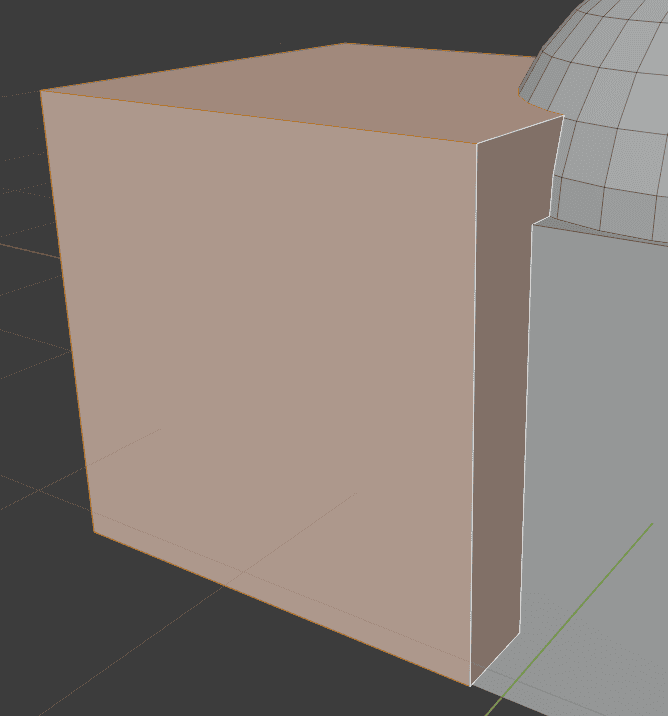
Well, we will need to select the needed area somehow, as using the Separate by Selection is the most obvious solution here. You can do this manually if it is possible. For example, selecting a Cube would be quite easy, as it is just a few faces.
Selecting something that is more complicated, such as a sphere – would be less easy. Thankfully, there are ways to simplify the task.
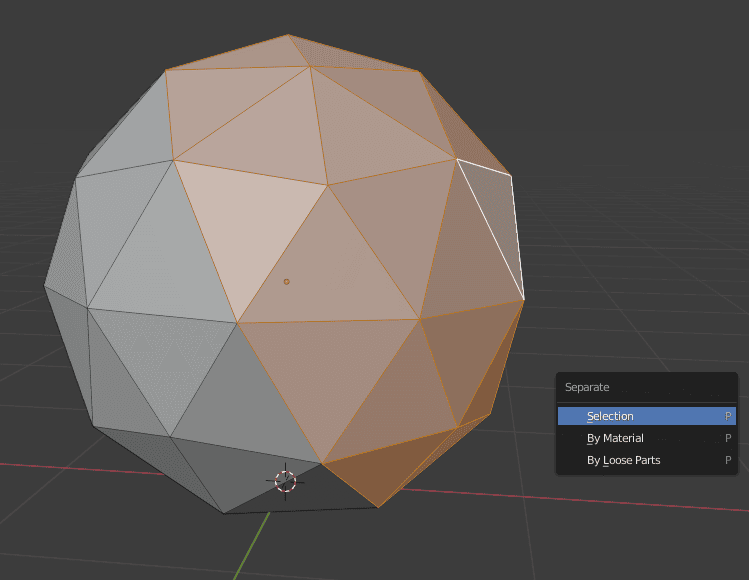
The first way is to use the Select Similar Area method. You need to select a face on the needed part (sphere) of the object and go to the Select > Select Similar > Area.
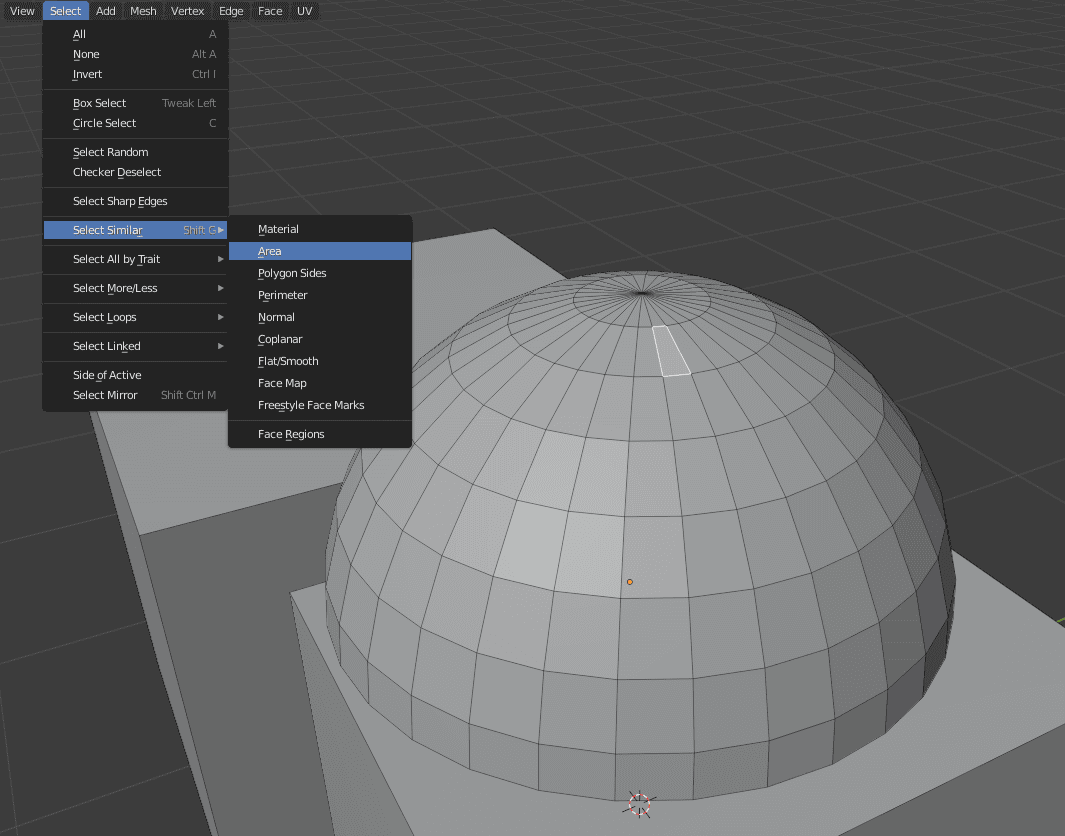
This will try to Select the area that is similar to the face that we selected. Doing this a couple of times may select the whole part that you want to separate if its area is quite different from the main object. Which we have here.
Though this is situational and will definitely not work for each situation. Another thing that you can do is use the Select More function this time. It is found in the Select > Select More/Less > More or the shortcut is [Ctrl Numpad”+”]
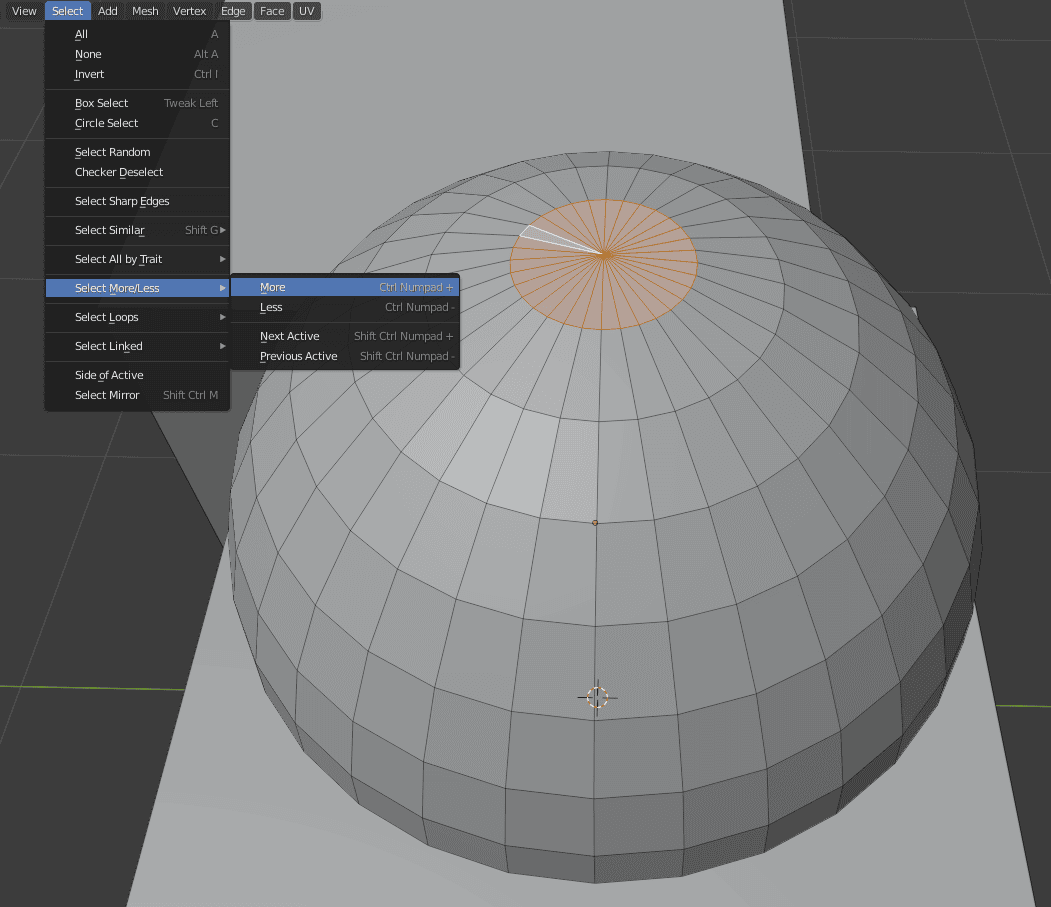
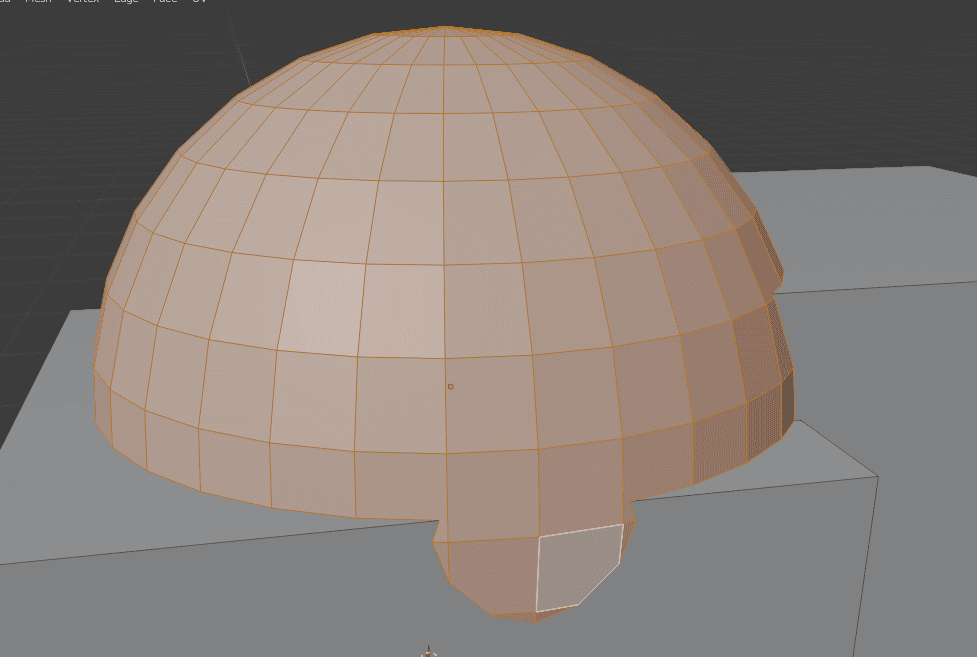
What this does is selects all faces that are connected to the currently selected faces. On the screenshot, you can see that I have selected the top of the object. After utilizing Select More, I also have the next face loop selected.
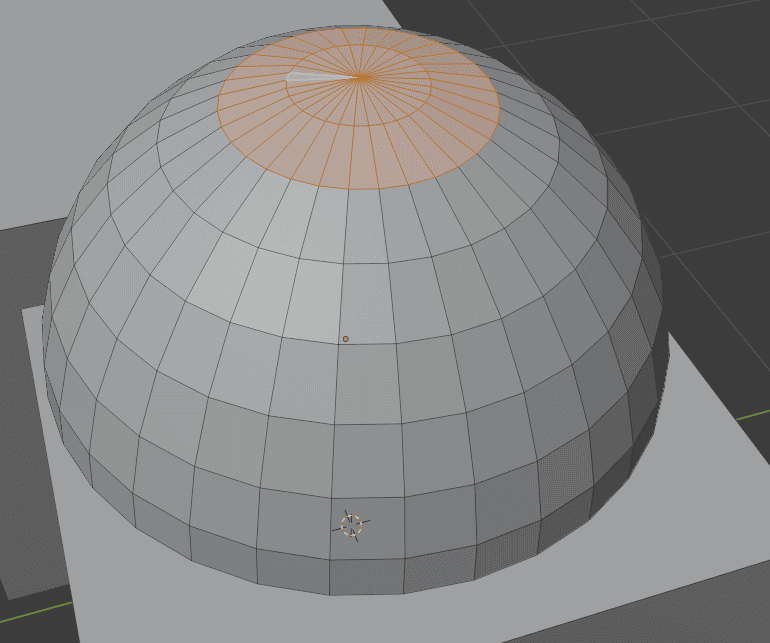
So using this a couple of times grants me an easy way to select the part of the object. Though, I can’t use this to select the whole sphere, as eventually selecting more will select the part of a Cube too.
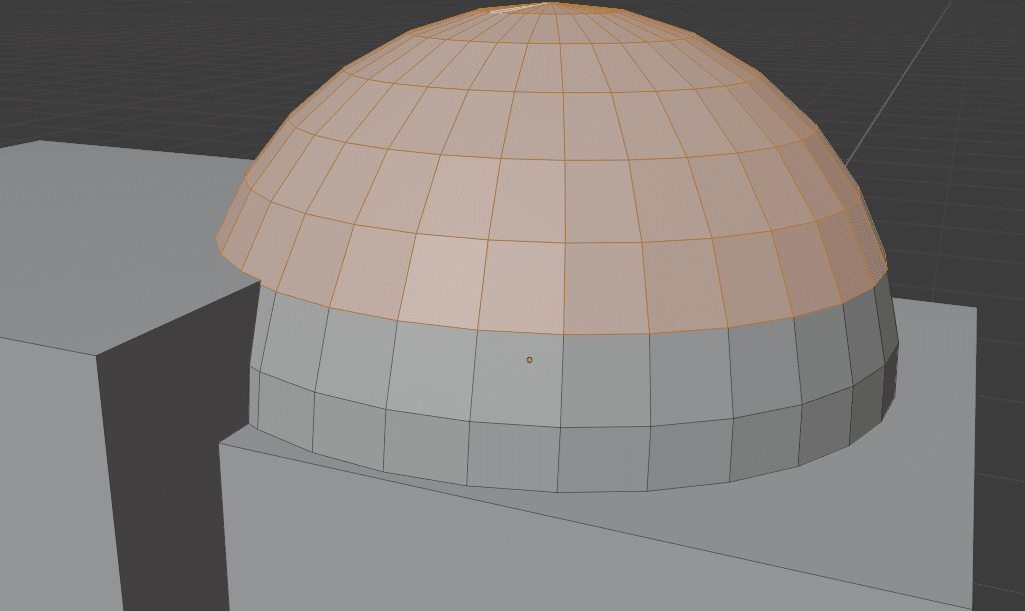
But I can do this and then manually select what is left.
Just like that, I have selected everything that I needed and now I can use the Separate by Selection to detach this part.
Conclusion – Blender Separate Objects
Separating objects in Blender turned out to be more complicated than expected. There are a lot of different approaches that you can take, depending on your situation. This article should have introduced you to all the main ways you would separate an object.