This Blender Interface Tutorial explains everything for beginners how to better understand the interface of Blender and how to configure it properly. Interface is arguably the most important part of any software. Bad interface design can ruin all experience related to using even the most convenient programs. But even a good interface can feel terrible if you do not know how to use it.
Fortunately, Blender has a really good user interface design. Though it is a bit unique, so it can be hard to handle for a beginner. If you opened Blender for the first time – you would better read the Blender Basics Tutorial: Part 1, where we introduce the interface and its very basics. And you can use the How to Move in Blender article to learn moving around the 3D space.
This article we are going a bit deeper and more detailed into the interface. You will learn about:
- Preferences menu. How to customize Blenderю
- Working with Editors. Deleting them, creating new ones and forming layouts.
- Editor Presets and creating your own workspaces.
- Parameters editor and all you can find there.
Blender Interface Tutorial: Preferences menu
Blender is a very customizable software. You can change everything ranging from button functionality to the whole theme of the interface. For example you can use Maya presets that make Blender feel a lot more like Maya – a very popular 3D software. So if people come into Blender from there – they will be a lot more comfortable.
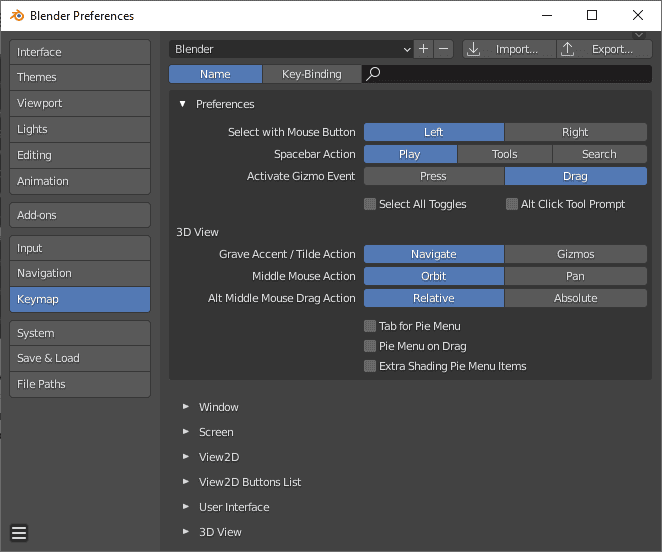
Let’s start our introduction with customization settings then. Everything about customizing interface to your liking can be found in the Preferences menu. And this menu can be opened from the top bar – Edit dropdown list.
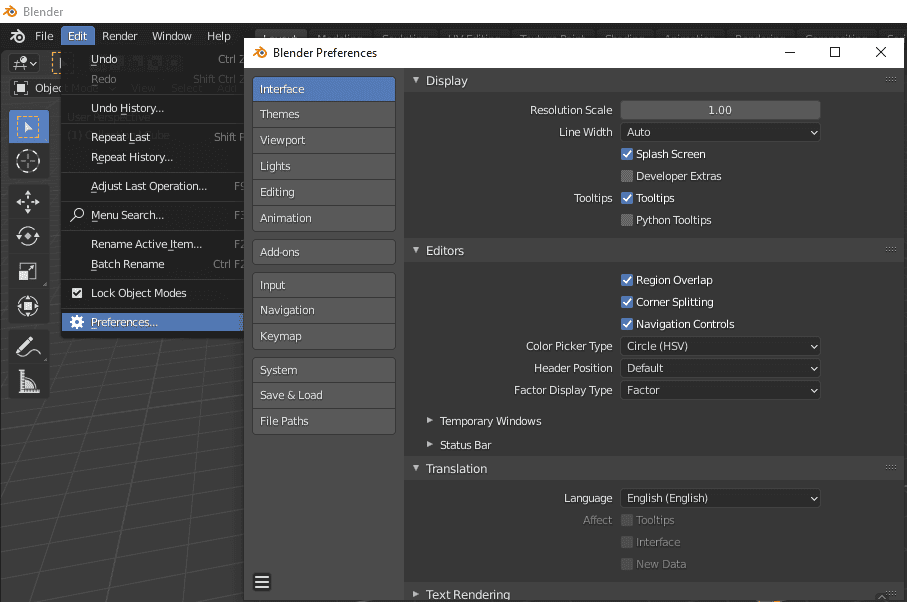
We will give a short explanation to each of the tabs in the Preferences window one by one and what can be done there:
- Interface. Everything about how your interface looks. You can change its size here, change the language, customise pie charts and so on.
- Themes. Use one of the Theme presets or customize it yourself. Change the fonts, colors of the axis and different parts of the interface
- Viewport. What can you see in your 3D Viewport. Which info is shown on the top right. Quality of the anti-aliasing and anisotropic filter.
- Lights. Custom configurations for the Studio, MatCap and HDRI lights.
- Editing. Things that go on while editing objects, such as what data is duplicated together with the object.
- Animation. Customise your timeline and keyframes here.
- Add-ons. One of the most important tabs. You can manage add-ons here, install new ones and delete old ones. There are a lot of useful add-ons available for Blender.

- Input. Change mouse sensitivity, set up the tablet. Also here you can emulate both NumPad and the middle mouse button if you use Blender on the laptop.
- Navigation. Settings for zooming, orbiting and panning.
- Keymap. Change the key-bindings and shortcuts.
- System. Important one. Here you can set up the preference of your rendering device and Video Sequencer, how much memory you allocate for Blender.
- Save & Load. Turn on the auto save, change what is saved in the blend files.
- File Paths. Easy to understand – change where should Blender search for data such as textures, fonts and scripts. Also you can change the output path here.
Blender Interface Tutorial: Editors(windows) and Presets
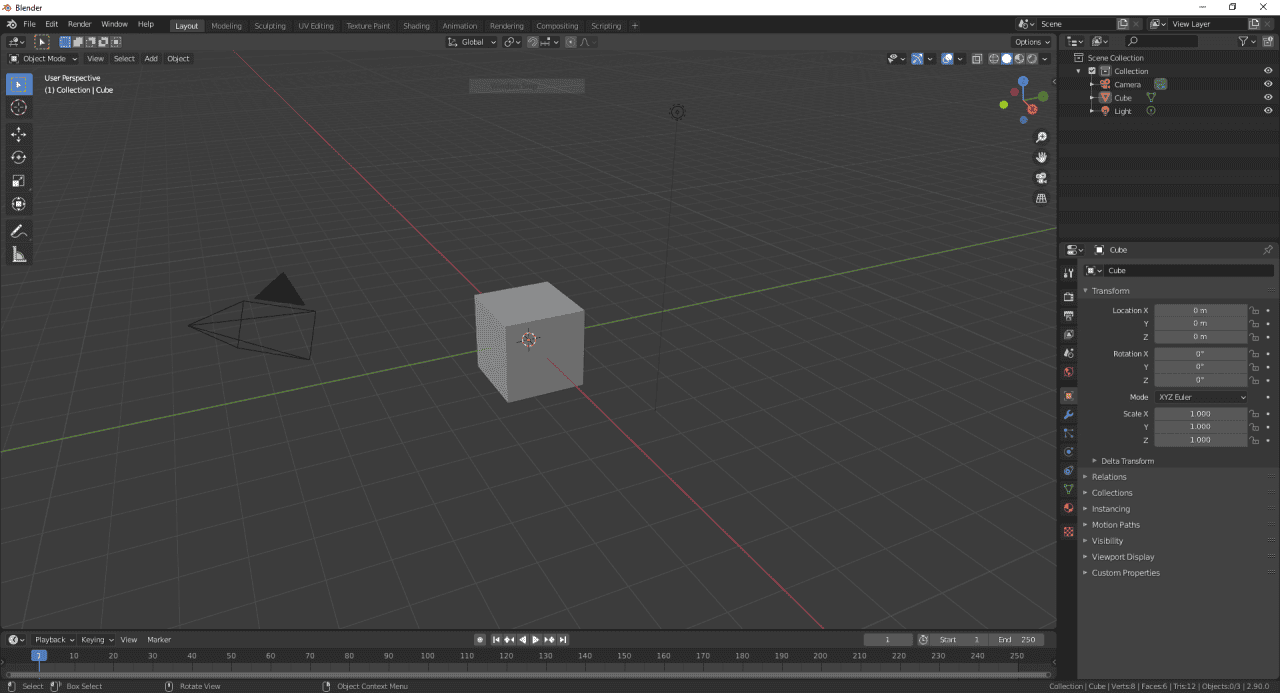
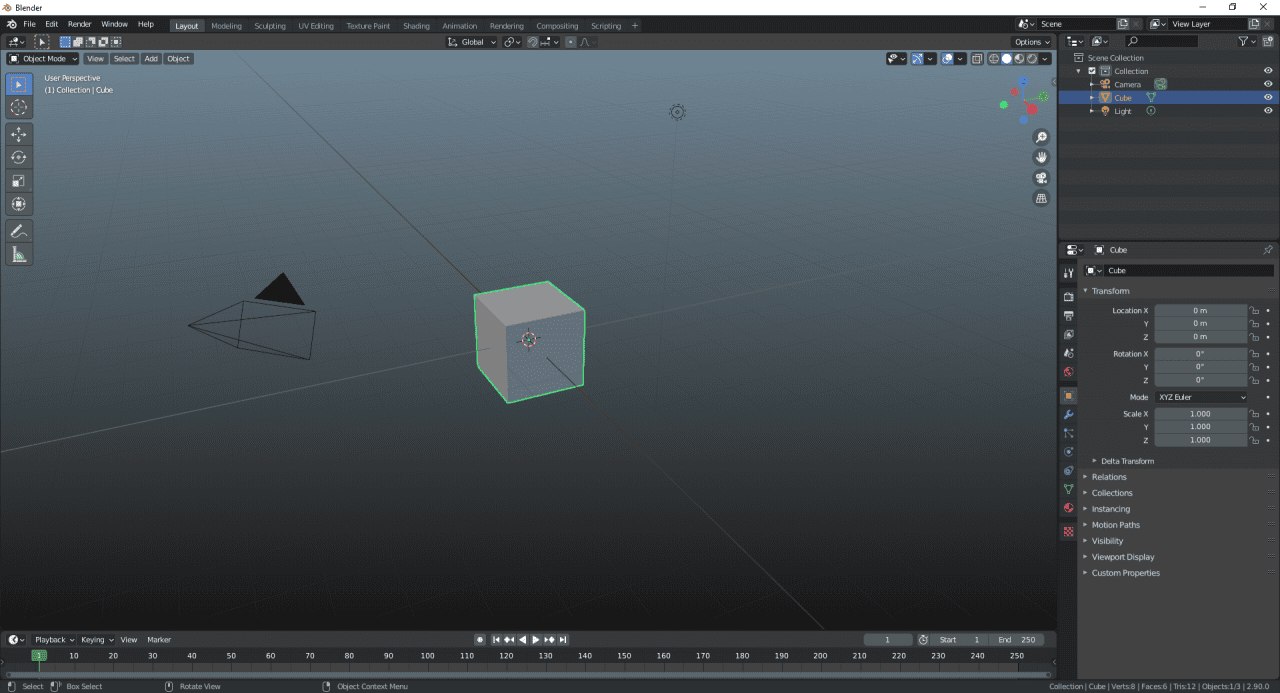
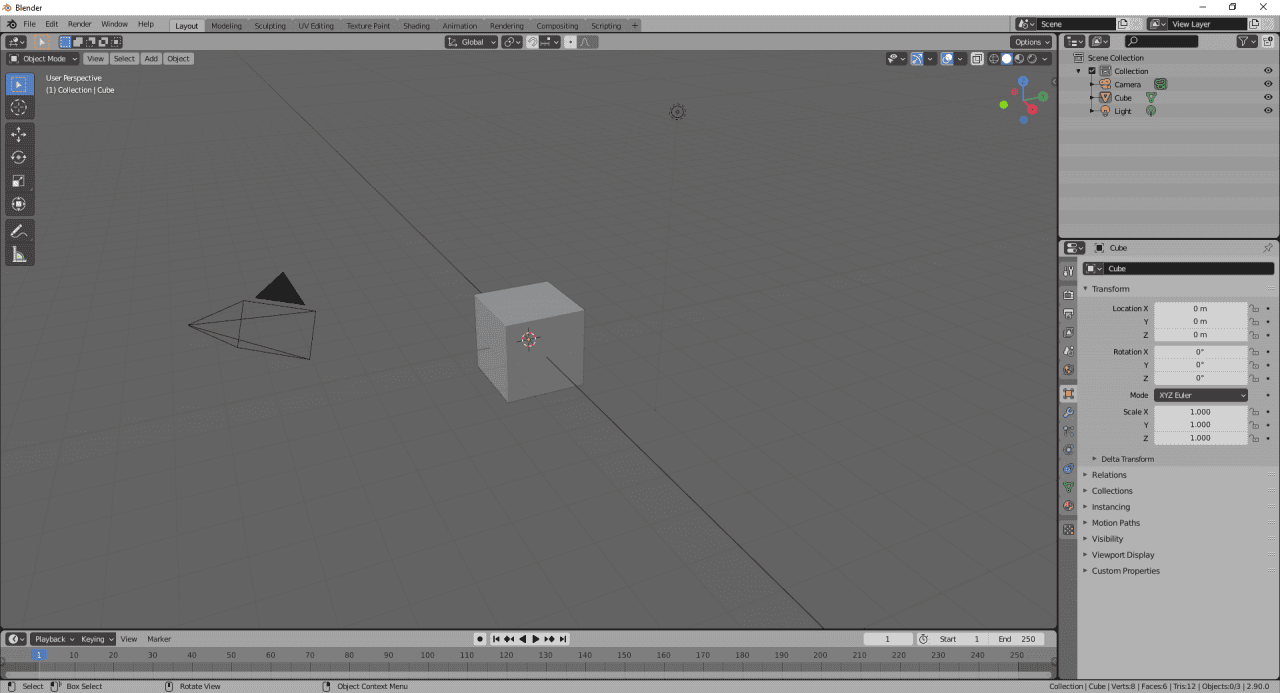
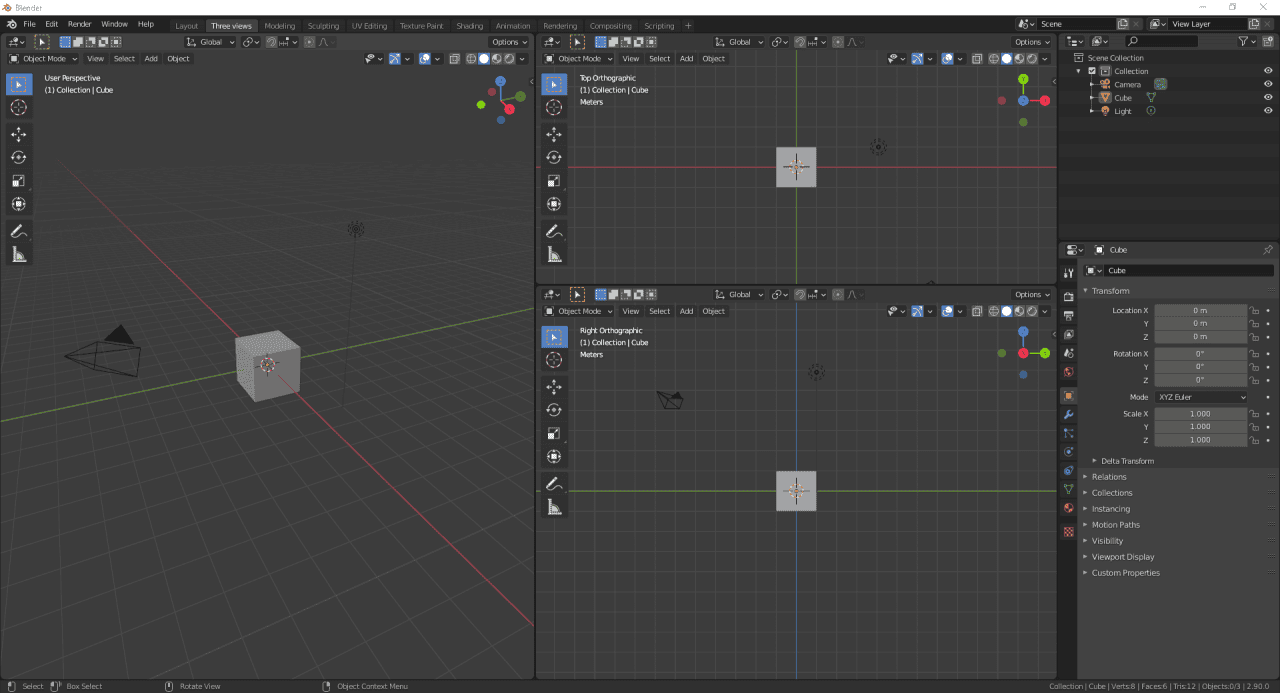
You should already know that the Blender interface is made out of windows that are called Editors. Editors form the layouts that then can be made into a preset.
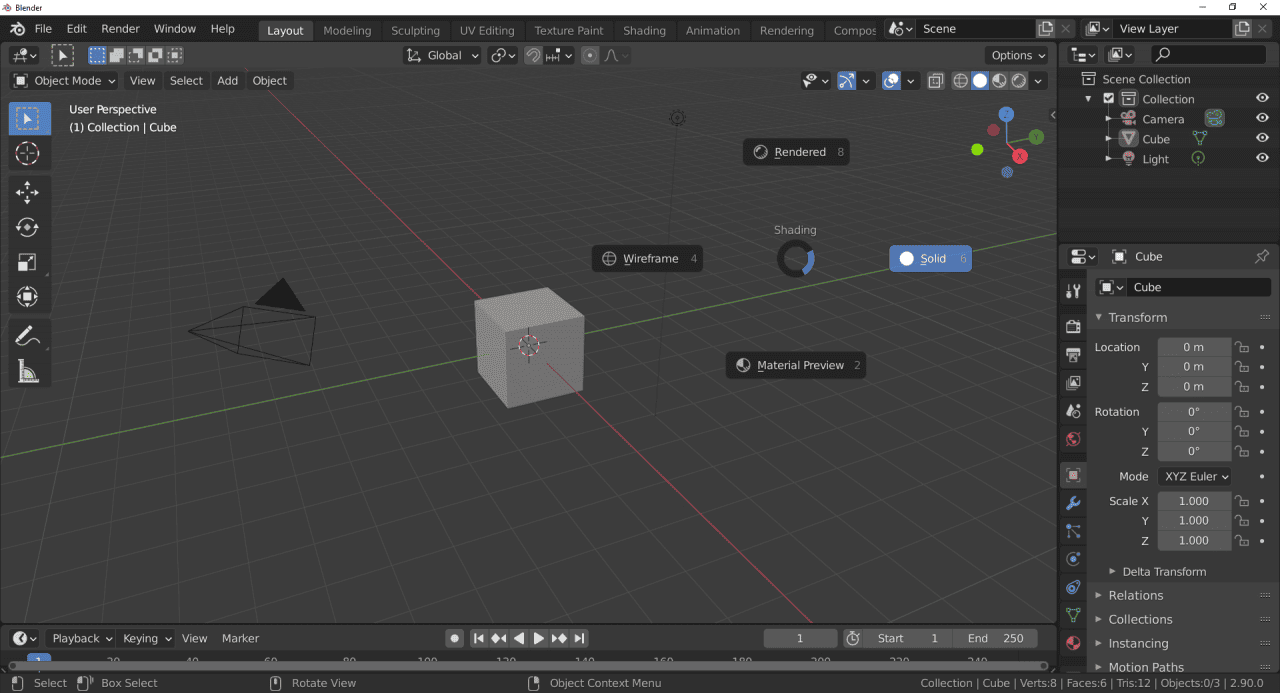
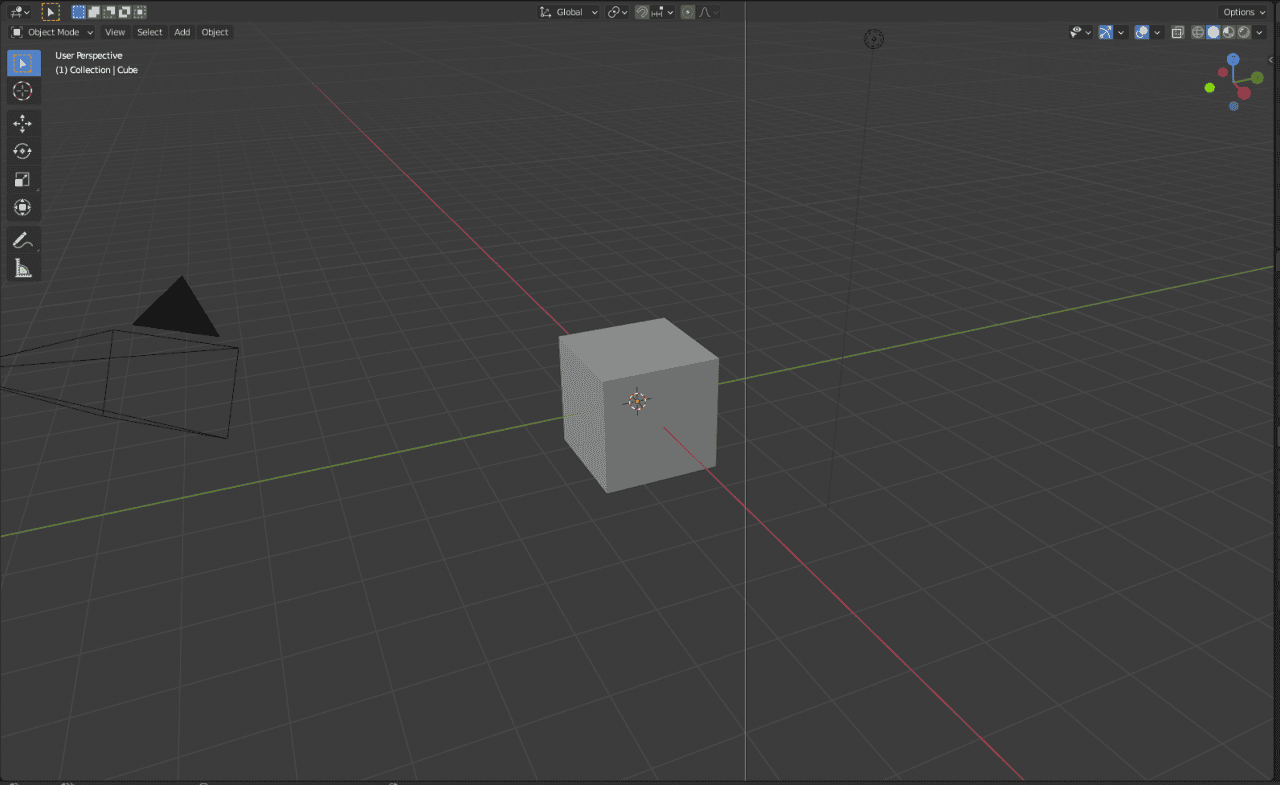
Editors
Absolutely every editor can be changed, swapped or even deleted. We already showed how to join two editors in the Blender Basics Tutorial: Part 1. Let’s continue from there, your viewport should be joined with the Timeline editor.
If you right click between two editors you can see a menu that proposes you to make a split, join areas or swap them.
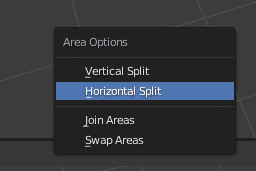
Split options allow you to choose where the window will be split in.
Pressing the left mouse button will split this window into two of the same kind.
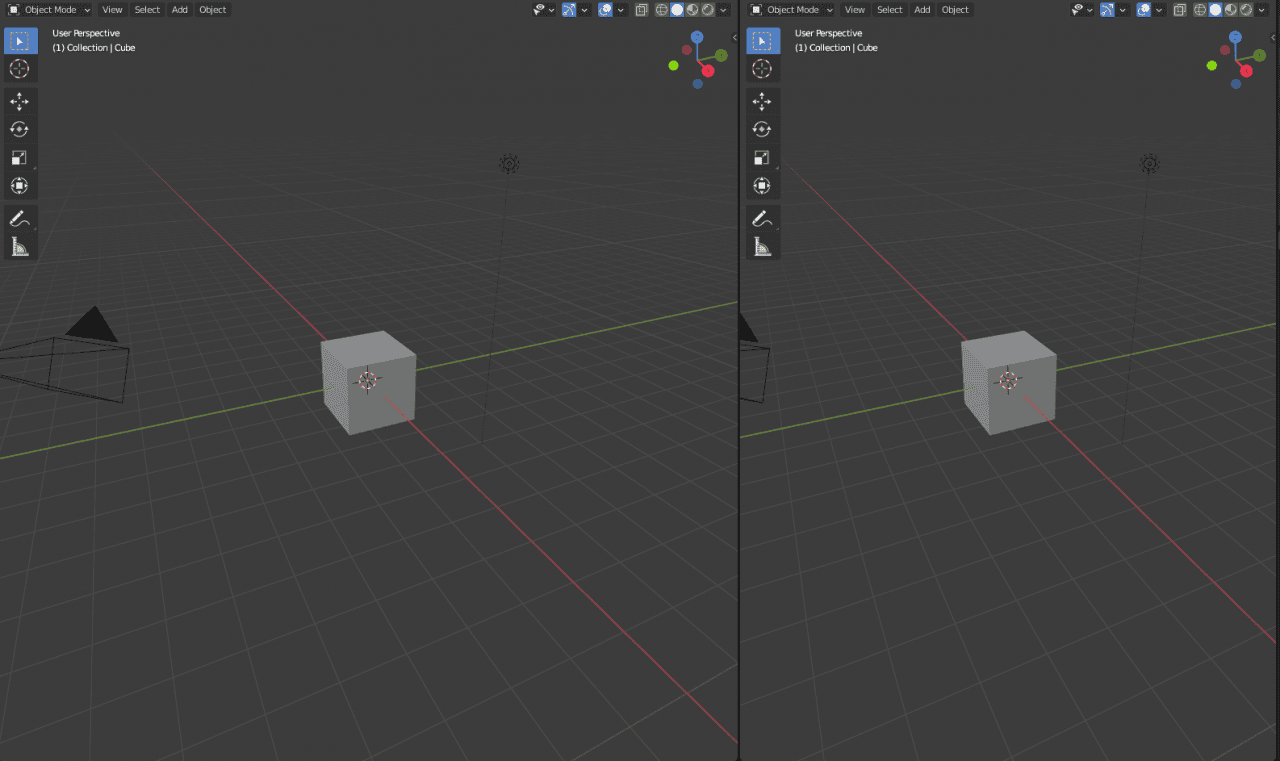
After that you can use the button on the top left of any editor to change the editor itself to another one.
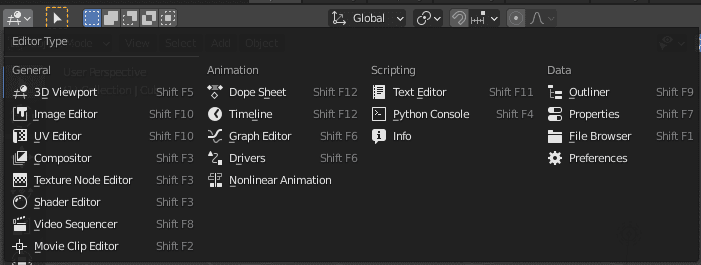
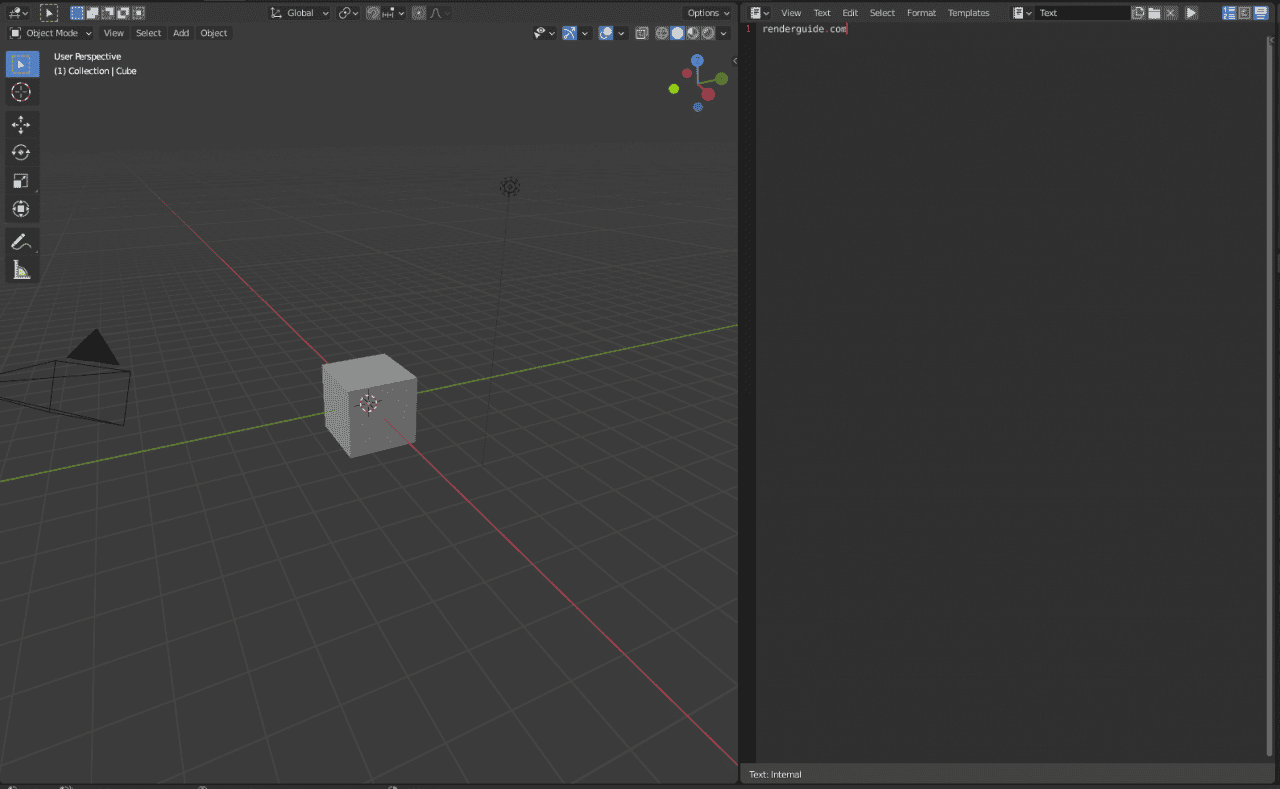
New editor can be whatever. For example – Text Editor.
Another way of creating new windows is to put your mouse in the corner of an editor. When the mouse changes to a crosshair – you can click and drag it to the middle of the editor to create a new window.
Furthermore, a lot of the editors also have a bunch of different modes. Modes usually change how the editor works, but it is still the same editor as it was. For example 3D viewport has 6 modes, including the default Object Mode.
To open the mode changing menu, you need to click on the button near the one that changes the editor type.
Editor Presets
As you can understand – editors form a layout of your interface. There are a lot of editors for most different purposes, so all can not be open at the same time. That is why there are a lot of different presets available in the Blender. They are called “workspace”.
You can see workspaces at the top of your Blender window, above the toolbar.

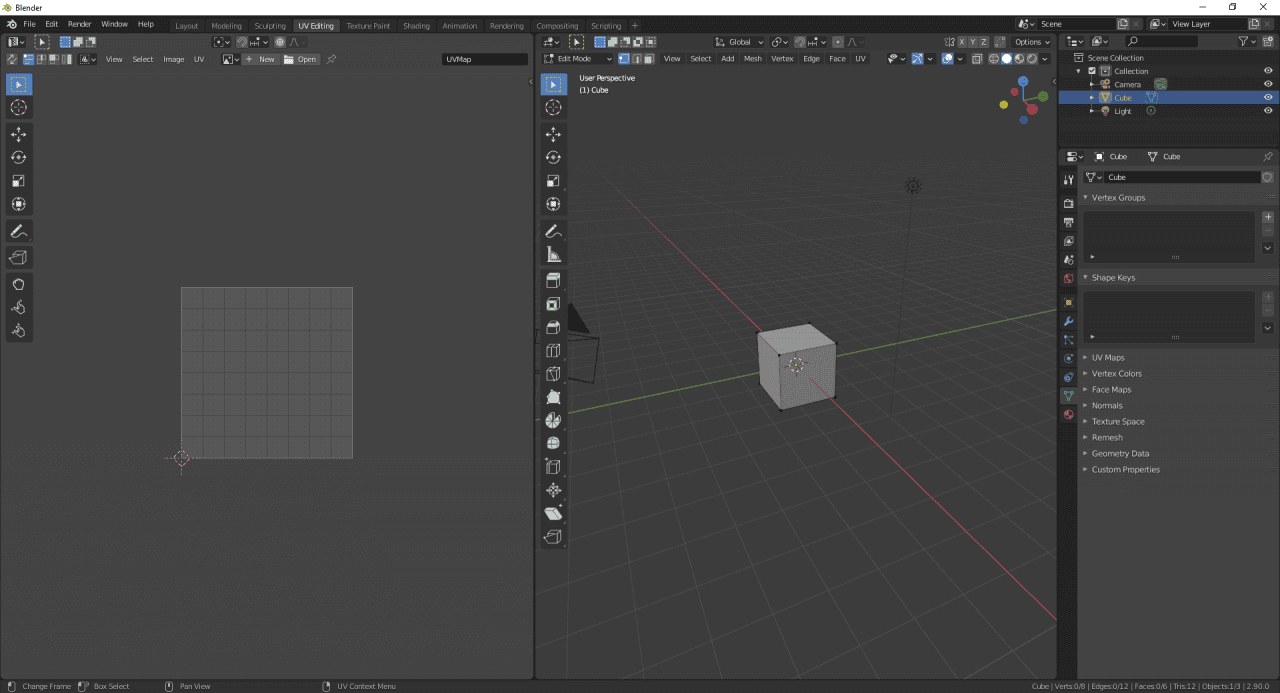
The default preset is the “Layout”. Blender has a bunch of presets built-in that you can use. These presets are targeted for different kinds of work. For example “UV Editing” preset adds UV Editor and changes the 3D viewport to Edit Mode. This creates a comfortable interface for working with UV maps.
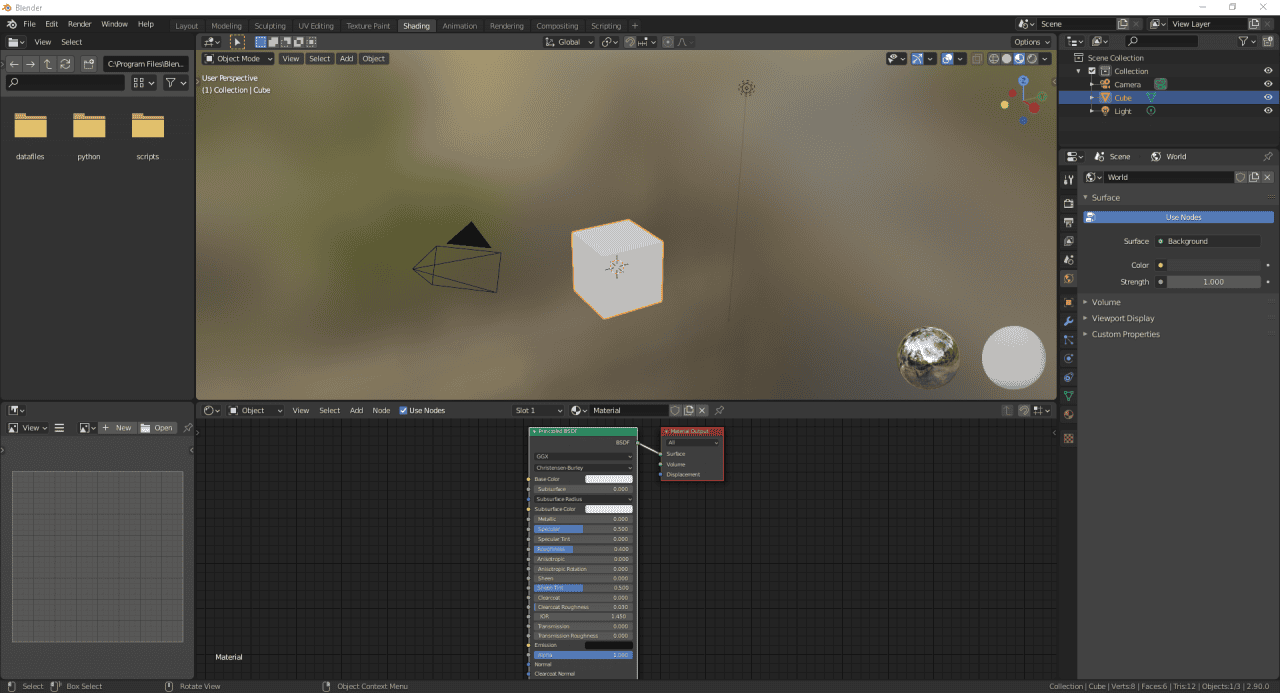
Another good example would be the “Shading” workspace. 3D Viewport changes its shading to the material preview and right beneath it you can see the Shader editor for working with textures and materials.
There are also a bunch of additional workspaces that are not shown by default. You can open them by clicking on the plus button at the very right of the workspaces list.
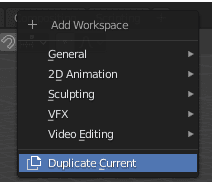
Here you can also create your own presets if you need more than Blender already has. To do that – click Duplicate Current option. This will create a new workspace with the same editors as active one. Then you can change this layout however you like.
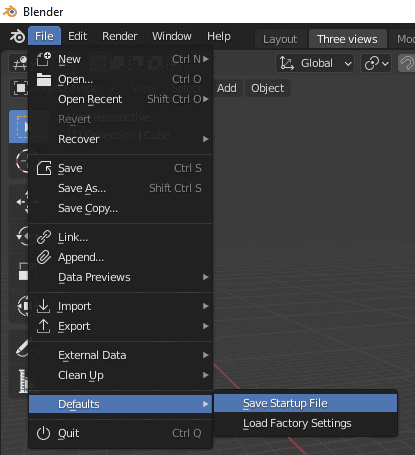
After that, if you want to save this workspace, so it would be available each time you open a new Blender scene – you will need to save current interface to a startup file. For this go to the File > Defaults > Save Startup File.
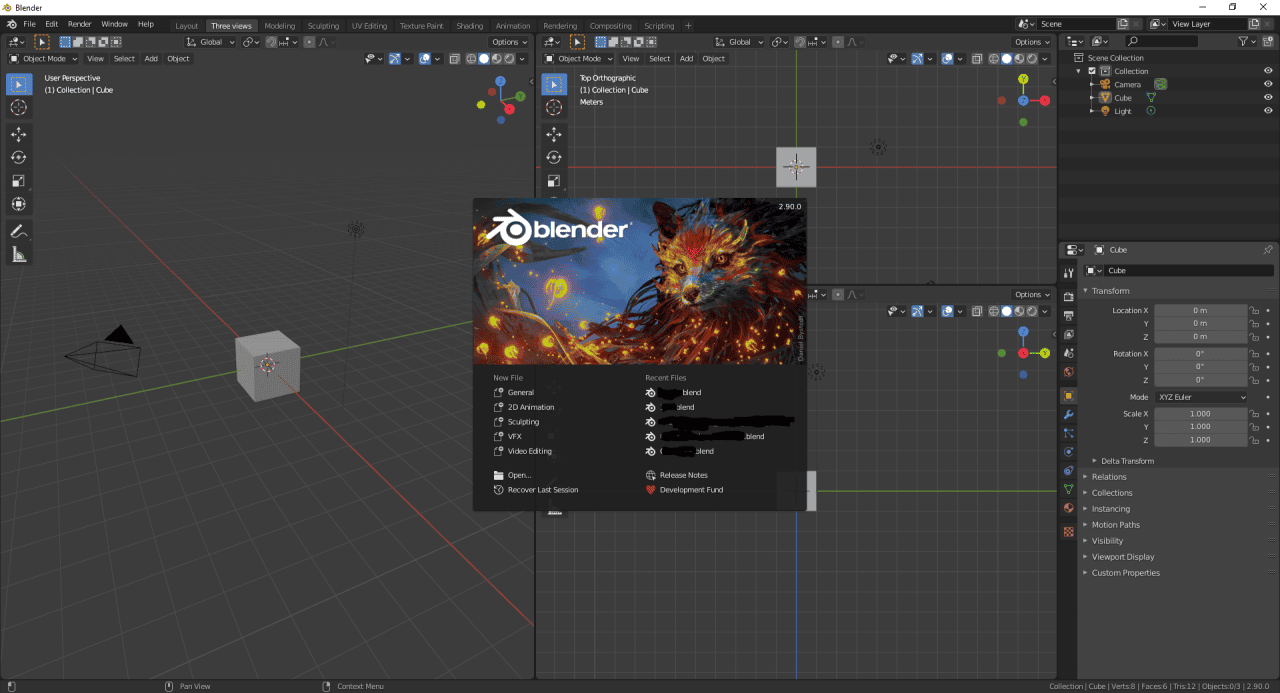
Now each time you will open Blender – this will be your startup interface.
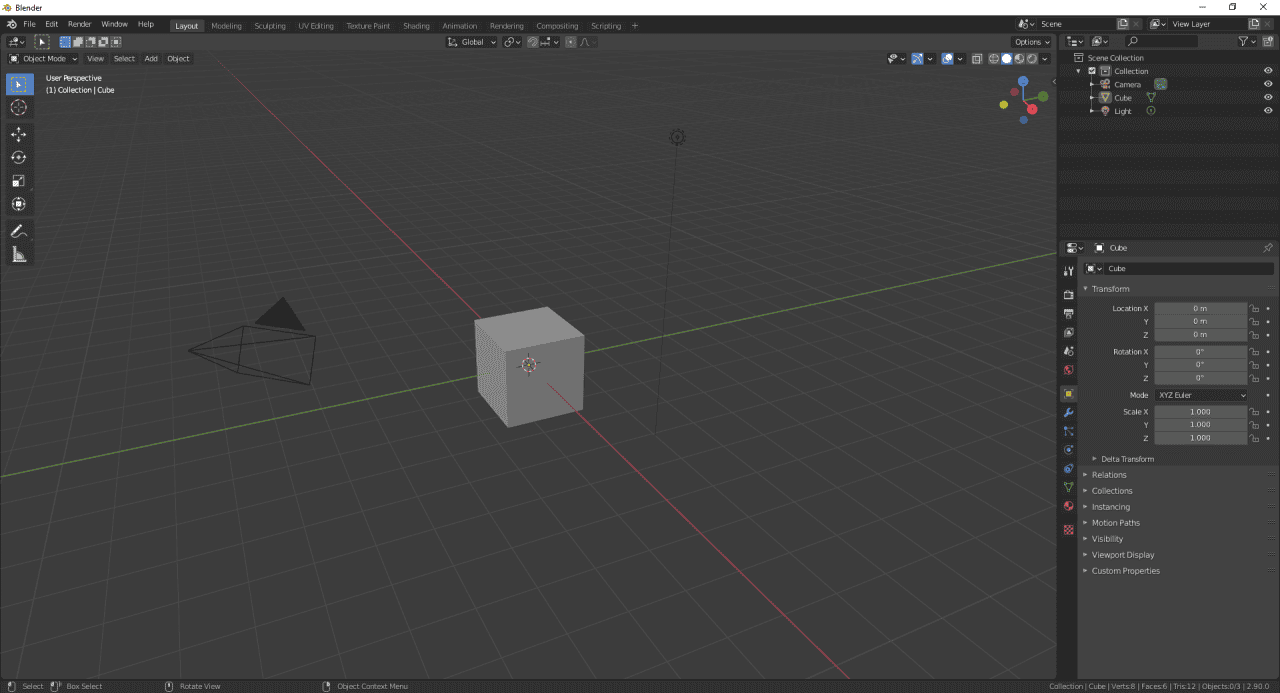
Blender Interface:Properties Editor
One of the Editors in Blender can be considered a bit more important. It is the Editor that is present in practically all workspaces – Properties Editor. I suggest we look into each of its tabs and talk about what important you can do there.
- Active Tool and Workspace settings. Here you can change your tool settings mainly. Change the tip of your brush tool and so on.
- Render Properties. Speaks for itself – everything about rendering and rendering settings. Alter the amount of samples or whether you want Ambient Occlusion on your render image.
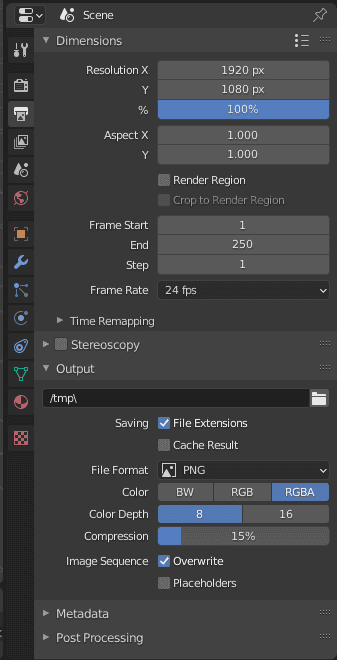
- Output Properties. Resolution and aspect ratio of your rendered files, frame rates of animation and output file path
- View Layer Properties. Optimize your Passes and select View Layer.
- Scene Properties. What is the main camera of your scene, is there gravity there and which units does the scene use.
- World Properties. Your scene world, its color, lighting it gives and how you see it.
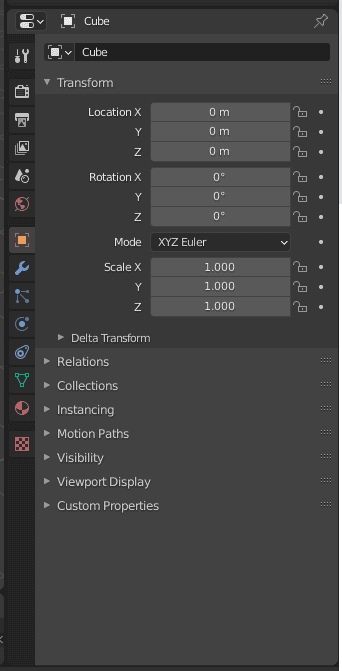
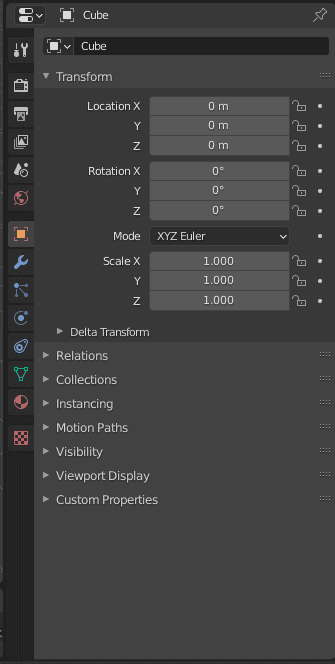
- Object Properties. Transforms of the object, its relation, visibility and how it is displayed.
- Modifier Properties. Here you can manage modifiers of an active object. Add, change or delete them.
- Particle Properties. Manage particles.
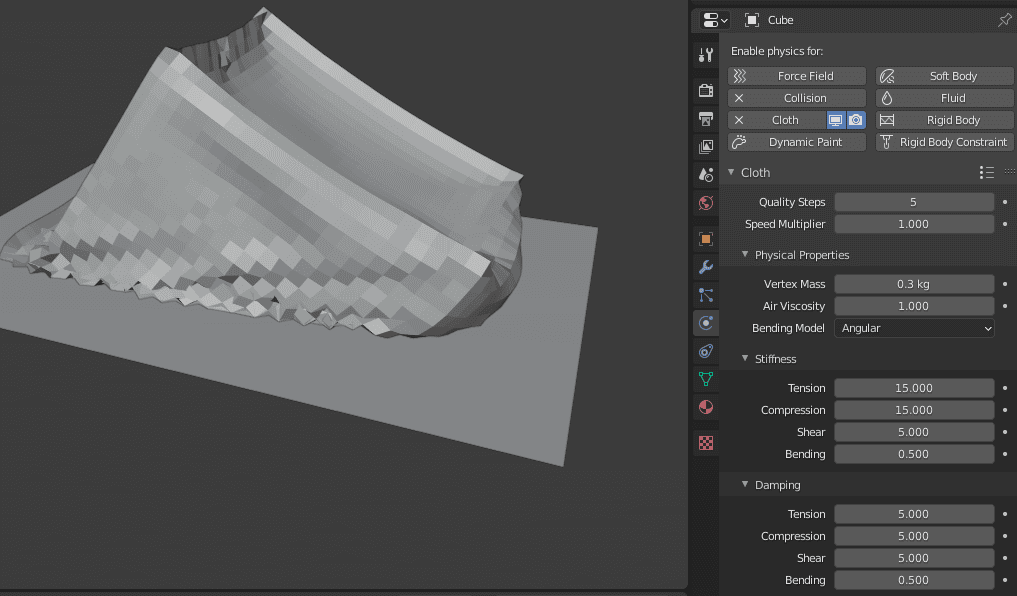
- Physics Properties. Add different physics to your object, sucs as make it behave like cloth or fluid.
- Object Constraints Properties. Constraint object to another object. Especially useful to make cameras follow objects while animating.
- Object Data Properties. Change the settings that are specific to your selected object. For lights they would be its power and color, for camera its focal length and depth of field and so on.
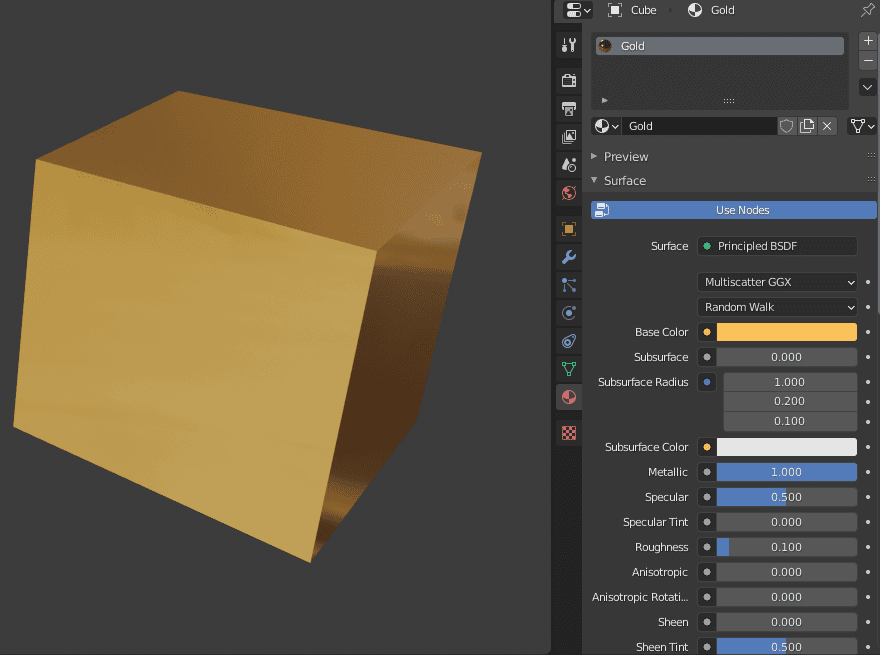
- Material Properties. Everything about adding and customizing materials to the objects.
- Texture Properties. Add and customize textures of your brushes.
Conclusion Blender Interface Tutorial
In this article you should have learned more about the Blender interface. What you can do with it, how to customize it for your advantage and create presets.
If you did not do that yet – now would be the best time to go through our four part article series – Blender Basics Tutorial: Creating a 3D House, where you can create your first scene and render it out.