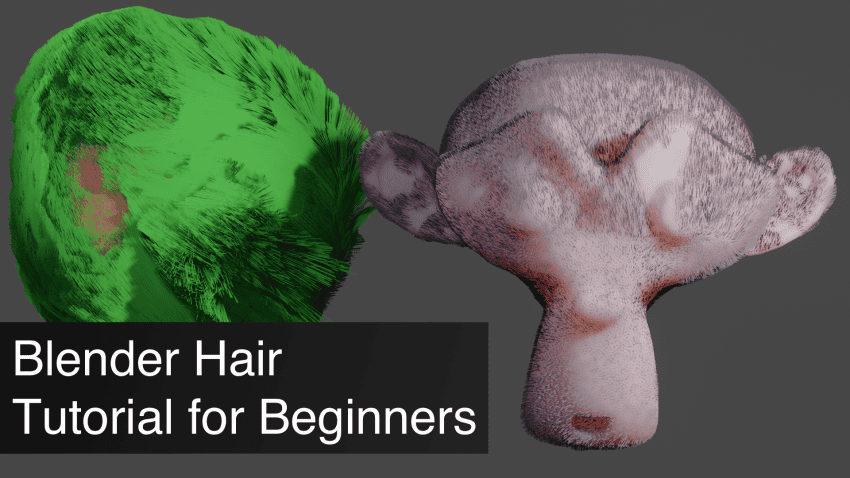
This Blender Hair Tutorial for Beginners explains step by step how to add hair, how to modify it and what kind of brush you can use to change the style.
Hair is something that you never think about, except when you need it. In Blender hair is implemented in an interesting way that allows for a lot more uses than just as the hair on a human. For example, you can often see hair strands used to simulate vegetation on a scene, especially grass. In this article, we will learn the very basics of adding and managing the hair in Blender.
Adding Hair in Blender
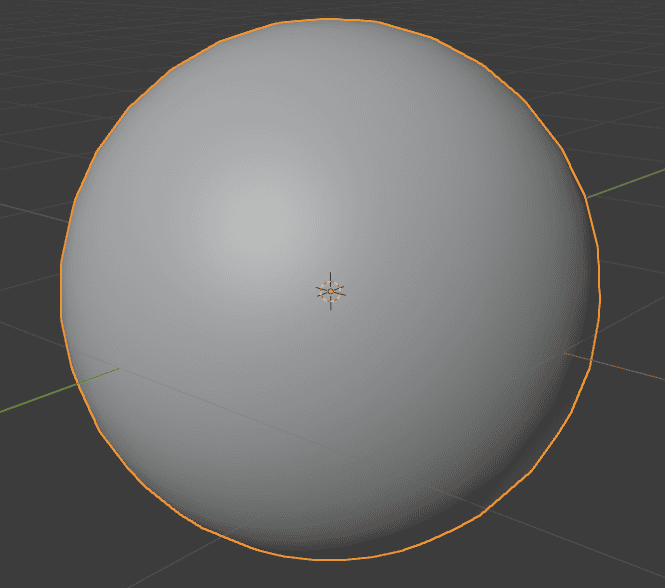
First of all, of course, we need an object that we will be adding hair as part of our Blender Hair Tutorial This can be any object, but I will be using a sphere. It is a simple object that will be great for this situation.
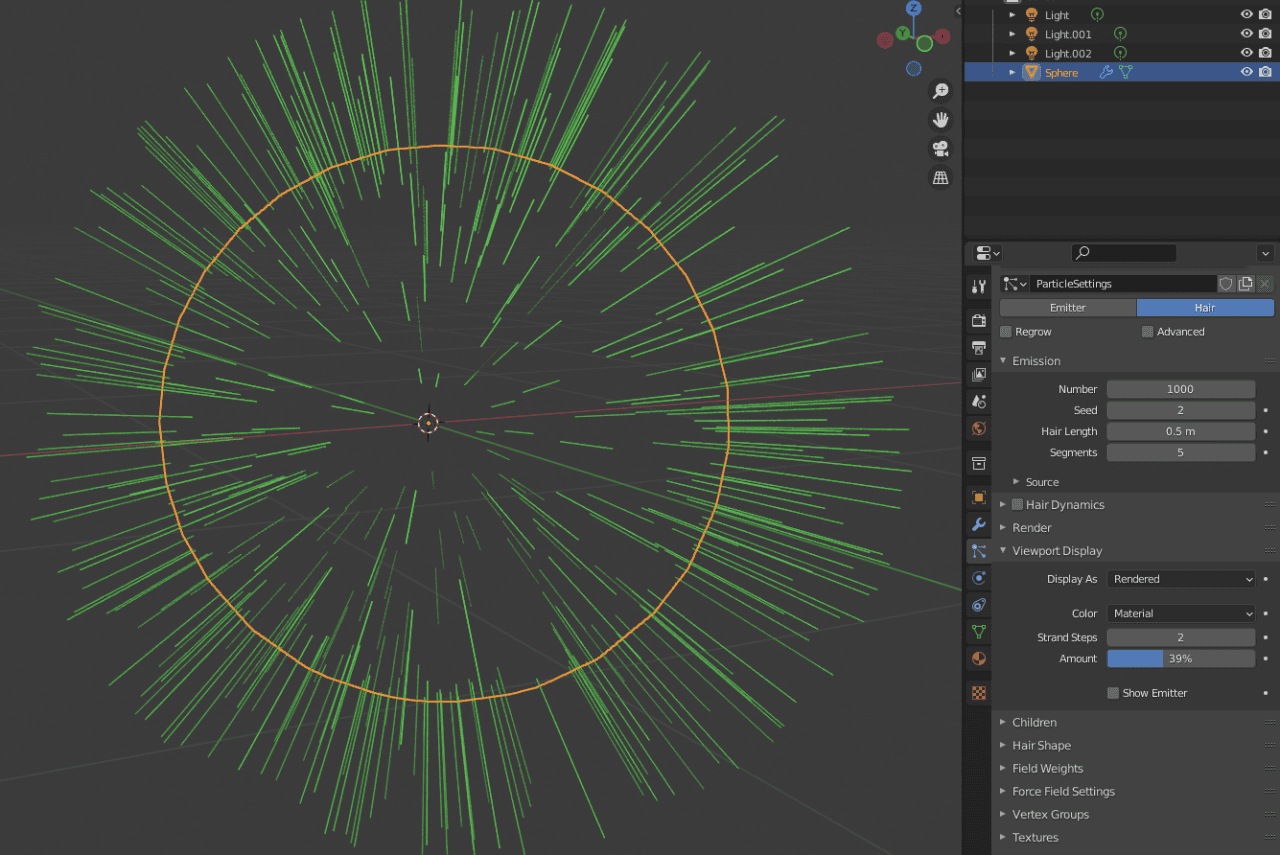
Next – adding the hair itself. In Blender, hair is implemented as a particle. This means that you need to add a particle system to an object first. For this, select the object and proceed to the Particle Properties tab. Here press the “plus” button to add a particle system.
You will see a lot of settings appear below and most likely will also see something appear on your object.
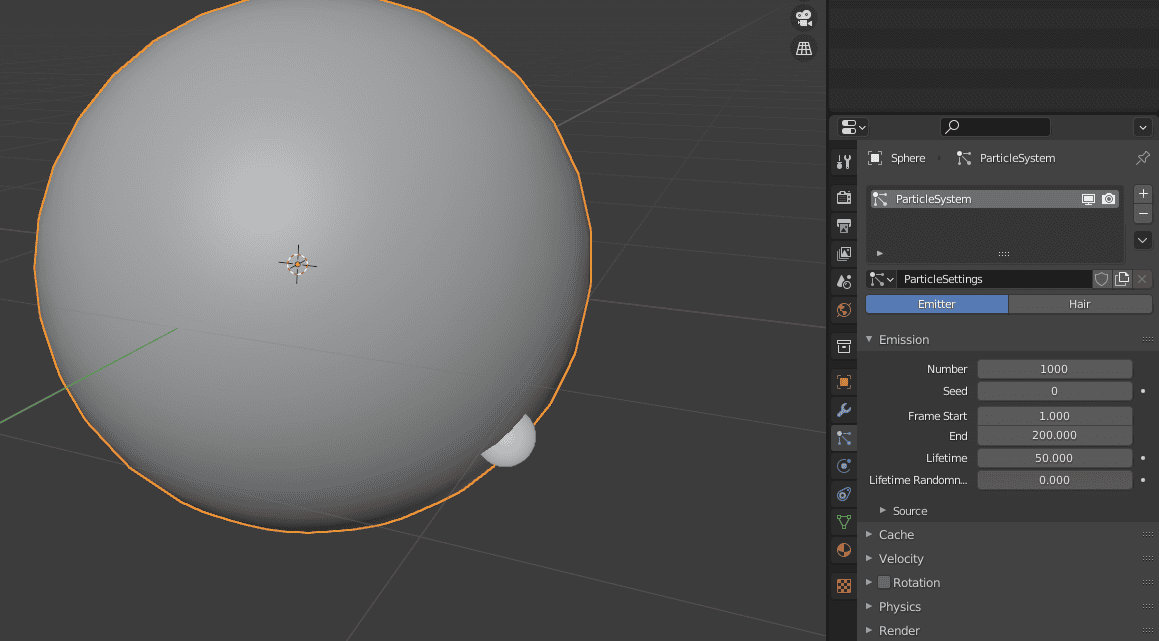
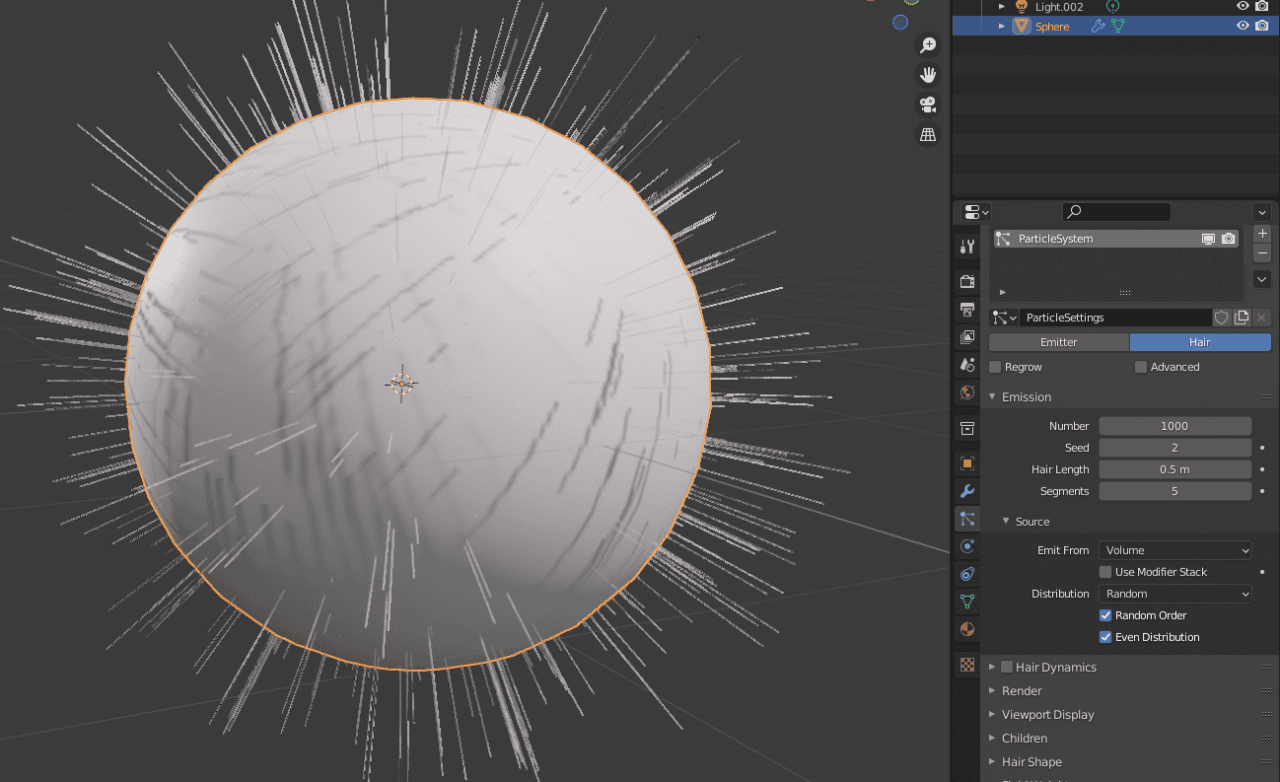
By default, the particle system would be an Emitter. This system is used for creating such things as snow, rain, fire, and others. We need to change this to the Hair Type. It is done in the topmost setting.
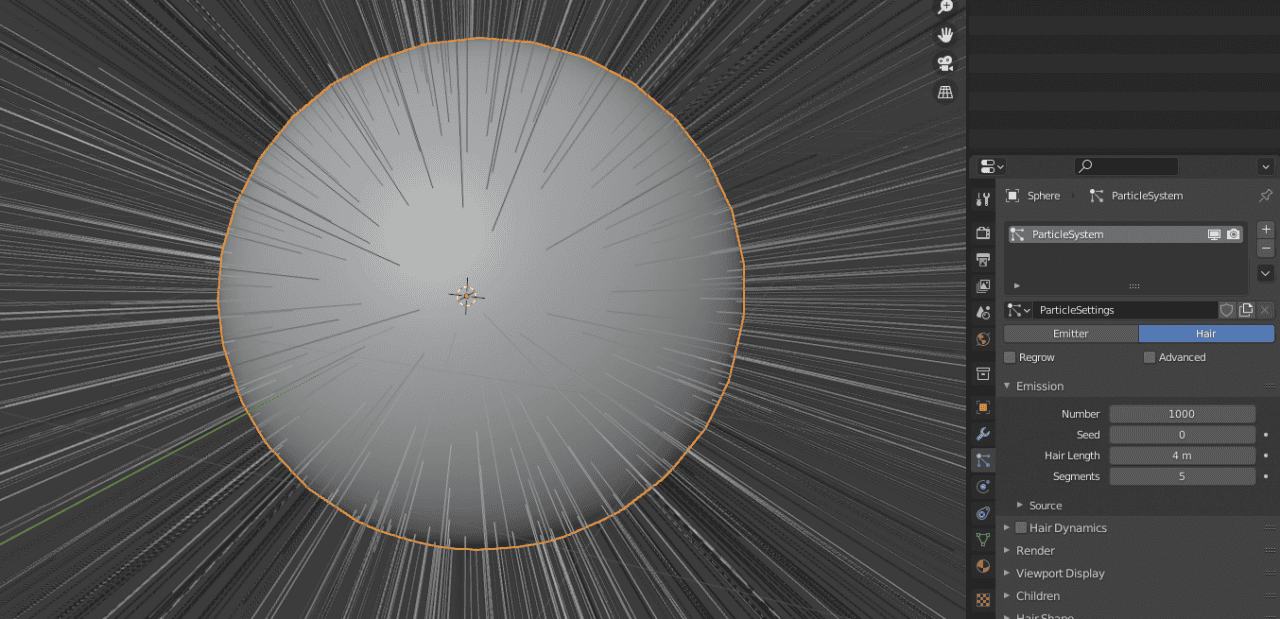
Here we have it – hair simulation. Right now it looks rather weird; as if a bunch of needles went through the sphere. This is one of the things that we will be fixing.
The first thing that you can do to make it look better and more in line with expectations is turn on the Material Preview Shading or even Rendered shading. I will be using Eevee for this, as it is much faster and there is not that much different from Cycles in this situation.
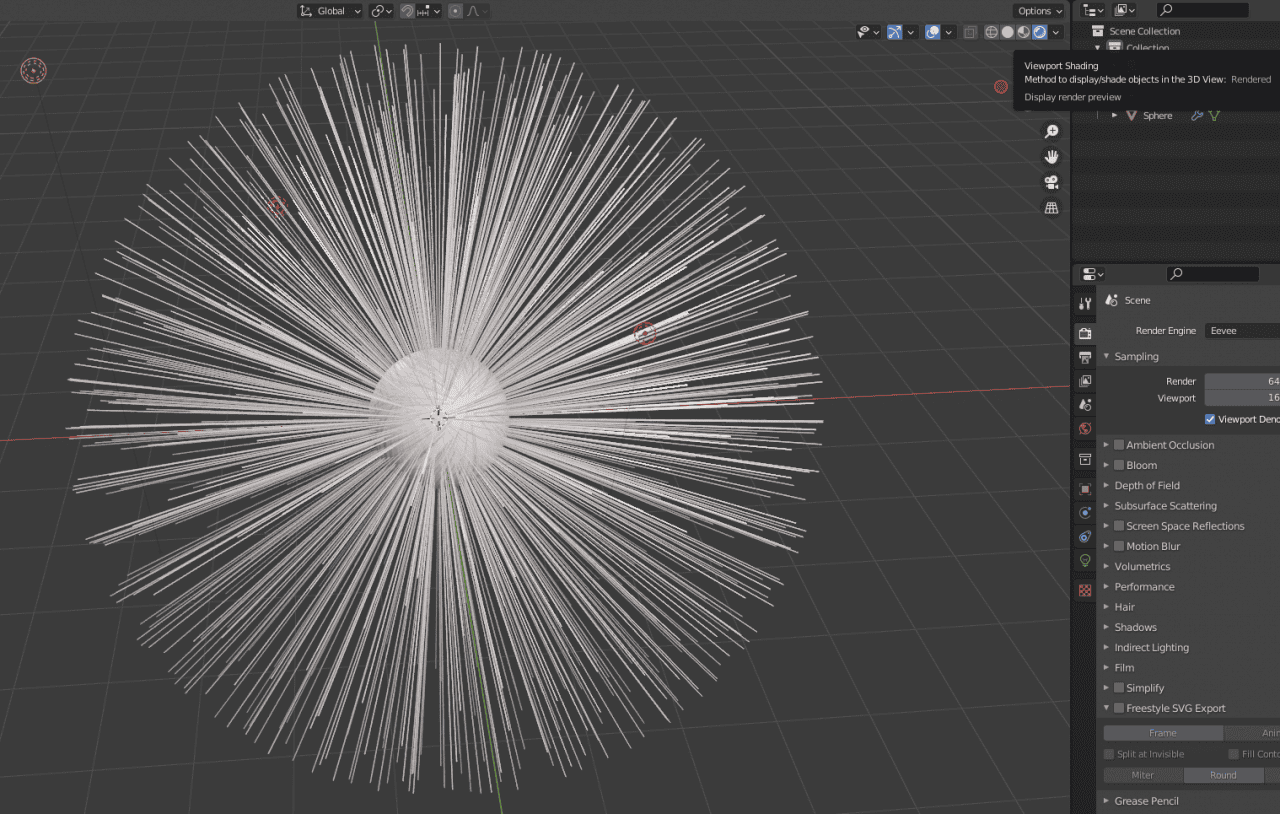
Also added three simple point lights. This should let us see all the changes better.
Blender Hair Settings
In the Particle Properties, we have seen that a lot of new settings have appeared. Let’s look at some of them and see what they do as part of this Blender Hair Tutorial. I will not be going through each setting, as some of them can be too advanced or situational, so only ones that are valuable for beginners now.
The first section that is right below the particle type is Emission:
The Number is pretty understandable – it is the number of individual hair strands. Don’t recommend changing this for now. Hairs are distributed randomly, the Seed setting changes the way they are distributed.
Hair Length should be understandable too. I will be decreasing this quite a bit, as 4 meters is a lot. And finally Segments – it is the number of segments each hair will have. More segments allow for a more detailed and smooth look, while a low amount can be very rough looking. Will leave it at default for now too.
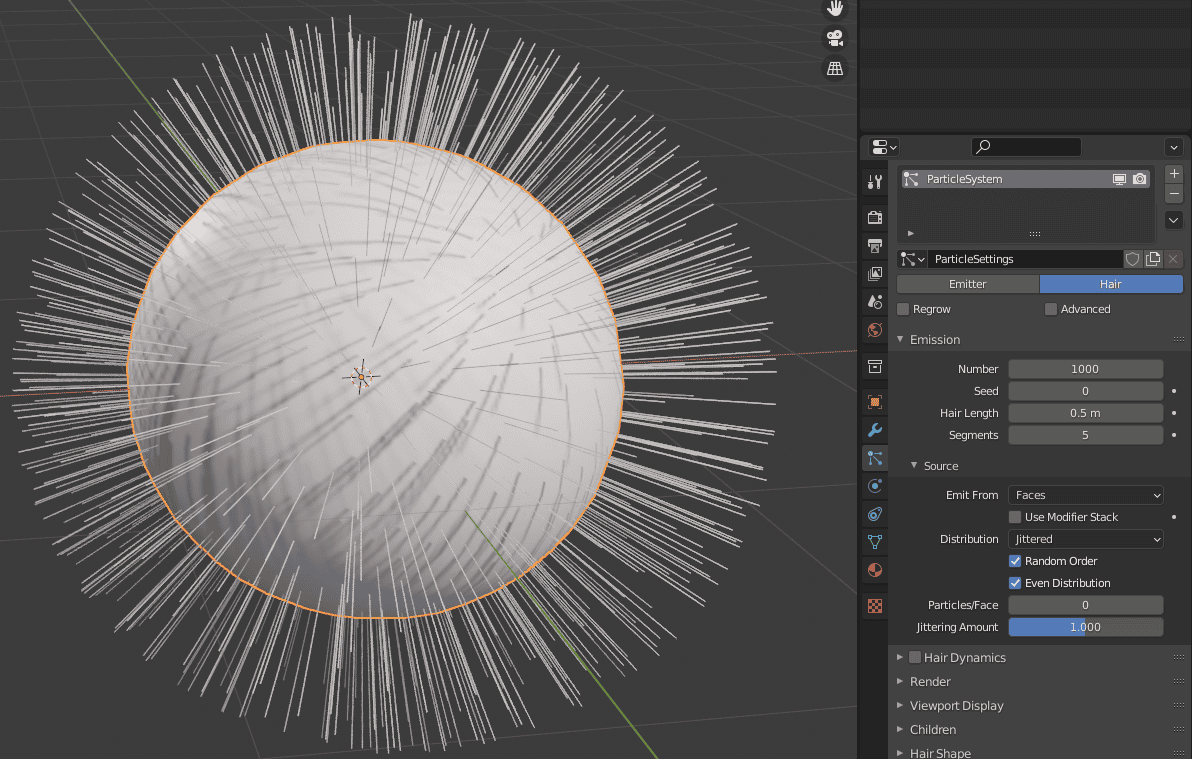
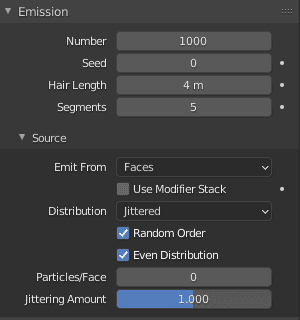
The next subsection is Source. Here you set from where the hair “grows” from. By default, it emits from the faces of an object, but you can also set this to Vertices or Volume. I prefer faces, as they look the best.
Distribution is the way emission is distributed. By default, it is set to jittered, which is at the same random but tries to fill everything in a way, so there would be no bald patches. Another variant is true Random, so this way you can have some places with clearly more hair and others with less.
Next are Render settings. Here we can select how the hair will look when rendered. By default, it is rendered as a path – these thin needles that we see. You can change that to Object or Collection, but that is also a bit more advanced and not for this tutorial.
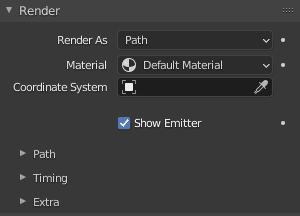
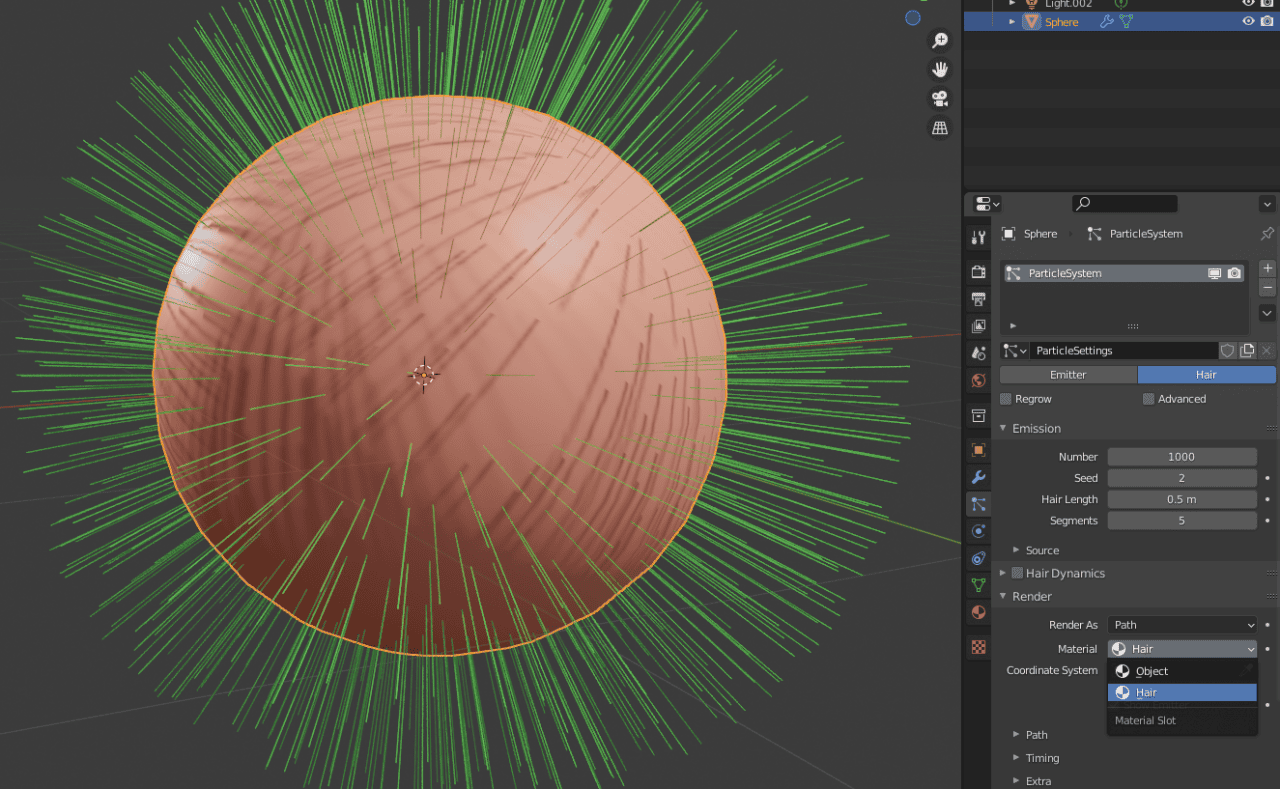
More importantly – here you can set the material for the hair. By default, it is the same as the material of an object. If you go to the Material Parameters, you can see that it is true, when you add material.
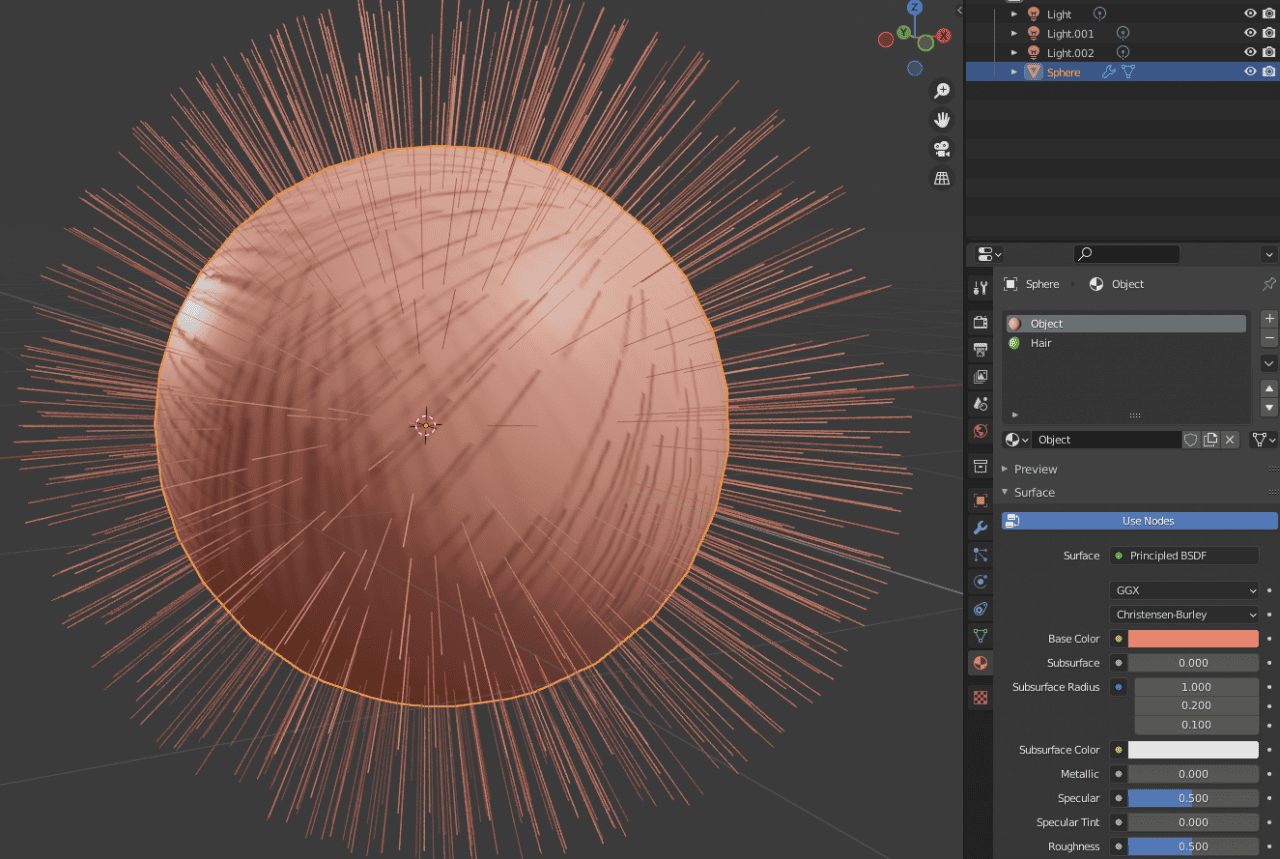
Add a second material to the object, as seen on the screenshot, and then apply it in the Particles Properties. For more information about handling Materials in Blender – read our Blender Materials Tutorial.
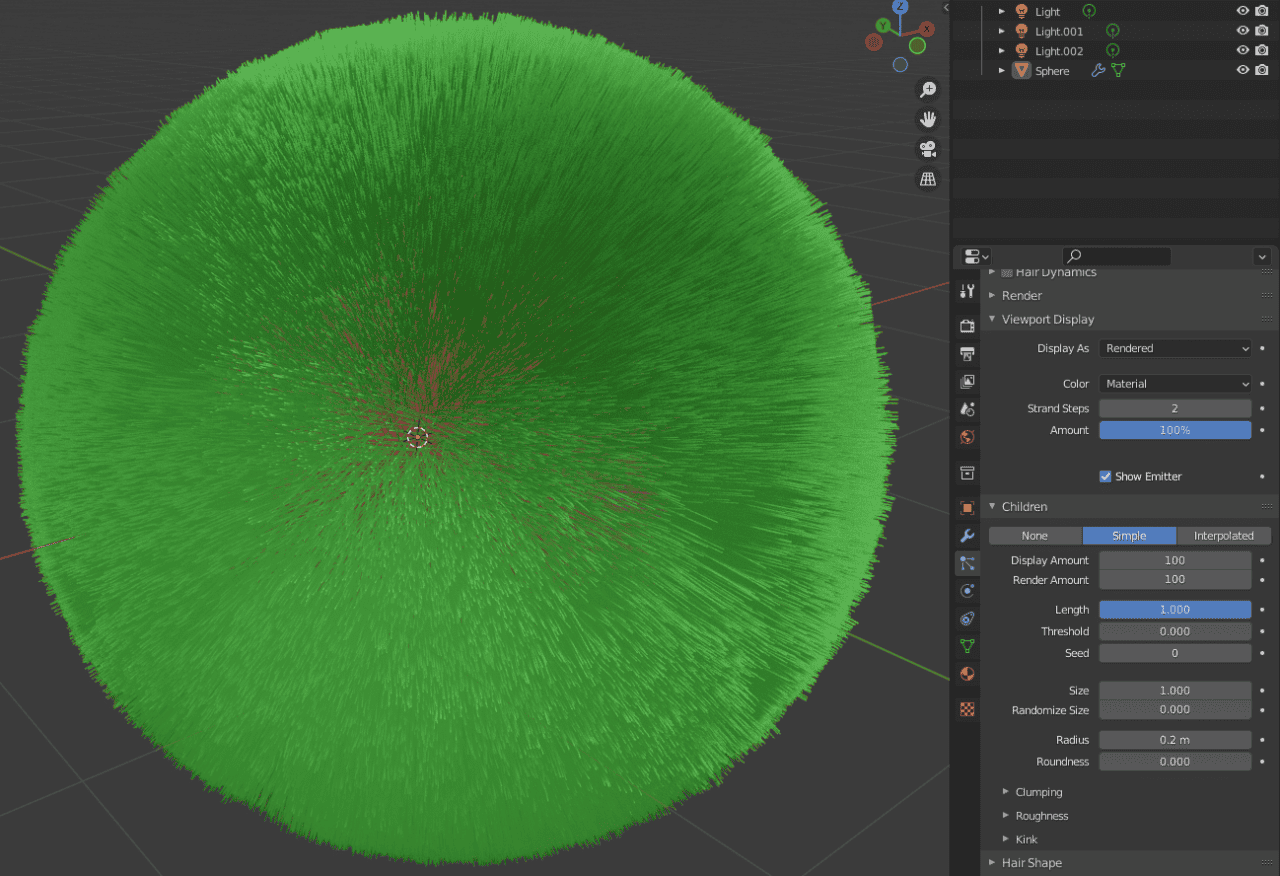
In the Viewport Display section, there are settings to control how this will look in the viewport. Most importantly, here you can select the number of Steps for each strand, the amount of strands themselves, and whether to show Emitter.
These settings are important because they allow lowering the power needed for displaying this object, thus if you have a low-end computer or a too detailed scene – this will help you not to overload Blender during the work.
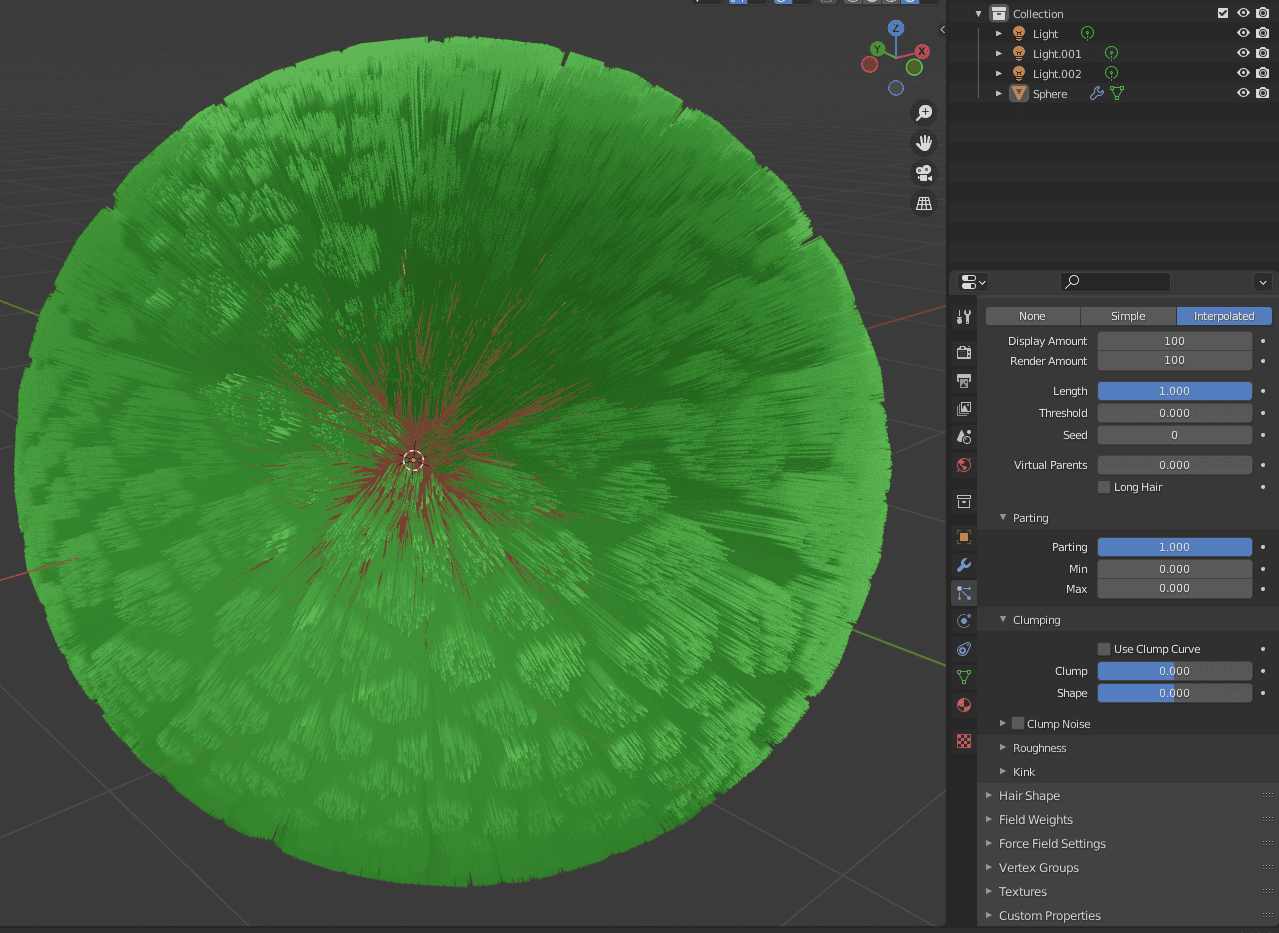
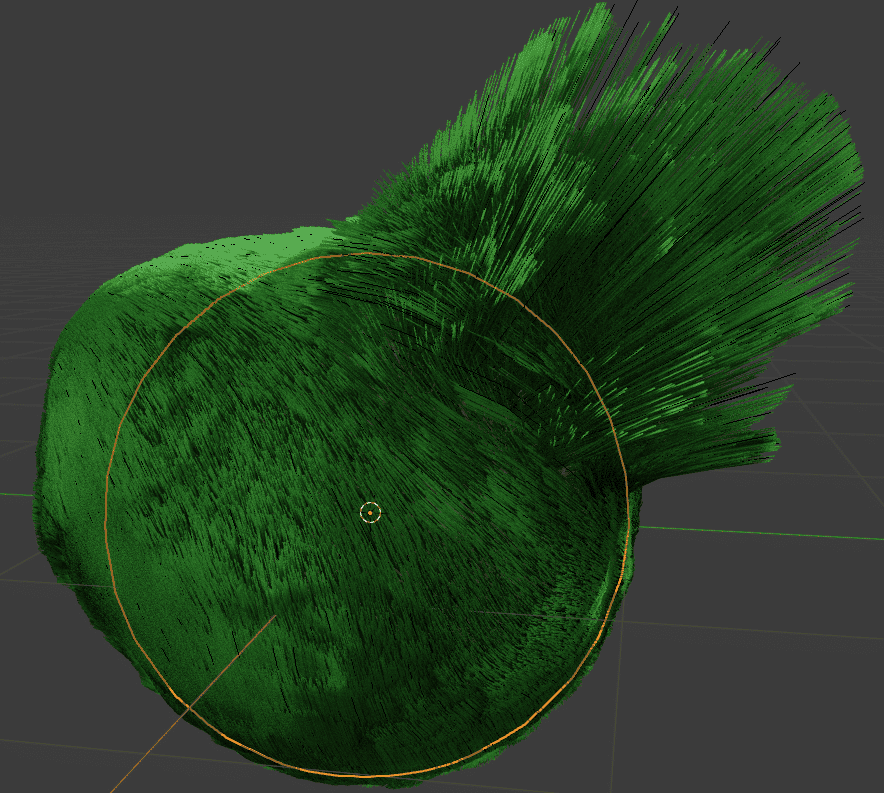
The Children section is one of the most important ones. For now, our object looked quite dull – there were way too few hairs and so it looked a bit bald. Here we fix this.
What this setting does is adds children to each of the individual hair strands. This is a better way of adding hair than adding more strands themselves. Below you can see the Default Interpolated Children look.
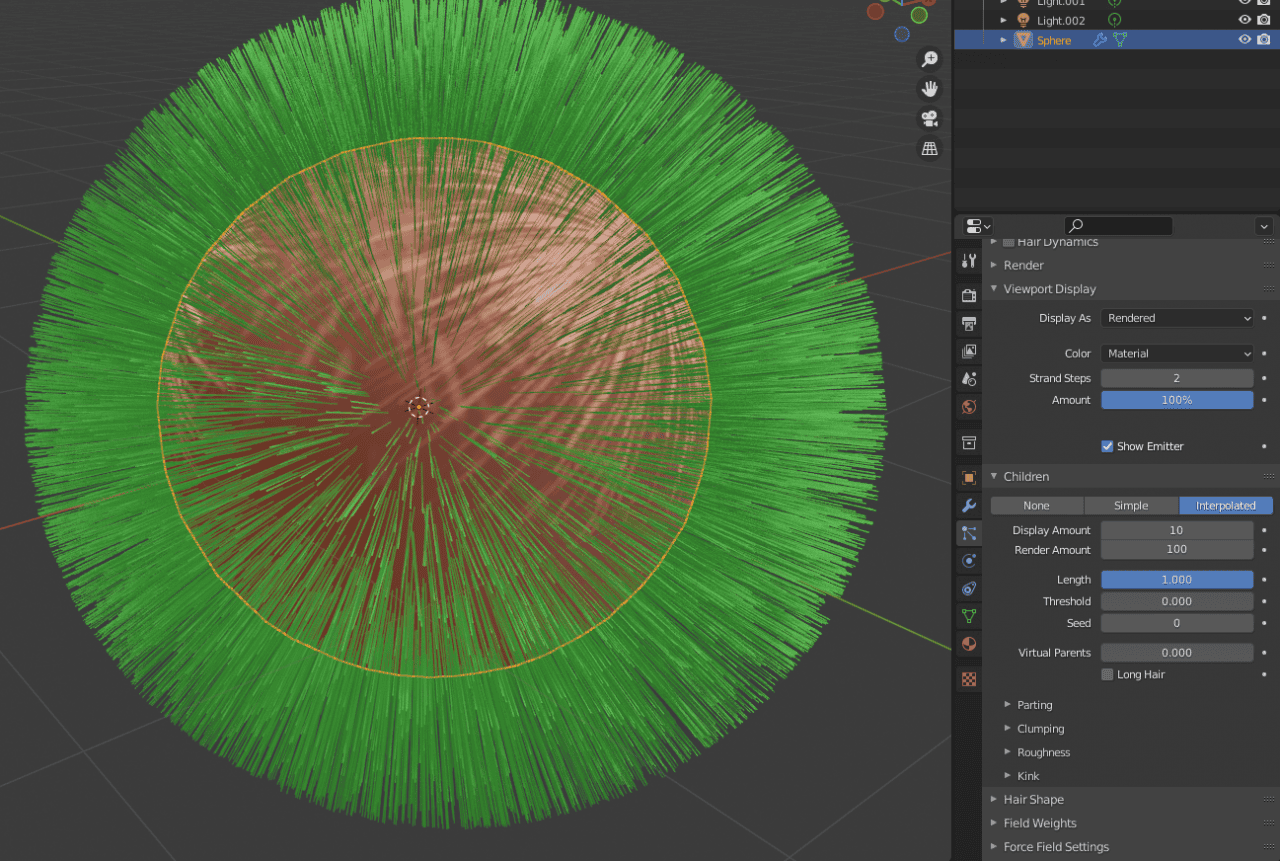
Interpolated Children 10 Display
Though there are still not that many hairs. This is because, by default, we can only see 10 children for each of the strands, while it will render 100 for each, as can be seen in the settings. So to see how it will really look, I match the Display Amount with the Render Amount.
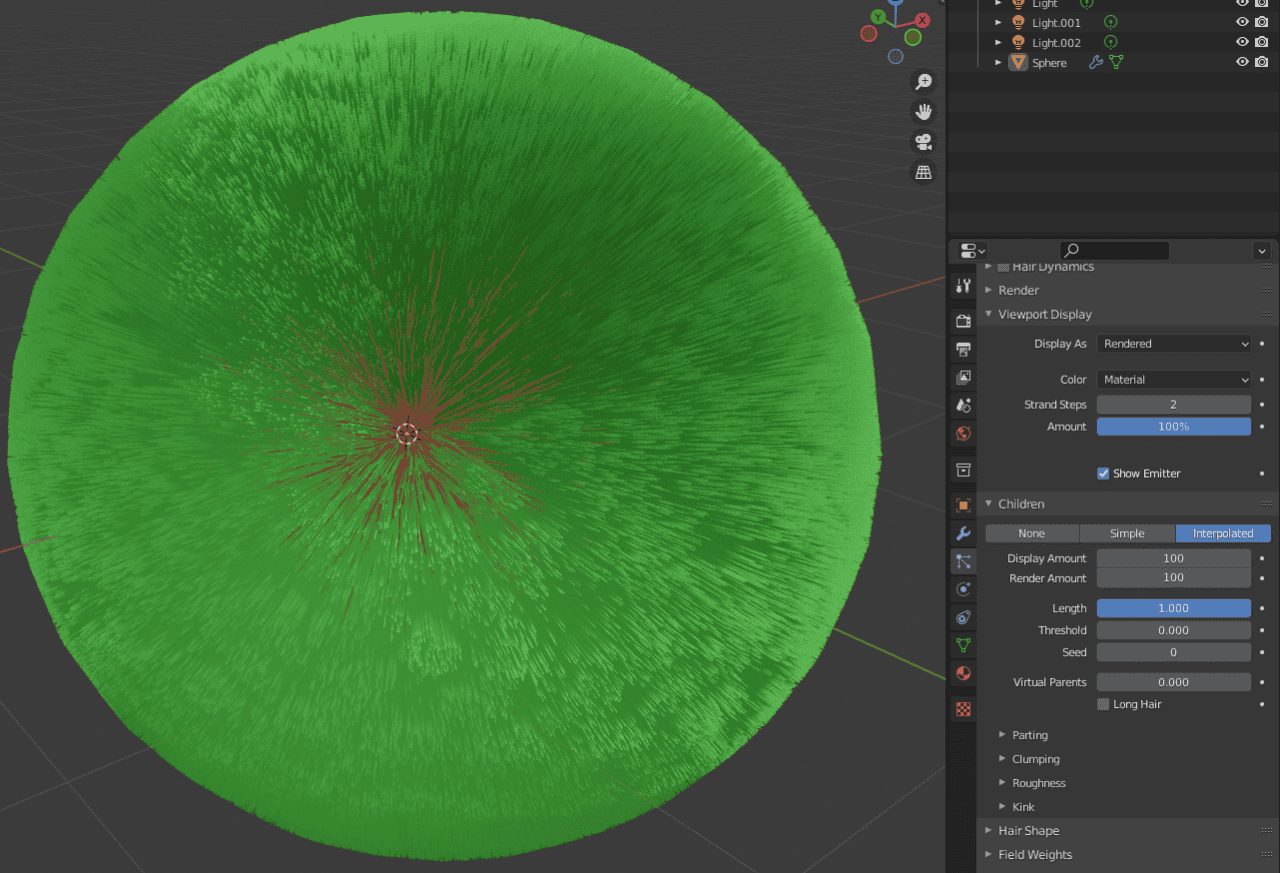
Interpolated Children 100 Display
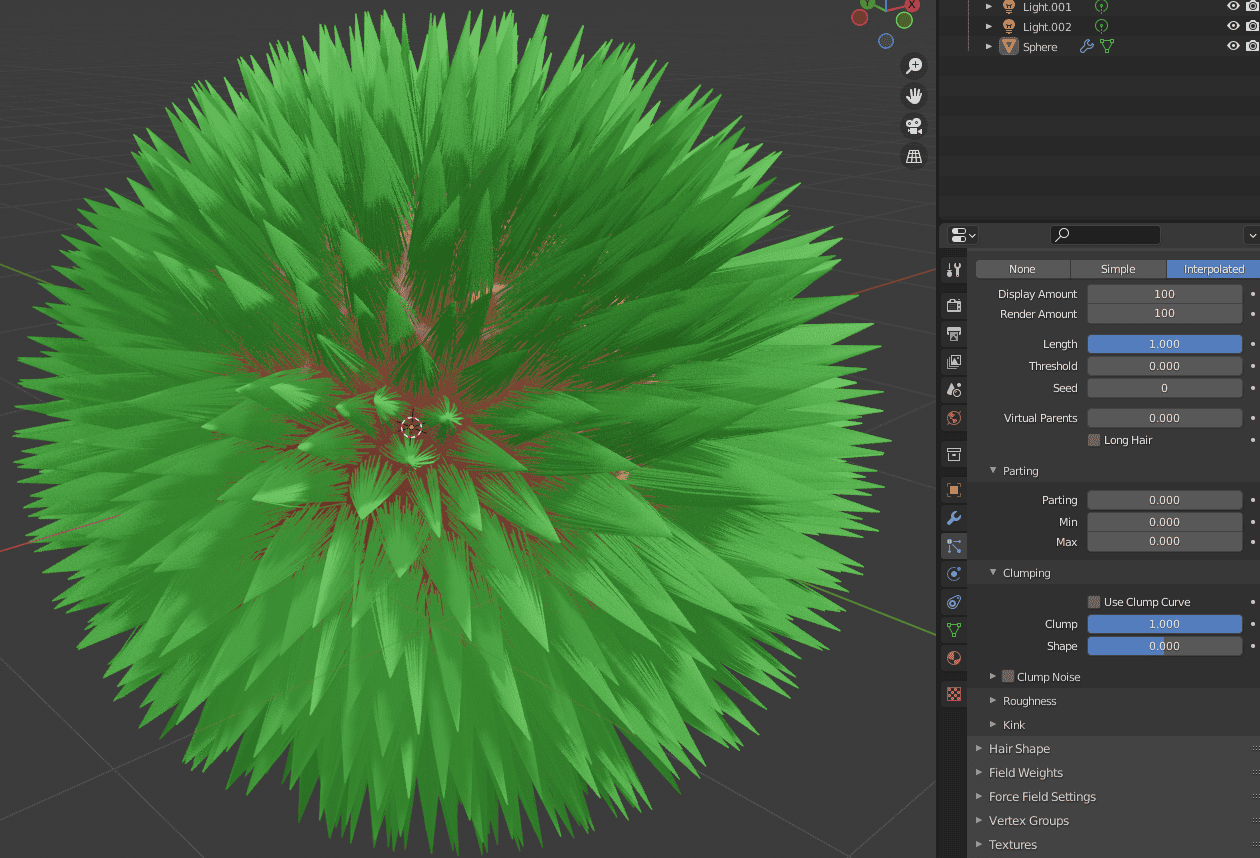
This is more like it. A very thick layer of hairs we have here. If you are wondering, the Simple Children type is very similar to Interpolated, but just more simple. This means that it would be easier to handle for your computer, but sadly, it would not be as detailed.
Simple Children
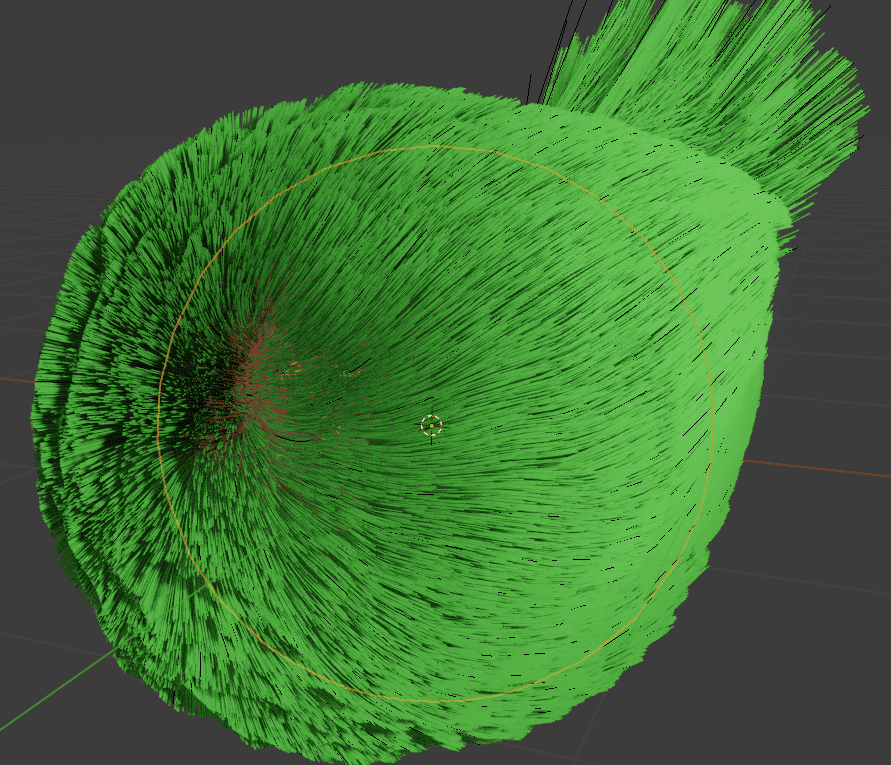
Also in the Children section, there are different settings for the look of these children’s hair. For example, there is a Parting setting that places the children closer to the initial strand.
Parting hair
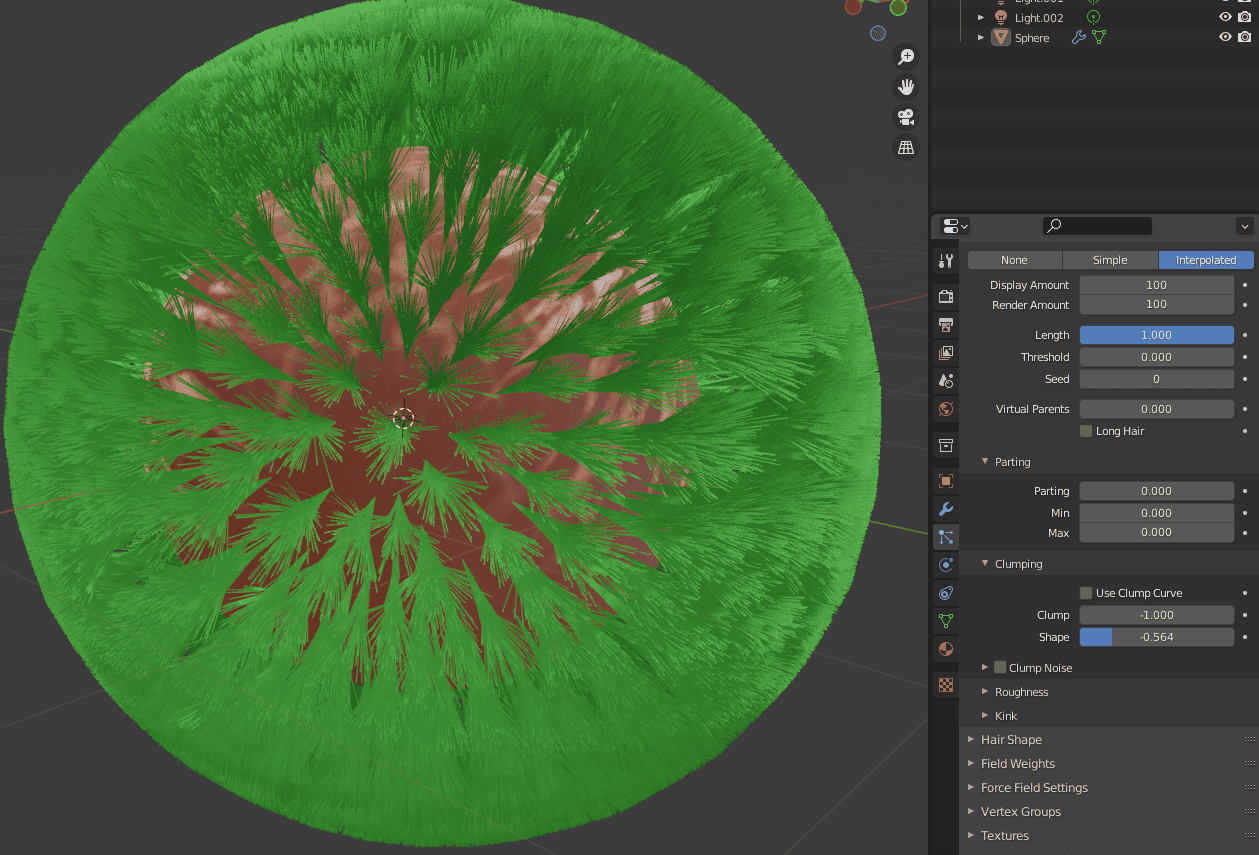
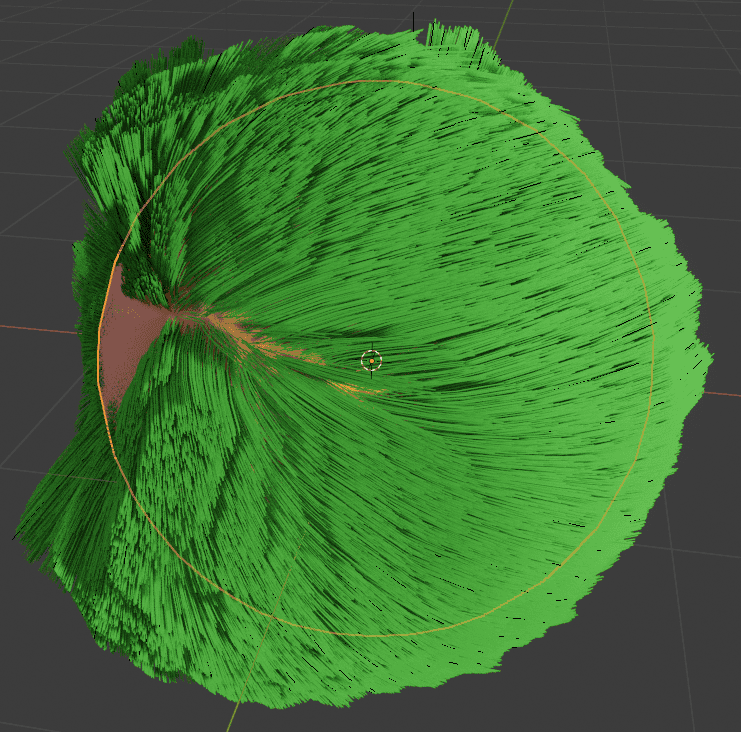
Next is the Clump setting. So it clumps all the children’s hair together.
Clumping Hair
By default, they are clumped at the top, but you can change the setting and the way they are clumping. For example, I have made them clump at the bottom instead. This looks similar to the pine tree needles.
Roughness settings change the shape of the whole hair and its style. There are three settings here: Uniform, Endpoint, and Random. It is pretty easy to understand how they work in practice and use them with no problems.

Hair Roughness
The last setting here is Kink. It is an easy way to style the whole object in some specific way. For example, you can Curl the whole object.
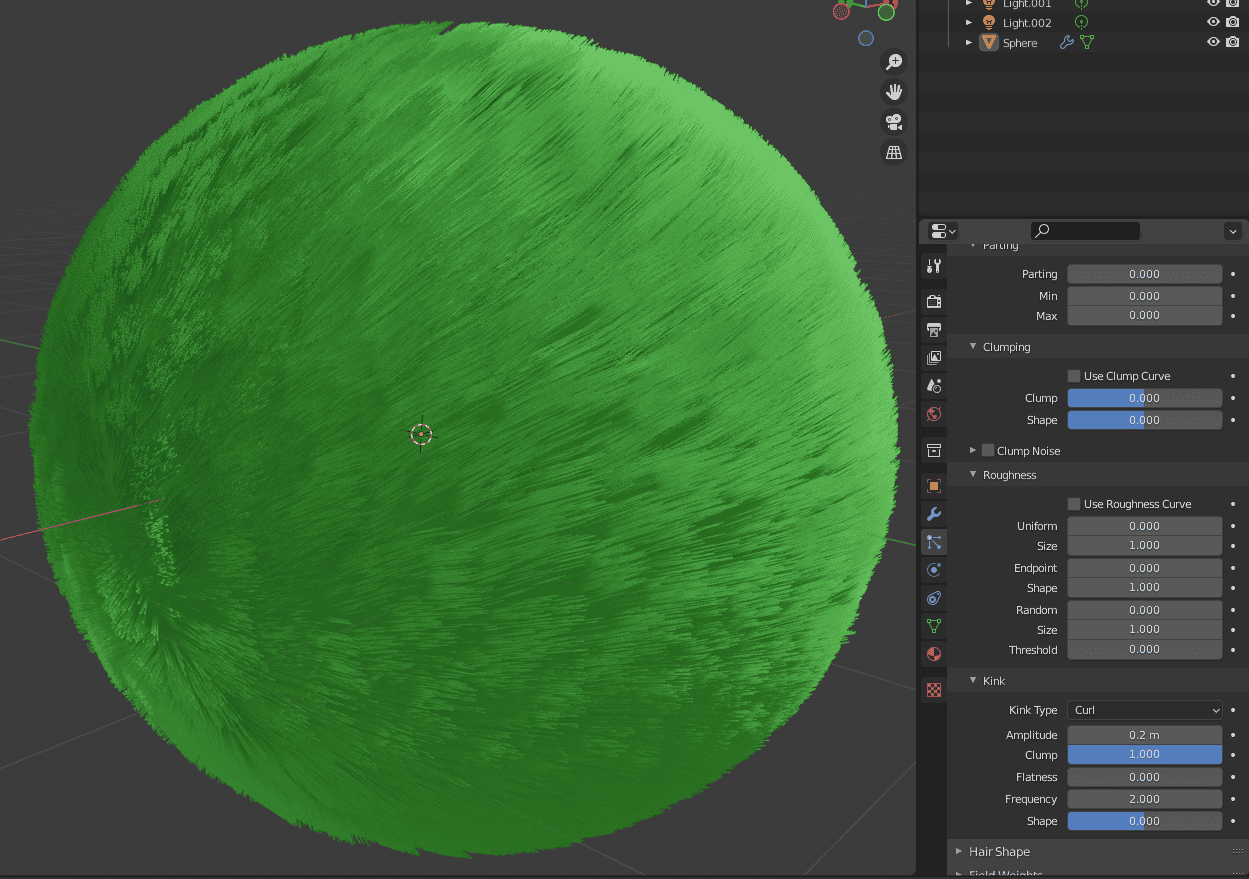
Hair Curl Kink
After you add a Kink Type, a bunch of according new settings appears that you can use to style it in different ways.
A very useful setting for you to make the object more interesting and have more control over the hairstyle.
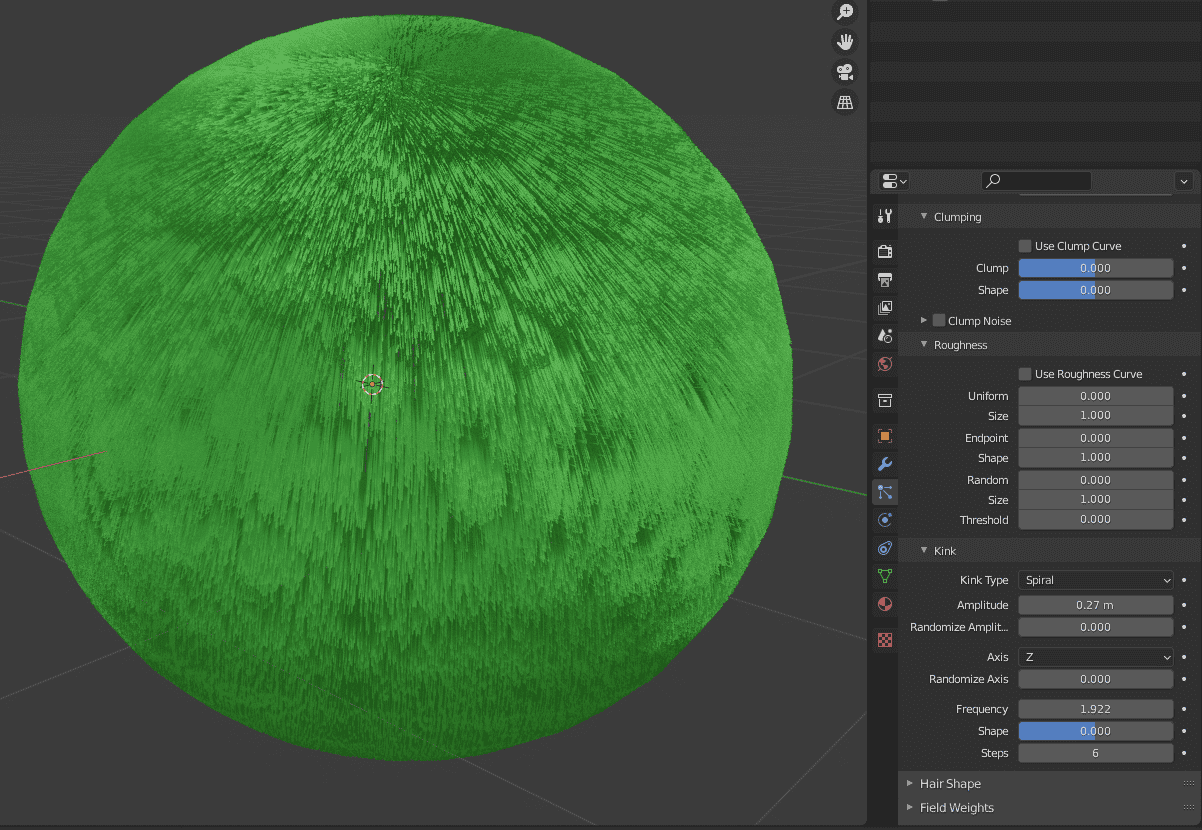
Hair Spiral Kink
That is all for the Particle Properties window, but there are more settings in the Render Properties.
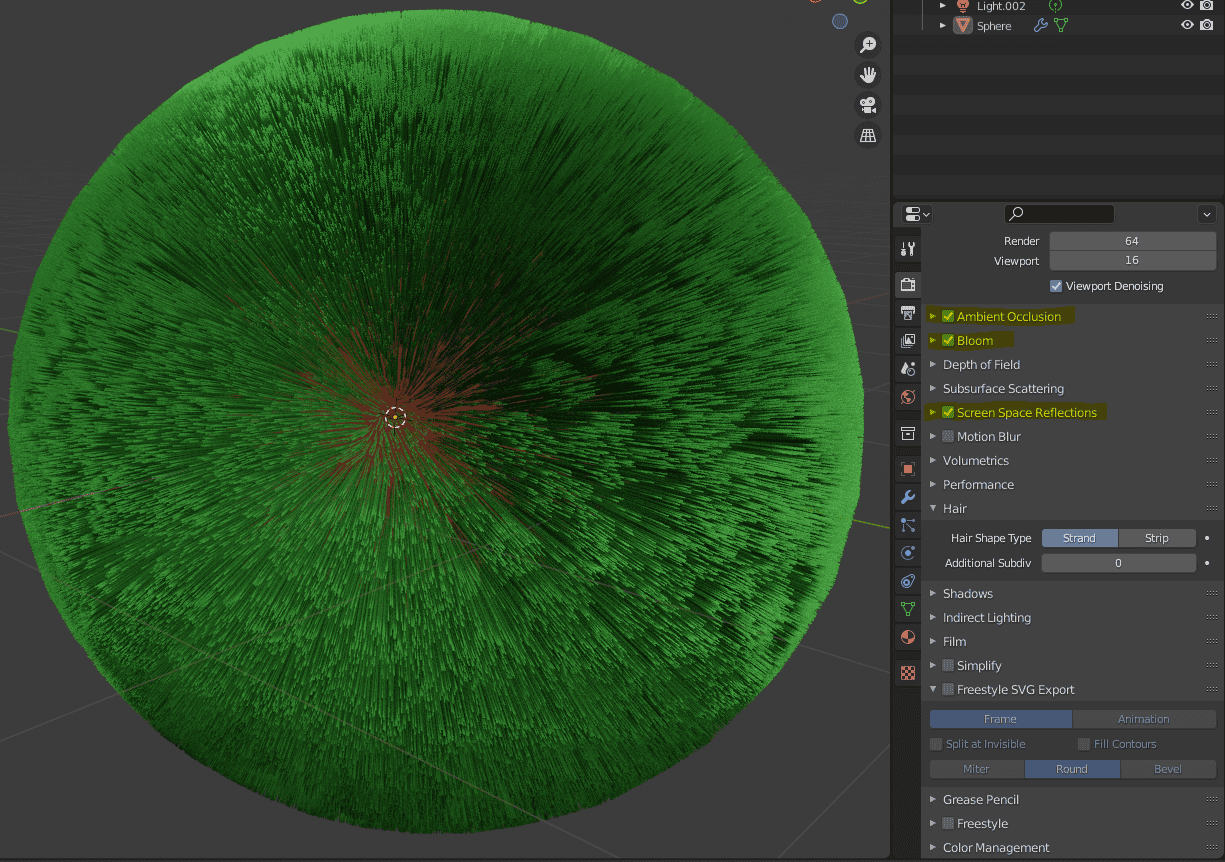
Firstly, here you can make your hair look better when rendered in Eevee. The Ambient Occlusion, Bloom, and Screen Space Reflections are important settings for a realistic look. They are not connected to the hair specifically, but rather add visual effects to everything in Eevee.
Lower you can see the Hair section available in the Render Properties. The default Hair Shape Type is set to Strand. You can change this to Strip. This alters the look quite a bit.
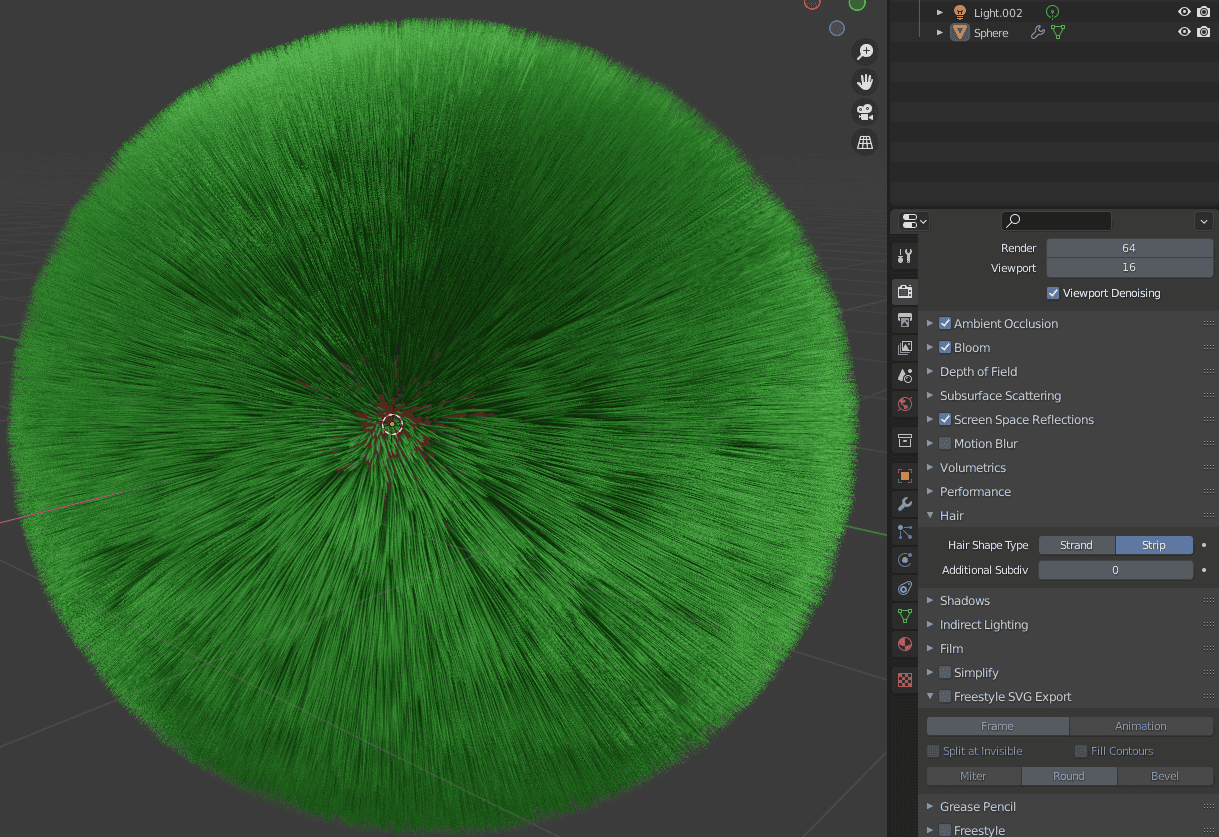
This is just an alternate look for your hair strands. There are no benefits nor downsides to any of the types, so you just choose whatever you like more.
But all this is true for Eevee. What about Cycles? The Cycles is a physically-based engine, so there are no such settings for it. The only thing you can do is choose the Hair Shape. Below you can see the comparison – I can not find a lot of differences here.
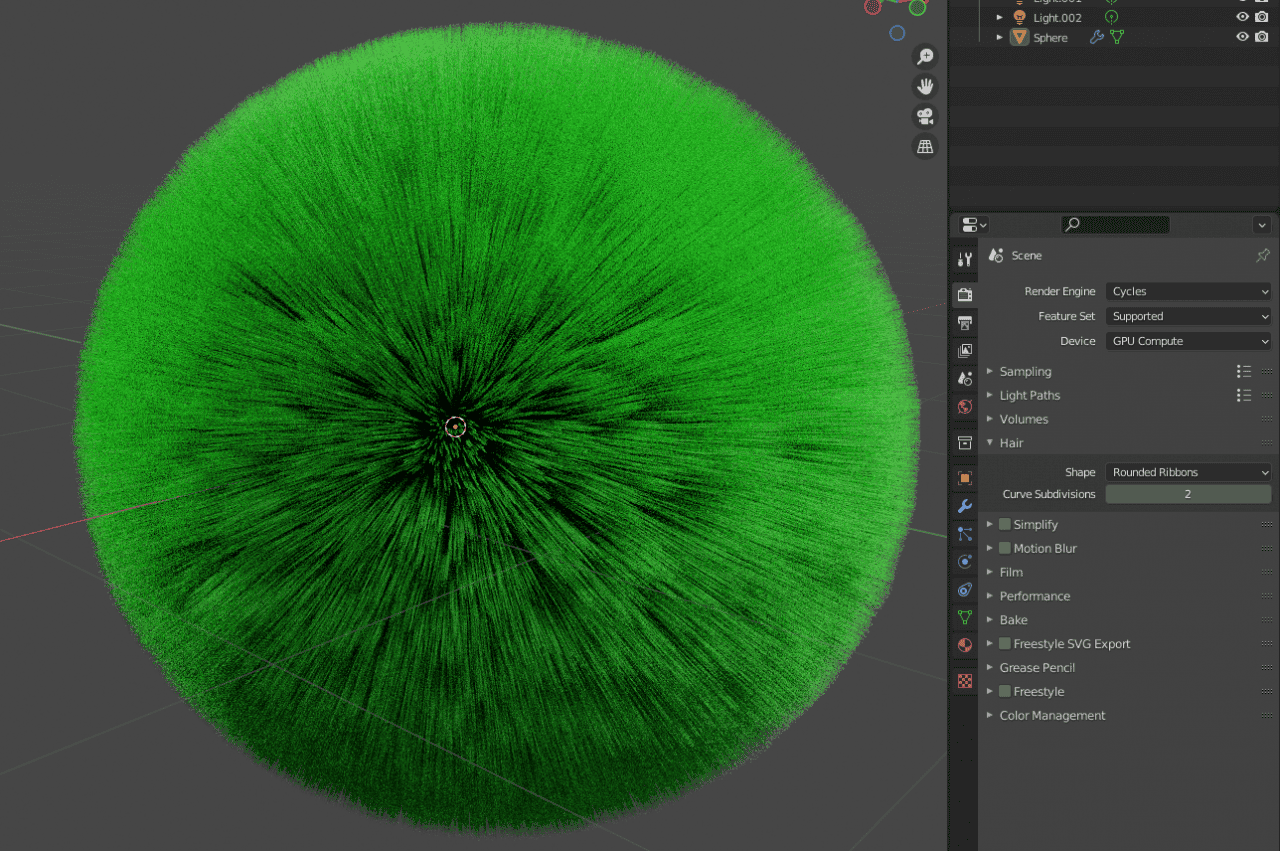
Cycles Rounded Ribbons Hair Shape
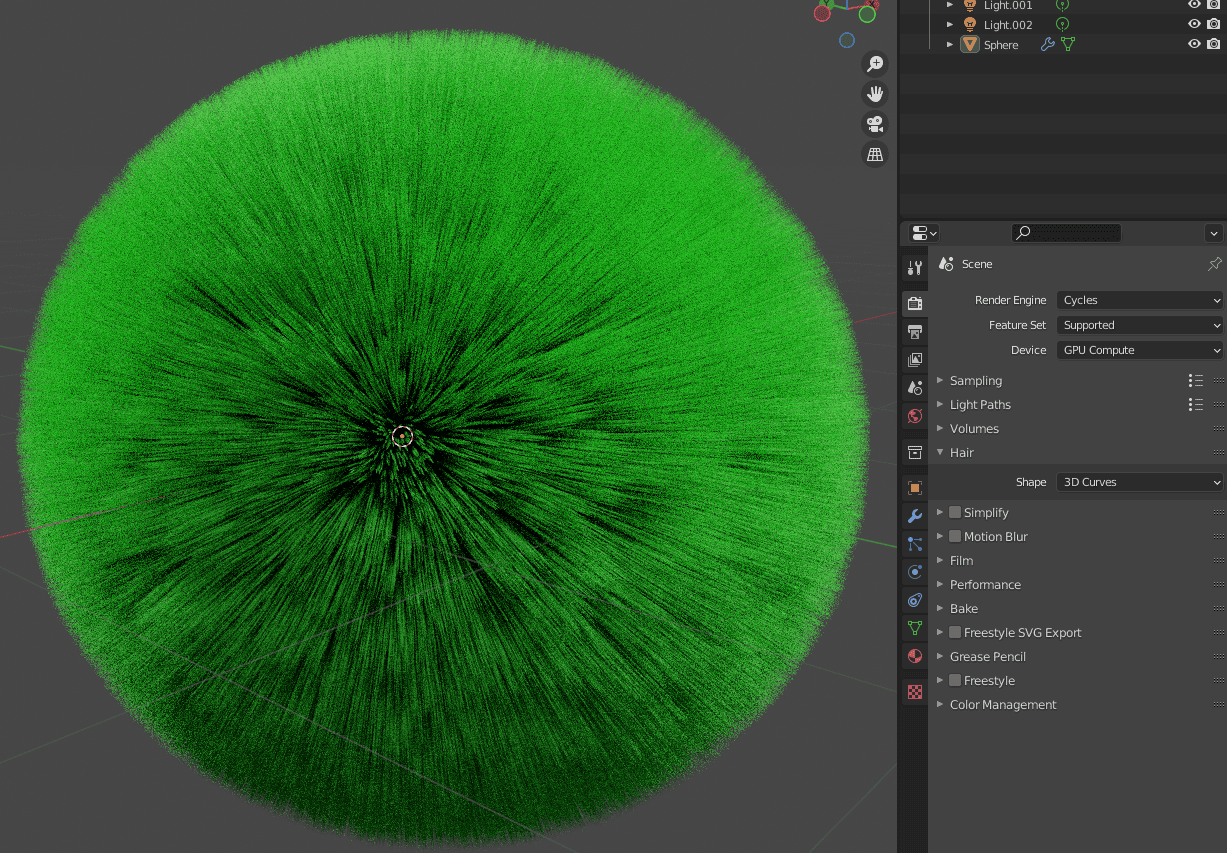
Cycles 3D Curves Hair Shape
Blender Hair Editing
This is not all of our Blender Hair Tutorial. Blender has a lot more to offer regarding the hair. As you can see, by default all the hair is spread evenly on the object and is facing outwards in all directions. Of course, this is not the shape that you would always want. And here is where the Particle Edit mode comes in.

In this mode you have the brush selection on the left, brush setting on the top and the brush itself is around your cursor – a white circle. Basically as any other brush-based editing in Blender.
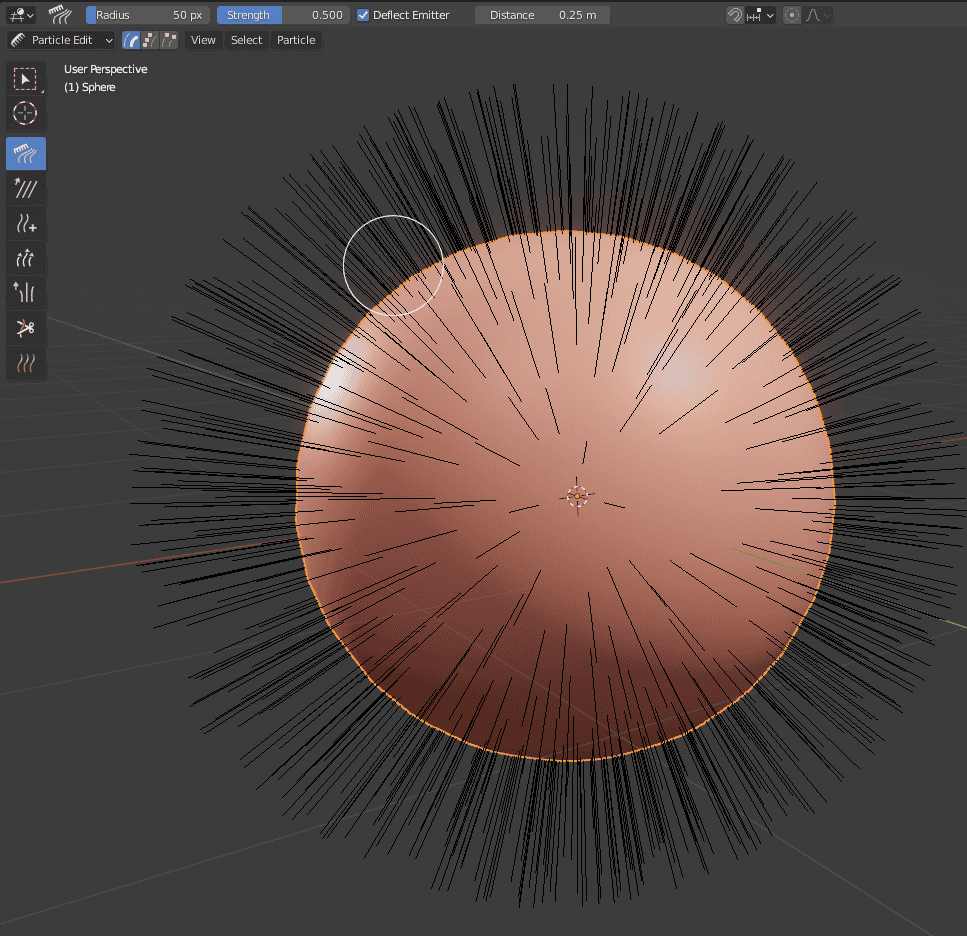
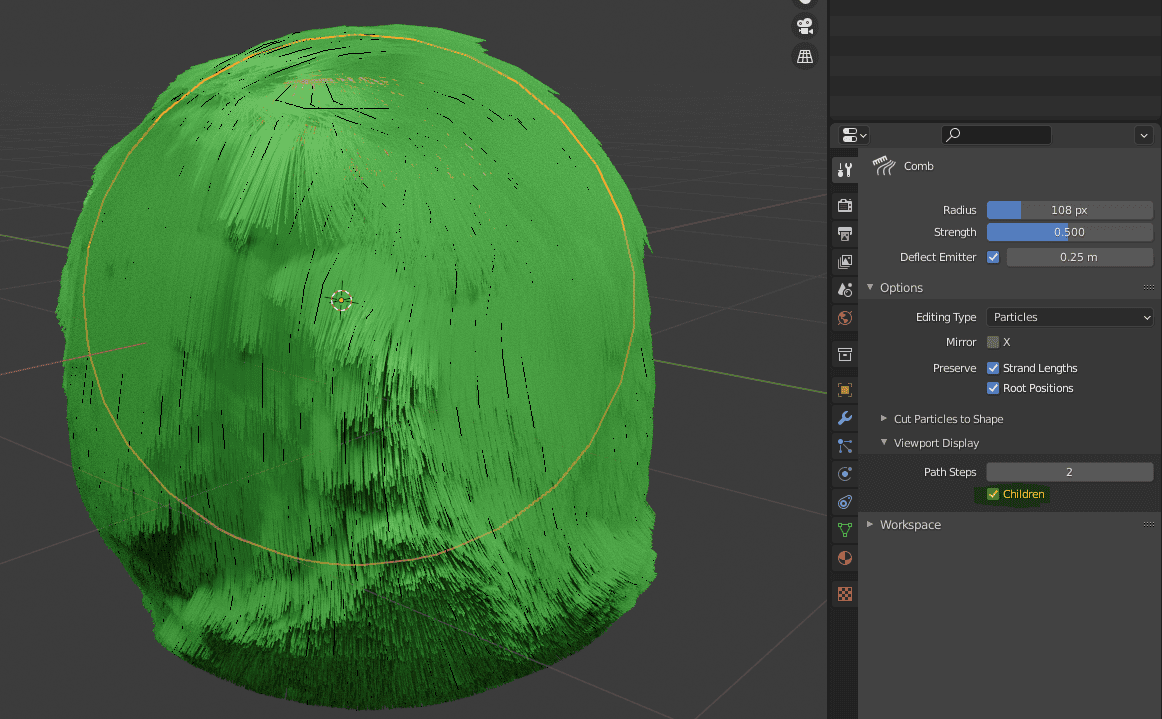
The Comb Brush is selected by default. It is the main brush that allows you to lay the hair however you want. Just press and hold Left Click and hover over the hair. It is very similar to combing real hair.
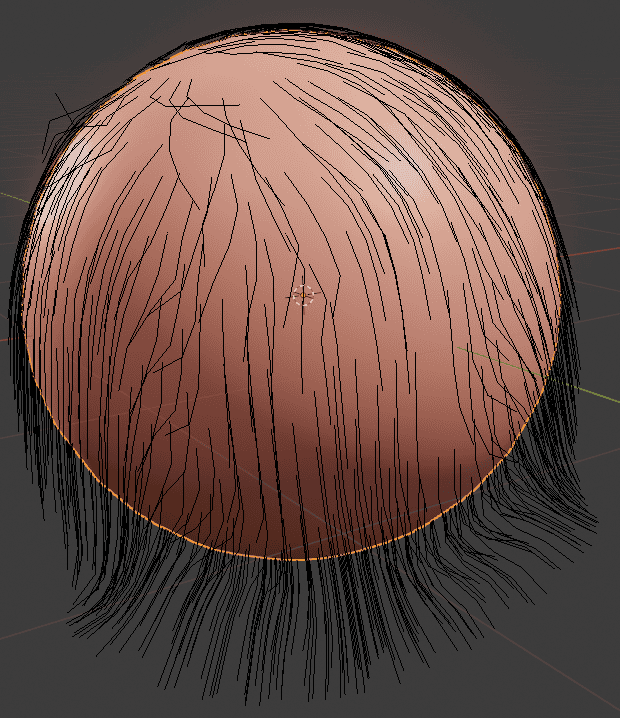
The problem right now is that we don’t see the real look of the hair, but instead just a few strands. To improve this, you need to open the Active Tool and Workspace Settings in the Properties Editor on the right. And here find the Children option and turn it on.
Now we can see everything properly. The problem with this approach is that it is a lot more taxing on your PC than viewing just a few strands. So consider lowering the number of children visible, if you are having performance problems.
Use the Comb Brush to lay down the hair in any way you might want. Don’t forget that you can control the radius of the brush and its strength.
Comb Brush
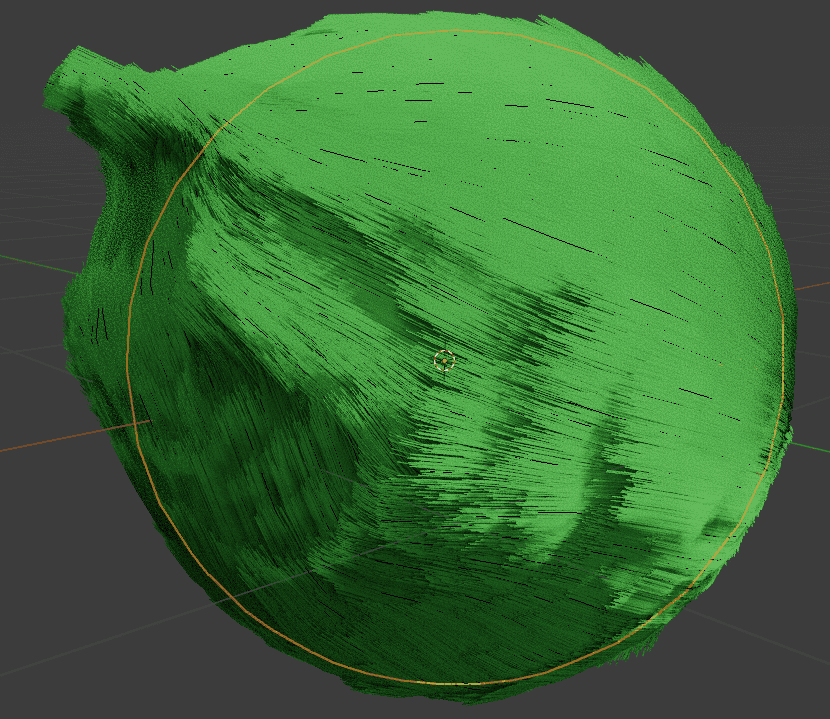
Next is the Smooth Brush. It is for smoothing out the rough places. As you can see on my object – the place on the left is quite rough. There is a lot of hair there, it is very uneven and crumpled together. Using the Smooth Brush – I have made that look better.
Smooth Brush
Add Brush is very easy to understand. Adds new strands wherever you click, nothing more and nothing less.
Add Brush
Length Brush makes the hair longer. Also a very simple to use brush. If you want to make hair shorter, you just need to hold [Shift], when using this brush. It will invert the functionality. This inversion works on some other brushes too.
Length Brush
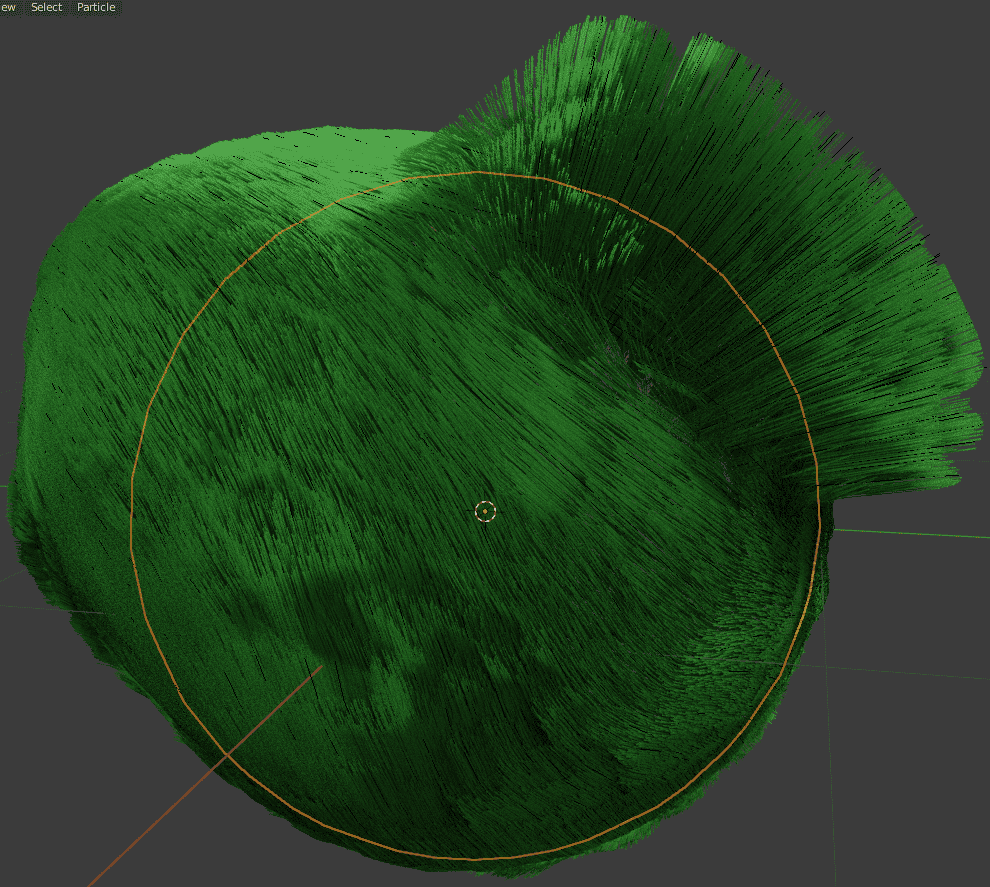
Down the list is the Puff Brush. Another one that is not hard to use. It allows you to puff up the hair and make it a lot lusher. Again, holding the [Shift] will invert this and instead clump the hair together.
Puff Brush
The last brush that we will be looking at is the Cut Brush. With it, you can cut the hair strands. Make them shorter or get rid of them entirely. So with the help of this brush, you control where you have the hair on your object and how much of it.
Cut Brush
There is also a Weight Brush, but it is a bit too advanced for this tutorial and is not that important for now too. Mostly it is useful for animating hair.
Conclusion – Blender Hair Tutorial
That is it for Blender Hair Tutorial. Your object with hair is ready and you know how to control and edit it. What is left is rendering the object, which is also easy. As there is nothing special about this – just place the camera and render.
