This Blender Camera Tutorial explains you everything about how to properly make use of cameras inside Blender with many visual examples to quickly learn. You can very easily improve the look and the feel of your scene by using your cameras correctly. This does not mean that there is a wrong way to handle cameras in Blender, but if you know what you are doing – the end result can be dramatically better. And that is why in this article we will talk about everything surrounding cameras in the Blender and how to use them.
Blender Camera Controls
Before jumping into all the settings and options of cameras, you need to learn how they control. Usually to move the camera – default object transforms are used. That is to say that you can use Move[G] and Rotate[R] tools to move them around.

If you are used to utilizing shortcuts – then you can try to control the camera right from the camera view using them.

This type of moving camera can be really confusing for people who are not yet used to moving and rotating things around in the Blender. For a much more newbie-friendly mode you can turn on the Camera to View setting. It can be found in the menu on the right of the viewport. Use the [N] button to open it.
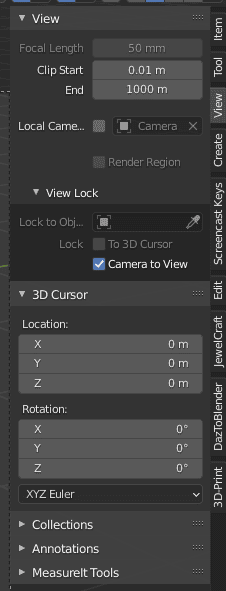
This setting locks the camera to your view, when you are in the Camera view. This means that now you can control the camera in the same way as you control your view. Use Panning[Shift+MMB], Zooming[CTRL+MMB] and Rotation[MMB] to place your camera wherever you want. You can see that the Camera to View is active if you see the red rim around the camera view.
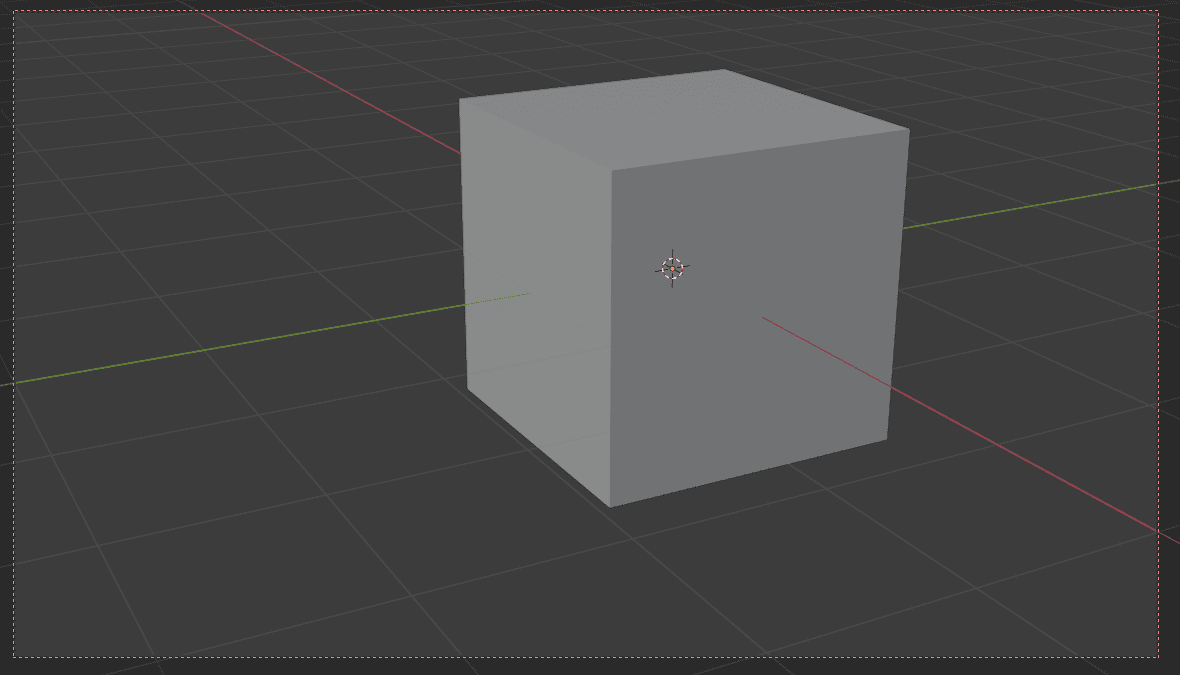
That is the very basics of handling the camera. If you want to learn more about the controls, other ways and easy and convenient shortcuts – give a read to our How to Move the Camera in Blender article.
Blender Camera Settings
Let’s start with the Camera Settings. And it sounds strange, but the Camera Settings in Blender begin in the Output Properties tab of the Properties Editor. Here we are interested in the Resolution and Aspect Ratio settings because they directly control the dimension of your camera view and renders.
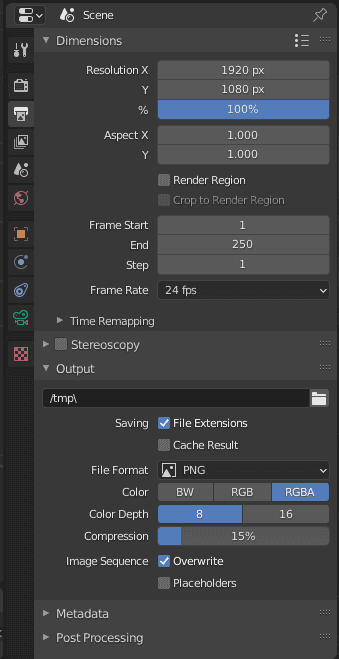
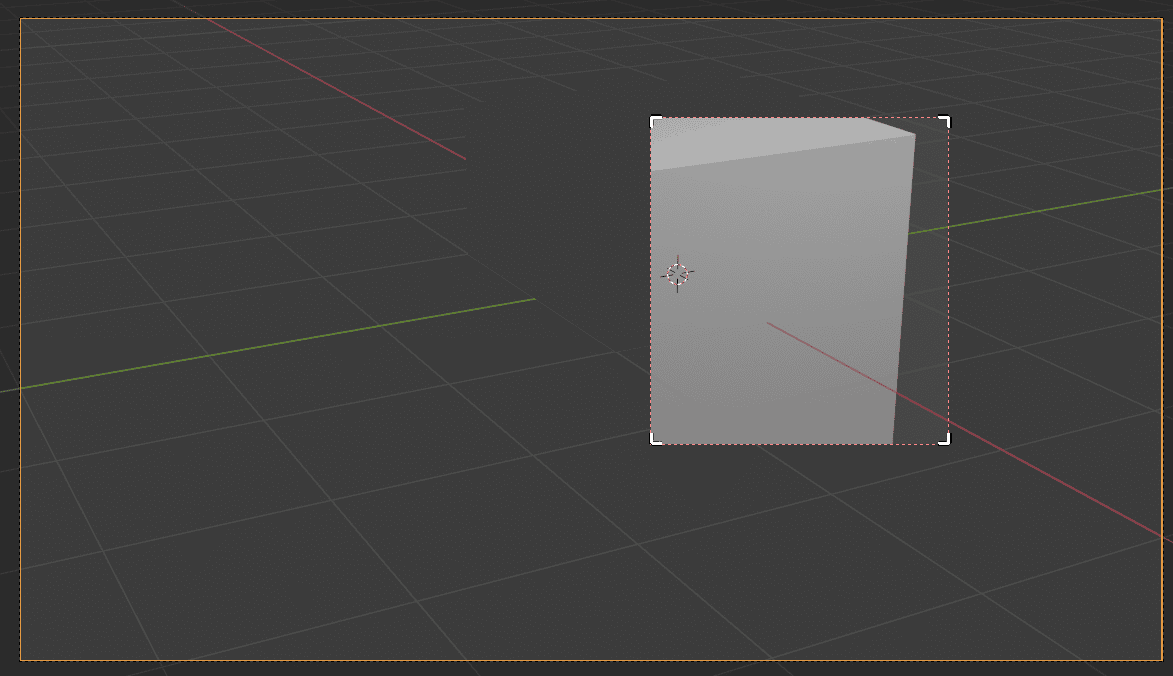
Also here you can find the Render Region function. It is very useful for testing things out. You can set the region of your camera view that you want to render. So you can render exactly the part that you want instead of rendering the whole resolution.
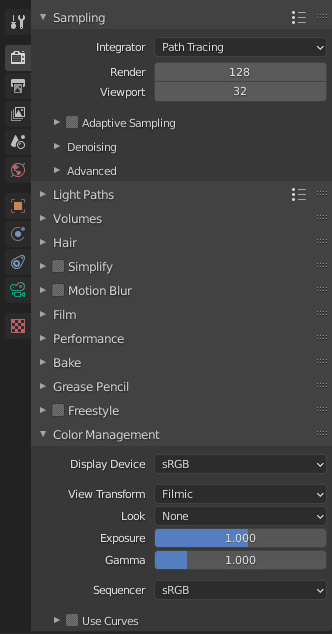
Also in the Render Properties under the Color Management you can find the option to control the Exposure and Gamma of your render. Which works similar for real world cameras that also can be tuned in that way.
But the main tab for Cameras and their settings is, of course, the Object Data Properties with the camera selected. Here you can find settings for things such as Depth of Field, Background Images, Lenses and so on. Some of which deserve to have their own section in the article.
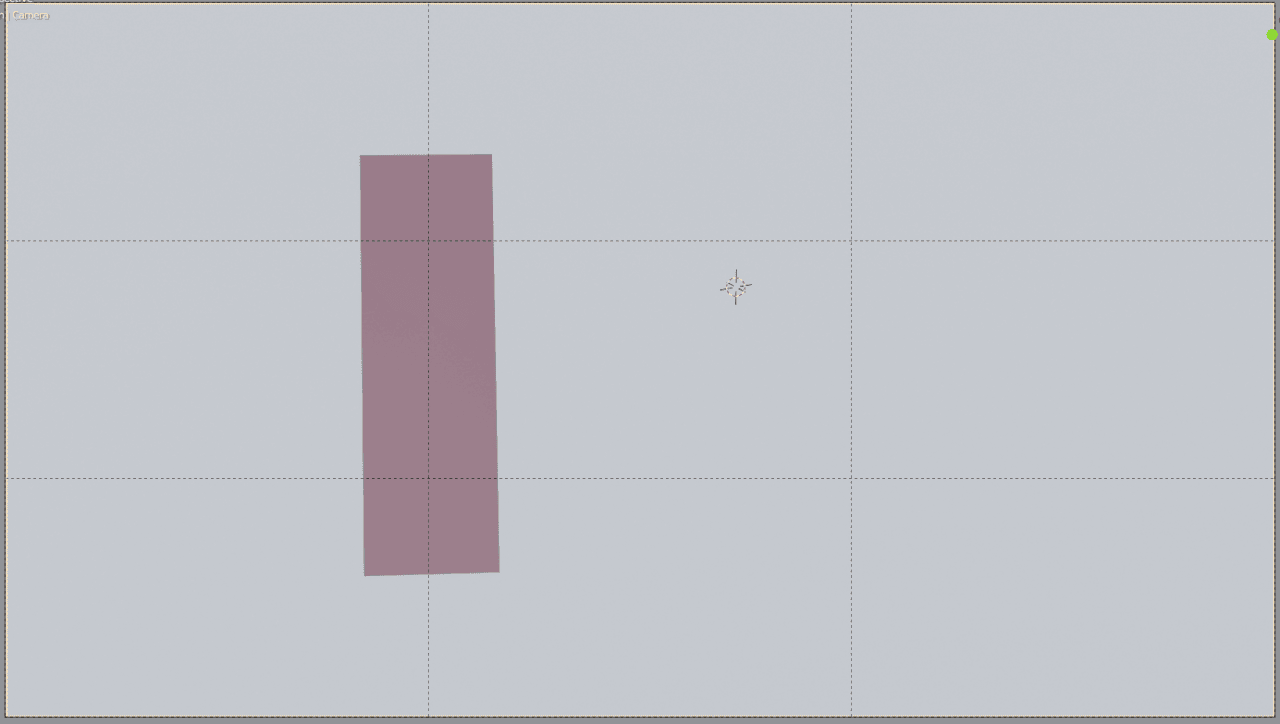
Right now I recommend you to take a look at the Composition Guides section of the Viewport Display. There you can find guides that can and will help you with the composition of your scene. For example, the most notable and popular is the Thirds guide that divides the camera view into thirds, so you can place the object of interest in the more interesting places.
The most important thing to understand about virtual Cameras is that they simulate real world cameras as good as they can. Meaning that if you have experience with the real-world cameras and know how they work – it would be much easier for you to handle virtual cameras.
The big advantage of virtual cameras over the real-world ones is that there is no need to buy anything and you can change their settings anytime on the fly. For example, Lenses. In the real world you need to buy different lenses for different purposes and know which lens does what. Here you just change some numbers and voila, you have a wide shot lens.
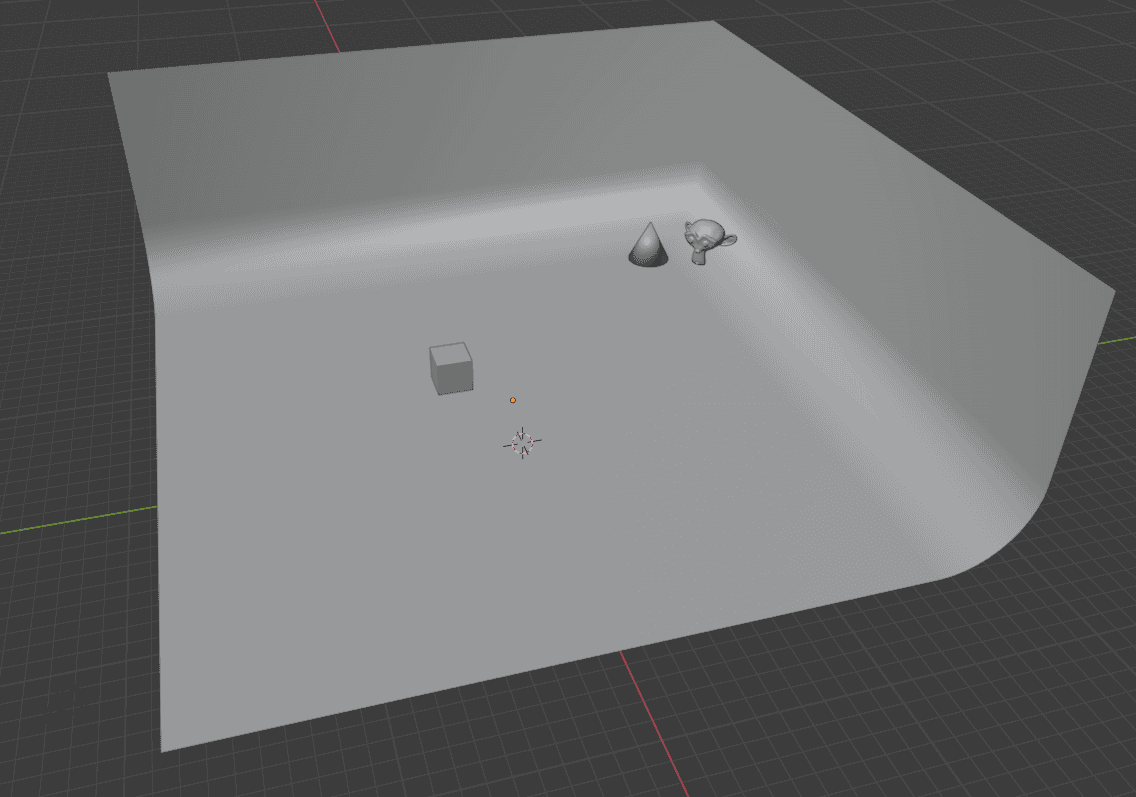
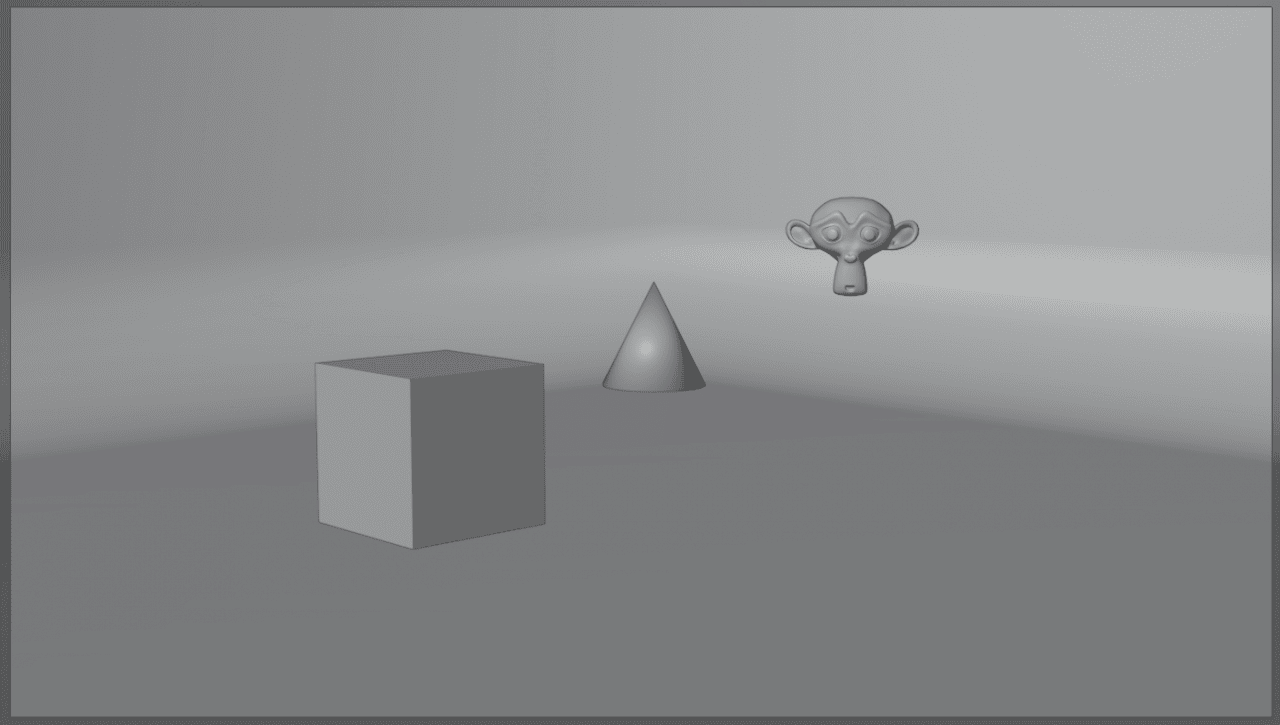
I have made a simple scene to test things out on:
And here is how it looks from the Camera View with the all default camera settings.
Blender Camera Lens Settings
I have already mentioned Lenses and how in real life you need to manually change them and here you can just change a number. Let’s look at this in practice. Here is the default Lens settings:
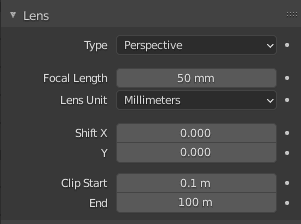
You can see that there is a Perspective type of Lens is active and Focal Length is defaulted to the 50mm. Lower the Focal Length to create a Wide Angle view:
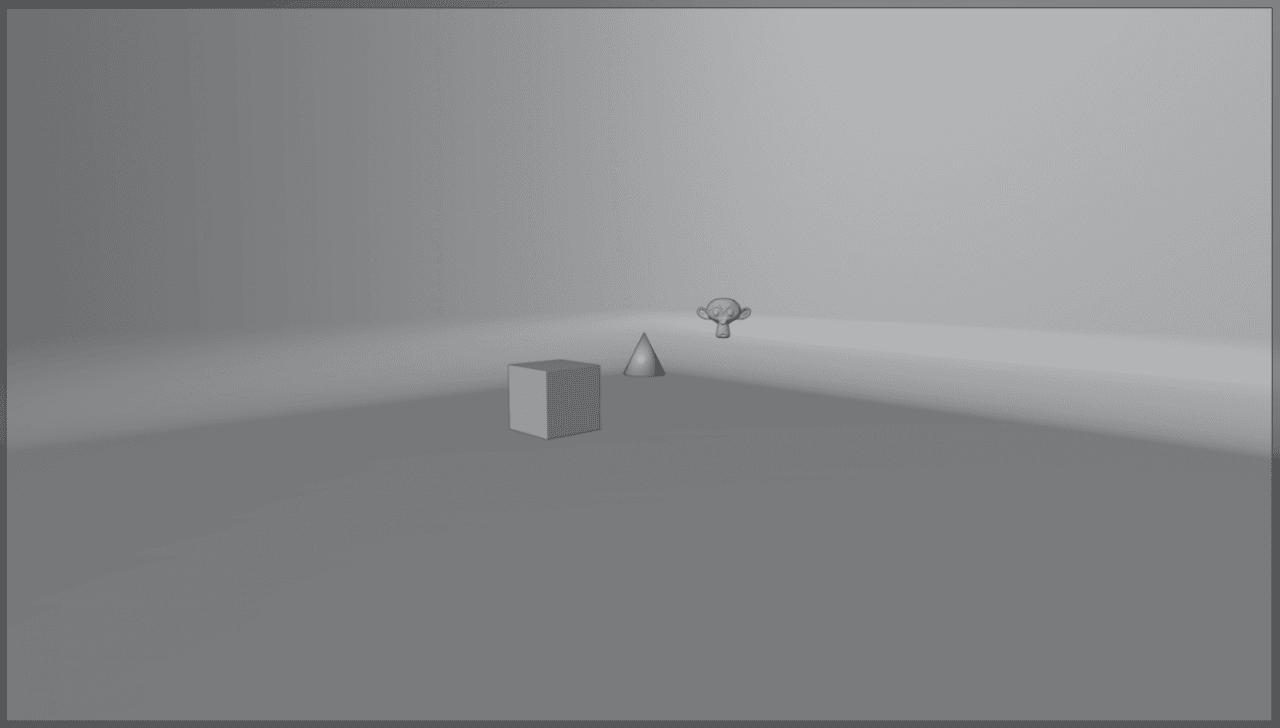
Focal Length = 25 mm
And increase the Focal Length for Telephoto. Telephoto means that the lens is really long and you can capture things that are further away without zooming in on them. This also can create a feeling that objects in the frame are closer to each other than they really are.
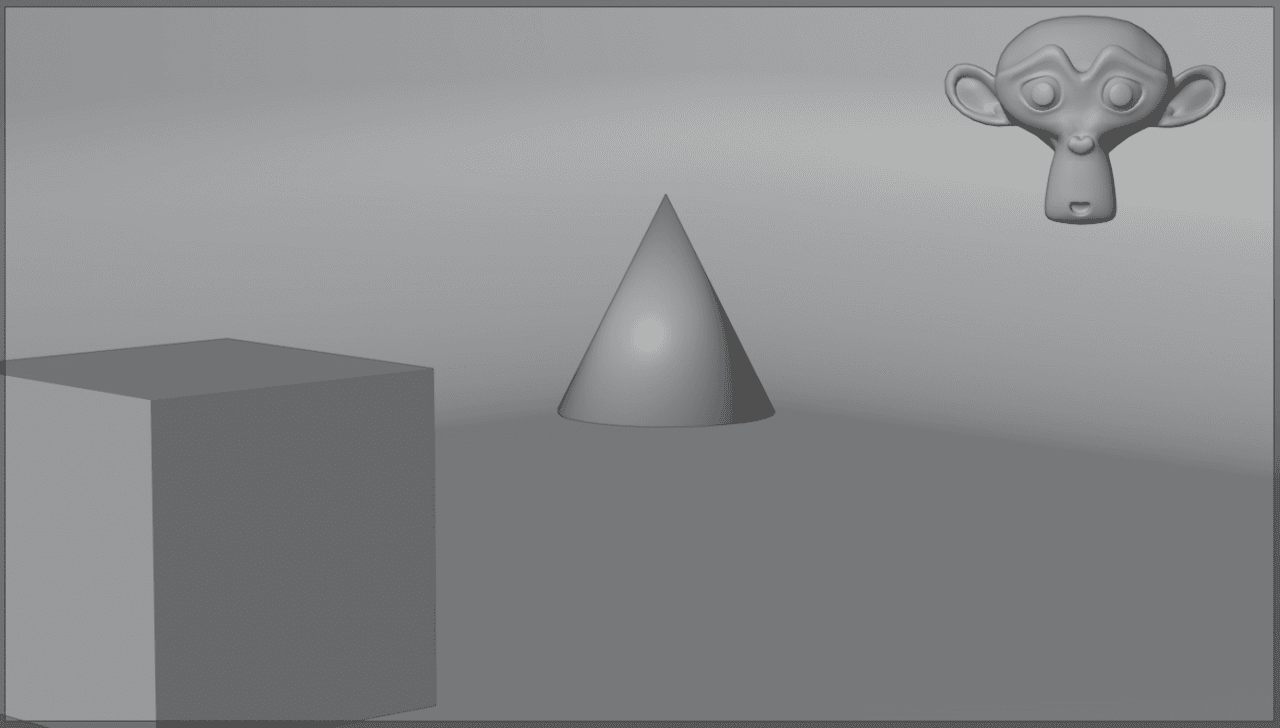
Focal Length = 105 mm
Additionally you can change the Lens Units from Millimeters to the Field of View. This only changes the units and nothing else. Millimeters used in real life photography and Field of View used in 3D. Most commonly you can find Field of View sliders in the first person computer games.

It is time to look at the different types of the Camera Lenses in Blender. Default one is Perspective. It is a real world view similar to what we see with our own eyes – people see the world in a perspective view.
Second type of Lens is Orthographical. We already talked about that in our Blender Basics Tutorials. It is the real view of the world. Meaning that it is how it looks if we could look without any lenses like our eyes. All the objects always have the same size, so matter how far or close they are from the view. So far objects do not seem smaller and close ones are not bigger.
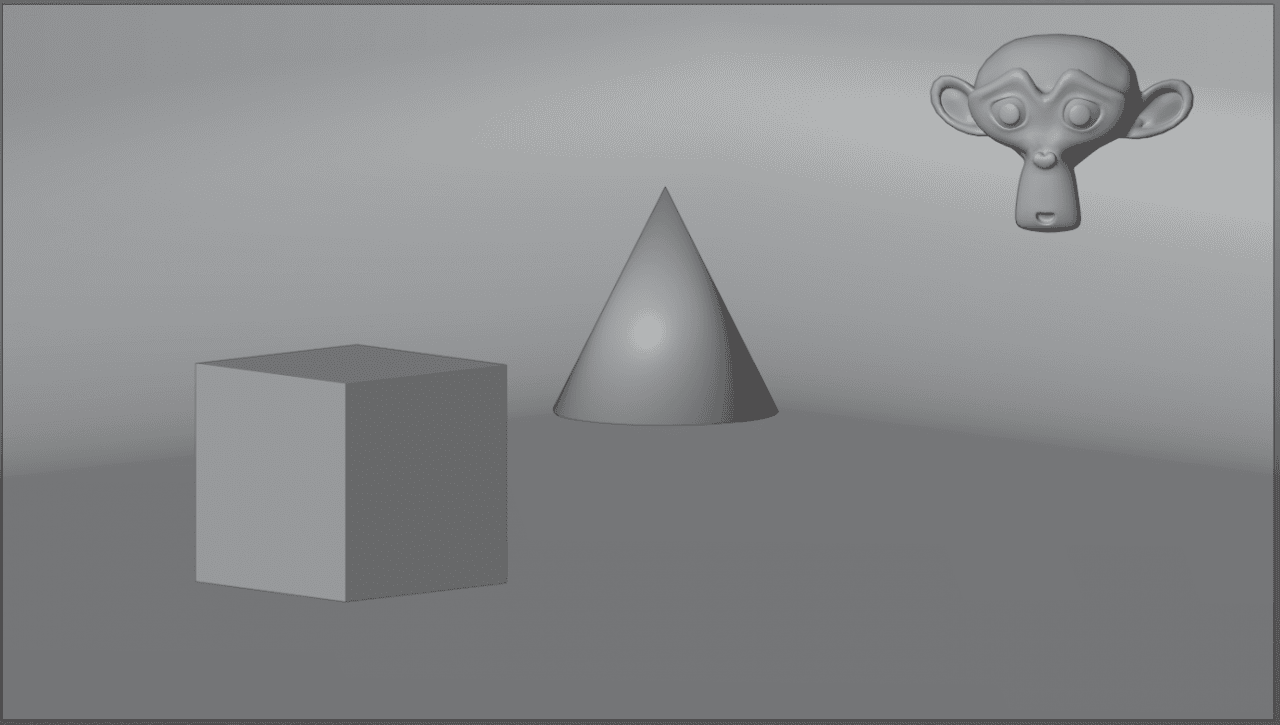
It is a really hard concept to wrap your hand around from the get go. And if you plan to make a realistic render – you don’t really need to. Because we can’t see the world like this and it seems weird for the human eye and can’t be realistic. Rendered with this type of lens are good for stylised renders such as Isometric renders.
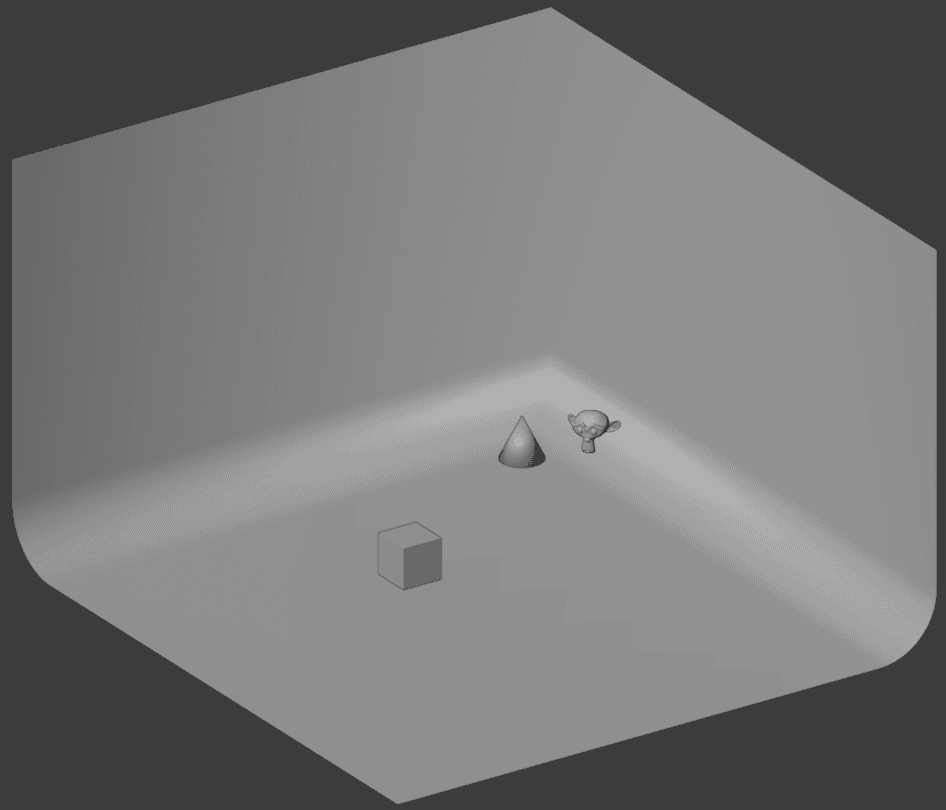
Isometric View
The last Lens type is a Panoramic Lens. And you can find the analog of these ones in the real world. They are used for creating panoramic views. The most well-known and used panoramic effect is Fisheye. And you also can change the Panoramic Type of the Lens here to the Fisheye.
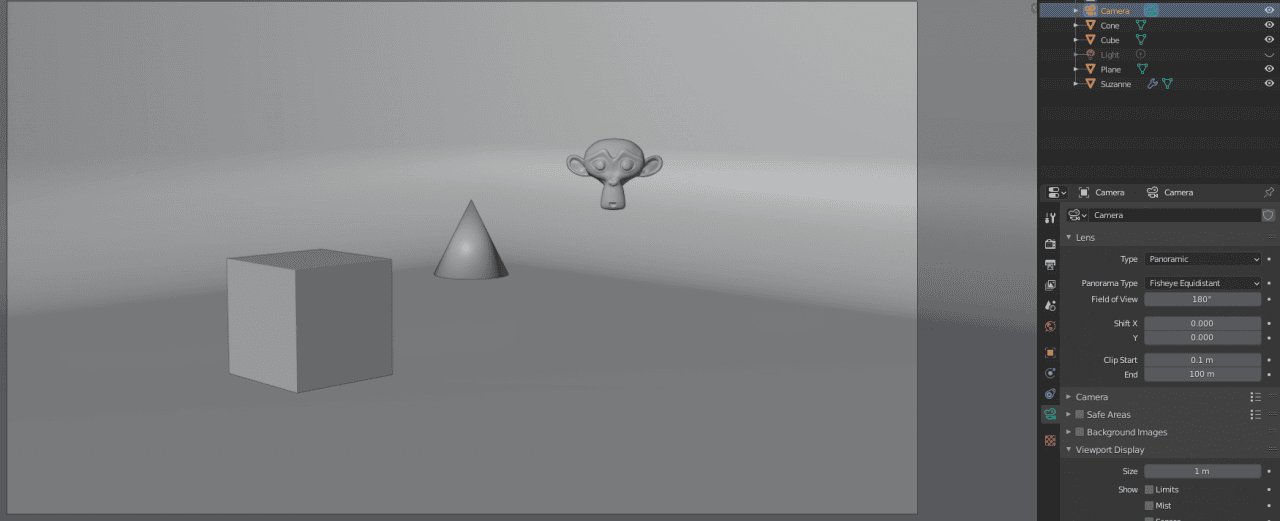
But you can see that nothing has changed at all. That is because the result of the Panoramic lens can only be seen in the Rendered Viewport Shading using Cycles renderer.

And here I have it – the fisheye effect. There are also other types of the Panoramic Lenses available in the Blender. The Equirectangular, another Fisheye and the Mirror Ball. They are quite interesting effects and it is a good idea to try them out.
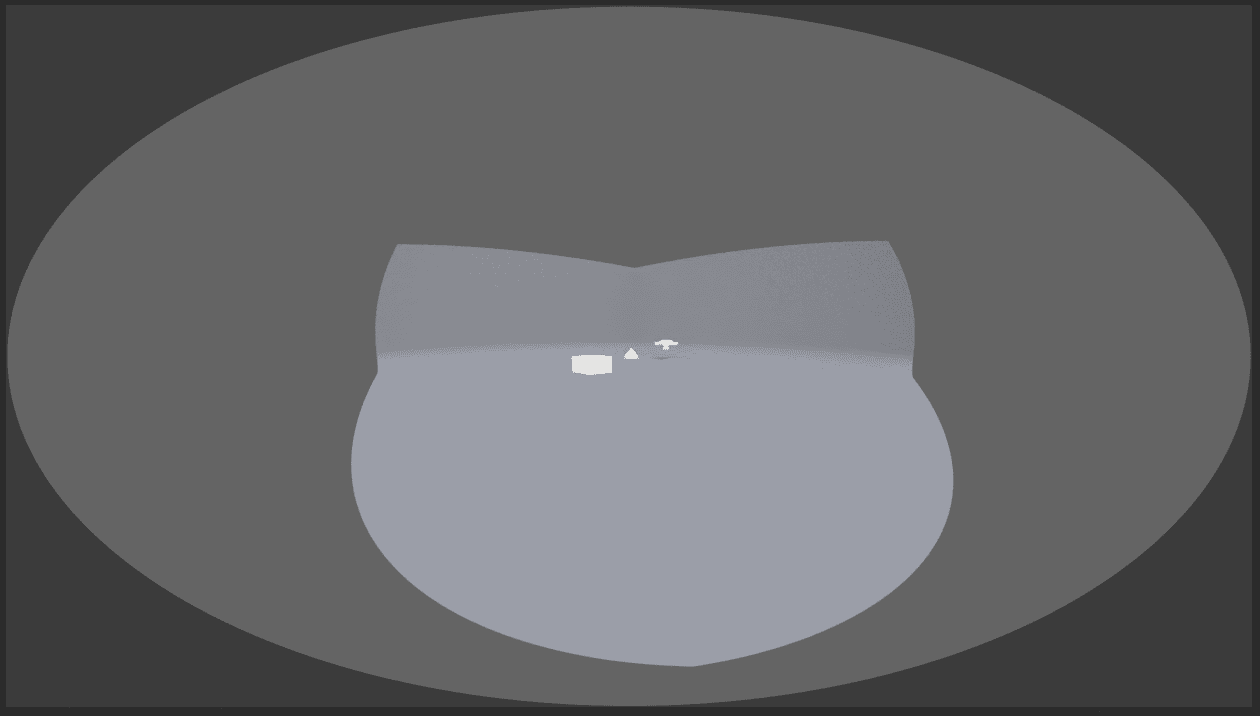
Mirror Ball Panoramic Lens Type
Blender Camera Depth Of Field Settings
Another really important Camera Setting both for the real-world and virtual ones is the Depth Of Field. This is another thing that we, as humans, have built-in our eyes. It is the effect of when you are looking at something – you see the object in focus, while other objects surrounding it become blurry(out of focus)
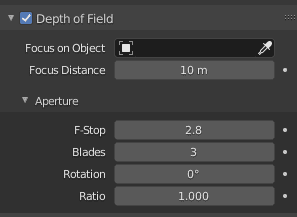
Default DoF(Depth of Field) options are not going to work for you or any scene almost in 100% situations. That is because you can’t just turn in on and expect to work as intended. By the way this also needs to be done in the Rendered Shading or at least Material Preview.

Everything just became blurred with nothing in focus. You can try to change the Focus Distance values or change the F-Stop to fix this. But the best way would be to simply select the object in the Focus on Object setting.

I have selected my Cone object. Everything was still in focus, so I have reduced the F-stop to increase the blurriness outside the focus. I have achieved the sharp cone and blurred out Cube and Suzanne(monkey). As Suzanne is quite close to the cone – she is not as blurred as the Cube, that is further away.
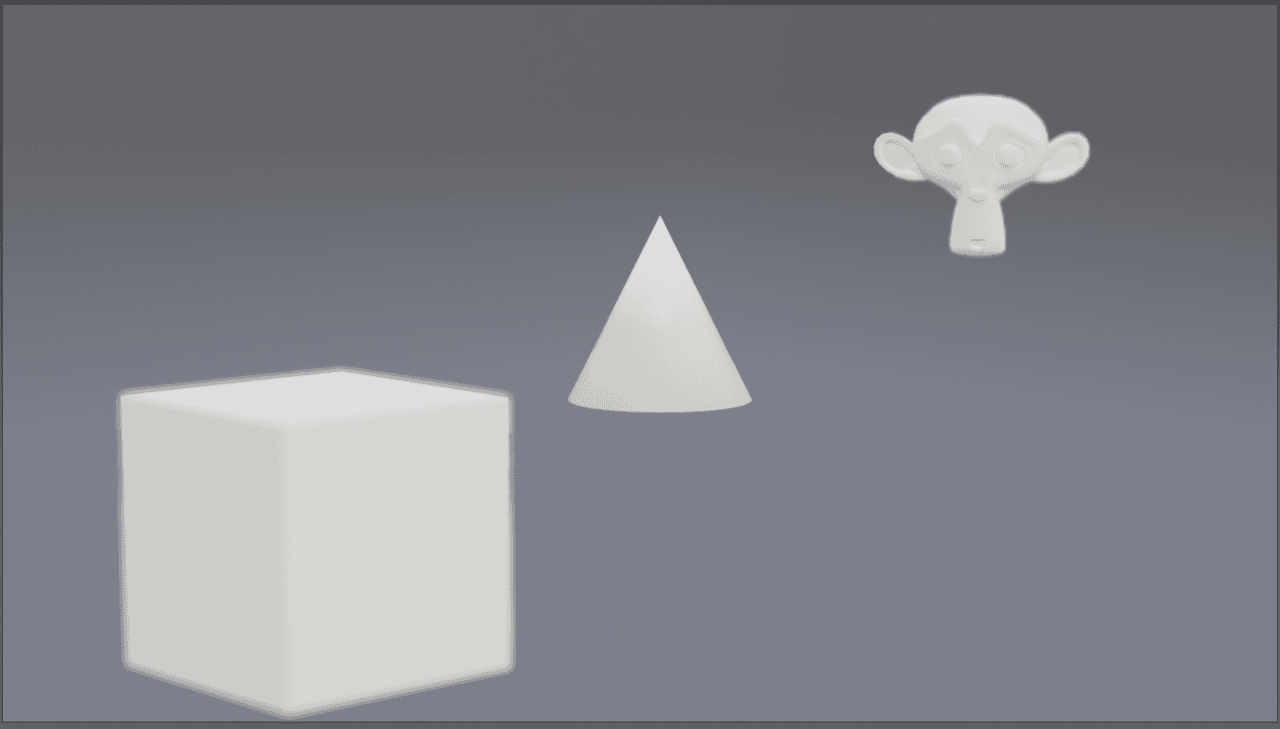
But there is even a better way – it is to use an Empty. Empty is an object, that at the same time is nothing. It does not have geometry or material and can’t be seen on a render. Its purpose is for situations like this – when you need something to use, but don’t want to use a proper object for this.

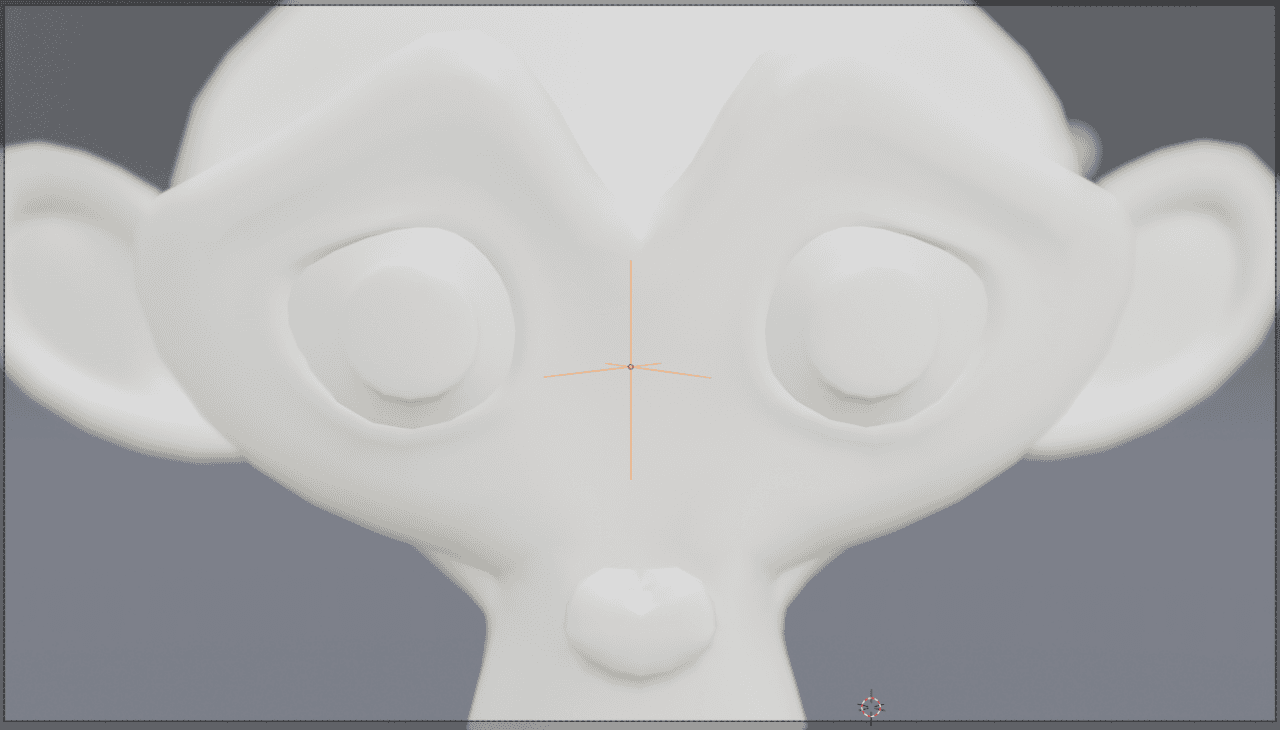
This method is especially useful when you want to animate the focus moving from one object to another. Or when you want to focus on something that is not the very center of the object. For example, here the camera is focused on Suzanne’s eyes and her ears are blurred.
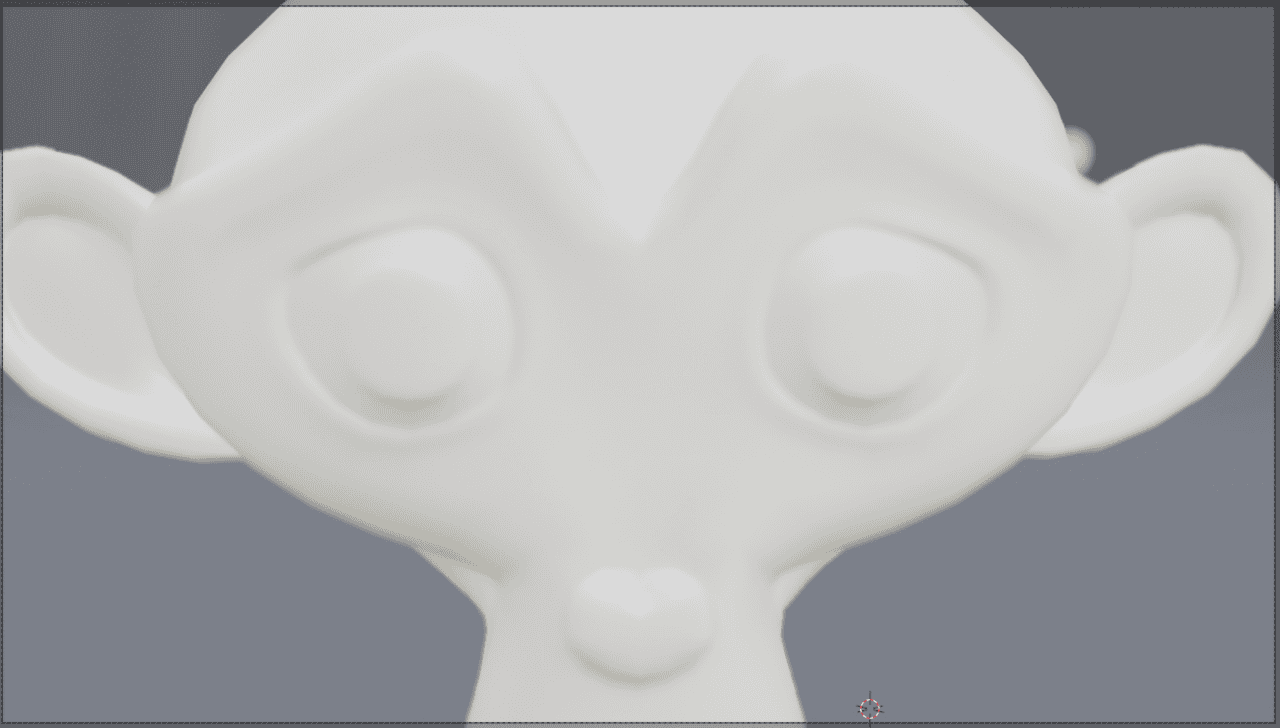
If I would have just selected Suzanne as the Focus Object – the result would be very different. She would be blurred a bit everywhere, because the camera is focused on her origin point that is located at the center of the geometry.
Blender Bokeh Effect
Basically what we just did is called a bokeh effect. When there is a single object in focus with really low F-stop, so everything else is out of focus and really blurred. But usually bokeh are made, when there is an obvious lighting source on a scene, so they would create beautiful blurred circles. That is why I have added a lot of emissive spheres to the scene and changed lighting a bit:
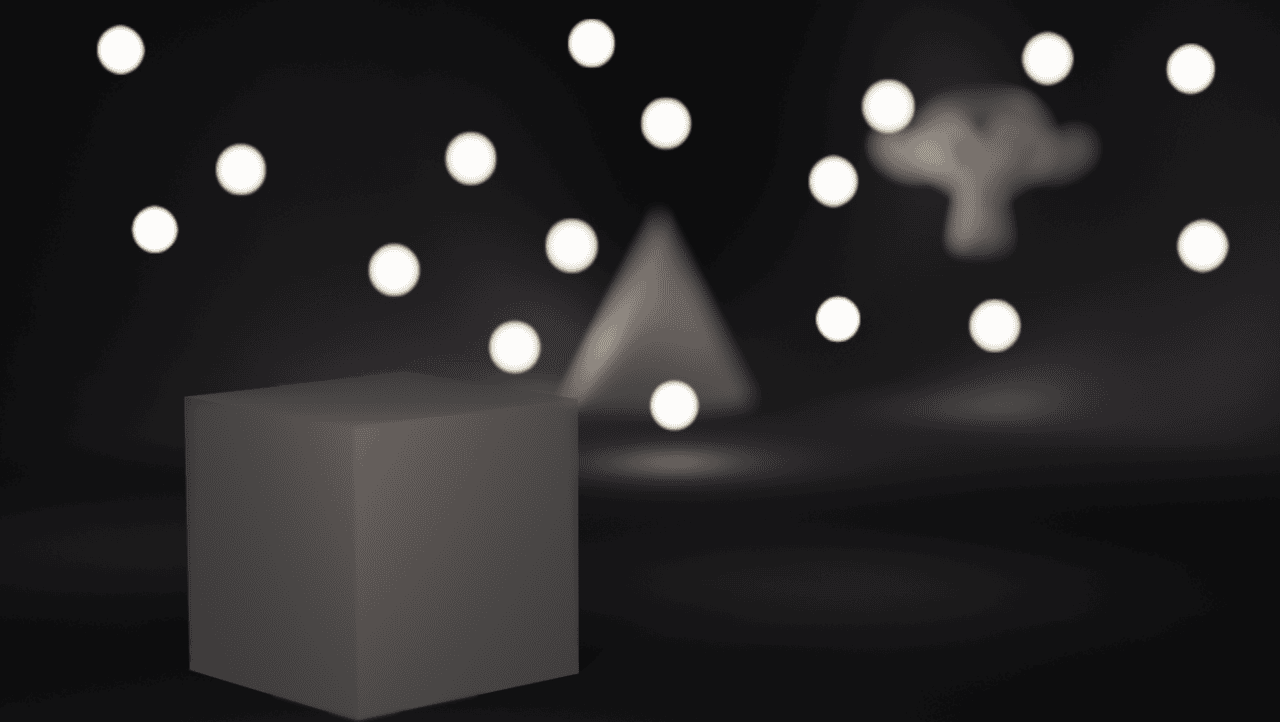
As you can see, the aesthetics are different. The result feels really warm and pleasant to the eye. In the Aperture settings you can find the Blades, Rotation and Ratio settings for the Bokeh effect of the lights.
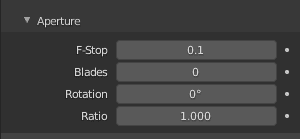
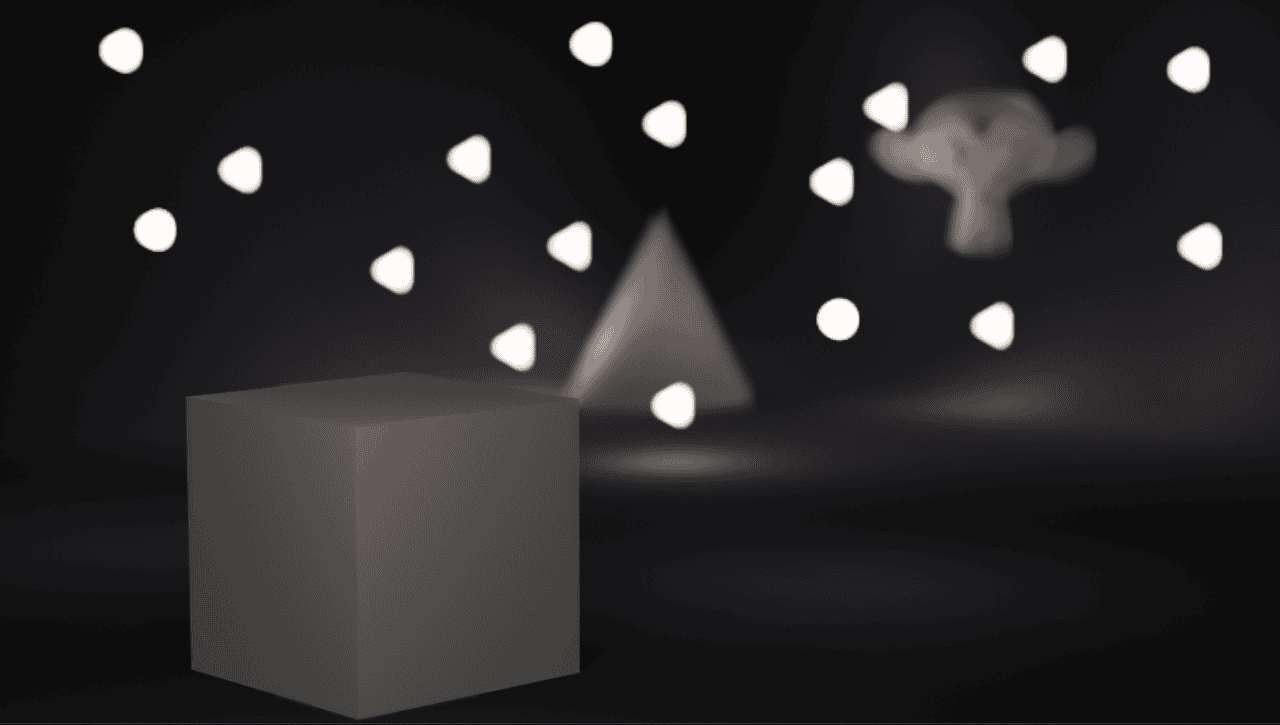
Blades is probably the most interesting here. It simulates when you take a picture with a real camera and use a specific number of blades on the shutter, so the distant lights appear like different shapes. For example after I change the Blades number to 3, all the lights become triangles. As if 3 is equal to three pointed figures.
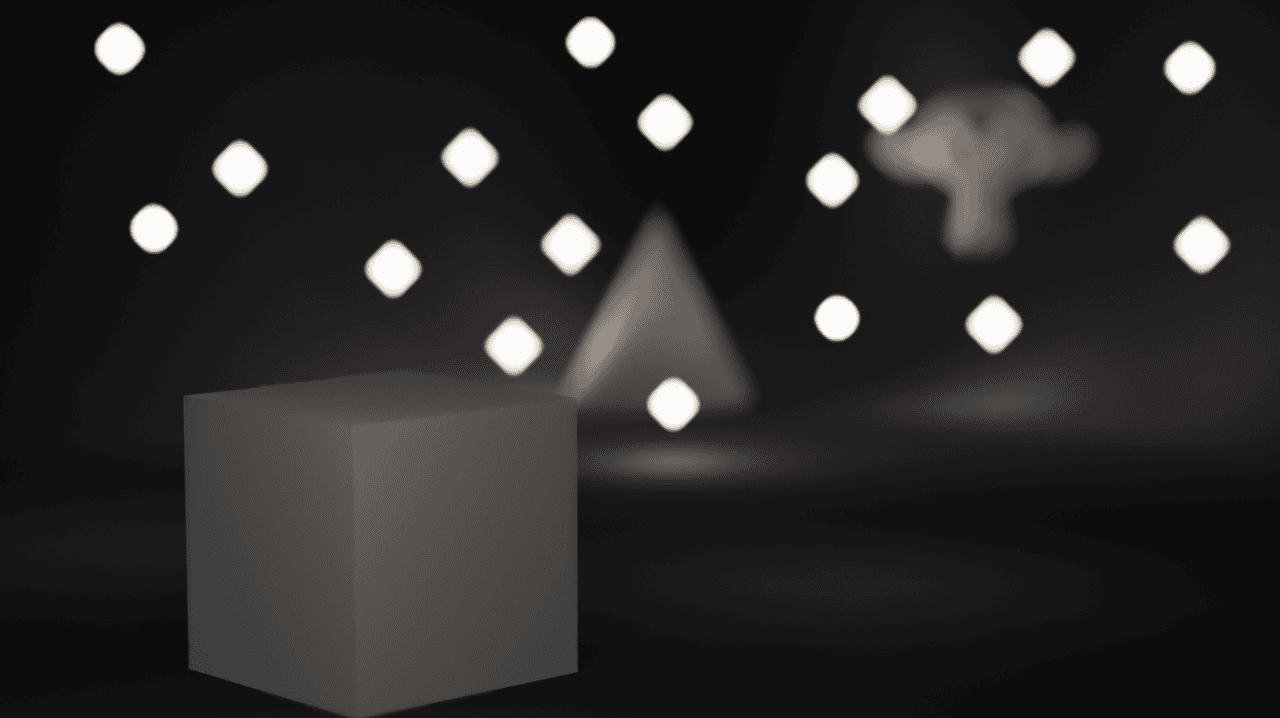
Rotate, obviously, rotates these figures. So if you set 4 blades – the lights would be squares. And then I can use the Rotate setting to rotate them all for 45 degrees. This made all the squares look like diamonds.
And the last one is Ratio. It controls how squeezed or stretched the shapes and any blurred objects are. Higher number squeezes them, lower – stretches.

Blender How to Make Camera Track Object
Another important thing to learn about Cameras in Blender is tracking. Imagine you add a new camera to your scene. By default it is looking somewhere random.
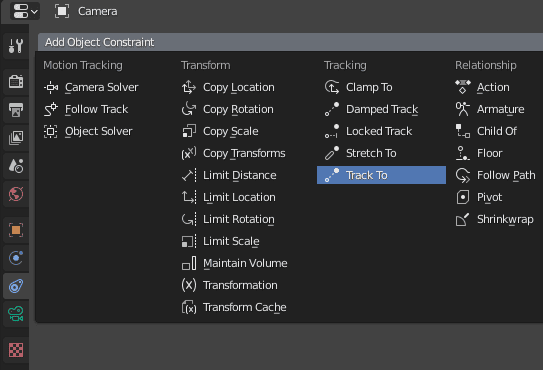
And you can manually move it, rotate around to capture in frame the object that you want. But what if I told you, that there is an easier way? All you need to do is with a Camera selected open a Constraints Properties and add a Track To constraint.
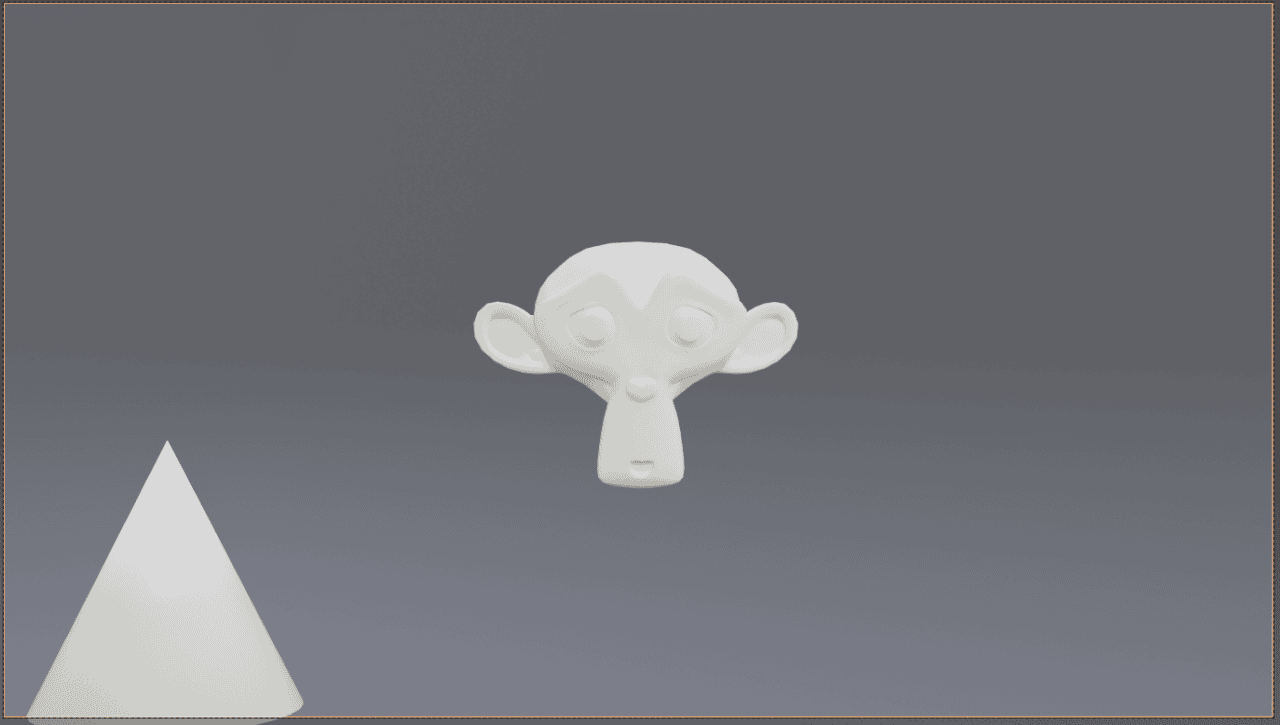
And then choose the Target object that you want to track. In my case – Suzanne. And the object immediately will be centered in your camera view. Simple as that.
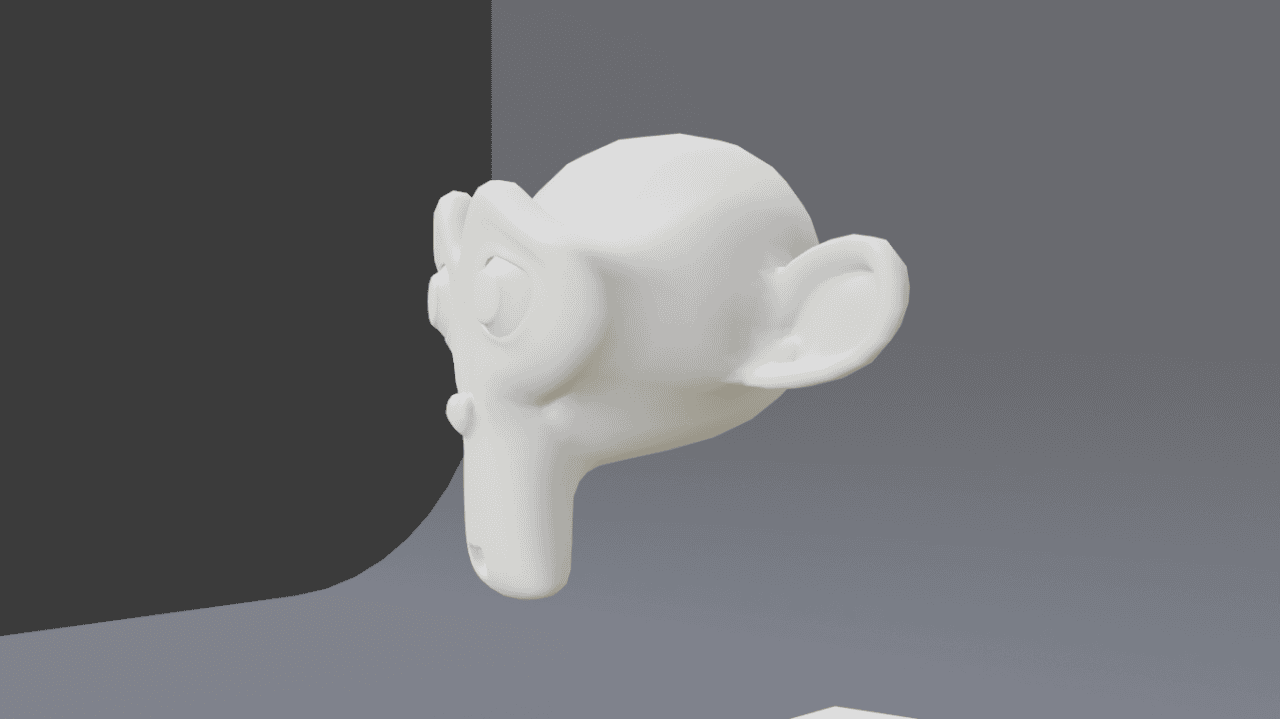
Furthermore – the tracking is constant. This means that even if you move the Camera or object around – it will still be framed exactly at the center.
This is another instance where Empties are useful. Because instead of moving your camera around trying to create a good composition – you can make an Empty and place it where you want the center of your scene to be.

Conclusion
This is the very basics of Cameras in Blender. There are a lot more to them. Tricks that you can make, such as Hitchcock(vertigo) effect, Circling cameras around the object and so on. But most of these things you should not be a problem to recreate for you. See also our other Blender Tutorials.
