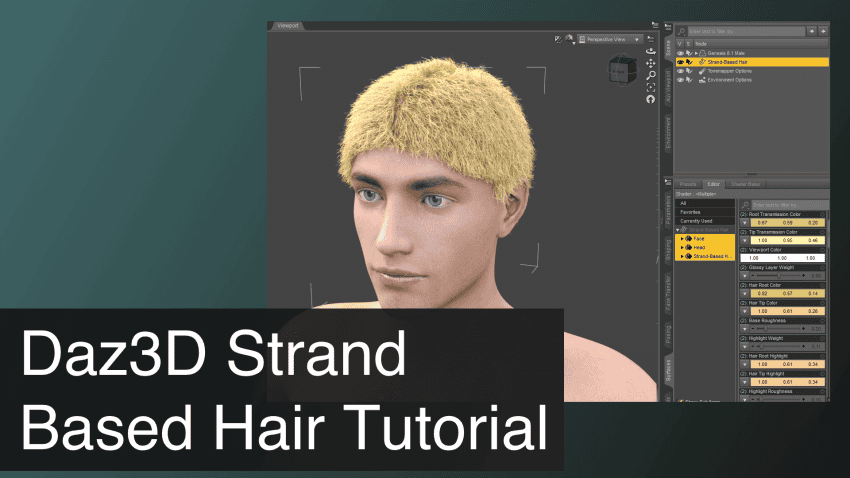
This Daz3D Strand Based Hair Tutorial explains step by step how we are creating Strand-Based Hair and also color it all within Daz Studio.
Daz Studio only has a few hair options available by default. Usually, you would just buy more on the Daz3D Marketplace. Are there any alternatives though? There are – you can create a hairstyle yourself in Daz Studio. And there is no need for any third-party software too, everything is done in Daz Studio. We will introduce how it is done.
Opening Daz3D Strand-Based Hair Editor
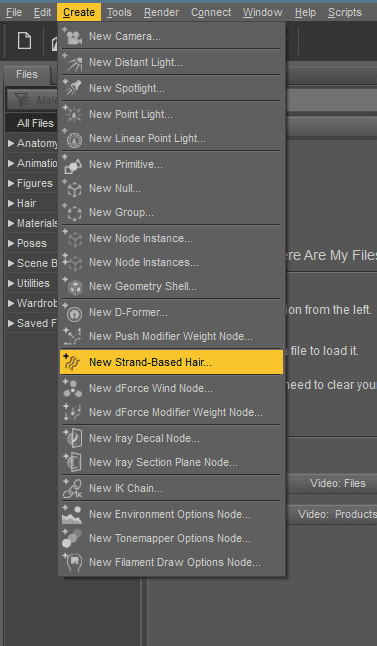
What we are going to use is Strand-Based Hair. First of all, we need to open a dedicated editor. For this, we need to add the strands to the character. So I created the character with no hair, selected it, and clicked on Create > New Strand-Based Hair.
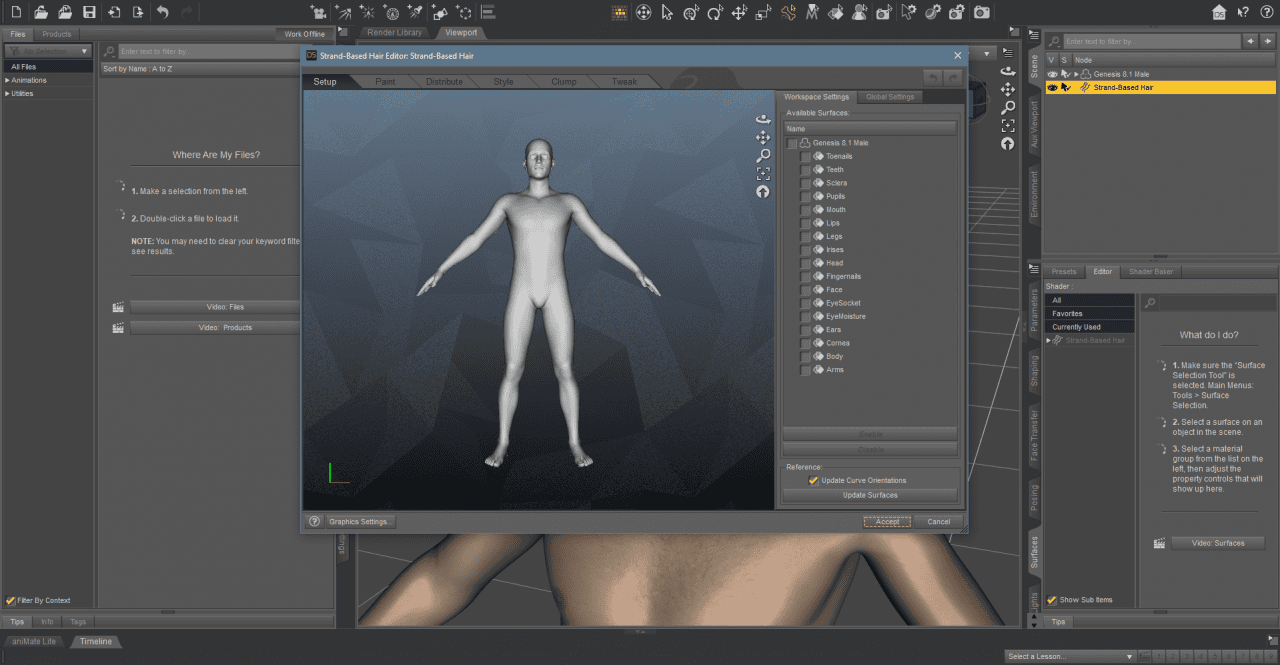
Give it a name and click Accept. This will add the hair object to the character and immediately open the Strand-Based Hair Editor.
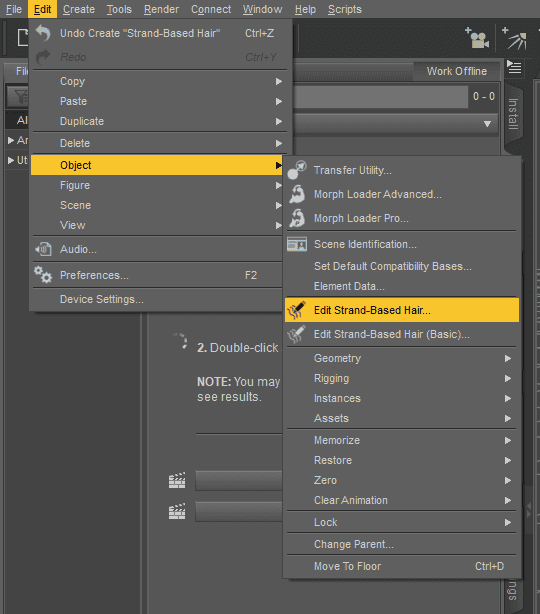
If you ever close the editor – you can always easily open it again if you select the Strand-Based Hair object and go to Edit > Edit Strand-Based Hair.
Creating Strand-Based Hair
Now let’s go about explaining how to use this editor and create a Daz3D Strand Based hairstyle for our character. We will go step by step and look at each window of the editor.
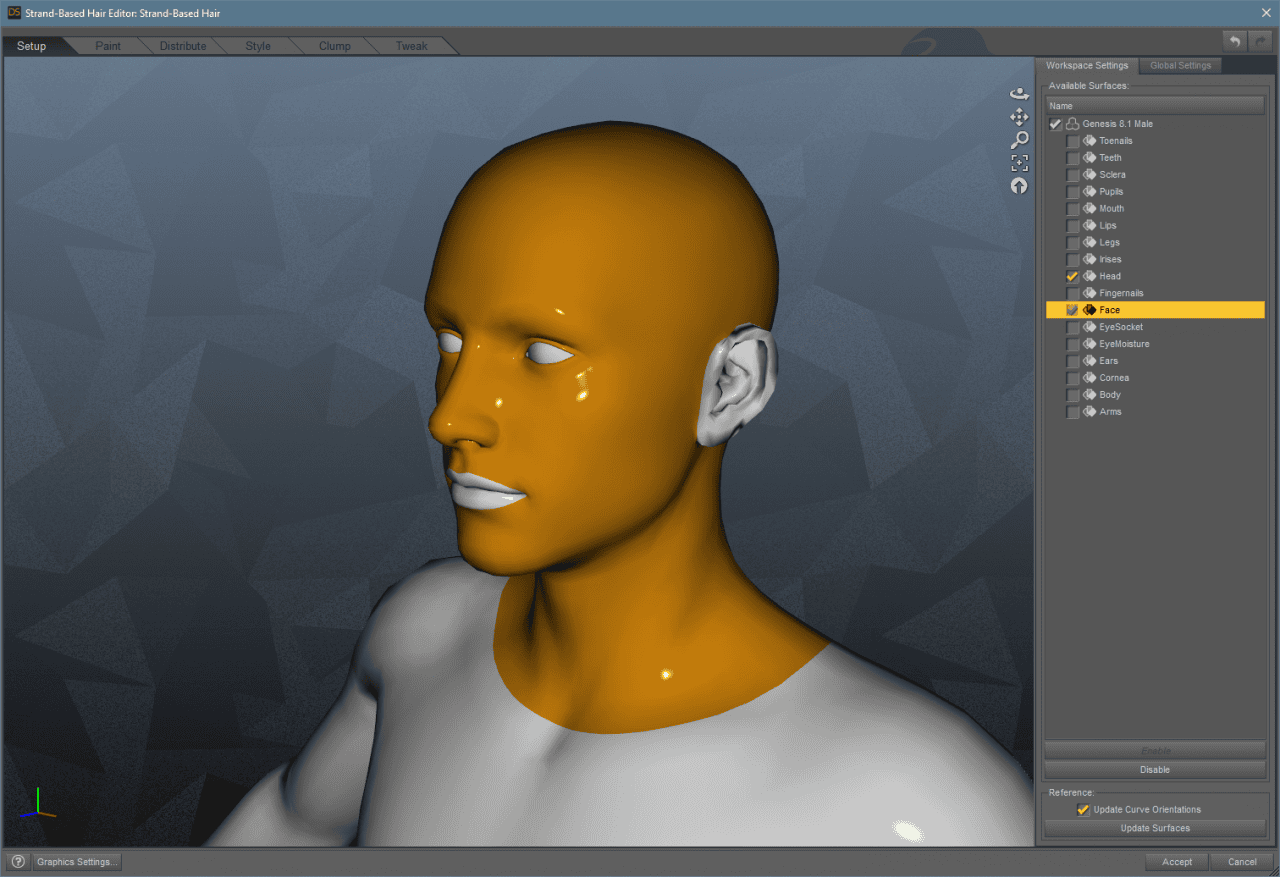
Strand-Based Hair Setup
Starting with the first one – The Setup tab.
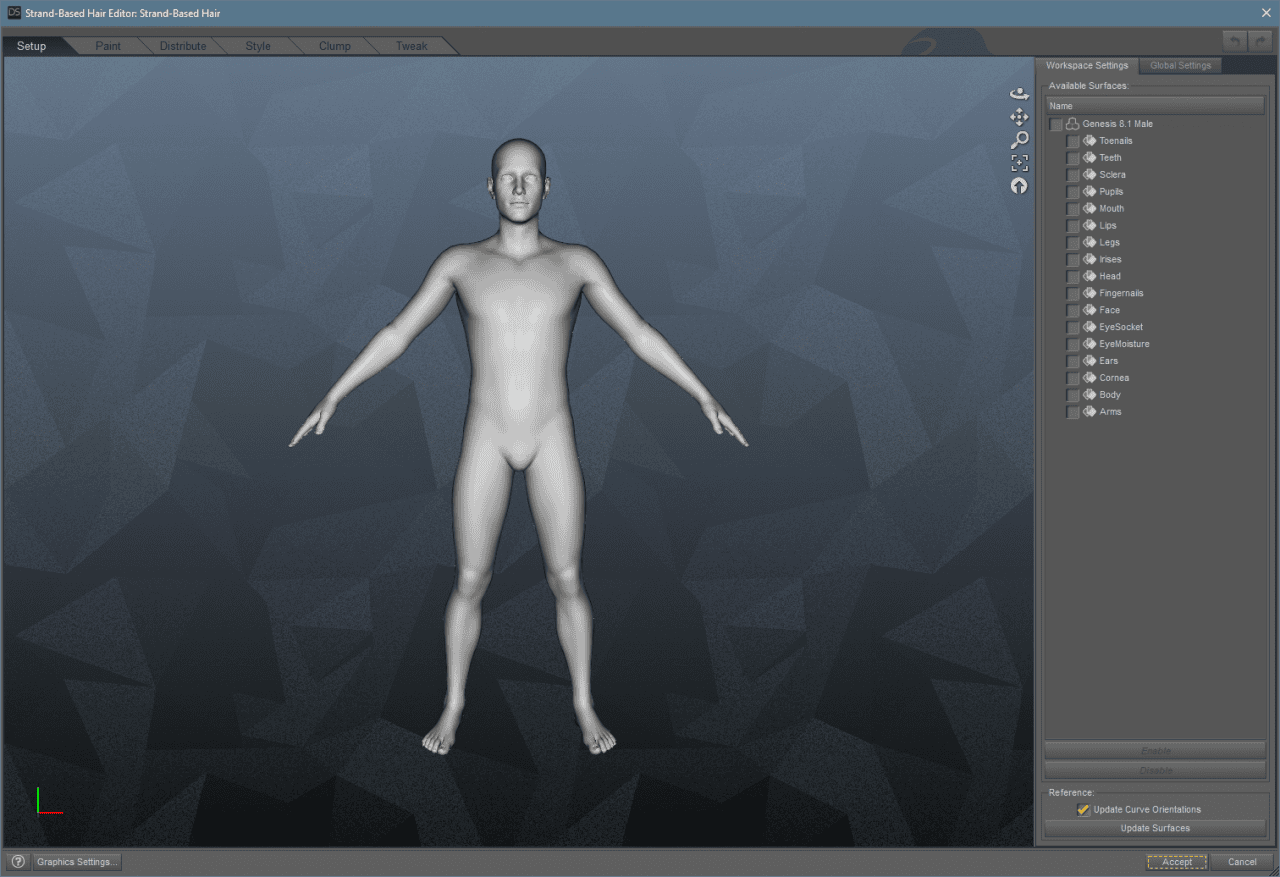
Here we can see our character in the middle and all of their parts to the right. We need to choose parts of the character to which we want to add hair to. You tick any part of the body and it will become orange in the viewport. This means that it is selected.
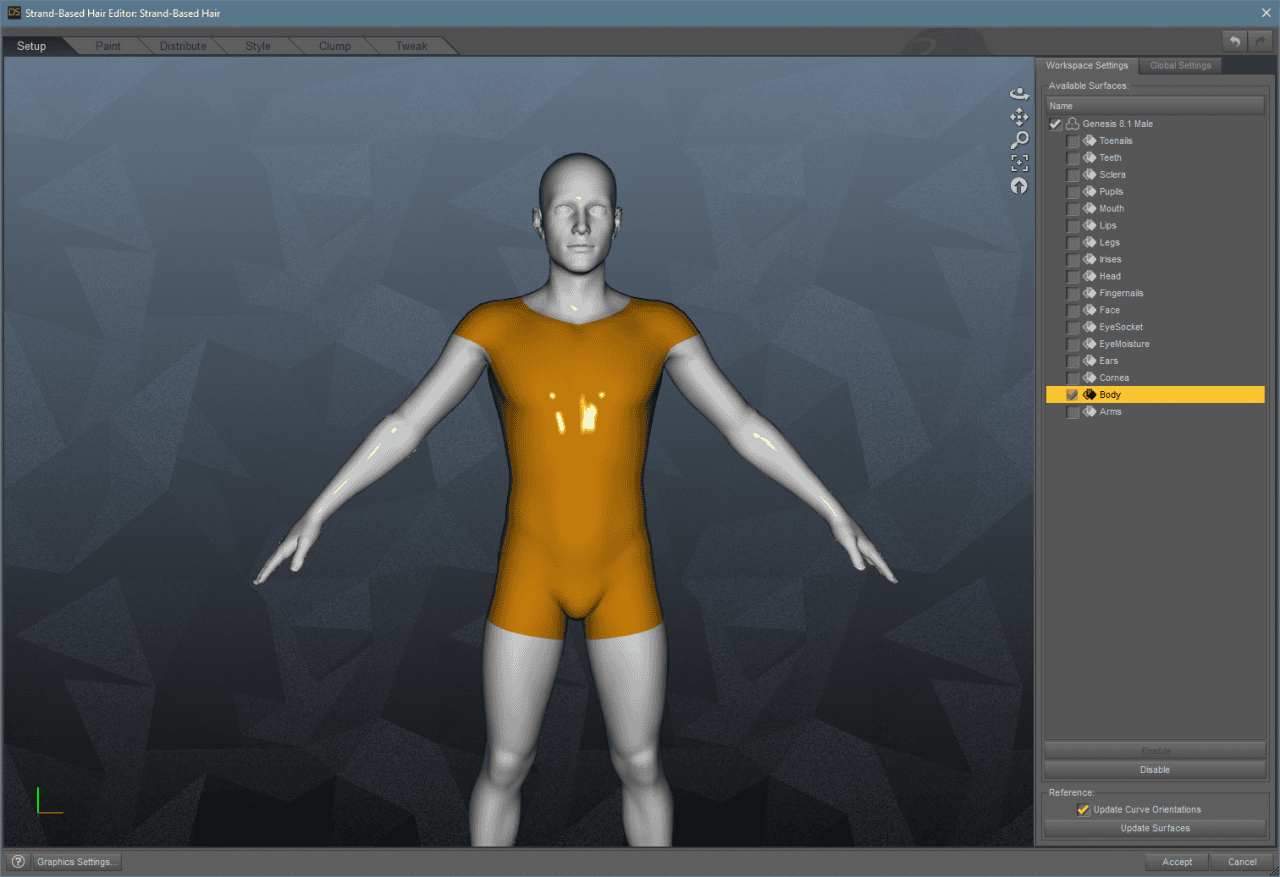
So we can add hair to any part of the character. But right now we will stick with something usual – the head of the character. To select the whole head, we need to select both the Head part and the Face.
Strand-Based Hair Paint
Moving on to the next tab – Paint. Here we can see the parts that we chose in the previous window.
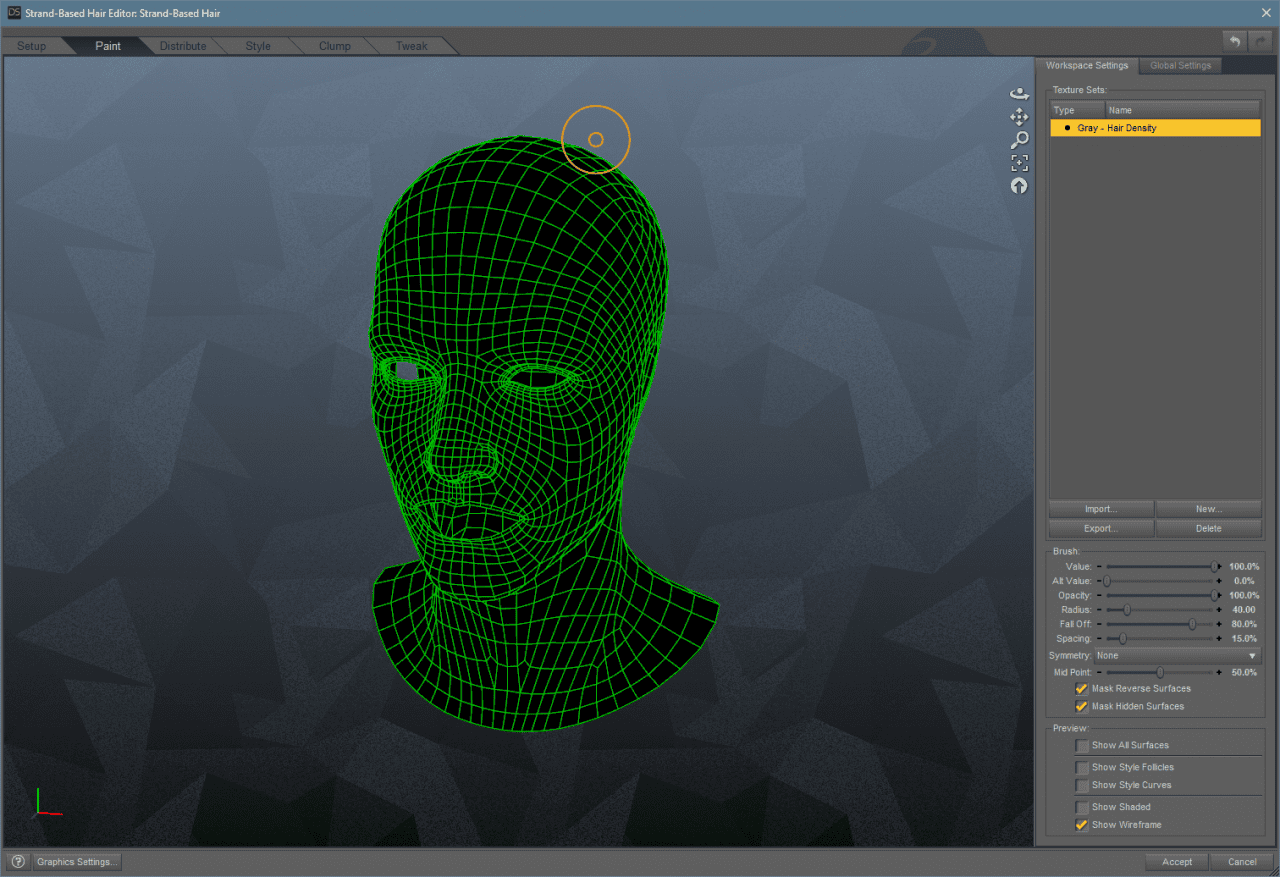
Paint tab
Your mouse is a crosshair and if you click with it on the character – you will see that it literally paints on the character.
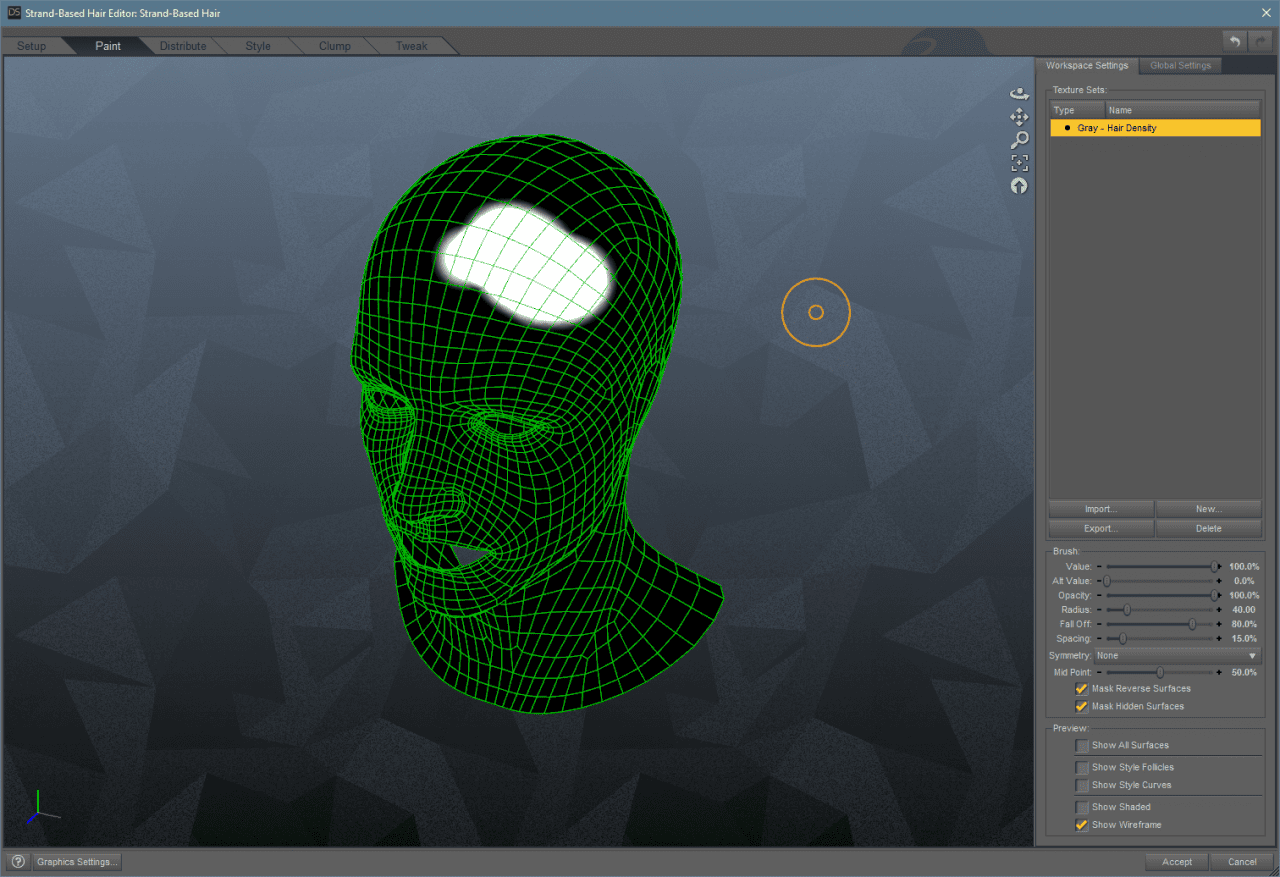
Like this, we choose which regions will have hair grow on them. So the places where you paint – hair later will appear. After doing this – you can then save what you have painted and use it as a preset for any future opportunities.
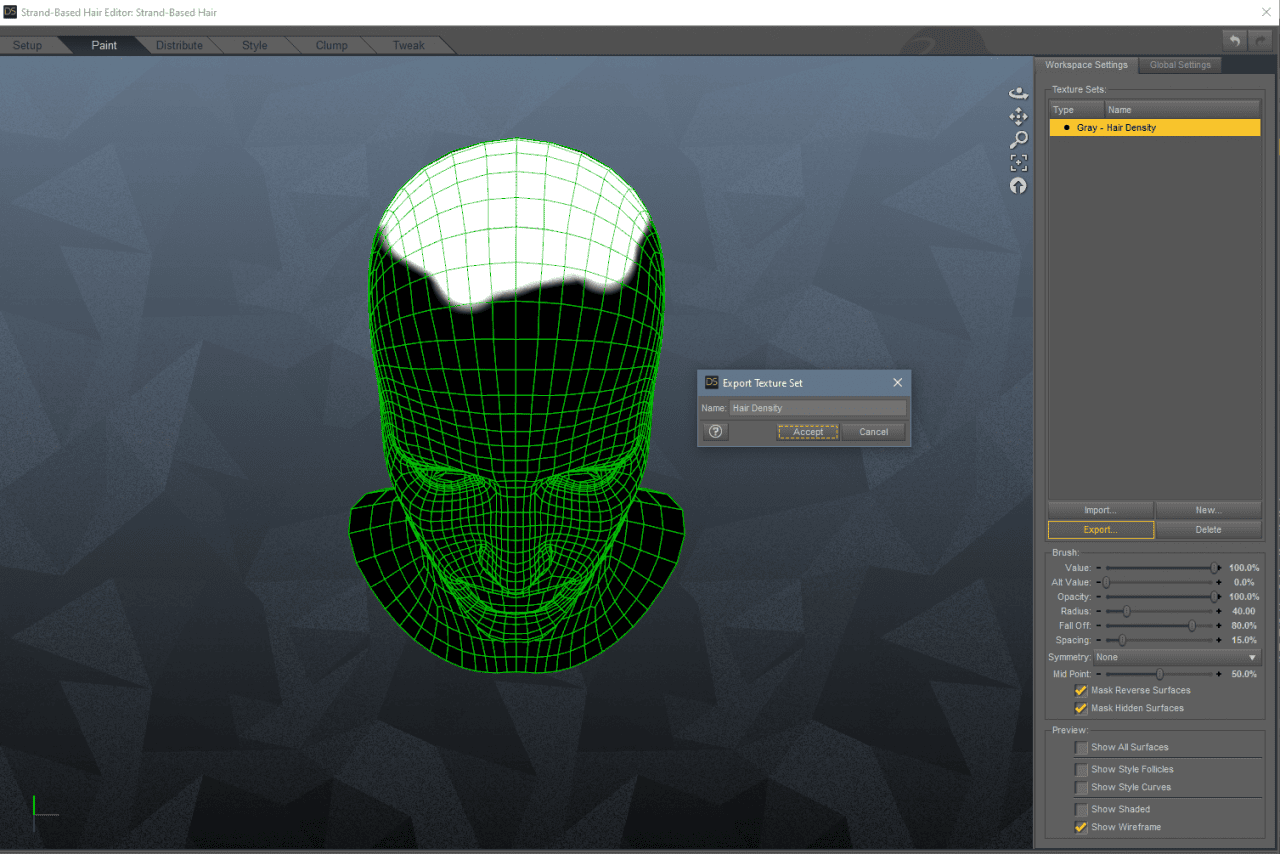
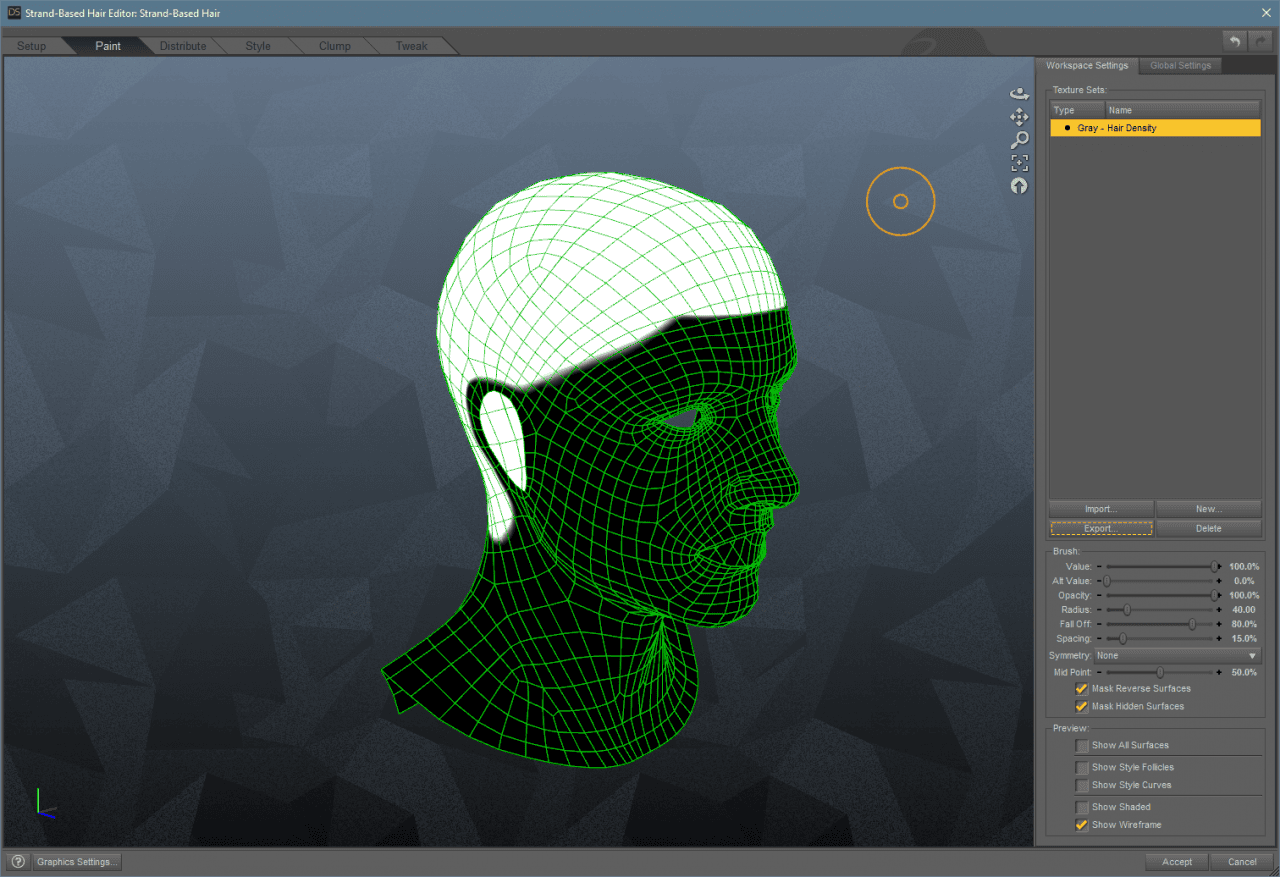
Or instead of doing it manually – you can also import the painted hair map that was done by other people.
I have painted the map myself. It is nothing special, but it will do for the tutorial. By the way, if you want to delete some of the paint – you can do that by holding [Alt] while painting.
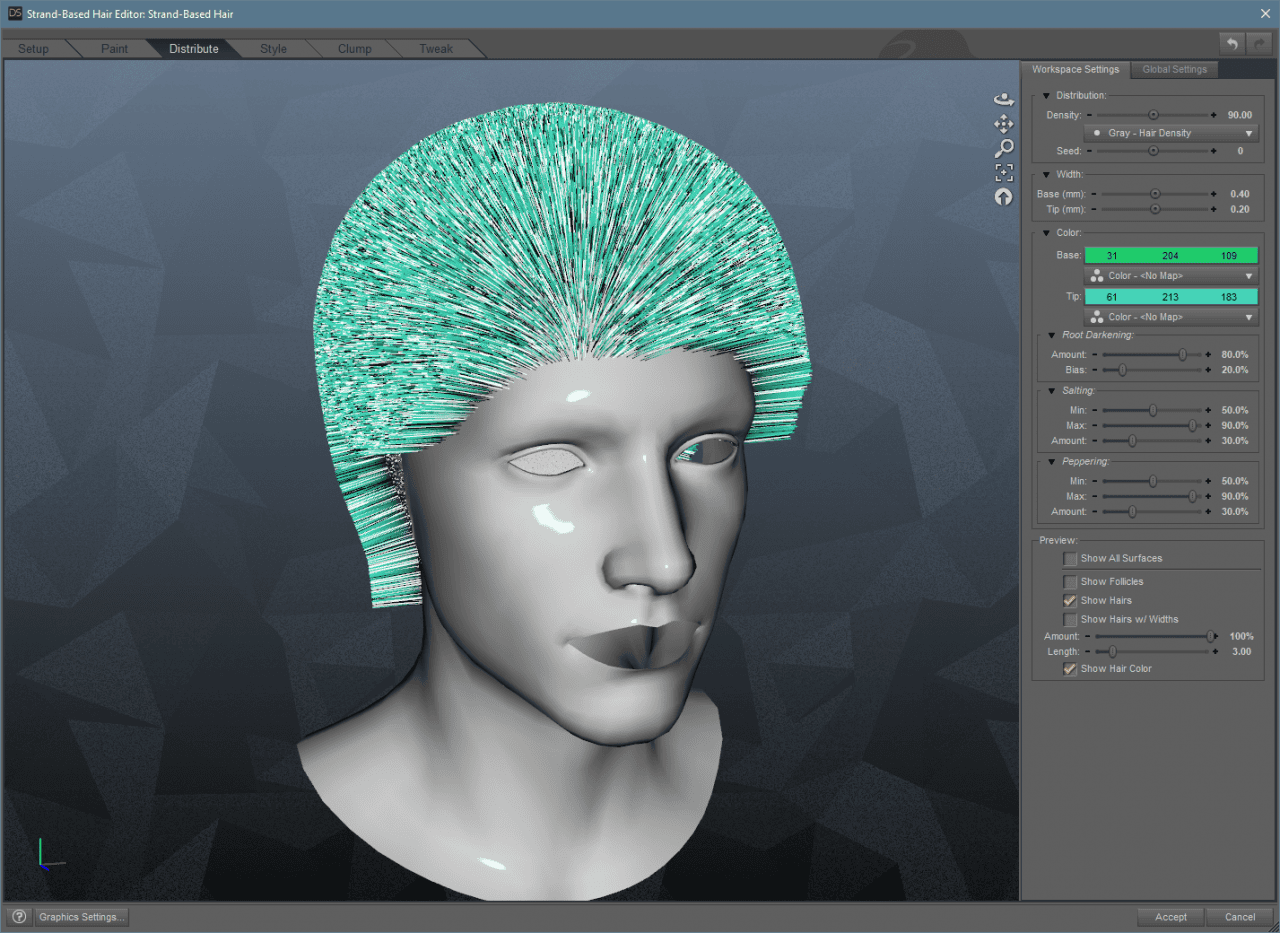
Strand-Based Hair Distribute
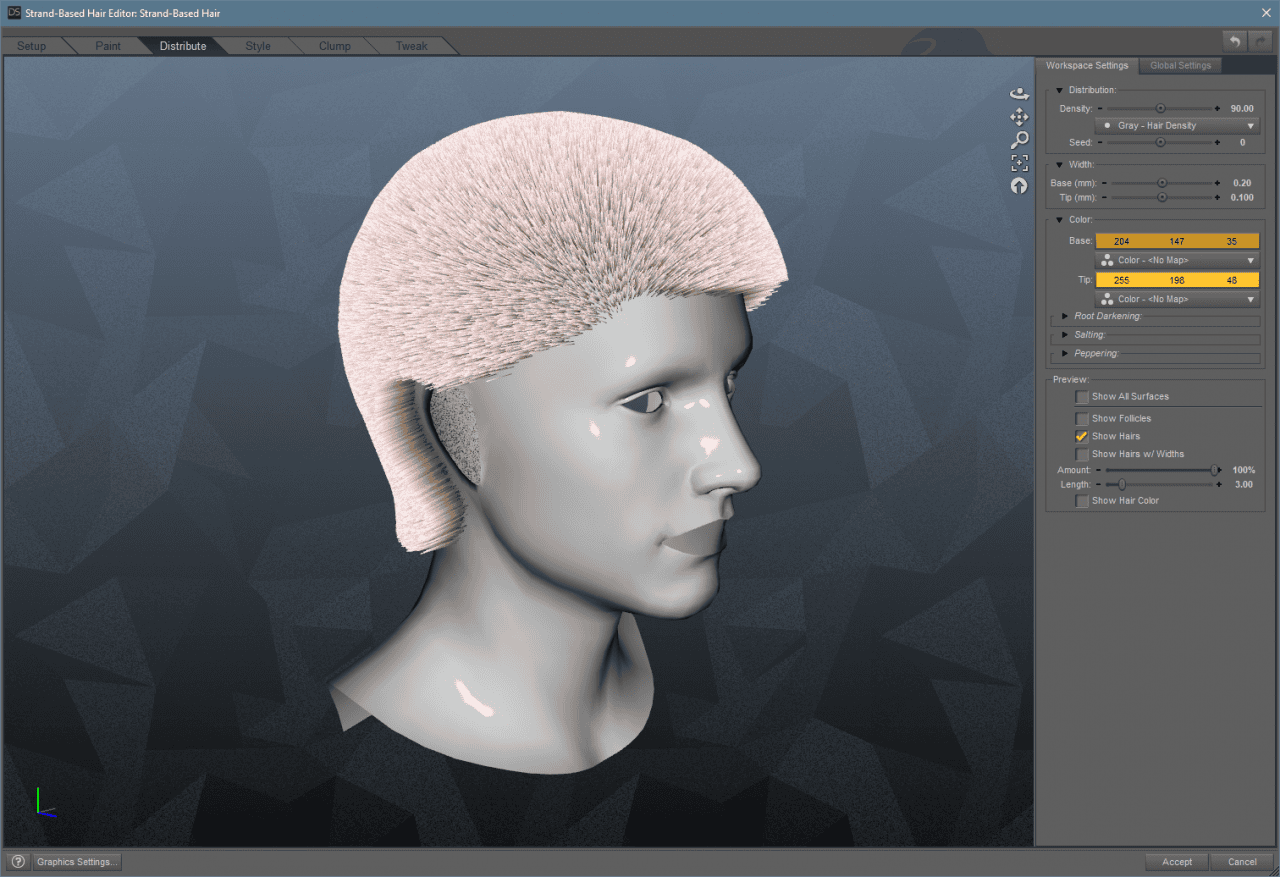
When you open Distribute tab, you will see the Daz3D Strand Based Hair appear in the places, where you had drawn it.
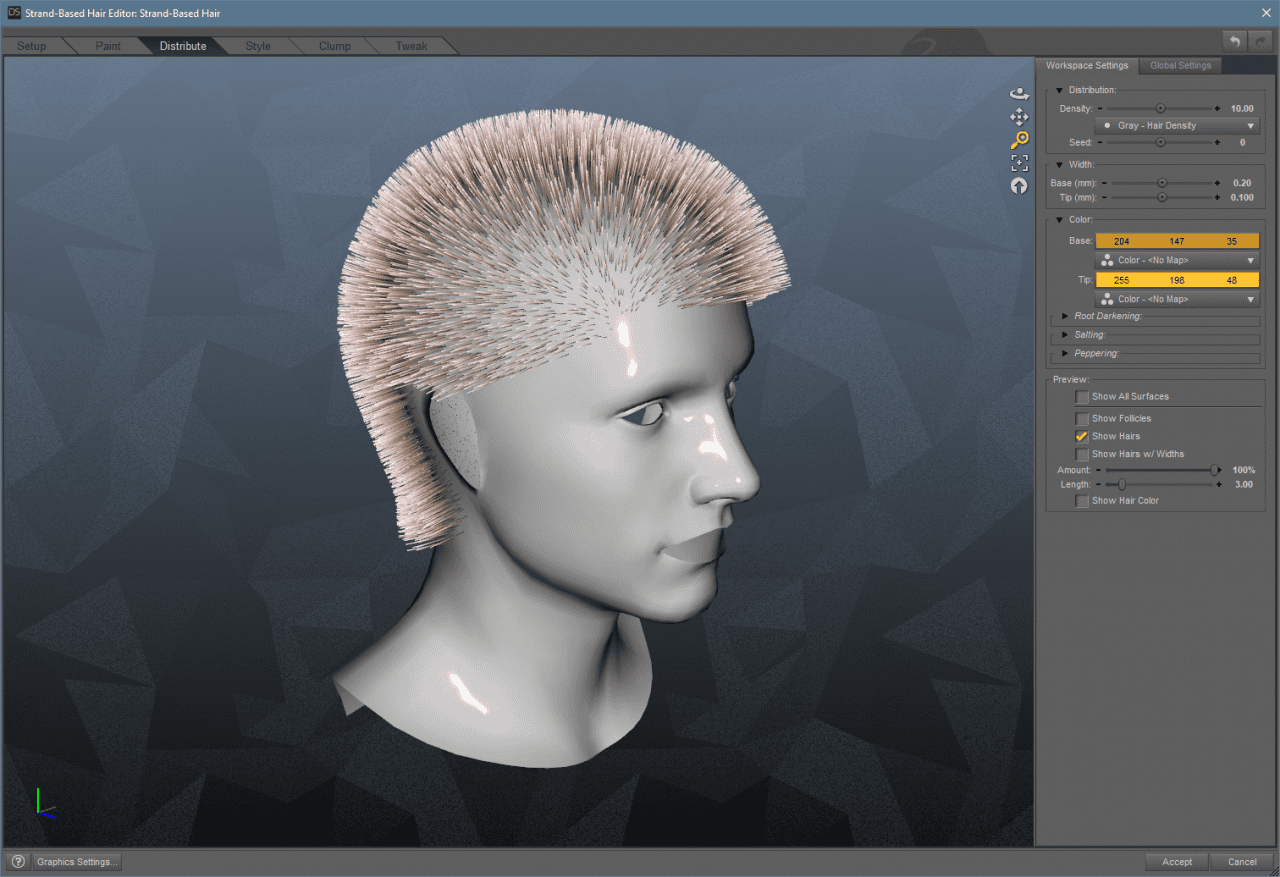
In this tab, we control the general look of the hair overall. Like at the top we have a Distribution section with the Density setting. When I increase it – a lot more hair appears on the head.

Hair Density
Increasing it definitely makes the scene better and more realistic. Though be careful not to go over the top, as the more hair strands you have – the harder it is to calculate them and thus render. I try not to go over the value of 100 usually and it still looks good.
After that we have Width, but changing it now yields no effect at all. This is because our current hair does not visualize its width. To fix that you just need to change the Preview setting from the Show Hairs to Show Hairs w/ Width.
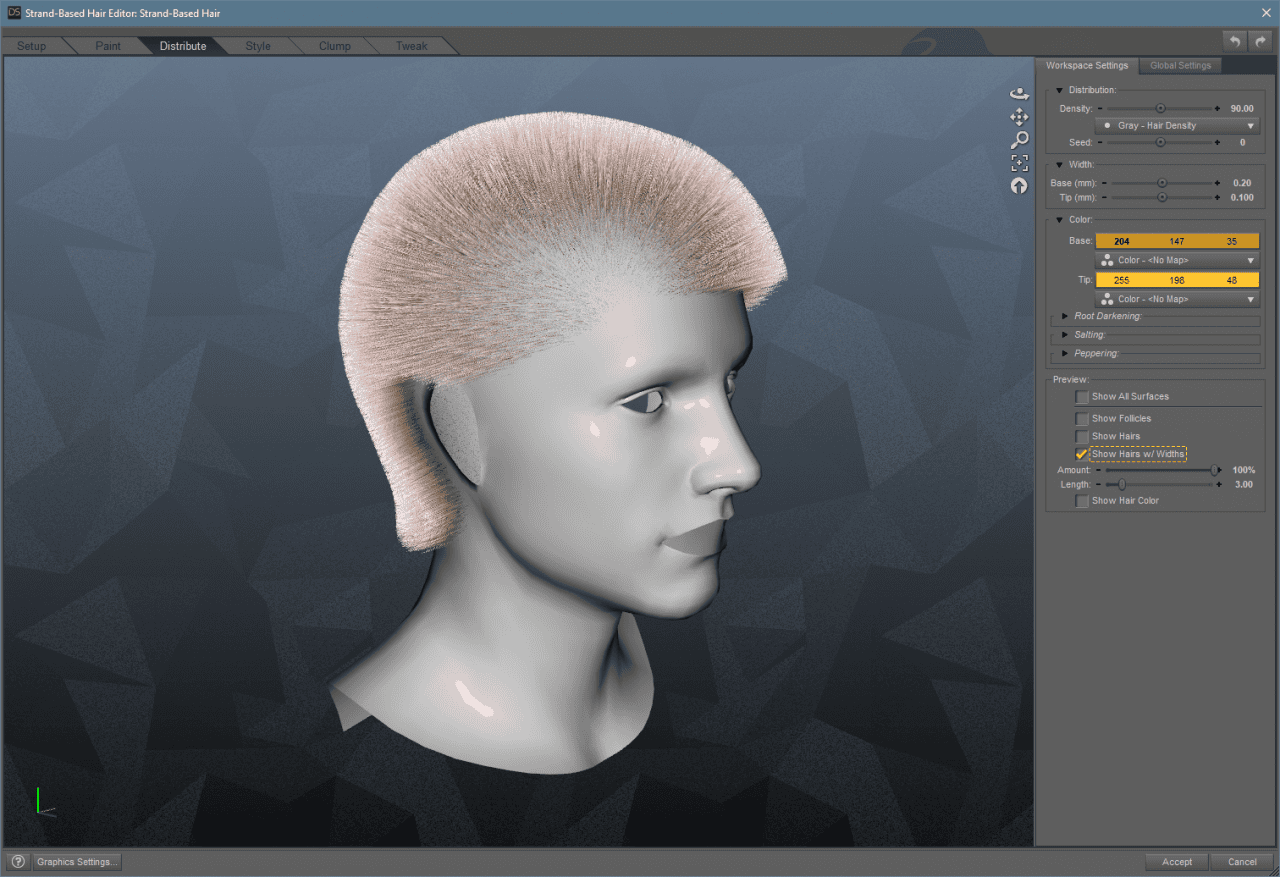
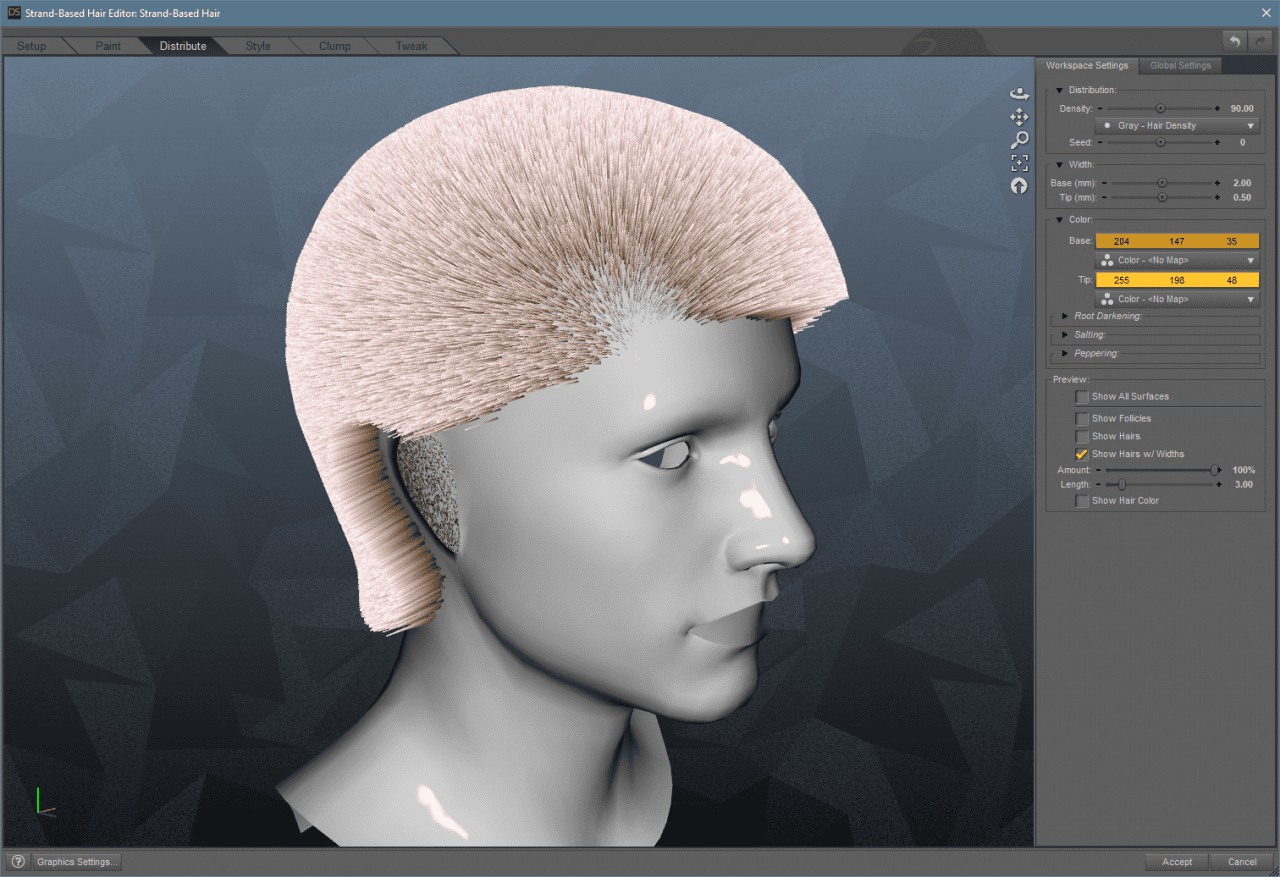
Using the Width setting we can change the width separately for the base of the hair and to the tip.
Next are different Color Settings. You again need to turn on a specific setting for them to work – the Show Hair Color one.
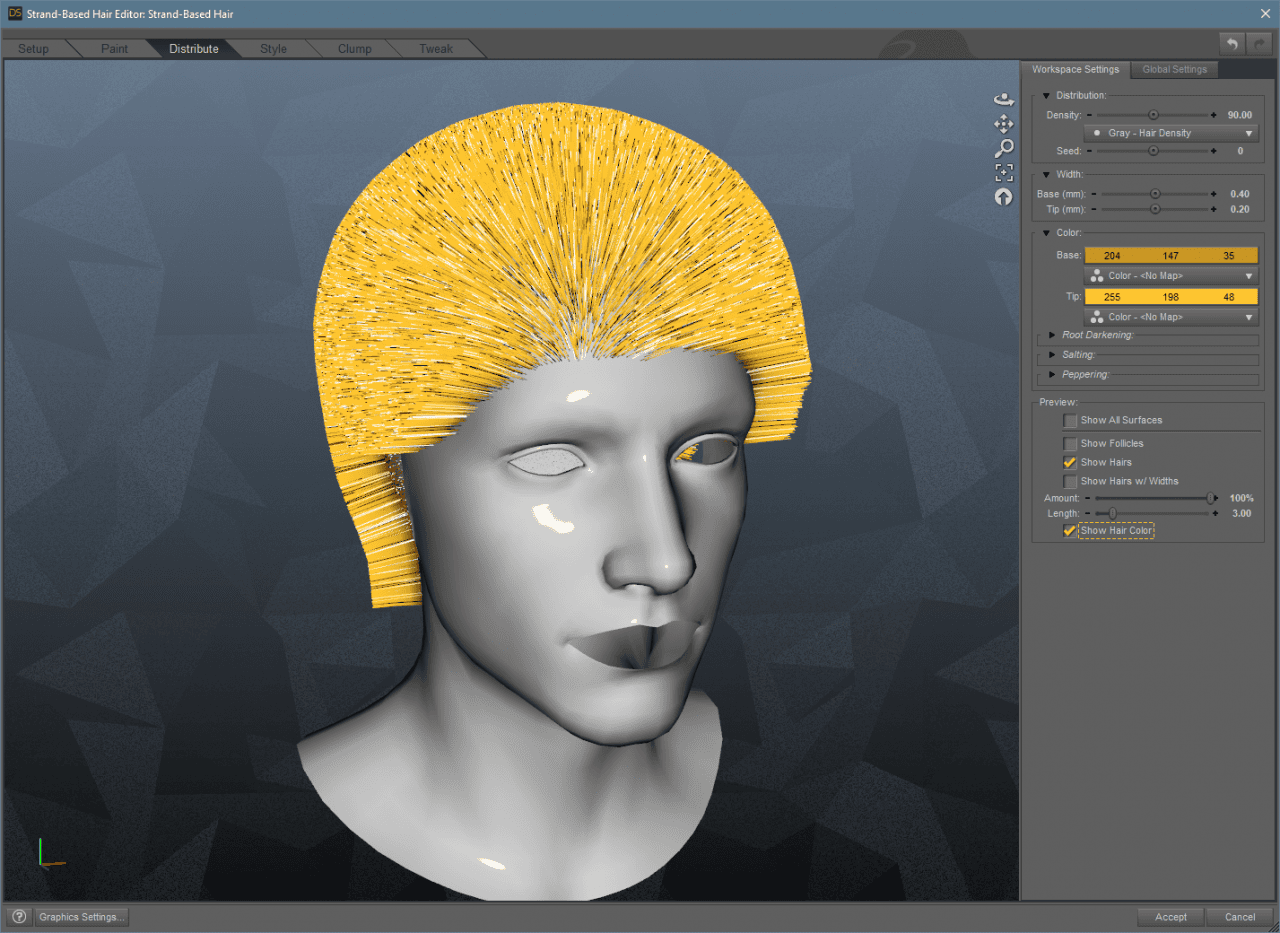
Though there is absolutely no need to change any of the color settings, as we are not going to use them anyway. After finishing with everything – Daz Studio will apply an Iray Hair shader to the result. This will overwrite any changes made right now.
So we can make hairs lighter or darker, change their color and make roots look different. But it is totally needless.
Strand-Based Hair Style
After that, we have probably the most important tab – Style. It is exactly here where we will manipulate the hair strands to create a specific hairstyle.
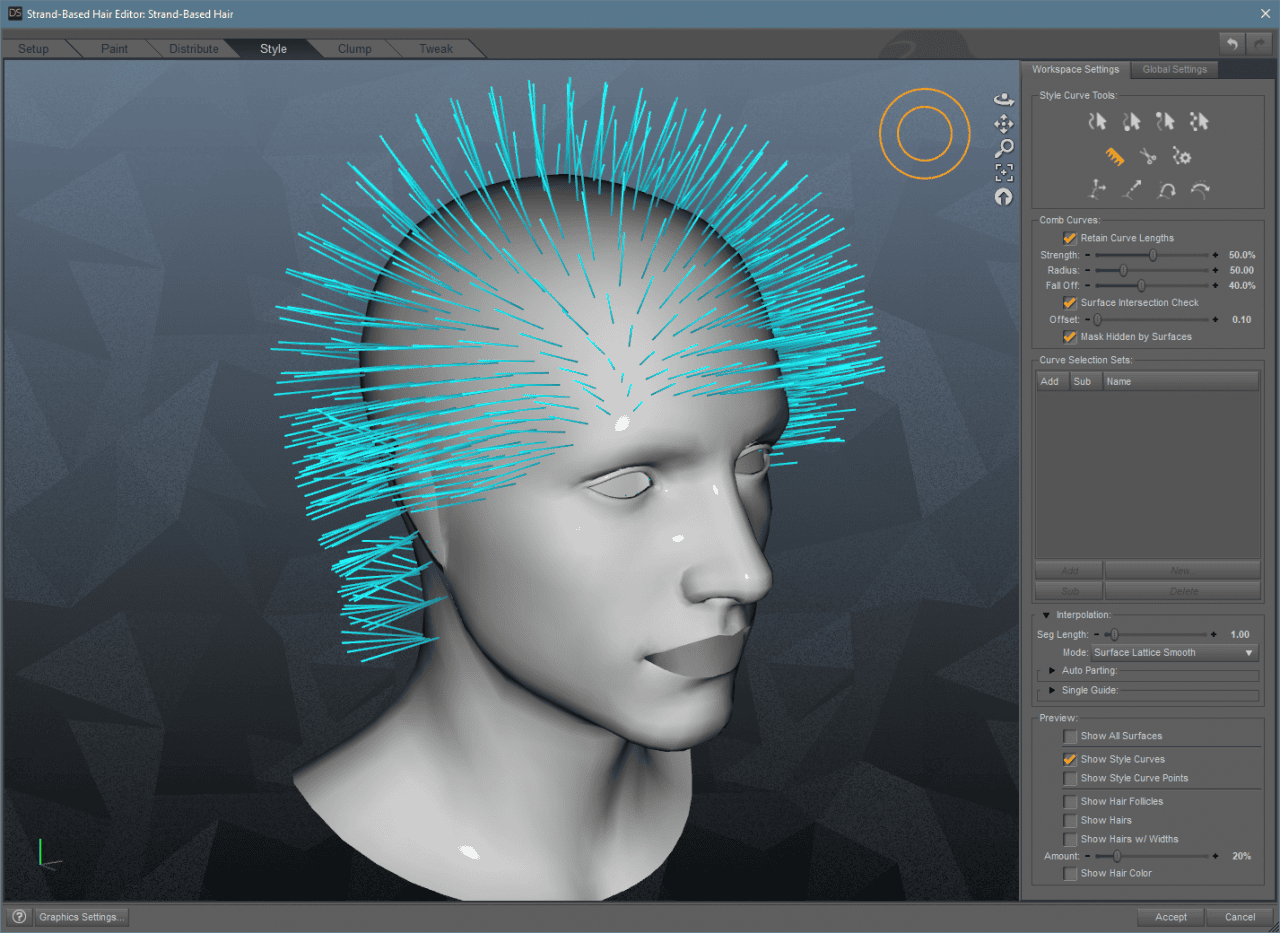
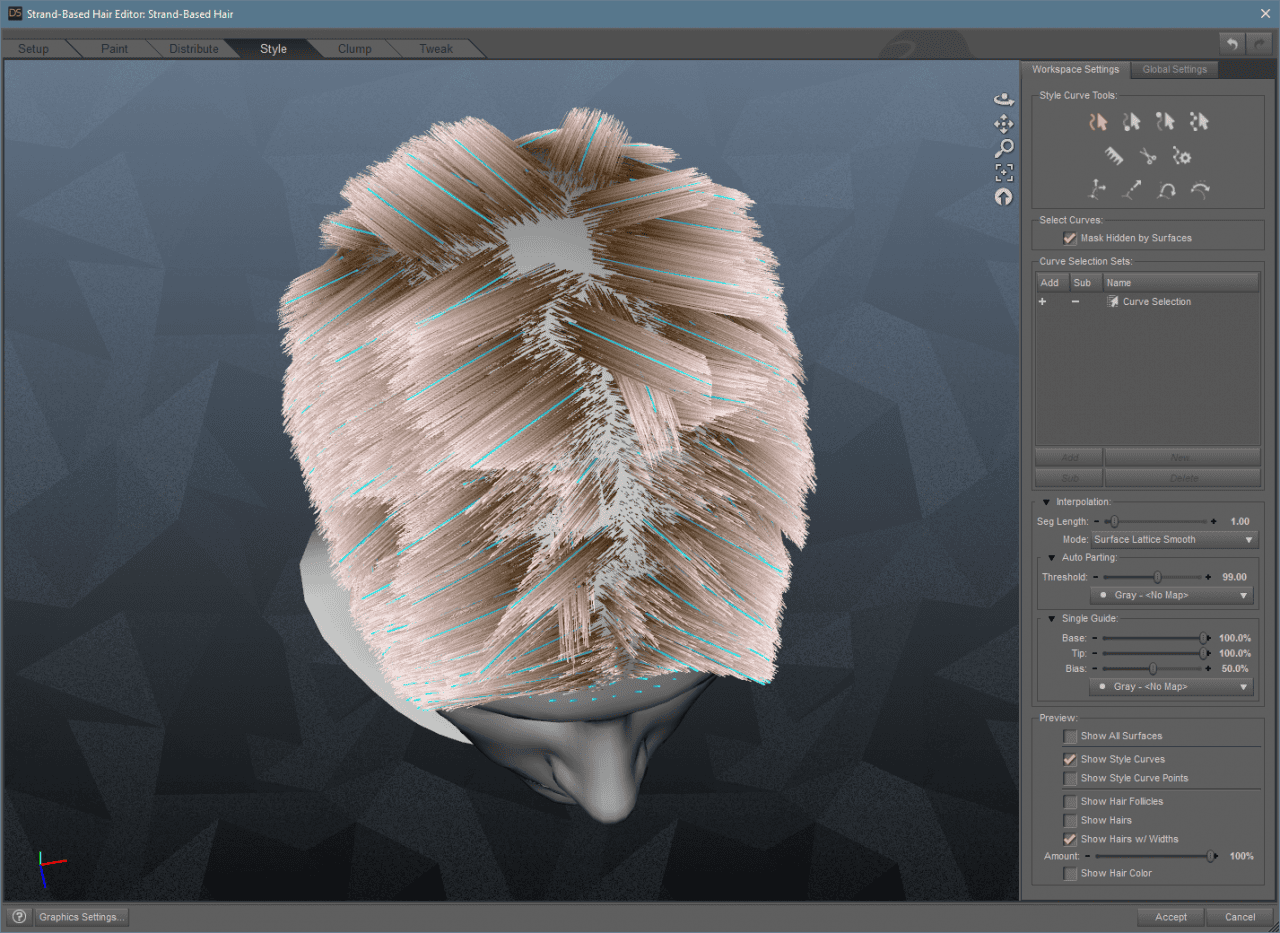
Right away – it would be better to turn on the Show Hair w/ Width setting to see how the hairstyle changes in real-time. Also changing the Amount can be a good idea, as by default we see only 20% of all hairs that we have. Though be careful, because if your computer can’t handle 100% – it can lag and even crash.
Now we can start looking at the Style Curve Tools at the top. There are 4 rows of them. The top row is for selecting curves.
The first one selects the curve by any of its points, the second one selects only by using a base of the curve, while the third one only uses the tip of the curve.
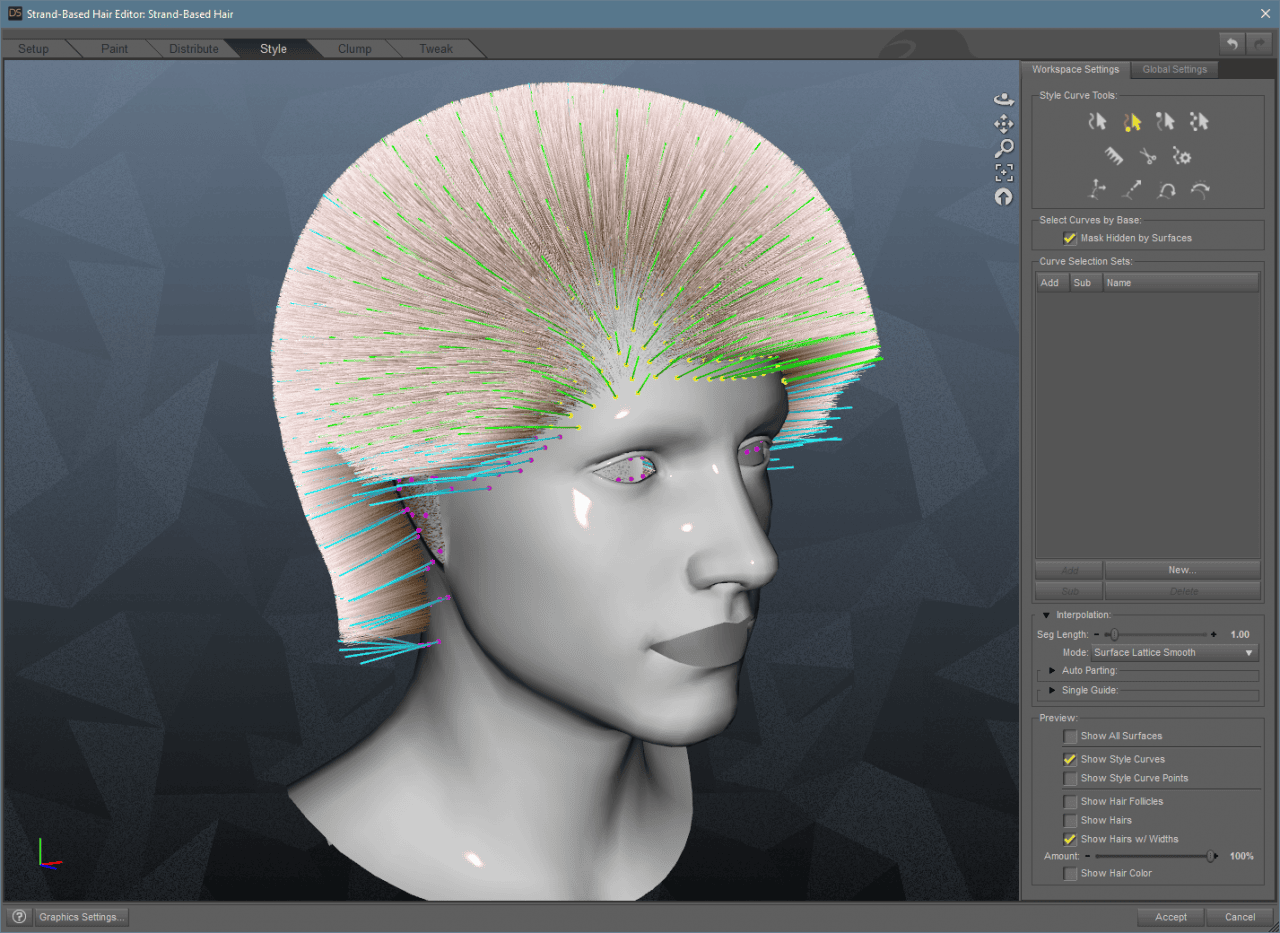
The fourth tool allows for selecting any segment of the strand. The third and fourth ones also allow moving selected curves right away.
Selecting Curves is needed for choosing which parts of the hairstyle you want to change. Because when you have some strands selected – any changes can be applied only to these strands and would not change any other.
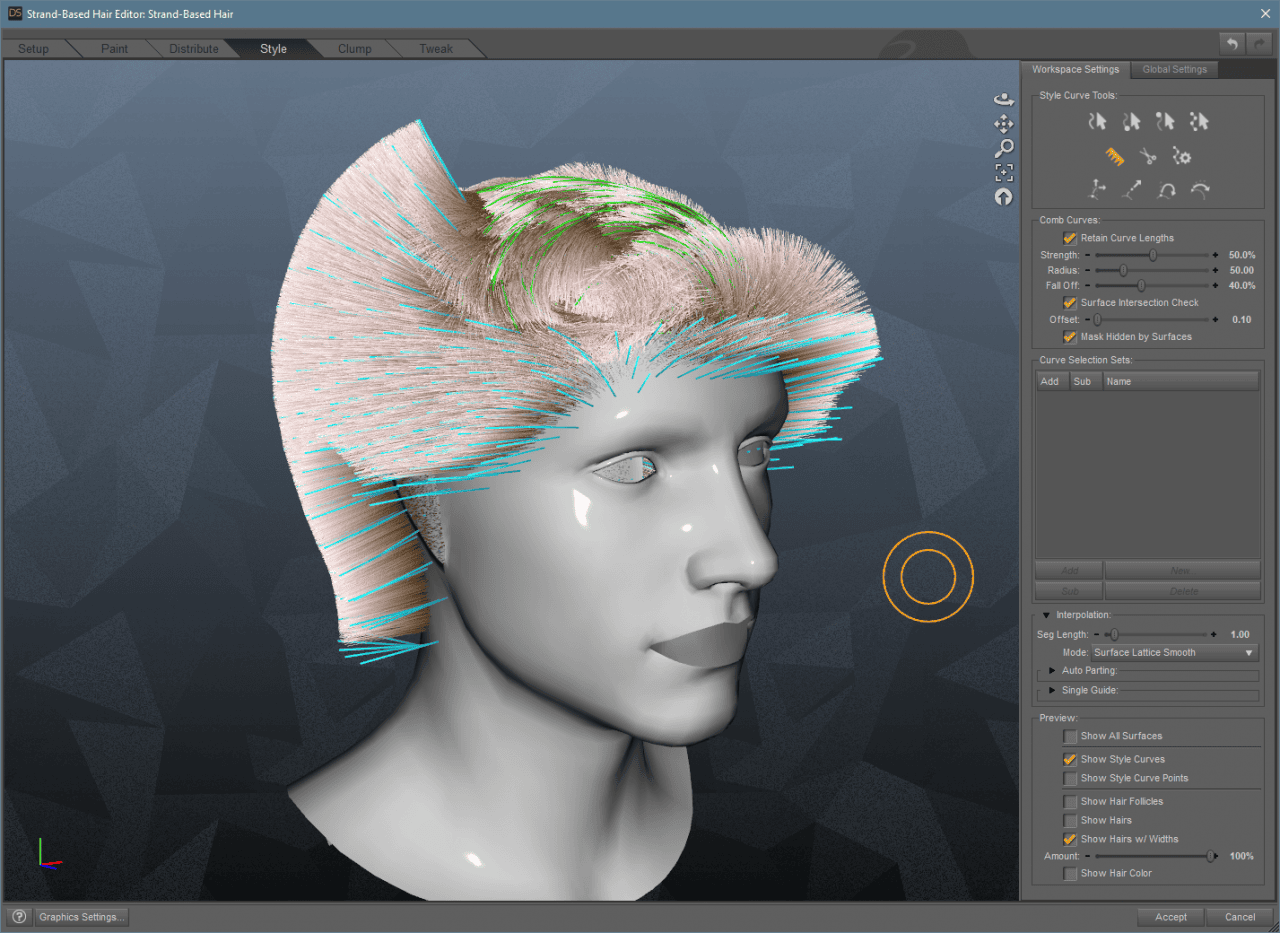
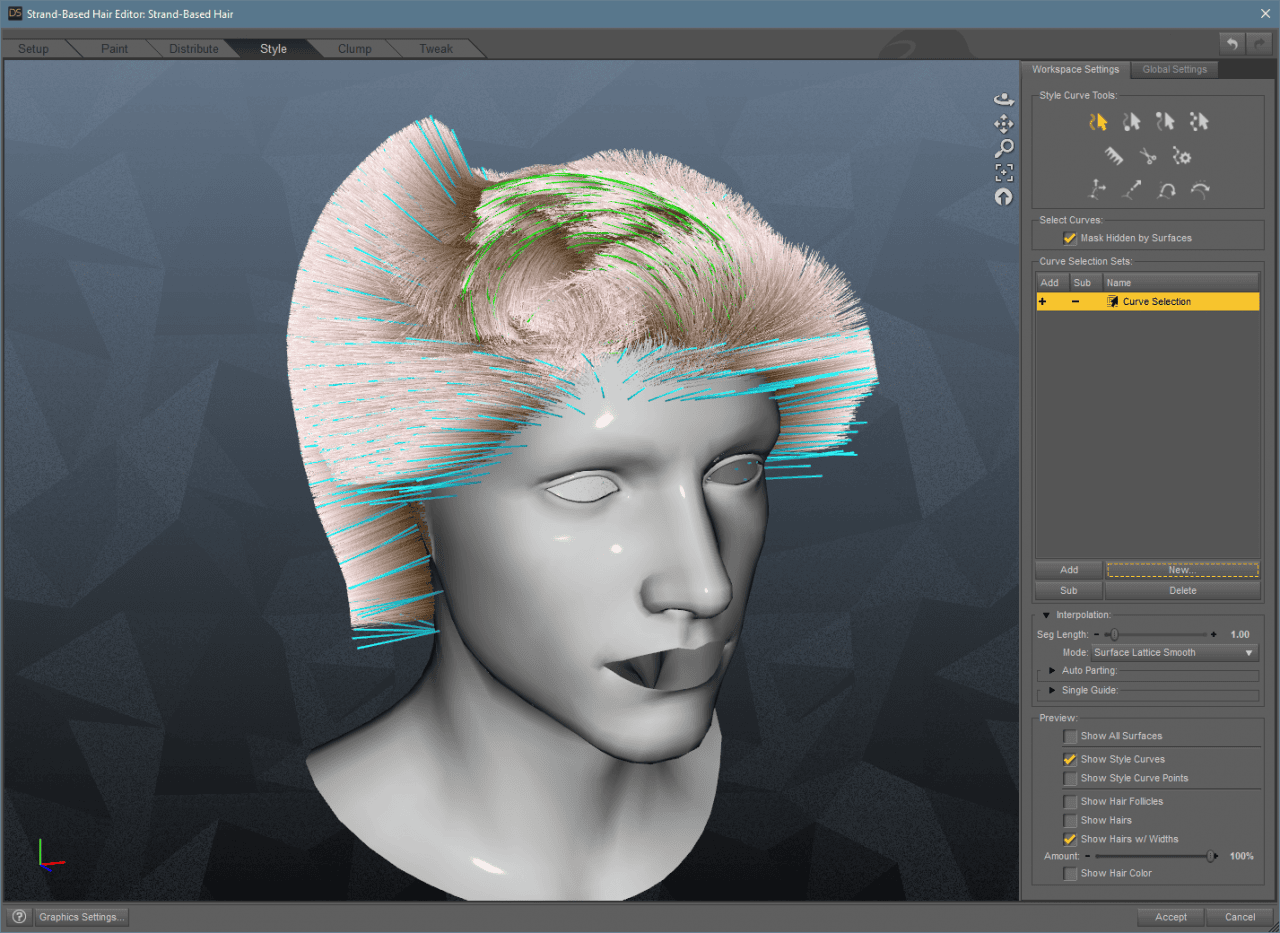
If you like your selection and would want to use it later – you can create a Selection Set and return to this selection later at any point by selecting this set.
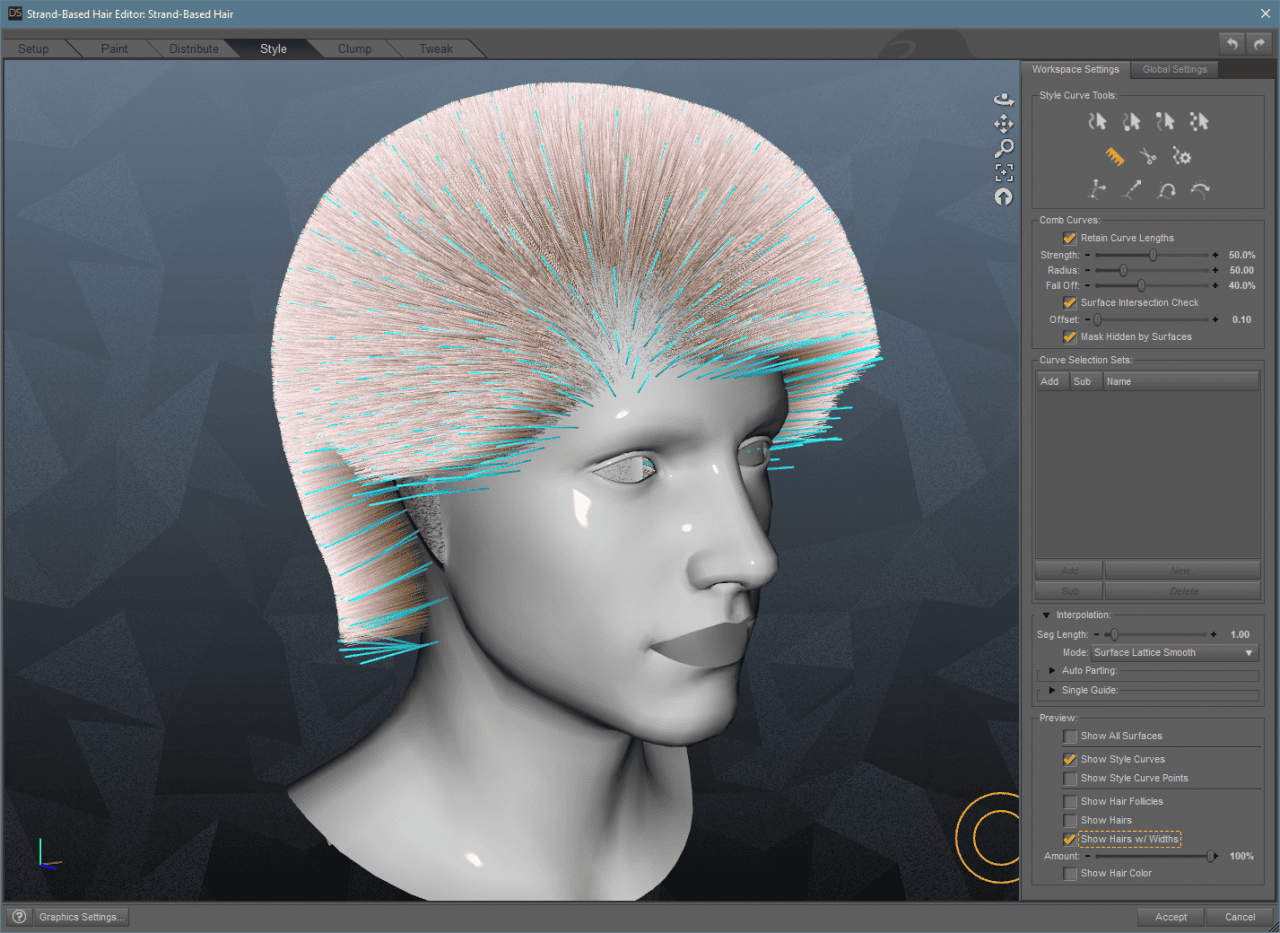
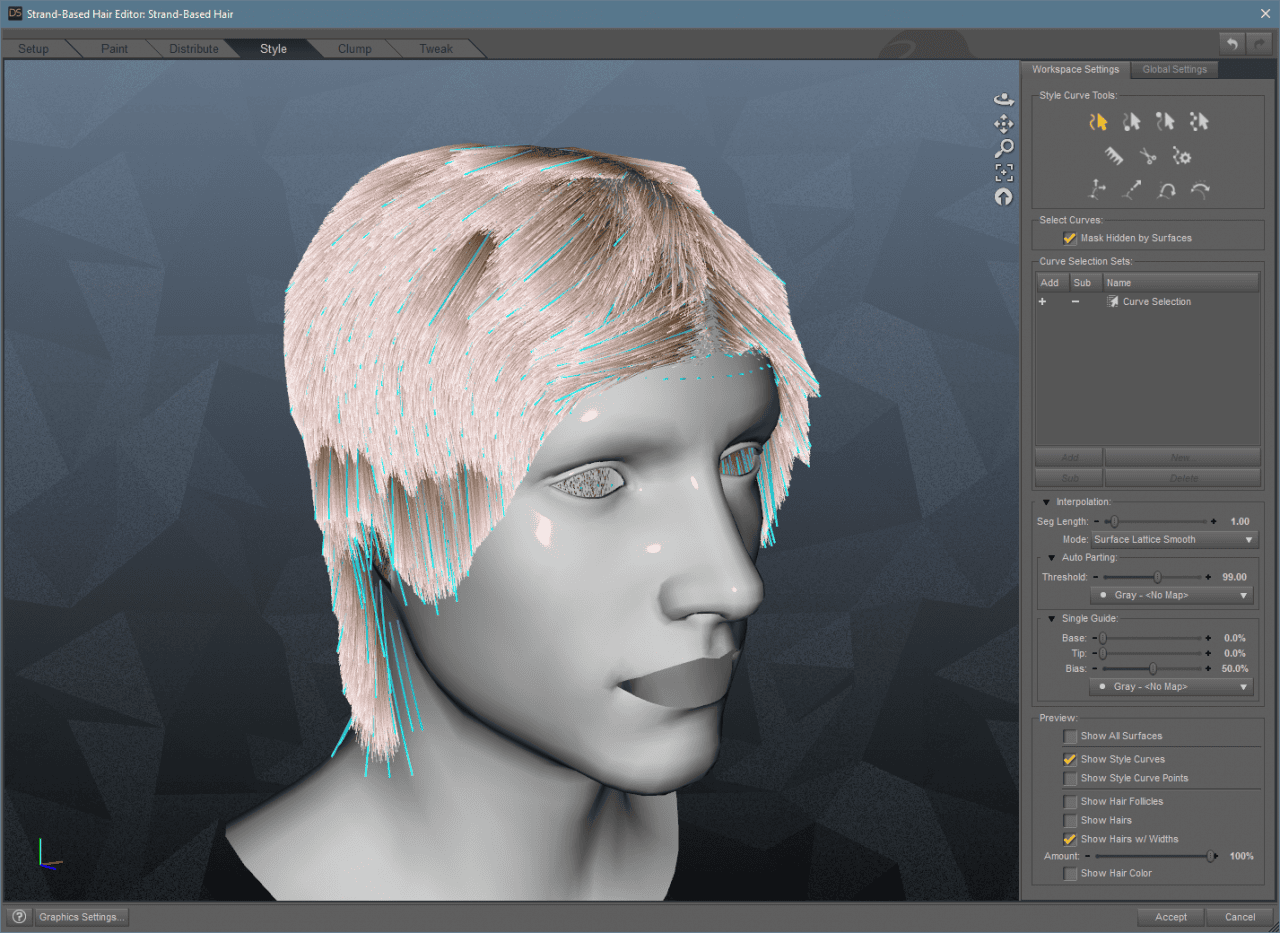
In the next row, we have what can be called the main setting – the Comb Curves. It is the one that allowed me to change the shape of the hair on the previous screenshot. You select the tool and then click and drag. It will apply force to the strands and change their shape in a very similar way the comb works in real life.
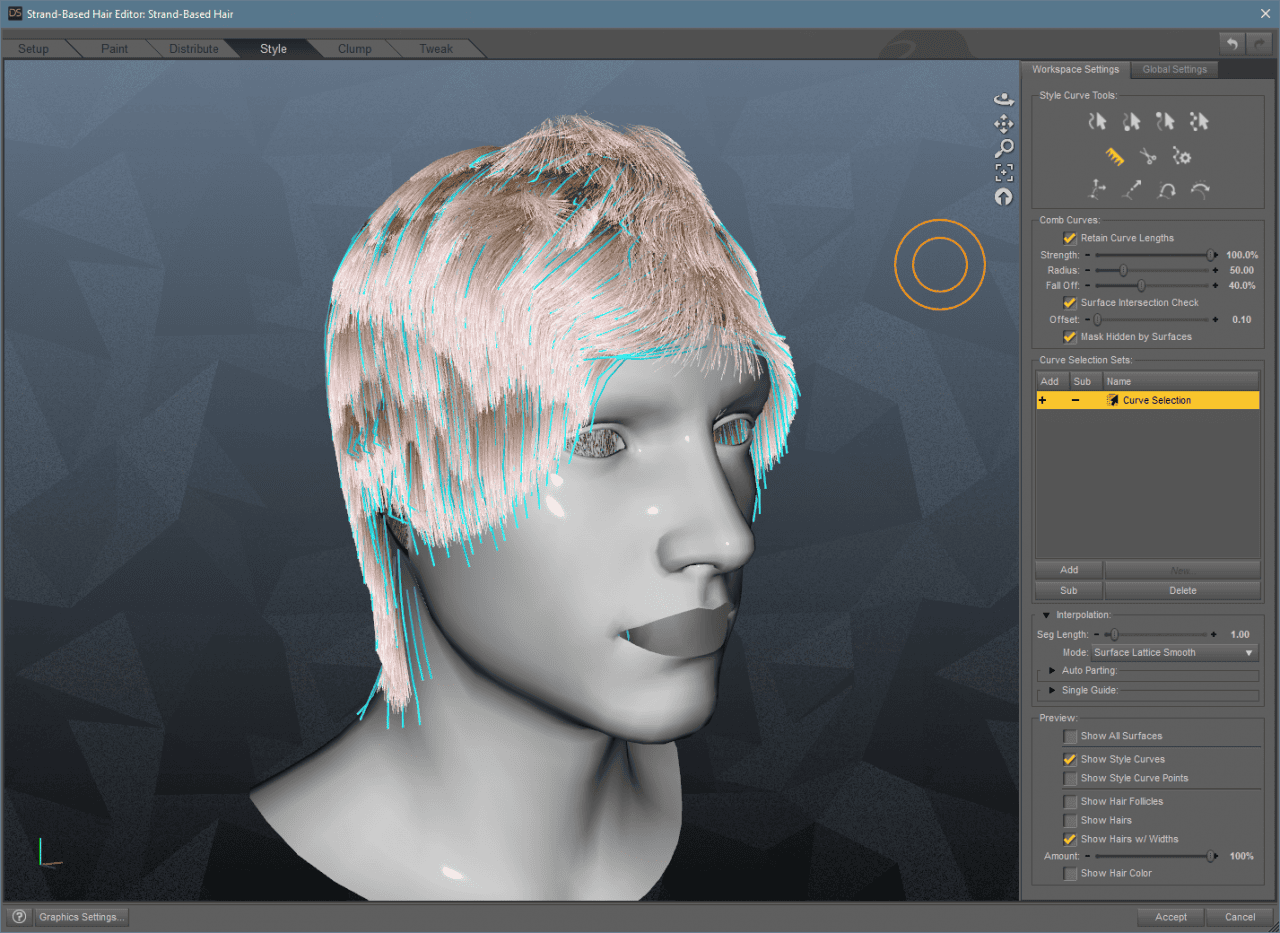
Using this tool, I have managed to lay down the hair and make it look totally different.
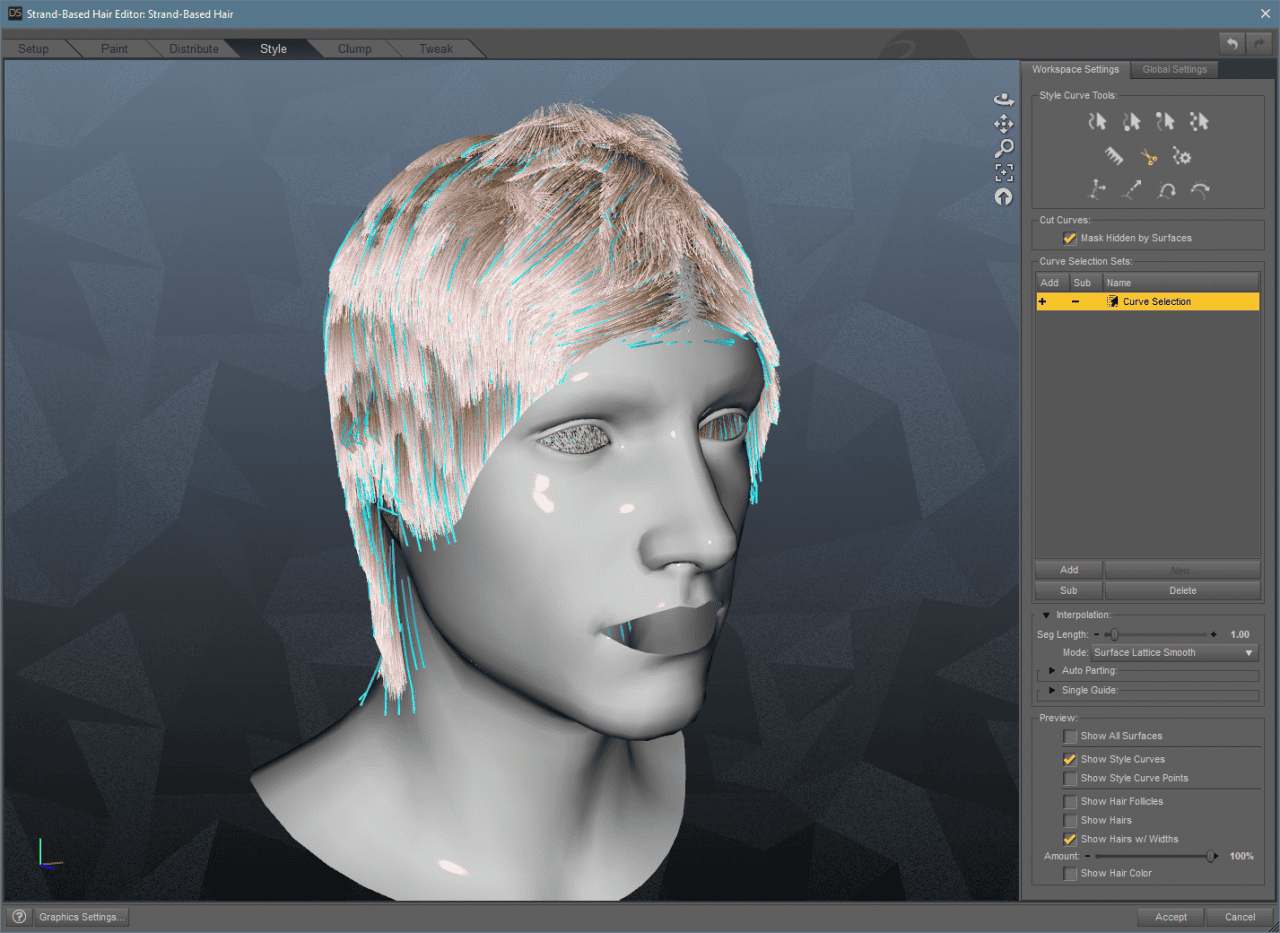
After that, we have a Cut Curves setting. Using this one we can simply cut parts of the hair that does not look good. For example ones, that stick out. Because usually not all strands have the same length and that is okay.
And Style Curve Options is mainly used to Reset Curves. It will reset all the selected curves to their initial position.
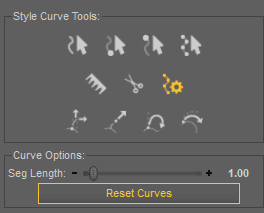
Also, it has the Segment Length setting. This decides how long the segments of the strands are. Longer segments mean that there would be fewer overall segments, so the hair would be less detailed.
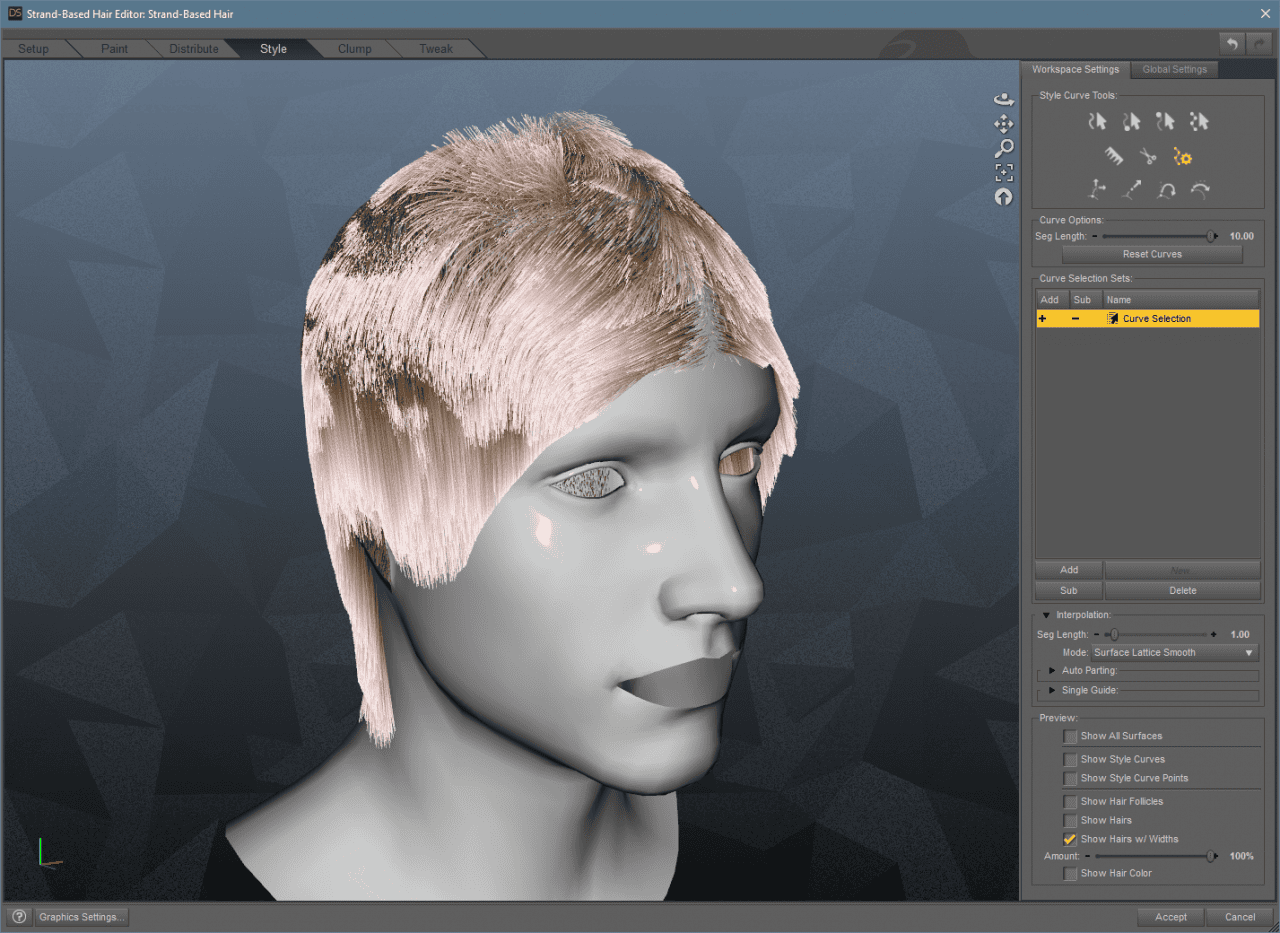
High Segment Length
On the other hand, shorter Segments Length allows for a lot more segments, which improves the quality of the hairstyle and adds a lot more details.
Low Segment Length
So it is better to have lower segments length. Though this will tax your PC more, so beware of overdoing this. Consider leaving everything as it is at the value of 1.
And the last row has four options. These options deform all selected Curves. You can scale them and make the hairstyle more volumetric, Extend to make it longer, Curl your hair and even decide how much surfaces attract the hair.
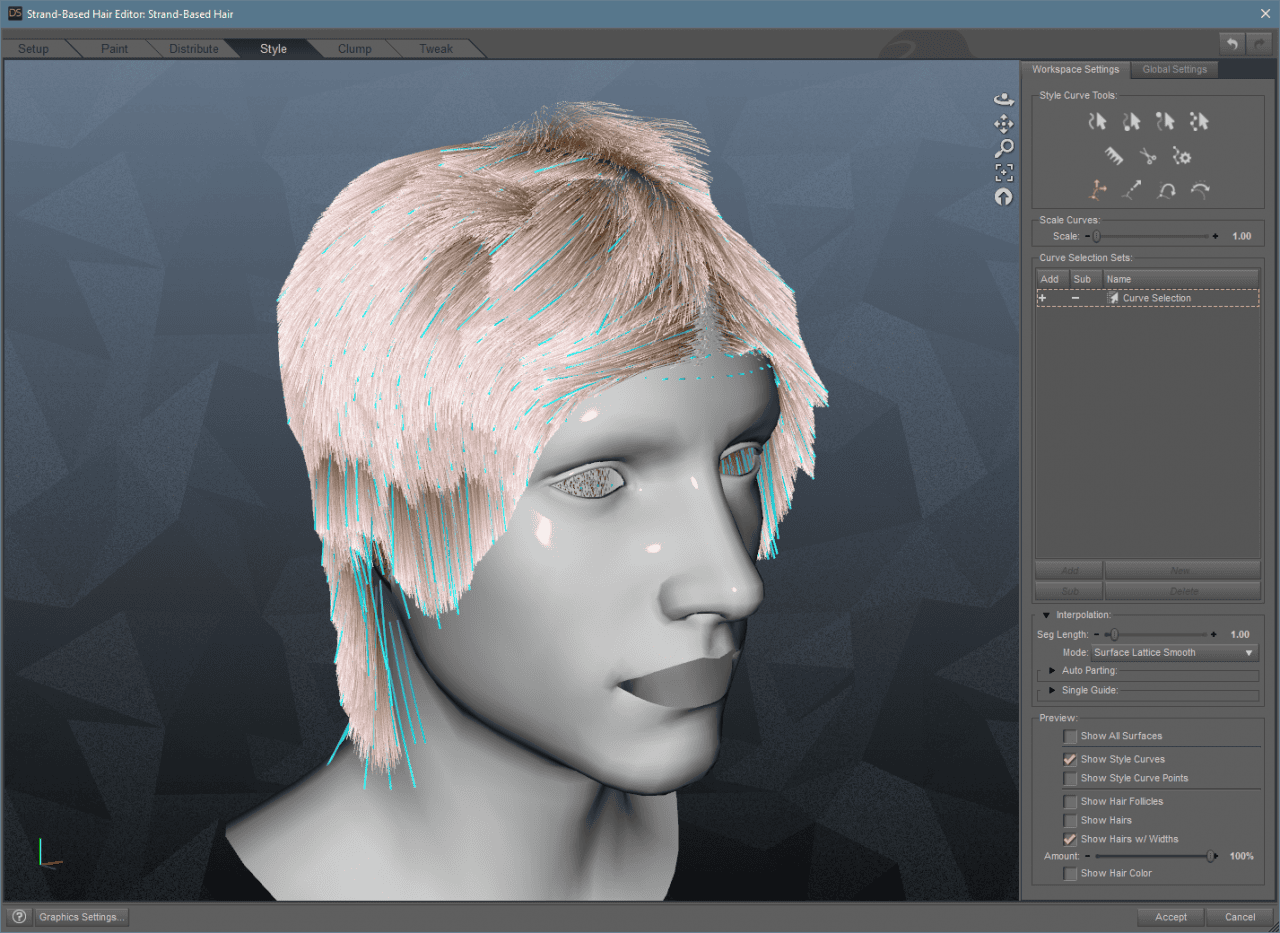
Scale, Extend, Curl and Surface Attract Curves settings at work
Lower there are different additional settings. Once again we can control Segment Length, also there is Auto Parting and Single Guide.
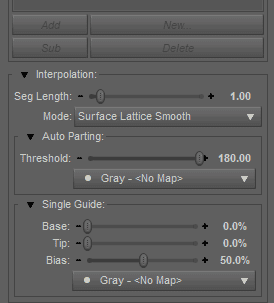
Segment Length we already know from the Style Curve Options – it is the same thing.
Auto Parting will part the hair. This means that it will make hairs lay down. You can see that I have some strands that stick out, so I can use this setting to make them part.
Auto Parting setting
Single Guide is a very interesting one. It controls the power of how much each of the strands guides the hairs. With the high values, you can see that hair follows strands very precisely.
Single Guide setting
Strand-Based Hair Clump
In the Clump tab, we can apply two different types of deformation to our hairstyle. The deformations are similar because both of them “clump” the hair together.
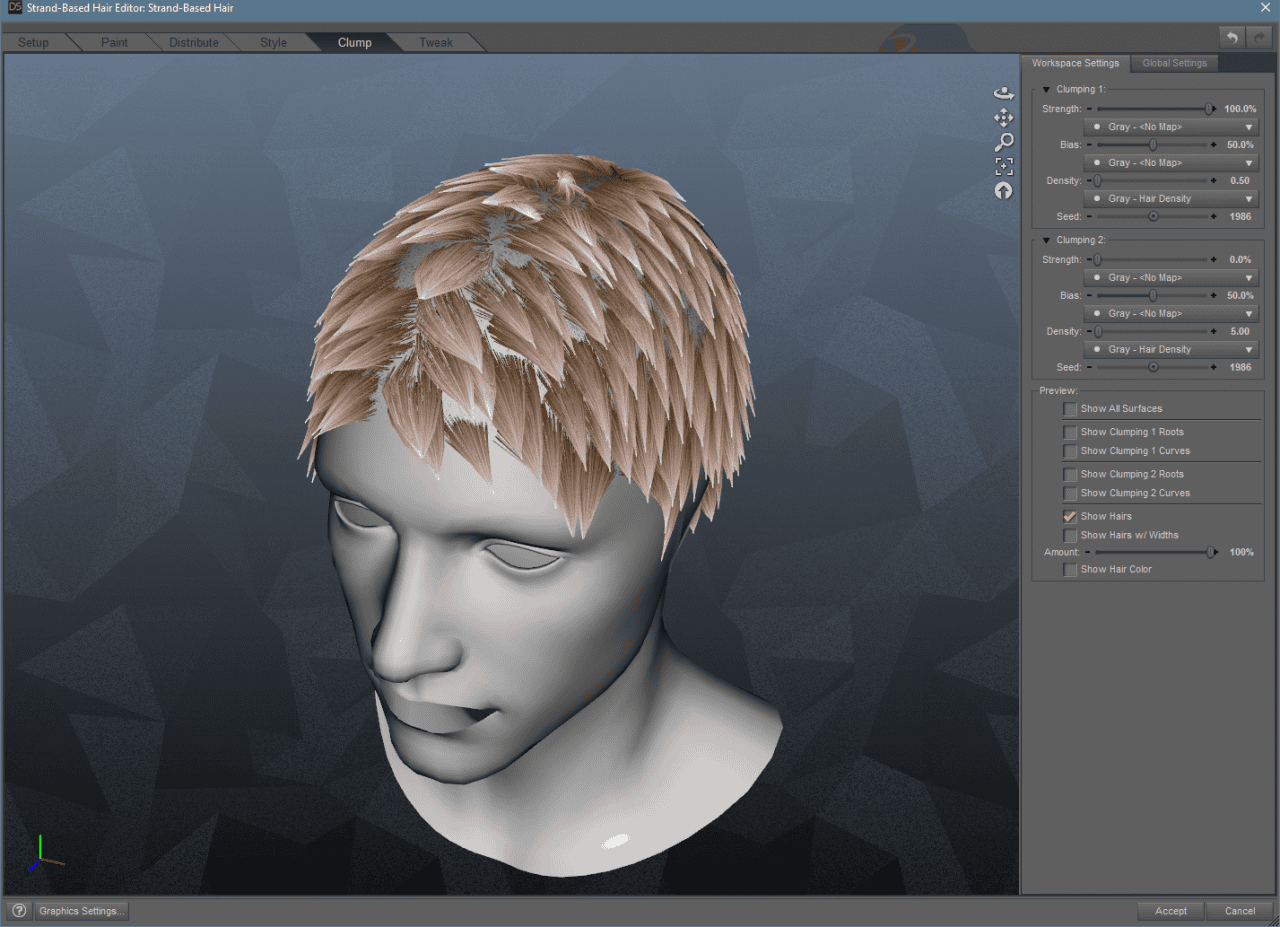
Clump 1 deformation
First Clump deformation takes large chunks of hair and sticks them together. In the end, we have a bit of a hedgehog hairstyle.
Clump 2 is very similar. The only difference is that it takes much smaller chunks of hair to stick together.

Clump 2 deformation
And that is basically it for this tab. The only thing that you can do here is to apply these deformations with different strengths and to change other settings regarding them.
Strand-Based Hair Tweak
Finally, we have the Tweak tab. Here are situated most of the different small changes that do not apply to any different tabs.
For example, at the top here we have the Reduce Length and Random Length settings. The first one is pretty obvious – changes the length of all hairs. But second is more interesting – it changes the difference between longer and smaller hairs. Real hair is not uniformed and each hair has its own length.
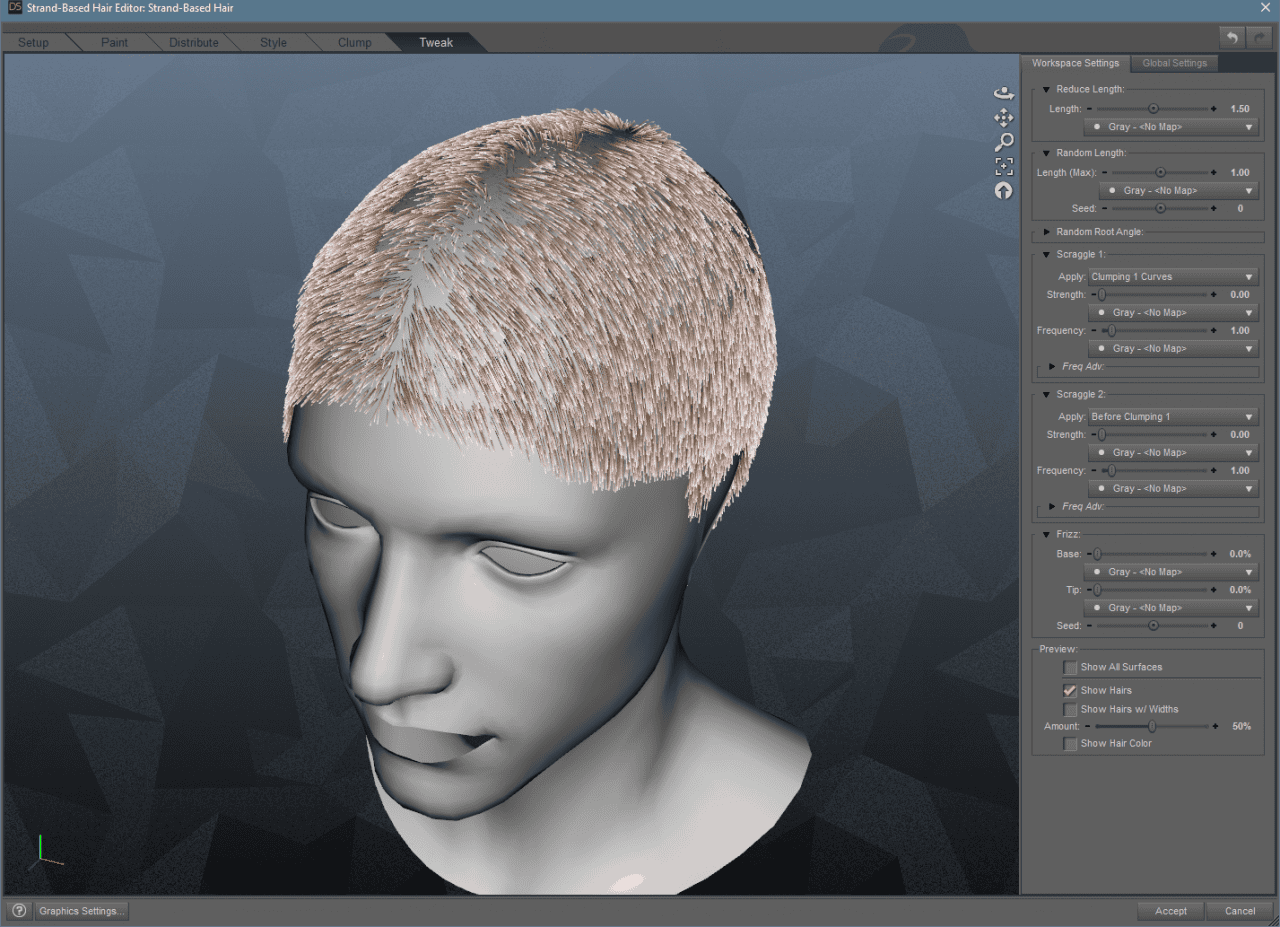
Reduce Length and Random Length
The Random Root Angle makes the hair a lot more lush and adds volume to it.
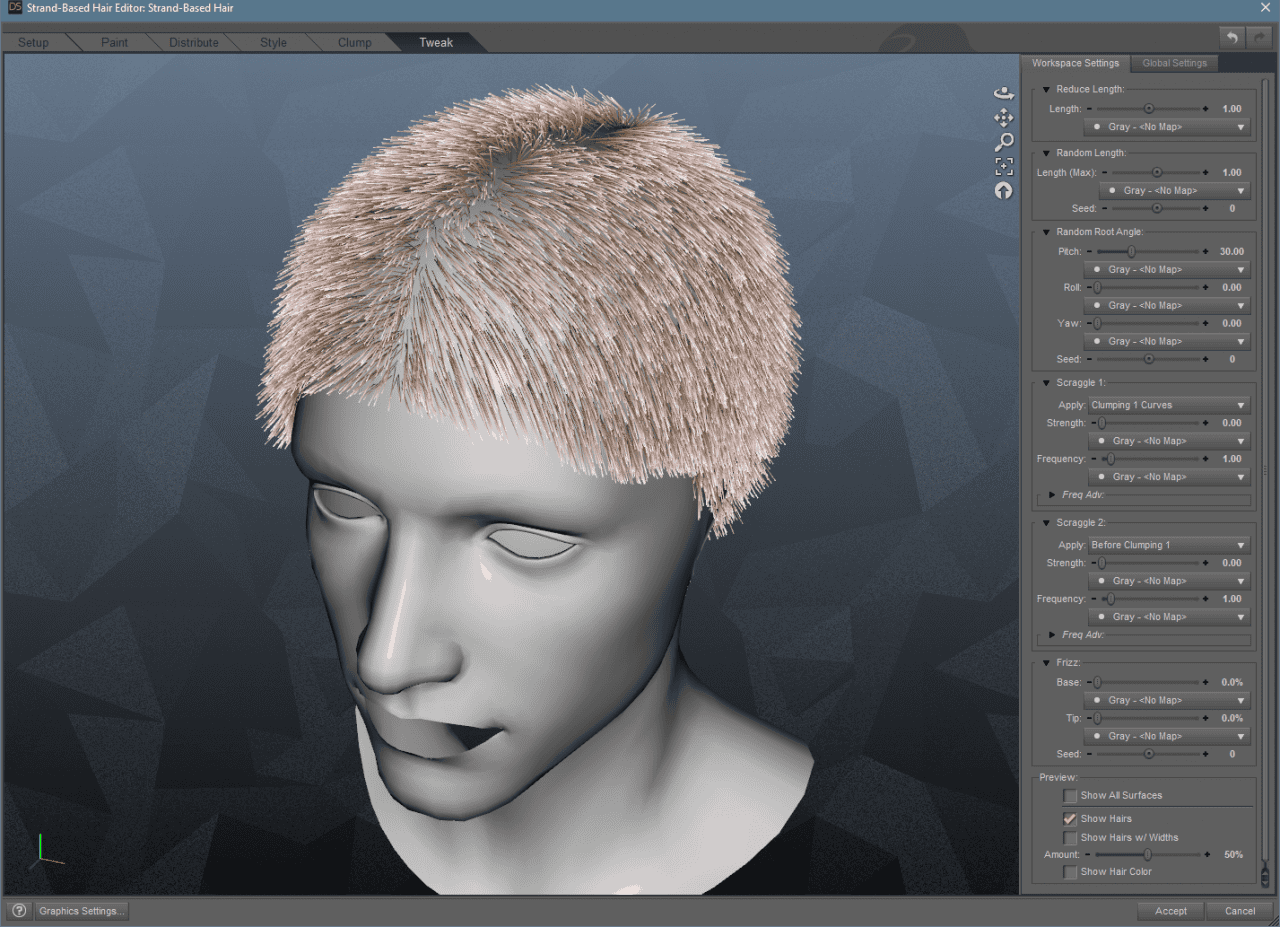
Random Root Angle
After that are Scraggle 1 and Scraggle 2. Two settings that apply a deformation of your choosing to the hair.
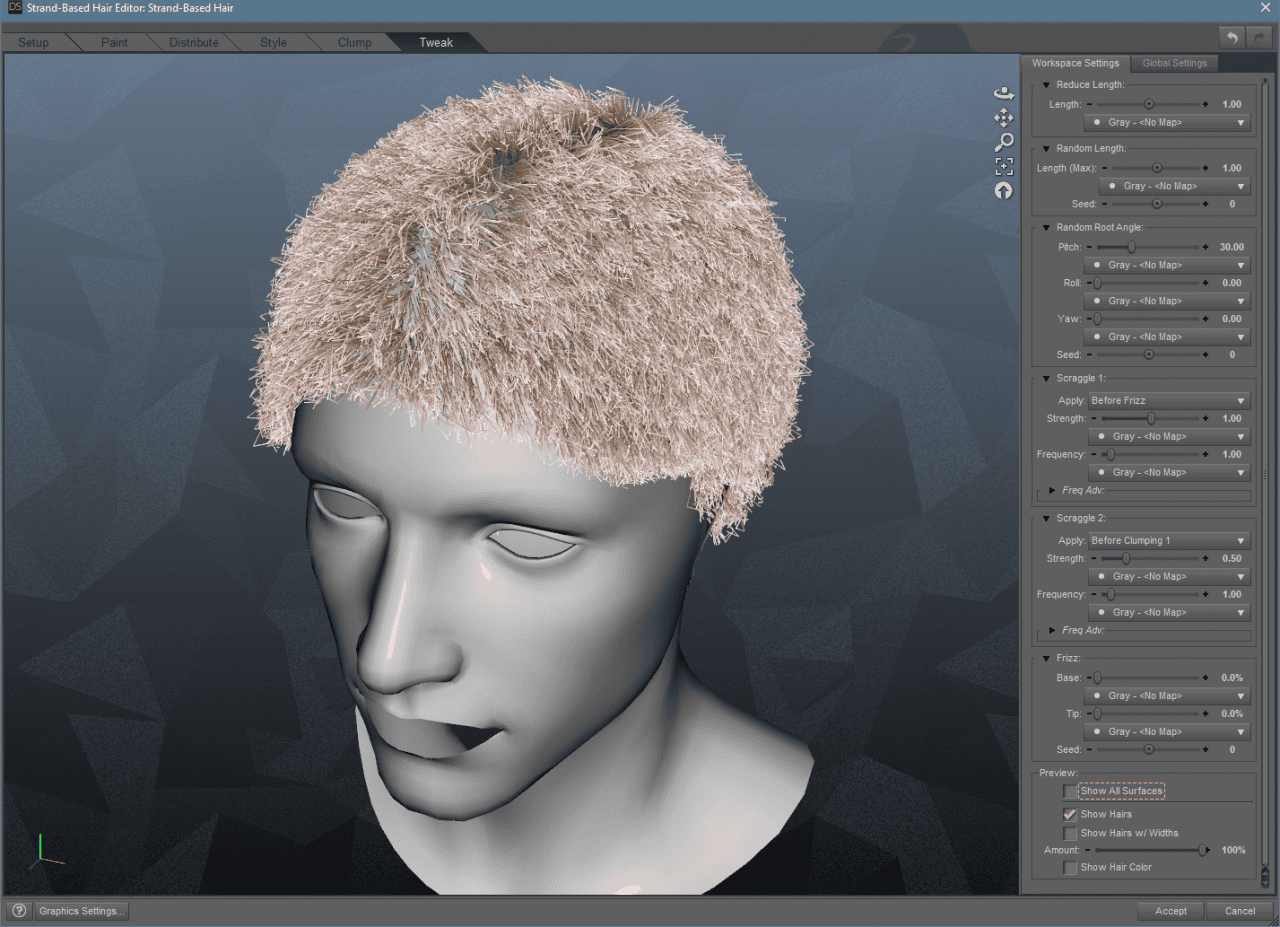
Hair Scraggle
Finishing the Daz Hairstyle
We went through all tabs, so let’s say that the hairstyle is ready and you want to apply it to the character. The most logical and obvious step is to press the Accept button in the Strand-Based Hair editor, so do exactly that.
But after doing that – not much happens. You see the strands applied to the character, but no hair itself.
Making Hair Visible
How to make the Daz3D Strand Based Hair visible? It supposed to be like that, so don’t worry. By default – hair is invisible and you can only see strands for some reason. The same goes for the rendered view.
To fix this problem and make hair visible, you need to, first of all, select the strands and open the Parameters tab.
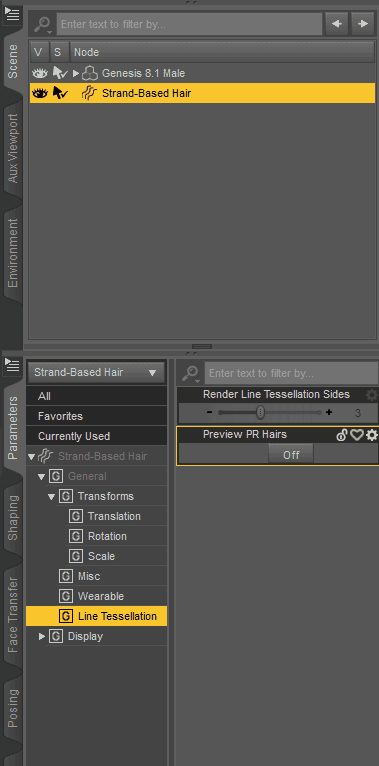
Here we are interested in the Line Tesselation section, Preview PR Hairs setting. After turning it on – the hair will appear as it was in the editor.
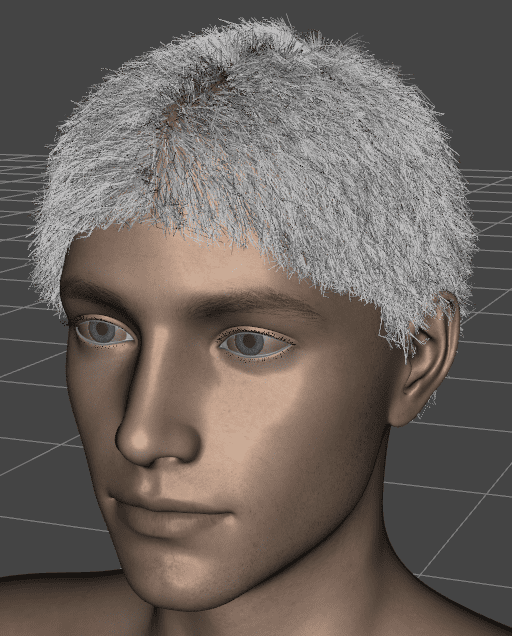
The shape of the hairstyle is the same as it was in the editor. But the color is different – it is grey. If we look at the rendered view, it will be even another color – red.
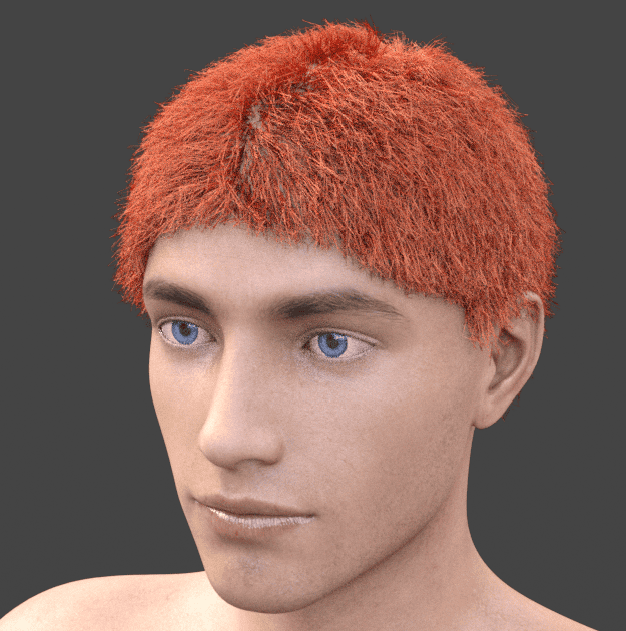
I have mentioned that there is no need to change Coloring in the editor because in the end it will be overwritten. Exactly this happened – what we have is the default Iray hair shader.
Coloring the Hair
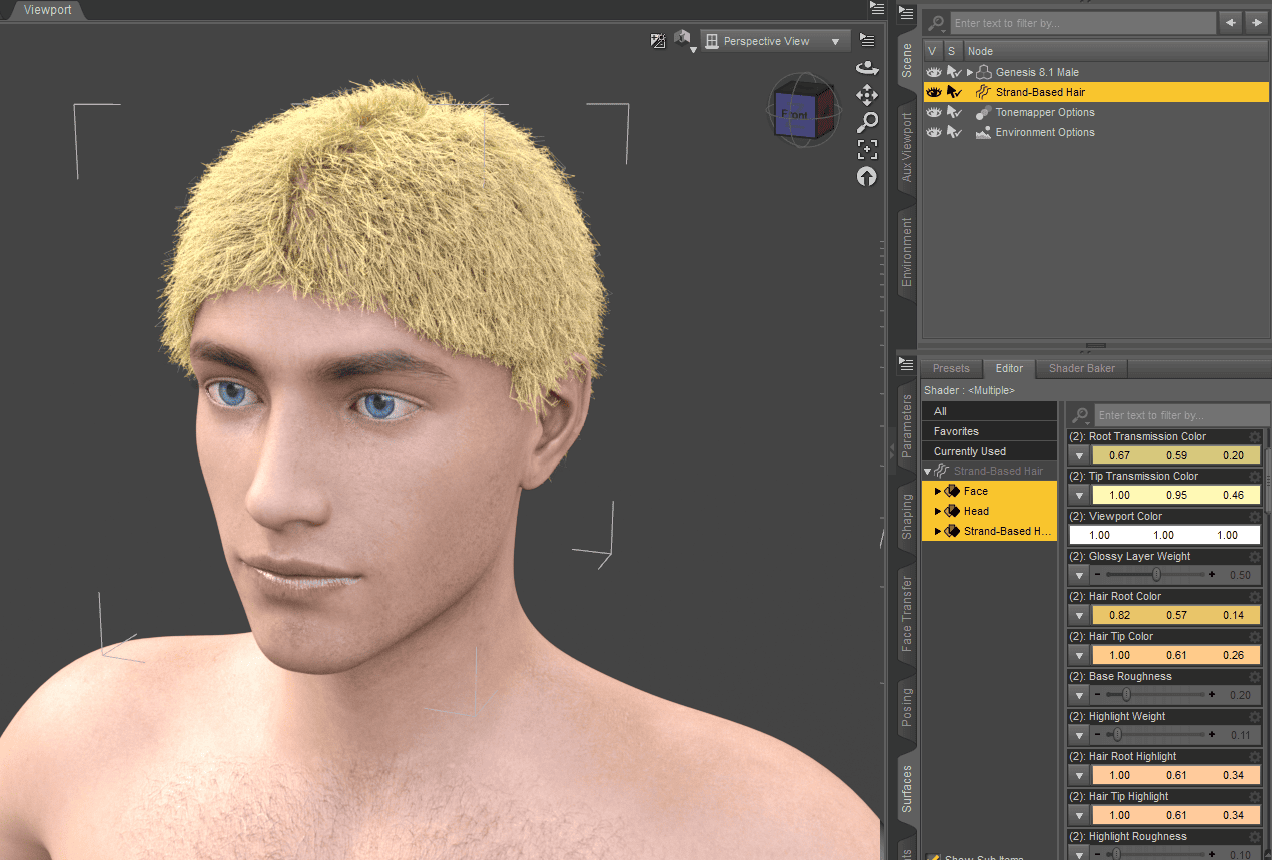
Now let’s see how you can change the color of manually created Daz3D Strand Based hair for your character. For this, we will use the Surfaces tab. Don’t forget to select the strands object on the scene.

Here we have a lot of settings for the hair that you can change to make it look different. But the main ones that decide the color of the whole hair are Root Transmission Color, Tip Transmissions Color, Hair Root Color, and Hair Tip Color. By changing these four – you can change the color of the hair.
Alternatively – you can apply an Iray Uber shader and use our Daz3d Change Hair Color article and video as a guide to learn how to change the color of the hair.
Hair Products
If manually creating hair sounds very difficult – then I want to remind you that you always can visit the Daz3D Marketplace and find there ready-made items. Just download them and use them on the character, no need to fiddle with the settings.
For a male character like this, you can use Yoan Mature Hair and Beard for Genesis 8 and 8.1 Males by Daz Originals & Neftis3D. It is a very stylish and trendy short hairstyle. Besides it also has a beard bundled with it.
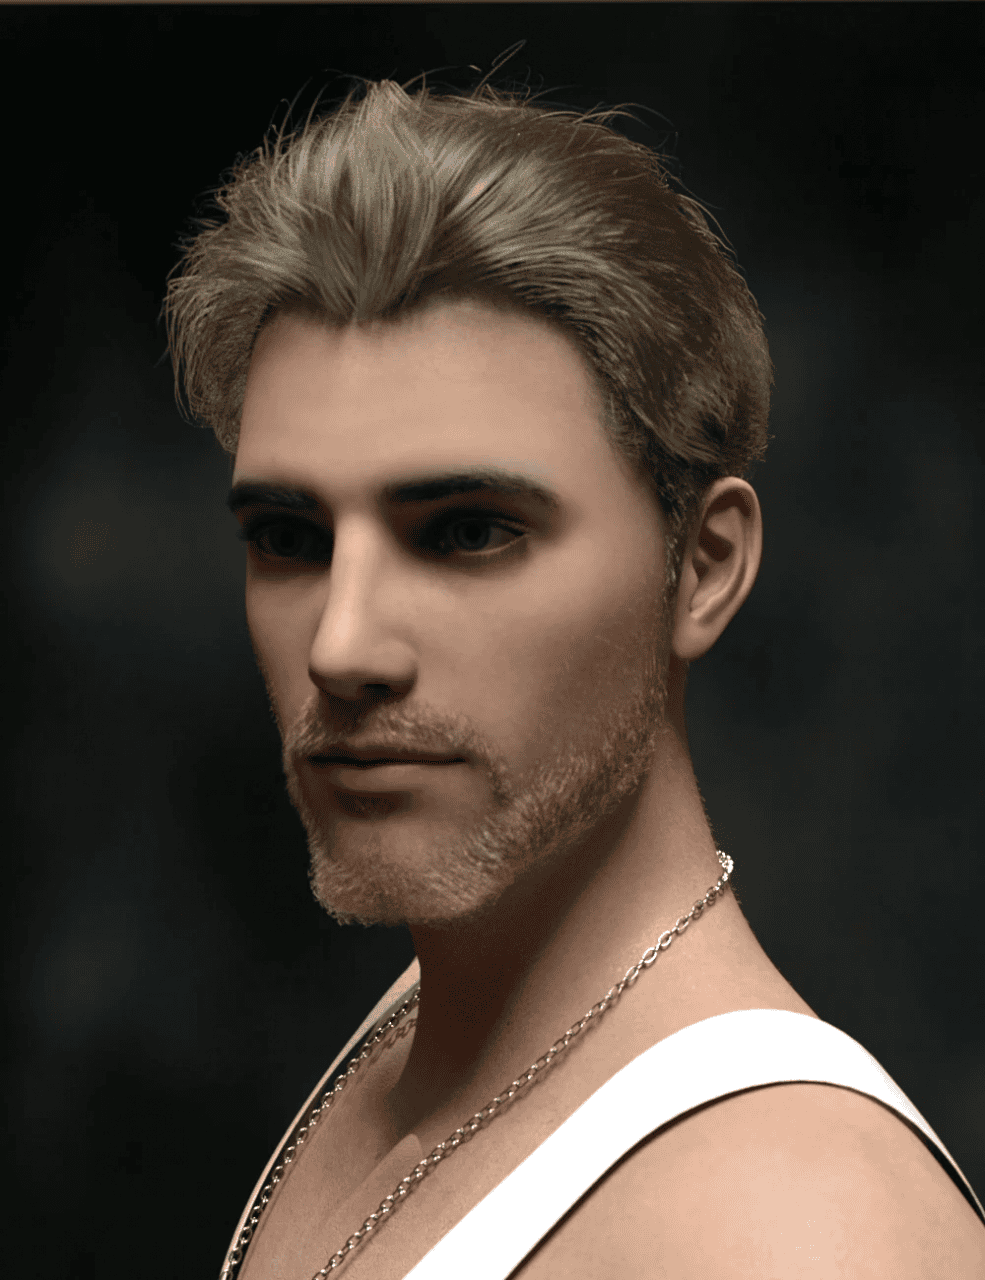
Source Yoan Mature Hair and Beard for Genesis 8 and 8.1 Males by Daz Originals & Neftis3D
You can also get more than just a hair, like RY Dario Character and Hair Bundle by Raiya & outoftouch is a character bundle, that includes a long hairstyle in itself.
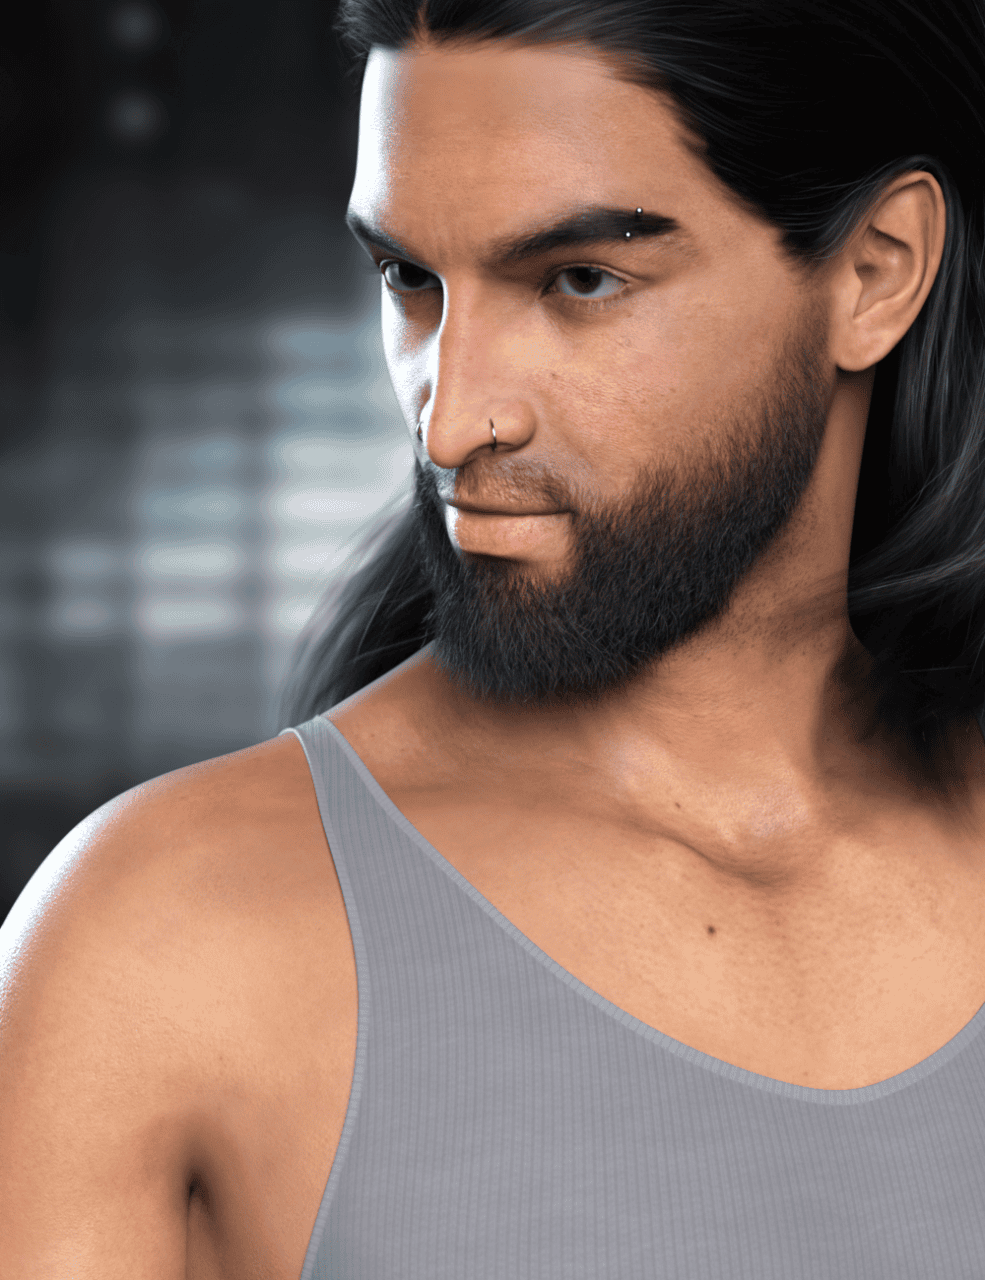
Source RY Dario Character and Hair Bundle by Raiya & outoftouch
For female characters, the dForce Roxi Hair for Genesis 8 Female(s) by Daz Originals & Lady Littlefox may interest you. It is a playful fluffy shag hairstyle.
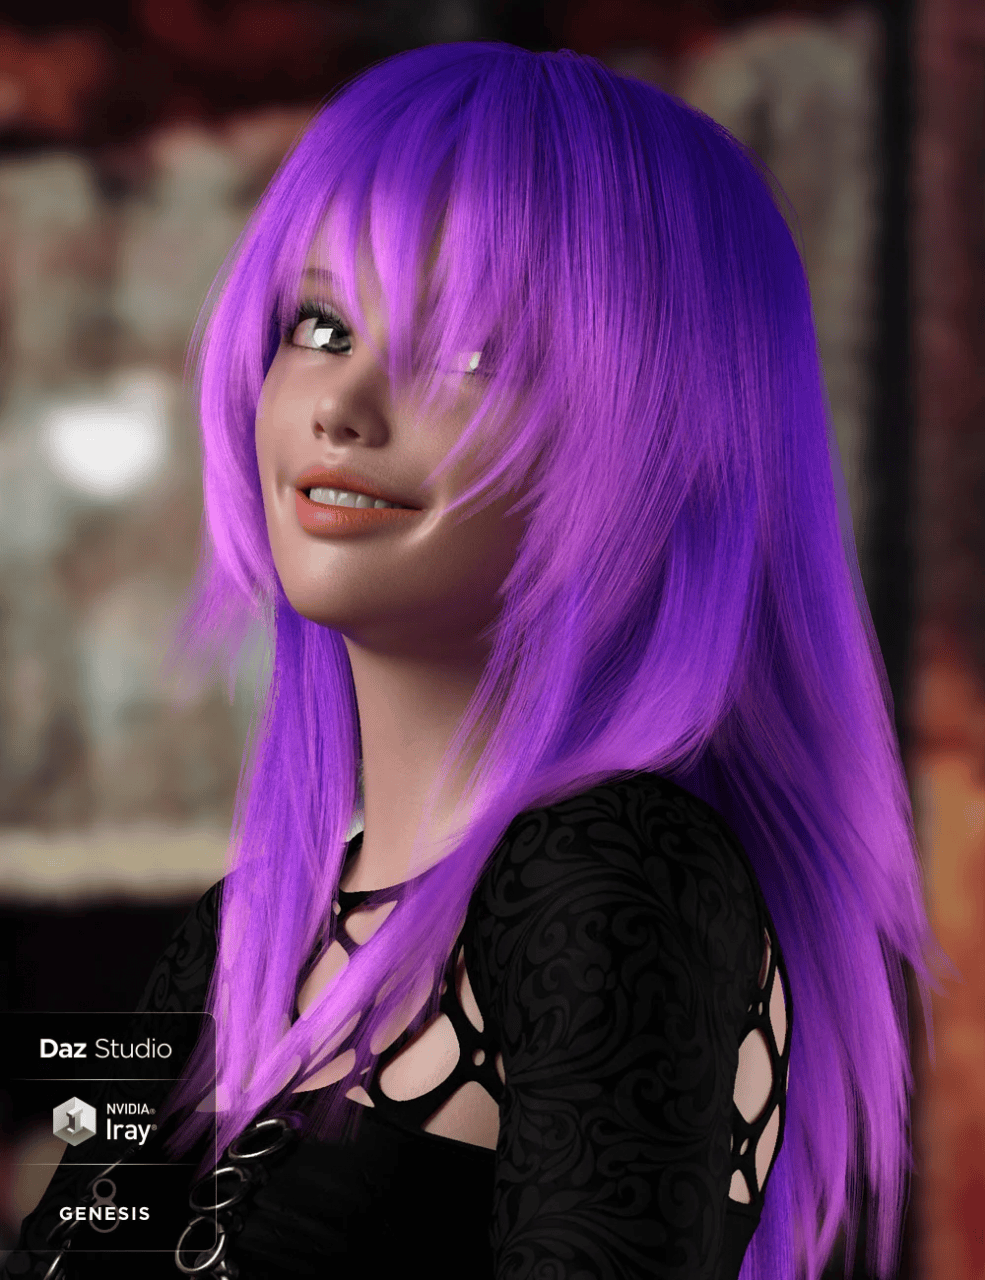
Source dForce Roxi Hair for Genesis 8 Female(s) by Daz Originals & Lady Littlefox
Conclusion – Daz3D Strand Based Hair Tutorial
In this Daz3D Strand Based Hair Tutorial it turns out that you can create hairstyles yourself in the Daz Studio. They are highly customizable and it is possible to create your unique character with them. Besides, it is possible to not only create hairs for the head but also to add body hair and bears this way.