
This Daz3D Sharp Render Tips collection explains you all kind of render configurations that impact the sharpness of your render in Daz Studio. Sharper images tend to look better. It makes details to be more prominent and easy to notice. The obvious and most commonly used way of making a render sharper is to use post-processing. Many image editing software have a sharpening filter of some sort.
Instead of using editing software, in this article we will see how you can sharpen your images directly in Daz Studio with several Daz3D Sharp Render Tips. This method is better, because if your render is initially smoothed out, no editing will sharpen it on the same level as Daz Studio itself.
Daz3D How to Make Renders Sharper
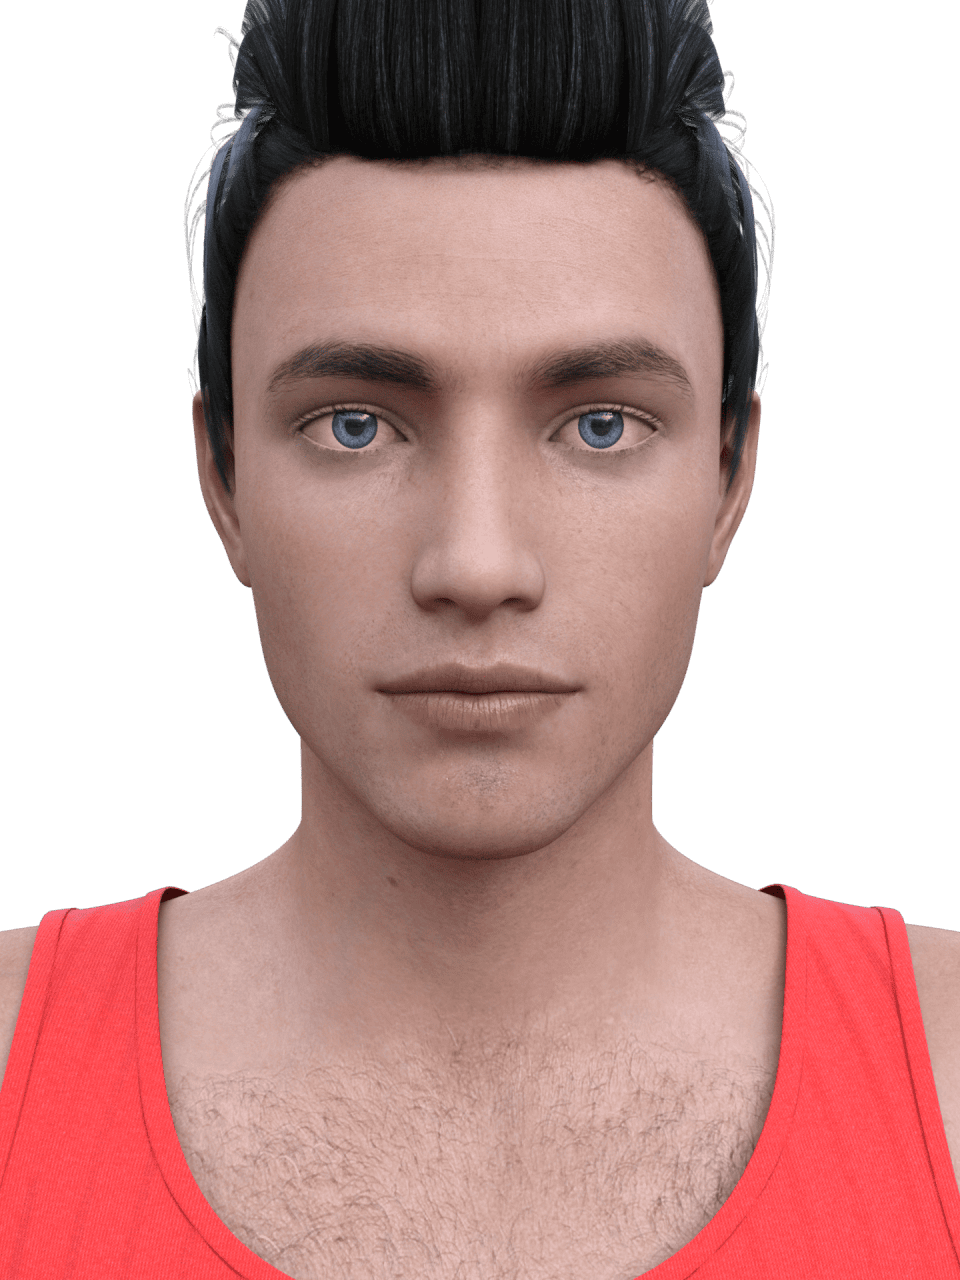
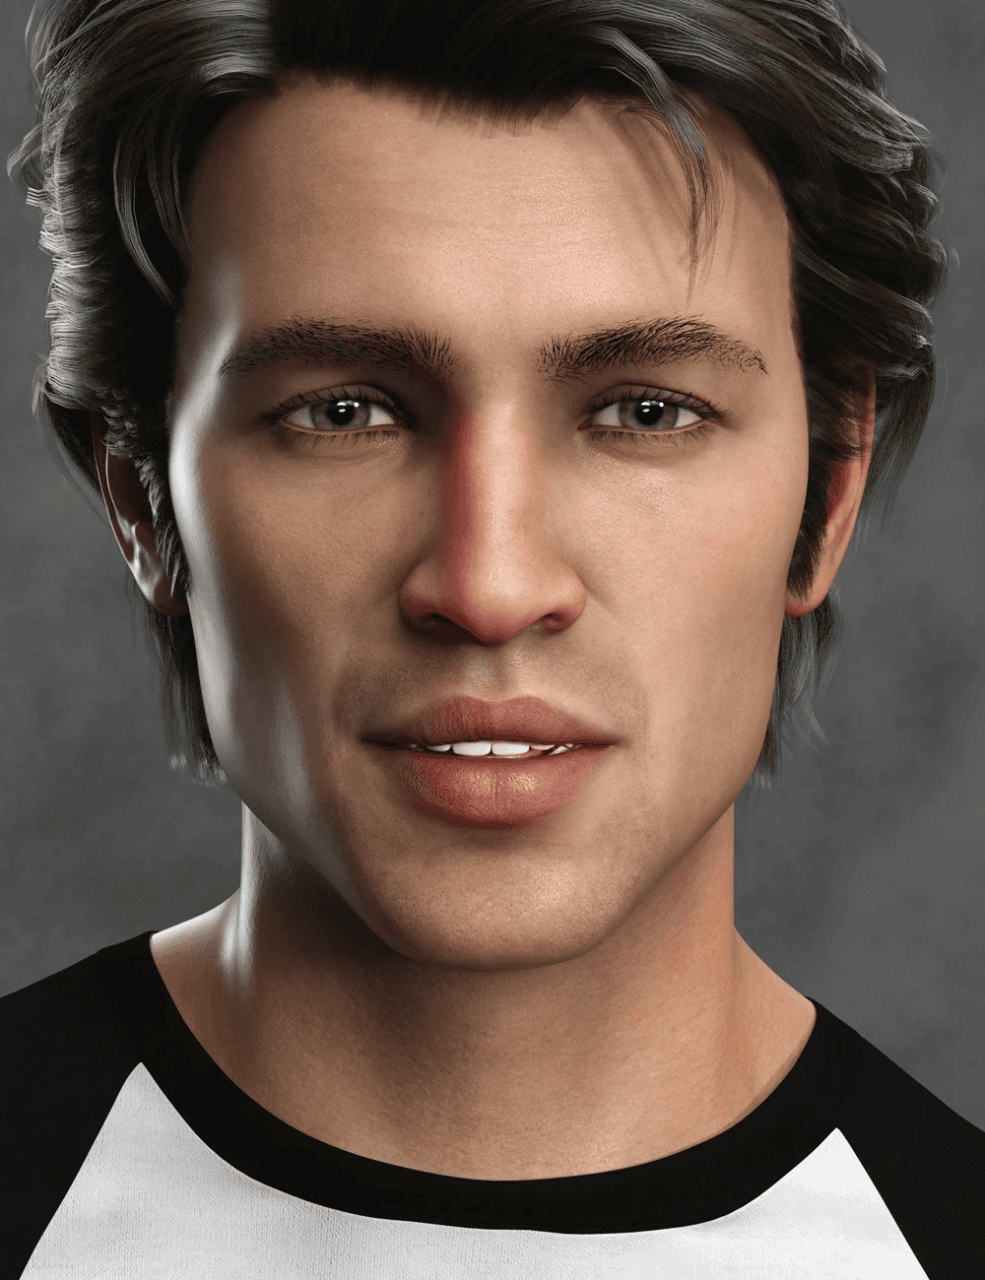
I will use this simple setup with the Genesis 8 Male to test out everything we will do today.
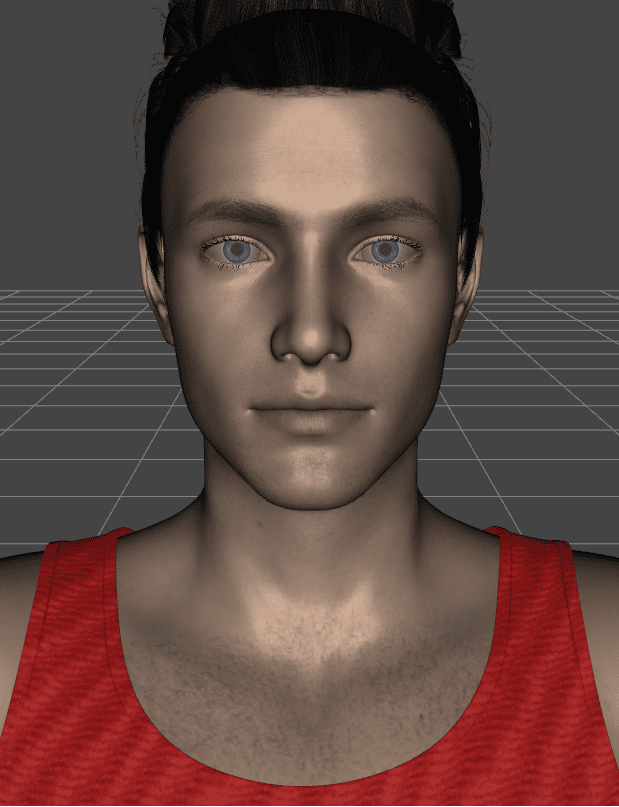
By default images are set to be not so sharp. They try to balance between being smoothed out and sharp. Let’s create a control render:

Control Render
Images made to be not so sharp mainly because smoothening them out – also smoothes out the noise. Thus sharper you will make an image – the more noise there should be.
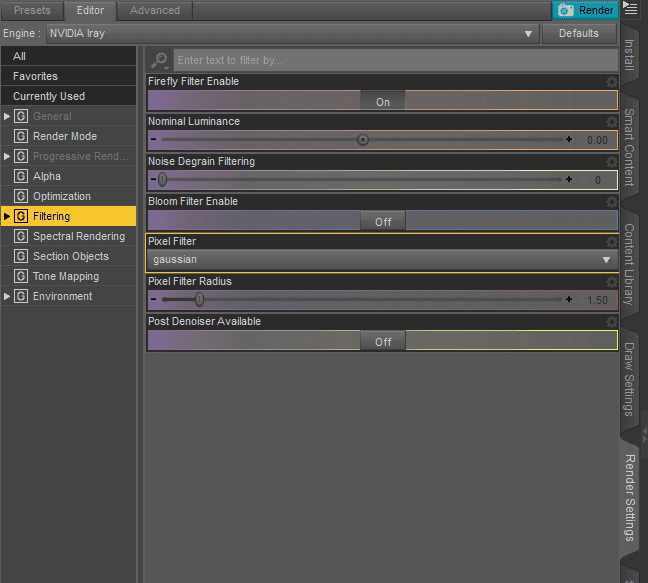
Daz3D Sharpening Settings
Settings that are responsible for sharpness are situated in the “Filtering” tab in the “Render Settings”. Namely they are: “Pixel Filter”, “Pixel Filter Radius” and a little bit “Post Denoiser”.
Let’s start with the Pixel Filter. Pixel Filtering is similar to denoising. This is because it also smoothes out noise to get rid of it, just in a different way. This leads to Pixel Filtering decreasing the overall sharpness.
There are a few variants for a Pixel Filter setting.
The “box” and “triangle” options are not recommended. They are very basic and inferior to other variants.

Box Pixel Filter
Box Filter did not make the image look any sharper. But instead added a bunch of noise. Most easily it can be seen around the eyes.
The last three – “gaussian”, “mitchell” and “lanczos” are supposed to be different. But for some reason they are identical. I am not sure whether it is a bug or if they are really just so similar.

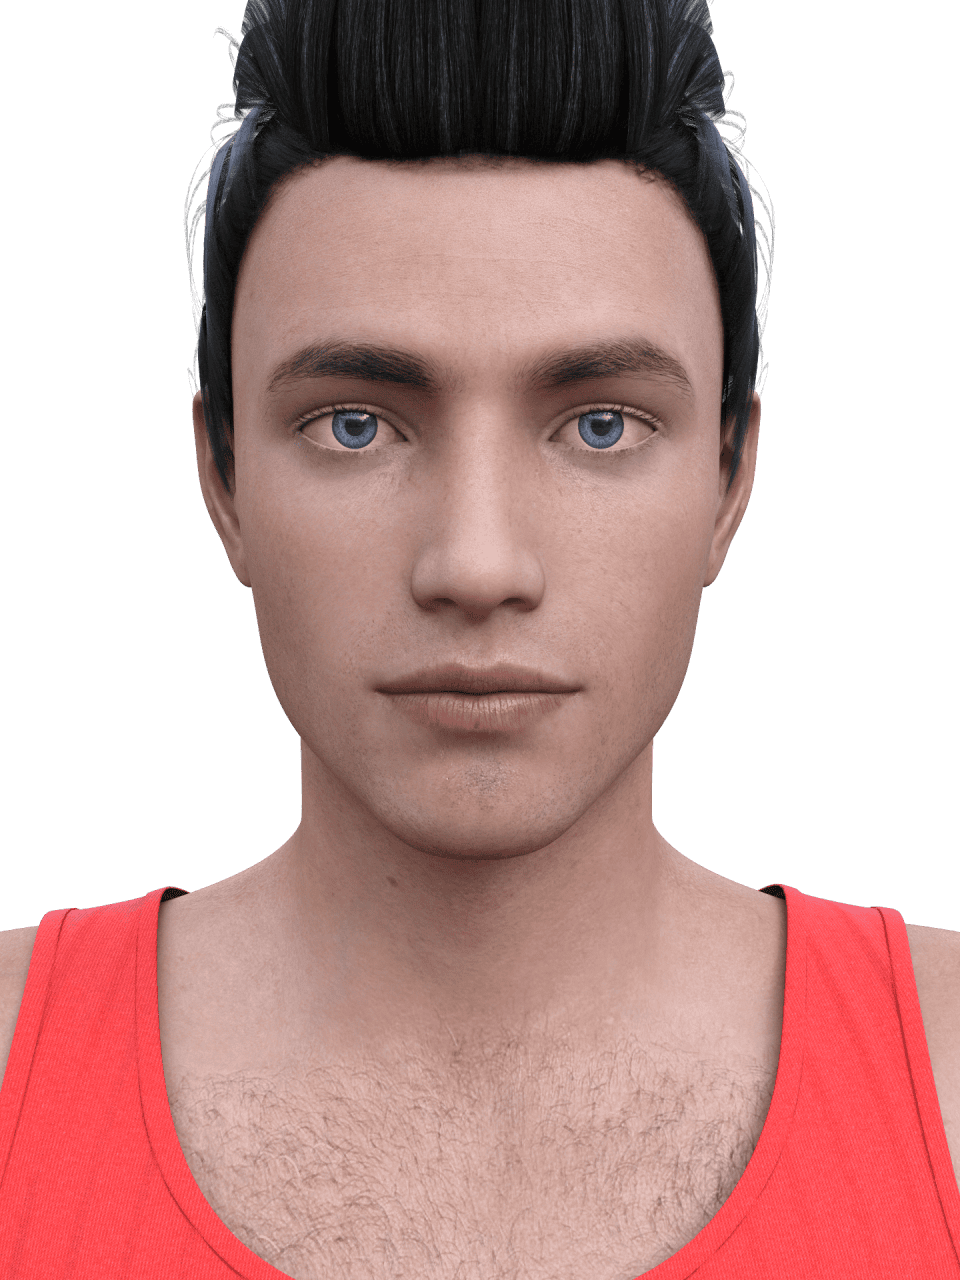
Lanczos Pixel Filter
The image is identical to the original control one. Anyway, all this means is that there is no practical reason to change this setting from the default gaussian option.
Now for the most important part – the “Pixel Filter Radius”. This is the setting that will change the sharpness of your image. Default is set to 1.5.
To really see the difference we need to change it quite a bit. So let’s see how the render looks at 0.75 Pixel Filter Radius. Which is the half of the default setting
0.75 Pixel Filter Radius
There is a difference. Some places such as eyes are quite sharper. But worry not if you can’t see it right away, we will get to the more in-depth comparison later.
So if this is the result of halving the Filter, then what about making it even sharper? Let’s see what happens when we lower the Pixel Filter Radius to minuscule 0.1 value:

0.1 Pixel Filter Radius
It became even sharper. Now if we compare all three directly – it is easy to notice the difference. But let’s look at details to indicate them even more. First of all – eyes.
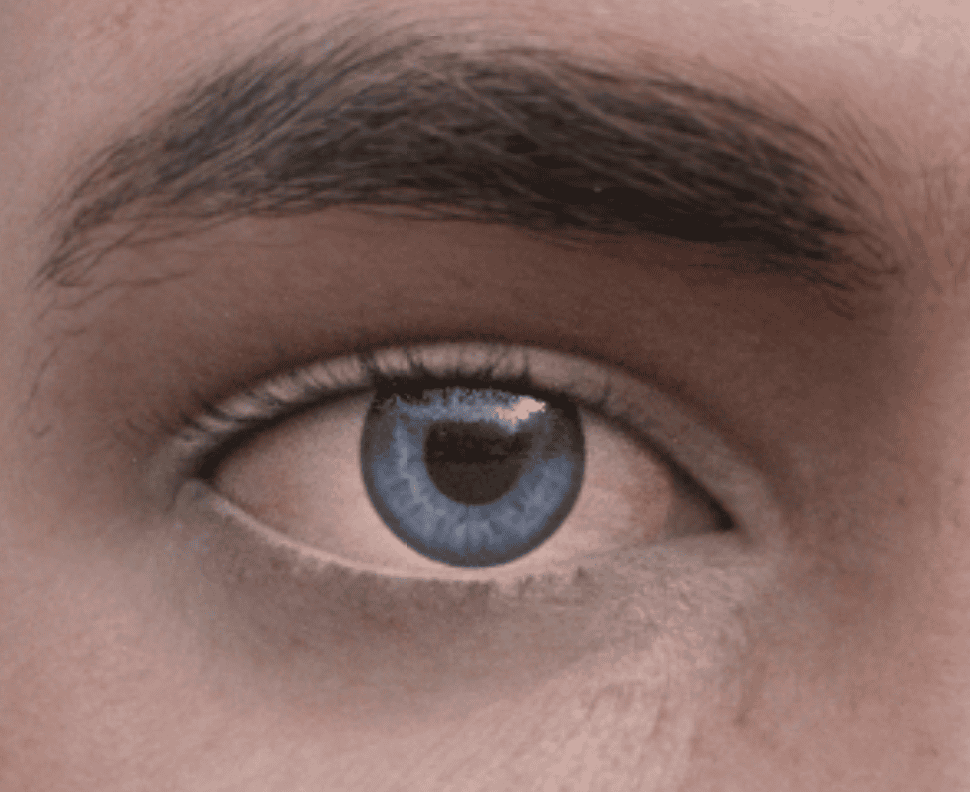
1.5 Pixel Filter Radius
0.75 Pixel Filter Radius
0.1 Pixel Filter Radius
If you pay attention to the eyelashes and eyebrows – you will notice how they gradually become sharper with each iteration. With default settings they are blurred out, but with Pixel Filter lowered – they look like individual hairs.
Though when Pixel Filter was lowered to the 0.1 – everything became arguably too sharp. You can see that eyelashes started tearing, there is noise and overall they look worse.
There is also a similar result if we look at the hair:
1.5 Pixel Filter Radius
0.75 Pixel Filter Radius
0.1 Pixel Filter Radius
On the original render – hair is blurred into a single object. You can not really see separate hairs. But when it was sharpened – you can clearly see that there are separate, independent hairs there.
But all this comes with a problem – noise. I have already mentioned this, but now let’s look at the example. Just look how much noise there is on the render with 0.1 Pixel Filter Radius:
0.1 Pixel Filter Radius – noisy
And compare it to the original with 1.5 Pixel Filter Radius:
1.5 Pixel Filter Radius – no noise
Much less noise. And the only setting that was changed between renders is the Pixel Filter Radius. Everything else remained the same. Including the amount of samples.
Usually you can use Post Denoiser to compensate for the noise. It should remove it. The problem is, that it will again smooth out the image. So you will firstly sharpen it with the Pixel Filter and then again smooth out with Post Denoiser, canceling the sharpness.
Post Denoised image
Because of this – it is better to restrain from using Post Denoiser if you aim to create a sharp render.
Daz3D Sharp Render Cons
It is important to say that there are some significant cones to making a sharper render. The most obvious one – rendering times. After lowering the Pixel Filter Radius – rendering times became longer for around 20% in my case.
Besides, adding sharpness has also added noise, as was already mentioned before. And we can’t simply add Post Denoiser to fix this. So the only solution is to increase the amount of samples. Which will increase rendering times even more.
Source Bridget 8 Pro Bundle by Daz Originals
Another problem is that you can’t sharpen things that are not high quality in the first place. Meaning that if you really want a sharp render – you also need to have sharp objects on the scene. But it is easy to fix, and we made a list to help you.
Daz3D Products for Sharper Renders
So if you want the sharpest image – you also probably want the most detailed textures for your characters. So there would be more details that could be sharpened. Let’s start with the Male products:
The CB Habben HD For Genesis 8 Male by Daz Originals & CynderBlue is the first product of our list. It is a hand sculpted highly detailed figure with options to add even more detail.
Source CB Habben HD For Genesis 8 Male by Daz Originals & CynderBlue
Another good example is the Shogun HD for Genesis 8 Males by Luthbel. It is one of the most detailed and high quality models out there. This product will produce highly detailed stunning renders even without sharpening.
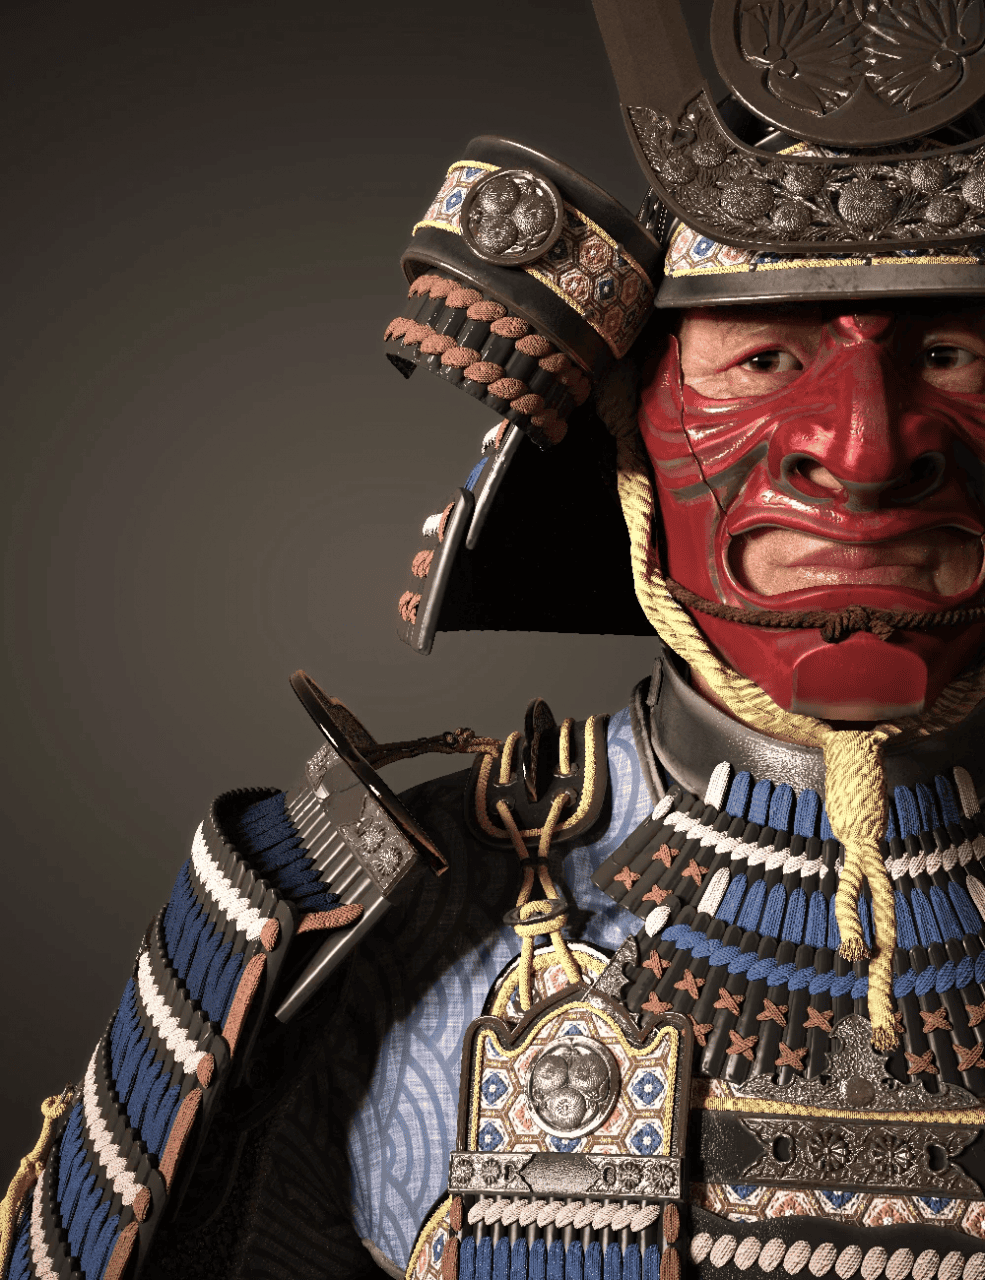
Source Shogun HD for Genesis 8 Males by Luthbel
And the last for the Male products is the Yonni HD for Genesis 8 Male by Daz Originals & Emrys. A high quality character that displays a young fitted man. The figure even has tattoos on their body that may produce something interesting if you were to sharpen them.
Source Yonni HD for Genesis 8 Male by Daz Originals & Emrys
Now for the Female figures. Starting with the Mst Ellison HD for Genesis 8 Female by Mstene. The futuristic dystopian 3D model in a theme of cyberpunk. It is perfect for neo-futuristic renders.
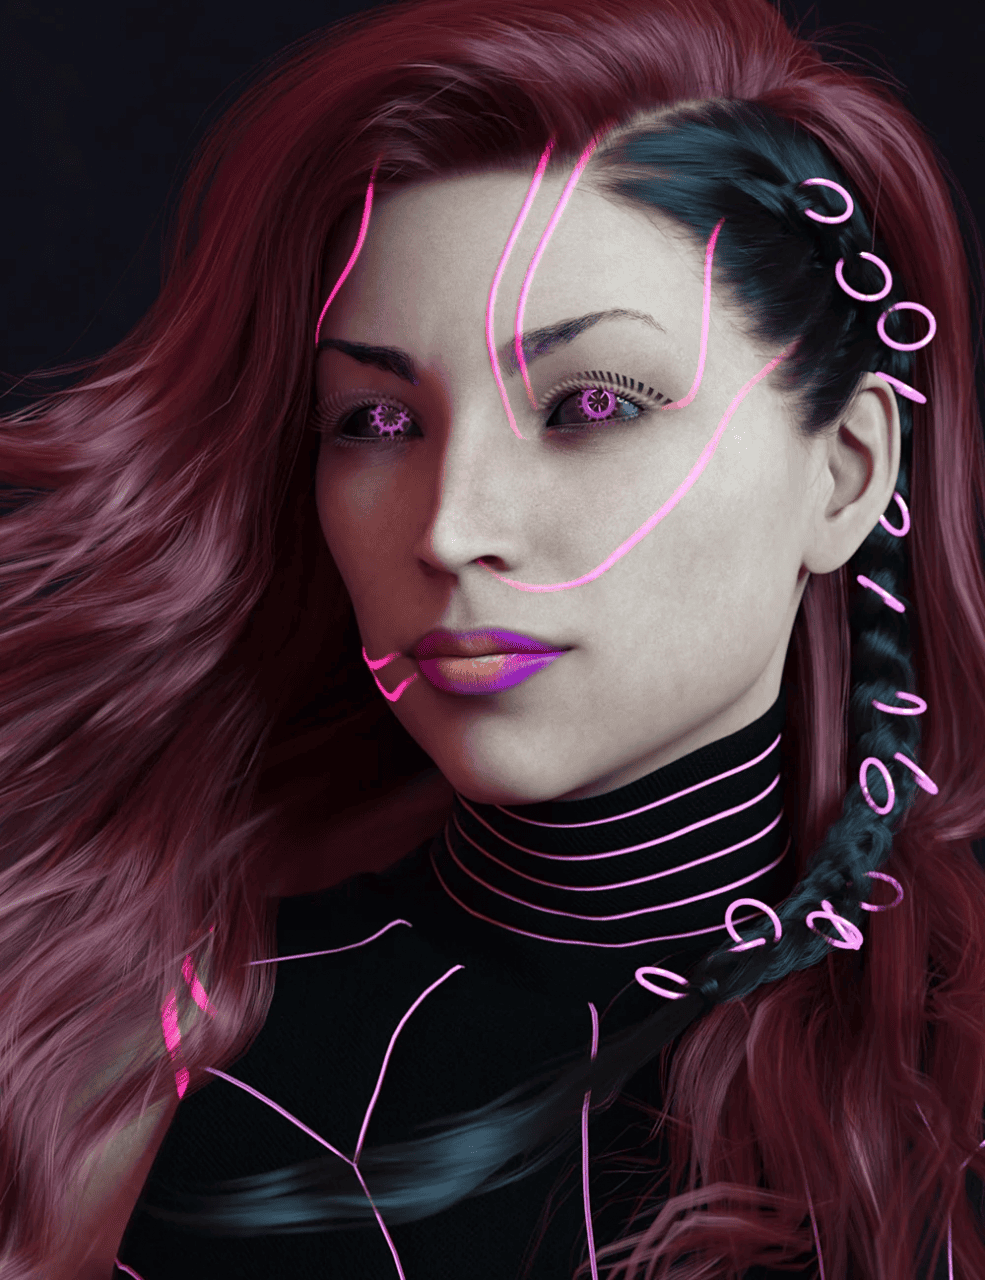
Source Mst Ellison HD for Genesis 8 Female by Mstene
Shin Yeon HD for Genesis 8 Female by iSourceTextures is a high-definition model of an Asian woman. It has quite a realistic and detailed skin, so it would be a nice fit for our purposes.

Source Shin Yeon HD for Genesis 8 Female by iSourceTextures
Last but not least is Oda May HD for Genesis 8 Female by Daz Originals & Kooki99. It depicts an olderly woman. The fact that she is old makes her an even better fit for the sharpening purposes. As old skin usually has a lot more details such as wrinkles and others.
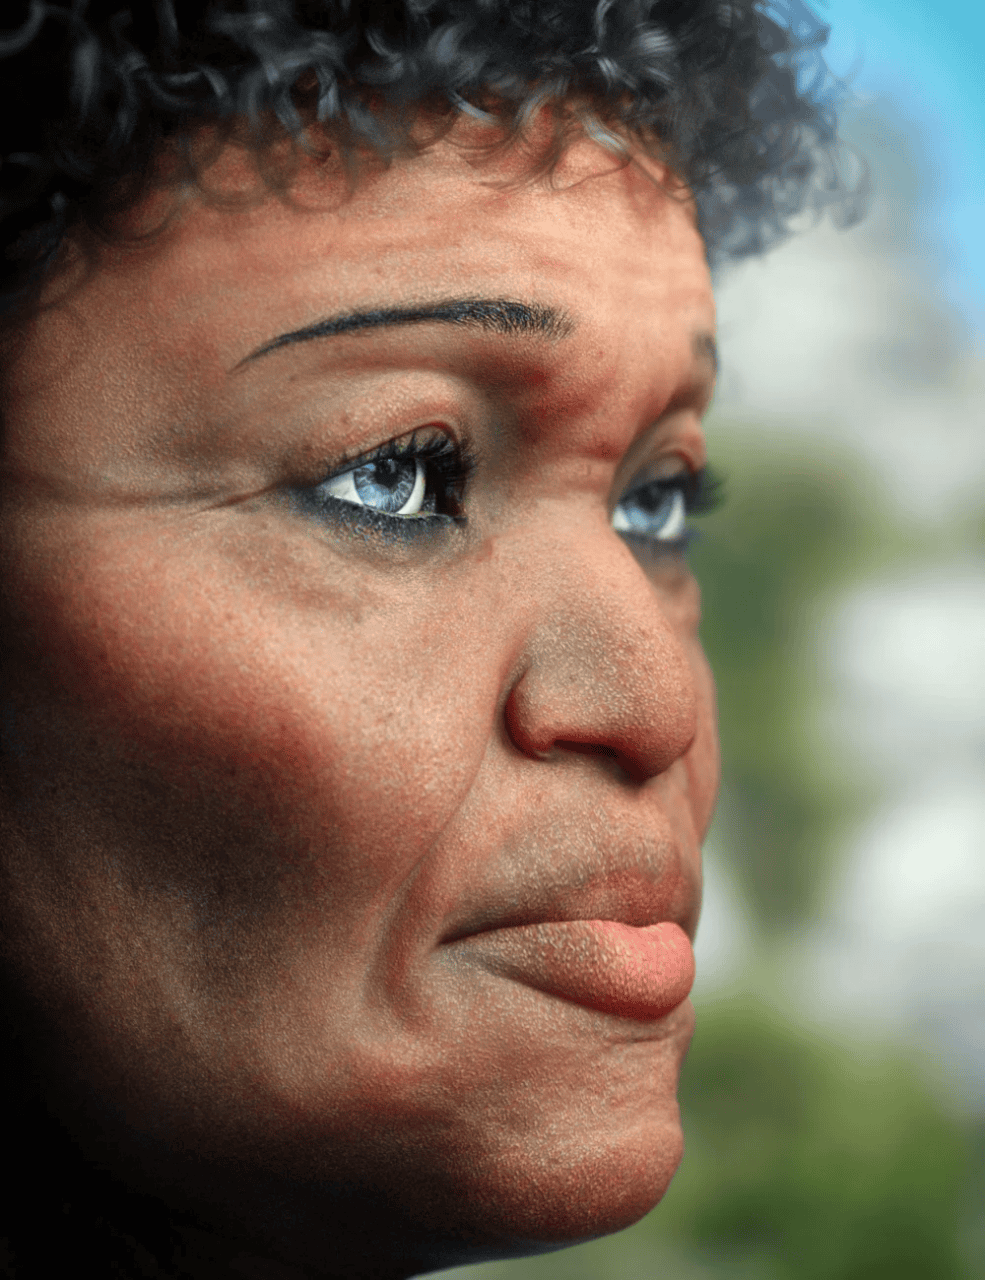
Source Oda May HD for Genesis 8 Female by Daz Originals & Kooki99
Conclusion Daz3D Sharp Render Tips
If you generalise – sharper renders are a bit better than regular ones. They look more prominent, details are more visible and image overall is sharper. But this comes with a cost of quite longer renders if you would compensate for the noise.
So the question after seeing all the mentioned Daz3D Sharp Render Tips is really whether you want a sharper end result with longer render or a smoothed out one that is faster? I would say that the best solution to this would be to try and balance this. Set the Pixel Filter Radius to something that will make your image sharper but would not require you to change the Max Samples amount to compensate for it. See also our other Daz3D Tutorials and 3D Model Reviews.