This article explains everything about how to save a character with clothes and hair in Daz3d. We will show several ways how to do it within Daz Studio. Daz Studio allows users for a lot of customization so that you could create something unique that you truly could call your own. And in the case when you created your own full character you of course would want to save this character and all of its assets such as clothes, hair, pose and others.
At first glance there is no easy way to do that. To save your character for later use. But in this article we will show you not one, but two easy ways how you could do that. They are quite similar but still different.
Daz3D Save Character with Clothes and Hair First Method
To save character with clothes, hair and pose we will use what is called presets. They allow you to create your own item that would be seen and used in the “Smart Content” tab. We already used presets in the How to Save & Combine & Reset a Pose in Daz Studio.
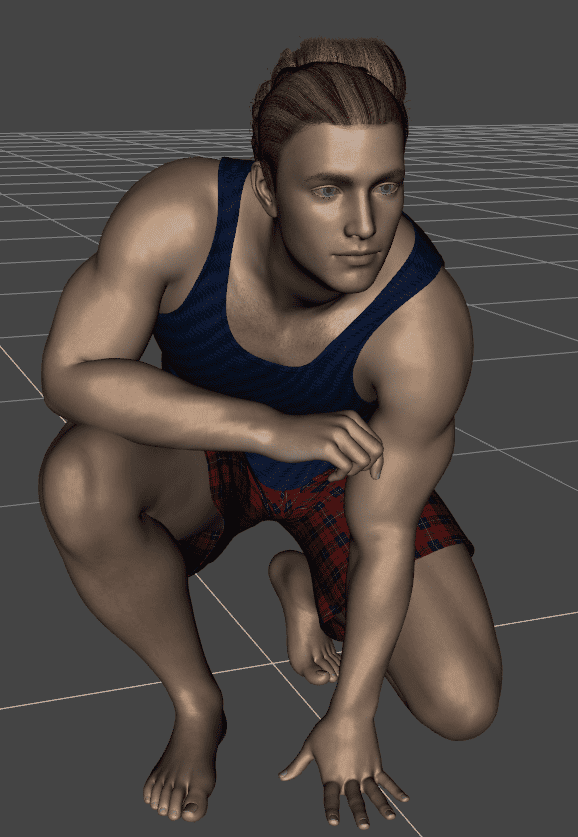
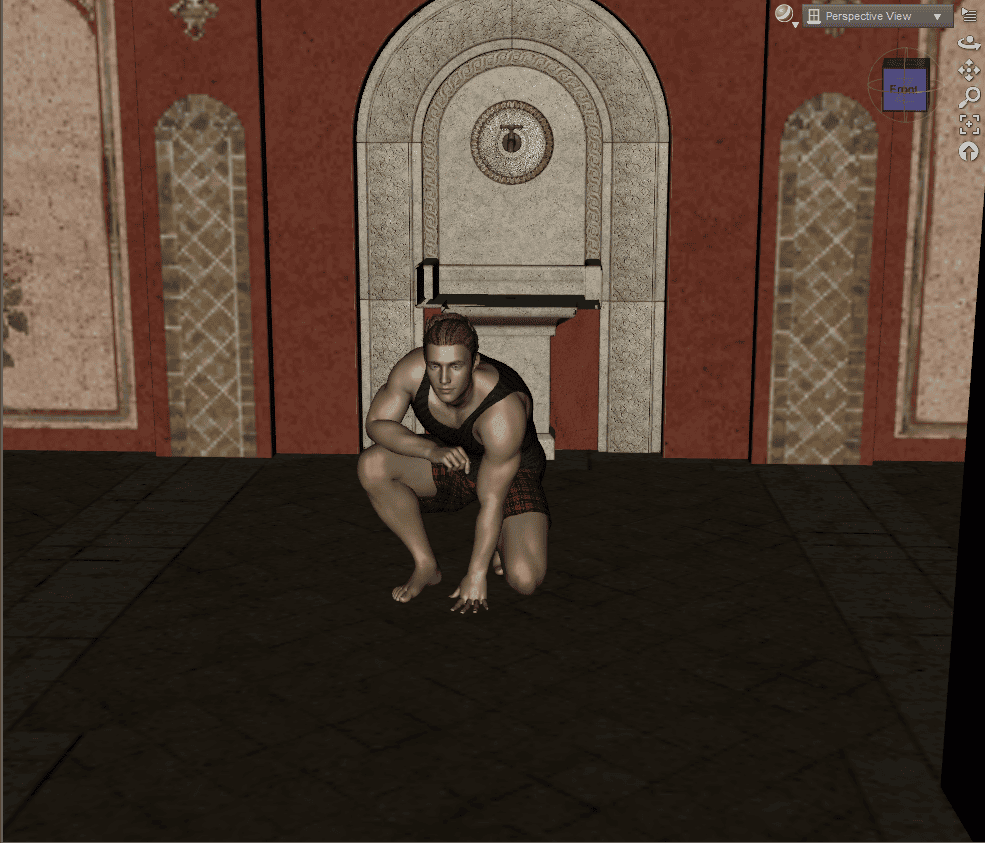
First of all – we will need a character that we will make a preset of. I have created some default Genesis 8 male with default clothes and hair. Applied materials and morphs to make it a bit more unique.
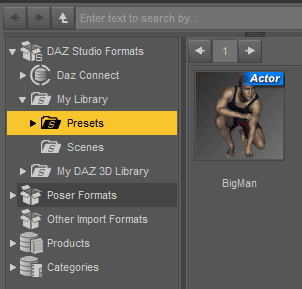
Now we will save this character. For this, open the “Content Library” tab and there find the “Presets” folder. You can create a folder yourself if you don’t already have one.
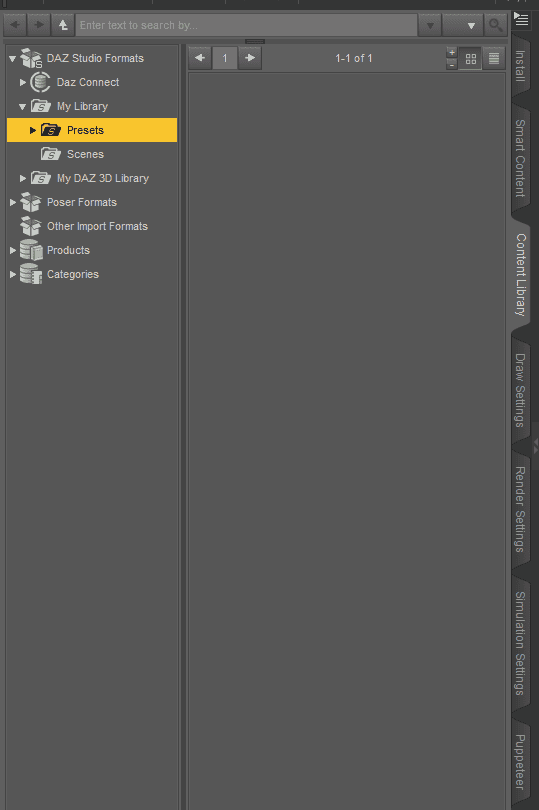
At the bottom of the “Content Library” tab you should see a plus and minus buttons. Click on the plus button to create a preset. Drop-down window should appear with a lot of different options.
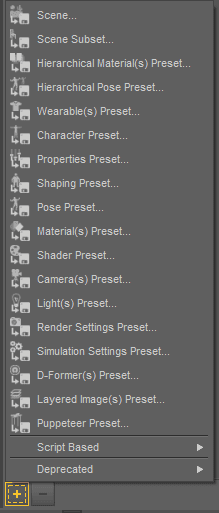
You can see that there are a bunch of presets that you can create. Ranging from settings presets to whole Scene presets. There is a ”Character Preset” option, that sounds like exactly what we need right now. So let’s press it with your character selected in the scene.
In the appeared window don’t change the location and just write the name of the preset and accept everything without further changes. A new preset should have appeared:
Now we need to test this preset. Create a new scene or hide your current character. Then double click on the preset.
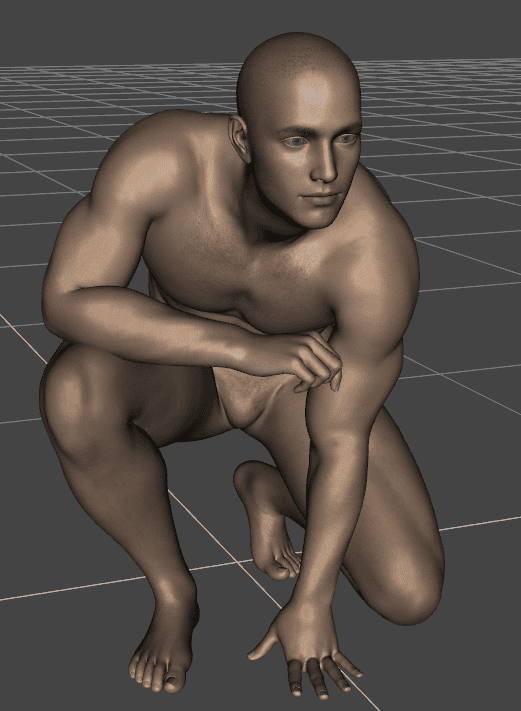
This is probably not what you have expected? Character’s pose and morphs are saved. But all of the assets such as clothes are completely lost. That is because of what “Character Preset” does. It saves character, pose and morphs only. But worry not, we will work this out.
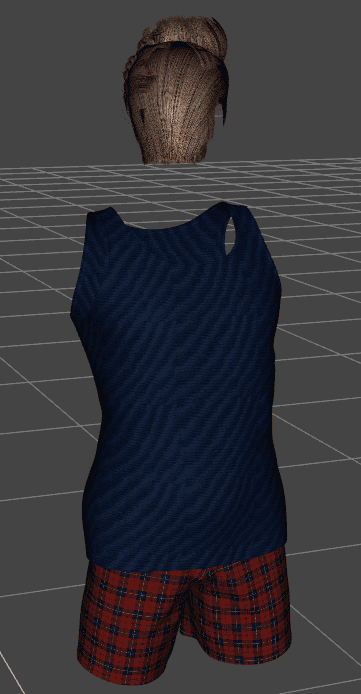
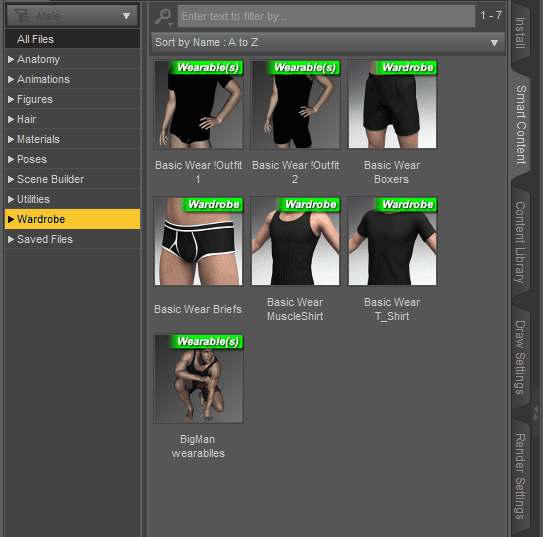
Now we should come back to the initial character that had all the assets and create a new, different preset. With the character selected create a “Weareable(s) Preset” in exactly the same way as you did previously.
This preset makes exactly what you have expected of it – saves all wearables of the selected characters. So double clicking my new preset adds all of the assets of my initial character:
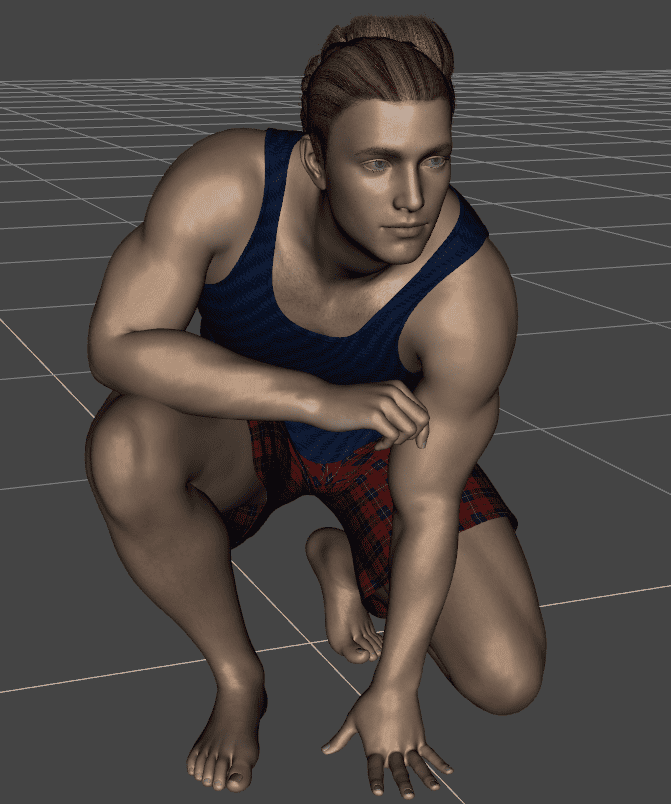
And now you can combine these two created presets. First add a character preset and then add wearables to it. Result would be identical to the initial character.
And now if you go to the “Smart Content” and “Saved Files” option there – you will find your presets there.
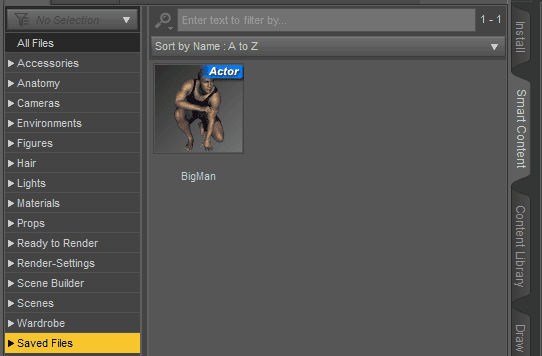
Furthermore, you can click and drag them into any of the categories that you like. For example Character Preset can be moved to “Figures” category and Wearables Preset moved to the “Wardrobe”.
Using these two presets you can add your character and all its assets to any other scene with ease.
Daz3D Save Character with Clothes and Hair Second Method
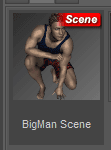
There is an alternative way of saving your character for later use. And it too utilizes presets. So again open the “Content Library” tab, “Presets” folder and select your character. Press the plus button and select “Scene Preset” this time. A new preset would be created:
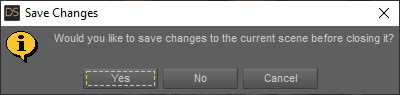
When you will double click on this preset it will warn you that everything from the current scene would be lost.
So if Scene Preset does just replace current scene with the preset one, then how is it even a viable way? Because you don’t need to replace it.
If you already have a scene with, for example, an environment, you can right click on the scene preset with your character and select the “Merge into Scene” option instead of the default “Open as New”.

This will merge your two scenes by adding preset to the existing scene without replacing or overriding anything.
If you are looking for tools that can then help with the posing have a look at the following two.
Source Ultimate Pose Master
Or the Pose fusion bundle
Source Pose Fusion Bundle
Conclusion
We introduced two ways of creating presets of a character that you can use in your work with Daz Studio. First can be a bit easier to understand and utilize. Though the second one creates only one preset that you need to work with and is a lot more flexible. You can decide for yourself which you like better.