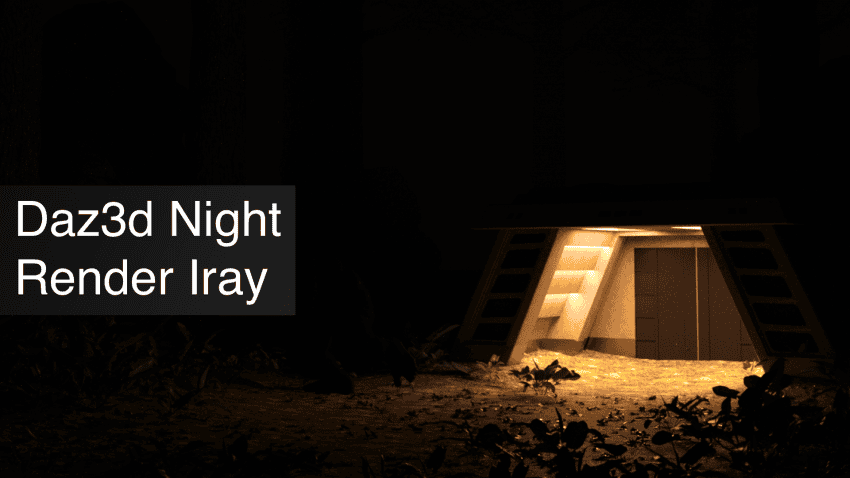
Do you want to learn more about a proper Daz3d Night Render Iray setup? Creating a proper lighting setups is something anybody learns over time using Daz Studio. Creating day lighting is a main way to light a scene. So there is a lot of content regarding this topic and even we have Daz3d Iray Lighting Tutorial.
But what about night scenes? How to change scene to night? You meet night scenes a lot less often than day scenes. It is simply because creating a good night lighting is not as easy. You see, human eyes are really sensitive and it is near to impossible to recreate what we see at night using accessible technology.
If you prefer watching a video, then see below, otherwise keep reading.
Even not in a 3D environment, in real life – it is also hard. That is why when a movie is being filmed it is a common practice to use a bunch of different techniques to avoid really filming at night.
This article will look exactly into how night scenes can be created in Daz Studio. And how real-life techniques can be used in a 3D environment to simulate night lighting and a night scene.
“Day for Night” Method
First Daz3d Night render method is called the “Day for Night” method. It is a technique that comes from the filming industry and can be seen used everywhere. For example, modern Marvel superhero movies often utilize this technique.
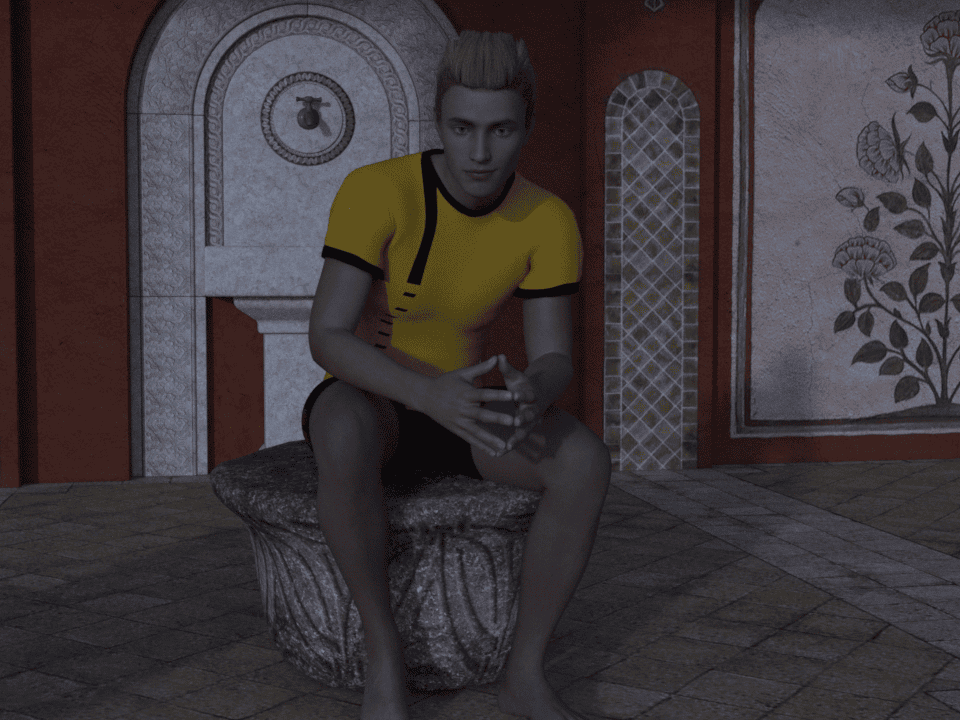
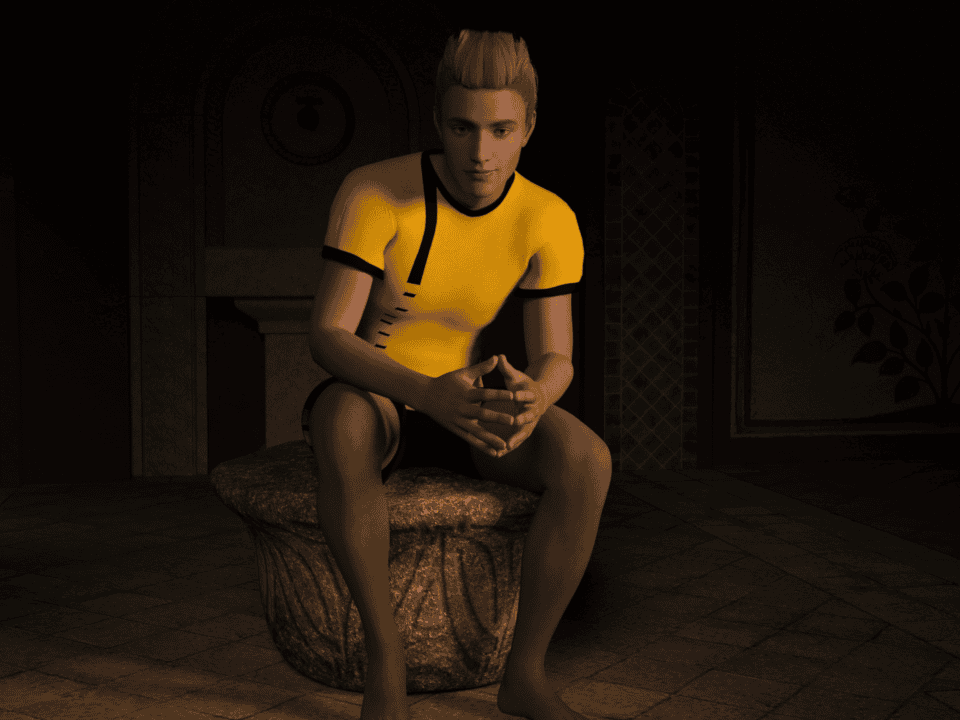
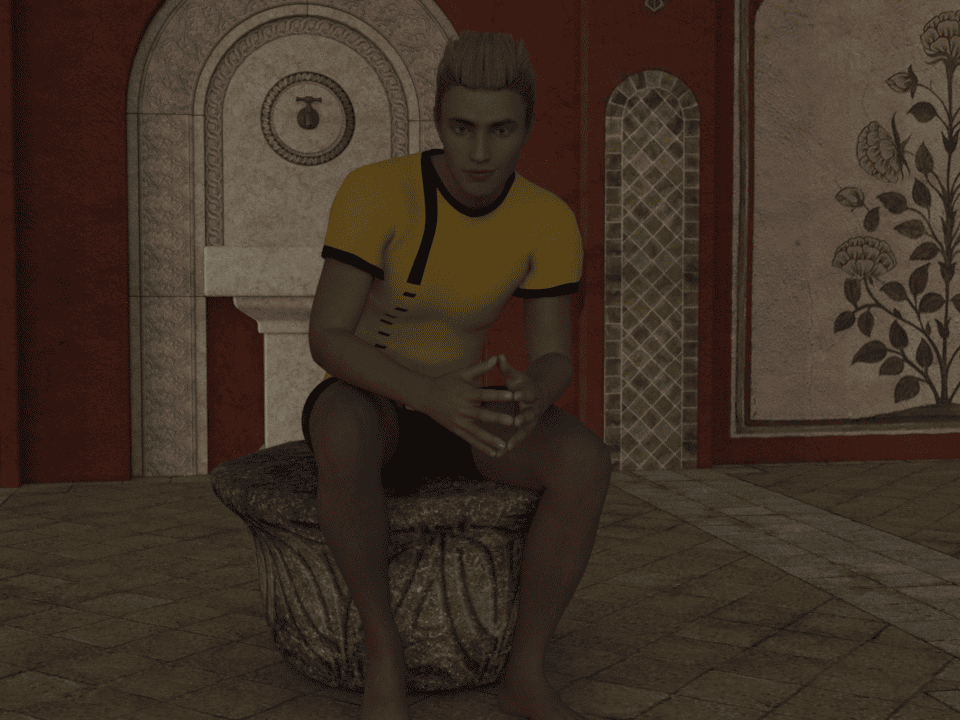
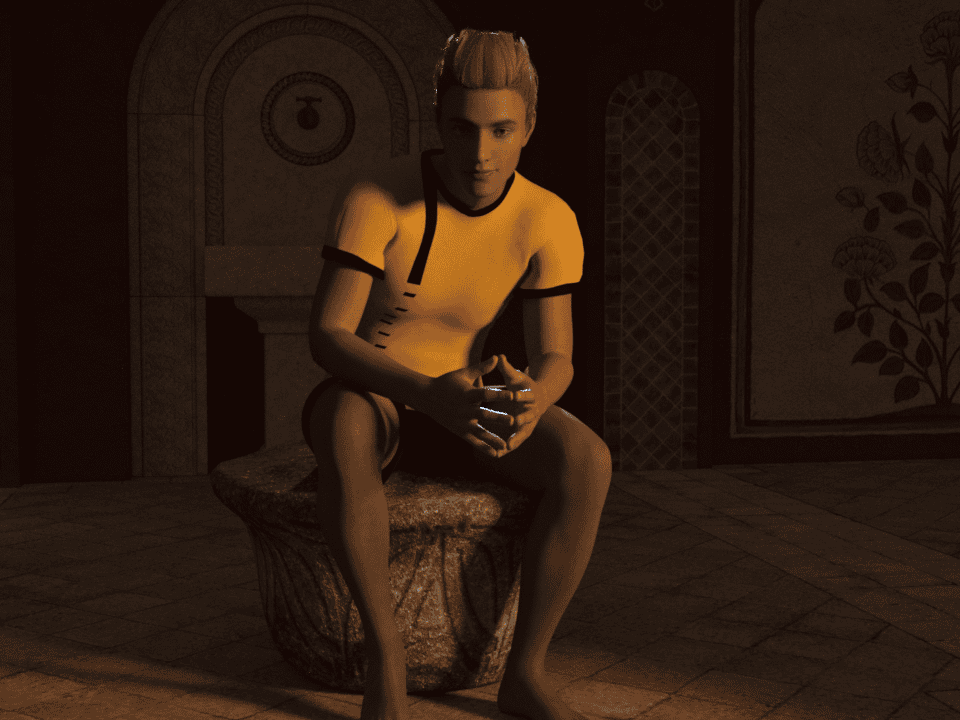
As was mentioned before, the human eye is a lot more sensitive than cameras and technology. This means that scenes situated in real night lighting won’t be good at all. They would be under-exposed and everything would be too dark, without a chance to see something. Here is an example of how scene would look with real life night lighting:
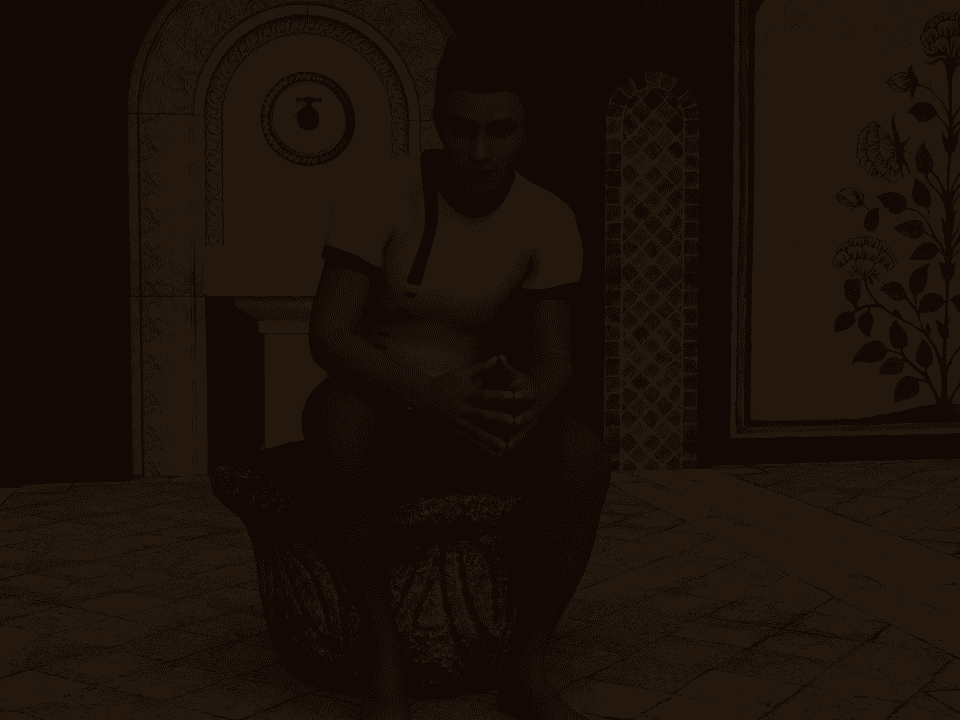
If you look closely, you can see the scene and tell that there is a man sitting. But it is too dark and clearly a bad render. You can’t see the face, details and practically nothing important.
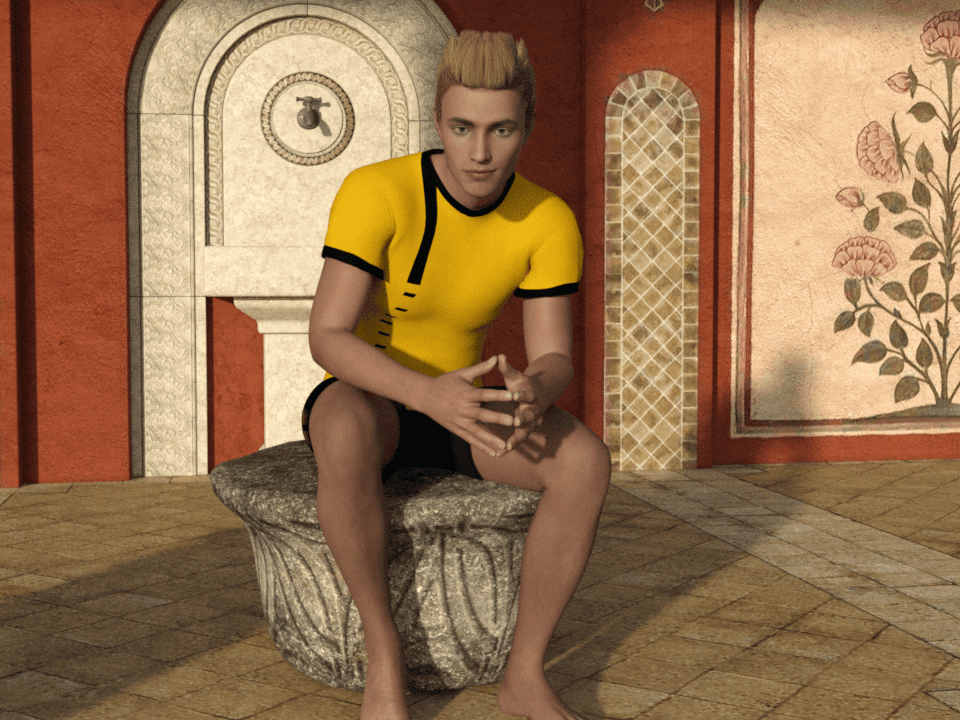
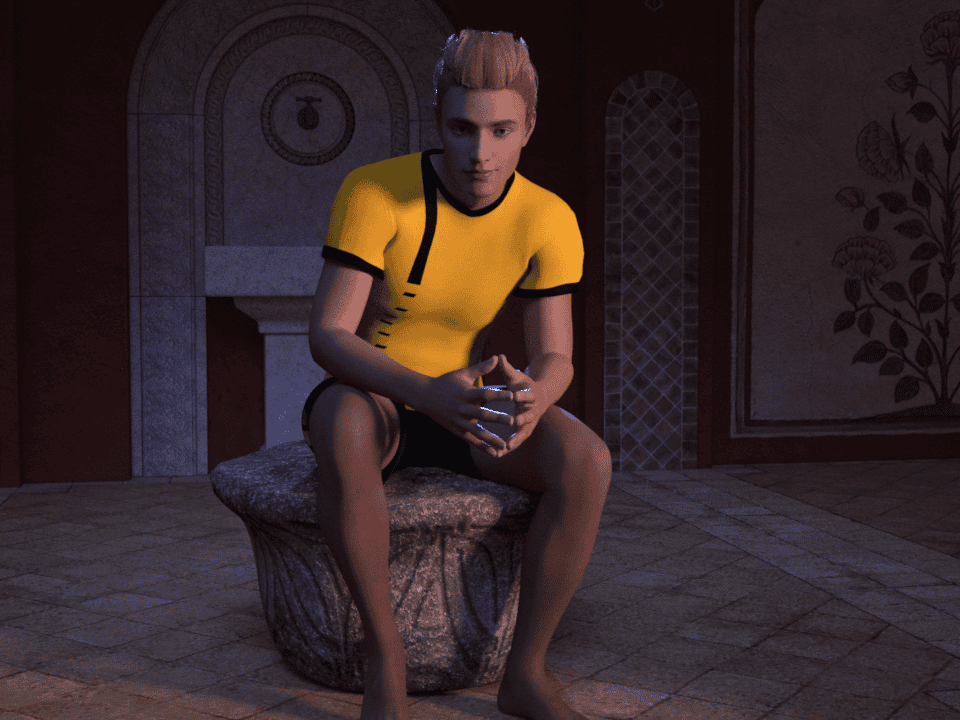
Here is where “Day for Night” comes into play. It works something like that: you make a normal scene with normal day-like lighting, and then use different techniques to make it look like a night.
It is not really a night, we just simulate it. Of course this can even be done in post production using some third-party software. But we will look hot to achieve night lighting effects using only Daz Studio.
“Day for Night” Using Sun-Sky
Firstly, for better understanding, let’s make something easy. Namely – we will use the Sun-Sky option from the “Environment” tab to simulate moonlight. Everything we are going to change in the settings can be found in the “Render settings” menu, about which we have an individual article – Daz3d Render Settings: Basics & Tips.
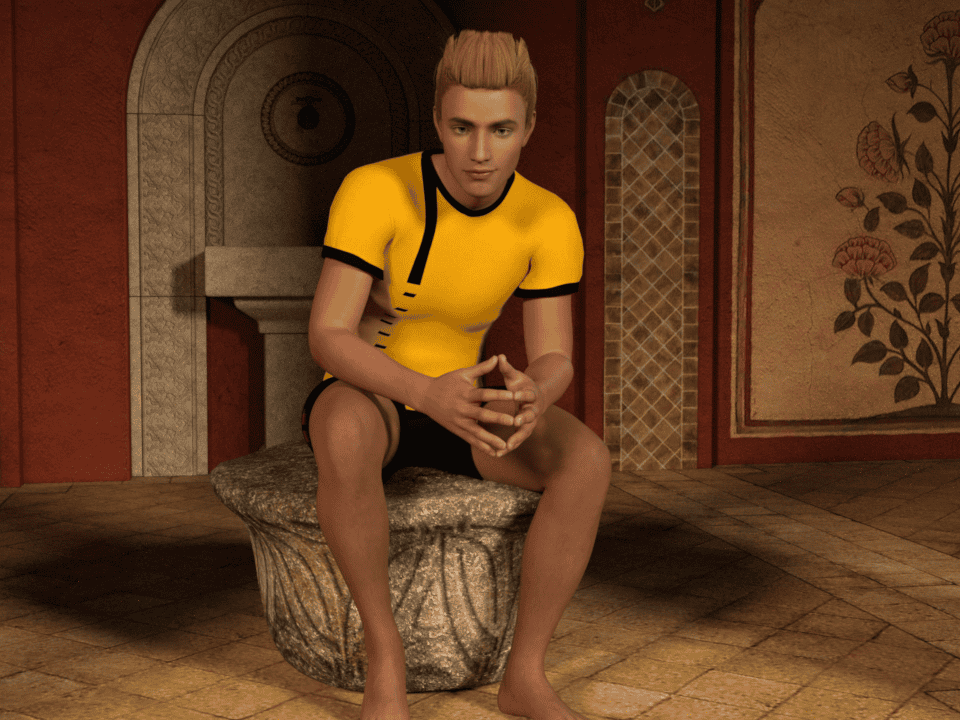
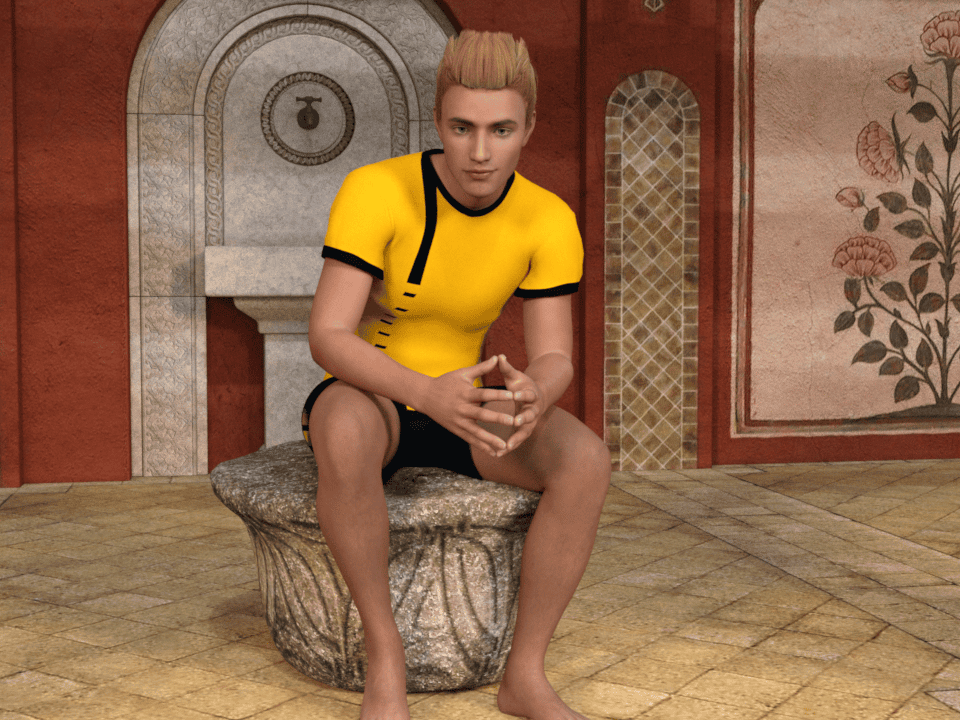
So in the “Environment” tab of the “Render settings” menu set the “Environment Mode” to “Sun-Sky Only”. Use Dome orientation and rotation options to make lighting look good. My scene looks like this:
Now for making it look like night. Firstly let’s adjust the “Sun Disk Intensity” setting. Set it to 0 to get rid of the sun intensity and create an even lighting. Also lower the “Environment Intensity” to something around 0.5.
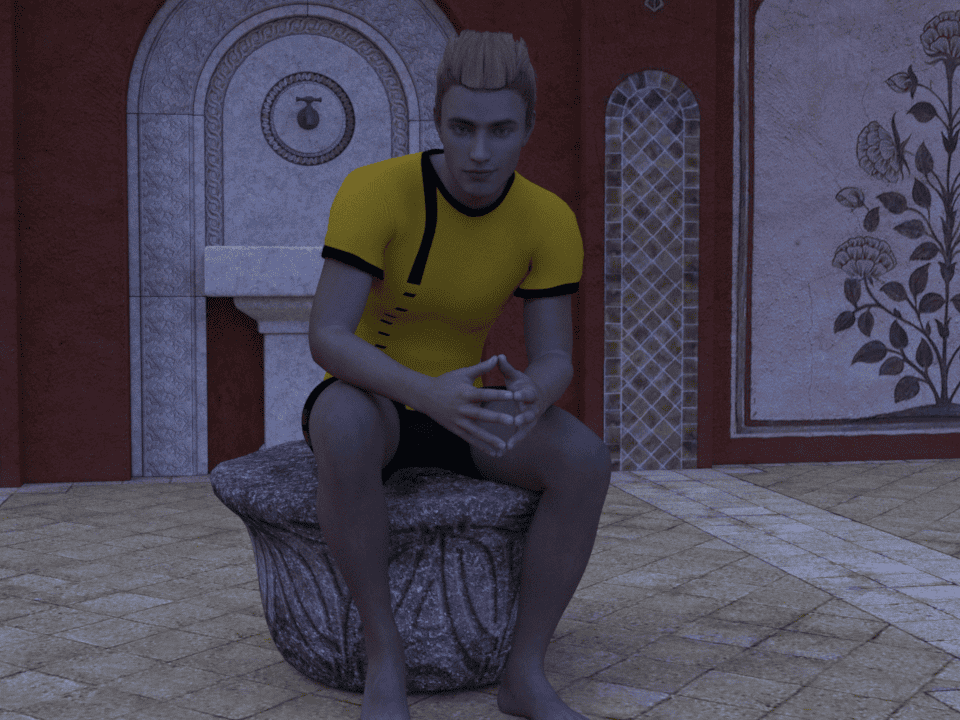
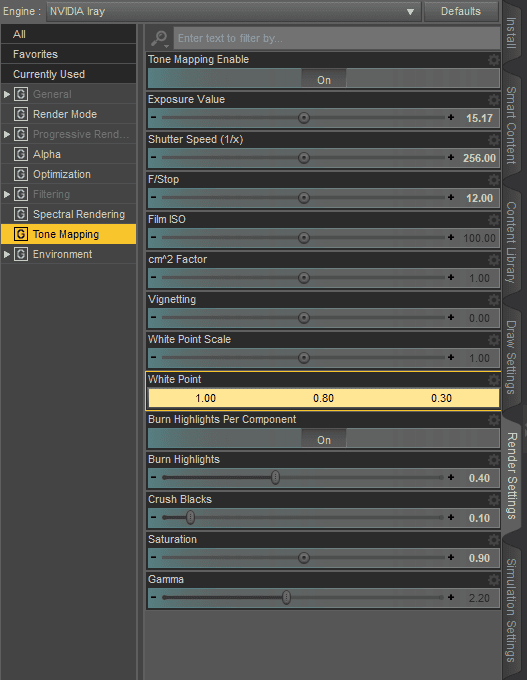
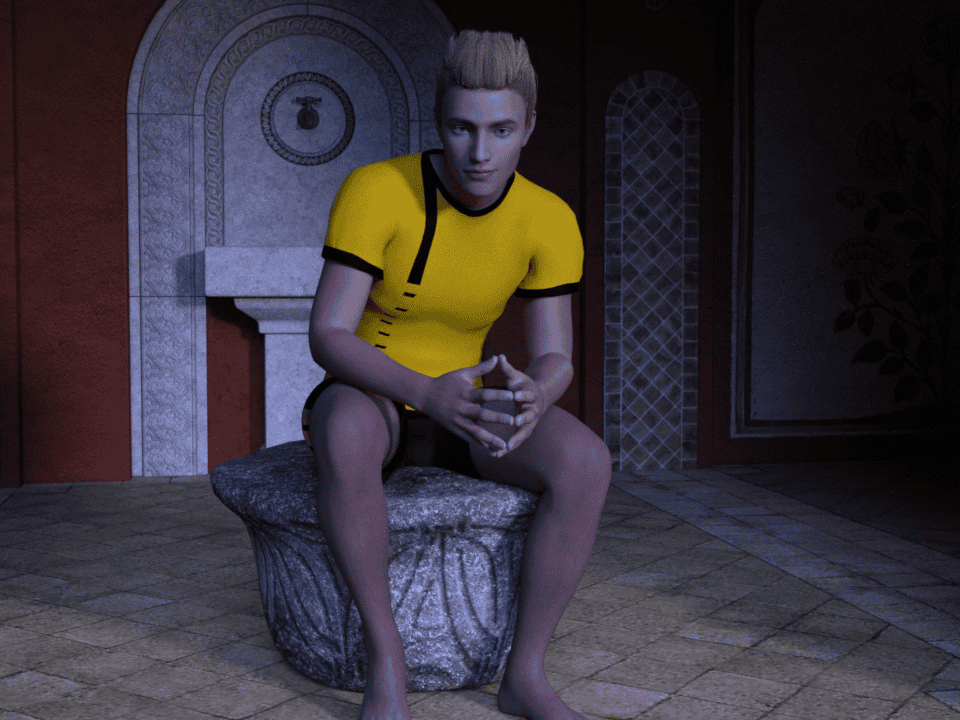
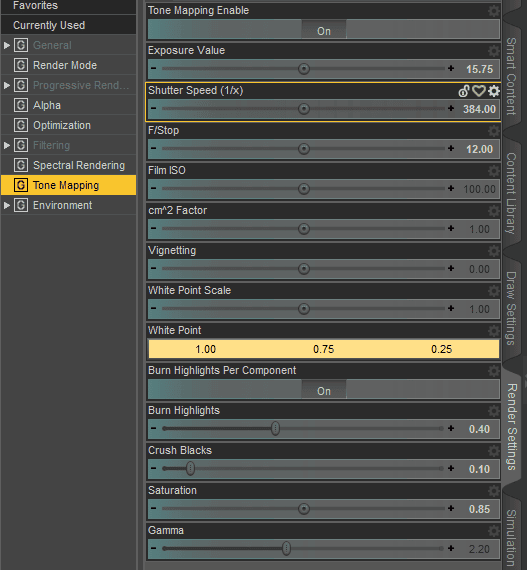
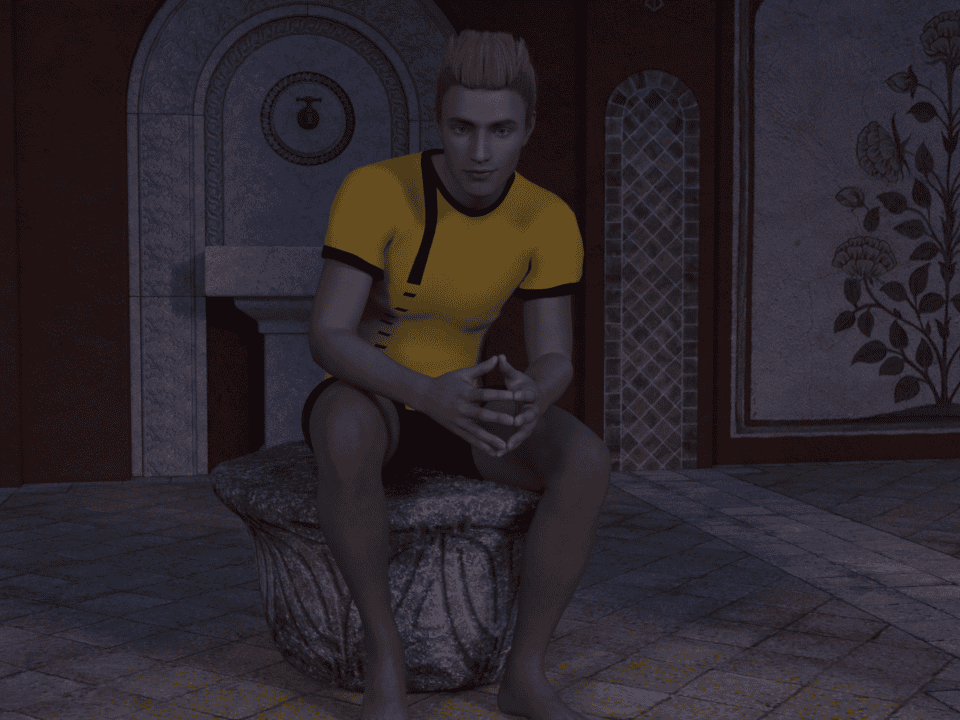
After that we will use the “Tone Mapping” tab to adjust the scene. More precisely – we will change the “White Point”. We adjust it, so the rendering engine would consider said color as white. If we change “White Point” from 1.0 1.0 1.0 to something more golden – this will make white colors look bluish. Which is exactly what we want. I did set “White Point” to 0.4 0.1 0.85 for this render result:
We can definitely see that this scene looks like a night. There are almost no shadows, which simulates nightly even lighting. This can be not the desired look though, that is why let’s make another render with shadows.
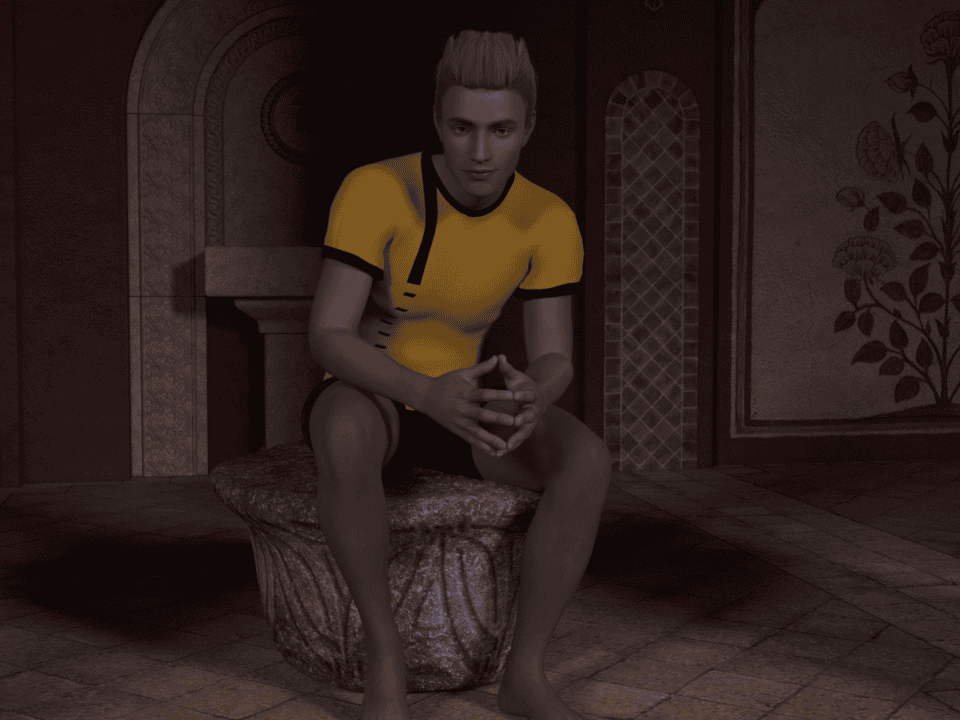
For this we will need to increase the “Sun Disk Intensity” from zero. Higher this setting is – more prominent are the shadows, but lighter the scene are. So you will need to balance out “Sun Disk Intensity” and “Environmental Lighting” for a good result.
My render settings were:
- Environment Intensity – 0.3
- Sun Dist Intensity 0.4
- White Point 0.4 0.1 0.9
“Day for Night” Using HDRI Daz3D Night Render
Also you can use the same technique explained above to make Daz3D night scenes with the HDRIs. You just choose any good and preferably even-lighted HDR image for your scene. Then lower its intensity and change White Point to something yellow-golden-orange.
I have used the same “White Point” as on previous render and set “Environment intensity” to 0.25. Result was pretty good:
“Day for Night” Using Lights Daz3D Night Render
Obviously “Day for Night” can be used also when you light a scene with the light sources like spotlights. There are two ways of achieving this effect that we will look into. But first let’s create a proper scene.
I have used standard three-point lighting technique. We have a Daz3d Iray Lighting Tutorial where we look into this technique and how to set it up, if you want to create something similar to mine:
First way is already familiar to us – “Tone Mapping” route. But this time we can’t just change the intensity of the whole scene, like we did with the environmental lighting. And instead of changing the intensity of each individual light – we can change more tone mapping settings.
In particular we will change the “Shutter speed” and “”F/stop” values. When we bump those settings up – render becomes underexposed and everything will look darker, as if we changed the intensity of all the lights on the scene.
Also don’t forget to change the “White Point” to something orange, to add a blue tint. If you will use orange and overall warm lights for the initial scene, then the result could be not as blue, but more blackish, like here:
Besides settings mentioned previously, I have also increased “Burn Highlights” and lowered “Crush Blacks” because this will simulate their behaviour similar to real life. The “Saturation” was lowered as well. Because in the night colors lose their intensity and become more bland.
Worth mentioning that changing the Tone Mapping instead of fiddling with each light separately has its advantage. It generally faster renders. Meaning that increasing “F/stop” and “Shutter speed” usually decrease the amount of time needed to render. In my case it was faster for about 8-9%.
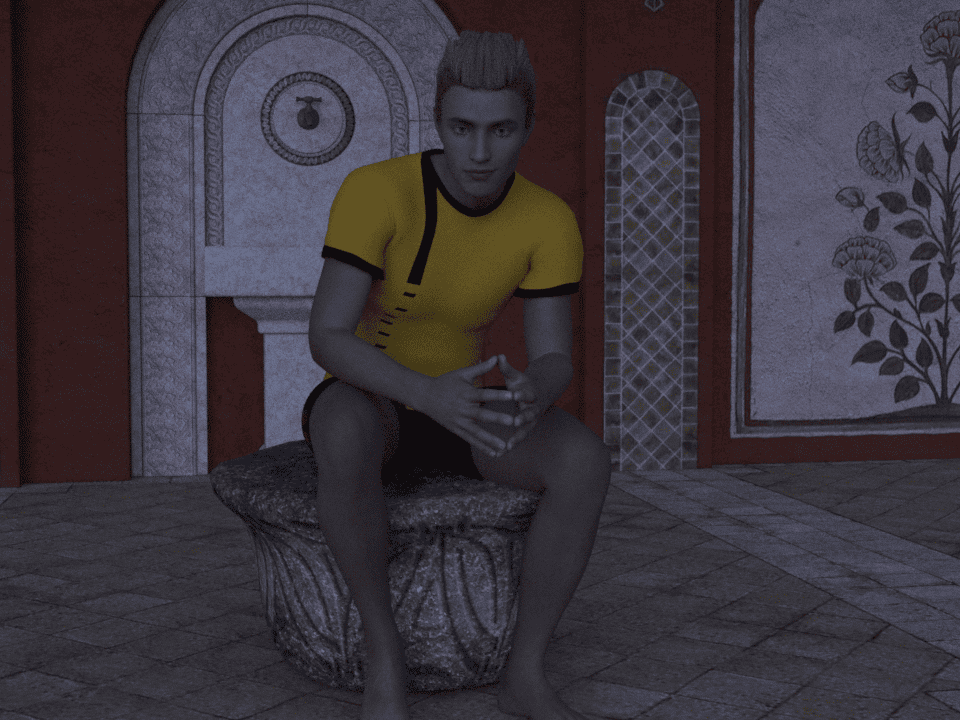
Earlier I mentioned that there are two ways of making “Day for Night” using light sources. And second way is about not using Tone Mapping and instead create the effect just using the lights themself.
For this I used the same three-point lighting setup, but changed the Temperature and Color of every light to make them cold and blue-tinted. Also i have rotated the lights a little bit, so they would point more around the character instead of directly at him.
As you can see, this way can be really similar looking to previous scenarios, when we used Tone Mapping. But we didn’t which can open more possibilities to use Tone Mapping for other purposes.. Also you can change highlights, blacks and contrast to make it look better. For the purpose of the tutorial I did not do that.
Contrast Daz3D Night Render Method
Last individual method that we are going to look into this article. This method uses lights and manual setups to create a contrasted scene that creates a feeling of a night. Goal here is to make part of the scene look dark and inconspicuous, while the other part will look bright and can be seen good.
There are a lot of ways to create a scene like this. I placed two lights. One in front of a character pointing down at him, and another is to the side. Setup looks similar to the three-point lighting, just without the backlight.
Front light is cold, big and white. It is used just to fill a scene with a bit of illumination. And side light is a brighter, smaller and a lot warmer to create a contrast on the scene:
As I said, there are a bunch of ways to create something like this, so I will show another example. I will use a “dramatic” light, that makes the scene look even a bit scary.
I created one spotlight, placed it behind the character, pointing at his back. Made the light very cold with a slightest tint of a blue. Source needs to be small, you can try and even make it a point. Also make the light bright. I turned on the front light from the previous render, so the front scene would not be totally black. The result was like this:

Night Render Using HDRI
If you want to create a Daz3d night render scene you might have wanted to just use an HDRI. Usually if you want to achieve some precise aesthetics – you can just find an appropriate high-dynamic range image, apply it to your scene and it is mostly done.
So why wouldn’t we just do the same thing here? Well, because it is at all not that easy. First of all you will need a good image. But creating a good night HDRI is not an easy task in the first place, so it is hard to find one.
This is because filming at night is hard even on itself, cameras are not as sensitive as the human eye, so they can’t show how everything looks for us. And creating an HDRI is even harder. That is why most of the HDRI night images would be either far too dark or too bright.
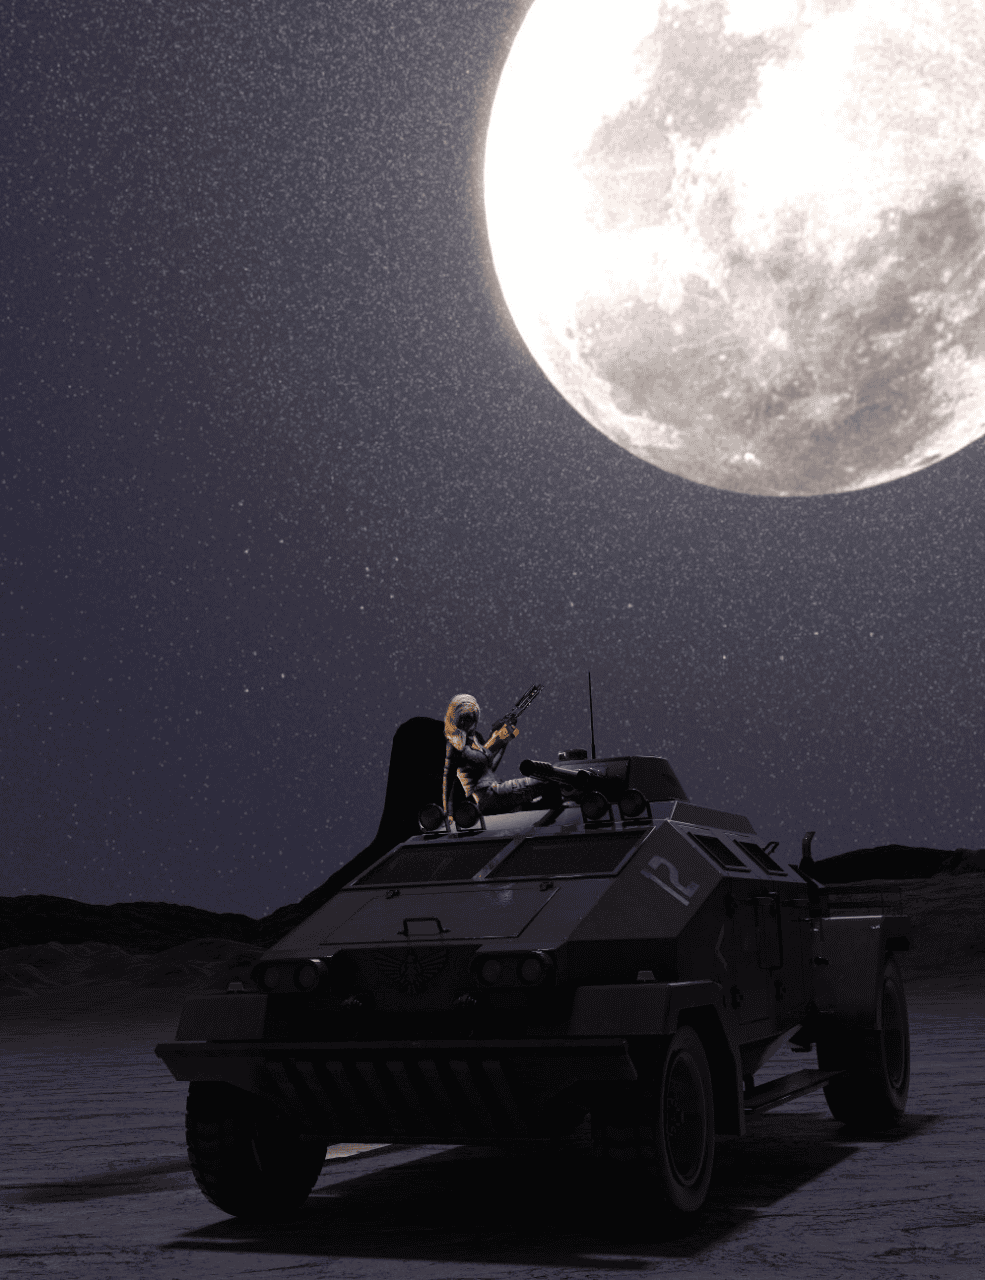
If you scroll up to the very first image of this article you will see how a scene with just a night HDRI can look like. But let’s try again with a different HDRI that I found on a free website – HDRI Haven:
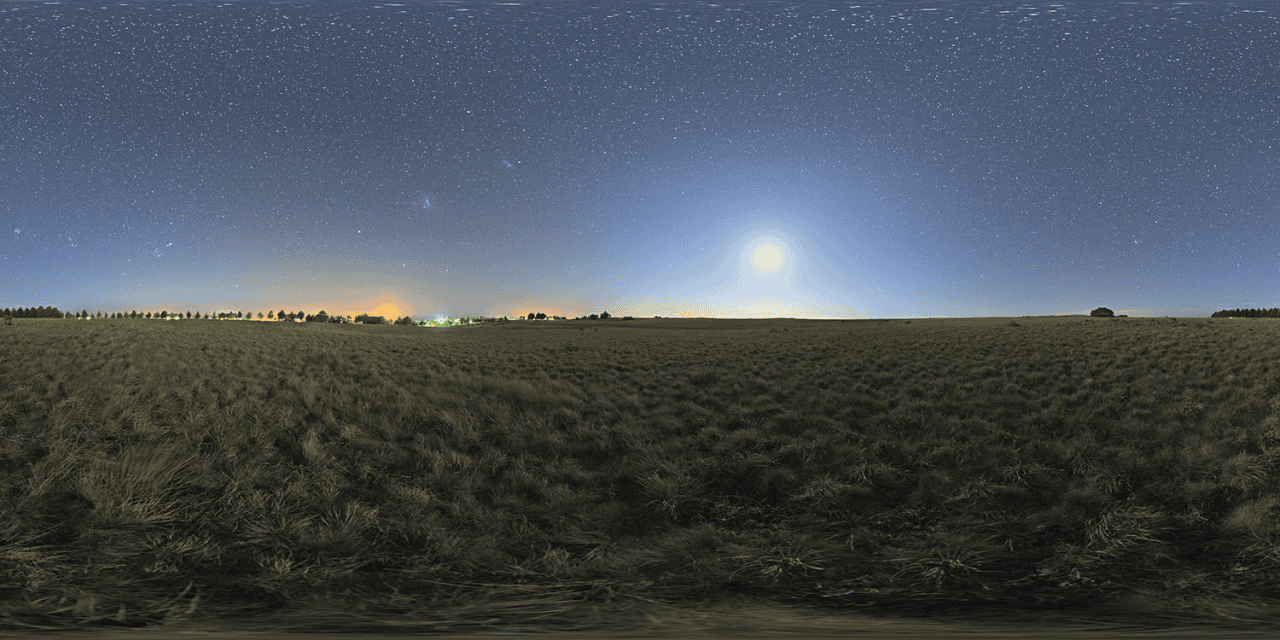
As you can see, it does not look like a real night, as it is far too bright. There are a lot of lights in a distance and a bright spot in the sky that looks more like the sun than a moon. But even this image will not provide a desired result, as applying it to the scene does not really look like a night:
You can try to adjust it, use “Tone Mapping” for a better result. But this will not even work always. And I don’t recommend doing that. It is much better to use night HDR images for the background lighting of your night scene, and combine this HDRI with some other type of lighting.
Combining Night Render Methods
We looked into a lot of different Daz3d night render methods in Daz Studio. But there is one more important thing to mention. And it is combining these mentioned methods.
Firstly how about combining everything we already learned about “Day for Night” technique to create a night scene. This should be one of the best examples of this technique.
Start with creating a good-lighted scene using source lights and environmental lighting. I just mixed my HDRI and three-point lighting scenes that were shown previously. It looks like this:
After that I did everything that was talked about in the according section. Bumped up the “Shutter Speed” And “F/stop”, changed “White point” to something close to orange and messed with other settings until I liked how it looks:
With these changes my scene looked like this:
Second render should be a bit more interesting, as I am going to combine my contrasted lights amongst themselves and also add a night HDRI to the scene.
I ended up using this HDRI for good environmental lighting combined with the warm side light and dramatic back light. I changed them a bit for a better composition. For example, I did lower the intensity of the dramatic light significantly, so it would not overpower everything:
You can also combine the contrasted lighting method with the “Day for Night” technique. It can be done by adding another light to the scene with a blue tint, as we did in the previous section. You can also try to mess about with the “Tone mapping” tab.
Daz Products for the Night Renders
As making Daz3D night renders in Iray is not an easy task and we learned that in our example, we created this list of products that could help you with creating a night scene in Daz Studio.
For starters, how about some quality HDR images. For example – Orestes Iray HDRI Enviroment – Haunted Grove at Night by Orestes Graphics. It features 5 images with 8k resolution situated at the night forest that would perfectly fit your haunted or magic scenes.
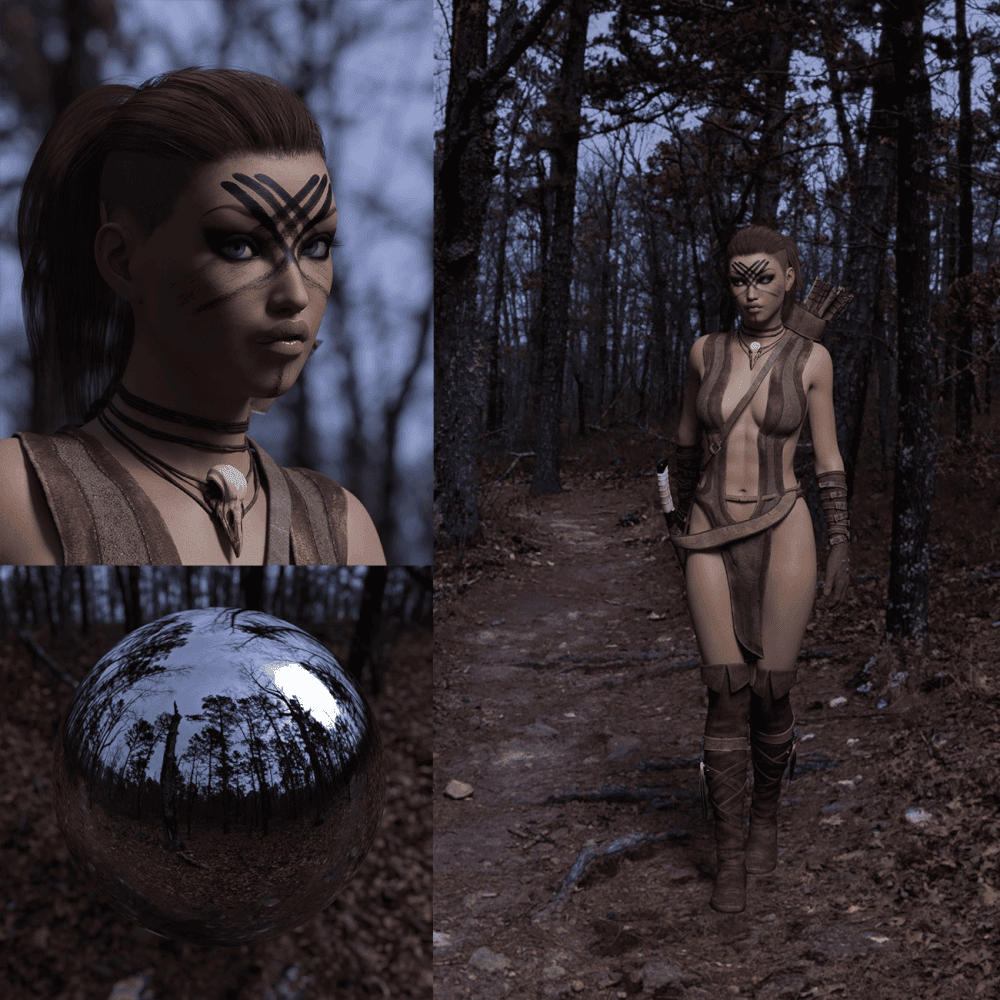
Source Orestes Iray HDRI Enviroment – Haunted Grove at Night
Another nice item by the same author – Orestes Iray HDRI Skydomes – Darkest Night. This set also consists of 5 HDRIs, but this time they are at 16k resolution. They feature a night sky with a lot of stars and sky lights.
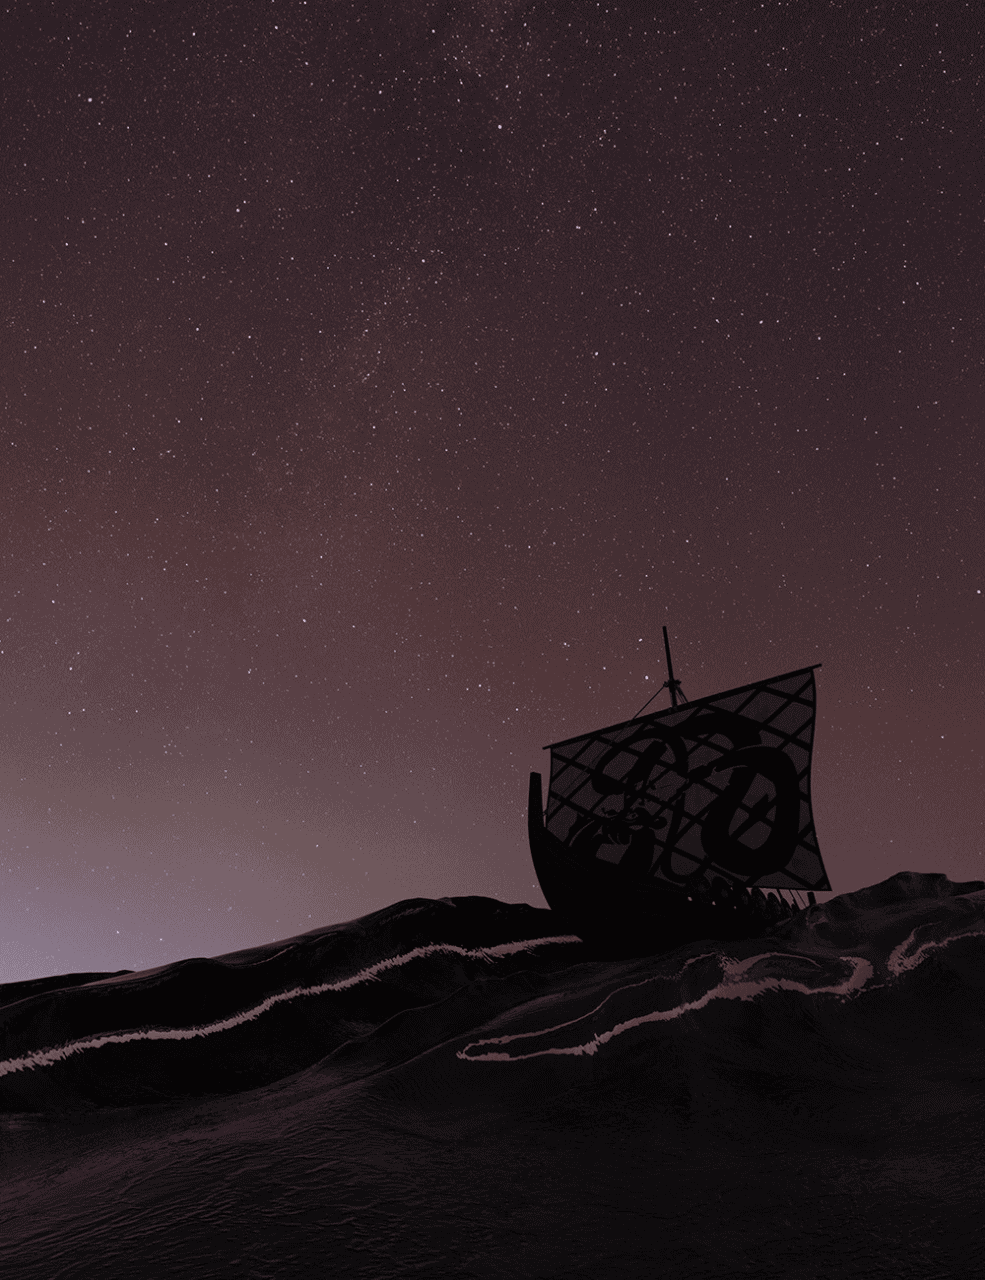
Source Orestes Iray HDRI Skydomes – Darkest Night
Probably one of the best HDRI sets available in the Daz3D shop for your night scenes is the SY Starry Sky Lights and HDRIs for Iray by Sickleyield. This set includes 12 night high-dynamic range images of the best quality. And what is especially awesome – it includes spotlight presets, including some presets close to ones we showed in this article.
Source SY Starry Sky Lights and HDRIs
Another interesting item is a Iray DS Lights – Streets Of Asia 2 By Night, artist: Dreamlight. It is not an HDRI, it is a full set that is ready to render out of the box. Includes all the textures, lights, objects and even camera presets.
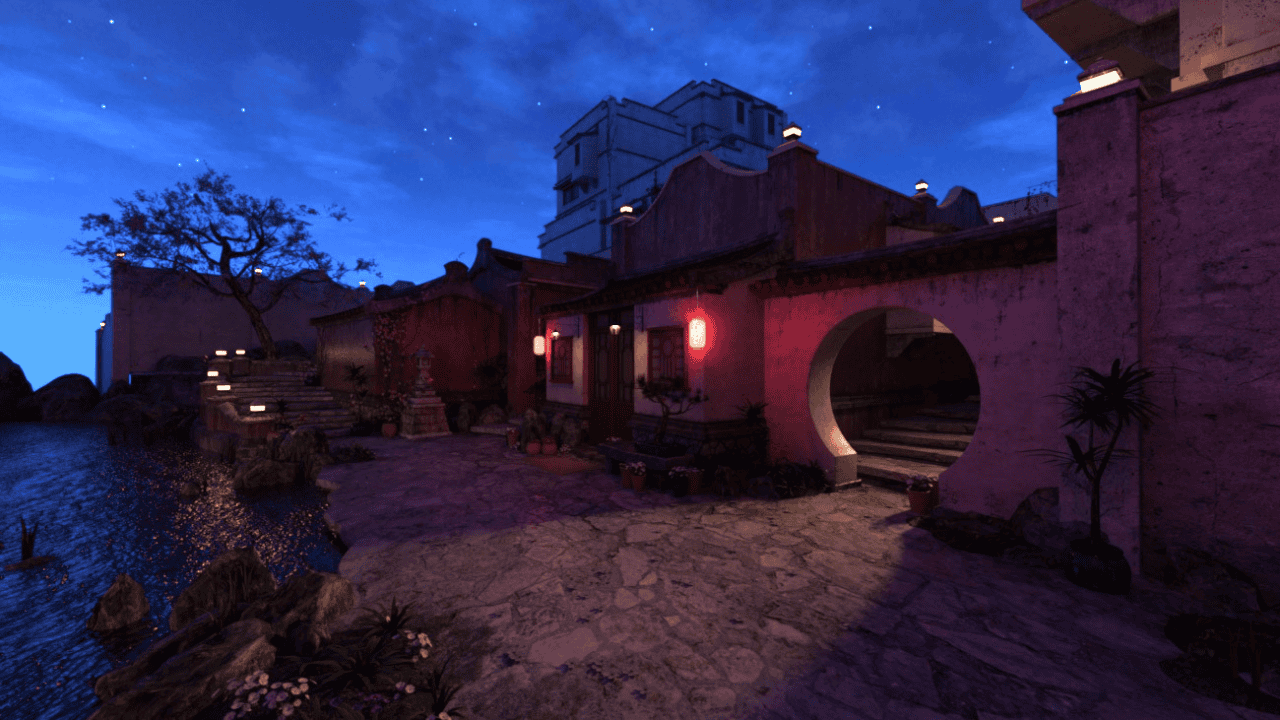
Iray DS Lights – Streets Of Asia 2 By Night
And finally, one of the best tools you can get for the night scene – Iray HDRI Reshade from the Daz Originals and KindredArts. This tool allows you to tint your HDR images without affecting your overall scene lights at all. So instead of making your scene “Day for Night” using “Tone Mapping” and fiddling with different settings – you can simply use this tool.
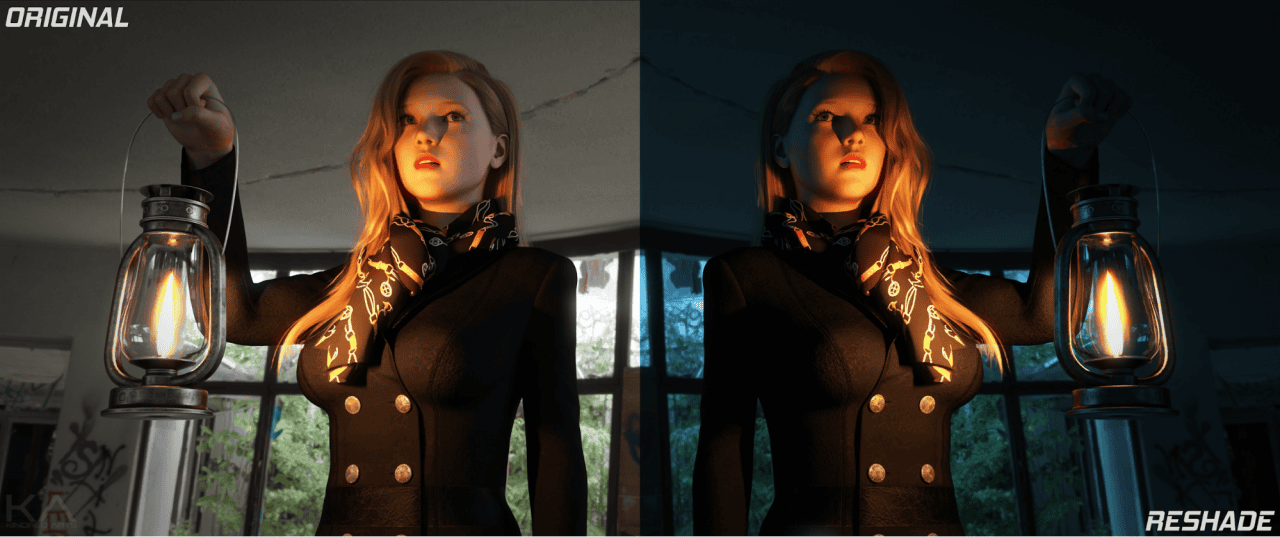
Source Iray HDRI Reshade
Conclusion
Creating night scenes is not as easy as it might seem. But we introduced all the main Daz3d night render ways that you can use to create a night scene. You can change your scene and make them dark using the “Day for Night” method. Or you can create a scene yourself by using contrast lights. But most importantly – you can combine all these methods to create the best night scene there is. And to help you with that we showed you a list of products that will make your Daz3D night renders easier.