This Daz3D How to Edit aniBlock Sequences Tutorials shows you step by step how you can modify and save an exiting aniBlock animation in Daz Studio.
aniBlocks are blocks of animation information. Using these blocks you can very easily create animations. Today we are going to introduce you to handling these aniBlocks and editing them. And teach such things as making keyframes out of an aniBlock.
If you prefer to watch as video, see below, otherwise continue reading.
Using aniBlocks
The first thing that you need to know about aniBlocks is that they are used in aniMate tool. aniMate is the tool that helps you with animating and aniBlocks is the main way of doing so. Generally, aniMate is a paid tool and most recently is aniMate2 version. But you don’t have to buy it, because there is a free aniMate Lite version that is built-in the Daz Studio.
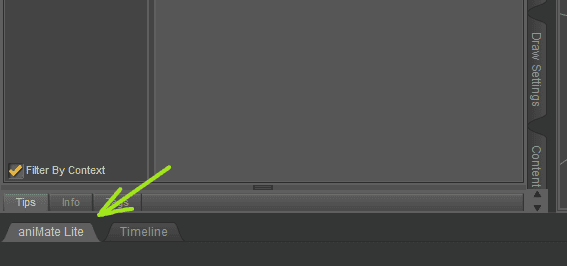
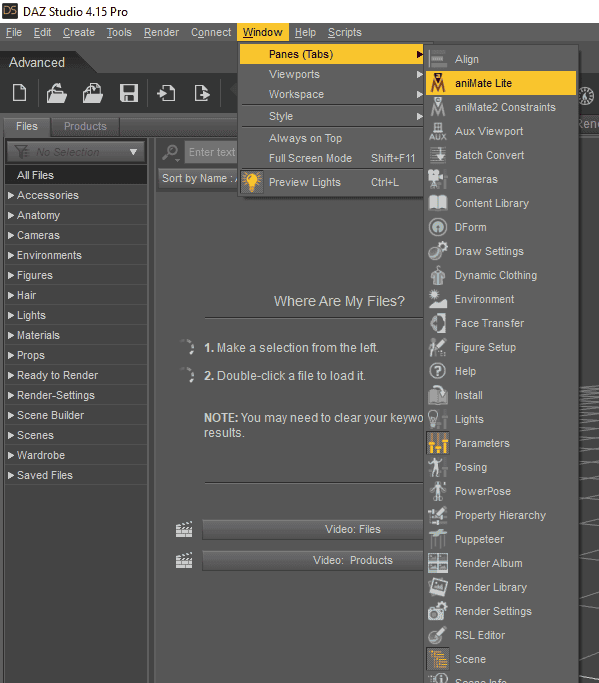
If it is not already open there – you can always open the window yourself. For this simply go to the Top bar > Window > Panes(Tabs) > aniMate Lite.
aniMate Lite is basically the same thing as aniMate2 but just a bit limited. For a simple and casual animation it should be good enough. Especially if combined with the default Timeline tool.
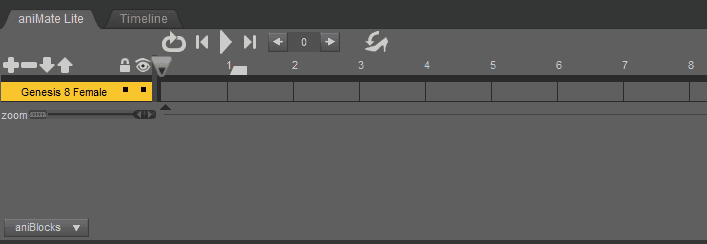
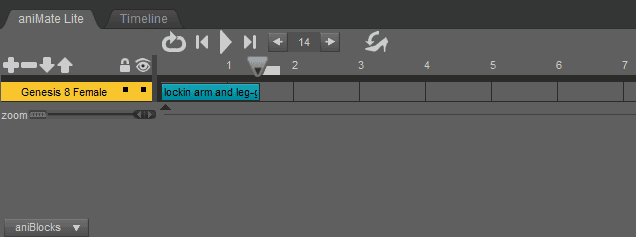
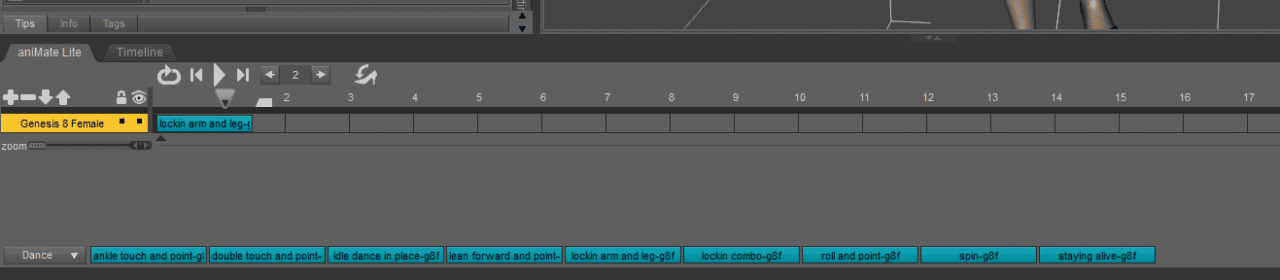
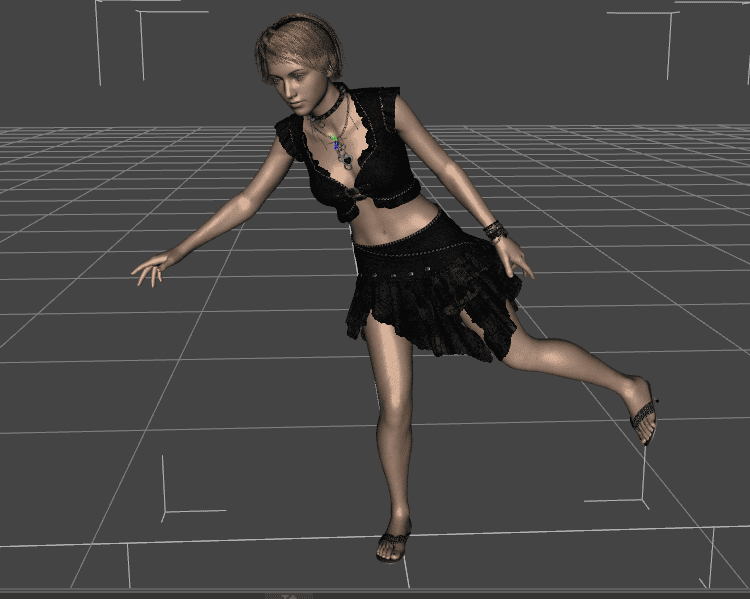
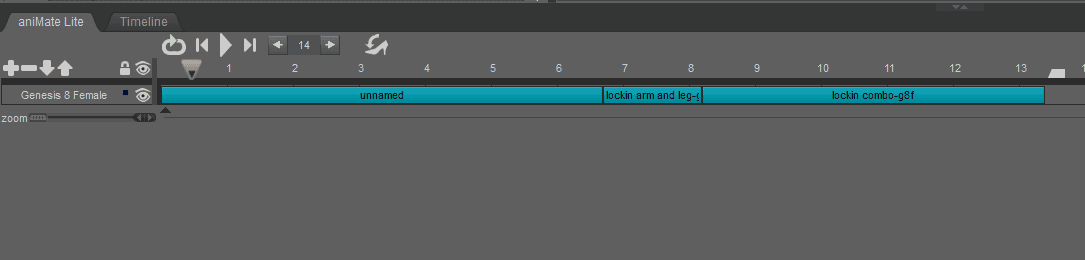
The interface is fairly simple. There is a figure that we are animating on the left with a timeline on the right with a playhead. On top there are all the main buttons that you are going to need to control an animation such as the play and loop buttons.
You can find all the available animations in the Smart Content, same as with any other asset. Select the character and open the Animations tab.
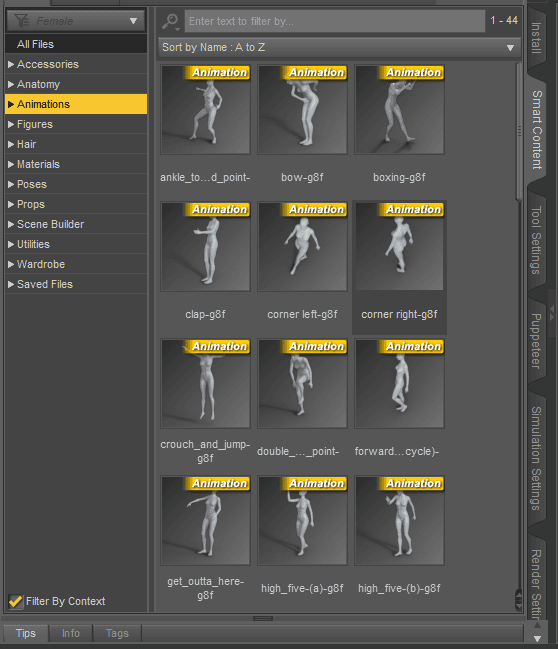
If you would hover your mouse over any of them, you will see a preview of this animation on the character in real time. Double click on any animation that you like to apply it to the character. It should appear in the aniMate right away as a blue block.
This blue block is what we called an aniBlock. A block of animation information. And now when I press play – I can see the character moving and performing this animation.
Instead of utilizing an additional Smart Content window, you can also find all the animations as aniBlocks right in the aniMate. At the very bottom left there is a button that opens a list. In this list you can select different folders with animations.
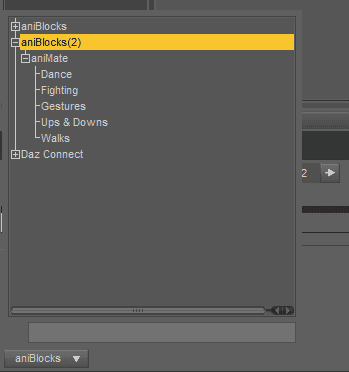
After selecting one of these folders, you will see all the animation from this group showing up right in the aniMate, at the bottom. Here you can either also double click on them to apply or drag them right onto the timeline.
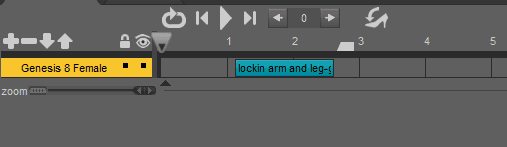
What can you do with an aniBlock? There are a few ways to edit it. The easiest one to use and understand is that you can move it. Just drag it on a timeline and this will change when an animation starts and ends.
Or you can select an aniBlock by clicking on it. This will change the way the block is shown and a few new buttons will appear.
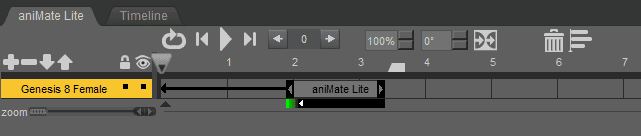
These new buttons allow you to:
- Change the speed of an animation in the aniBlock
- Rotate the whole animation
- Reorient Start
- Delete selected aniBlock
- Align an aniBlock according to Guide
So the main editing buttons that give possibilities to change an animation.
Creating an aniBlock Sequence
After learning the basics of handling aniBlocks, we can now create our first aniBlock Sequence. Sequence is when a number of aniBlocks are located one after another and create together a long and seamless animation
All you need to do to create an aniBlock Sequence is to add another aniBlock before or after the one you already have. This will be a sequence consisting of two aniBlocks.
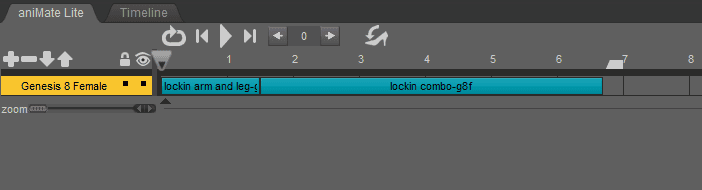
And when you would play an animation, you will see that there is no seam between them. Meaning that it looks as if one animation just goes into another. Though this can look weird depending on which two animations you are using. If they are very different, the transition can look weird.
In my case, both animations are from the Dance category and look really good while transitioning from one into another.
Just like this you can create really long animations that consist out of the several aniBlocks. It can be a long dance, made out of different moves, a walk cycle or some kind of performance. Anything basically.
Edit aniBlocks by Converting Into Keyframes
One of the main problems that you are going to meet while working in aniMate is that you can’t properly edit animations that are stored in aniBlocks. There is no way to change how the character moves and what it does. Because even though these animations consist of keyframes, you don’t have access to them.
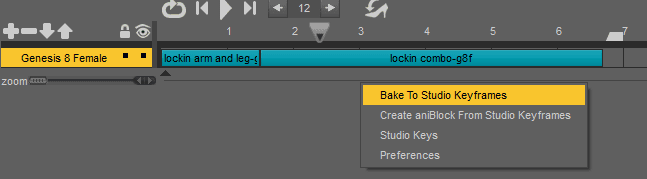
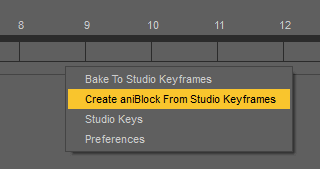
A simple solution for this exists how to edit aniBlock animations. All you need to do is convert an aniBlock into keyframes. This is done by right clicking anywhere in the aniMate, except the Timeline, and selecting the Bake To Studio Keyframes option.
The prompt will appear that warns you about what you are doing. No worries here, click Yes and it is done.
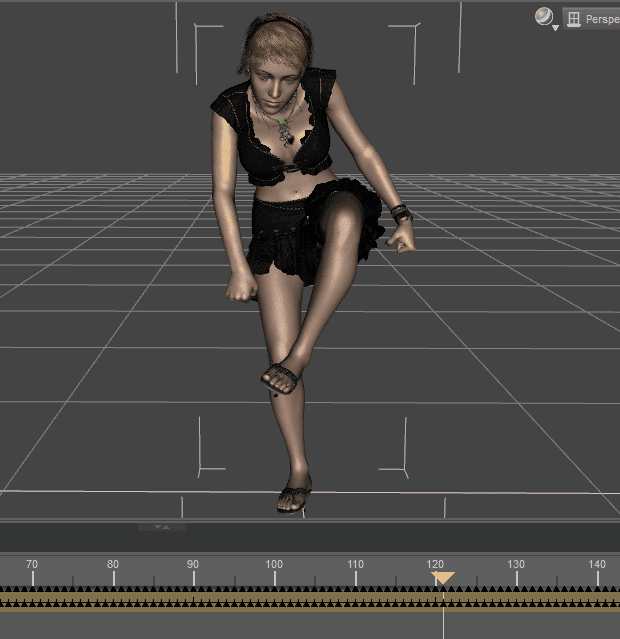
After that you can open a Timeline. You should immediately see the changes. Now on the Timeline there are keys on each frame of an animation. Meaning that our aniBlock were transformed successfully.

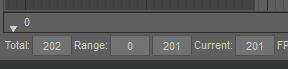
Additionally to that, the length of animation has been adjusted automatically. Default Timeline length is only 30 frames. After baking aniBlocks it was automatically changed to 202 frames.
In the end, I have received absolutely the same animation. There is no difference from what I had in aniMate.
All this allows me now to edit this animation however I like. I can delete existing keyframes, add new ones and do anything that I like.
And the best thing in all this is that as easily as we transferred aniBlocks into Studio Keyframes, it is not harder to make it vice versa. Meaning that we can transfer all these changes back into aniMate.
For this you need to go back to aniMate, again right click anywhere except on the timeline. And in the appeared list select the Create aniBlocks from Studio Keyframes this time.
In the appeared window you can control exactly how the transfer would go, choose what is included in the keyframes and what type of transfer this would be.
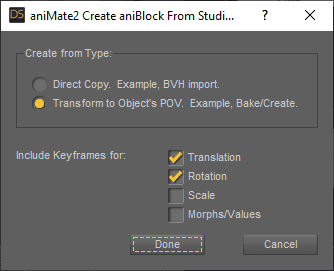
After you click Done, Daz Studio will create an unnamed aniBlock at the beginning of your aniMate timeline. It is the same animation that I had transferred from Daz Timeline with all the additional keyframes included.
Just like that you can edit keyframes of the aniBlock. All you need to do is transfer it into Studio Keyframes, edit these keyframes and then transfer it back. Done and done, that’s how to edit aniBlock animations.
aniBlocks Products to Help You
On the Daz3D.com/shop you can find a bunch of products that will help you with your animations and aniBlocks.
Of course, the main thing that you would need if you want to properly animate using aniBlocks is aniMate2 by GoFigure. It would be an upgrade to the aniMate Light with a lot more features and possibilities.
Additionally, GoFigure has released the aniMate2 Content Bundle. This is a starter bundle that has aniMate2 trail included. Also a Walk Construction Kit, Gesture Pack and Dance Club Moves presets. So you can get this one and try out animating with aniMate2.
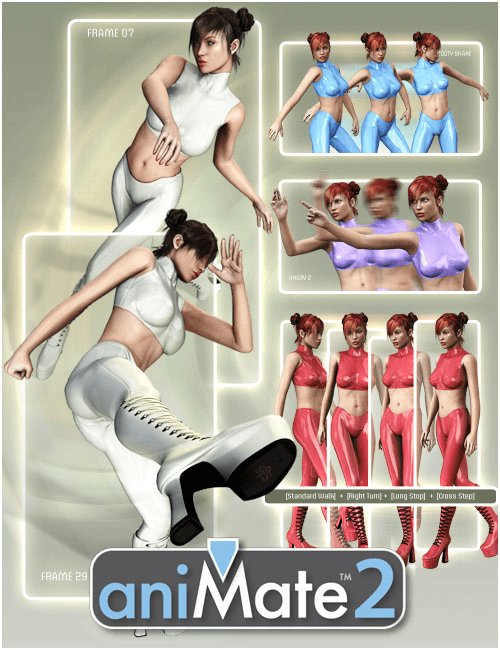
Source aniMate2 Content Bundle by GoFigure
Besides the aniMate itself, you can get all the animation packs and other useful animation products. Such as Genesis 8 Bundle Expressions & Face aniBlocks by SimonWM. It is a bundle of facial expression aniBlocks for both male and female Genesis 8 figures.
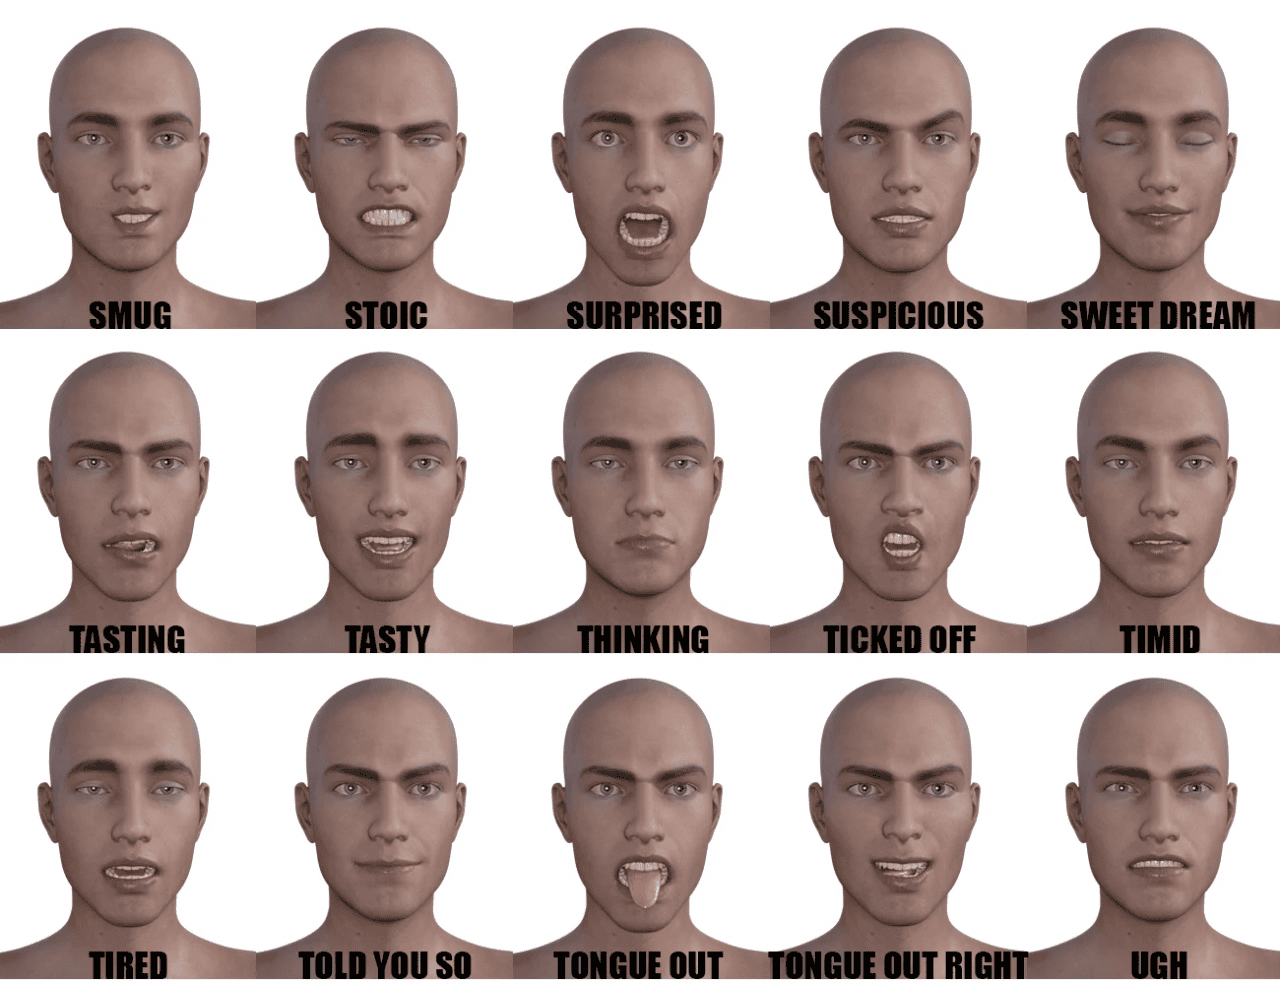
Genesis 8 Bundle Expressions & Face aniBlocks by SimonWM
If you feel like you are really into animation, then you can try to have a look at the Mega Animation Bundle by Daz Originals. It is a huge bundle that consists of the 11 separate products, each of them has a lot of animation presets. By getting this bundle, you receive a really good deal, considering how much content you would get.
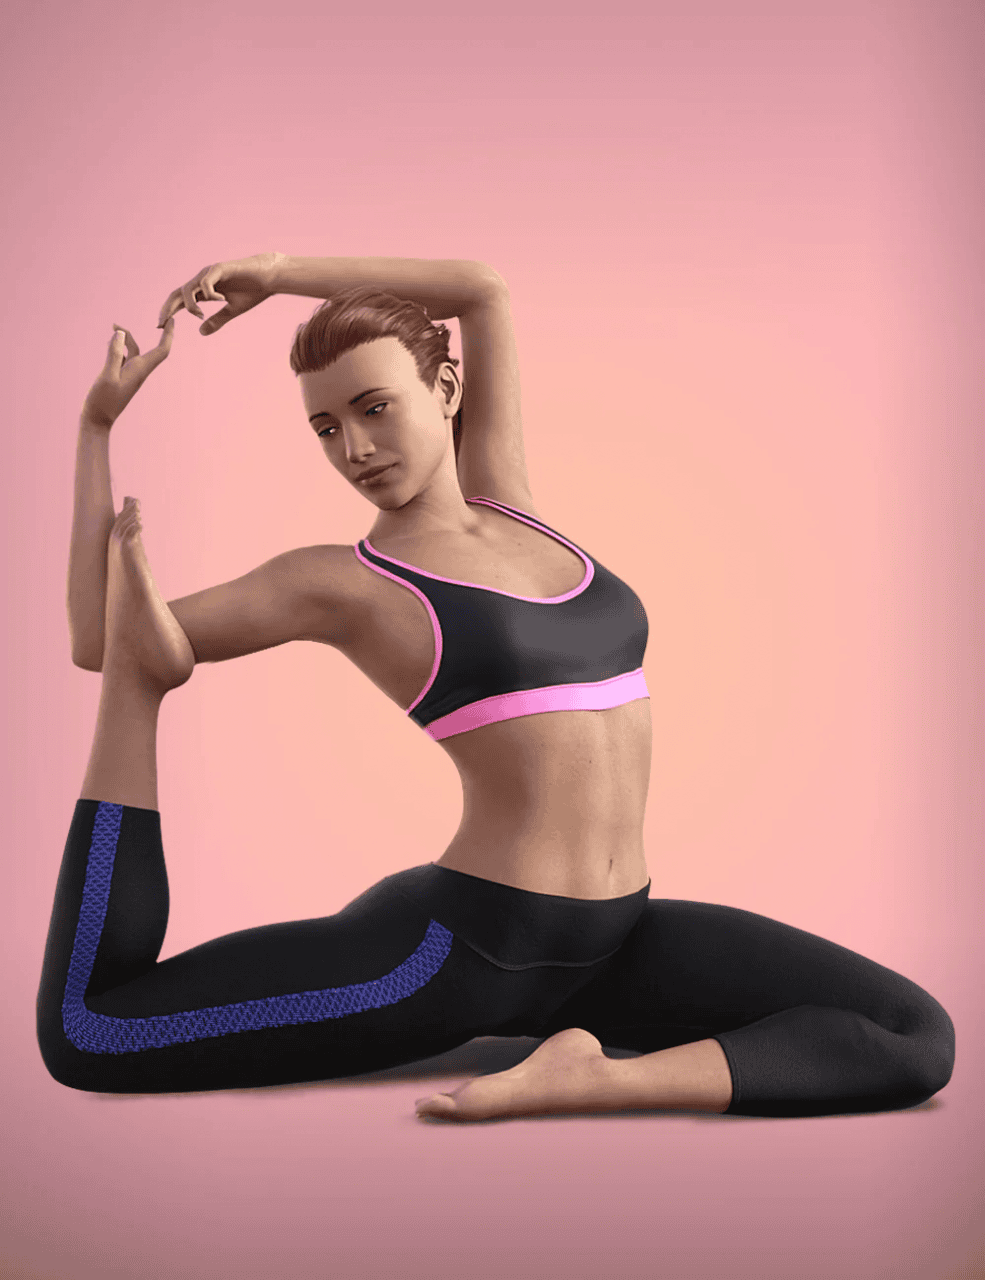
Mega Animation Bundle by Daz Originals
Conclusion Daz3D How to Edit aniBlock Sequences
Generally speaking, aniBlocks are just preset animations. But thanks to the aniMate, you can use these presets with ease and manage them however you like by creating aniBlock Sequences. And most importantly, at any time you can transfer your aniBlock into the regular Studio Keyframes and edit it. See also our other in depth Daz Studio Animation Tutorial, our Daz3D Youtube Videos, 3d Model Reviews and Daz Tutorials.