This tutorial explains everything about how in Daz3D God Rays Lighting can be created. God Rays is a really interesting effect that makes the scene look different and a lot more interesting. And there is no easy way to recreate such effects manually in Daz Studio. Though there is a method that you can learn. And when you learn how to utilize it – you will see that it is not that hard.
If you prefer watching a video see below, otherwise keep reading.
Products mentioned in the video:
How to create God Rays in Daz Studio Manually
To create God Rays you will need to have a simple scene set up. So a Camera and environment at least. And maybe also some lighting on a scene, if you want. But it still needs to be dark on your scene, otherwise god rays would not be visible.
Now is the time to add a lighting source that will produce god rays. It should be on an angle relative to our scene, somewhat like a late sun.
Change lighting settings so it would be a strong and soft lighting source. You can learn how to make lights soft and change their strength in our Daz3d Iray Lighting Tutorial.
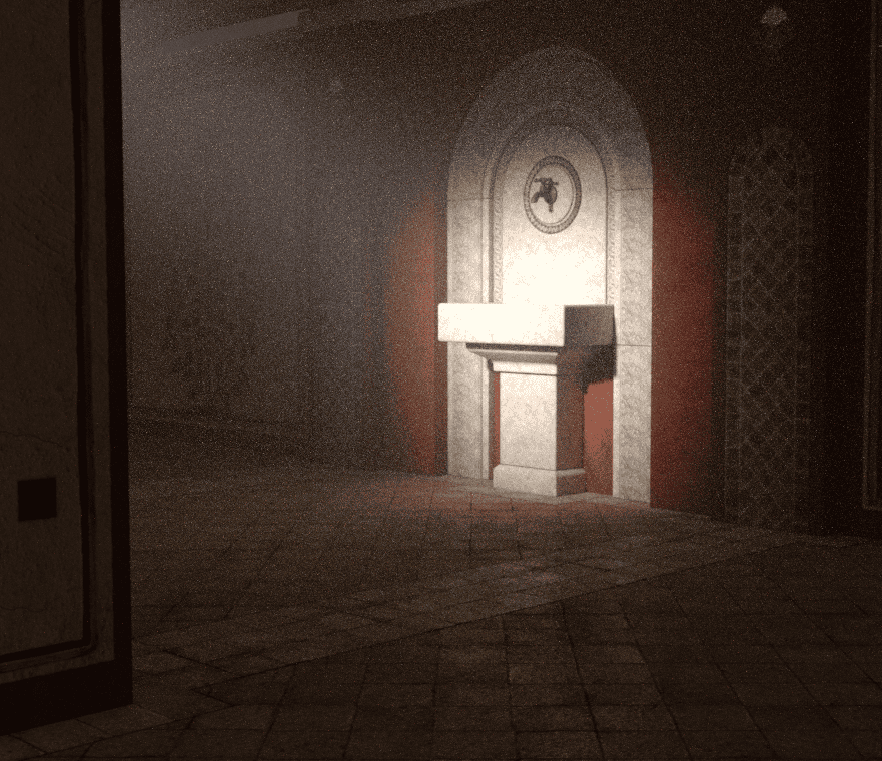
As you can see there is no sign of god rays effect. That is because we need to add one more thing to our scene. An object with special properties. This can be any object, for example a simple cube. Add it and scale so it would cover the area that you want god rays to be, but not cover the camera object or light source.
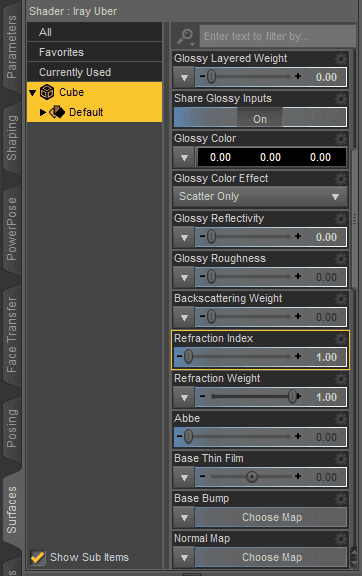
Of course right now a cube will just obstruct everything and we will see nothing. That is why we are going to change “Surface” settings of the cube. Set all the Glossiness values to absolute 0. Then change both “Refraction Index” and “Refraction Weight” to a value of 1.0.
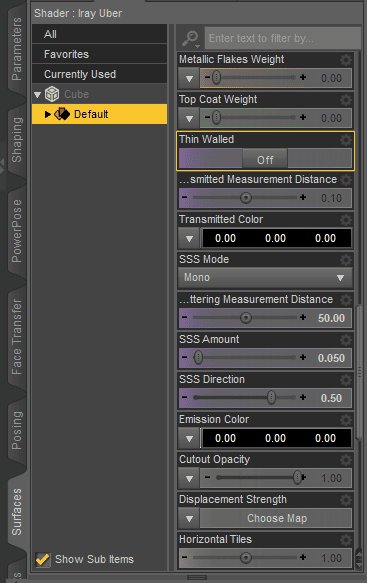
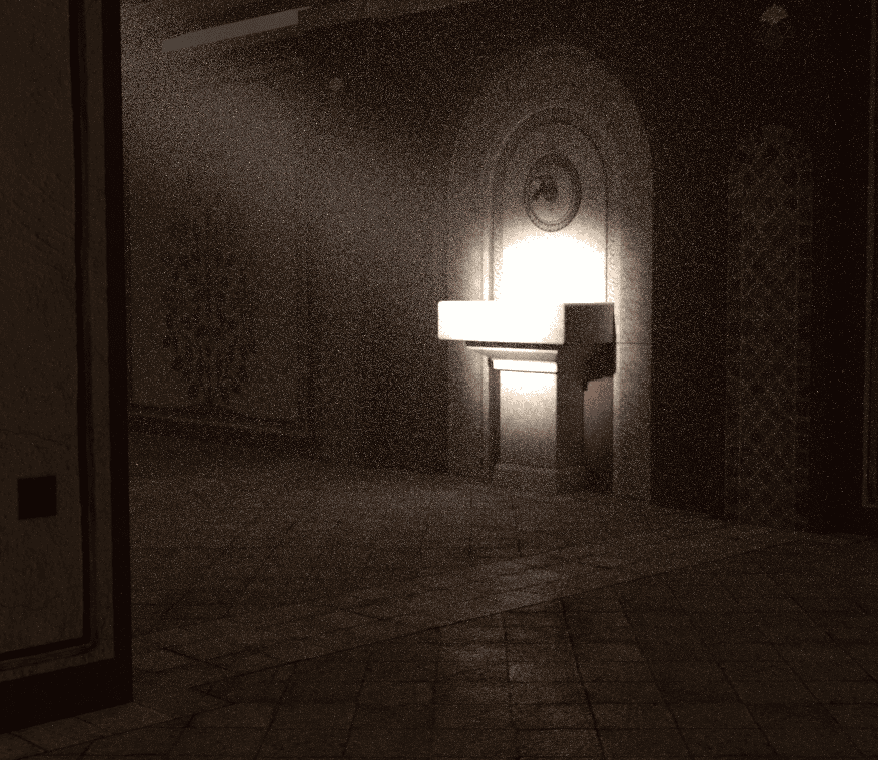
After that turn off the “Thin Walled” option and in new appeared settings change the values of “Scattering Measurement Distance”, “SSS Amount”, which need to be really low and “SSS Direction”.
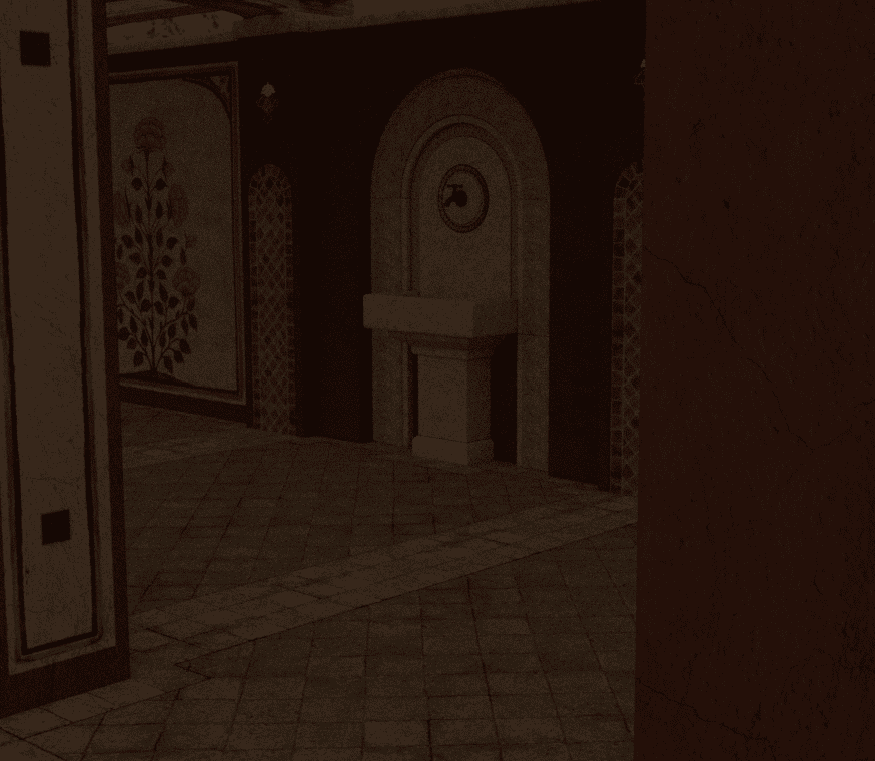
As a result you should see something similar to the image below. Environment should have become foggy and feel like there is dust and other particles in the air.

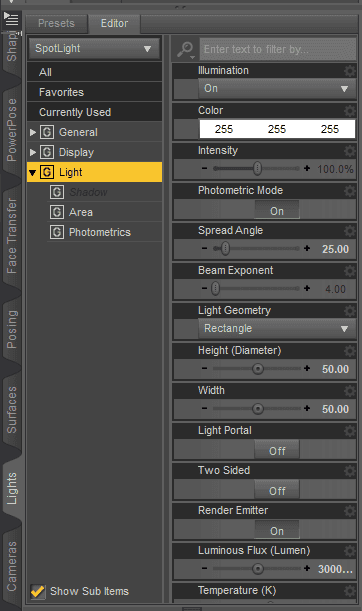
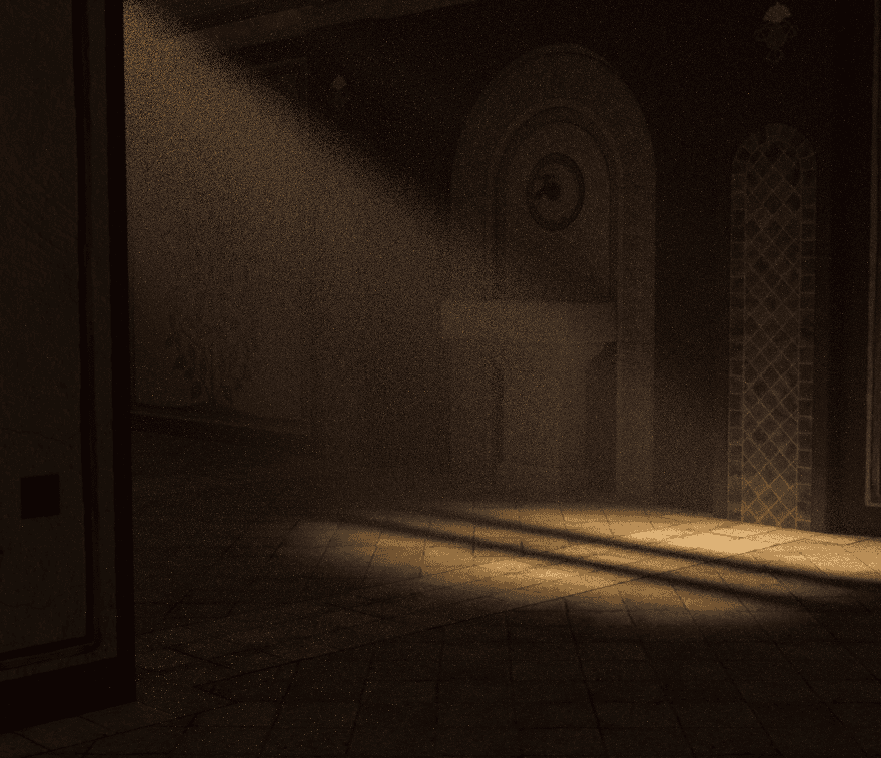
That is because now we need to adjust our lighting to the environment. We can’t produce god rays if everything is lit. We need to make contrasting lighting. A good idea would be to lower the “Spread Angle” of the light, so it would cover a much smaller region.
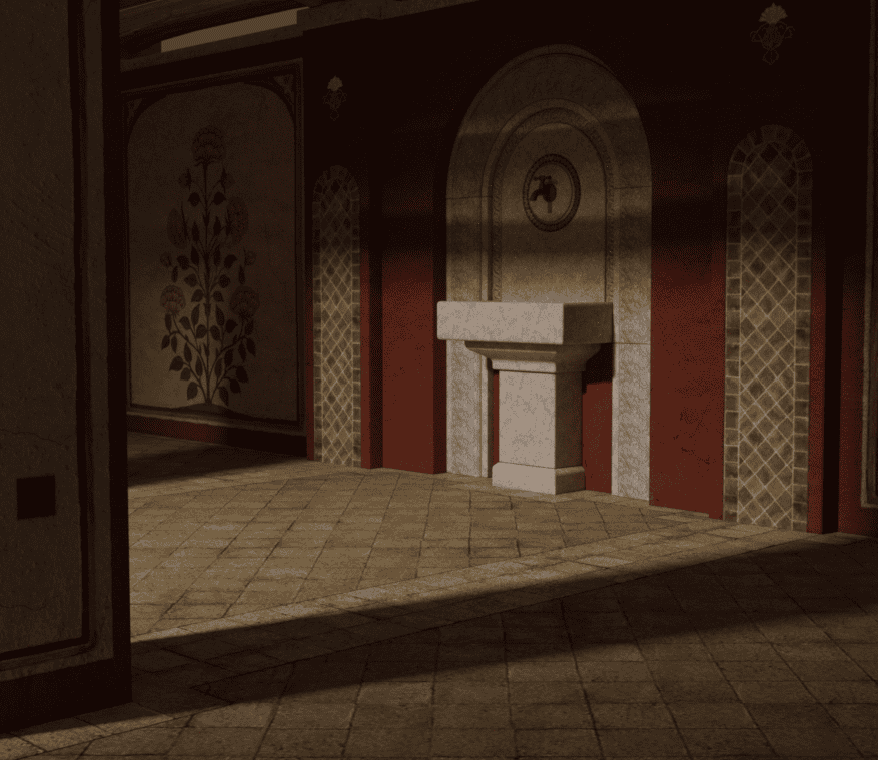
This gave us a really simple god rays effect. We can clearly see the beam of light coming from the left.
Though this still produces too much light on the surrounding and if you lower the spread even more – you can have more prominent god rays.
That is basically how you make god rays in Daz Studio. Now you just can experiment with the SSS settings of a cube and lighting settings, namely its strength and spread.
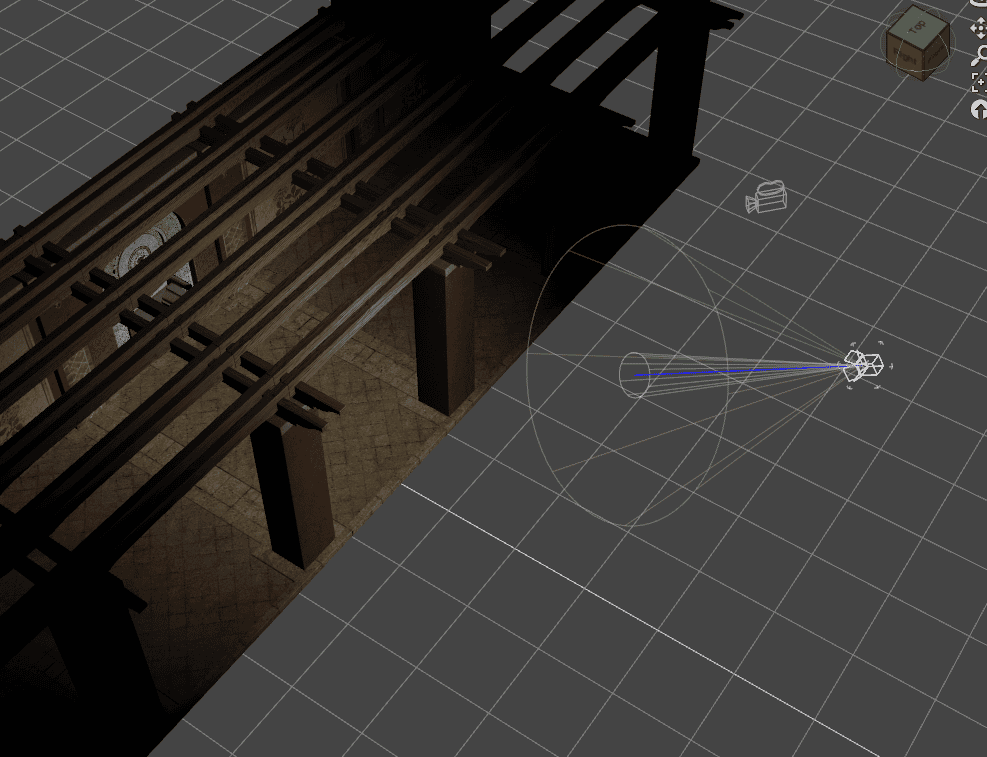
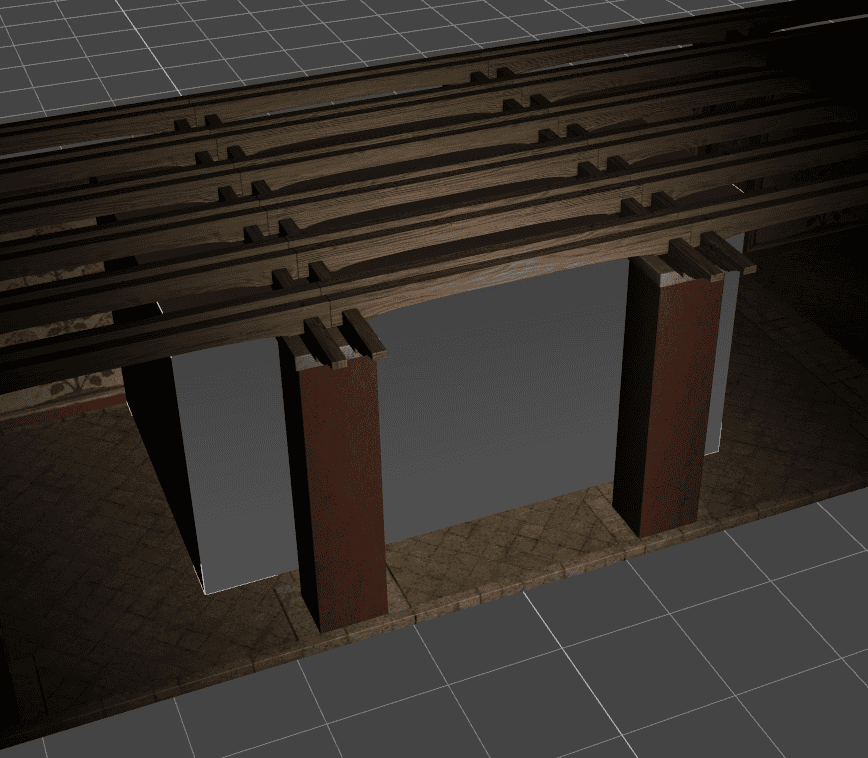
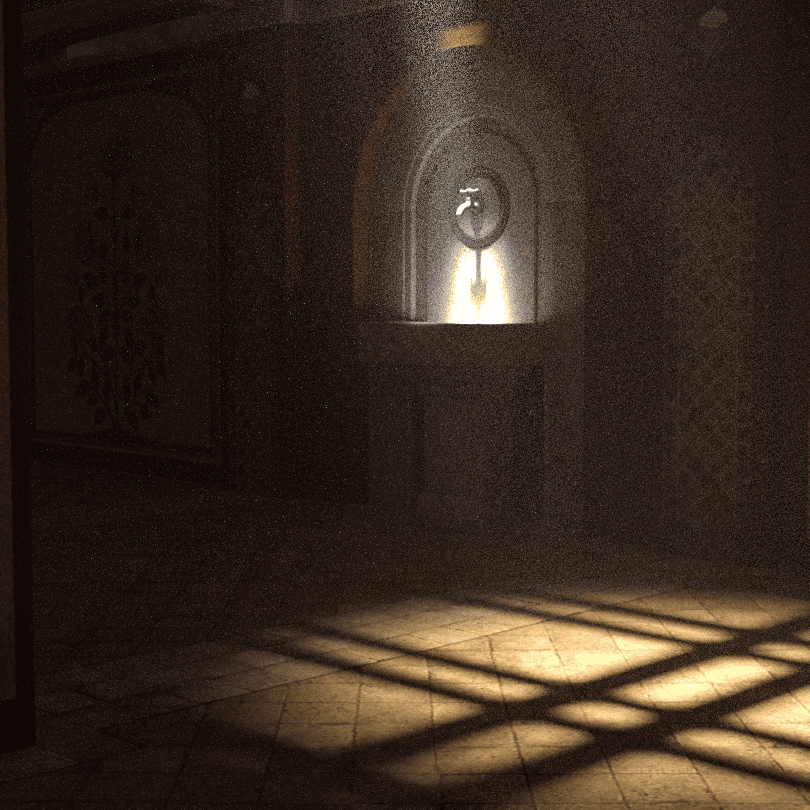
Also location of the light source plays a big role. You can have a bigger spread angle, but have something that obstructs parts of the lighting, so it will create a directed beam. For example a part of the roof, such as here:
Also, as post-production – you can make the “Film ISO” setting in the “Render Settings” tab > “Tone Mapping”. This will make everything look a bit brighter. And as god rays are just light beams – they will look more prominent and visible.

Create God Rays Lighting Using Daz3D Products
Another way of producing god rays in Daz Studio is by using products that you can find on the Daz3D Shop. These products can help you a lot in the process.
For example Simple Godrays by Sickleyield that adds a set of four transmapped props, all with smartprop options to a spotlight for easy addition to your DAZ Studio scene’s lighting. All you need to do is load the spotlight and a ray object and a god ray is ready.
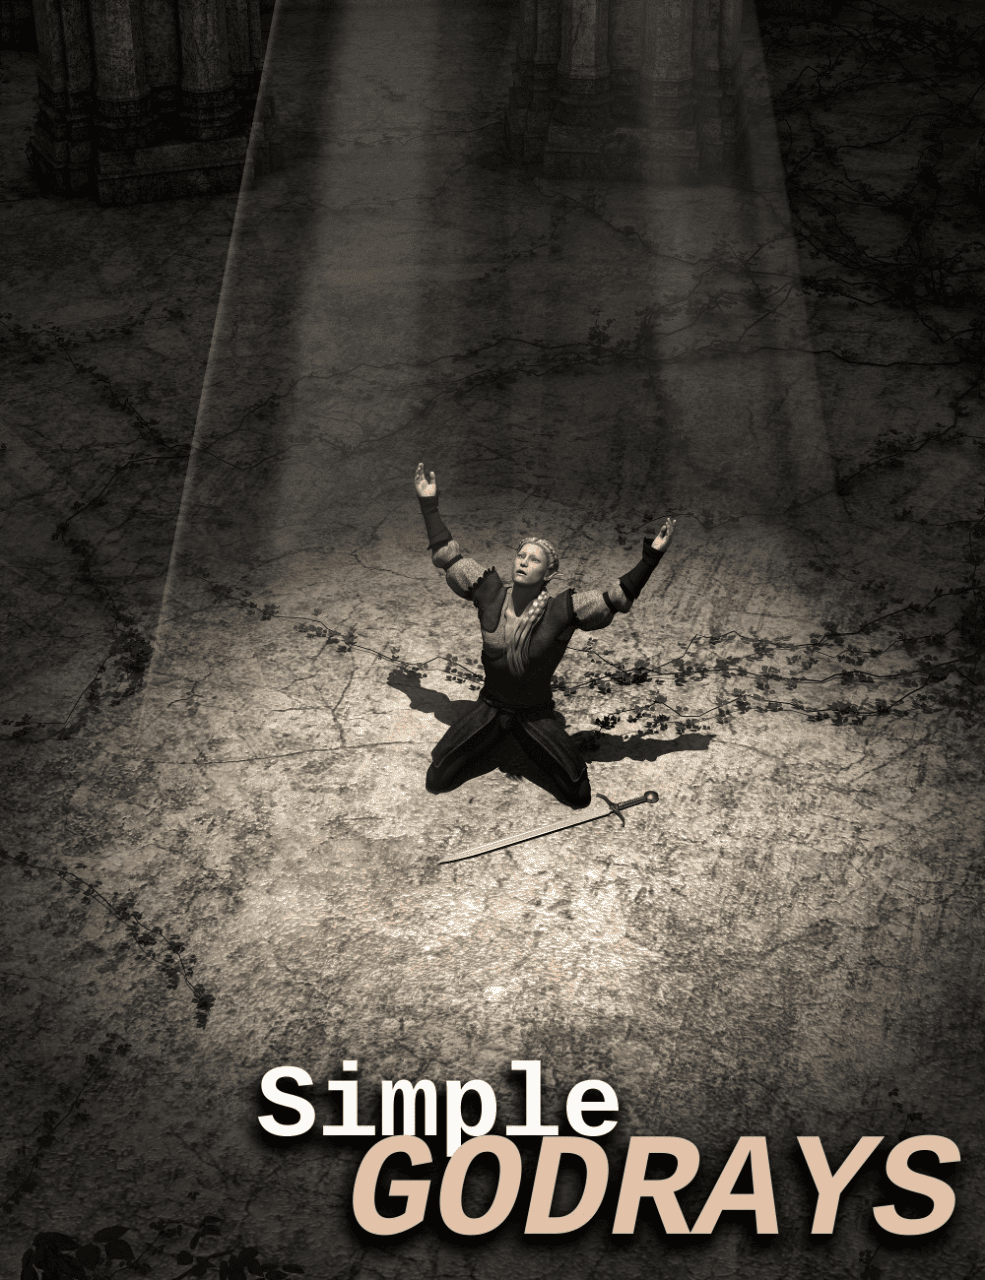
Source Simple Godrays by Sickleyield
Another example is Iray Ghost Light Kit 3 by KindredArts. This is a kit that has a lot more functionality than just adding god rays, but it is one of the parts. Product adds invisible, diffuse mesh lights that light your scene without a visible light source.
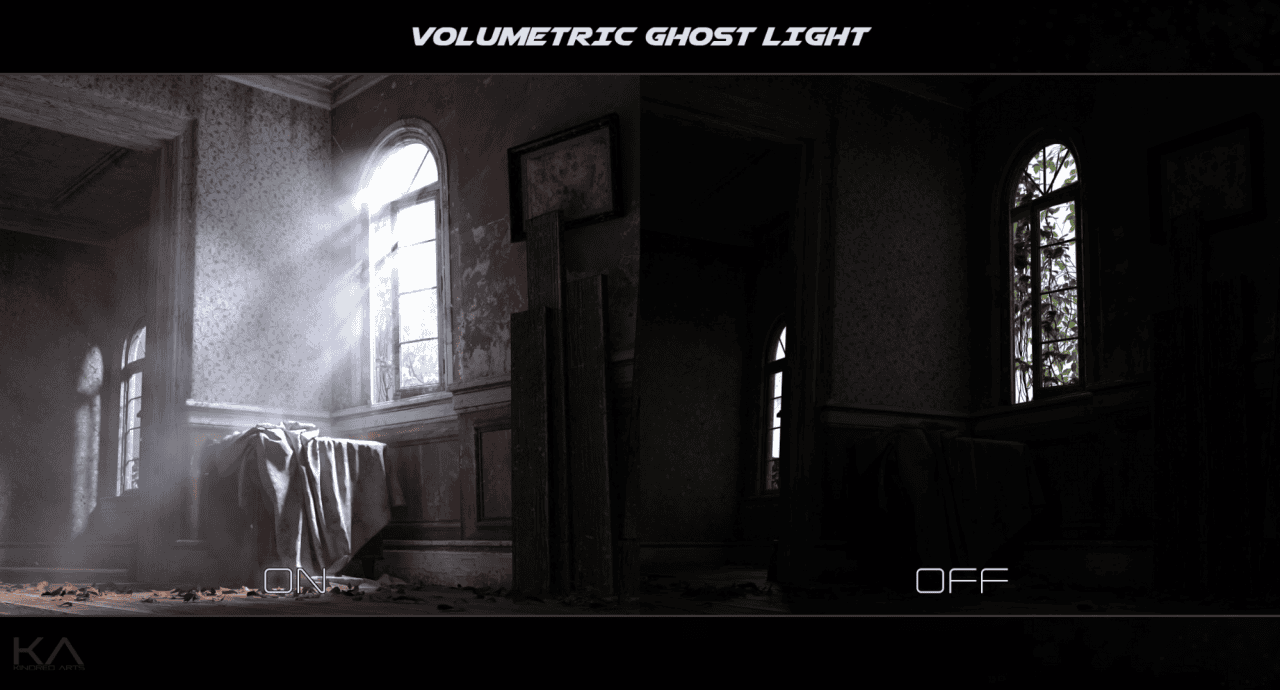
Source Iray Ghost Light Kit 3 by KindredArts
And the final item is the Epic Props: Godrays & Volumetric Light for Iray by ThePhilosopher. It is probably the best product if your only goal is to create god rays on your scenes. This kit adds 8 different props each with its own settings that allow for easy and fast god rays effect. One of the main advantages is that no light source required and render times are much faster than with using traditional volumetric lights.
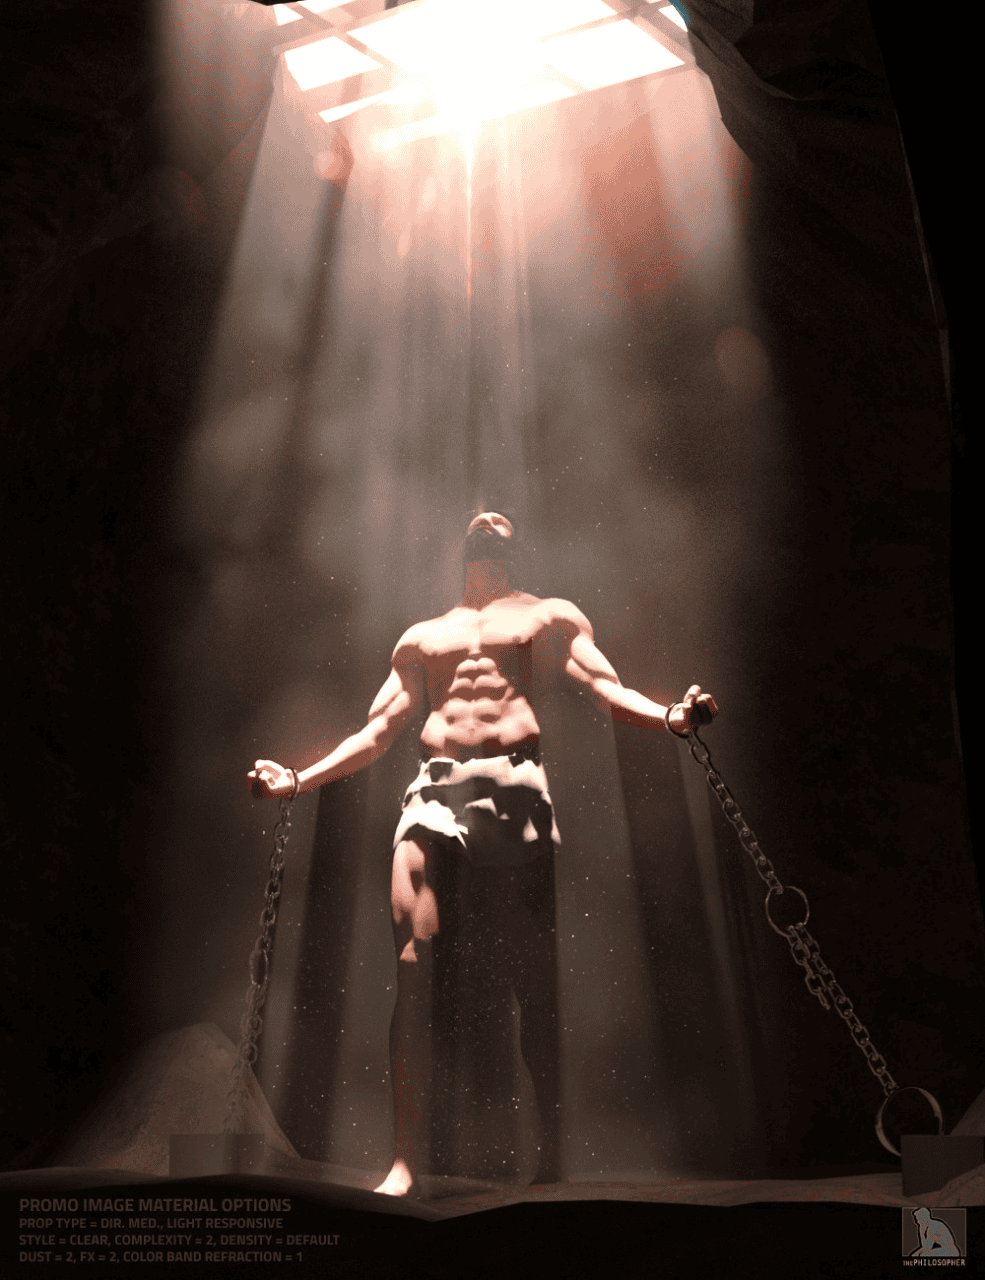
Source Epic Props: Godrays & Volumetric Light for Iray by ThePhilosopher
Conclusion
Making god rays yourself is not that hard, as it turns out. But there is a lot to it and mastering god rays is not an easy process. Though you always can use products, that will do most of the work for you.
Our Daz3d Iray Lighting Tutorial will help you to learn more about lighting in Daz Studio and what are the main techniques. Also check out our Top Daz Tutorials