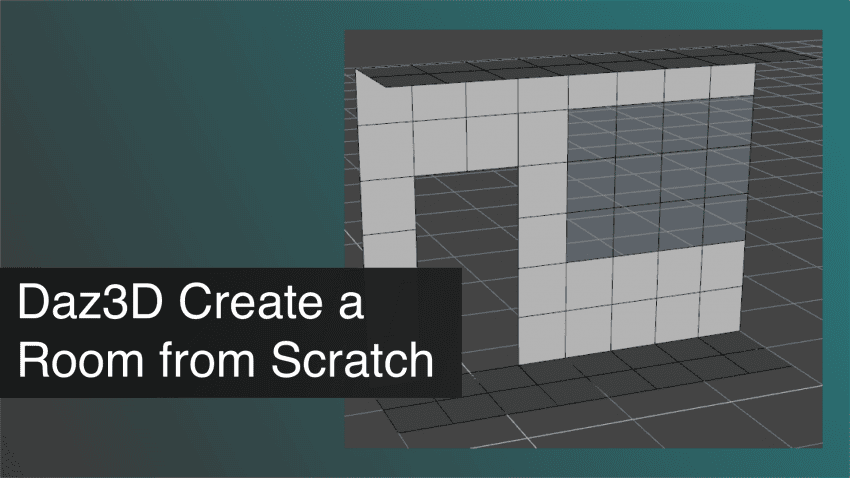
This Daz3D Create a Room from Scratch shows you step by step how to design a simple room with Daz Studio. We will cover several helpful techniques for this.When you are working on a scene, you most probably need some kind of a background for your render. A lot of different backgrounds can be used in this situation. Such outdoor examples like forest or lake. But there are also a lot of times when you need indoors renders. For this you always can use a ready-made scene background or some HDRI, but today we are going to look at how you can not only create a simple room, but also make it modular. This means that we will create presets that can be used to make any shape of the room.
Creating a Simple & Easy Room
I think we should start with something really simple and easy. A simple room is made out of 4 walls, a ceiling and a floor. Which makes a Cube shape. Most of the 3D design software have a preset for creating a Cube, Daz Studio included. You just need to create a New Primitive.

In the appeared window select the Type to be a Cube. After that you can also change the Size of a Cube. This will determine the length and, more importantly, height of the created room. Most of the houses are around 2.5-3 meters high, so I have made it to be 2.5 meters.
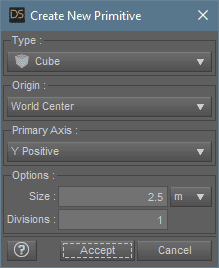
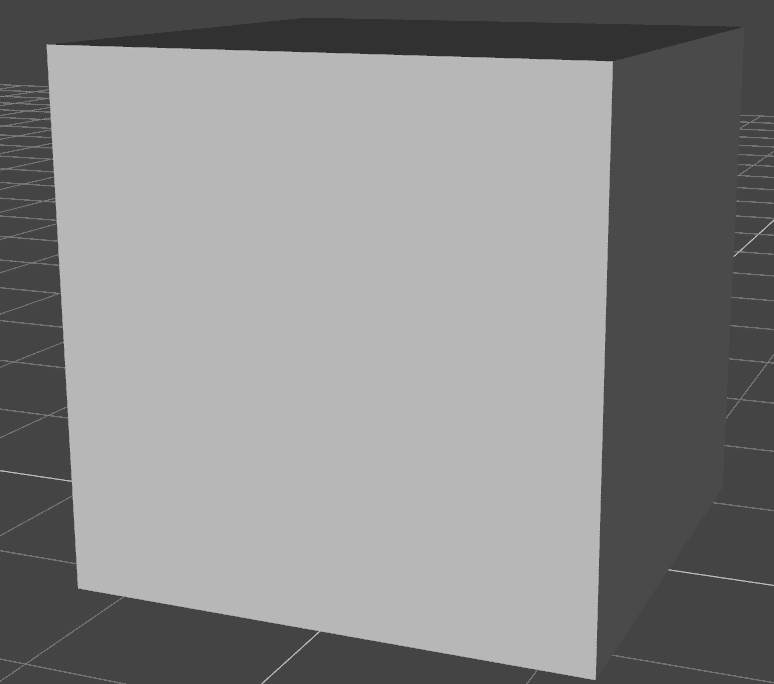
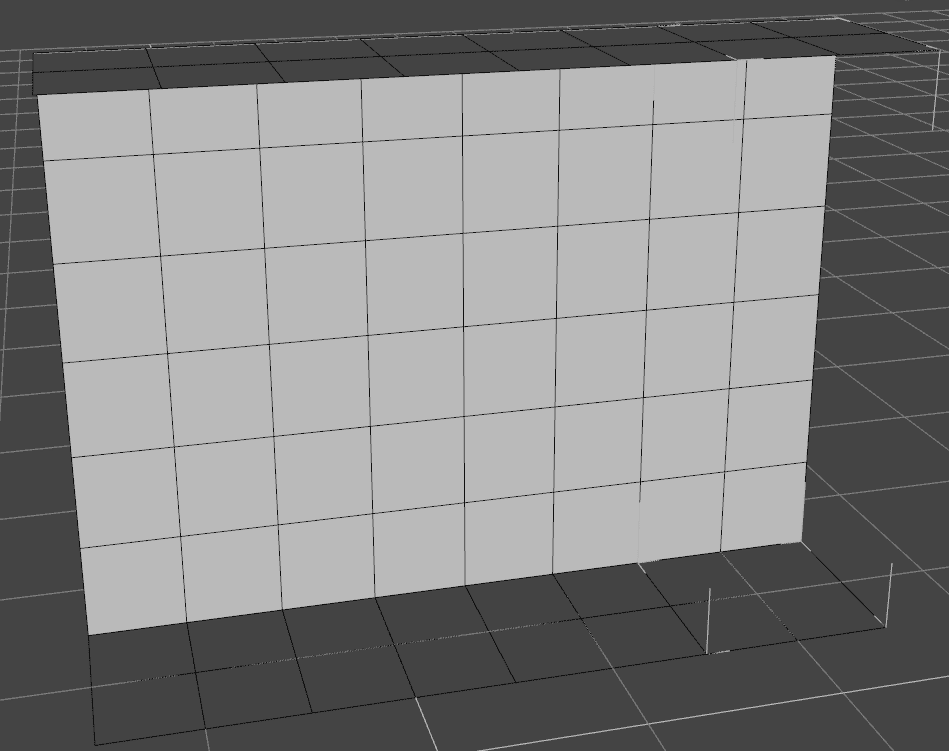
Then, after you click on Accept, you will see your Cube appear in the center of your scene. This is your very simple and easy room with the 4 walls, a ceiling and a floor.
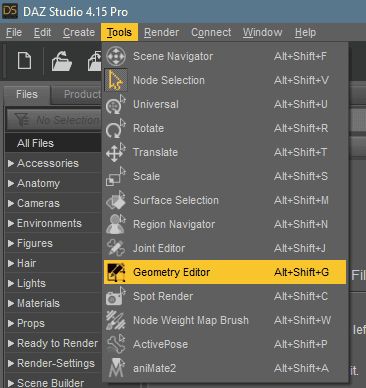
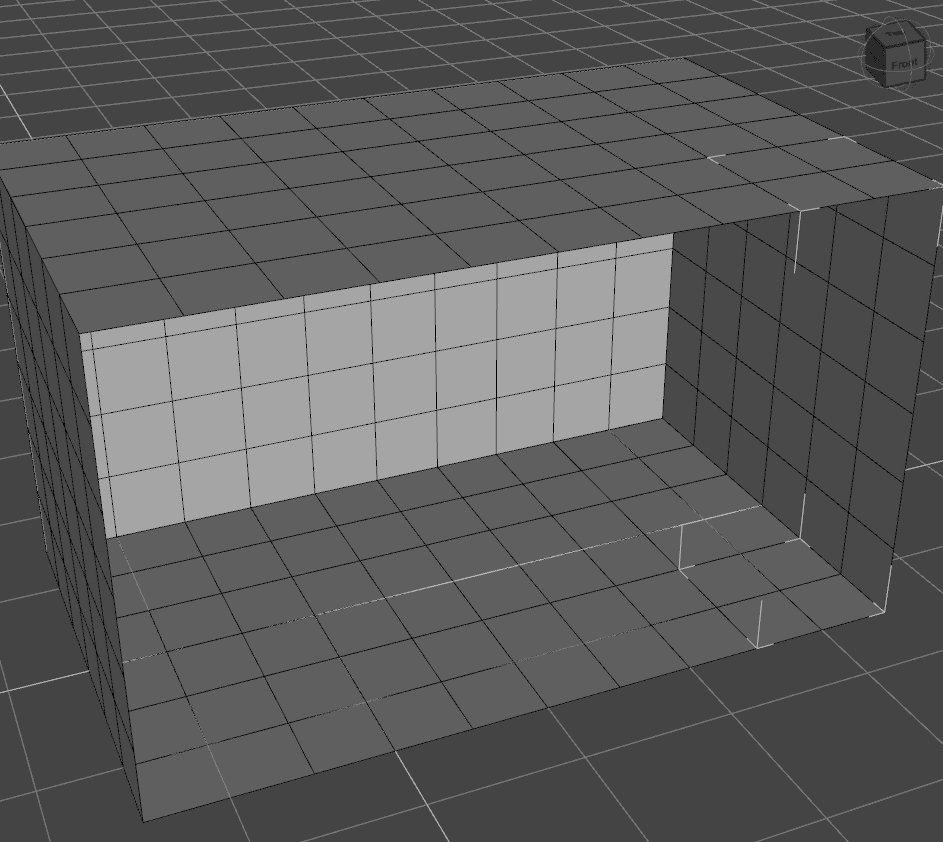
Of course it would be difficult to work with such a scene, because of the difficult access to the insides. So I would recommend deleting one of the sides that would not be visible on your render. There must be at least one such side, because you can’t capture all of them at the same time from the inside.
For this we will use a specialized tool. It is called Geometry Editor and can be found on the Tools list from the top bar. Or the shortcut is [Alt+Shift+G].
With both an object(cube) and this tool selected, you now can also select the object’s geometry. With the right click you can make sure that the Selection Type is set to Polygon Selection.
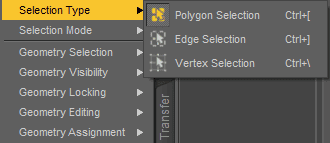
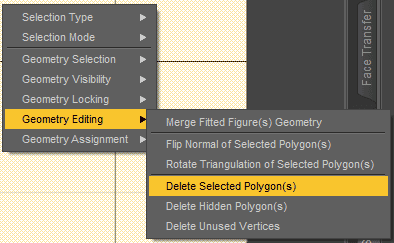
Now we can select any of the polygons on the Cube by left clicking on it. After selecting the side that you want to delete – right click on it and go to the Geometry Editing > Delete Selected Polygon(s)
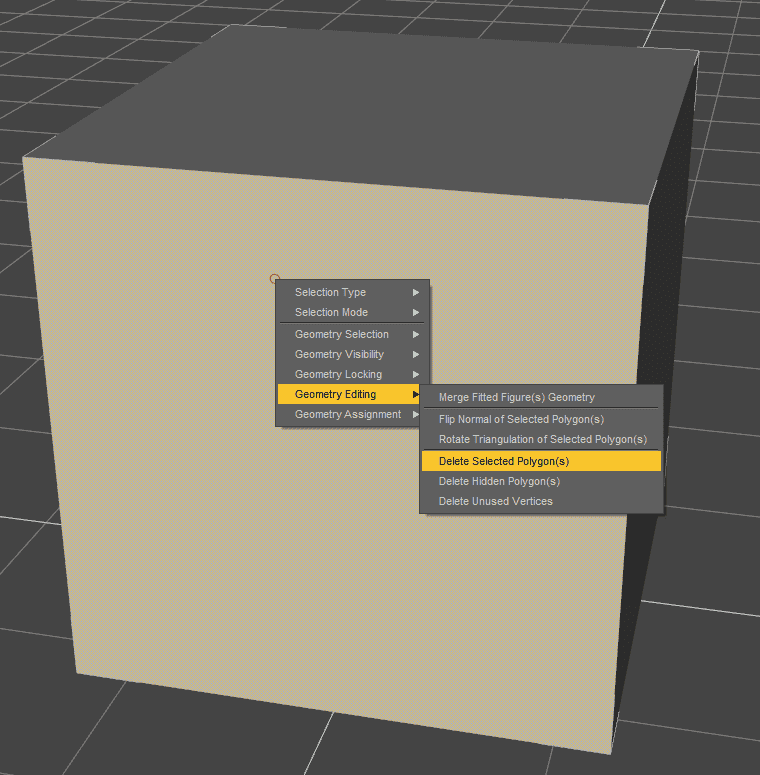
And now you have a room with one of the walls missing, which allows for easy access to the insides. Now we can work with this room to make it look more like the real living space supposed to.
Creating a Modular Room
Previous method is quite situational and is not really applicable for every case. What about a more universal method? Let’s look at how you can create a modular room. This means that we will create presets that will be used as modules to create rooms of various shapes.
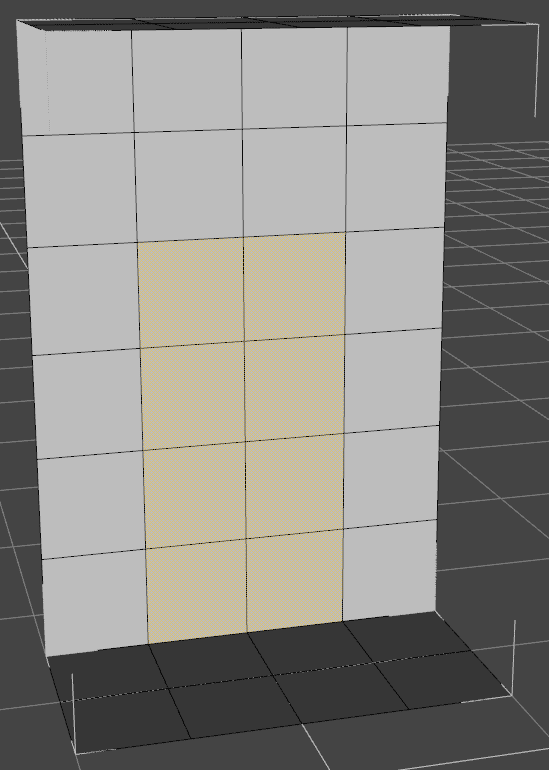
For this we will also use the Geometry Editor tool and again will need to create a cube with the size that you want for the height, I have changed it to 3 meters. This time in the creation window change the Divisions from 1 to something higher. For me it would be 6 divisions.
Also you can change the shading to the Wire Texture Shaded to see the geometry and what divisions change did exactly.

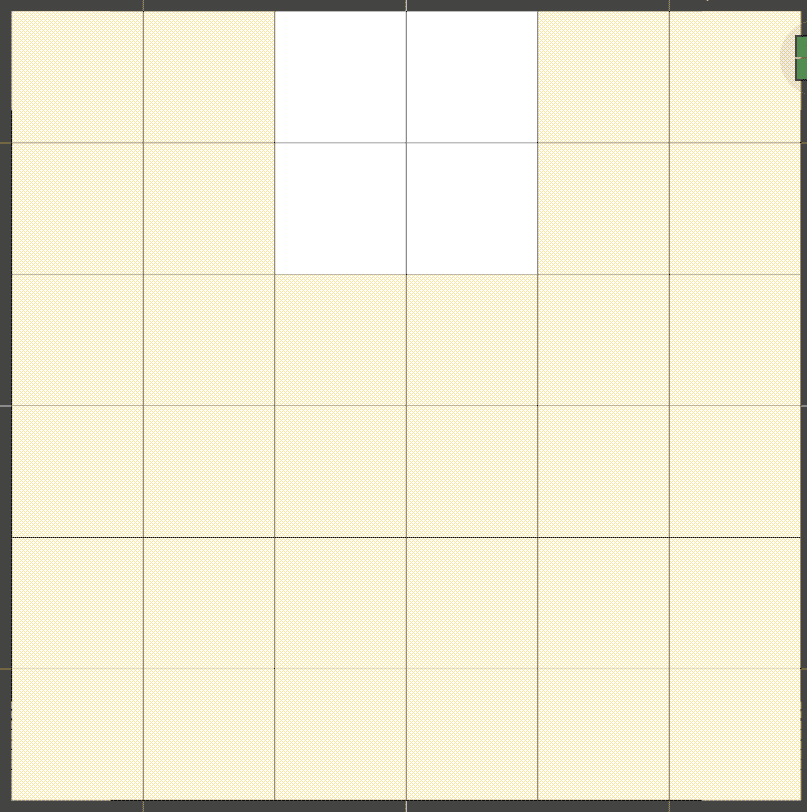
You can see that each of the sides is 6×6 in polygons. And as I set the size to 3 meters, this means that each of the squares are exactly 0.5m by 0.5m. This allows for easy and precise size calculations.
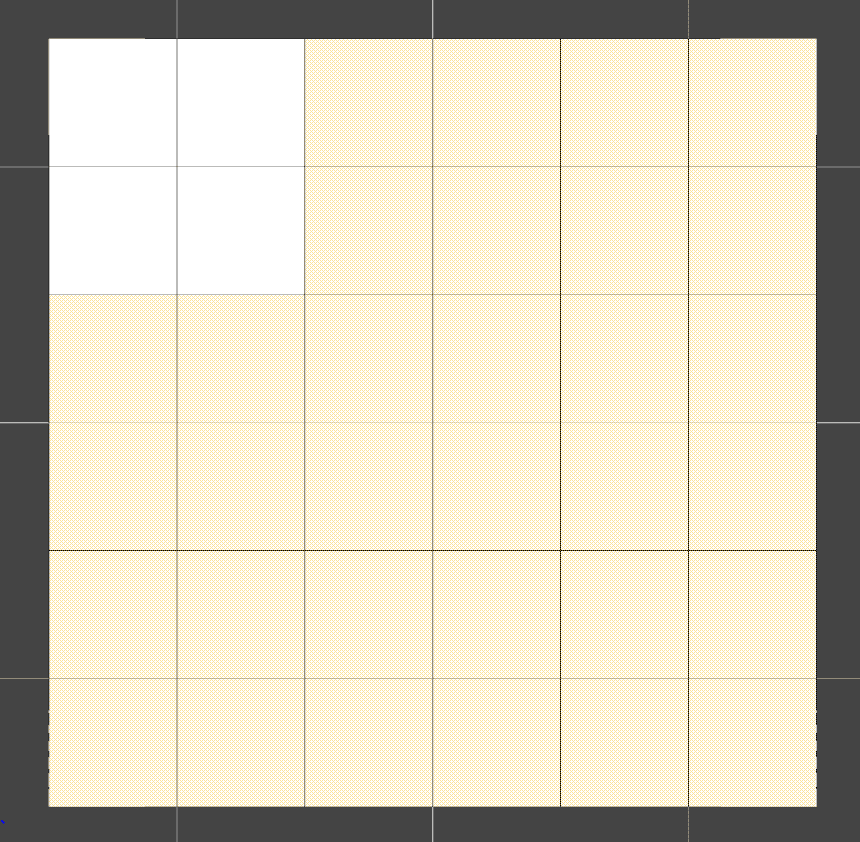
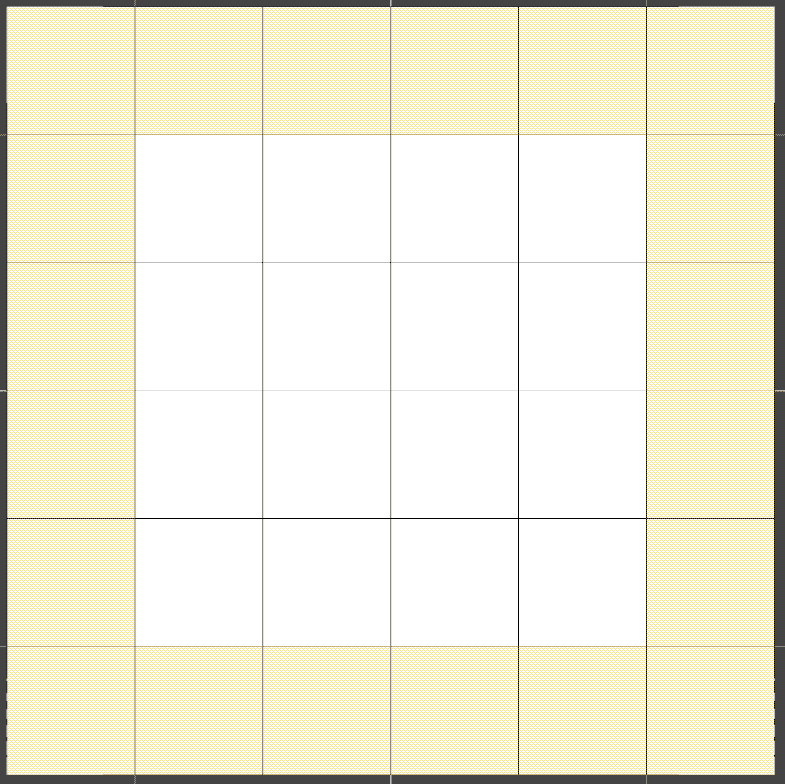
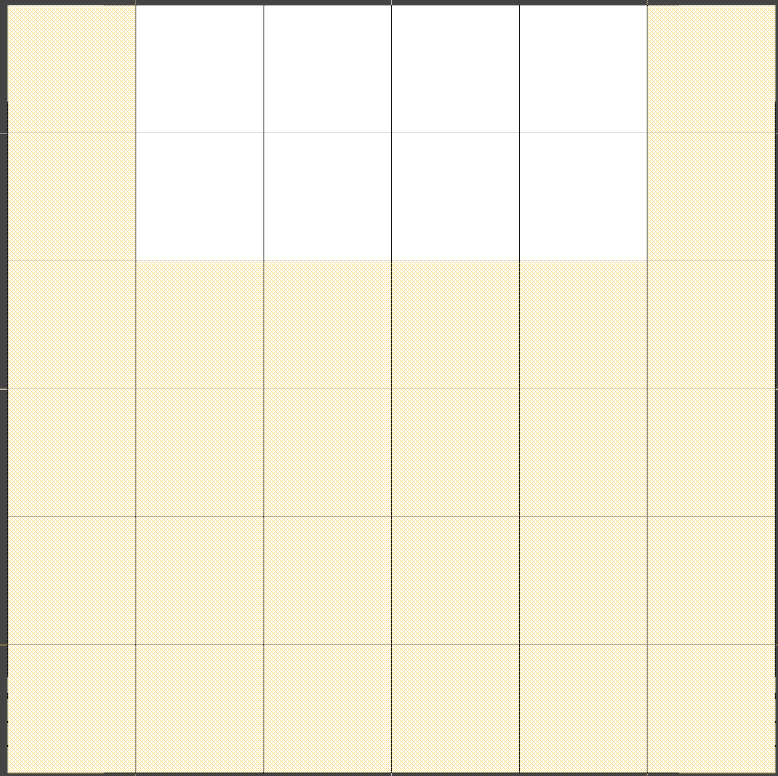
Now we will create modules or presets. I think that they should be 1m by 1m in length and depth. So we need to delete the unnecessary parts. Selecting everything right now is not an easy task, so firstly I recommend changing into the Top View.
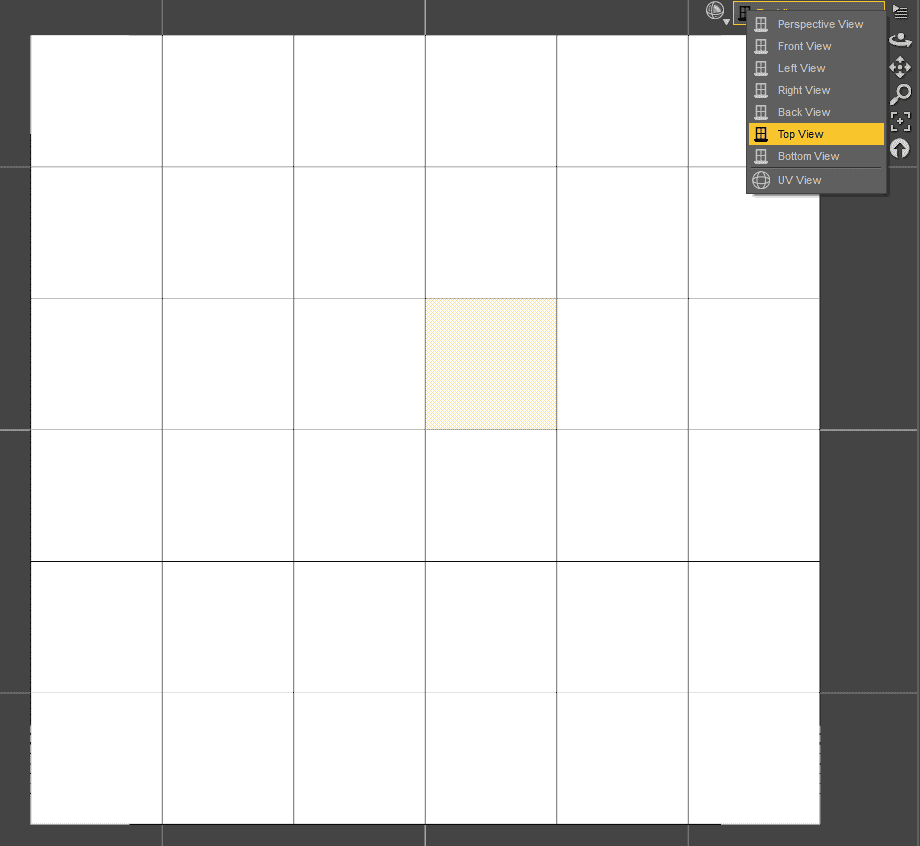
And change the Selection Mode into the Marquee Selection.
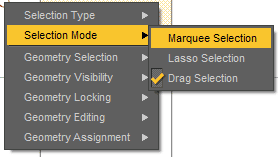
This allows us to create a box by clicking and dragging. Everything that ends up in this box becomes selected. So we can easily select everything except the 1m x 1m square.
Just like this. With these polygons selected you can right click on it and go to the Geometry Editing > Delete Selected Polygon(s).
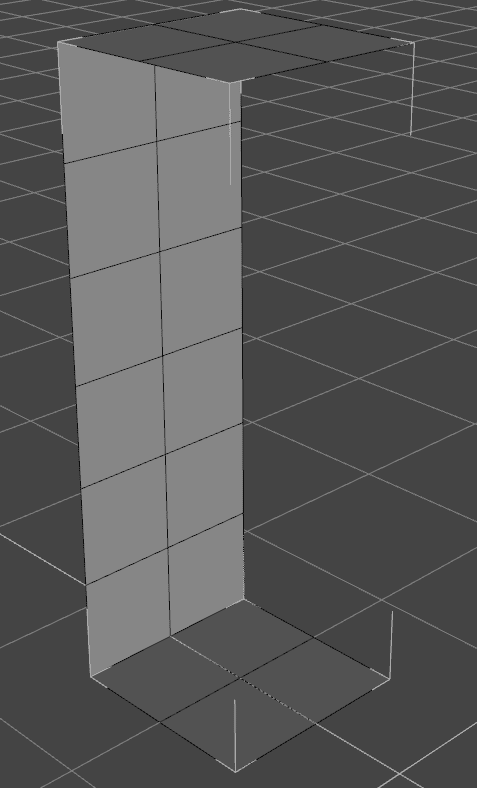
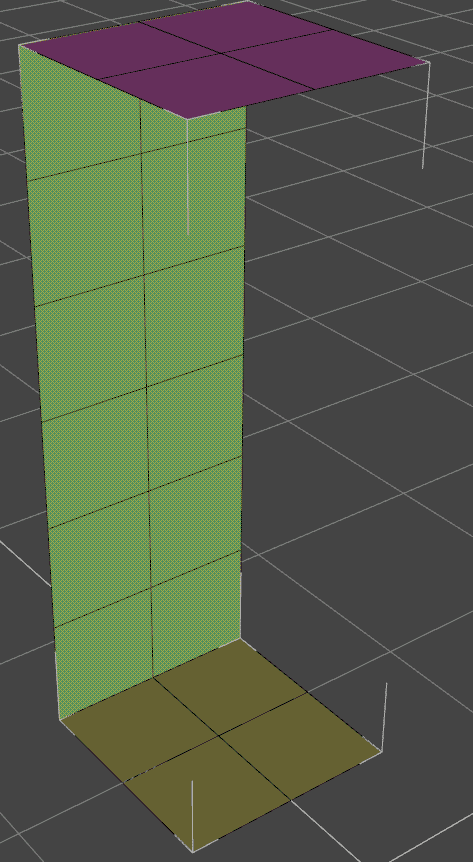
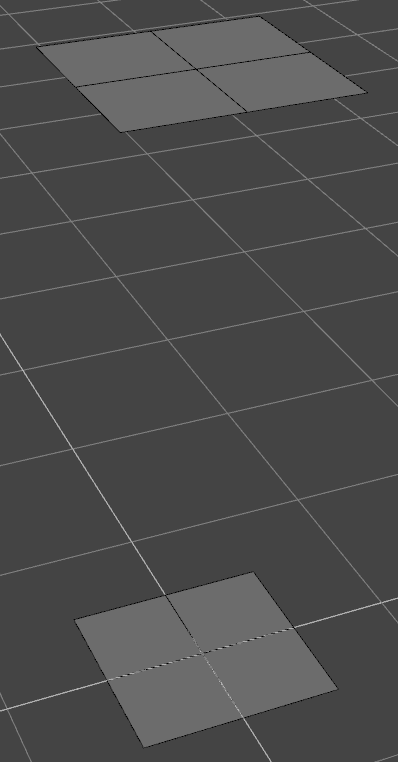
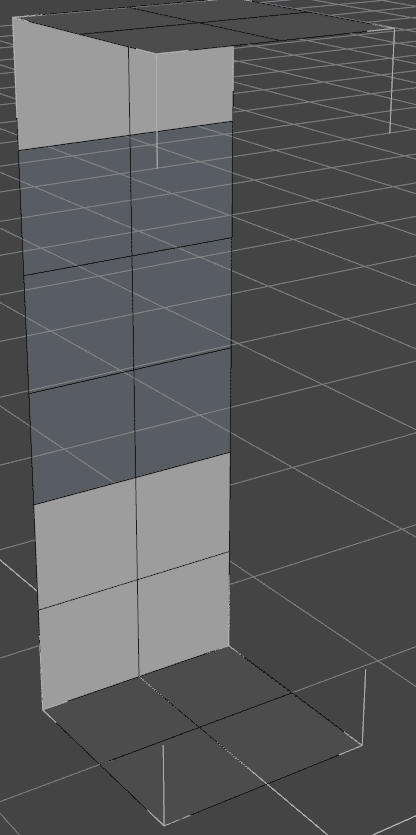
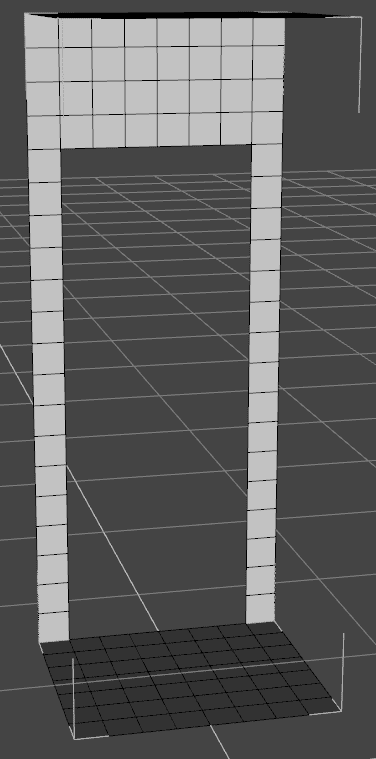
This leaves us with this module of a wall. It is exactly 3 meters high, 1 meter in length and 1 meter in depth.
Creating Surfaces on the Module
At the moment, the whole object is a one single connected piece. Meaning that we can’t control any aspects of it separately from one another. This includes working with surfaces. Meaning that we can only add a single color/texture to the whole object and that is it.
Usually walls, ceilings and floors do not have the same textures and colors, so we need to fix this aspect. It is easy: all you need to do is select the part that you want to separate with the Geometry Editor and then right click on it and select Geometry Assignment > Create Surface from Selected
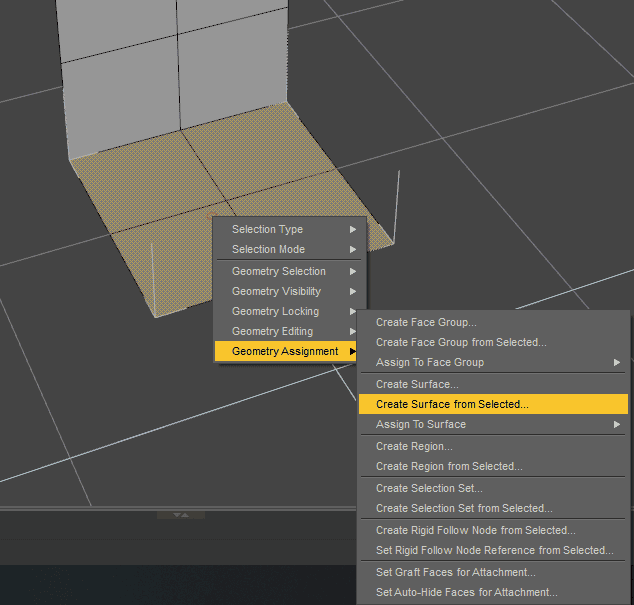
Then give the recognizable name to this surface and you are done. Repeat this process for the other parts of your module.
You can check how it works if you open the Surfaces tab. Here you should be able to see all the surfaces that you created under the main object.

The “Default” being the original surface. You may only create two of the three surfaces and leave last as Default alternatively.
Using these surfaces I now can control how the different parts of the wall look, make them all different colors and so on.
Saving a Wall Module
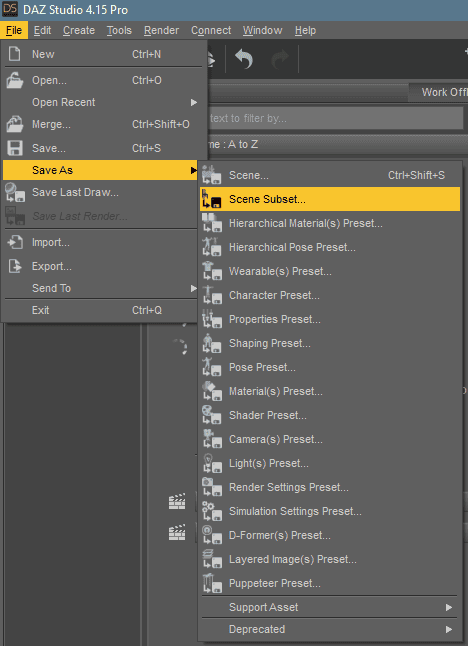
Now we need to save our preset, so we could use it later at any time. It is done very easily. All you need to do is select the object and go to the File > Save as > Scene Subset. Just don’t forget to name your subset.
After saving it, you should be able to find it any time later on in the Content Library tab, Scene subsets section.
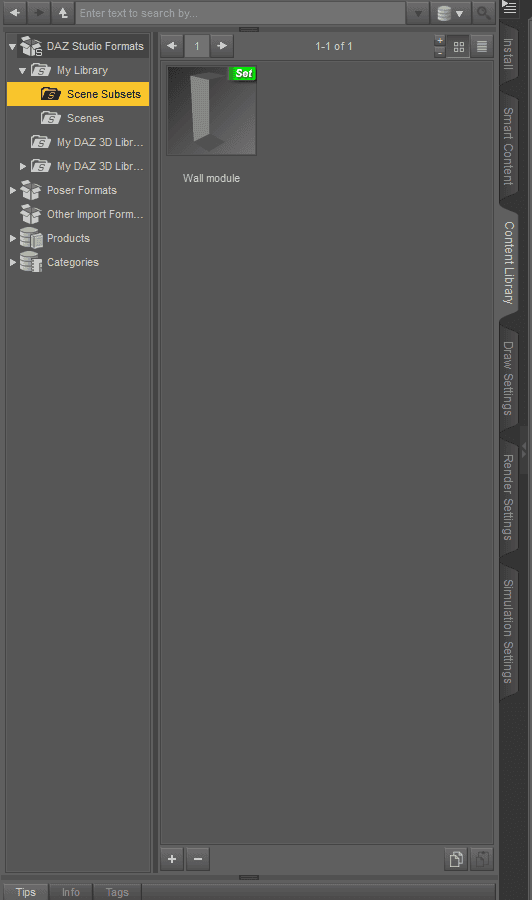
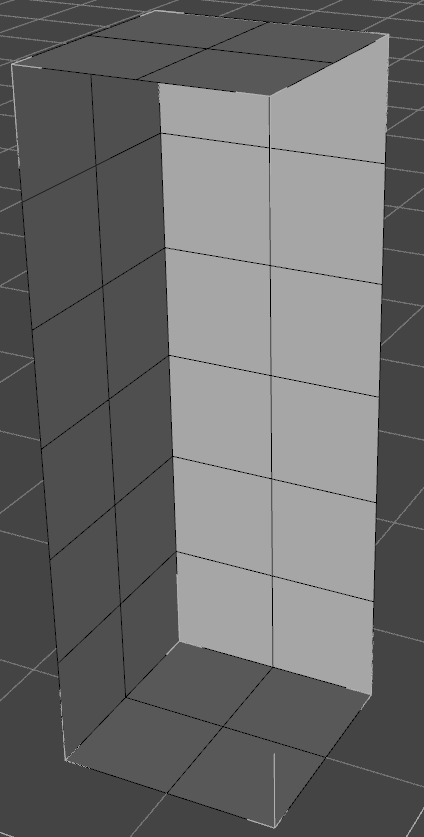
By double clicking on it here, you will add this module to your current scene. Then you can move it near another module and create a longer wall, for example. Here I have 4 objects back to back, so this is a 4 meter wall:
Creating More Presets
But we can’t create a room just out of these wall presets, we need more modules. So let’s see what other parts we need and how to go about creating them.
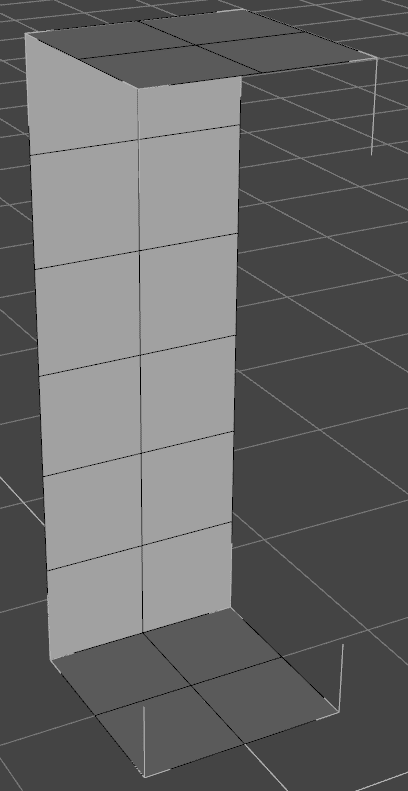
Starting with the corner, as we can’t create a proper room without any corners in it. You need to do everything that we already did: Create a Cube with the size of your desired height and at least 4 divisions. Go to the Top View and select every polygon except the corner ones.
Corner layout
Delete selected polygons and you should be left with the corner wall. Something like this:
Don’t forget to again separate the surfaces from one another and then to save this as a scene subset.
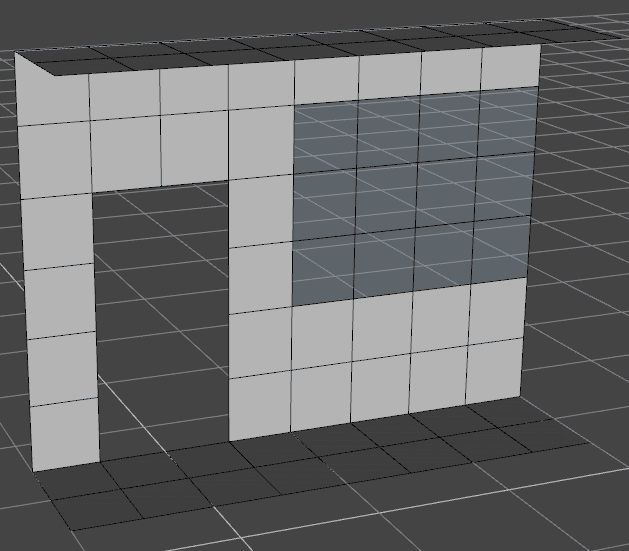
Next thing that we need is a filling of the room. Rooms are not made just of the walls with corners, they are filled with the floor and ceiling in the middle. So this time we will leave the middle of the cube untouched.
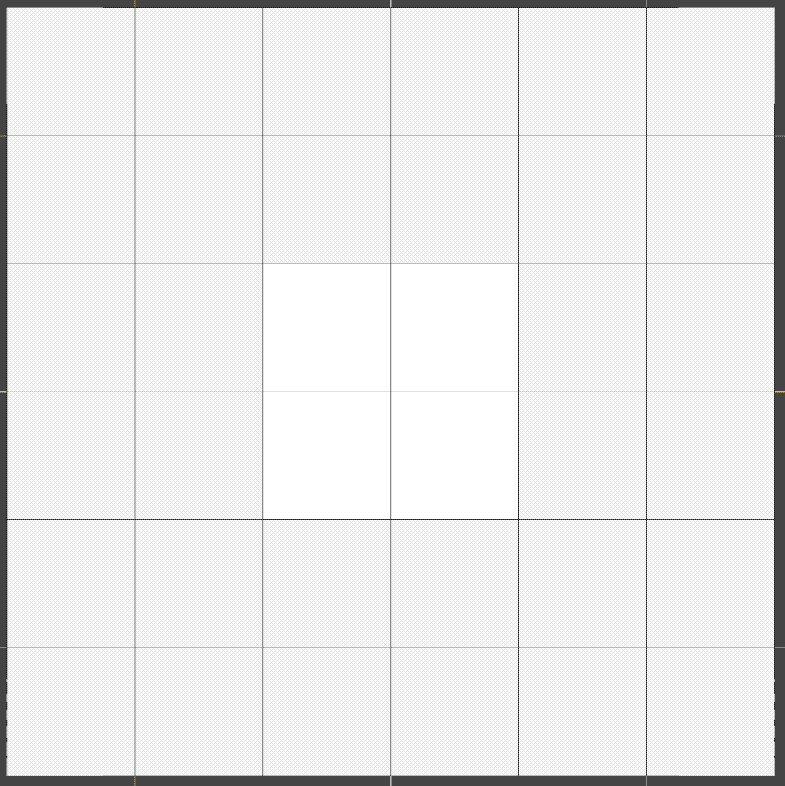
Filling layout
We are left with the floating ceiling and a floor. But when they would be connected to a wall module, they would not appear floating.
Also, as you may need to use a lot of this preset, you can create another filling preset that is twice as big.
Already with these modules I can create a room of different shapes, if I want to.
But the problem here is that it still looks more like a cube than a room. That is because rooms do not only consist of blank walls. These walls usually have doors and windows on them. So for better results, we need to add those.
For the window module we need to create the same part that we made for the initial wall.
But this time we will use the Geometry Editor tool to select the part of the wall that would be the window. And separate this as the surface, same as we did before.

So my window would be like this. A meter high from the ground and a half meter to the ceiling. Usually windows are around that. For more precision you can make the initial Cube with a bunch more divisions, this will allow for more control.
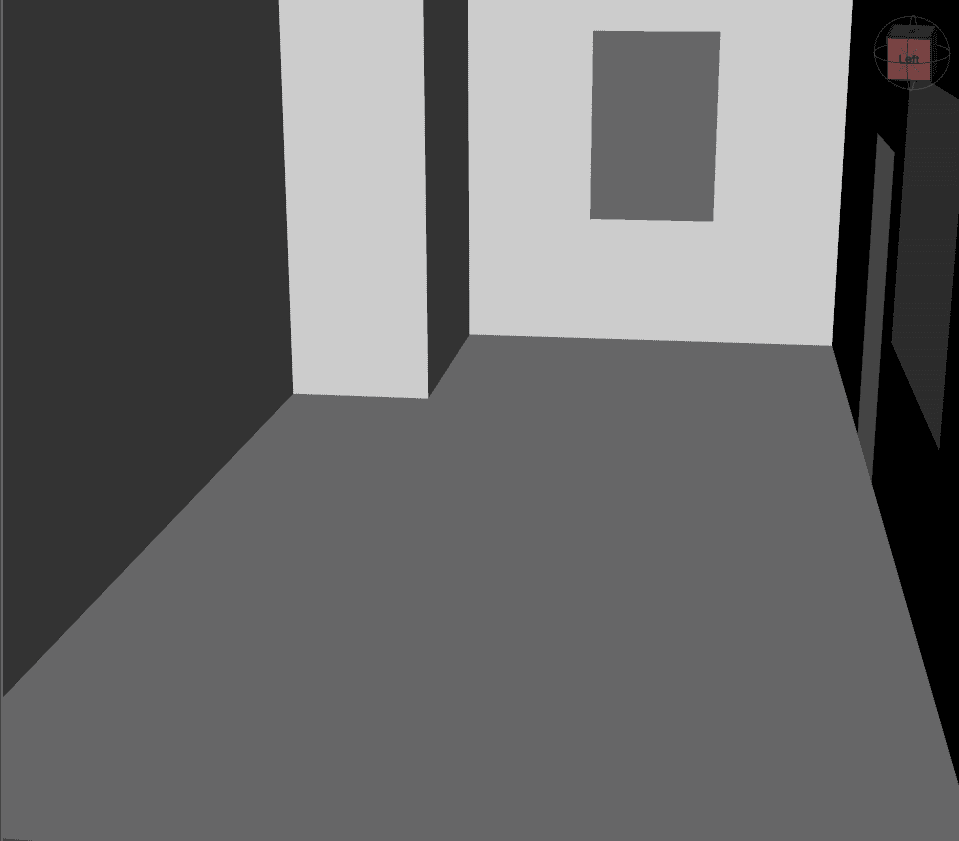
Right now it still looks just the regular wall segment. To change that we will go to the Surfaces tab and select the part that should be a window itself. Near the bottom you can find the Cutout Opacity setting that you can change and make this part see-through.

Also you can change the color to something a little bit bluish and make it more reflective for an even better look.
Wall with a window
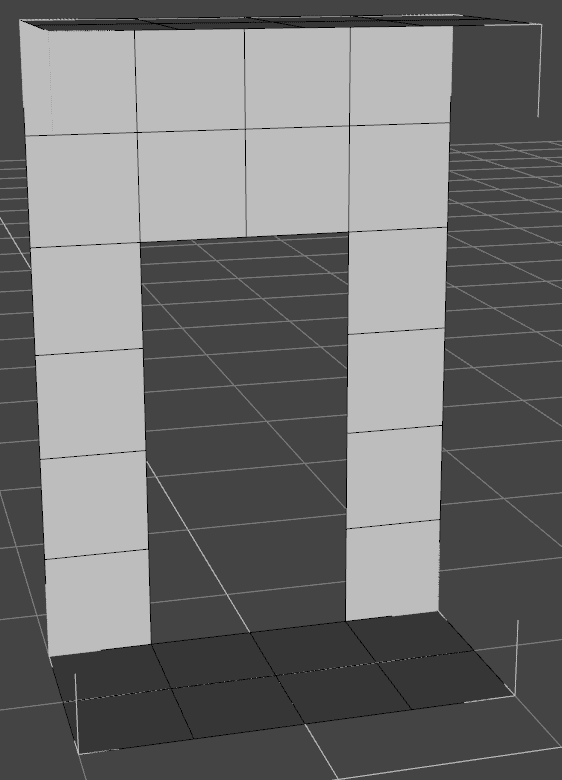
And the last thing is the door module. There are several ways how you can make it. First way is to use the same cube as before, but this time we will take twice as much length.
Door layout
The additional polygons allow us to select the polygons that would be a door frame. Usually doors are around two meters high anw a meter long, so this is perfect.
And just like that we can now delete these polygons, creating a doorway. Later you can simply add a door in that place.
Alternative way of doing this would be to add a lot more divisions to the initial Cube. Then use these added polygons to create a door frame out of them.
Using Modules to Create a Room
So we made some simple modules that you can create yourself. You can add more modules if you want, don’t be restricted to the ones in this tutorial. But these should be enough to create your own room without problems.
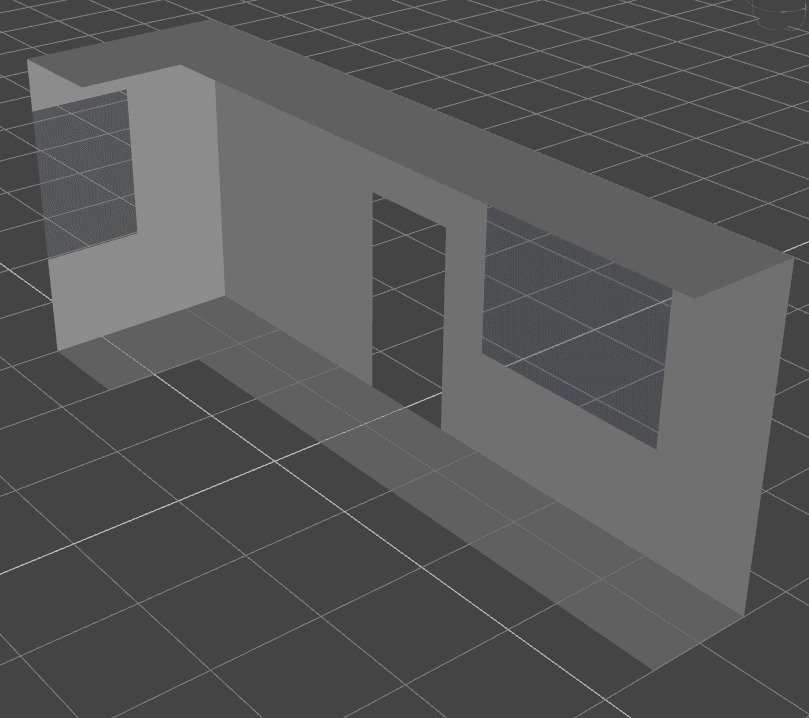
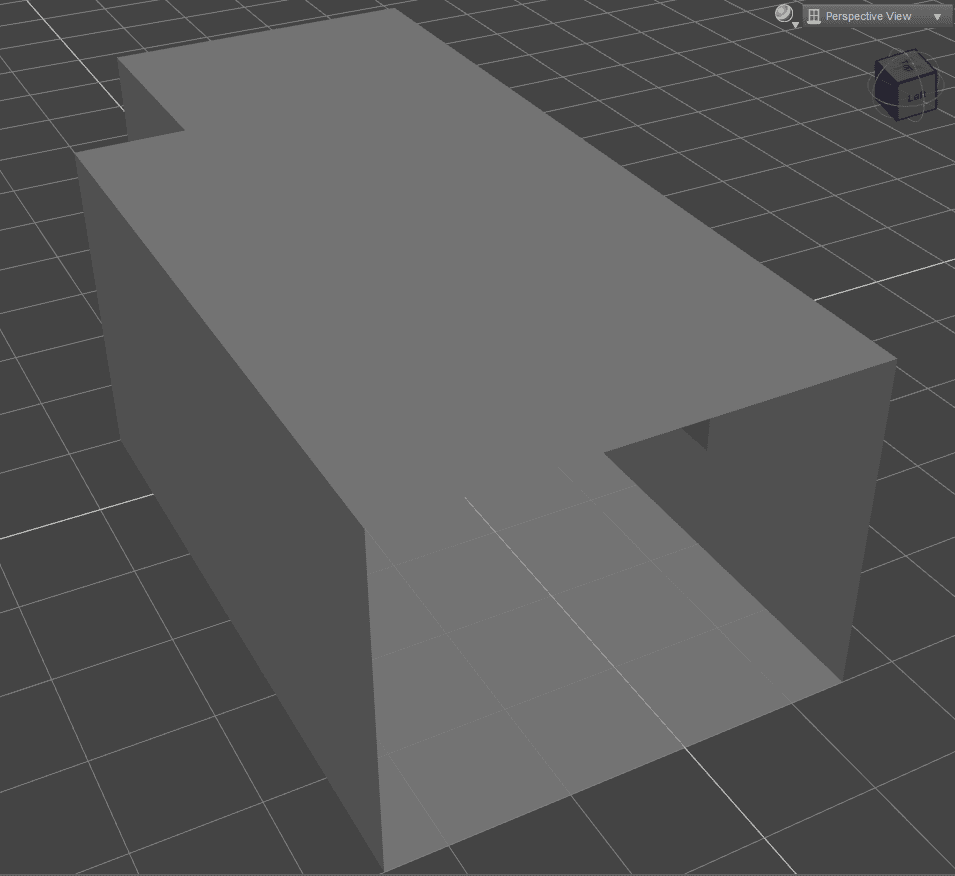
I will create my unique room design to show you a quick example. Starting with a door module and two windows back to back to create a wider window.
Then added some more walls and a corner with another window.
After that added two more corners to create a more interesting shape.
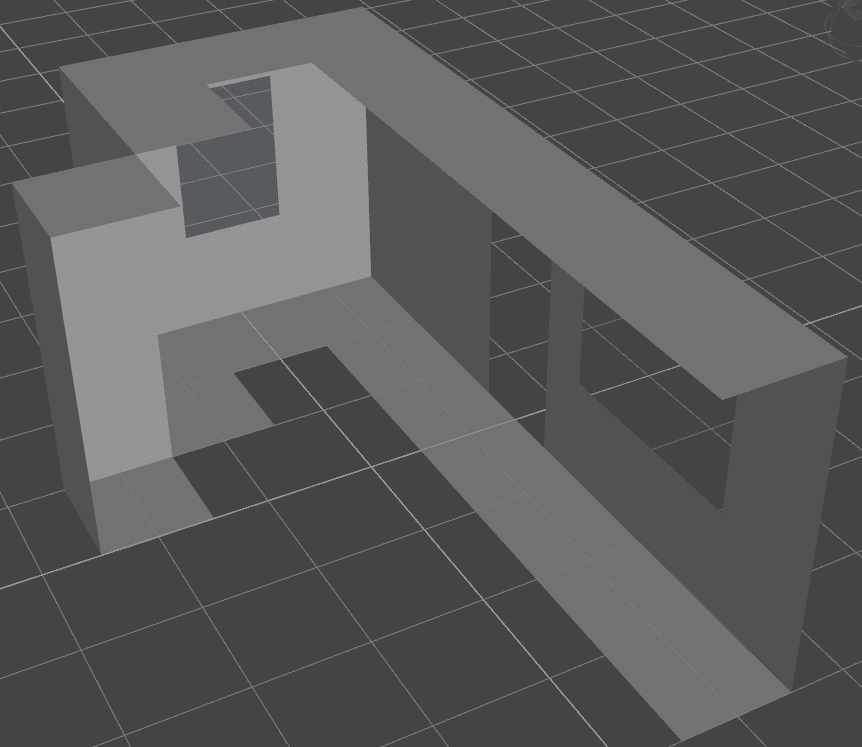
More walls to create a nice shape:

Finally, a bunch of filling modules to fill everything that was left.
All that is left is to add materials and the room would be fully done. I already can place a camera and imagine how the render would look like.
Products to Create a Room
After creating the room using this tutorial, it would only have a single problem – absolutely no furniture. But worry not, because at the Daz3D.com/shop you can find ready-made sets of furniture for you to use.
For example the Interior Furniture Bundle 01 made by Polish. This set has an astonishing number of 103 separate props. Many of the props have different styles, so can be used in some most unique scenes.
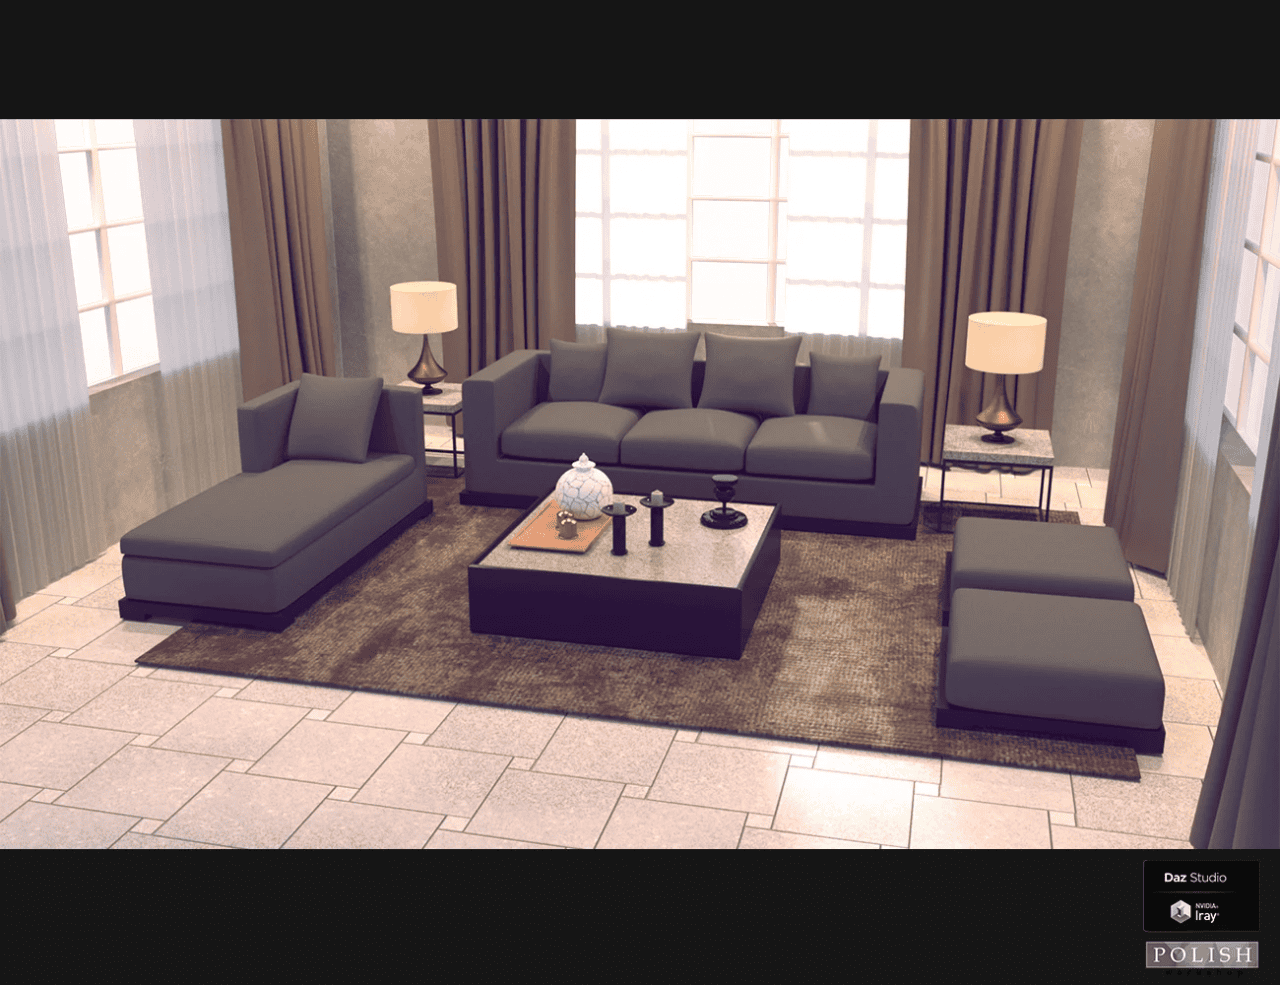
Source Interior Furniture Bundle 01 made by Polish
The Vintage Furniture Iray is made by Daz Originals & LaurieS. It is a set of really stylish and comfortable vintage furniture that is mostly suitable for the living rooms. It is made in the Louis 16th style.
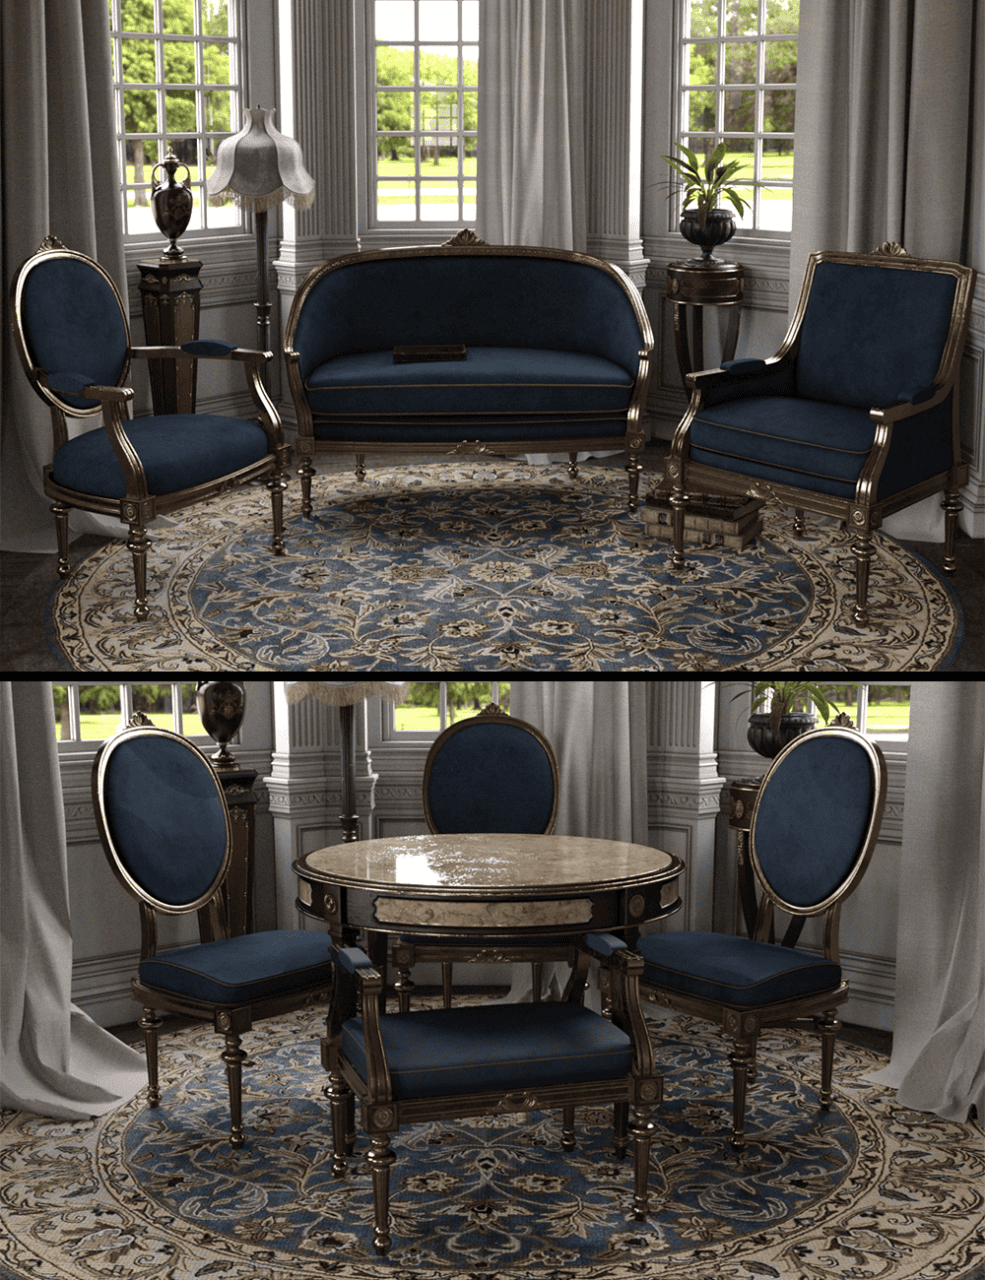
Source Vintage Furniture Iray by Daz Originals & LaurieS
If you are interested in something more unique and less realistic – then take a look at the ROG Fantasy Home – Living Room Furniture Set by Roguey & Strangefate. It is a stylised furniture set for the living room, made in a fantasy style. Has more than 60 props in it
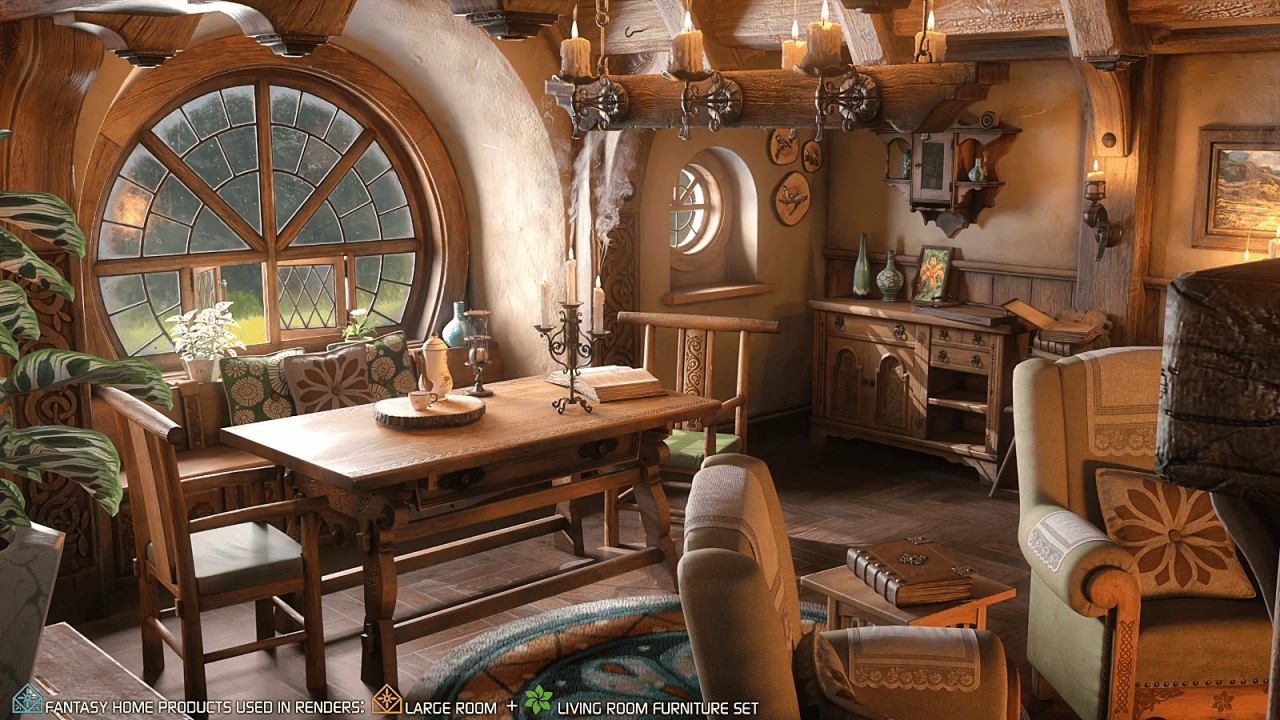
Source ROG Fantasy Home – Living Room Furniture Set by Roguey & Strangefate
It is possible that making these modules manually and managing them is not for you. In the end it can be a better idea to leave such things to professionals that will do it for you. Just like that you can get already made and fully furnished sets of rooms and even full houses.
Such as the Calm Living Room made by Feng. This product features a fully made and furnished living room with a big panoramic window. You can just open this set and already start rendering.
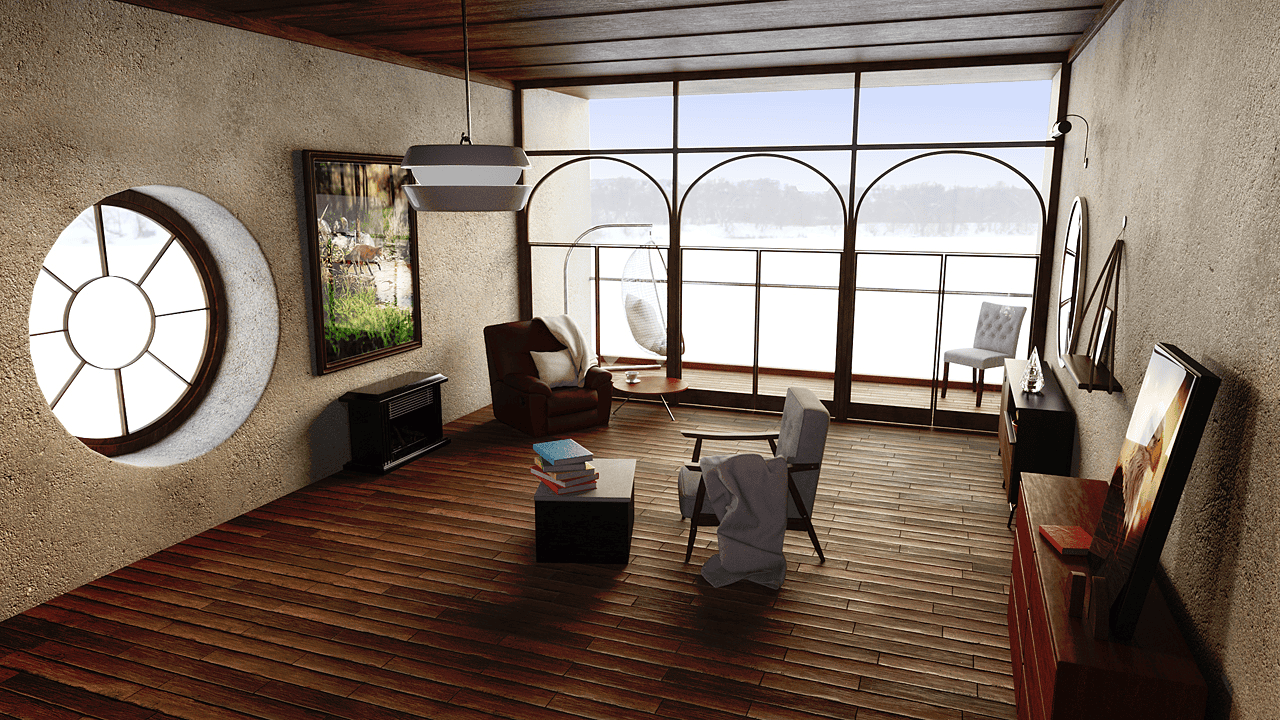
Source Living Room made by Feng
If you are interested in more such presets, on our website we made an article – 8 Best House 3d Models that features some of the best ready-made and furnished models that you can use for your renders instead of going through the work of this Daz3D Create a Room from scratch tutorial.
Conclusion – Daz3D Create a Room from Scratch
Here you have it: a detailed Daz3D Create a Room from scratch tutorial. We learned that you can not only use primitives to create basic shaped rooms, but that they can also be used to create segments of the rooms that can later be used as modules for creating a finished room.
After this article you may be also interested in the Daz3D How to Rig Any Door & Prop to Make It Open because in this one we made a doorframe, but not a door.