This Daz3D Backdrop Tutorial covers all steps how to configure your backdrop inside Daz Studio. We cover color as well as backdrop images you can download. Instead of buying or making yourself a proper environment and setting everything up – you can just use an image for this. In Daz Studio there is a backdrop function that allows to do exactly that. In this article we are going to look into the backdrops and how to use them in Daz Studio.
If you prefer watching a video, see below, otherwise keep reading.
Daz3D Backdrop: Setting up
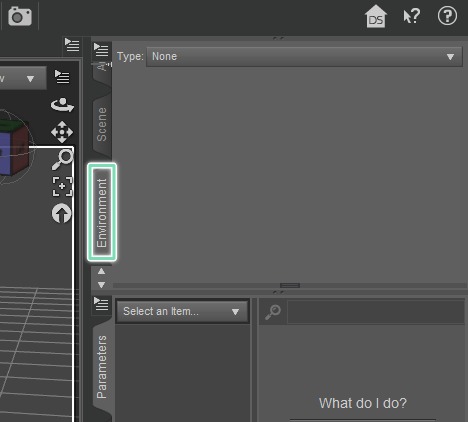
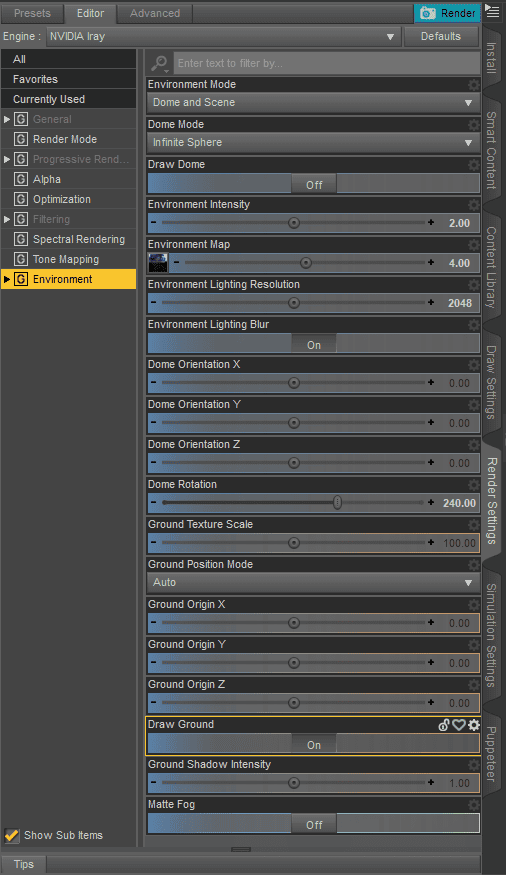
First of all we need to open Backdrop settings. They can be found in the Environment tab. By default it should be already open and docked next to the Scene tab.
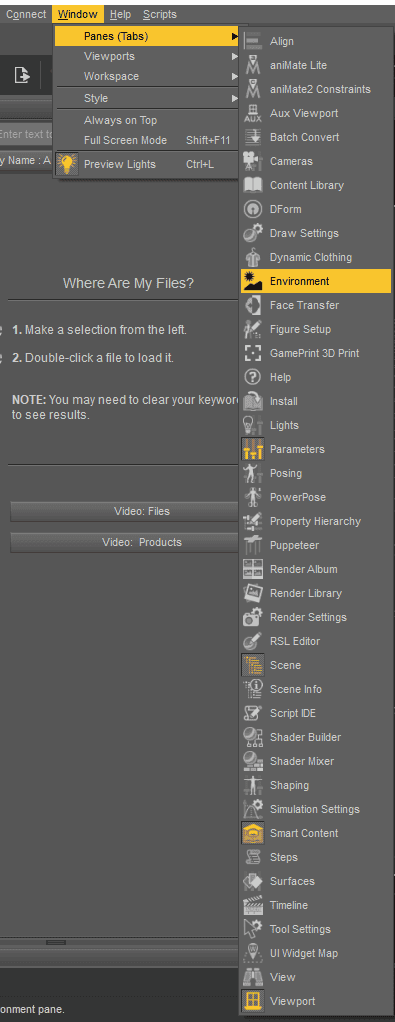
If you can’t find it there – no worries. As any other tab in Daz Studio – it can be easily opened if you go to the topbar “Window > Panes (Tabs)” and find “Environment” there.
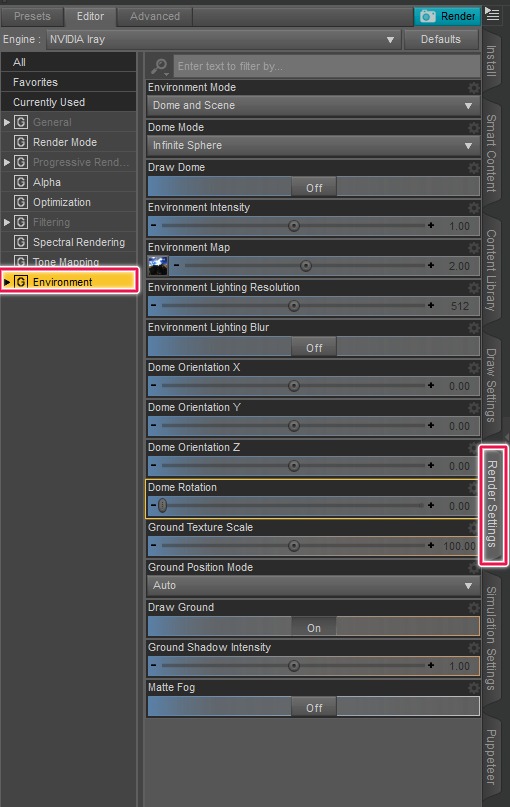
It is important not to mix up the Environment tab that we need and the “Environment” section of the Render Settings tab, as they are totally different things.
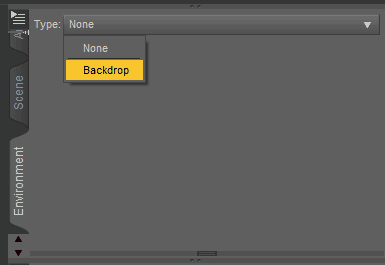
In the Environment tab there is only one available “Type” setting that is set to “None” by default. And you can change it to the “backdrop” to create one.
After doing this you will right away see that more options appear in the Environment tab and that in the Viewport a white backdrop appeared.
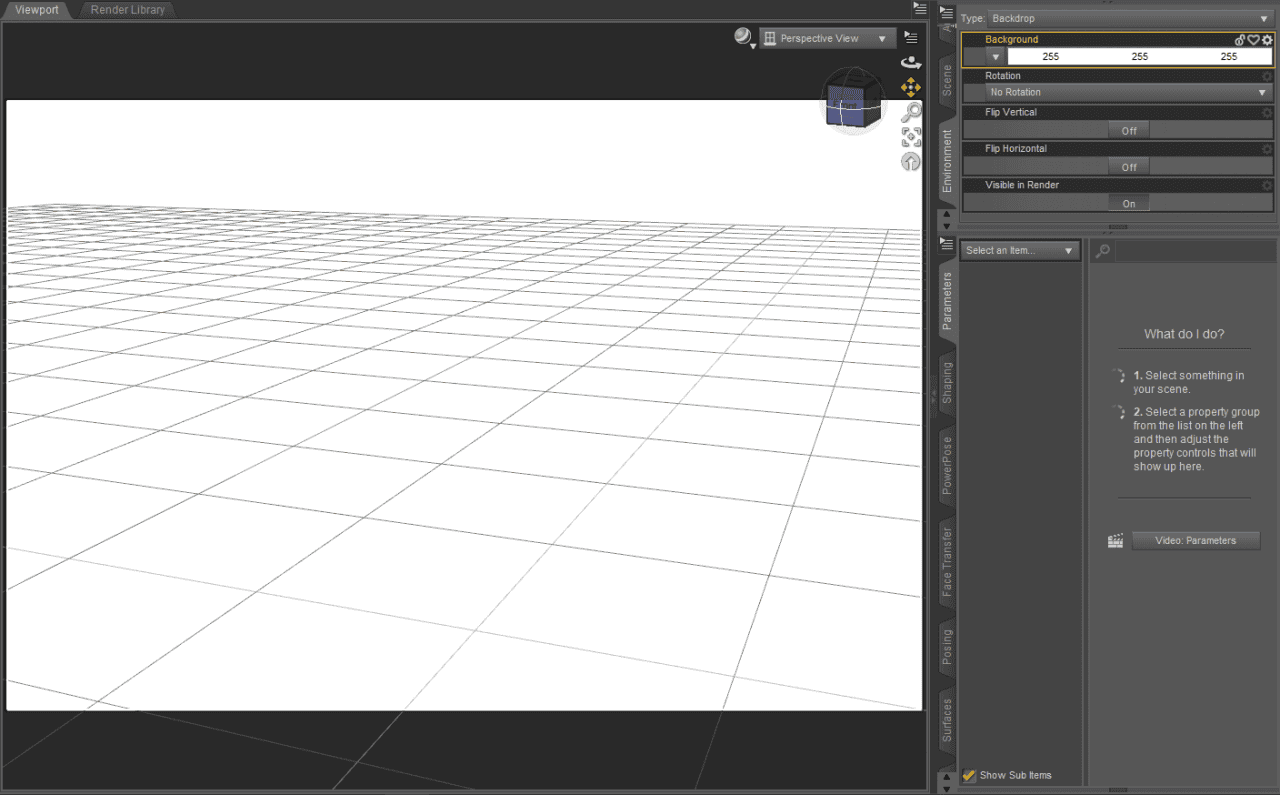
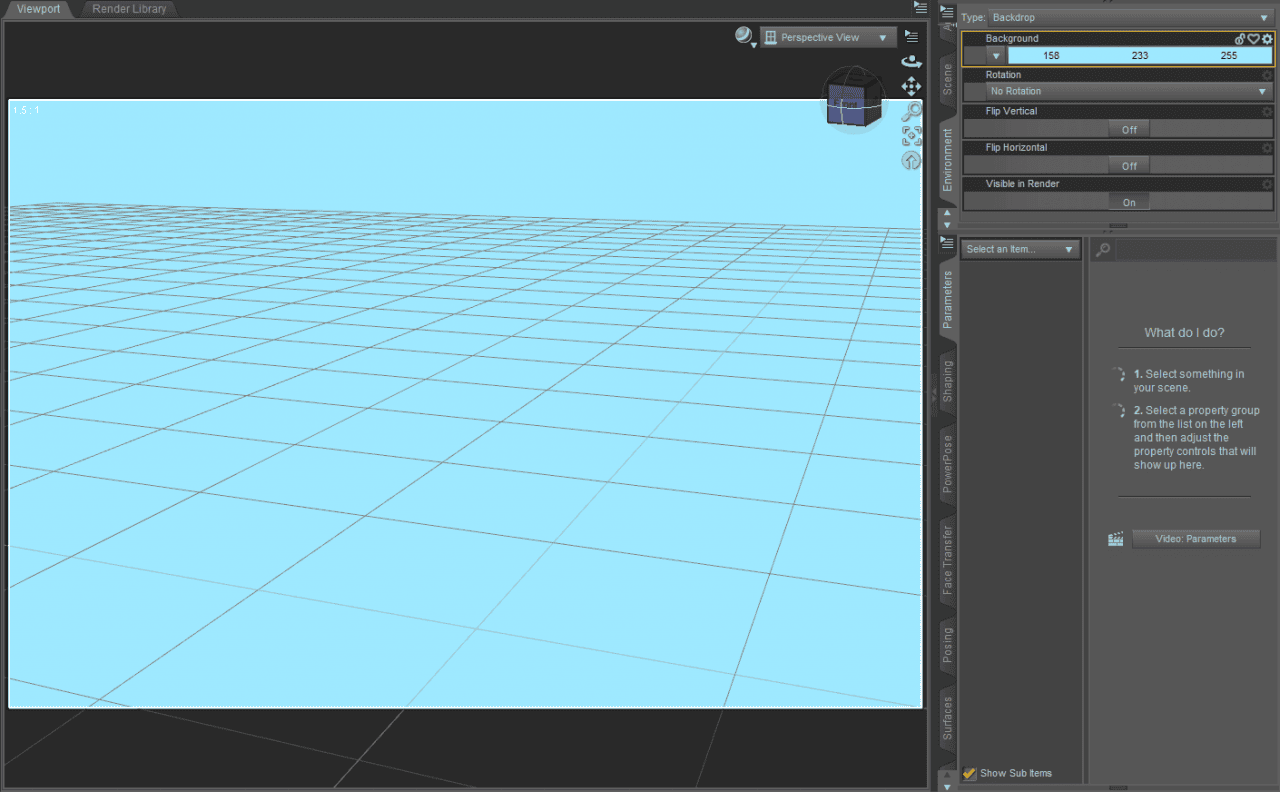
Using the new appeared settings you can change the backdrop settings. Stuff like rotating it, for example. Though you can’t see rotations right now as it is just a single color. Also you can change so it would not be seen in render or change its color from white to something different.
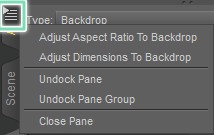
Furthermore, if you open additional settings on the corner of the tab – you can “Adjust Aspect Ratio to Backdrop” and “Adjust Dimensions to Backdrop”. Though with the plain color it won’t change anything too.
Daz3D Backdrop: Using image
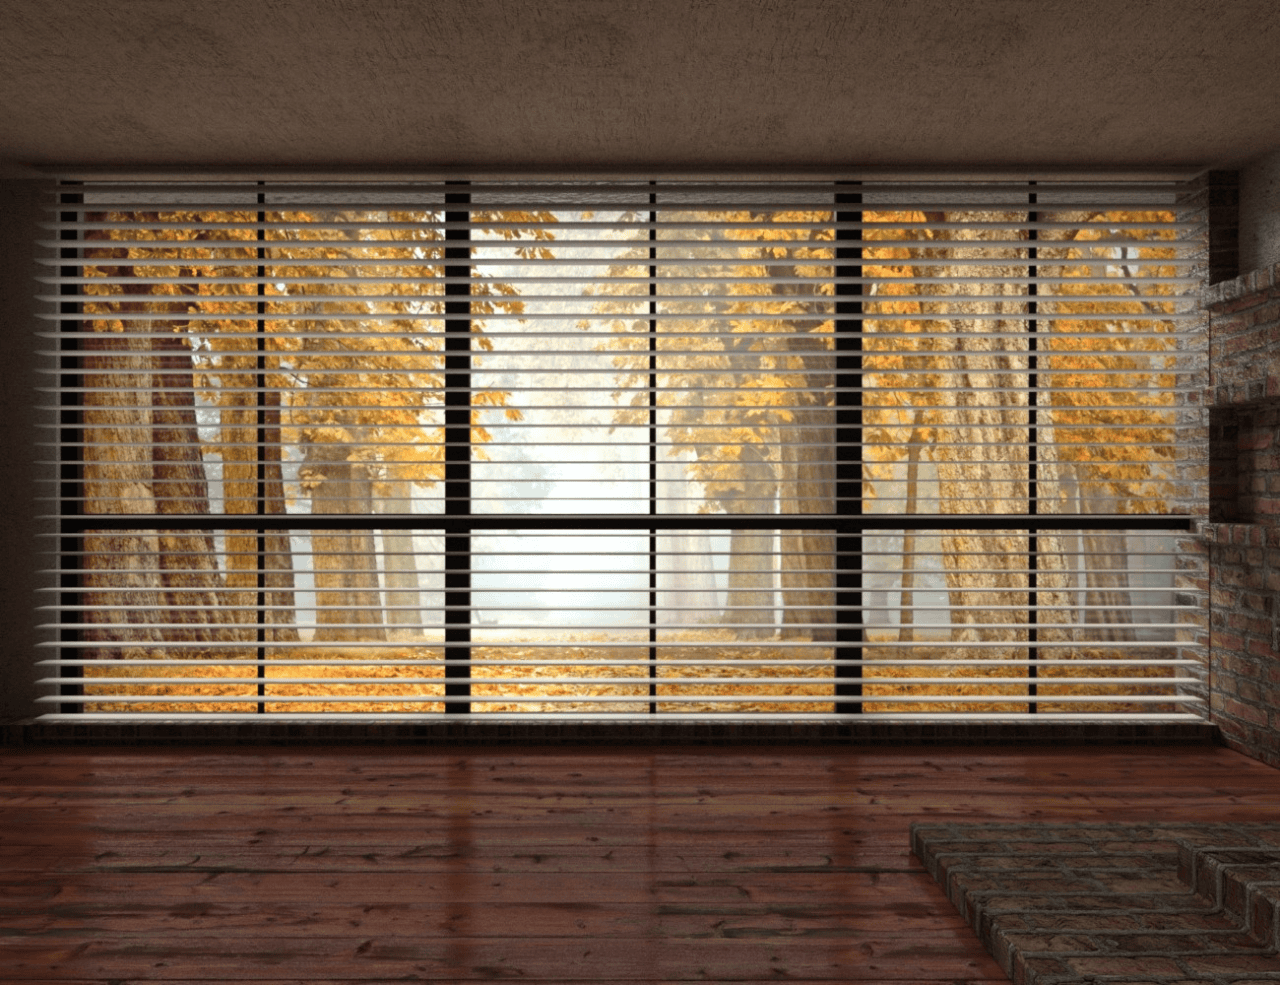
Now is the time to do what we planned from the very beginning. We will use an image as a backdrop instead of the plain single color. For this press the arrow near the color changing options and select “Browse” there. Then find the picture that you want on your computer.
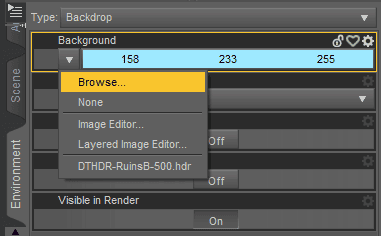
I used the free image that I found on pexels.com.
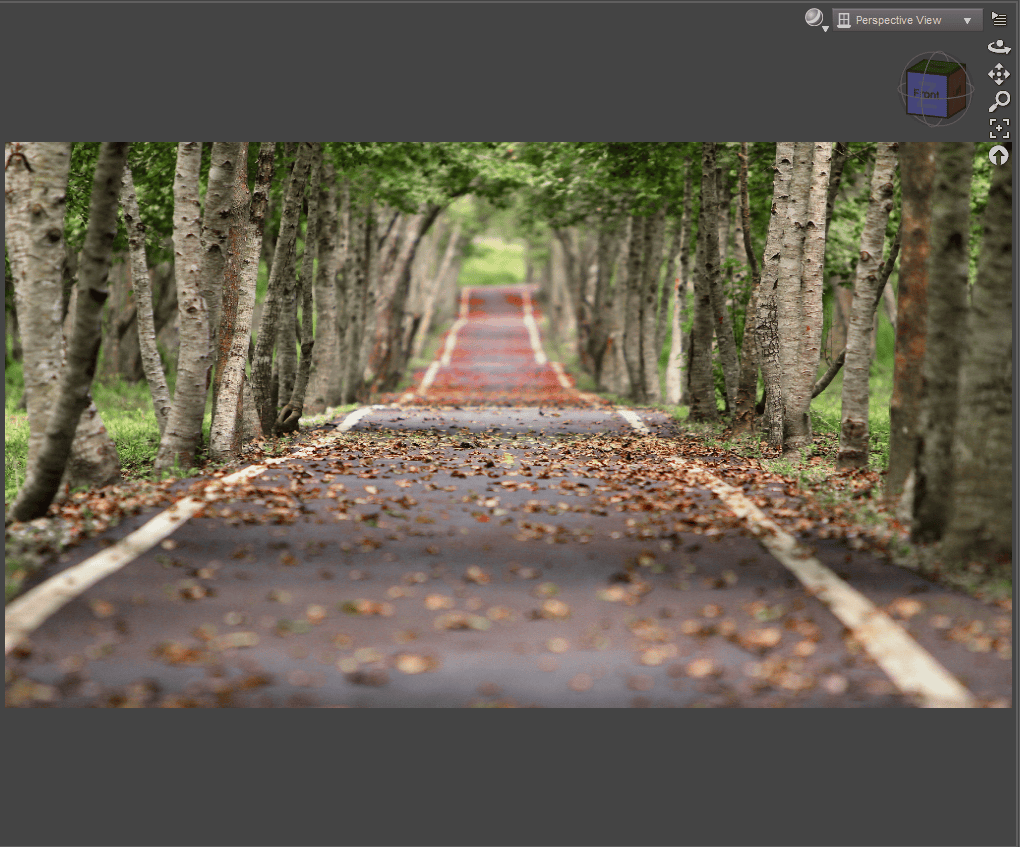
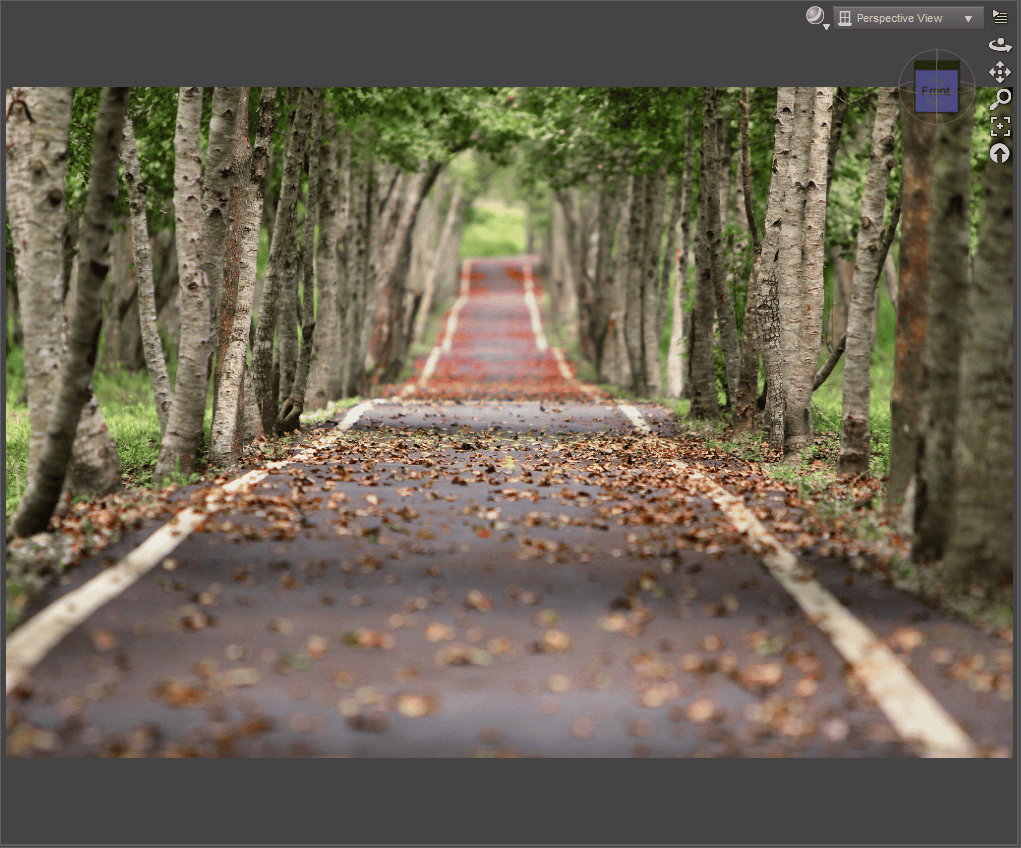
Now you can go to the additional settings of the Environment tab and press “Adjust Aspect Ratio to Backdrop” and “Adjust Dimensions to Backdrop”. This will change your render settings so the aspect ratio and dimensions would suit the backdrop. Sometimes backdrop can be squeezed or stretched and this will fix the problem.
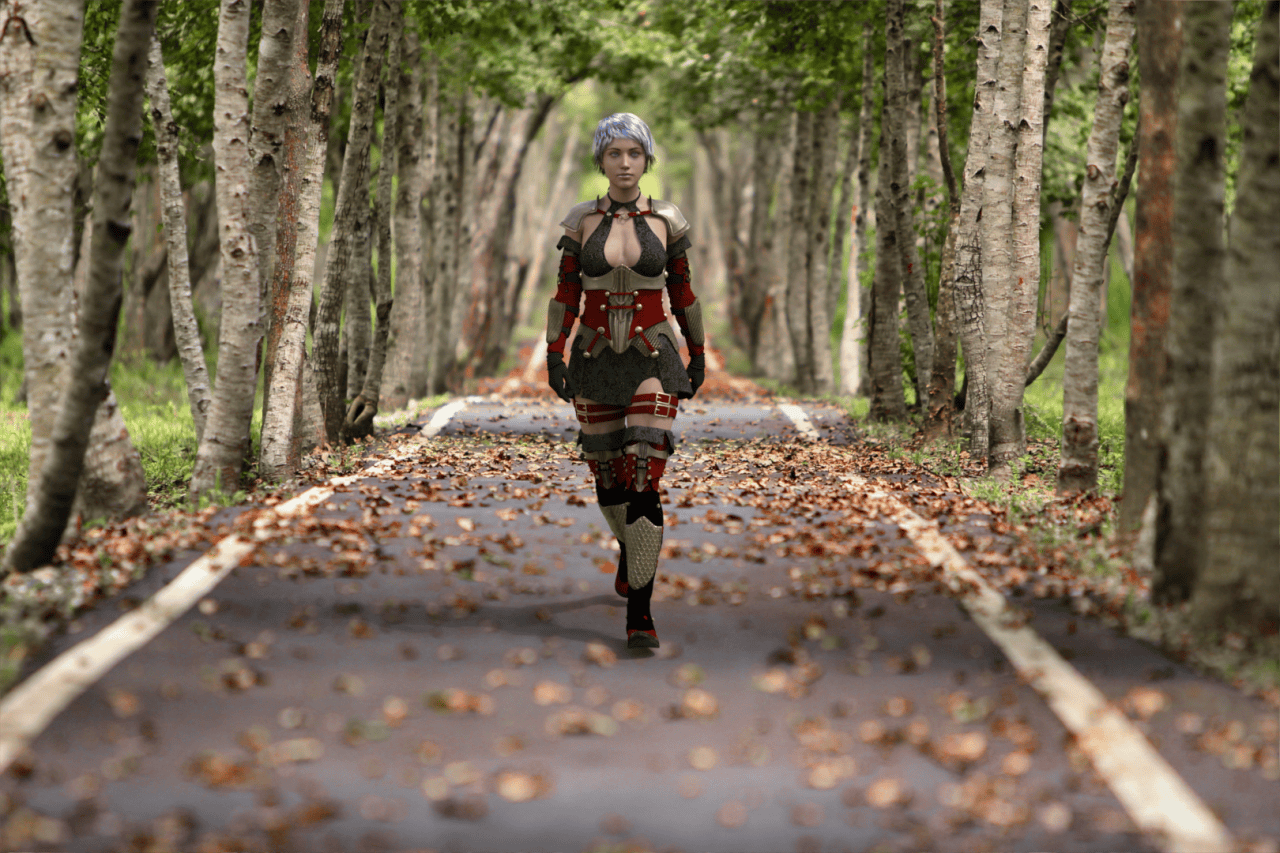
Now is the time to make a scene out of it. First of all I have added a character with all its assets such as hair and clothing. And posed them so it would fit a scene.
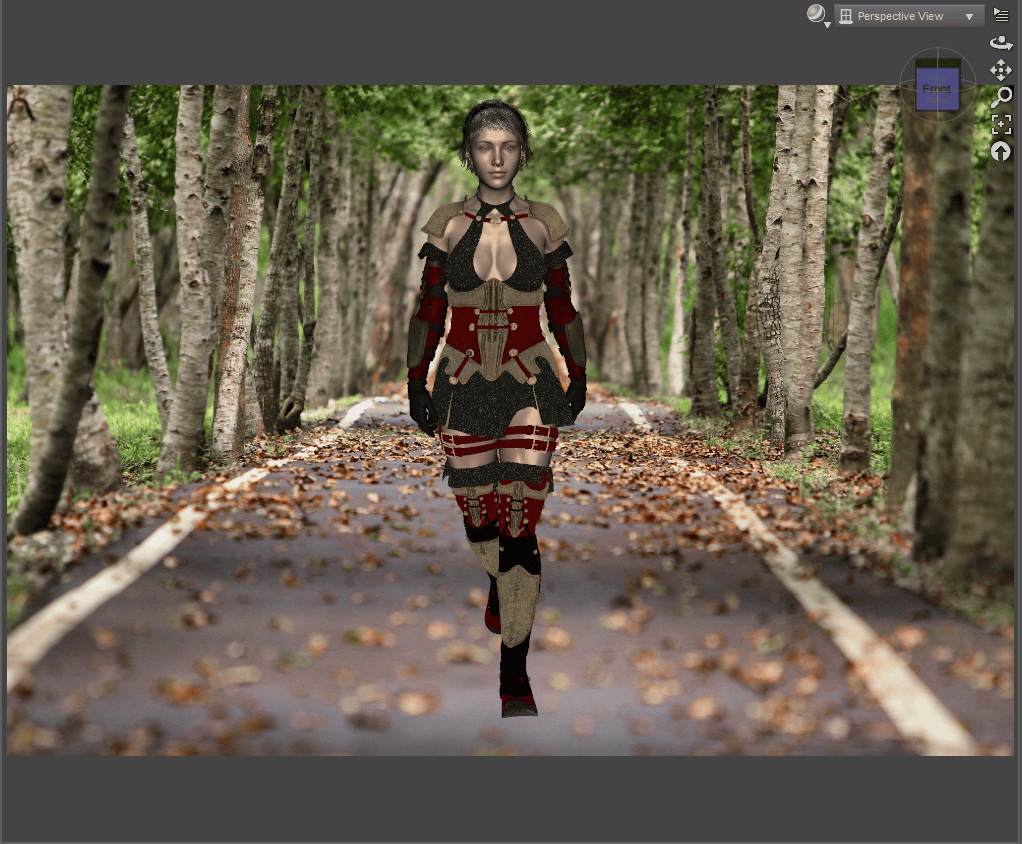
Also it would be a good idea to turn on the “Draw Ground” setting in the “Environment” of the Render Settings tab. This will add realism, as if your character is really there.
Now is the time to set up a proper render by adding lightings, positioning camera, changing its setting and setting up the render settings. If you want to learn how to do all this and more – visit our How to Use Daz3d: Daz Beginner Tutorial article.
After all this were done, my final render looked something like this:
If you want to use other backdrops that were made for the Daz Studio – you should try to find them on the Daz3D Shop. There you can find the “*Scapes” product series that feature a lot of different backdrops. For example the AutumnScapes Backdrops Volume 1 or MountainScapes Backdrops Volume 4 made in a collaboration with the Daz Originals
Source AutumnScapes Backdrops Volume 1
Conclusion
Backdrops are a useful thing that can be utilized to create some beautiful render. But it is inferior in almost any way to the High dynamic range images or HDRIs. They are easier to use and a lot more flexible. They even can be used as an environmental lighting in addition to the background. You can learn more about HDRIs and how to use them in the Daz Studio in our article Daz3d HDRI Tutorial: What It Is and How to Use.