Hooray! The waiting is finally over and the new official Daz to Unity Bridge add-on is available here. In this Daz to Unity Bridge Tutorial we will learn how to install it and use it to export our Daz assets to Unity3d. As a result, you will be able to use all the amazing characters and rich content from Daz in this first-class game software. We already wrote about the manual steps to export Daz to Unity in the past here but this new approach officially supported by Daz Studio is much easier.
Installation Process Daz to Unity Bridge
If you don’t have yet Daz Studio installed, here a quick How to Install Daz Studio Guide. Once Daz Studio is installed, we will download and install the Daz to Unity plugin. Get it for free here from the Daz shop. You can either download manually/via DIM or use the new Daz Central Hub.
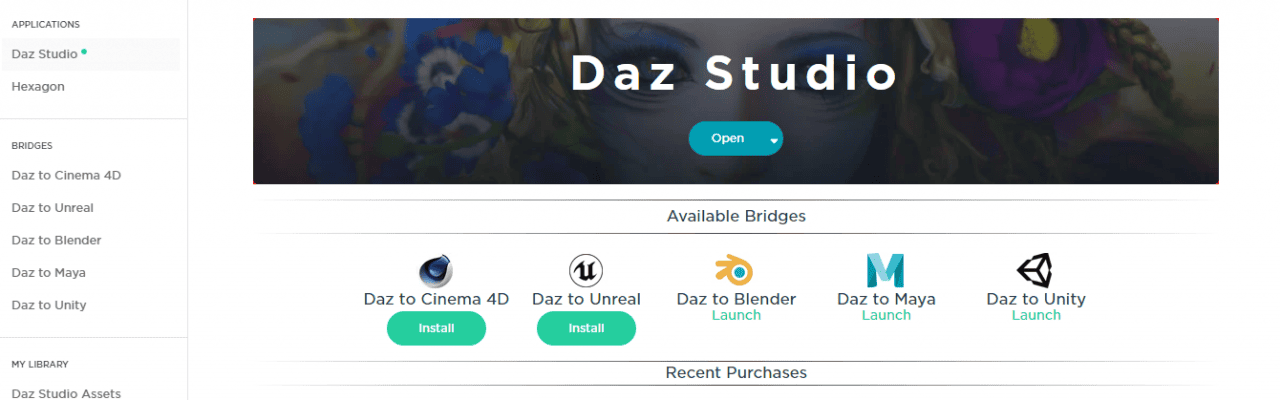
After purchasing the product on the website, the new bridge tool will appear ready to install. Click to install and wait until it reads “launch”.
Close Daz Central Hub and open Unity Hub. You can download the software from the official website here.
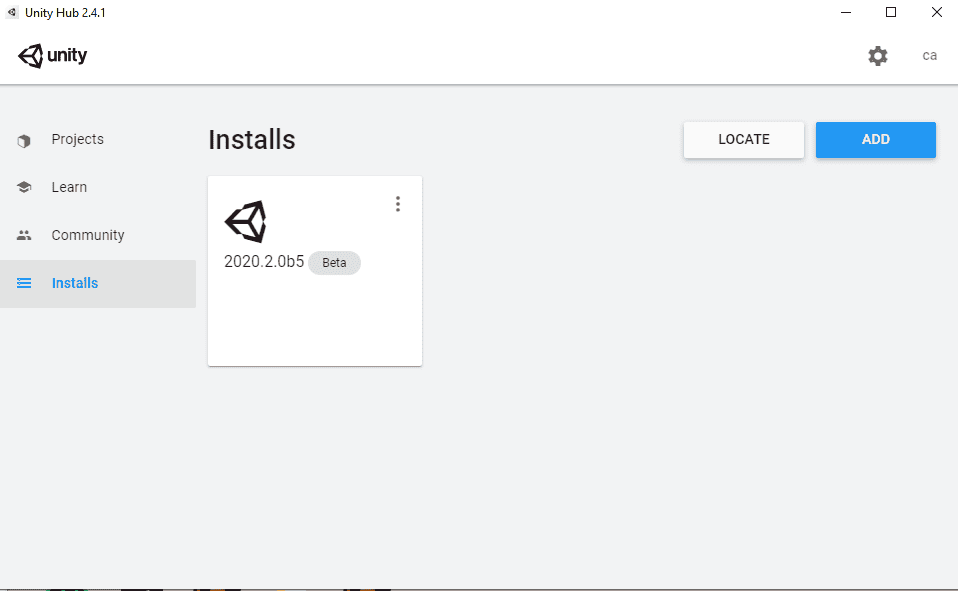
In the left panel, click where it says “Installs”. In this section you can download the latest package version of the Unity software. Once downloaded, go back to “Projects” and create a new project.
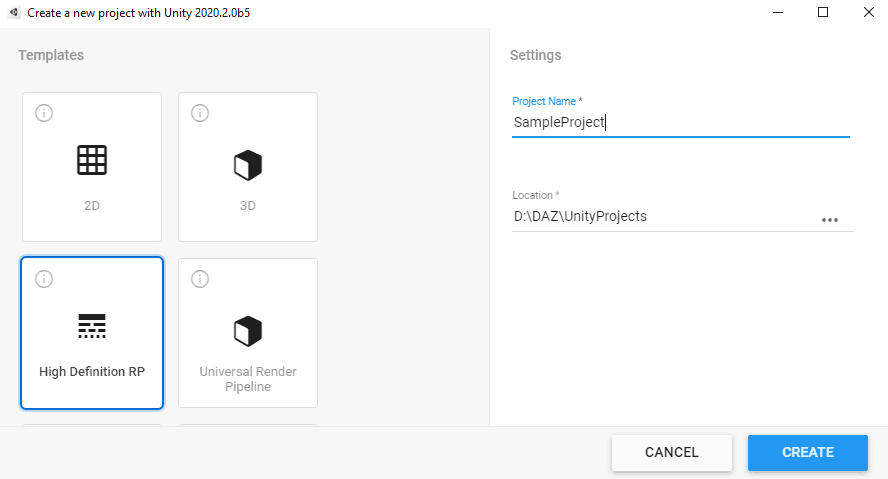
A new window will appear, we will select which type of project we want to create. In this case we need to click “High Definition RP”. Select a project name and a proper location. Click on “Create”.
Once the Unity Project is open, we will minimize it and open Daz Studio.
Importing a Character from Daz3D to Unity
Inside Daz, we will pick our character and products to import to Unity. For the purpose of this tutorial, I will export my beautiful Freja 8.
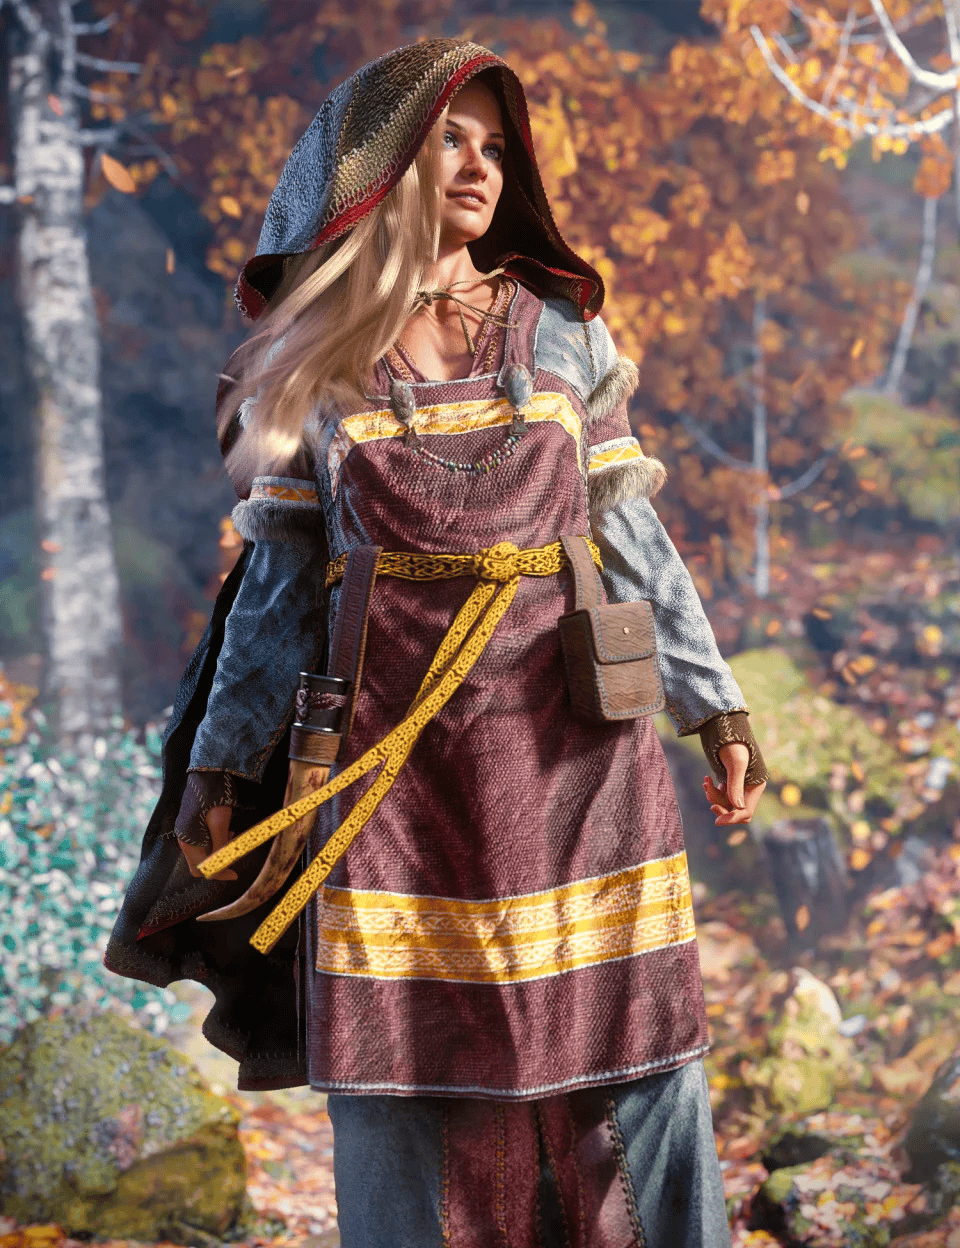
Source Freja 8 Viking Maiden Bundle
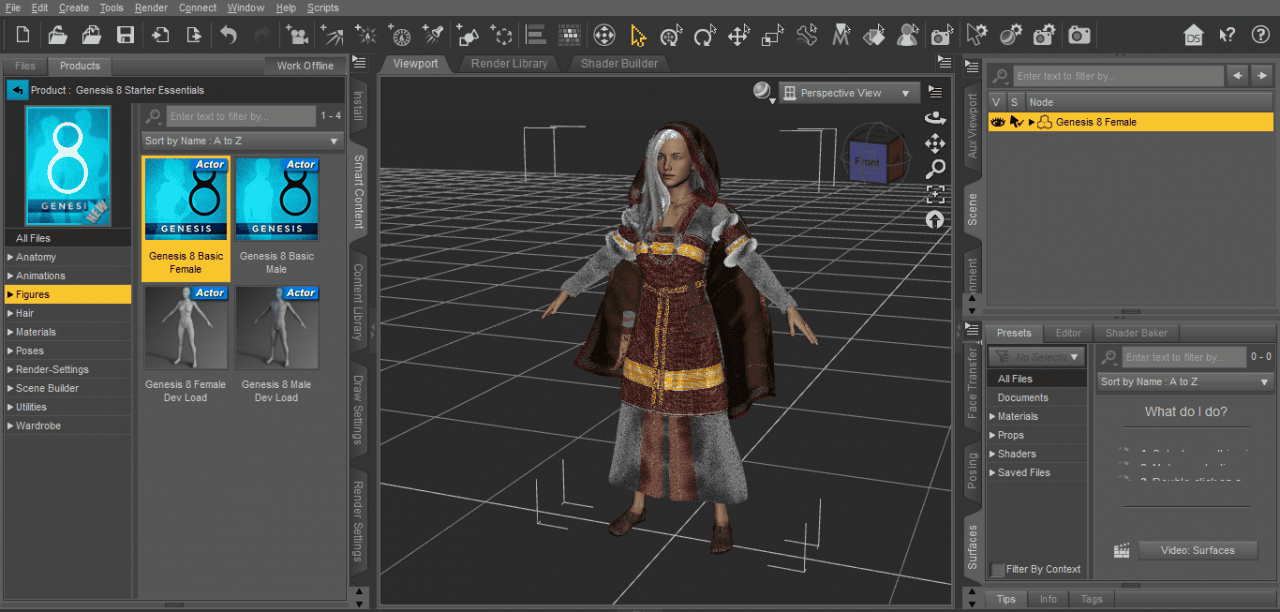
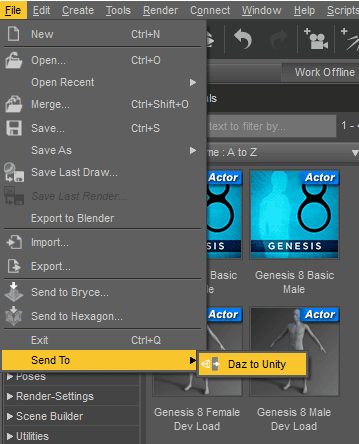
Once everything is set up to export, we will go to File and look for the option Send To > Daz to Unity.
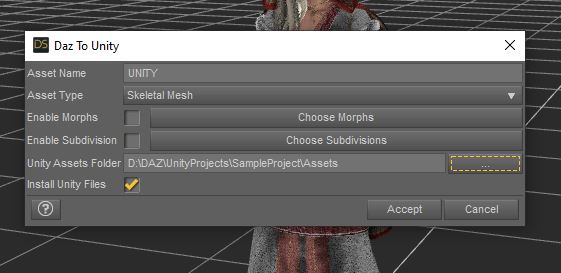
A new window will appear showing some export options.
- We will keep Asset Type to Skeletal since it is a rigged object.
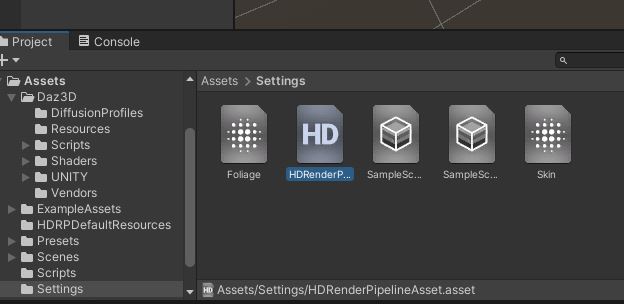
- We will also locate our Unity Project directory and look for the folder “Assets”. That is the location where all the exported data will be saved.
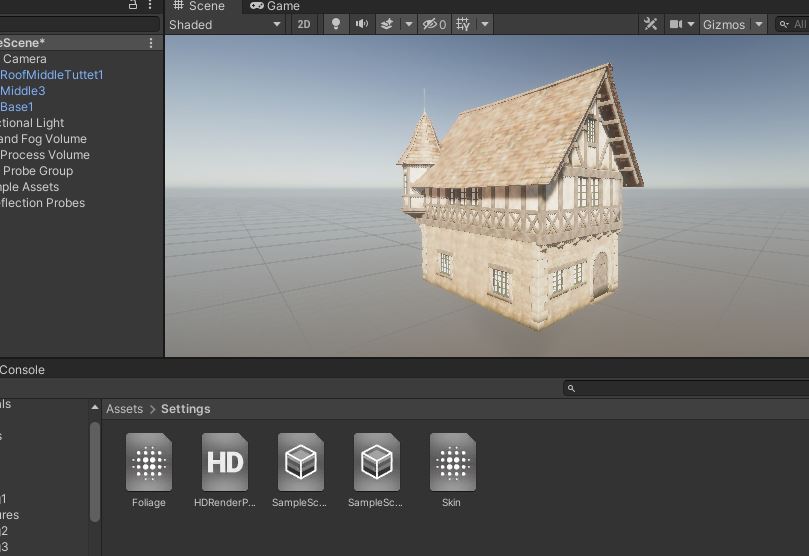
Inside Unity, the content will refresh and import automatically. You will see the new data inside the folder named “Assets”.
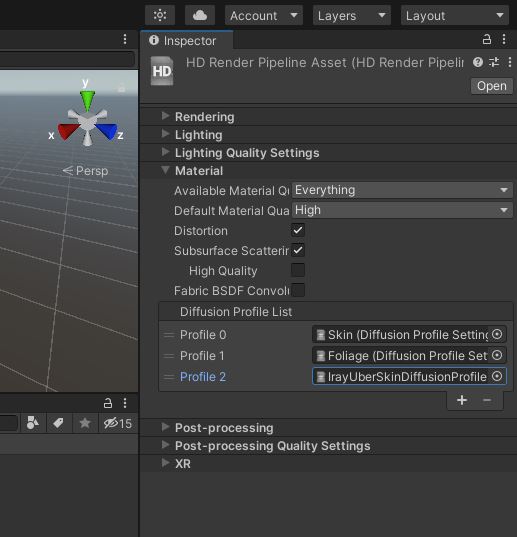
Now go to the Inspector panel to the right and find where it says “Diffusion Profile List” as shown in the picture. Add a diffusion profile by clicking the plus sign and locate the IrayUberSkinDiffusionProfile file.
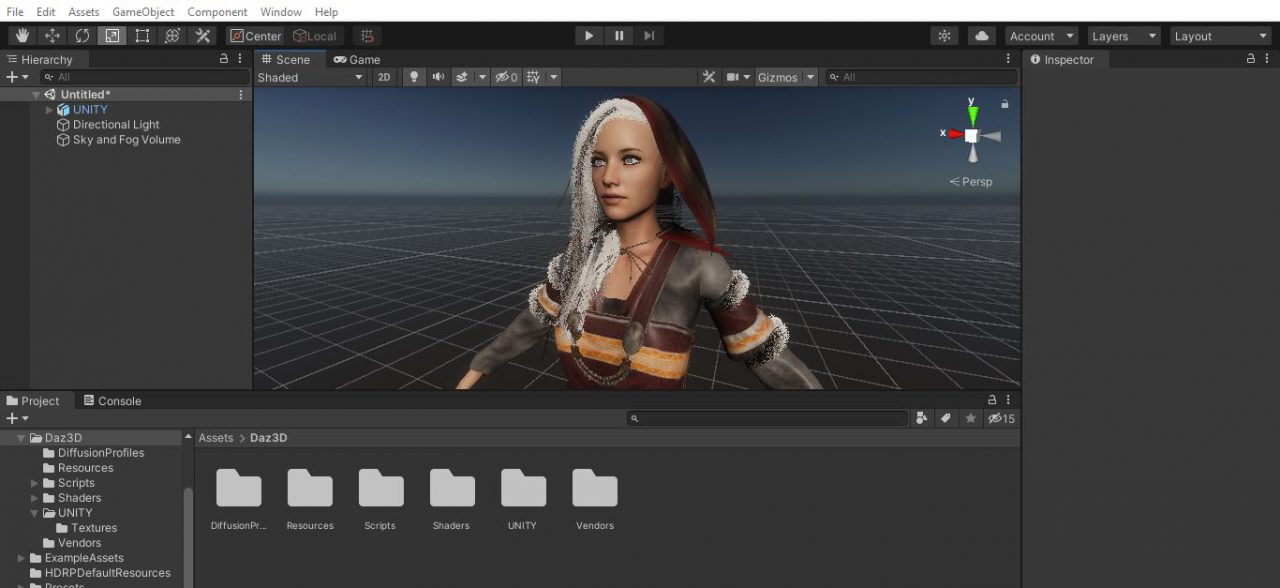
Almost done, go back to the Assets folder, find your 3d model and drag it to the scene viewport. Our new character is now ready to use!
Even though the export process is in general terms flawless, you will have to make manual adjustments most likely to the eyes and some other textures. You can follow our tutorial on how to solve these issues here.
Importing an Animation from Daz to Unity3d
Now if we want to import an animation to our existing character the procedure is really easy. Simply go back to Daz Studio and apply any animation to your existing character.
Click on File, export to Unity and we will change two things:
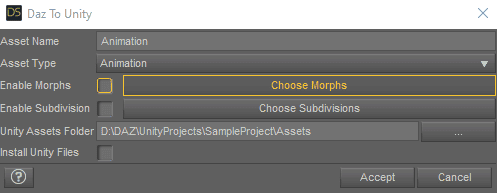
- Asset Type: Animation
- Uncheck Install Unity Files
Unity will automatically detect and refresh the interface showing the new changes.
Remember to always export your characters before you export your animations.
Importing Props & Environments to Unity
We have explained how to export a rigged object, we will now explain how to export static meshes such as environments and props.
For this opportunity, I decided to use the Modular Medieval Village that you can purchase in the Daz marketplace.
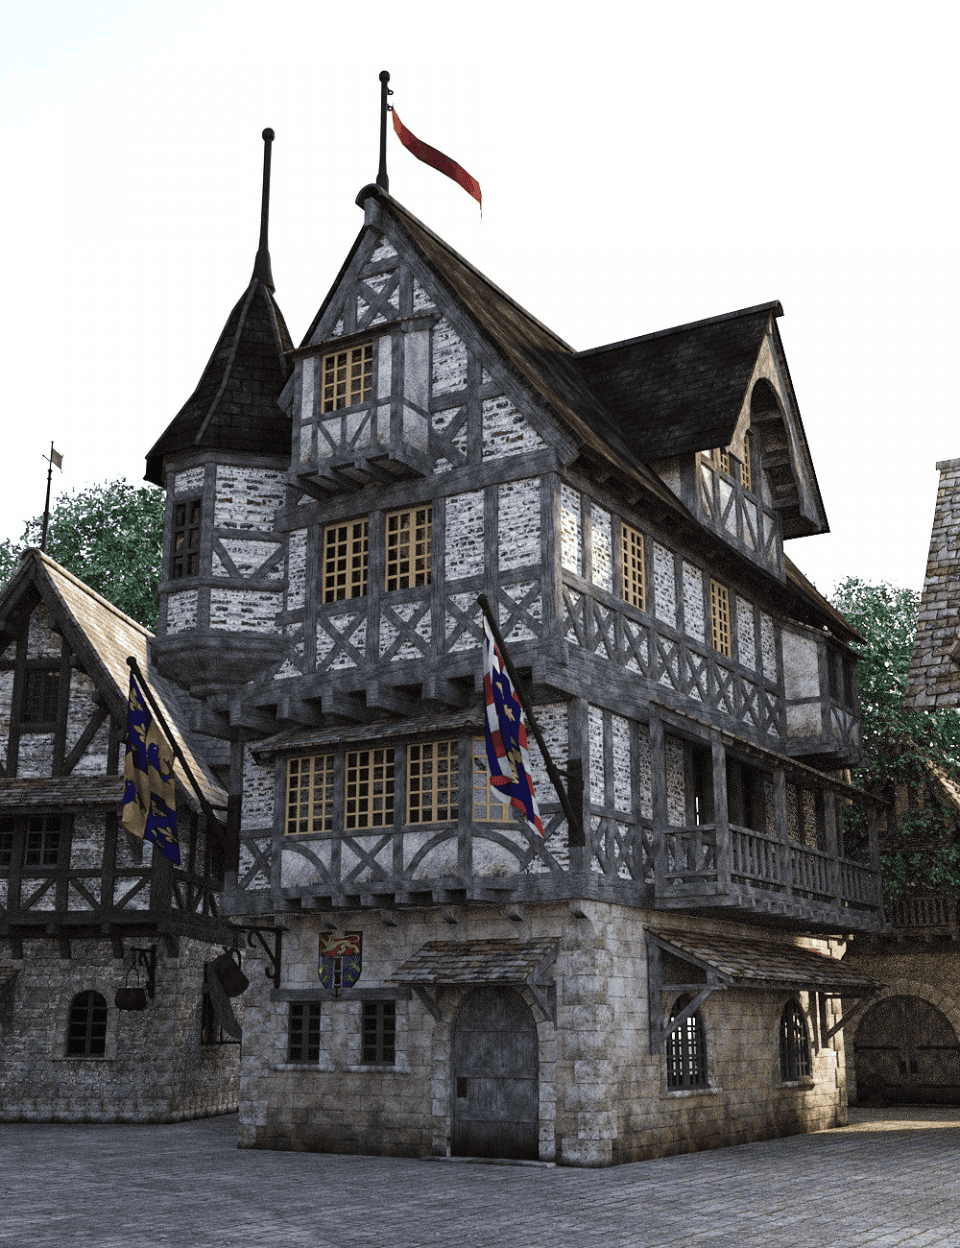
Source Modular Medieval Village
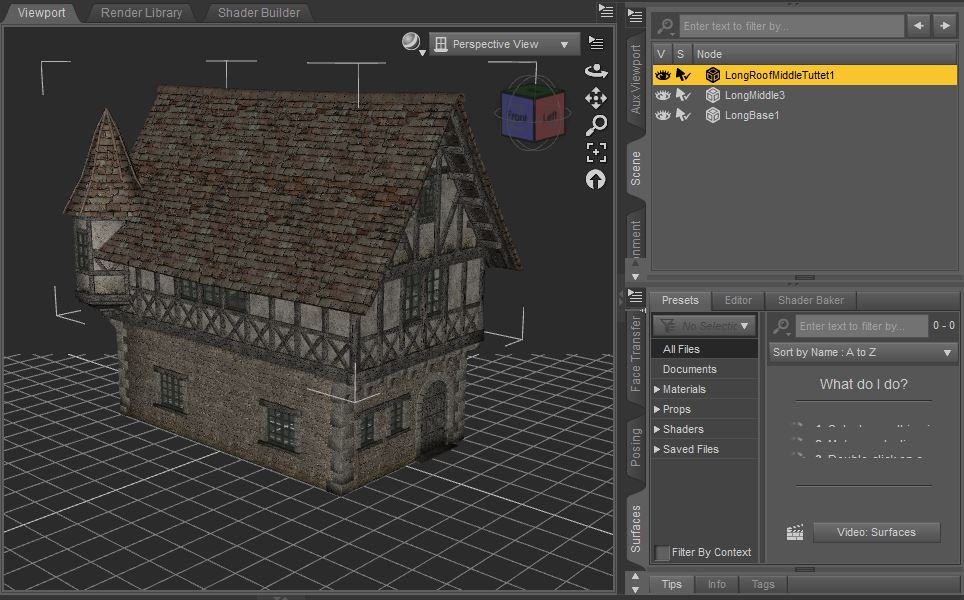
Select your prop and go to File and Send To > Daz to Unity.
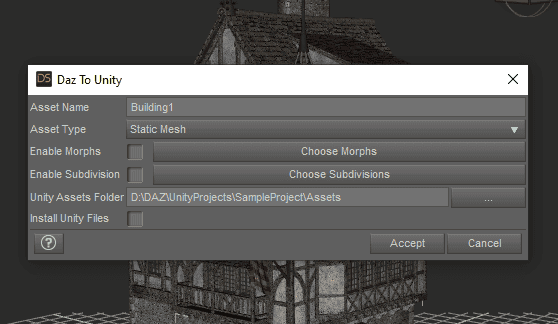
We will change the Asset Type to Static Mesh (since it has no rigging) and uncheck Install Unity Files if you already imported from Daz to your project.
Inside Unity, remember to follow the exact same steps to apply the material profile and you are ready to go.
Key Facts Daz to Unity Bridge Tutorial:
- Materials supported: Iray Uber, PBR SP, Daz Studio Default, OmUberSurface shaders.
- You have three types of conversion available: “Stash Mesh” (no skeleton), “Skeletal Mesh” (character or with joints), or “Animation” (character must already be transferred).
- You can export Morphs: when exporting, choose those you wish to transfer.
- Recommendable to work with Genesis 8 & 3 content.
Bridge Users: Don’t forget to check our Daz to Blender Bridge Tutorial!
Daz 3D Models
Checkout also many of our Daz3d Product Highlights here some examples below – always check their “Compatible Software” mention for Unity:
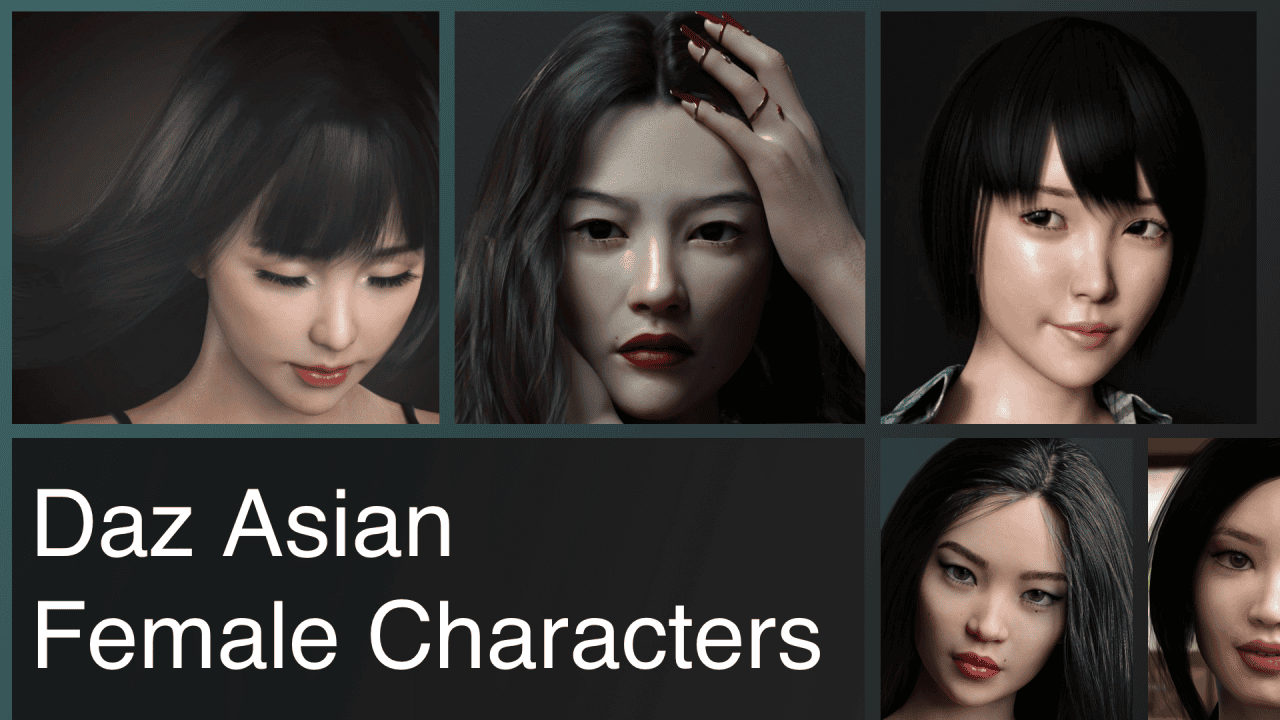
Source Daz3D Asian Female Characters
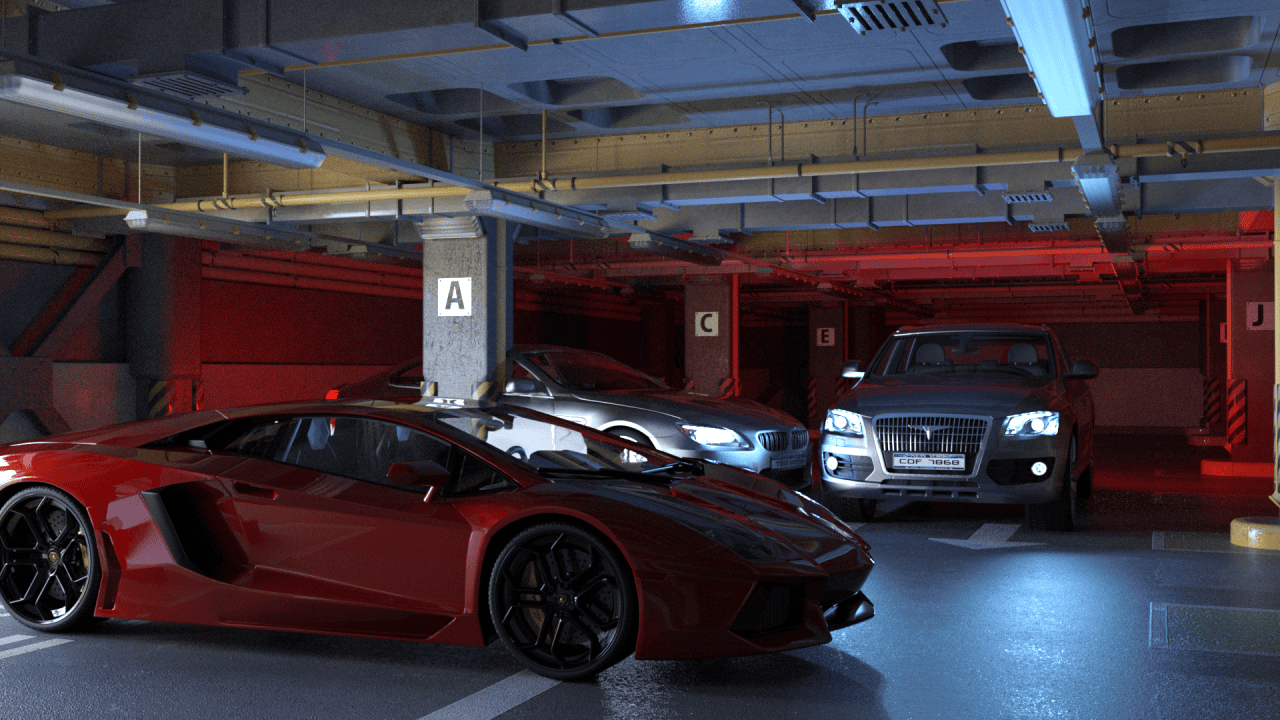
Source Top Card 3D Models for Daz
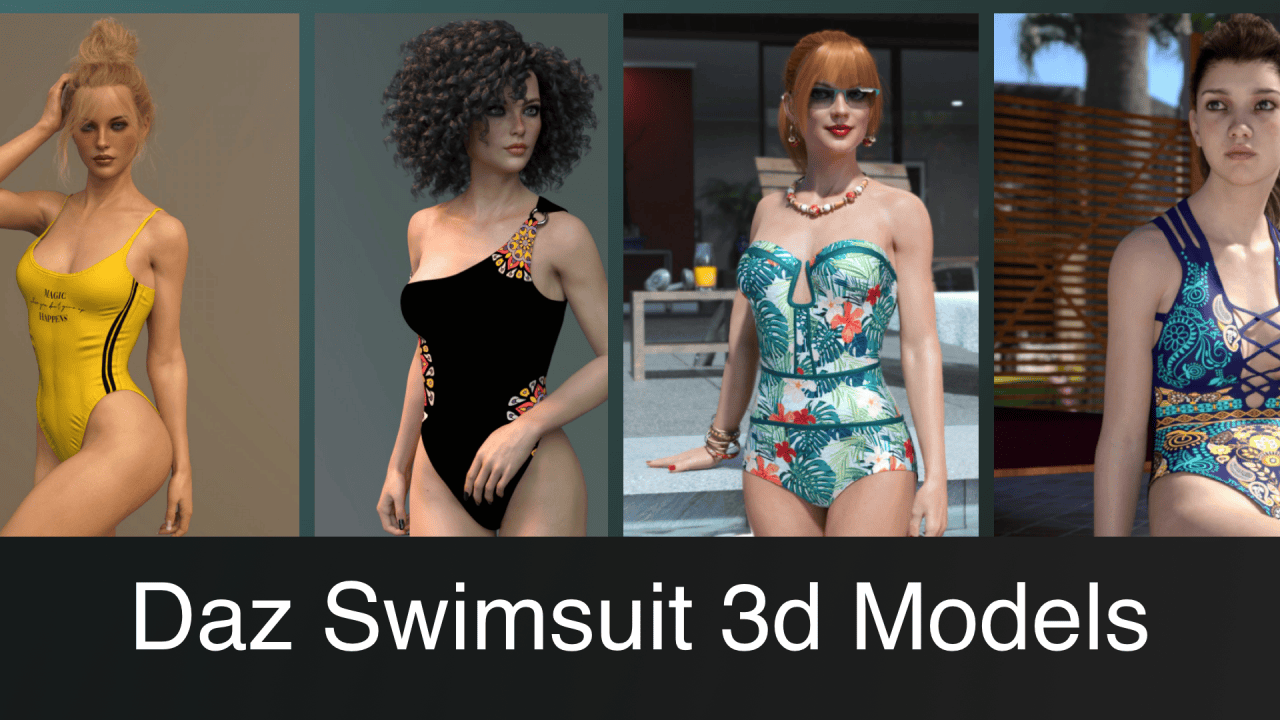
Source Top Daz3D Swimsuit 3d Models
Conclusion – Daz to Unity Bridge Tutorial
To wrap this Daz to Unity Bridge Tutorial, I want to point out that the export process is very straightforward and easy to follow. In this way, the add-on works phenomenal and will probably set the stage for a new flow of exciting content exchange. I encourage all of you to try out this new tool and explore the possibilities that Unity can offer. Also have a look at our other Daz3D Tutorials and Top Daz 3d Models.