This Blender Snap to Grid Tutorial shows you how to use the snap feature in Blender to work more precisely. We will explain all kind of configurations with examples.
Snapping is something that helps you to conduct precise work in Blender. It will automatically snap to the precise locations for you. Something that can be hard to explain with only words, so let’s see in practice.
Using Snapping In Blender
In Blender, there are several things that you may refer to as Snapping. Generally, it would be the Snapping options at the top of the 3D Viewport. And it is the one that we will be talking about right now in this Blender Snap to Grid tutorial.
The magnet icon is responsible for Snapping functionality. So to turn on the Snapping, you click on this icon. Right to it is the Snapping settings. Here we can see all the possibilities for our snapping and also all the main settings.

Snap to Increments
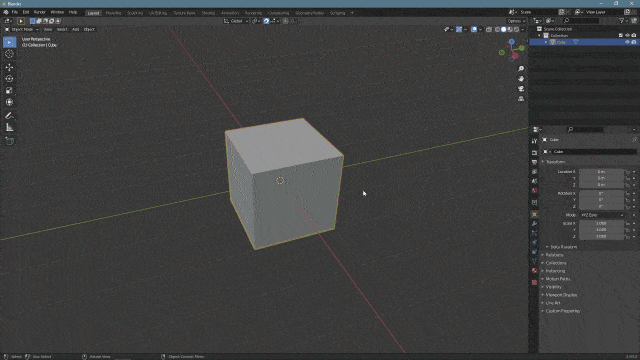
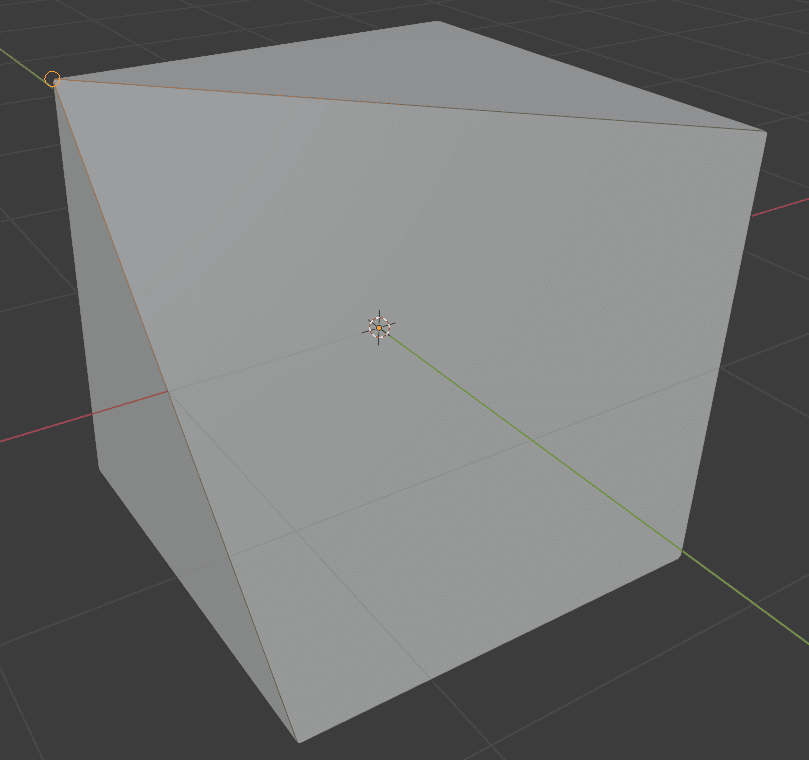
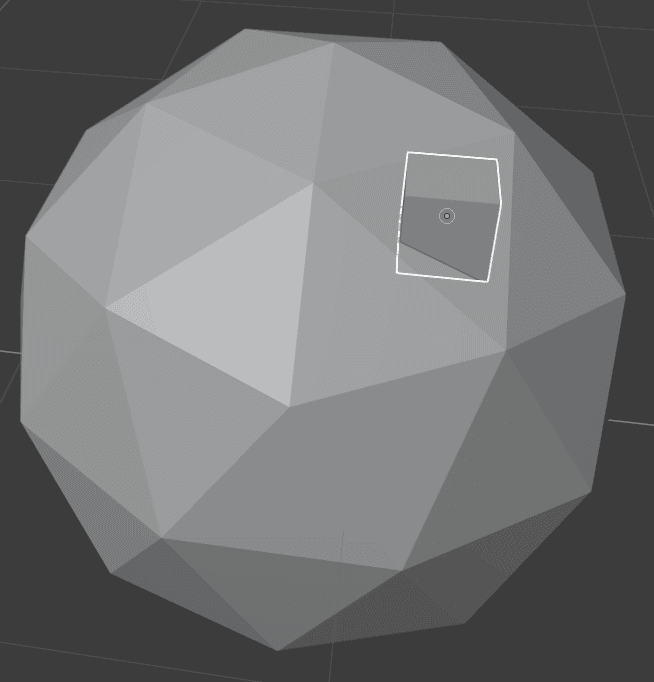
By default, Blender Snap to Grid is set to the Increment Snapping, so let us start with it. When you turn on the snapping, you need to try and Move any object to see how this works. I have a default Cube present on a scene at the Center.
With the Snapping Turned on, when I try to move this cube somewhere, you will see that it moves weirdly. Instead of moving smoothly – it snaps around the scene in increments.
It is exactly what Increment Snapping does – it snaps the object that you are using and uses Grid as increments for this snapping.
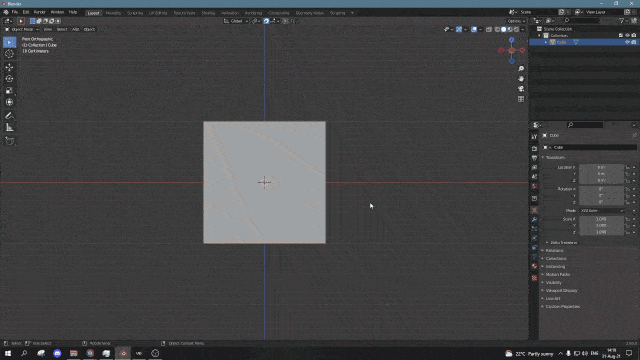
When you are using any of the preset views, such as Front View or Side View – the grid is not a constant value. In these views, the size of the grid directly depends on your zoom level. So when you are zoomed in – you have a smaller grid and more precise movement. But when you zoomed out, it would be vice versa with the bigger grid.
General Snapping Settings and Snap to Vertex
Increments were pretty easy to use and understand. Next is the Vertex Snapping in our Blender Snap to Grid tutorial. It is the one that we will use to introduce all the settings that are related to the Snapping in Blender.
Not hard to guess that the Vertex Snapping will snap to vertices. Probably the easiest way to see this in use is to go into the Edit Mode, select a vertex and move it over another one. It will automatically snap, so both vertices would have an identical location.
If you want to look at the Vertex Snapping in the Object Mode – you will need at least two objects. This way, the object that you have selected – will be snapping to the other object’s vertices.
Now about all the additional settings that you can see in the Snapping Window. These settings are available for each Snap To option, except Increments:
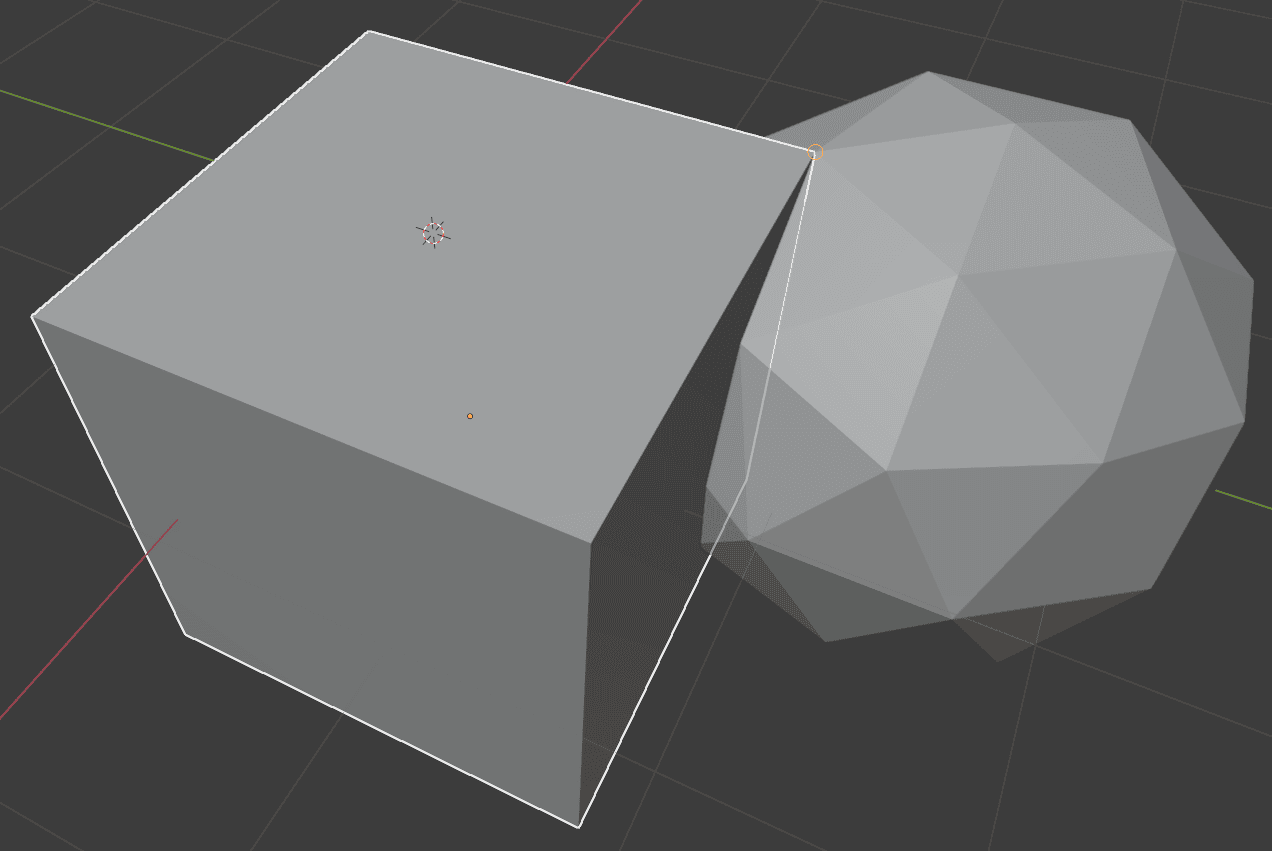
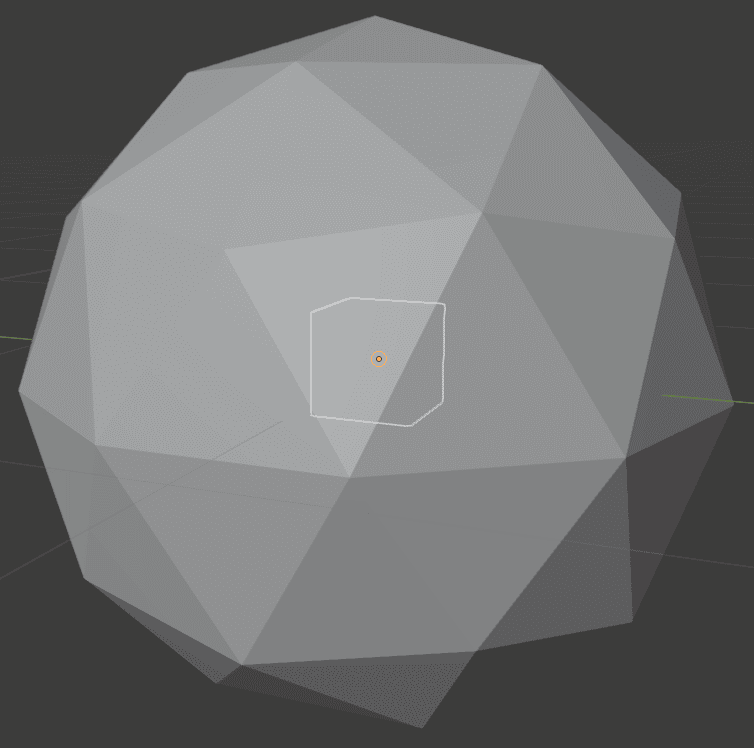
Right below the “Snap To” list, we have the “Snap With”. Logically, this setting decides which part of the object would snap. Let’s go through the list and see what changes. I have selected two vertices on the Cube that I am going to snap to the Sphere vertex to show these settings.
Snap With Closest
So this one snaps the vertex that is closest to the destination out of all selected vertices. Out of the two selected vertices, the one that is further from us is closest to the Sphere vertex, so it was snapped.
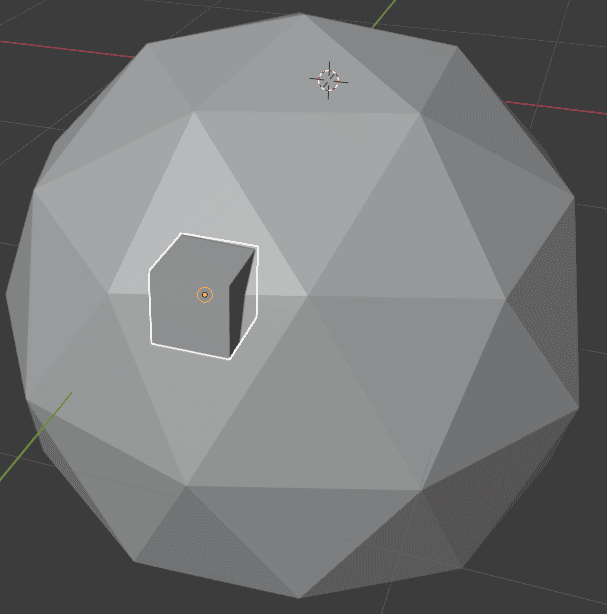
Snap With Center
Instead of snapping a single vertex to the target, this one snaps the Center point of all selected vertices. Here the Center is the middle of the edge between two vertices.
Snap With Median
Snap with Median is basically the same thing as Snap with Center in most cases. As median and center are very close concepts. Though in some rare cases – they would be different. Not in this one of course.

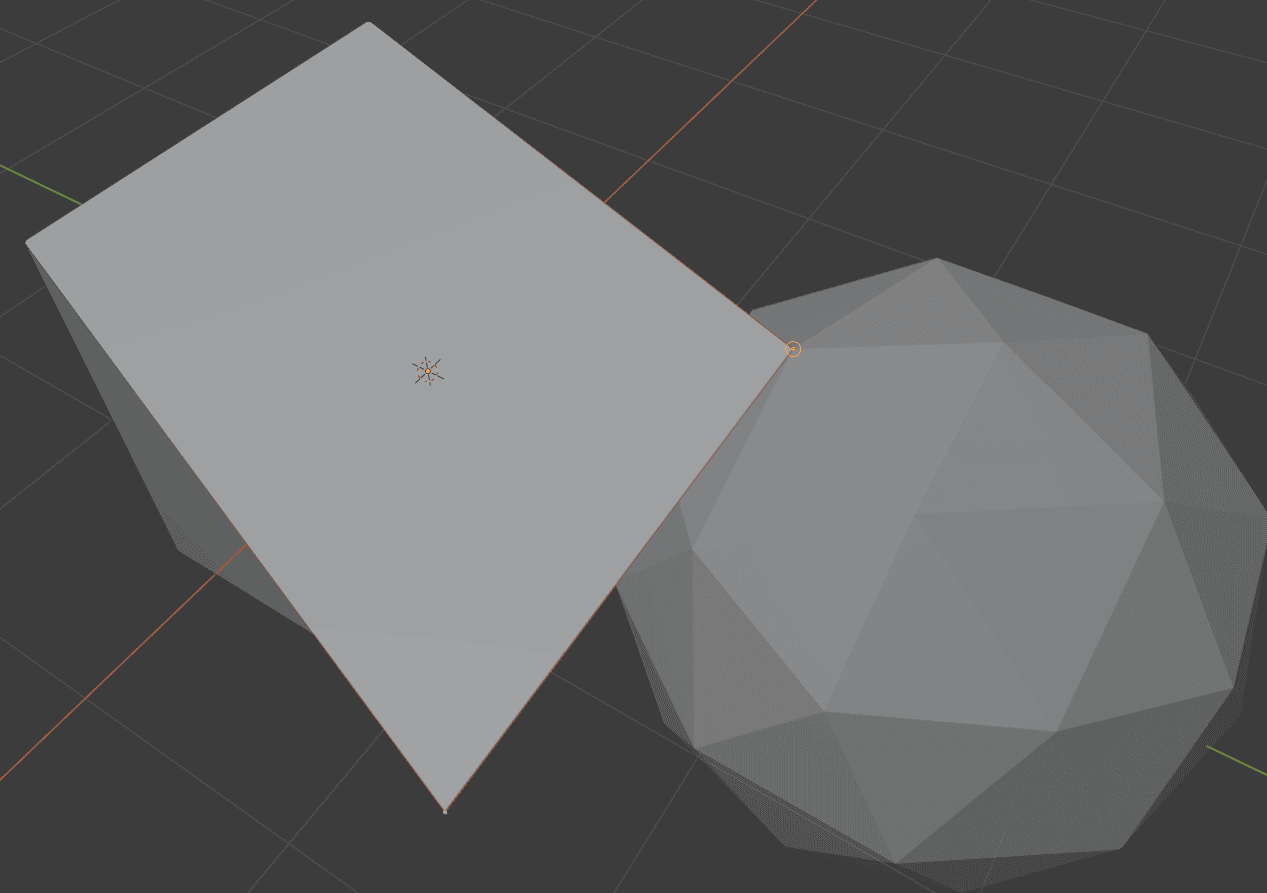
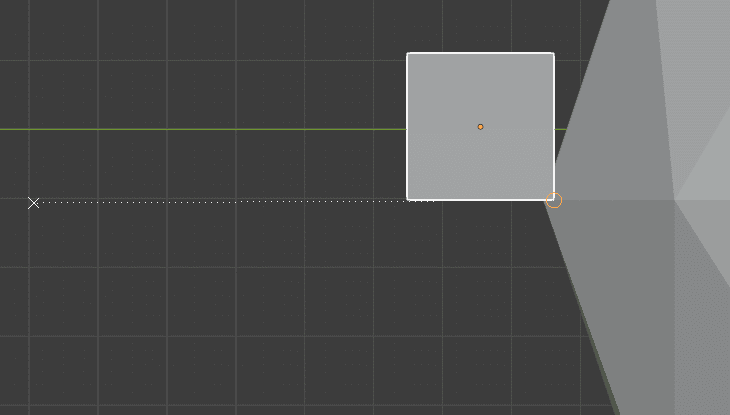
Snap With Active
Instead of snapping the whole selection, Snap With Active will only snap the active selection. Active is usually the last thing that you have selected and it would be white, instead of the usual orange. On the screenshot, you can see that the closer vertex to the Camera has snapped, as it is active, which we can see by the white color of this vertex.
At the Bottom of Snapping Settings, there is an Affect section. Here you can choose which kind of transformation will be affected by snapping. By default, it is only the Move transform. But nothing stops turning on the Rotation and Scale too.
Vertex Rotation Snapping
The “Affect” section also works with Increments. So you can Scale or Rotate objects in increments using it.
Snap to Edge
It is very similar to Vertex Snapping but utilizes the edge instead of the vertex. Everything else stays true
Snap to Edge
Snap to Face
Same as the last one, but this time with faces. Basically allows snapping to any point on the object, as most of the objects consist of faces.
Snap to Face
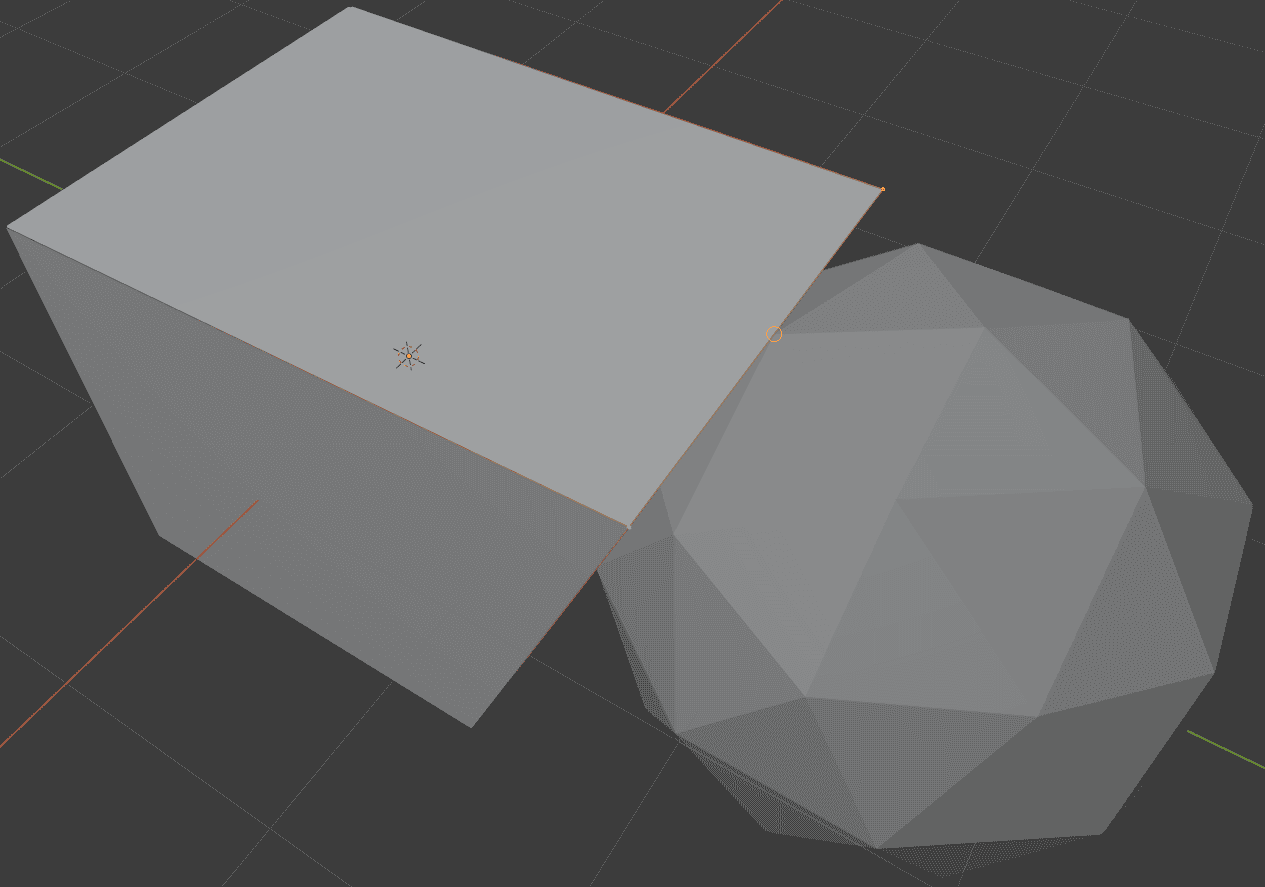
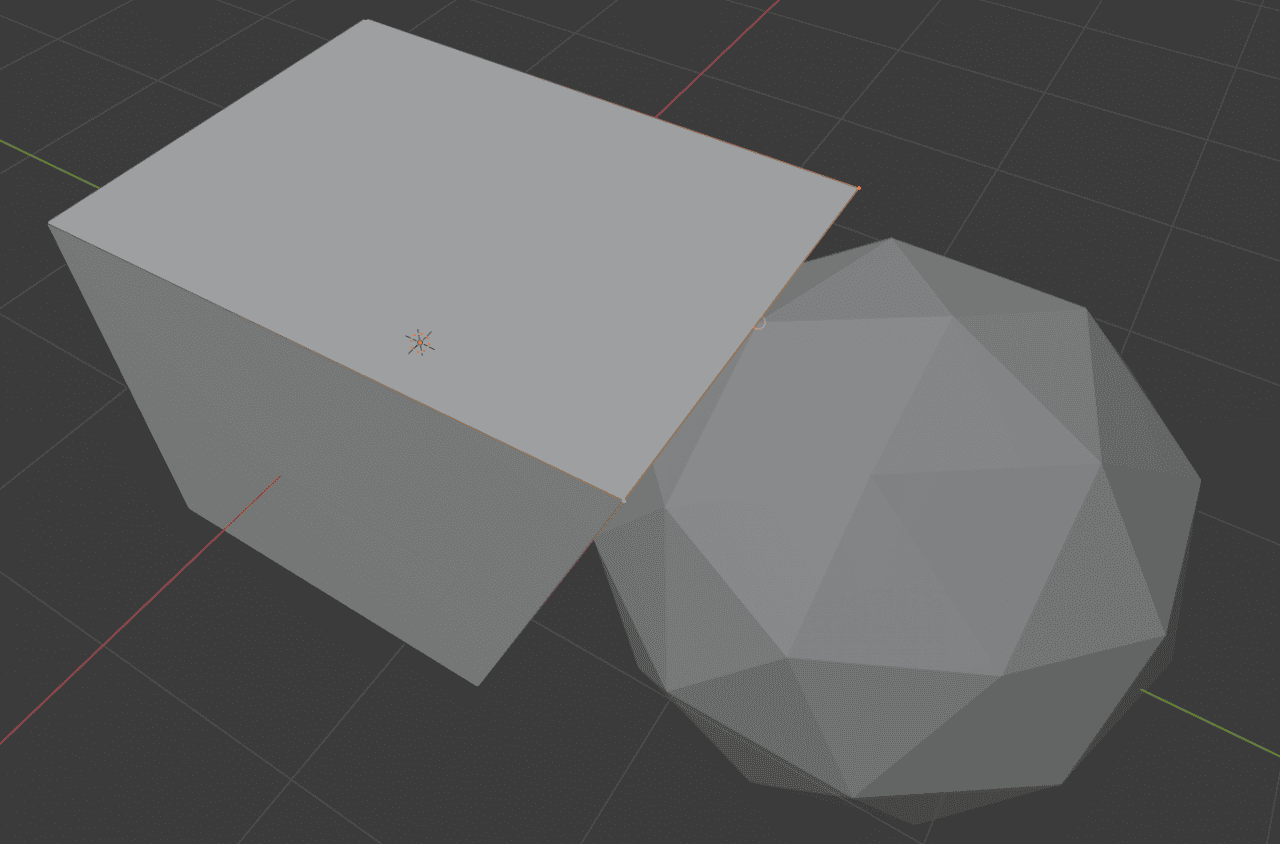
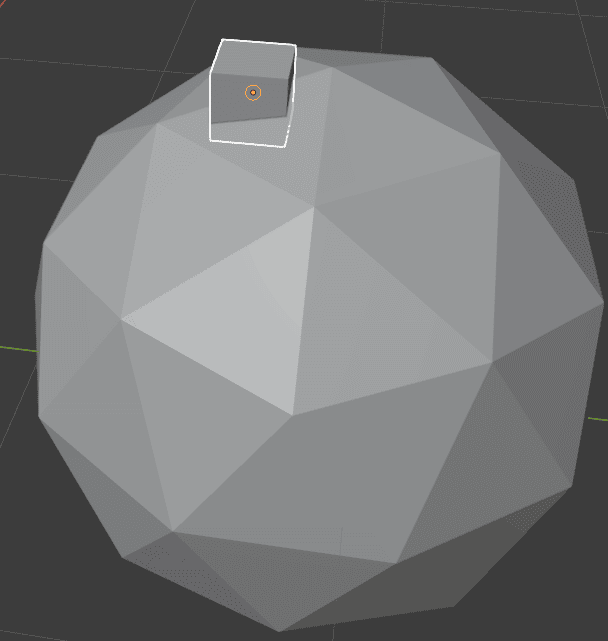
Snap to Volume
A more unique way of Snapping is “Snap to Volume”. What this does is snaps selection to the center volume of the object. This has snapped my Cube to the middle of our sphere.
Snap to Volume
Snap to Edge Center
This one is very similar to the “Snap to Edge”, but instead of snapping to any part of the edge, you always snap to its center.
Snap to Edge Center
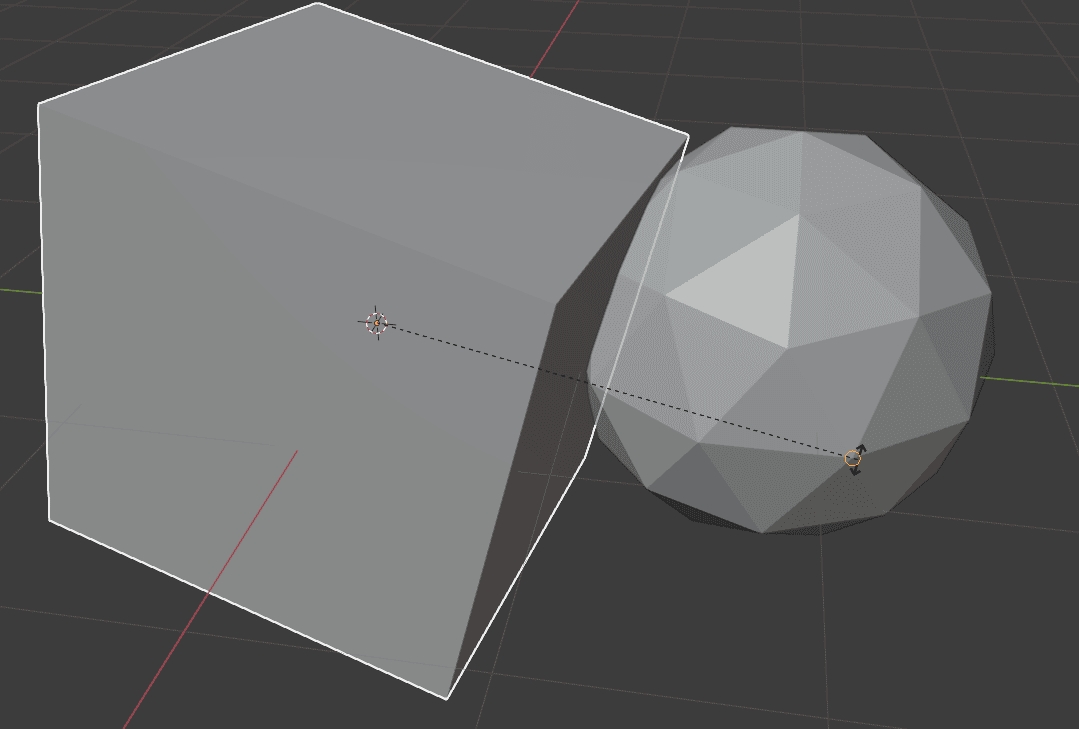
Snap to Edge Perpendicular
Another interesting one is Edge Perpendicular snapping. It will snap to the nearest point on an edge under a definite angle.
Snap to Edge Perpendicular
Snap Pie Menu
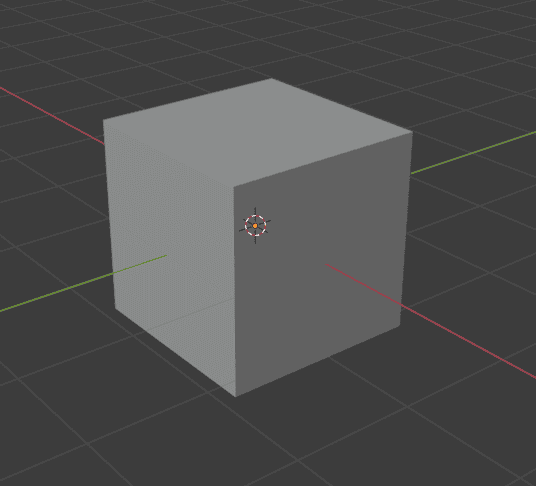
In addition to the Snap Menu on the top of the 3D viewport – there is also one more menu related to snapping. It can be found on the Object > Snap path.
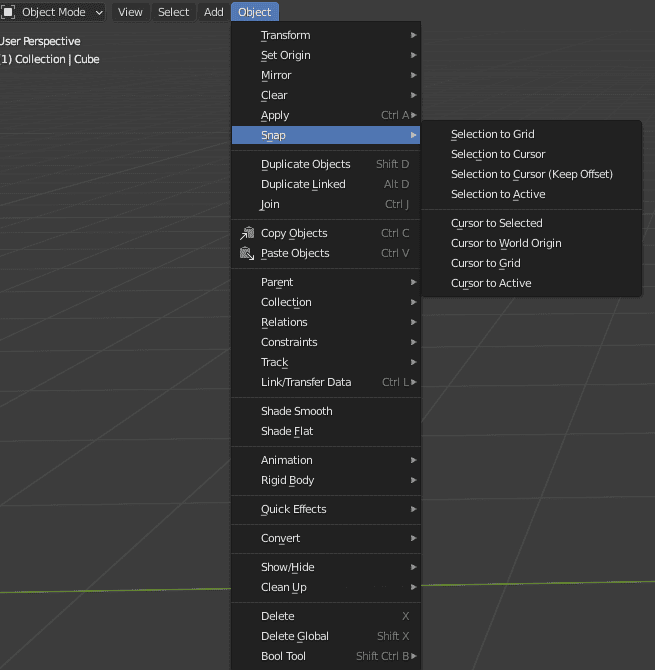
Alternatively, all the same settings can be accessed as a pie menu with the [Shift+S] keyboard shortcut.
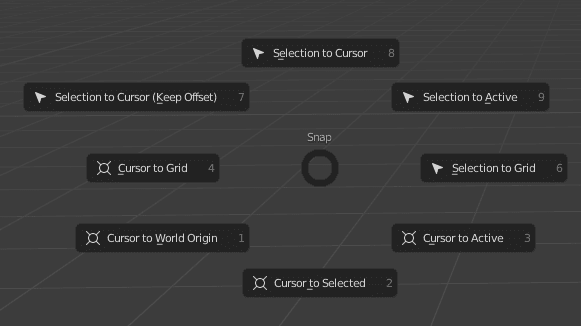
Here we have several options. Half of them are dedicated to the selected object and another half to the Cursor.
The cursor is the gizmo that is always present in all your scenes. It looks like a red and white circle with a crosshair over it and you can move it with the [Shift+Right Mouse Button].

Cursor
So this menu opens a few more possibilities for snapping. For example, you can move Cursor somewhere and then use the Snap Selection to Cursor option to move your object on top of the Cursor.
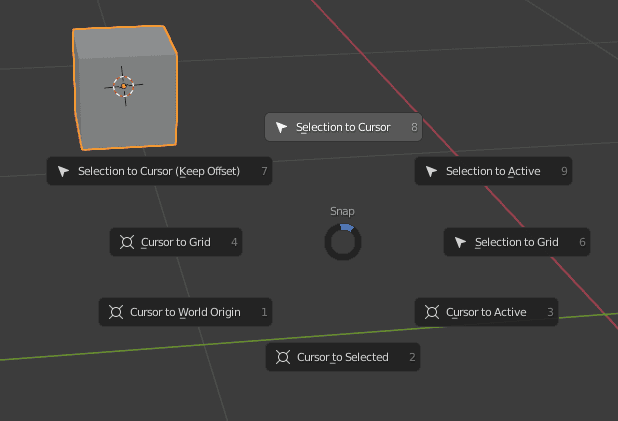
Also, doing the “Cursor to World Origin” and then “Selection to Cursor” is an easy way to snap any object to the World Origin.
Conclusion – Blender Snapping Tutorial
Snapping is not something that you hear about a lot. But it is a very valuable part of the Blender that helps you to be more precise with your transformations. Besides, using Snapping does not require anything, so there are no downsides to this too, so hope you found some nice tips in this Blender Snap to Grid tutorial.