This Blender Lighting Tutorial explains how to light your scenes inside Blender. This is a beginner tutorial that will explain it all step by step.
Lighting is very important for any scene. It is what can decide the tone and feel of your final render. Lighting can turn great scenes worse if it is not set up properly. And even the most simple render can look great with nice lighting. So that is why we will be looking at the lighting in Blender and introduce everything a beginner needs to know.
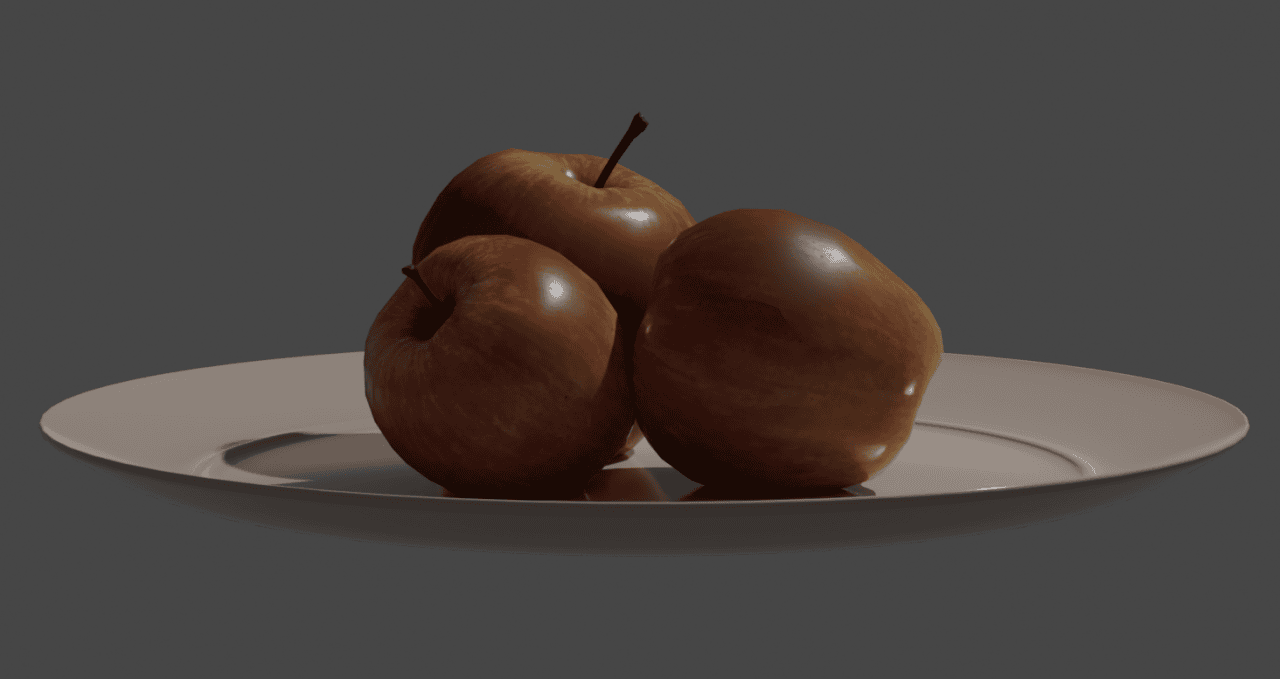
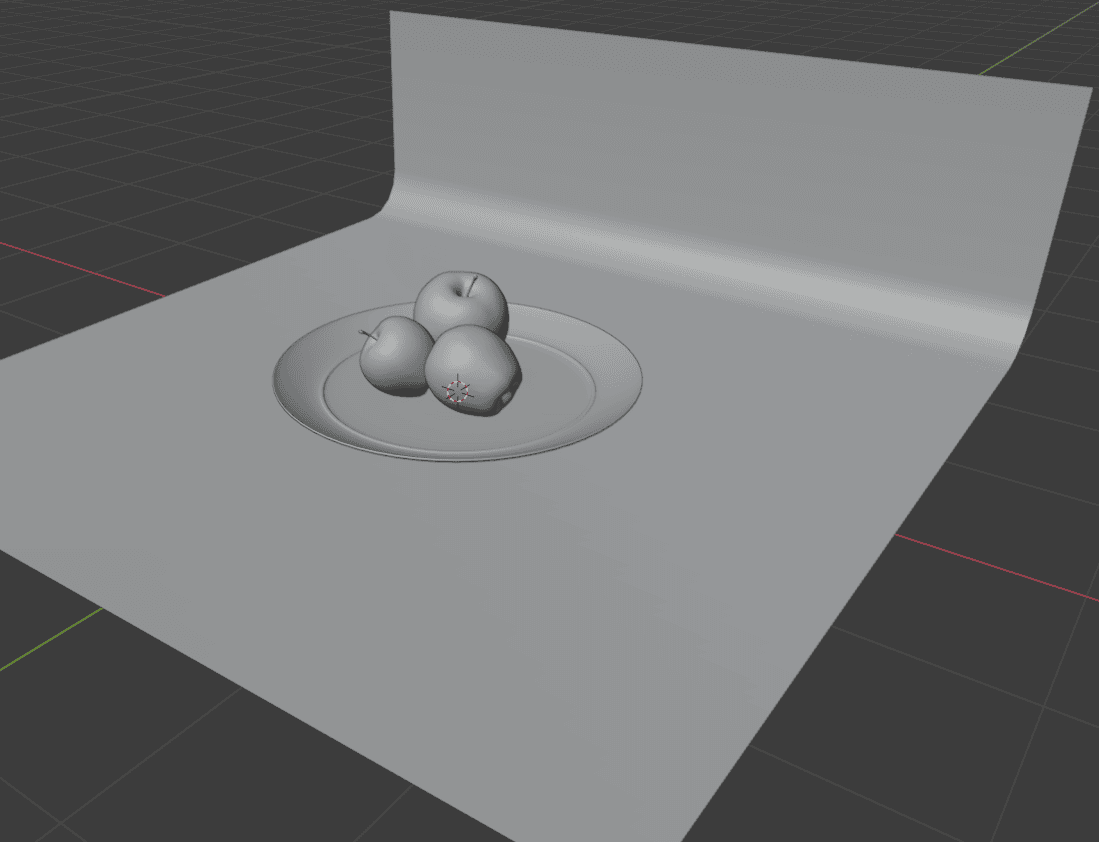
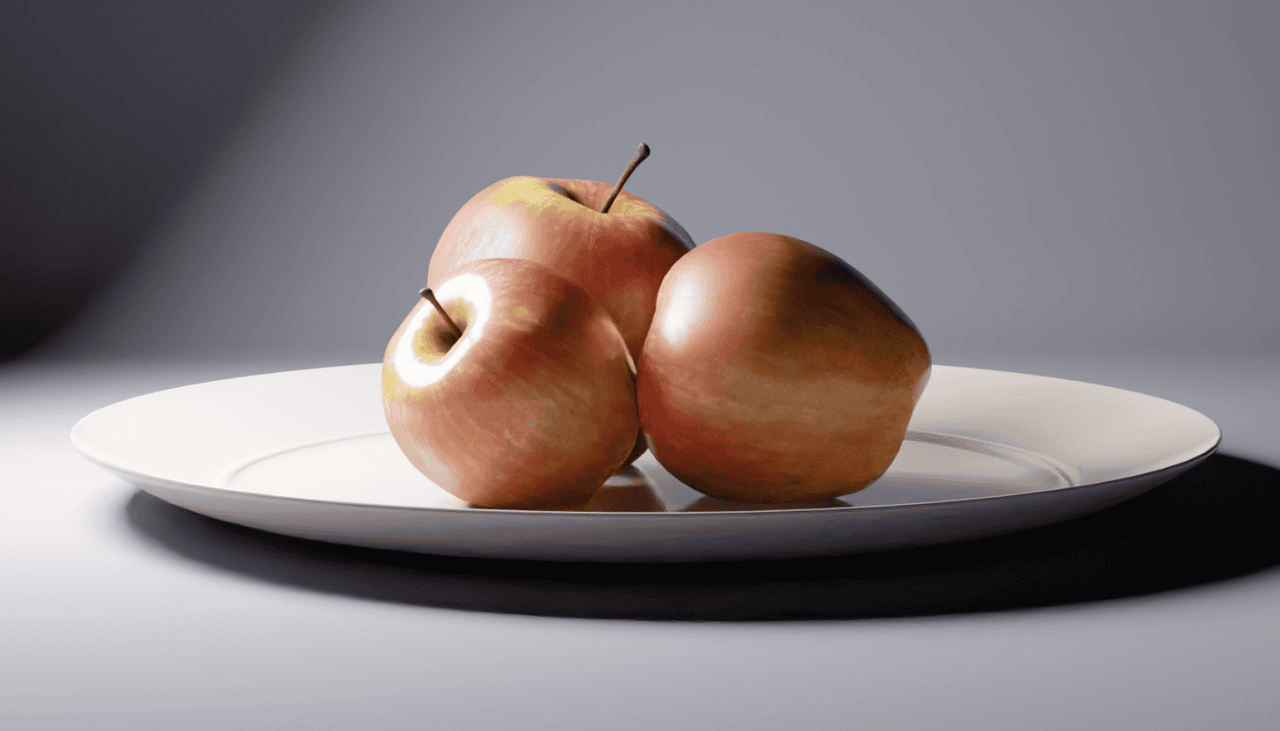
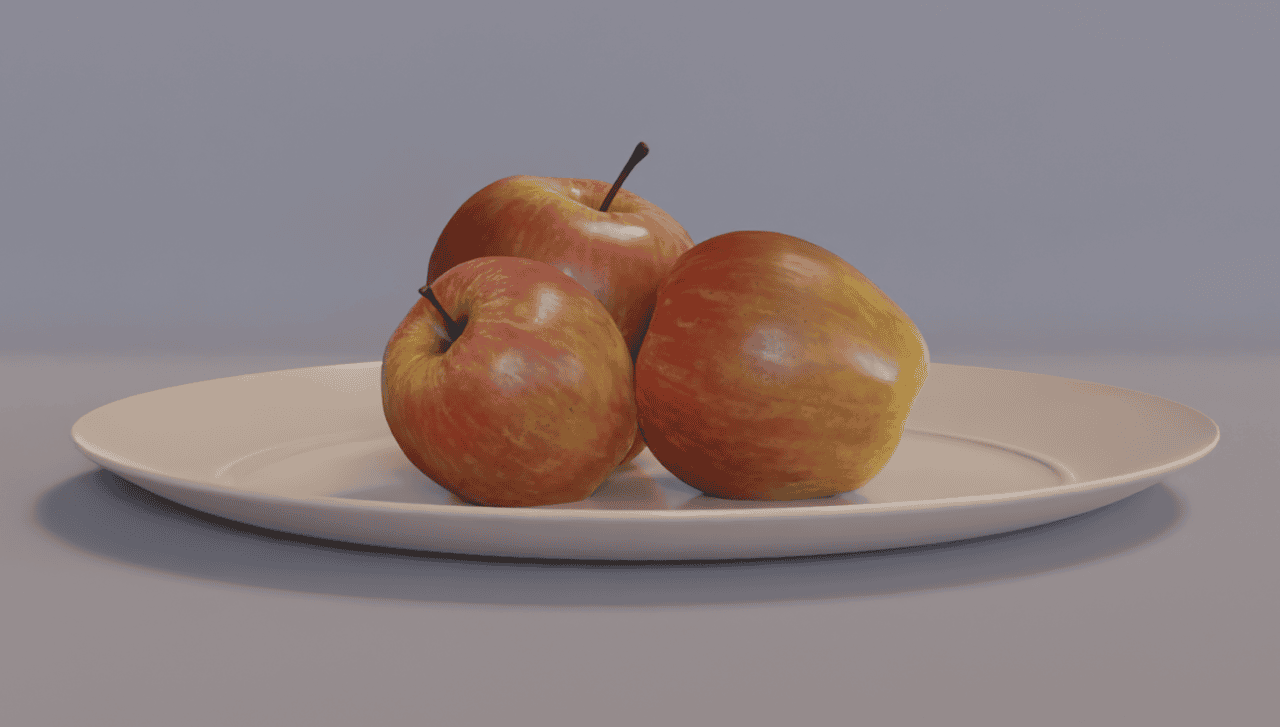
For the Blender Lighting tutorial, I will be using mainly Cycles, as it is the rendering engine that has the most advantage out of the lighting. The scene that I am going to be using is also quite simple: a few apples on a plate.
Background Lighting
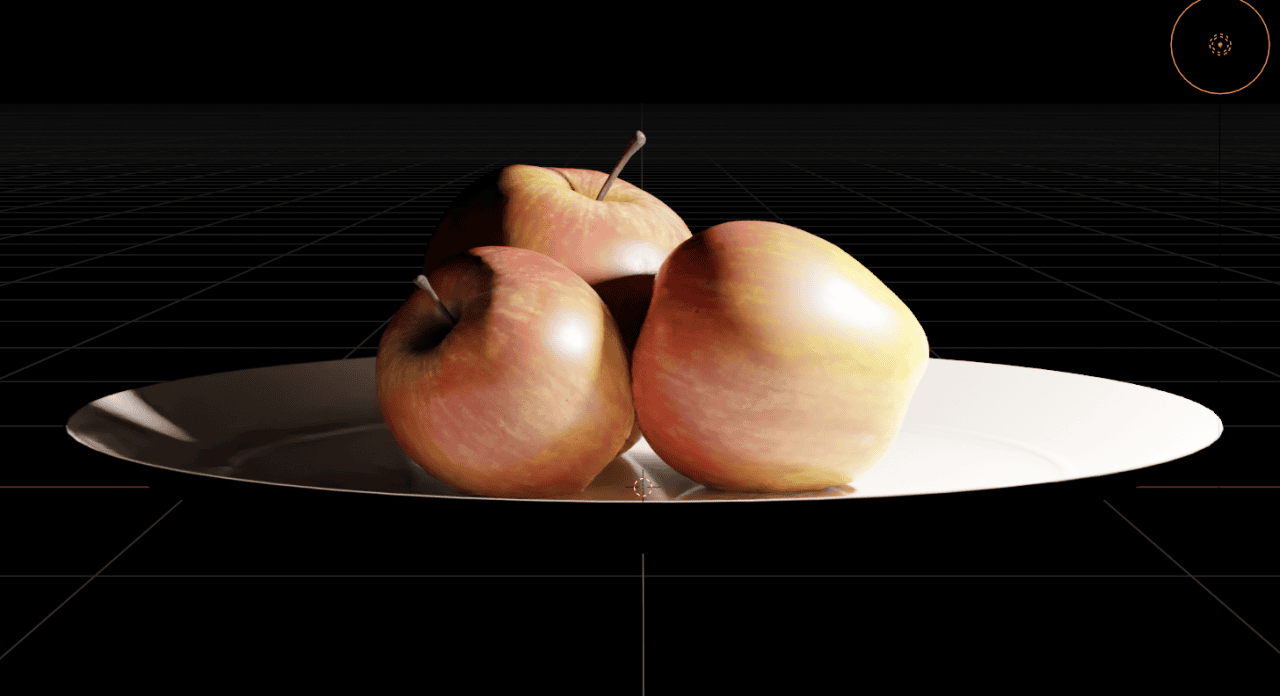
As you can see on the render above – we already have some lighting on a scene, as we can see the apples and there is a clear shadow there too. Most of this light comes from the point light, which is automatically added to any default scene.
But even if I hide it, the scene still would be lit a bit. We still can see the plate, apples, and even the colors.
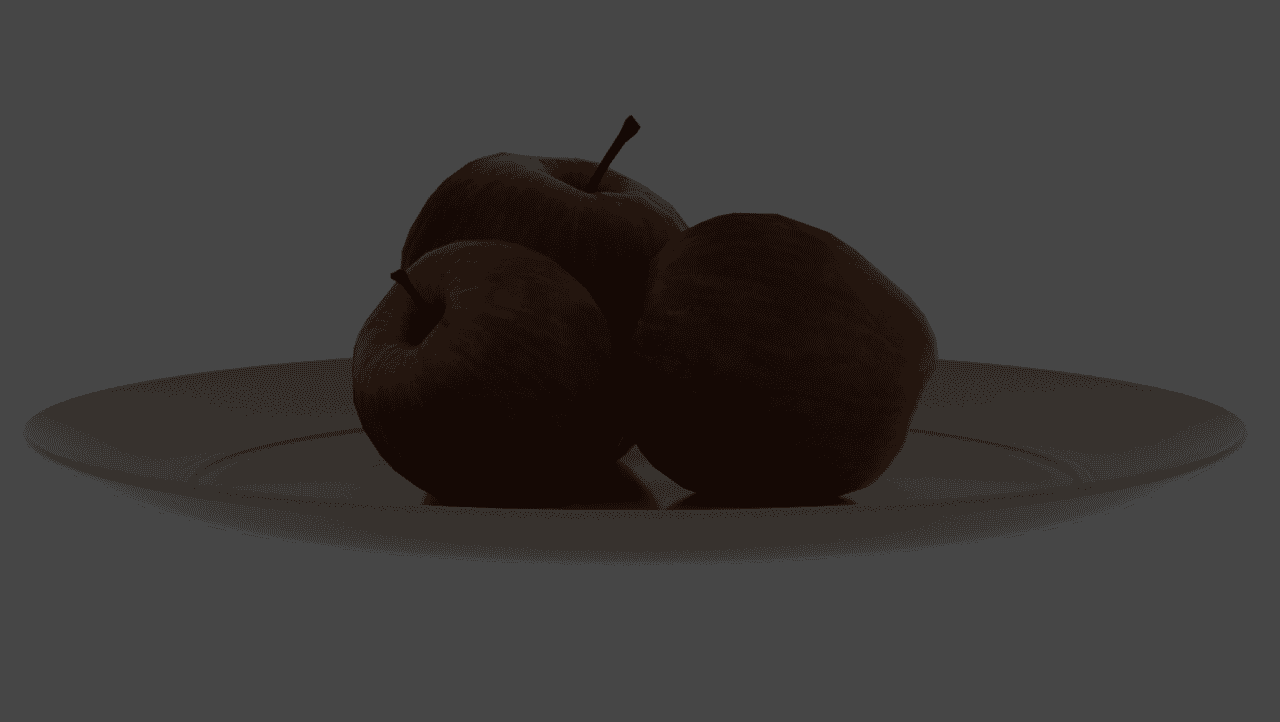
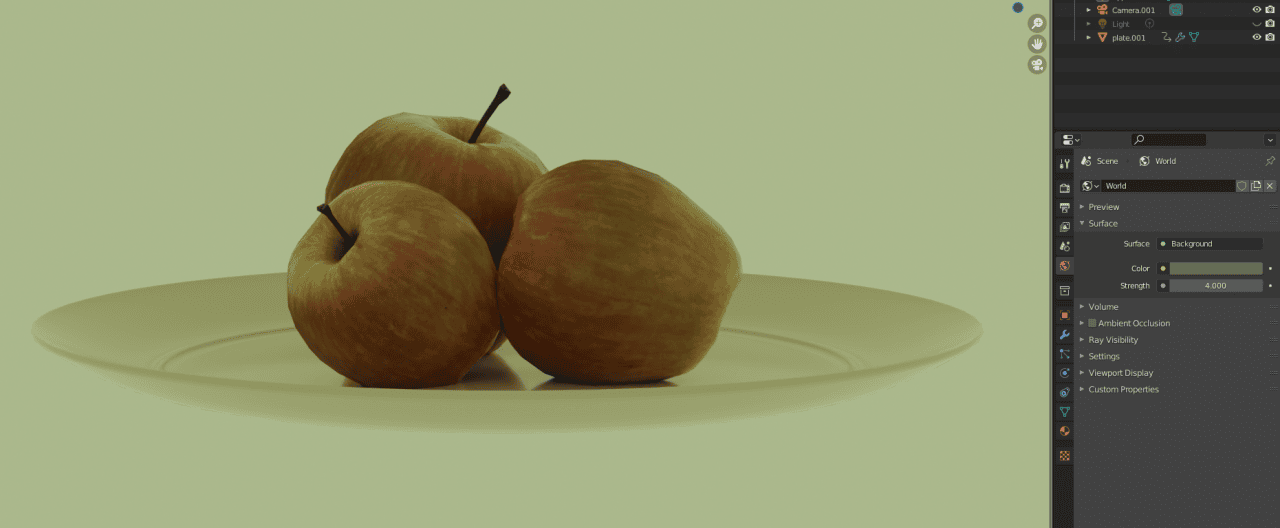
This light comes from the world. By default, any Blender scene has background lighting on it. Settings for this can be found in the Properties Editor, World Properties, under the Surface section.

These settings control the background – its color and strength. So you can make something quite unusual with this if you would want:
There are no shadows from the background lighting and overall it is very flat. So for the scene that you want to light yourself – I would recommend turning this off completely, as the lighting it provides is not very good.
Without any lighting, the scene should be black and you should not see anything.
Adding Lighting Sources and their Settings in Blender
Adding a light to the scene is easy. Just use the Add menu, that is found on top of the 3D Viewport. Or press the keyboard shortcut for the Add menu – [Ctrl+A].

In the add menu, as you can see, there is a Light section there with the four light source types available here. We will look at all of them in more detail later. For now, you can add any of them or use the point light that already was on a scene.
In Blender, lights work very similarly to how they do in the real world. For example, putting the light closer to the scene – makes it a lot brighter and shadows much more prominent.
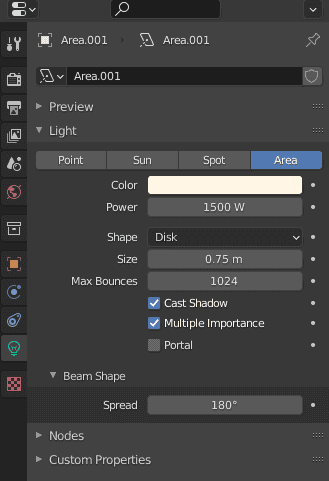
Settings for the selected Lighting Source can be found in the Parameters Editor, Object Data Properties.
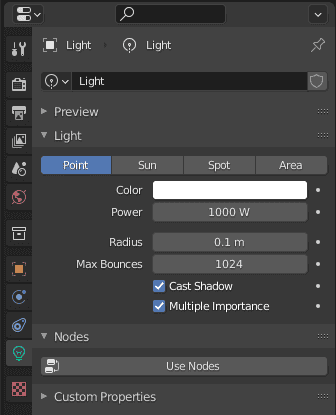
Most of the settings are shared between all types of lights. The main ones are Color and Power. Also, almost all types have some kind of size setting and the “Cast Shadow” one. The last one is quite obvious, it controls whether this light creates any shadows.
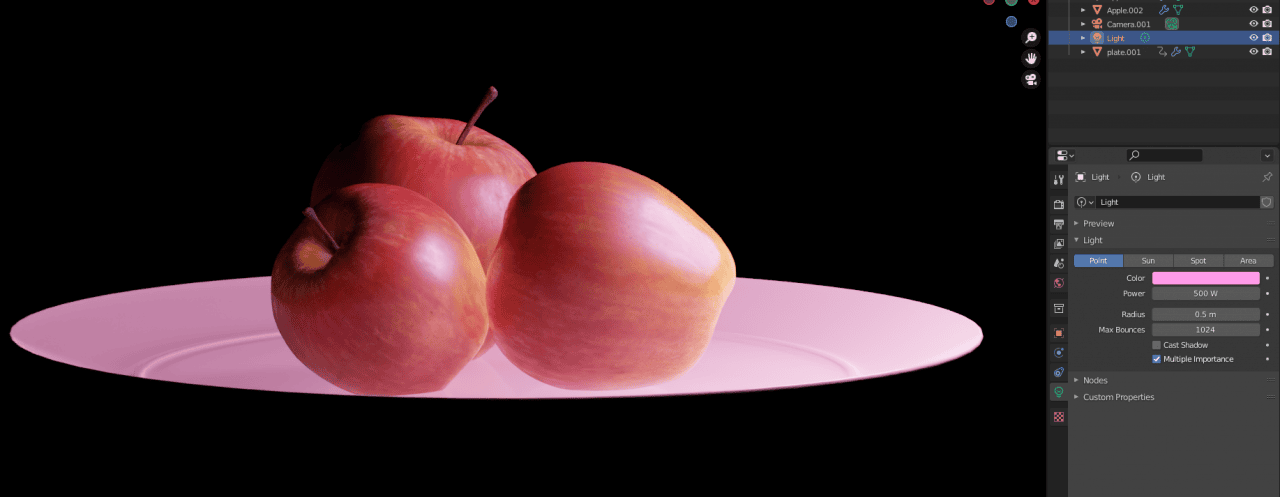
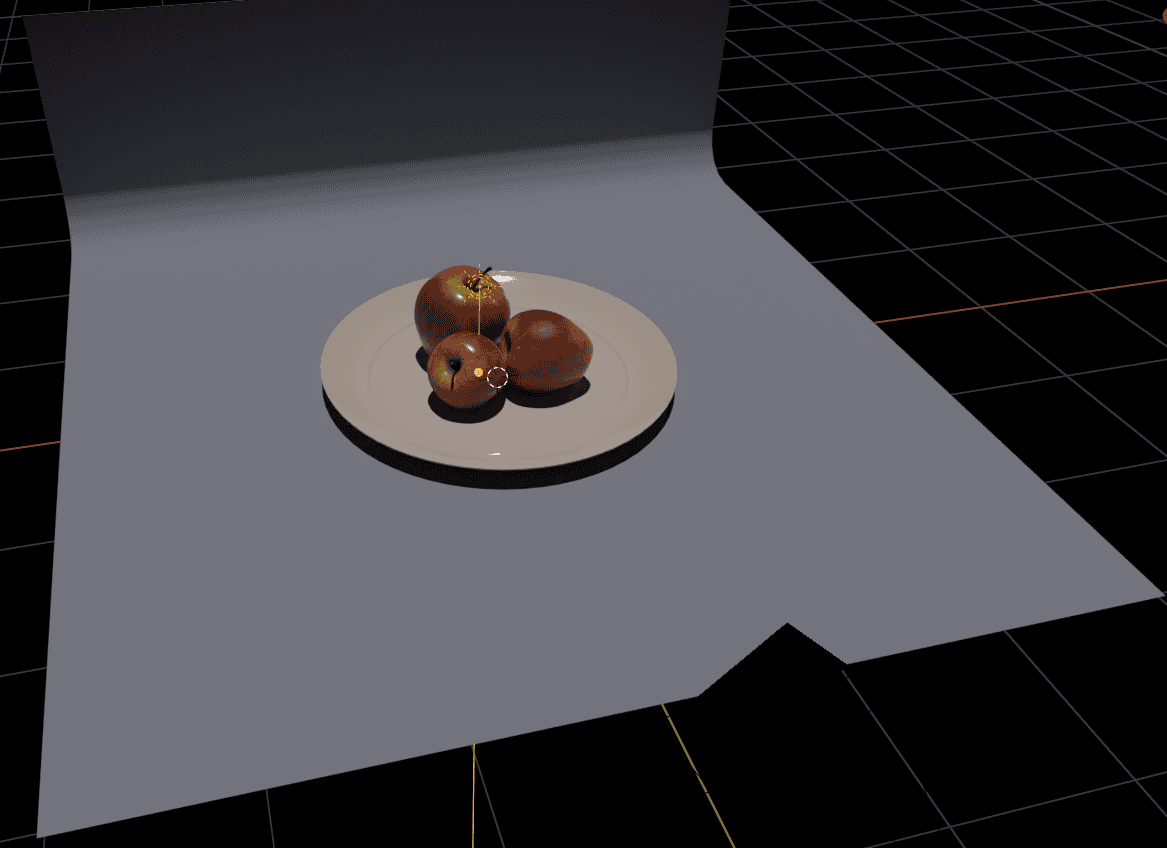
Easy as that, I have changed the color of this light to pink and made it cast no shadows.
I have also changed the scene a bit. Decided to add a simple plane as the ground. Extruded the edge in the back to create a face for the wall. And beveled the edge between the two faces to make it less distracting. It is a very simple setup, but it works both as a wall and as a floor for the scene. As by default – our objects just float in nothingness and the shadows don’t fall on anything.
Types of Light Sources
As we saw, there are several types of Light Sources you can use for Blender Lighting. Each of them is unique and has its own settings and features. So we will be looking at each one of the types and discovering what is unique about it.
Blender Point Light
The first and the most basic is the Point Light. The one that was automatically added to the default scene. This type of light is lighting in all directions away from itself – basically a light bulb in real life.
So it is very simple and using it is not hard. It does not even have any special parameters about it – the only unique thing that you can change here is the radius. The size of the light works something like this: smaller lights produce very sharp and prominent shadows as seen below. They are also very dark.
Point Light Radius set to 0.01m
While bigger lights produce much softer and lighter shadows. At the same time, they are much lighter in color and not as black, but rather grey. Also changing the size of the light has an effect on reflections, as you can see the light source in the reflections.
Point Light Radius is set to 0.5m
Sun Light
Next is the Sun Light. As it comes from the name, its goal is to simulate the sunlight. The sun always lights the whole scene equally and at the same angle – like our own sun in real life.
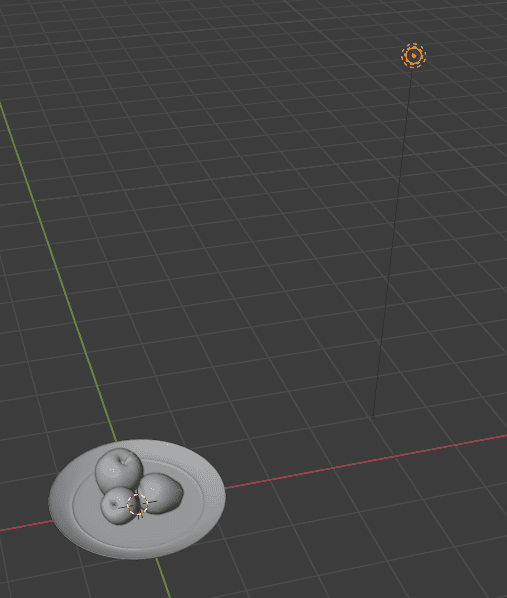
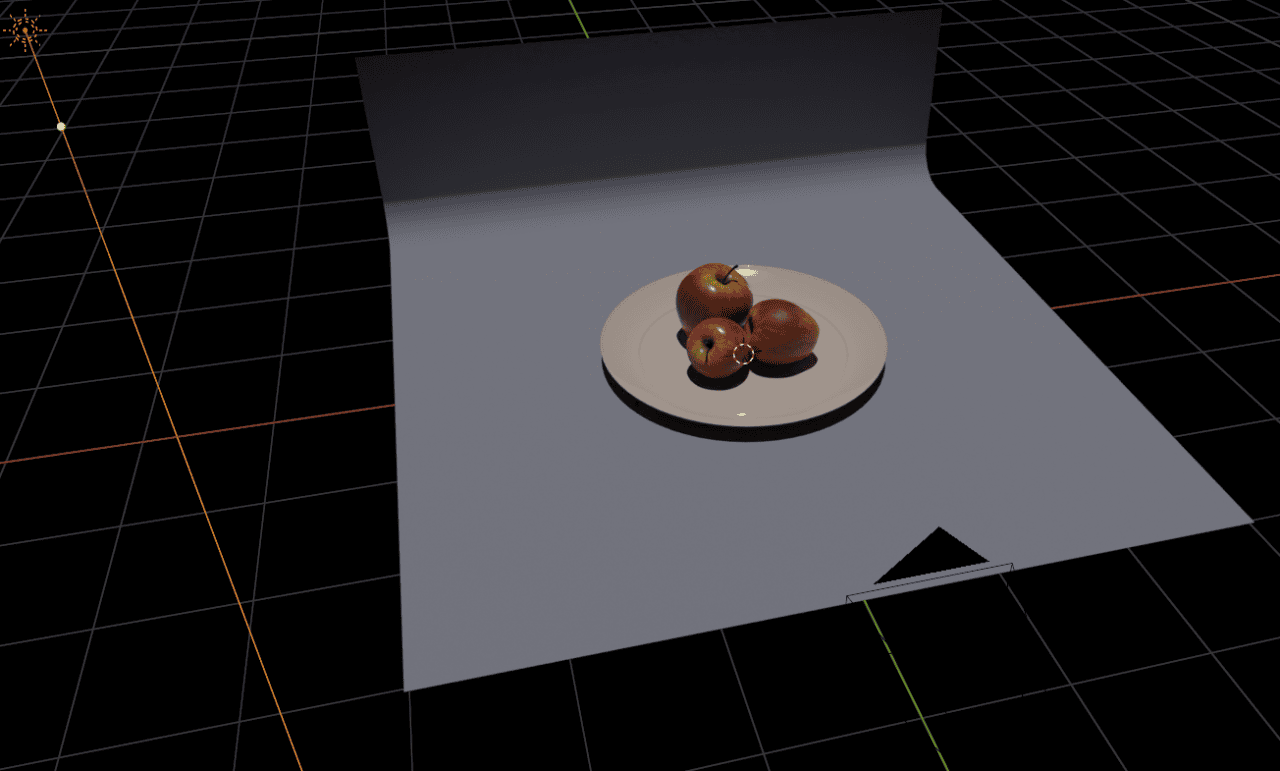
The location of the Sun object absolutely does not matter, as it does not really show the location. Whether you put it right on top of your object:
Or somewhere far away from it, it does not matter.
As mentioned already – it will always light the scene equally, no matter what. What really matters for this light source is the Angle setting.
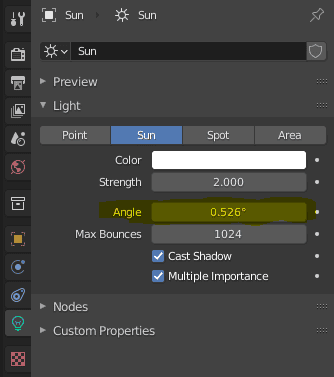
This setting changes the angular diameter of the sun seen from your scene. This affects shadows, higher values will make shadows softer, same as increasing the size of the light source.
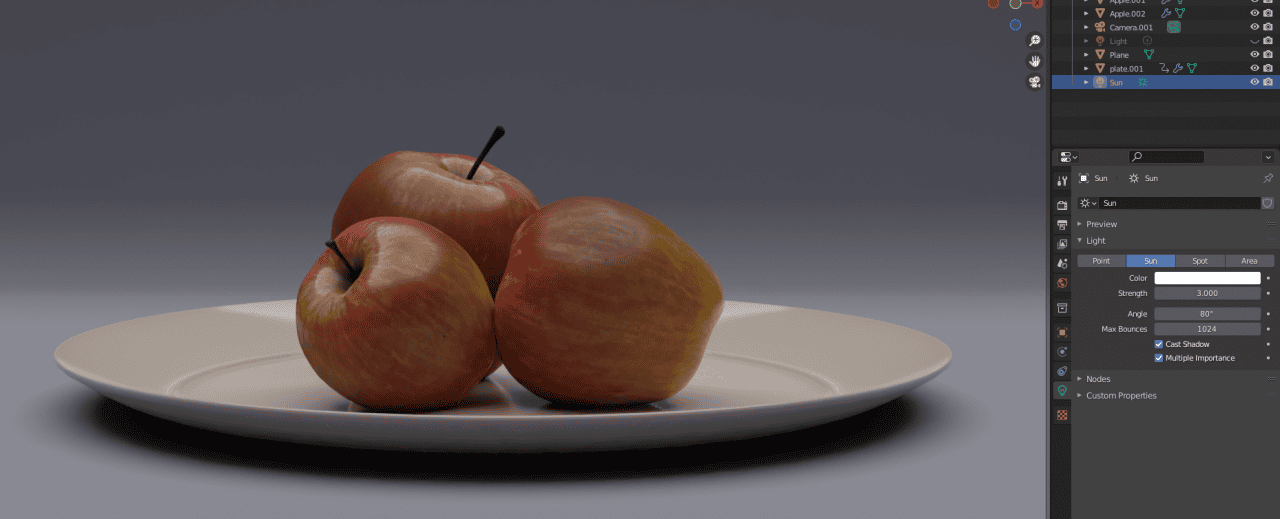
Sun Ligh at 80 degrees Angle
And lowering this value makes the shadows much sharper. Overall, it is a similar setting to changing the size of the light source but done differently. It even affects reflections, look closely at the apples.
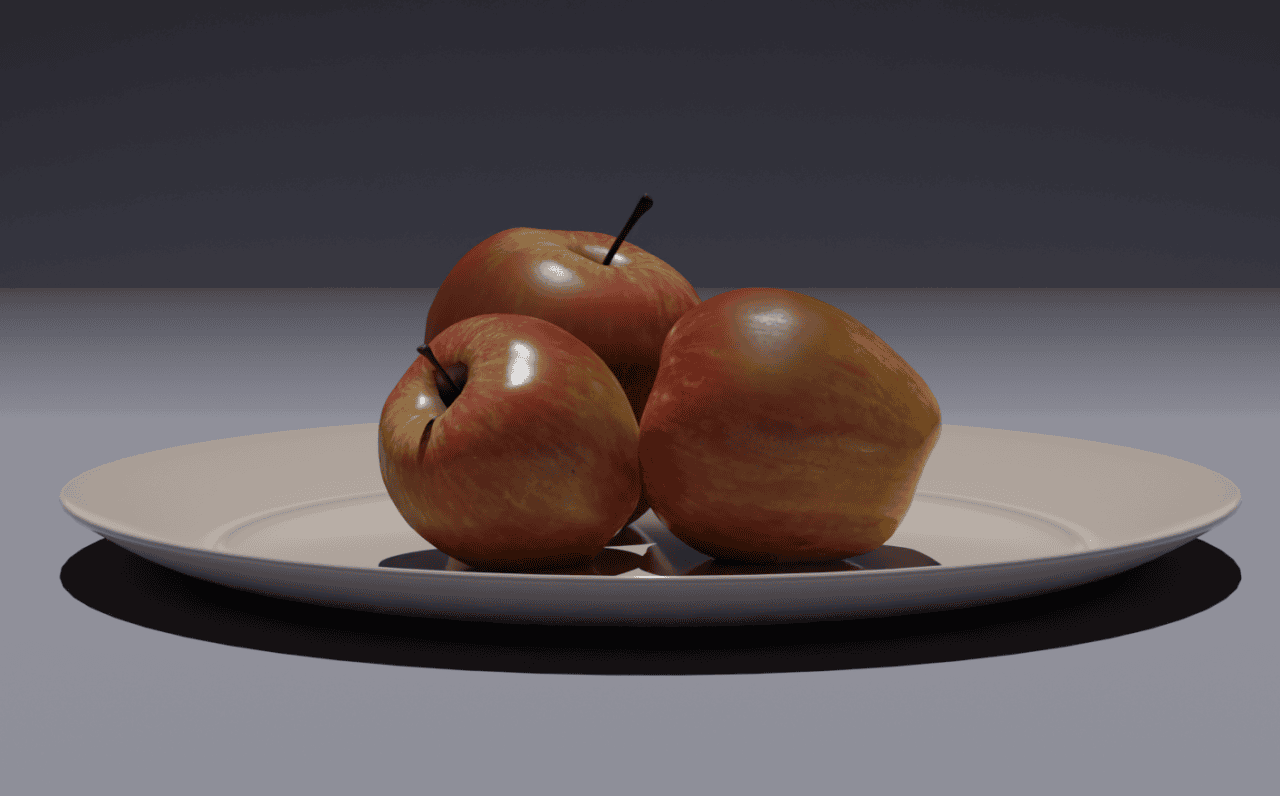
Sun Ligh at 0.01 degrees Angle
The default value is 0.526 degrees. From my understanding, this should simulate the way our real-world Sun works.
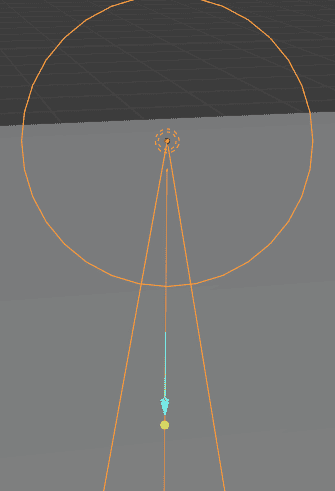
One more thing that you can do is control the angle at which the sun will emit light. So using this option you can simulate different times of day and different sun angles. This is done by clicking on the yellow dot beneath the sun.
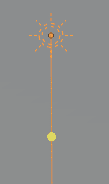
The line that you control with this function represents the angle at which your sun shines. So using this availability, you can change the time of day feel and maybe create evening scenes like this:
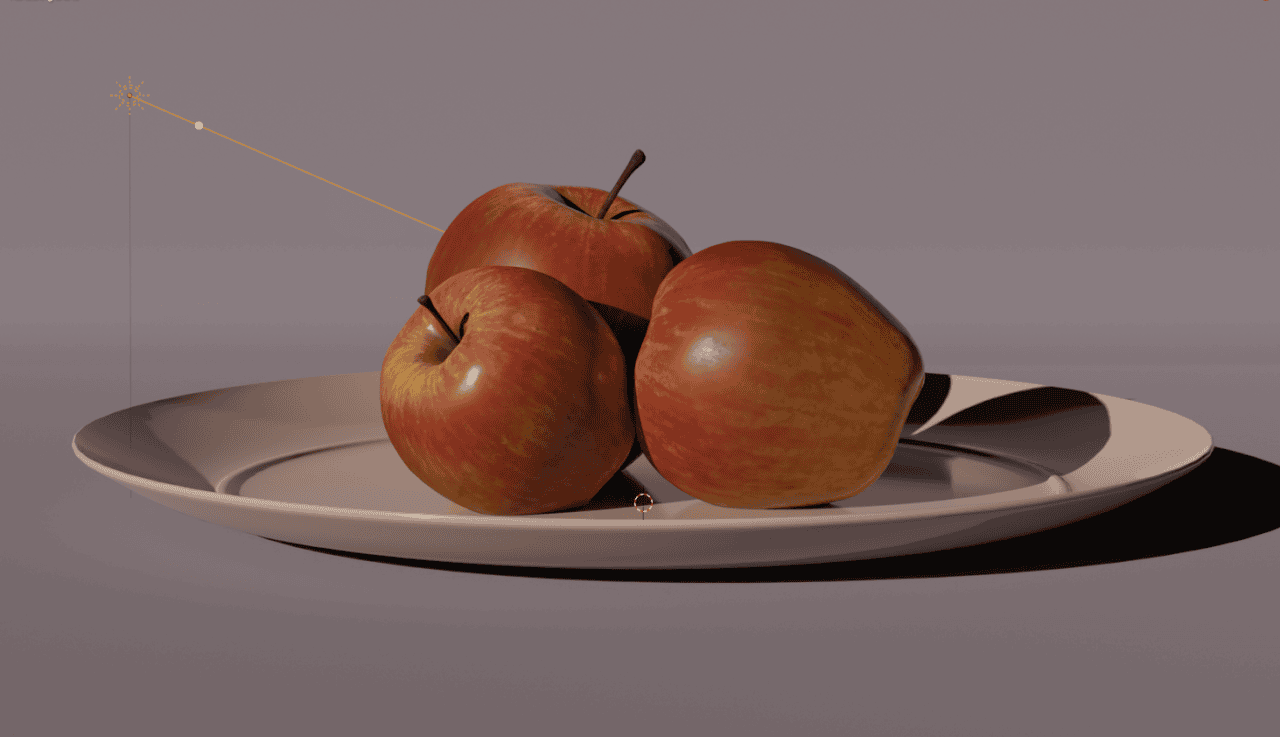
I have also changed the color of the lighting produced in this one. It is a good idea to do that sometimes, especially if you want to simulate our real Sun, as its light is not white, but rather is a bit yellow.
Overall, it is a very nice lighting source to light your whole scene in some color and it does it much better than the Background that we got rid of earlier. Of course, this is especially useful for outdoor scenes, but can also be used in other cases too.
Blender Spot Light
A Spotlight also comes from real life. Usually, you see lights like this in a theatre – their goal is to bring attention to a specific object. Their light is very concentrated on a specific spot.
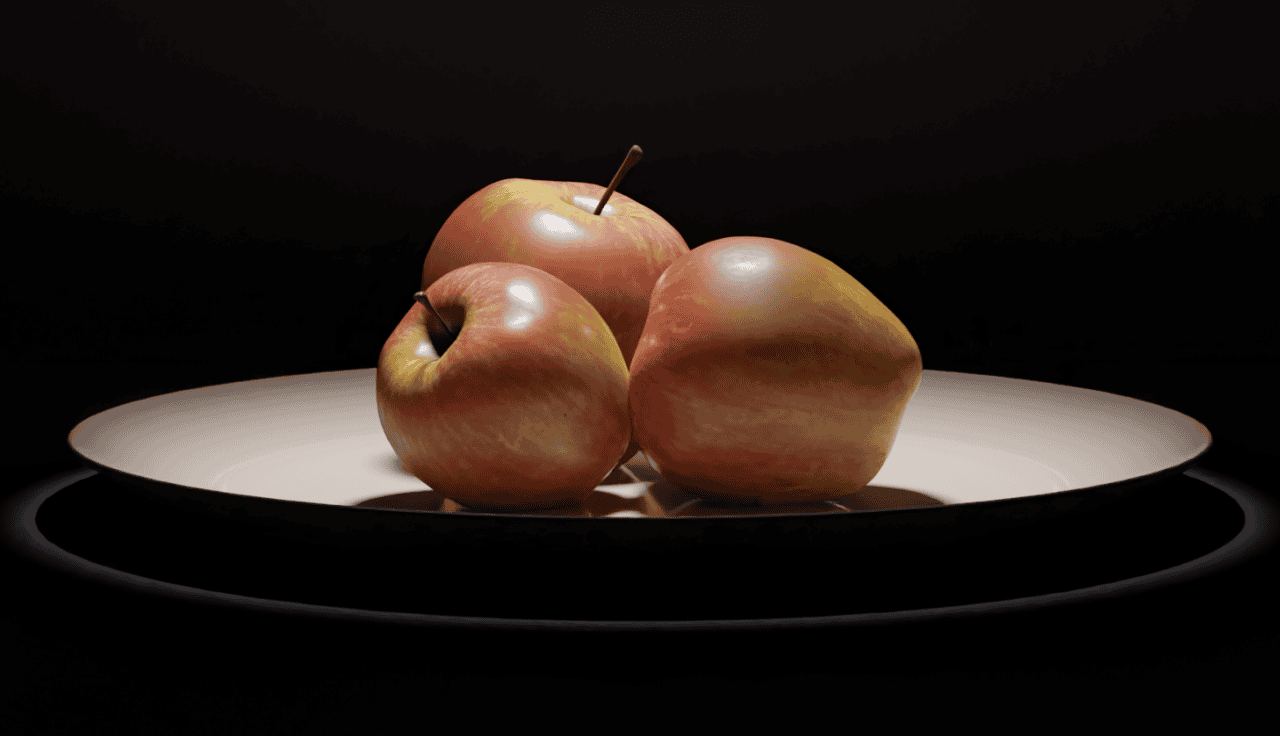
Notice how the only place that is lit on a scene is the plate and everything inside. We can’t see a thing further from the plate. This is how Spotlight works – a directed light.
Specific things that we can do with this type of light is changing its radius, which works identical to that of the Point Light and also we can control its beam:
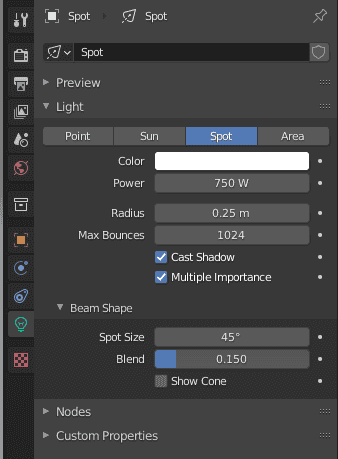
The according settings for the beam are situated in the Beam Shape section. Here you can change the Spot Size, which literally changes the size of the spot that we saw on a render. Very simple to understand and use. Also, you can change the Spot Size by dragging the blue arrow that comes from the light in the Viewport.
The Blend setting is something different. It changes the way the beam blends with the ground. With the maximum blend below, you can see how the edge of the beam is very smoothed out and it gradually fades from lit to unlit.
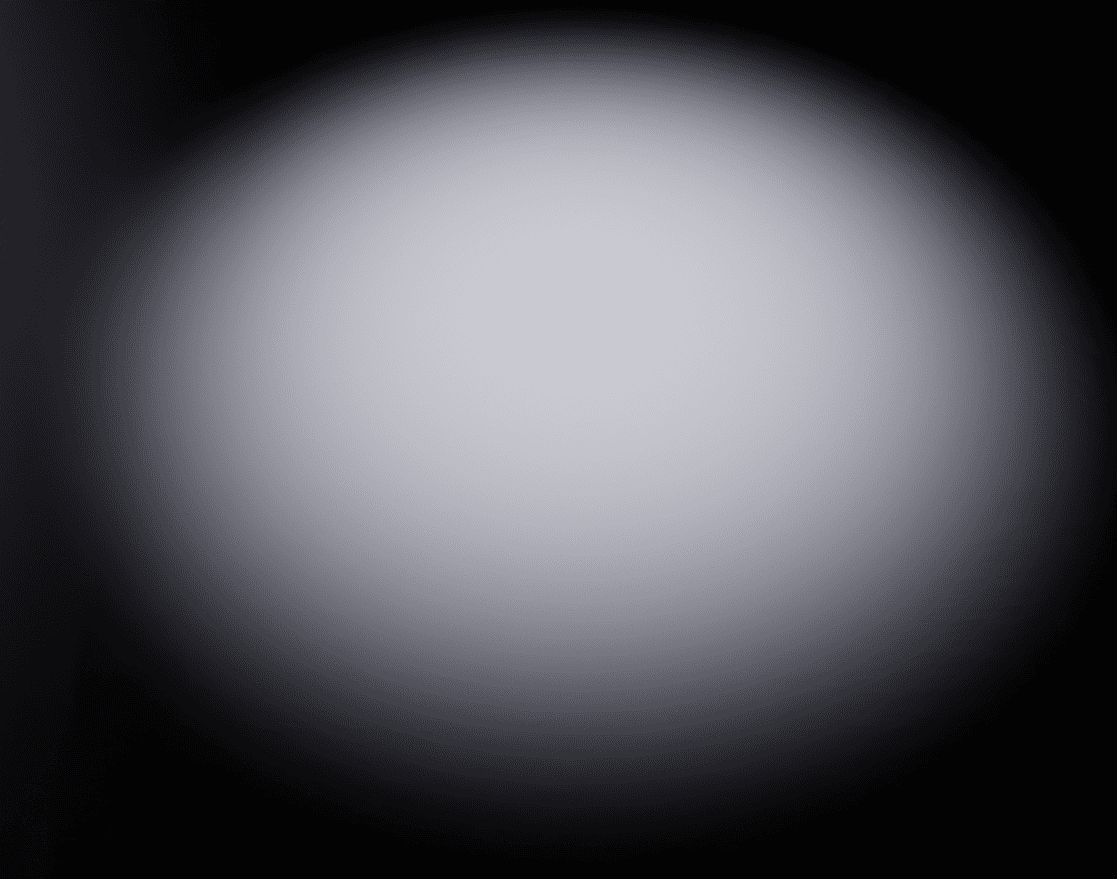
Spot Light 1.0 Blend
On the other hand, with no Blend at all, there is almost no gradual change. The edge of the beam is very crisp and it basically jumps from being lit into total darkness.
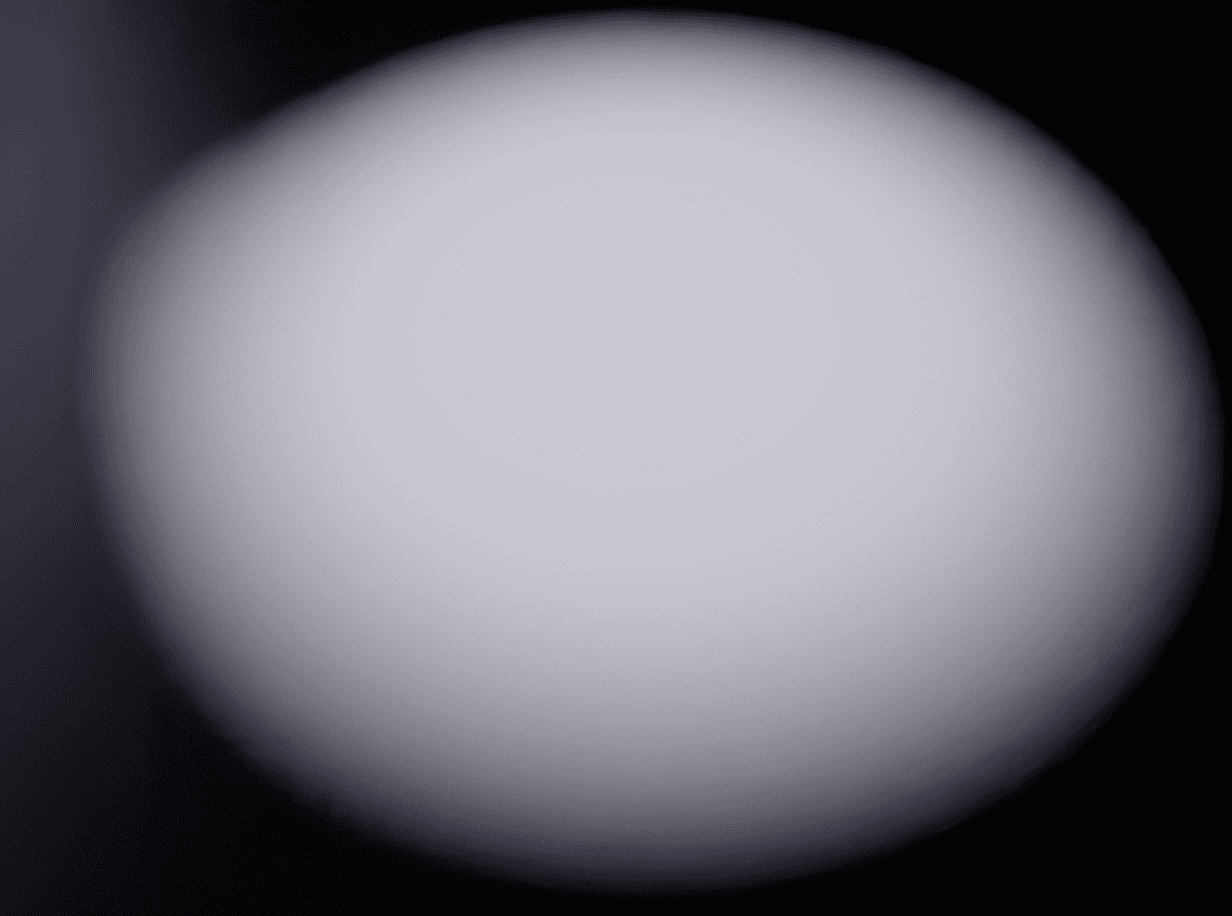
Spot Light 0.0 Blend
Area Light
Area Light is one of the most used types for sure, as it is very convenient. It is very similar to the lightbox, which is widely used in real-life photography. Area Light is both similar to a Point Light and a Spot Light. It lights quite a lot of space usually and it is at the same time is directed in a specific direction.
On render we see that it not only lighted the plate and apples, as a Spot Light did but also the scene overall. At the same time, on the wall behind we can see that it did not light all directions equally, as Point Light did. In other words, it is similar to both, but different from both too and this makes it very versatile.
What also makes Area Light very unique is that you can control its shape:
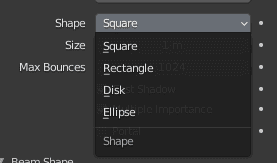
The shape of the light will impact the shadows of the scene – their softness and color. But also any reflections too.
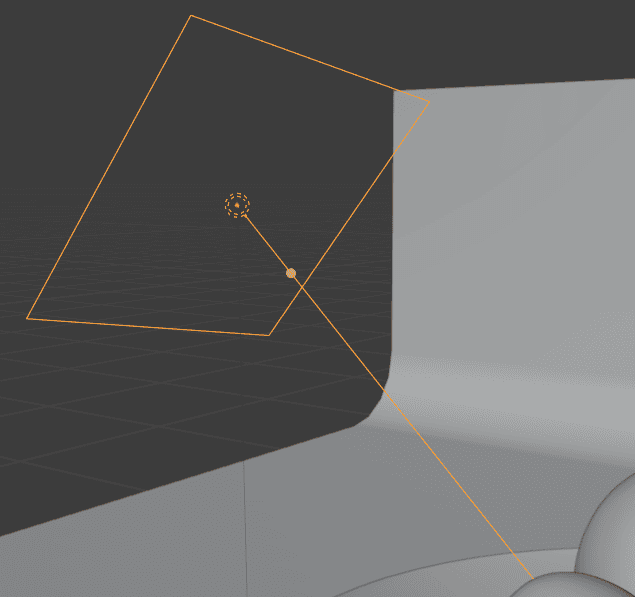
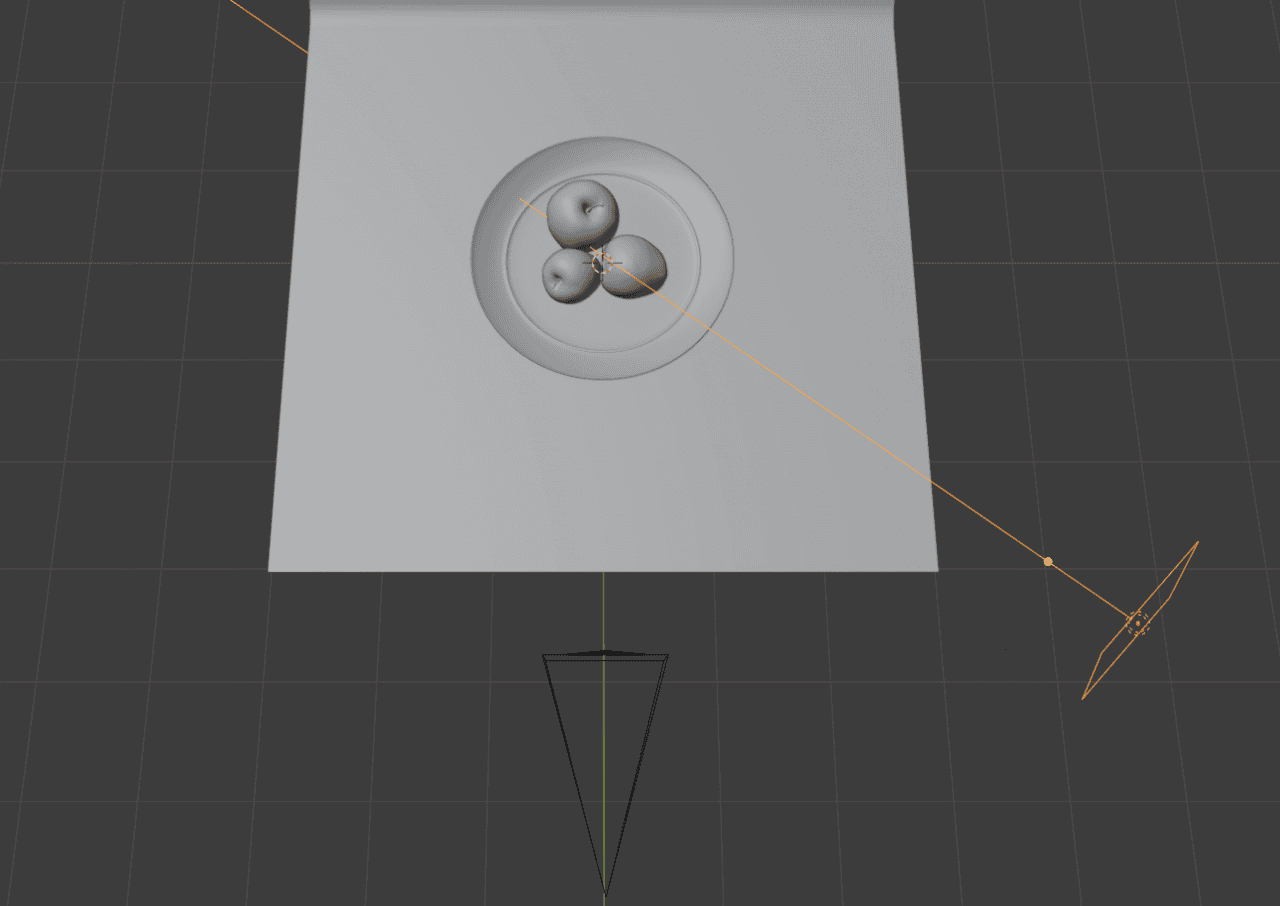
Same as with the Sun Light and Spot Light, Areal Lights can be pointed at something. This is done by dragging the yellow dot that comes from the light in the 3D Viewport.
Also, similarly to the Spot Light, you can control the Beam Spread. Lowering the spread will make the light more concentrated and less spread. Though this does not work as well as with the Spot Lights.
Area Light 10 Degree Beam Spread
HDRI Lighting
There is also one more major way of lighting your scene that was not mentioned yet – HDRI lighting. This stands for High Dynamic Range Image and it is a special image that you can apply to your scene and it will provide lighting information.
This sounds very advanced, but in reality, it is easy to utilize. Also, finding such an image is not that hard either. There are plenty of them on the internet and a lot of them are even free. For example, this image that I have found on the polyhaven website.
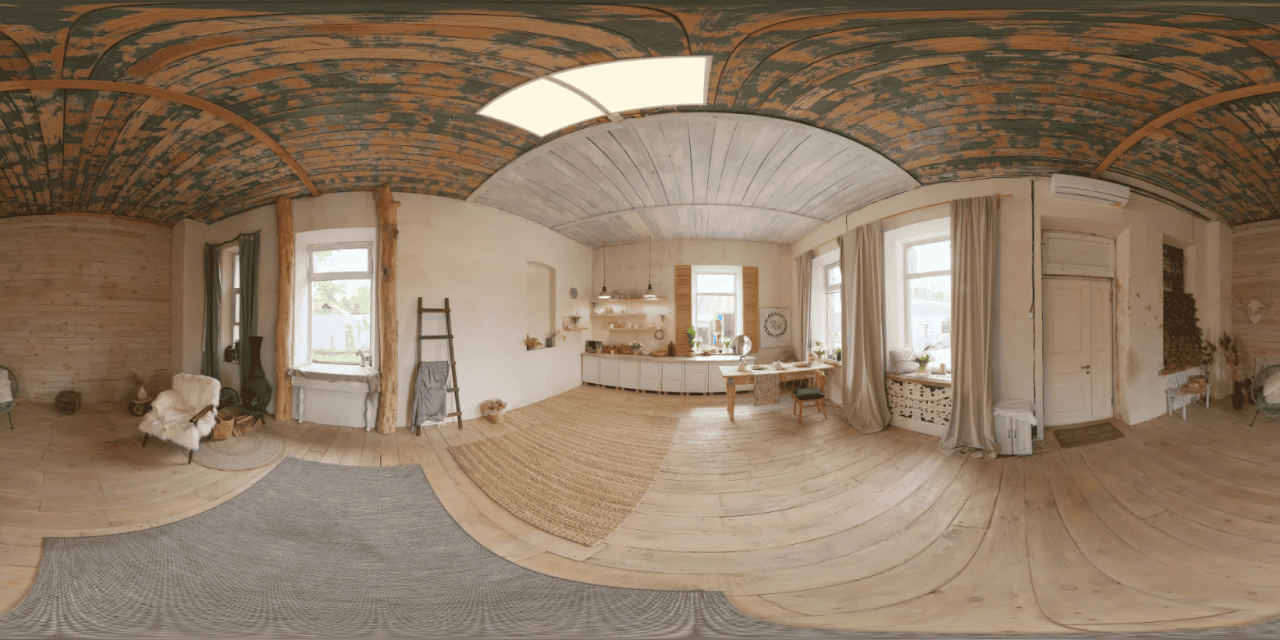
Source Studio Country Hall by Sergej Majboroda
What we are going to do is apply this image as a background for our scene. You should remember that we already worked with Background in this article when we turned off the grey tint on everything at the beginning. So we again need the World Properties tab.
In this tab, open the Surfaces section and leave Surface as the background. But we will change the Color option by clicking on a yellow dot. In the list, you need to find the Environment Texture and apply it.
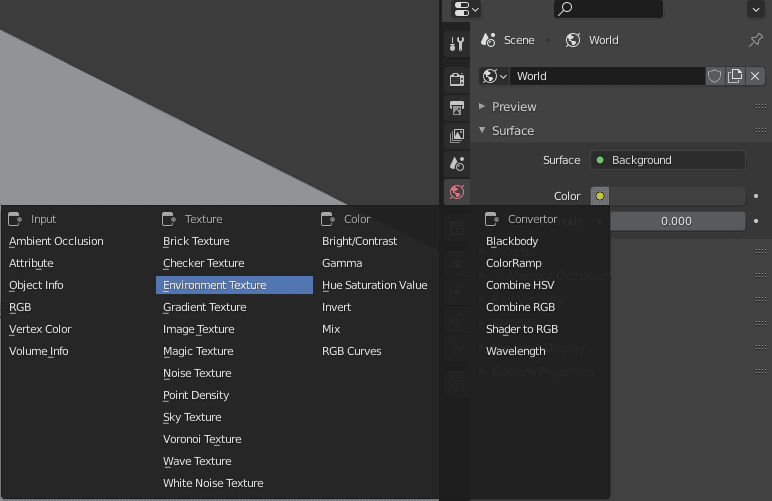
The Environment Texture requires an image to be applied. Here is where you apply your HDR image. By clicking Open and finding it on your computer. After that, I increased the Strength(as we changed it to 0 earlier) and it was done.
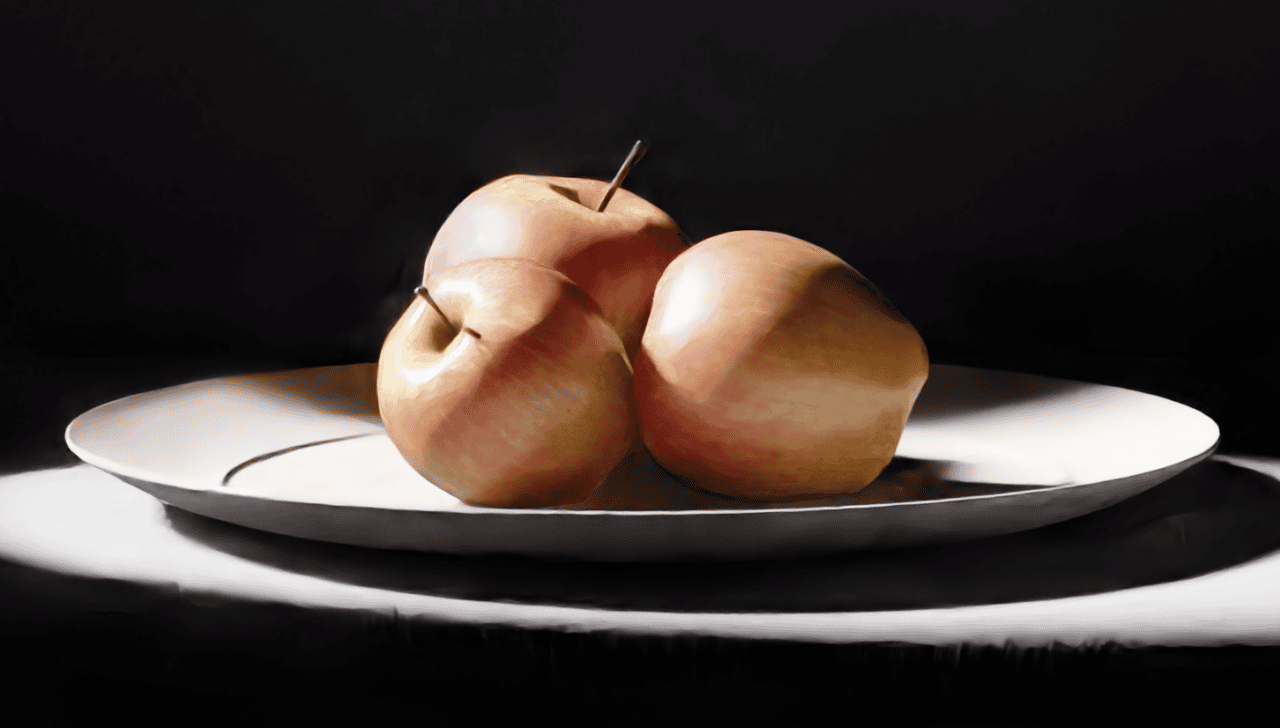
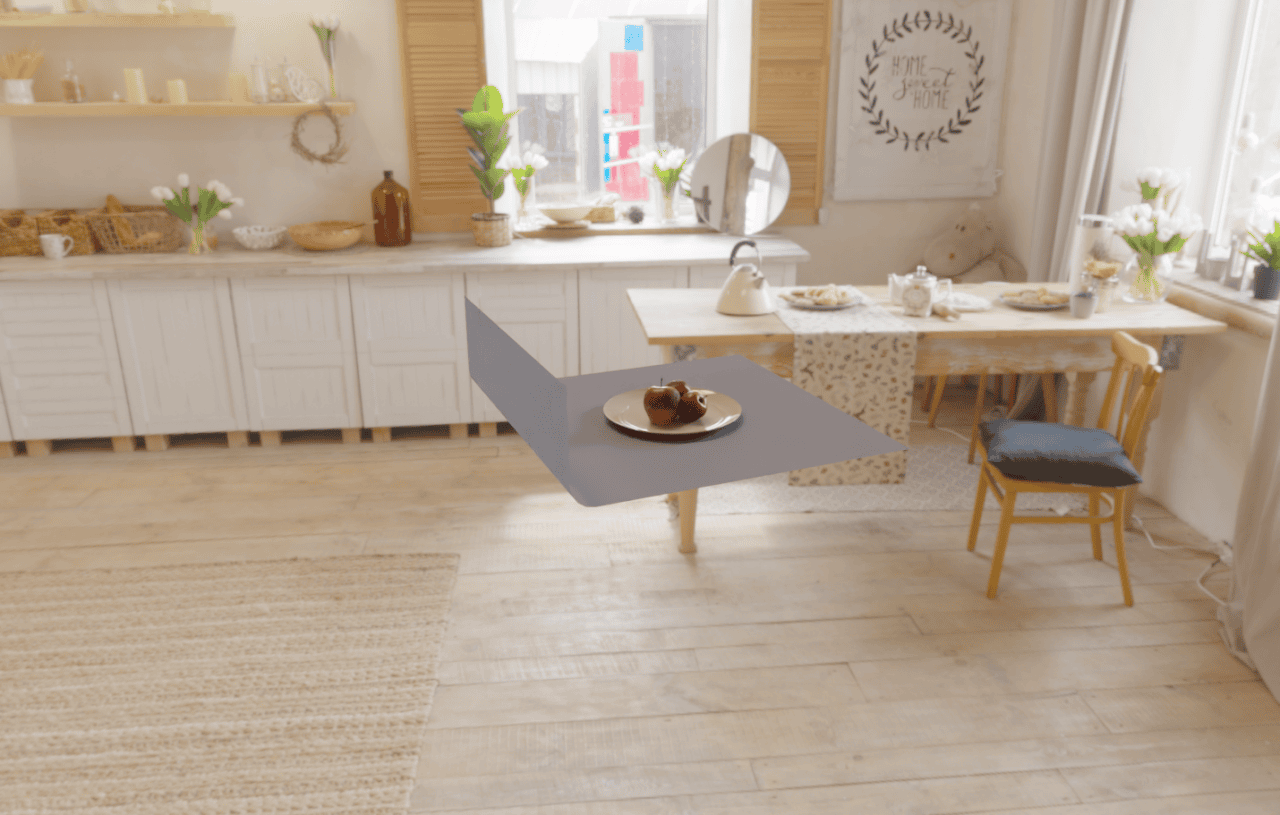
Above is the look of the scene with only an HDRI applied. There is no additional lighting whatsoever. Using a single free image, we have created a nicely lit scene just like that.
Moreover, HDRI does not only provide the lighting but can also be used as a background. You can see that it was applied as a background if I would just zoom out of the scene a bit.
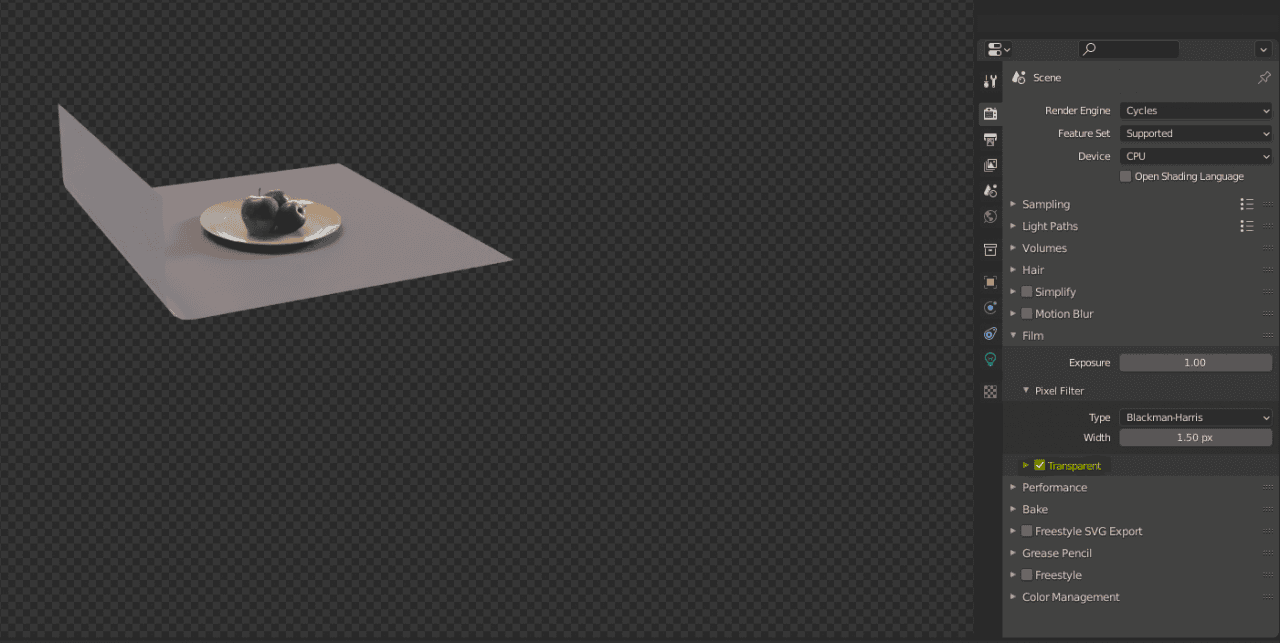
But don’t worry if you don’t like having this image as a background. You can simply go to the Render Properties and turn on the Transparent option under Film. This will make all background transparent, but still leave the lighting that HDRI provides.
Setting Up Lighting in Blender
Now you know all the types of lighting that Blender has to offer, including HDRI. But how exactly should one use them? Let’s have a quick look. This would not be a detailed tutorial, just a couple of quick tips.
The first thing that I want to mention is that bright is good. A lot of the time, beginners feel afraid to make the scene too bright and overexpose it. Don’t! In most cases, a bright and vivid scene just looks better. Don’t be afraid to up the Strength of your lights or Background – this should make your scene more alive and interesting.
At the same, you should have contrast on your scene. Shadows are very and very important. Look at the render above – everything is evenly lit, there are almost no shadows on a scene. This makes everything look very flat and not so interesting. Look at how the scene changes after adding a single Area Light:
This has added a lot of shadows. Shadows bring volume to our objects, help them stand out, and understand their 3D shape on a 2D image. I can not stress enough how important it is to have shadows on your scene.
Blender Three-Point Lighting Setup
This was only a single light, but what about more? Usually, scenes are not lighted just by a single lighting source. So how should your lighting setups look and what should you do? This is a very big topic that we definitely can’t cover as only a section of this article, but we can talk about the Three-Point Lighting at least. Three-Point Setup is the most commonly used lighting setup. It is used everywhere: movie industry, photography, 3D design, and more.
As comes from the name, Three-Point Lighting utilizes three lights. Let’s go through them one by one. I have deleted all lighting from the scene, so we would only use the Three-point one.
Key Light
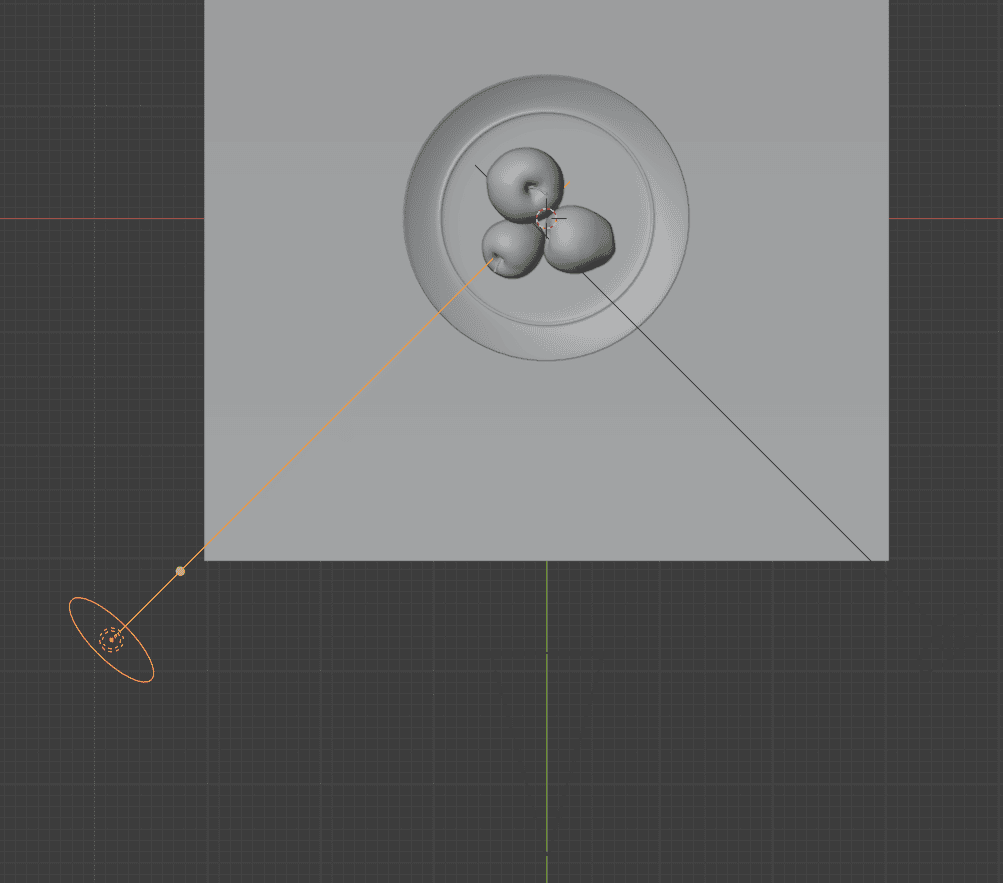
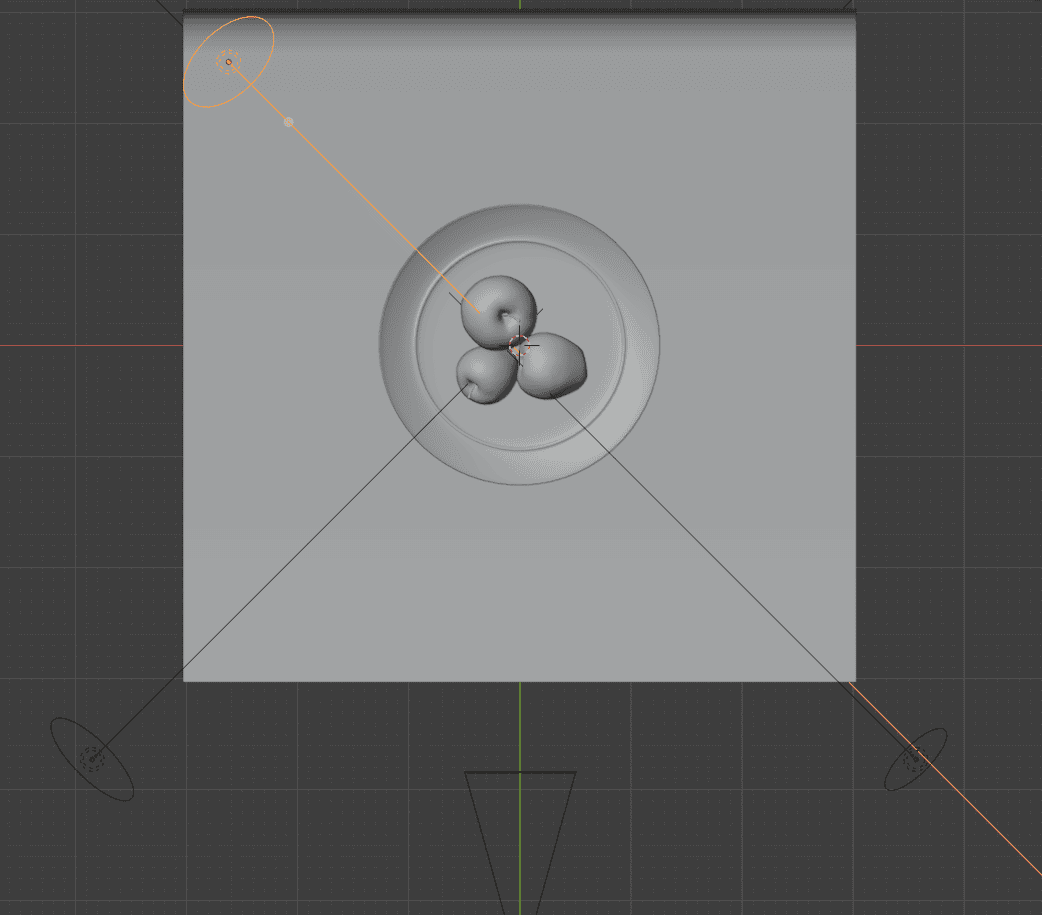
The first comes the main light. The main light is also known as a Key Light. It is the strongest light on the scene that gives most of the light and the most prominent shadow. Located in front of the object, a bit to the right or the left of the camera. Also should be at an angle. Meaning not on the same level as the scene.
Key Light Location
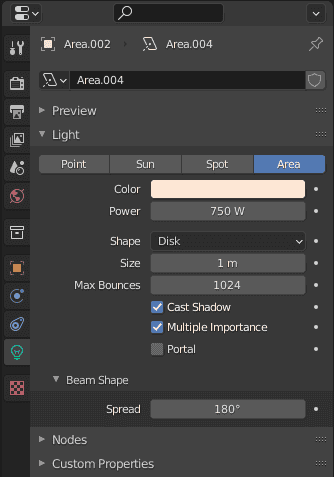
As you can see, I have resolved to use Area Lights. Settings for the Key Light are like this: it is the strongest light, so it should be very bright. It should not be small, as smaller light will create unrealistically sharp shadows. At the same time making it too big, will not produce enough shadows. And I don’t plan on changing the Beam Shape Spread on any of the lights.
Key Light settings
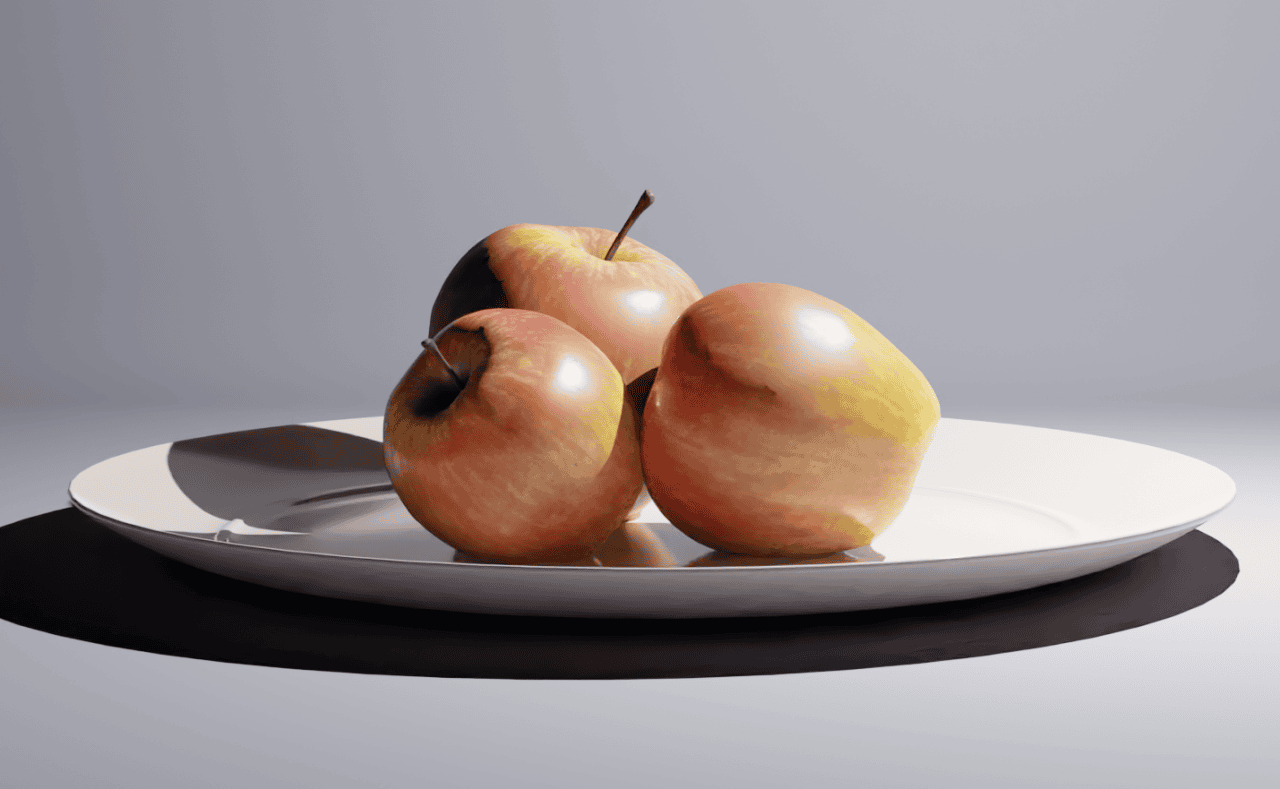
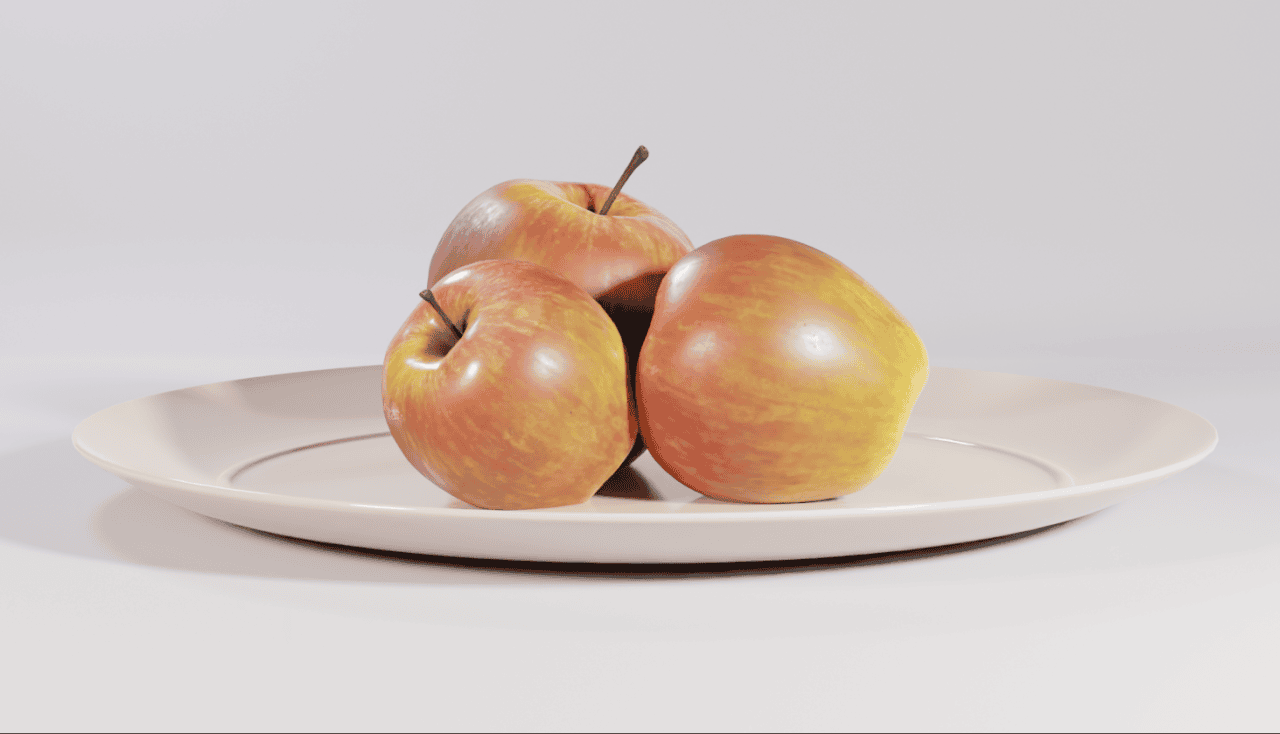
Additionally, I want to make a scene feel a little warmer, so I have made the color a little bit yellowy. Here is how the scene looks rendered with only a Key Light on a scene:
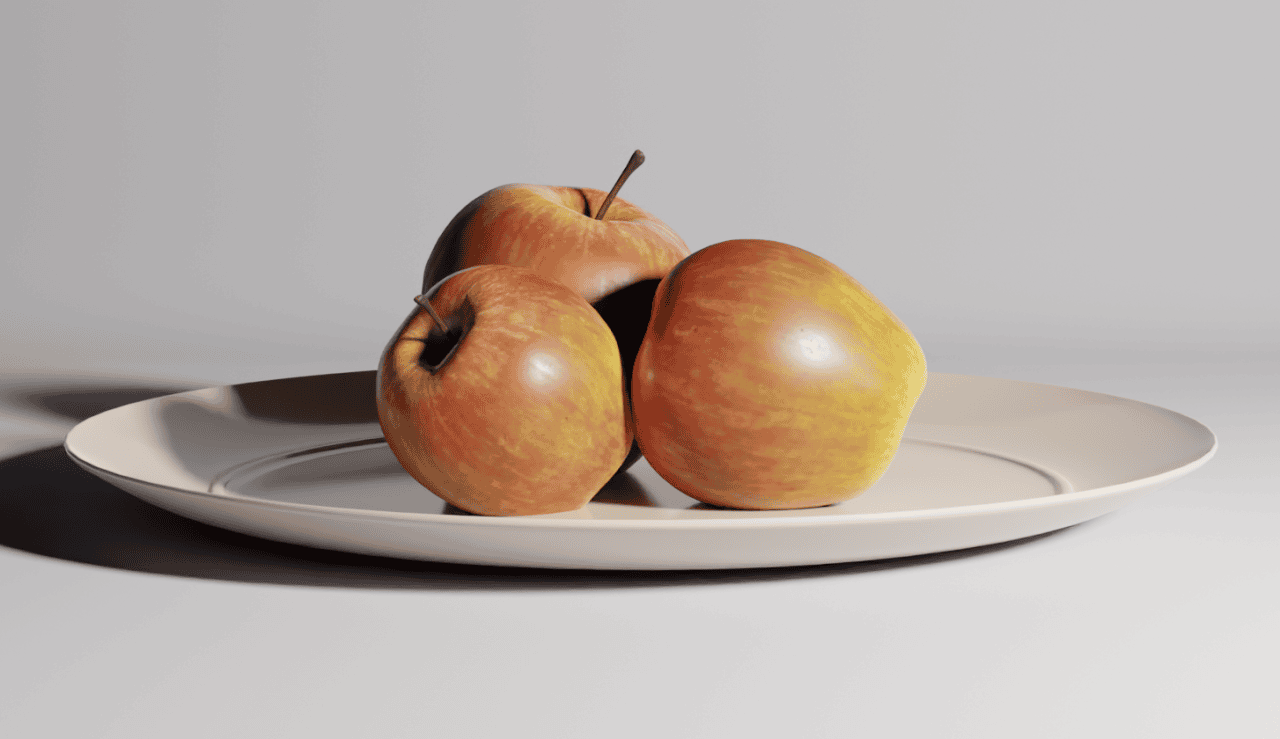
Not too bad. The scene is a bit dark though. And shadows look way too dark, we can’t see any details in them. The scene is being lighted only from a single direction, which makes the other part of the scene look too dark and makes shadows too black.
Fill Light
Here is where the Second Light comes in. It is called a Fill Light, also known as a side light and it will complement the Key Light. Location is very similar to the Key Light, but just on the opposite side of the camera. You can even duplicate your Key Light and mirror it if you want.
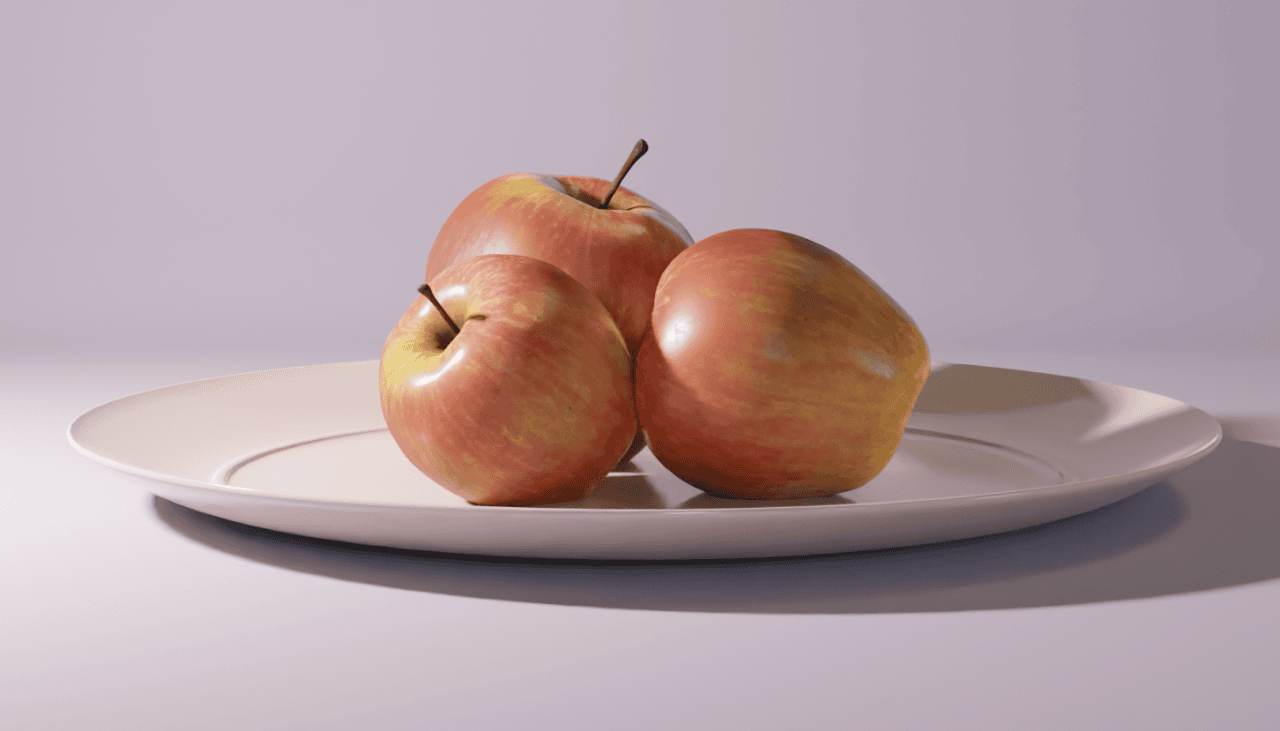
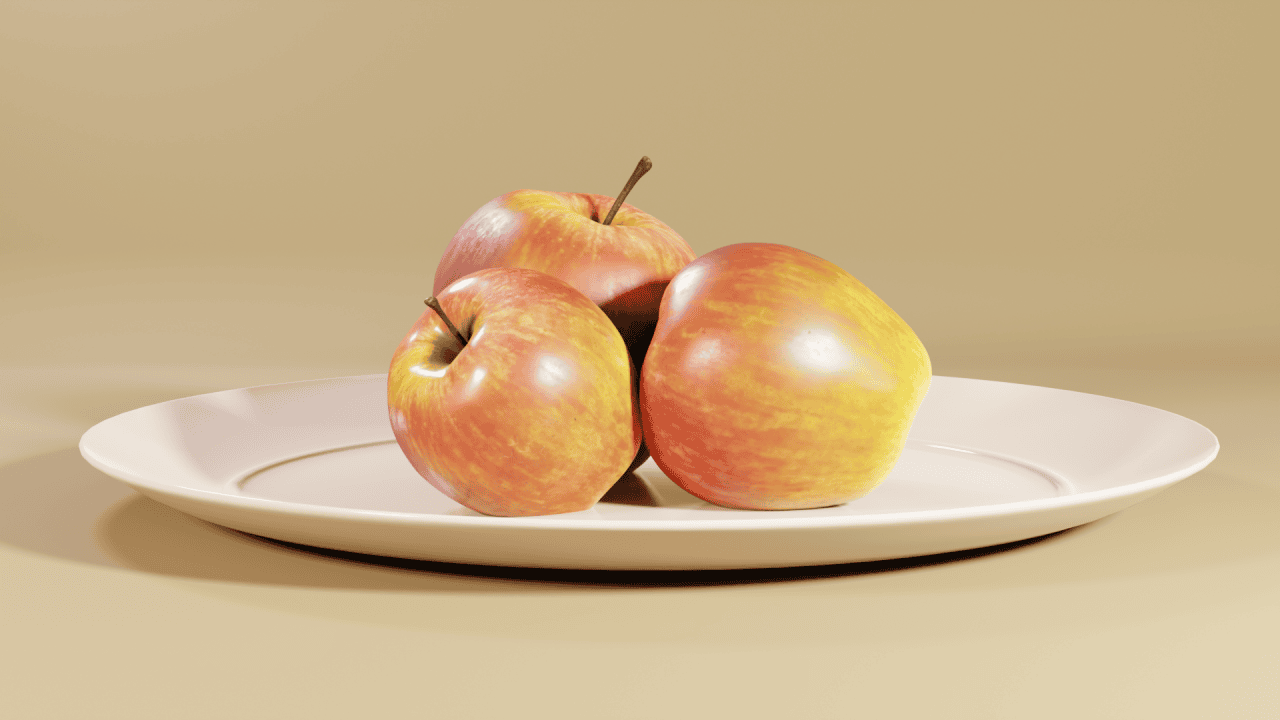
Fill Lights settings are also very similar to that of a Key Light. The major difference is that it is supposed to be much less intense. I have halved its Power. The shape is the same, but the size is a bit bigger, so it would not conflict with the shadows from the Key Light. Also made the color more prominent on this one.
And here is how the two lights affect the scene:
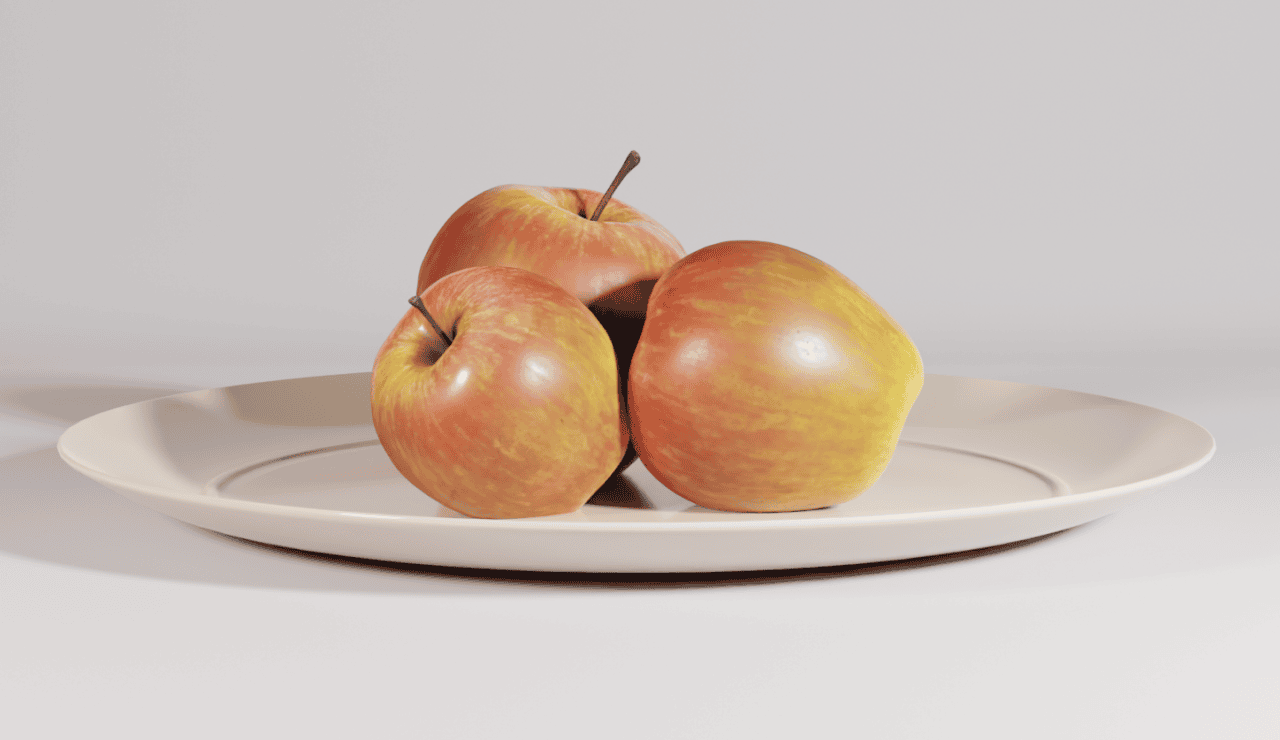
Already looks much better than before. The scene is much brighter now and the shadows are not as black either. Overall the scene is more balanced.
The one thing that we are lacking at the moment is something in the back. Notice how the part of the apple that is closer to us looks interesting, there are reflections, there are shadows. But the parts that are in the back have nothing of that.
Back Light
These are the problems that the third light should fix for us. It is called a Back Light or also a Rim Light. Its goal is to give more volume to our scene by lighting the furthest part of it. As it comes from the name, it should be located from the back of the scene. More precisely – on the opposite side of the Key Light.
This one should be the weakest of the three. With power being around half of the Fill Light. The shape is still the same and the Size is like that of that Fill Light for the same reasons.

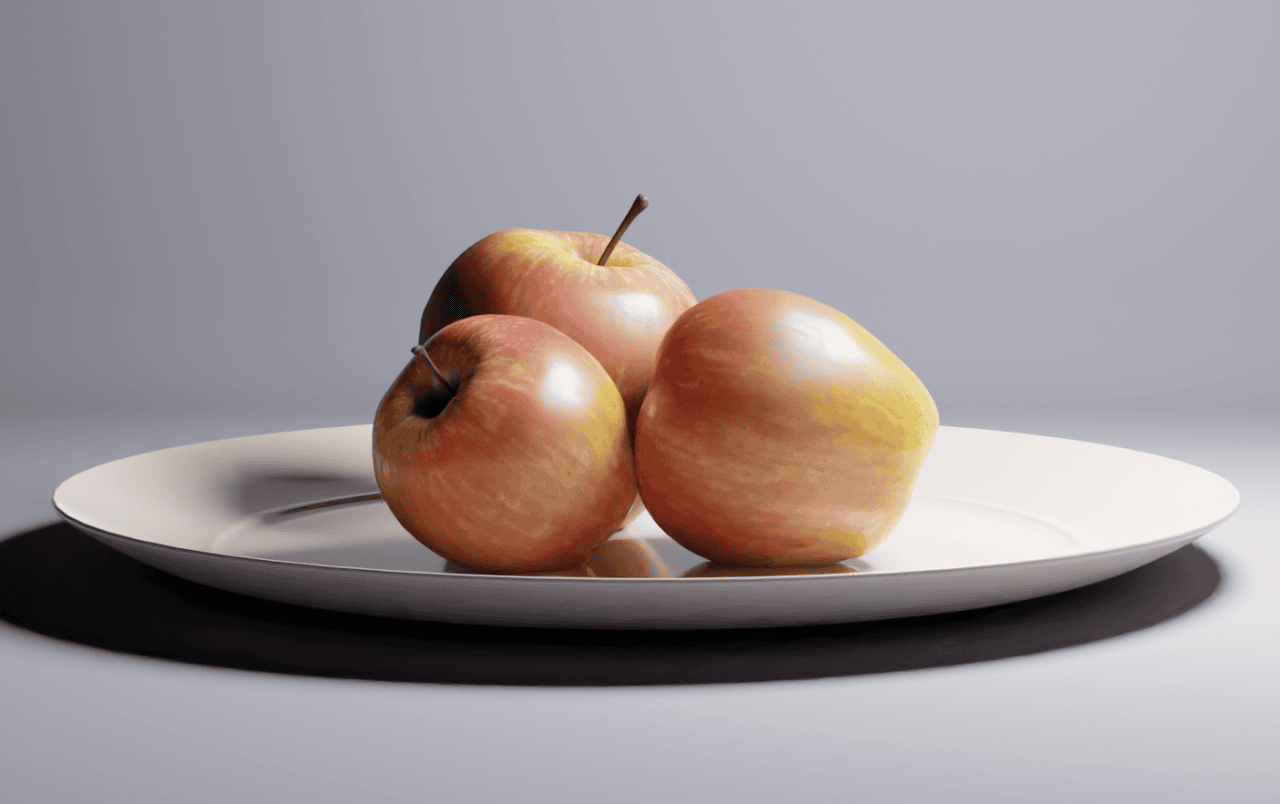
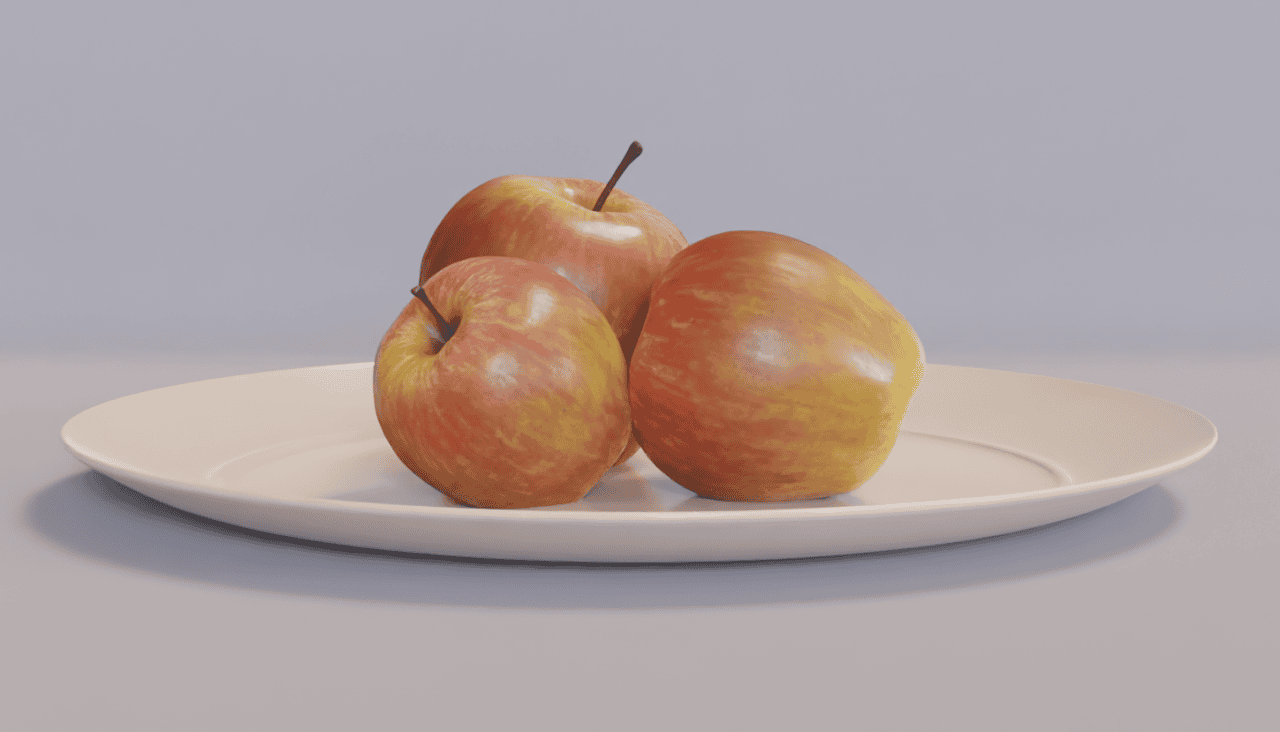
Adding the Blender Back Light, allows us to see the final result of the Three-Point Lighting technique:
Notice how much brighter the back side of the scene looks. Apples now have highlights on them and even some additional shadows. At the same time, this almost did not change the look of the scene in front.
Conclusion – Blender Lighting Tutorial
Blender Lighting is not an easy matter. It requires quite a bit of knowledge and experience. So the best idea is to experiment with this and try things out. Don’t constraint yourself to the Three-Point or any other technique – see what works for you.
The Final Render